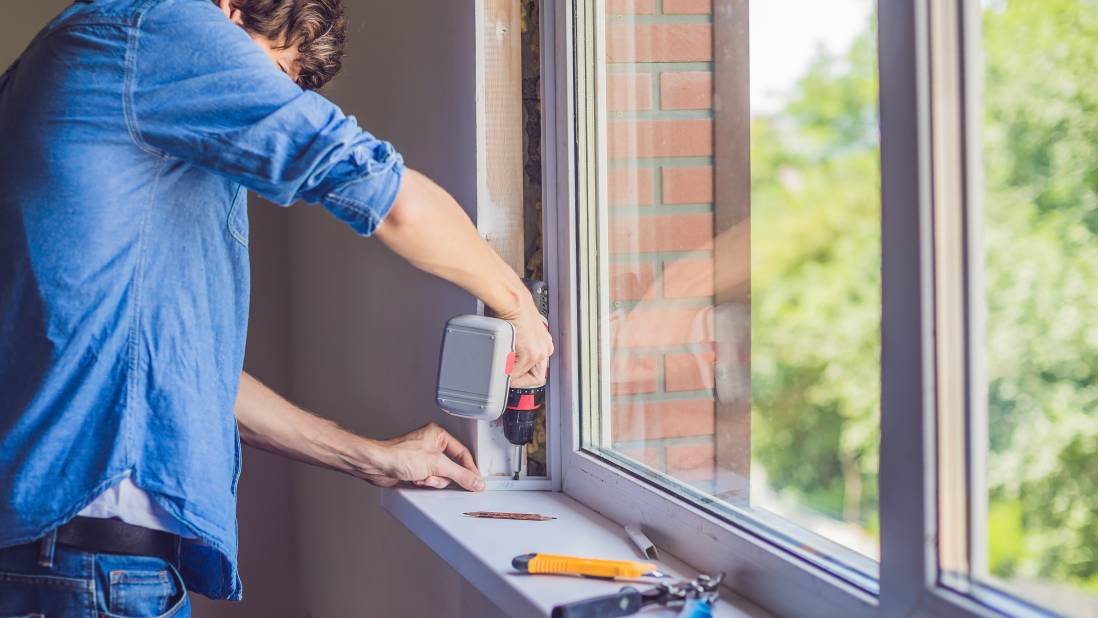
How to DIY shutters for the enhanced comfort and beauty of your home
Creating a cozy environment with DIY shutters is easy to do!
Last Updated on
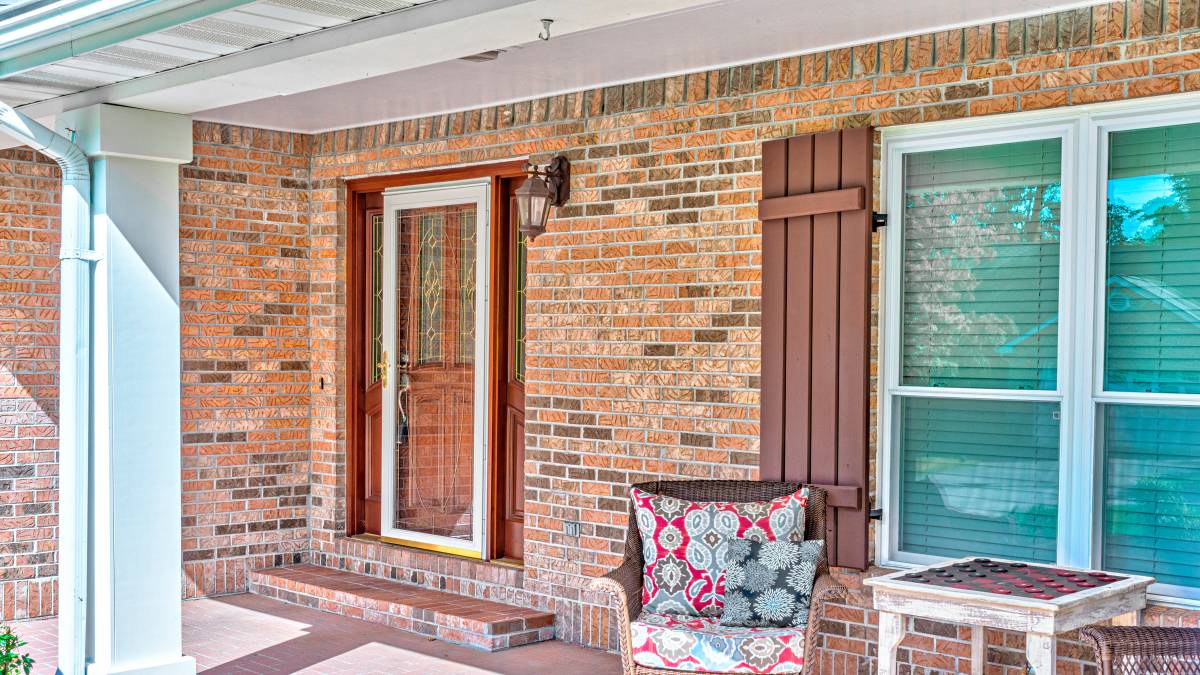
Considering adding shutters to your windows? Plantation shutters are a classic choice, but they can be pricey. The good news is you can build DIY shutters for less! It’s a fun project that can save you money and enhance your home’s comfort and style. By following the steps below, you can easily create beautiful plantation shutters from plywood.
The benefits of DIY plantation shutters
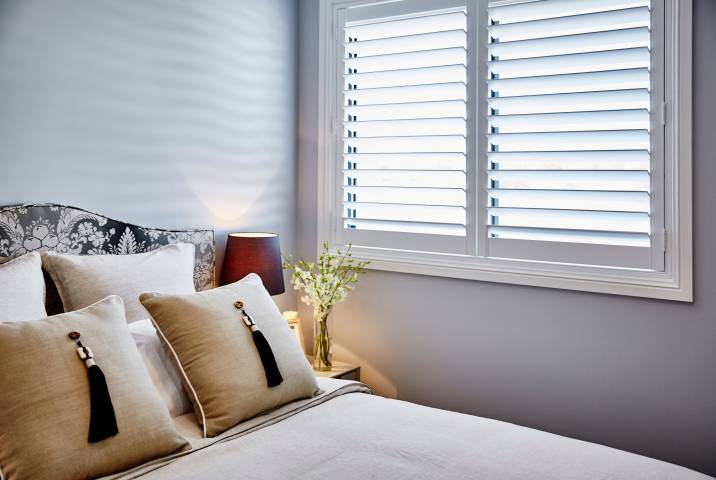
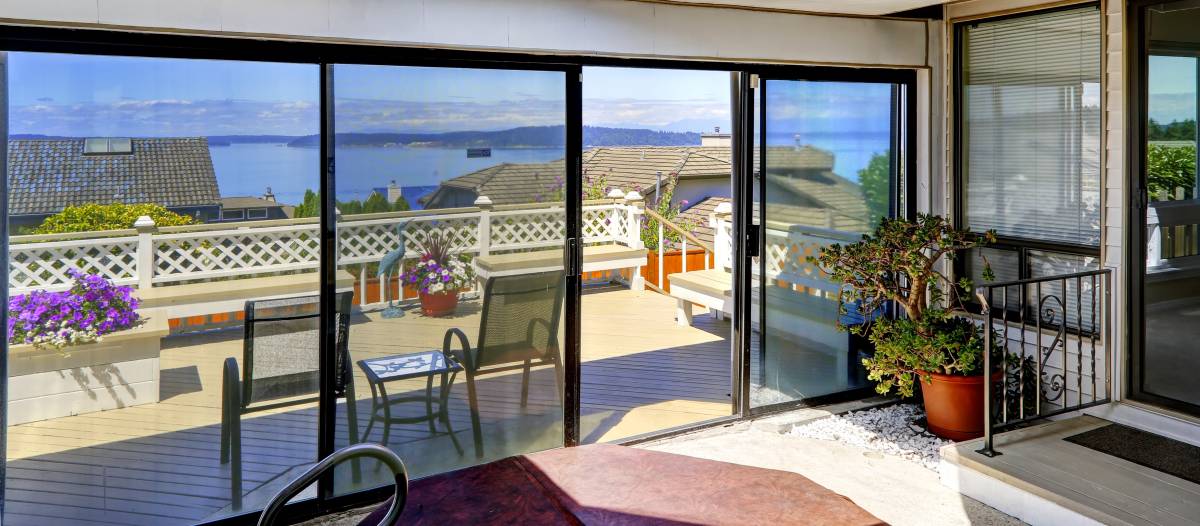
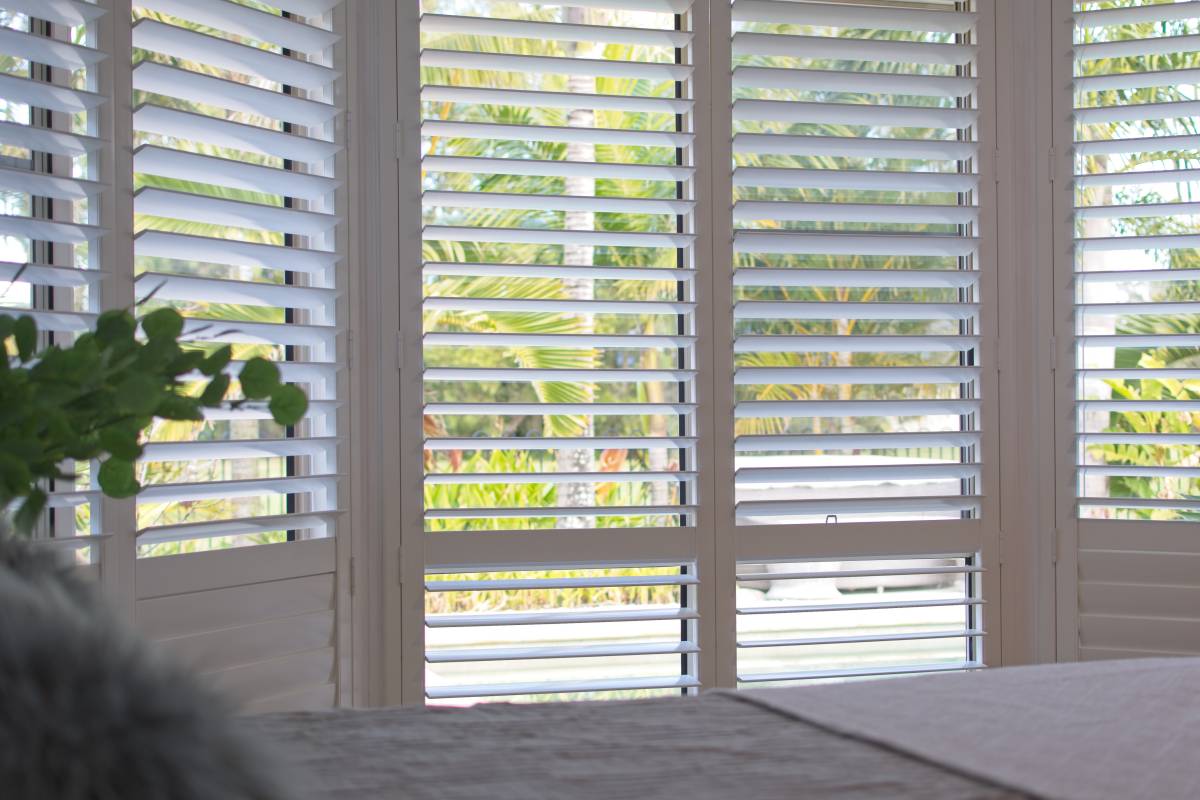
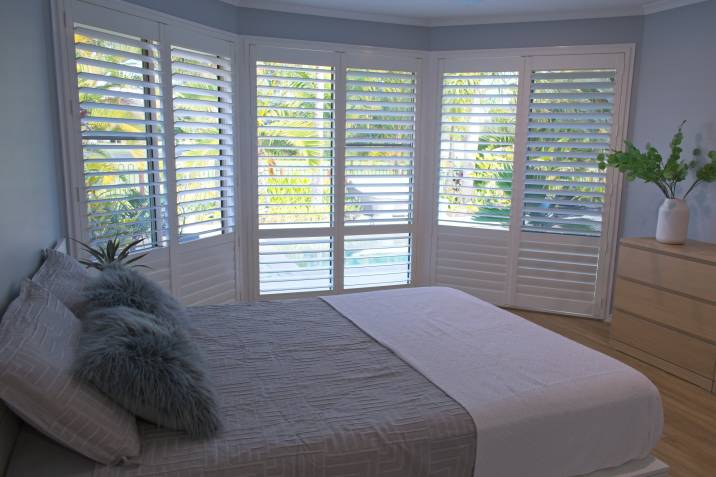
Plantation shutters aren’t just for looks. They can help you keep the heat out during the summer and offer a layer of protection and insulation against the cold during winter. Plantation shutters seal up against the window frame, so air doesn’t easily escape through gaps.
This energy-efficient option is also easy to clean with a vacuum cleaner brush attachment. They also negate the need for any cords that pets and kids might reach. Instead, they use a control arm on slats, making them safe and sturdy.
How to make plantation shutters
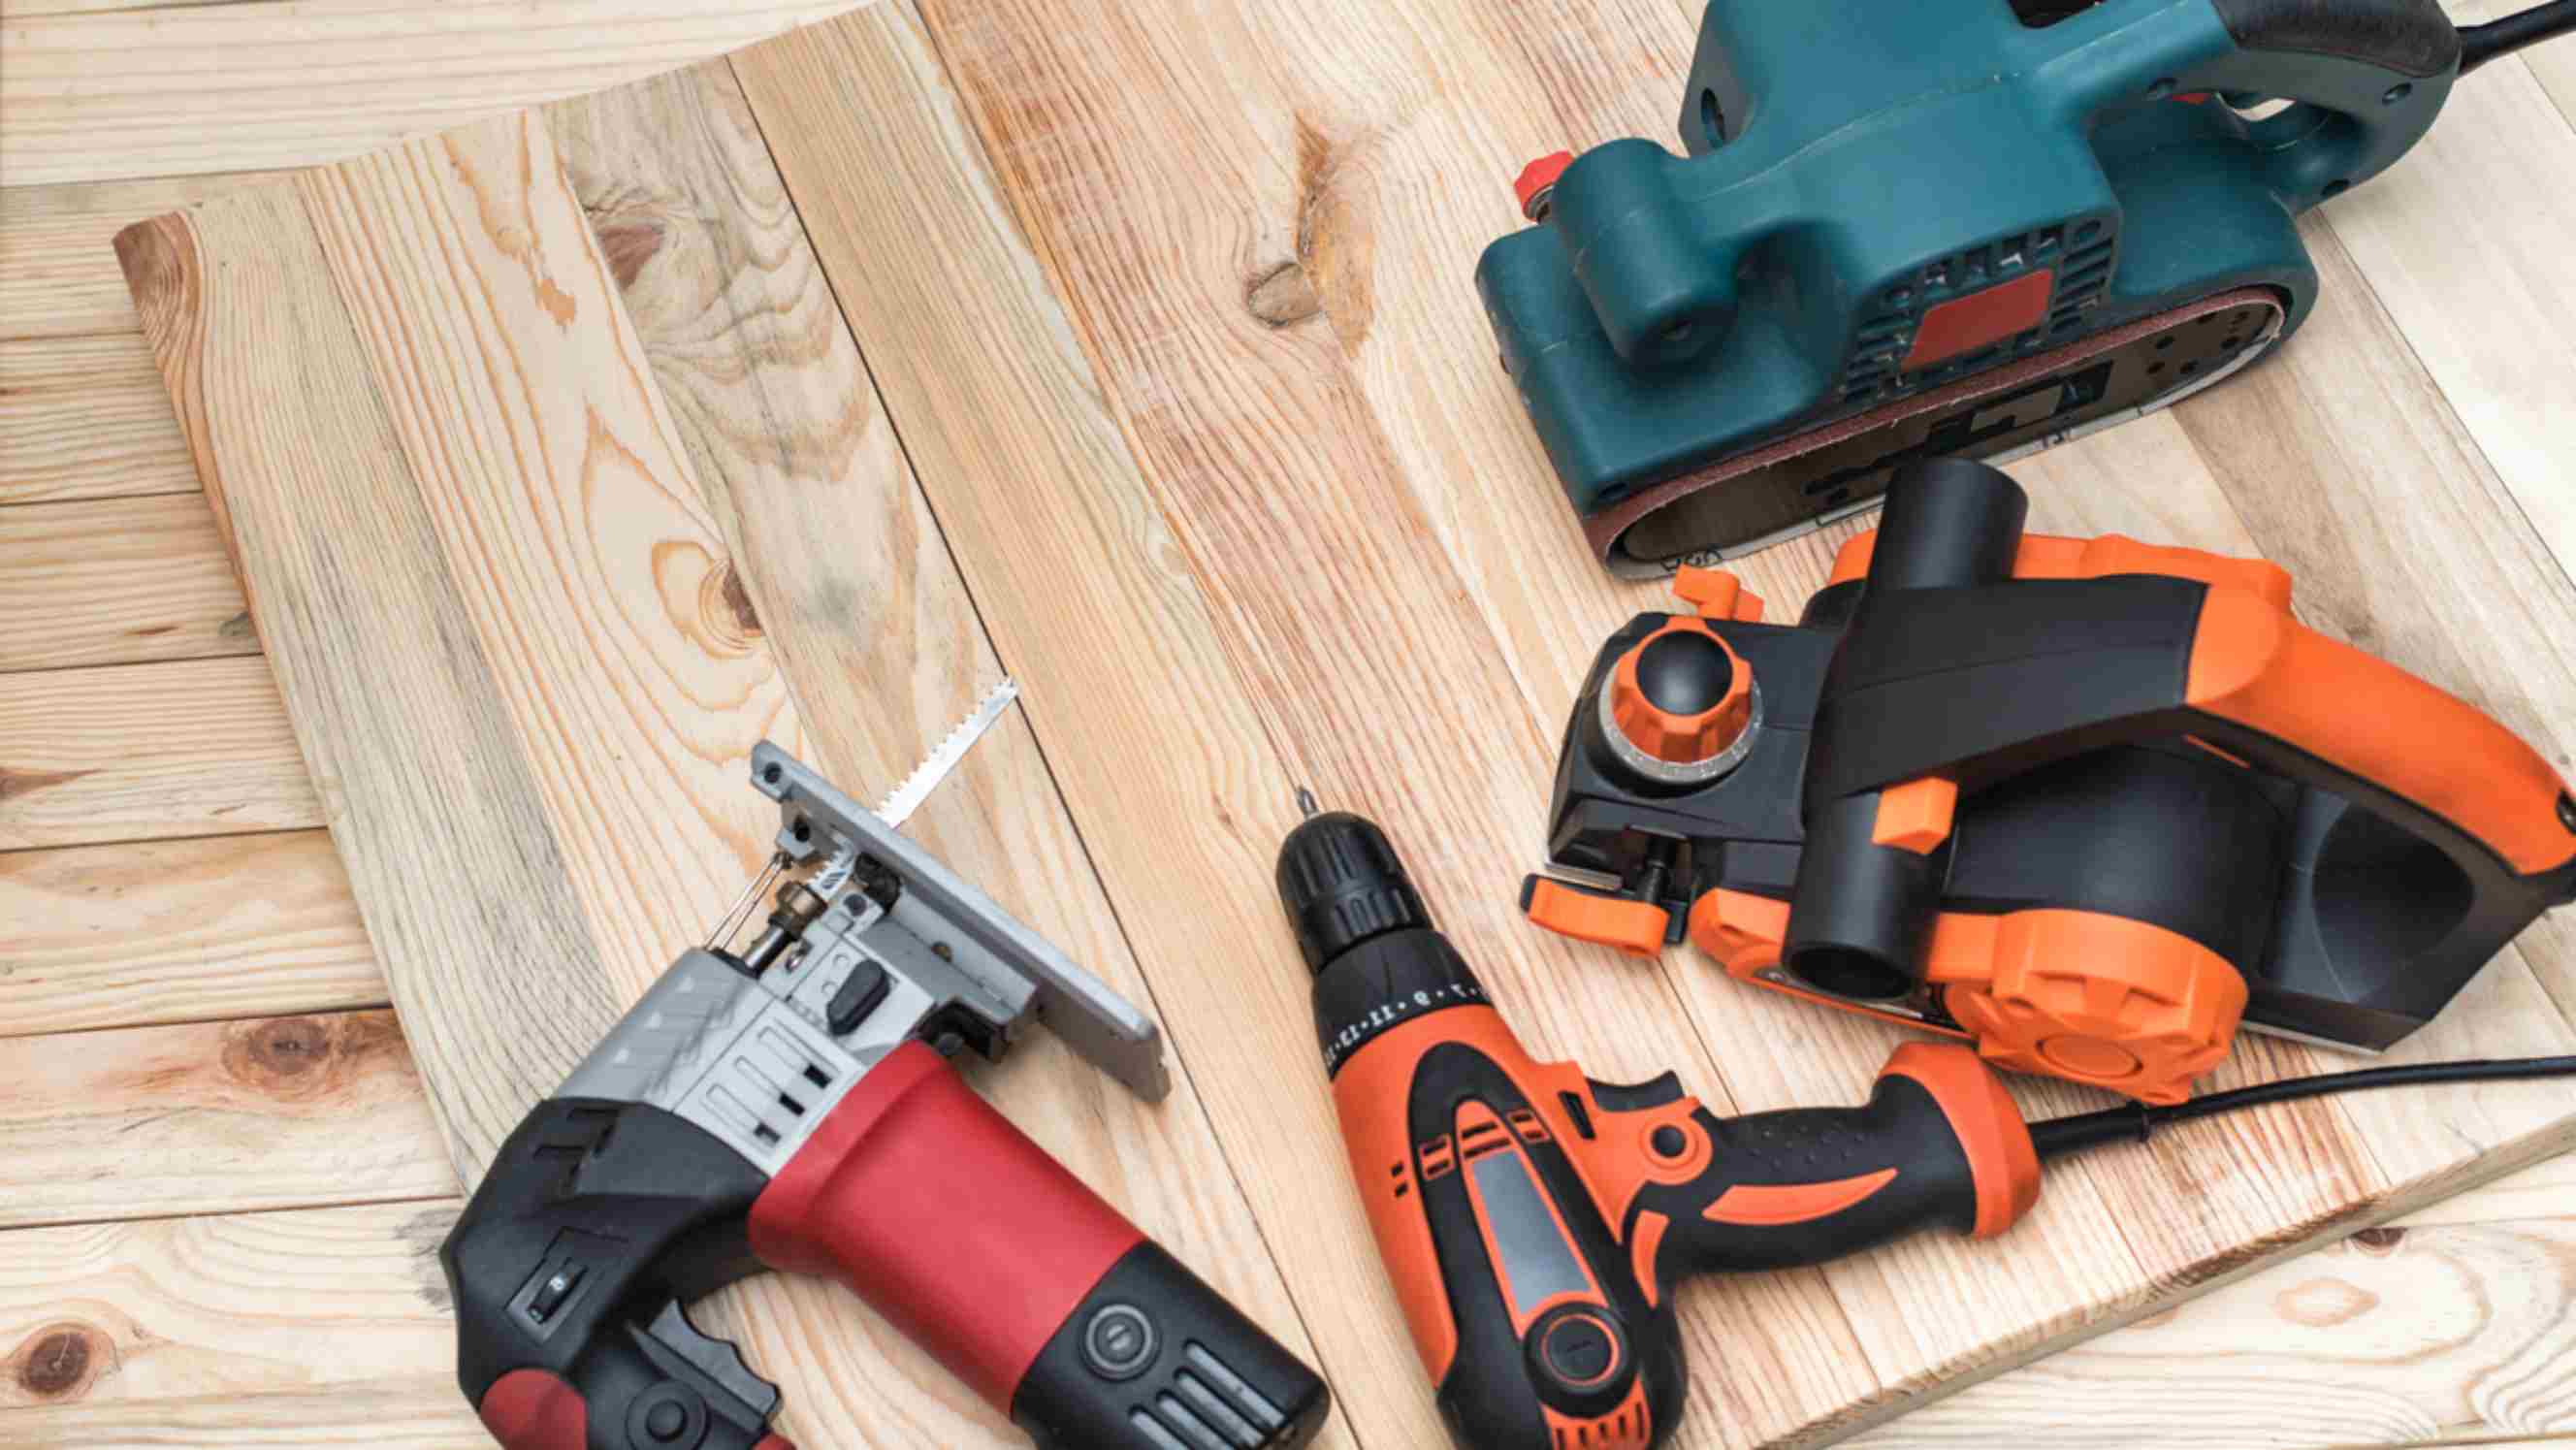
The tools you’ll need for your DIY shutter project
Tape Measure
Drill
Miter Saw
1 3/8″ Shank Forstner Drill Bit
Router Roundover Bit
Drill Bits
Skill Saw
Table Saw
Kreg Jig
7/64″ Self-Centering Drill Bit
Wood Router
Metal Snips
Scratch Awl
The materials you’ll need
4’x8′ – 3/4″ Plywood (x1)
8″x27″ Flat Sheet of Metal
Frameless Cabinet Hinges
Wood Glue
4’x8′ – 1/2″ Plywood (x2)
Metal Pop Rivets
1 1/4″ pocket hole screws
1″ Finish Nails
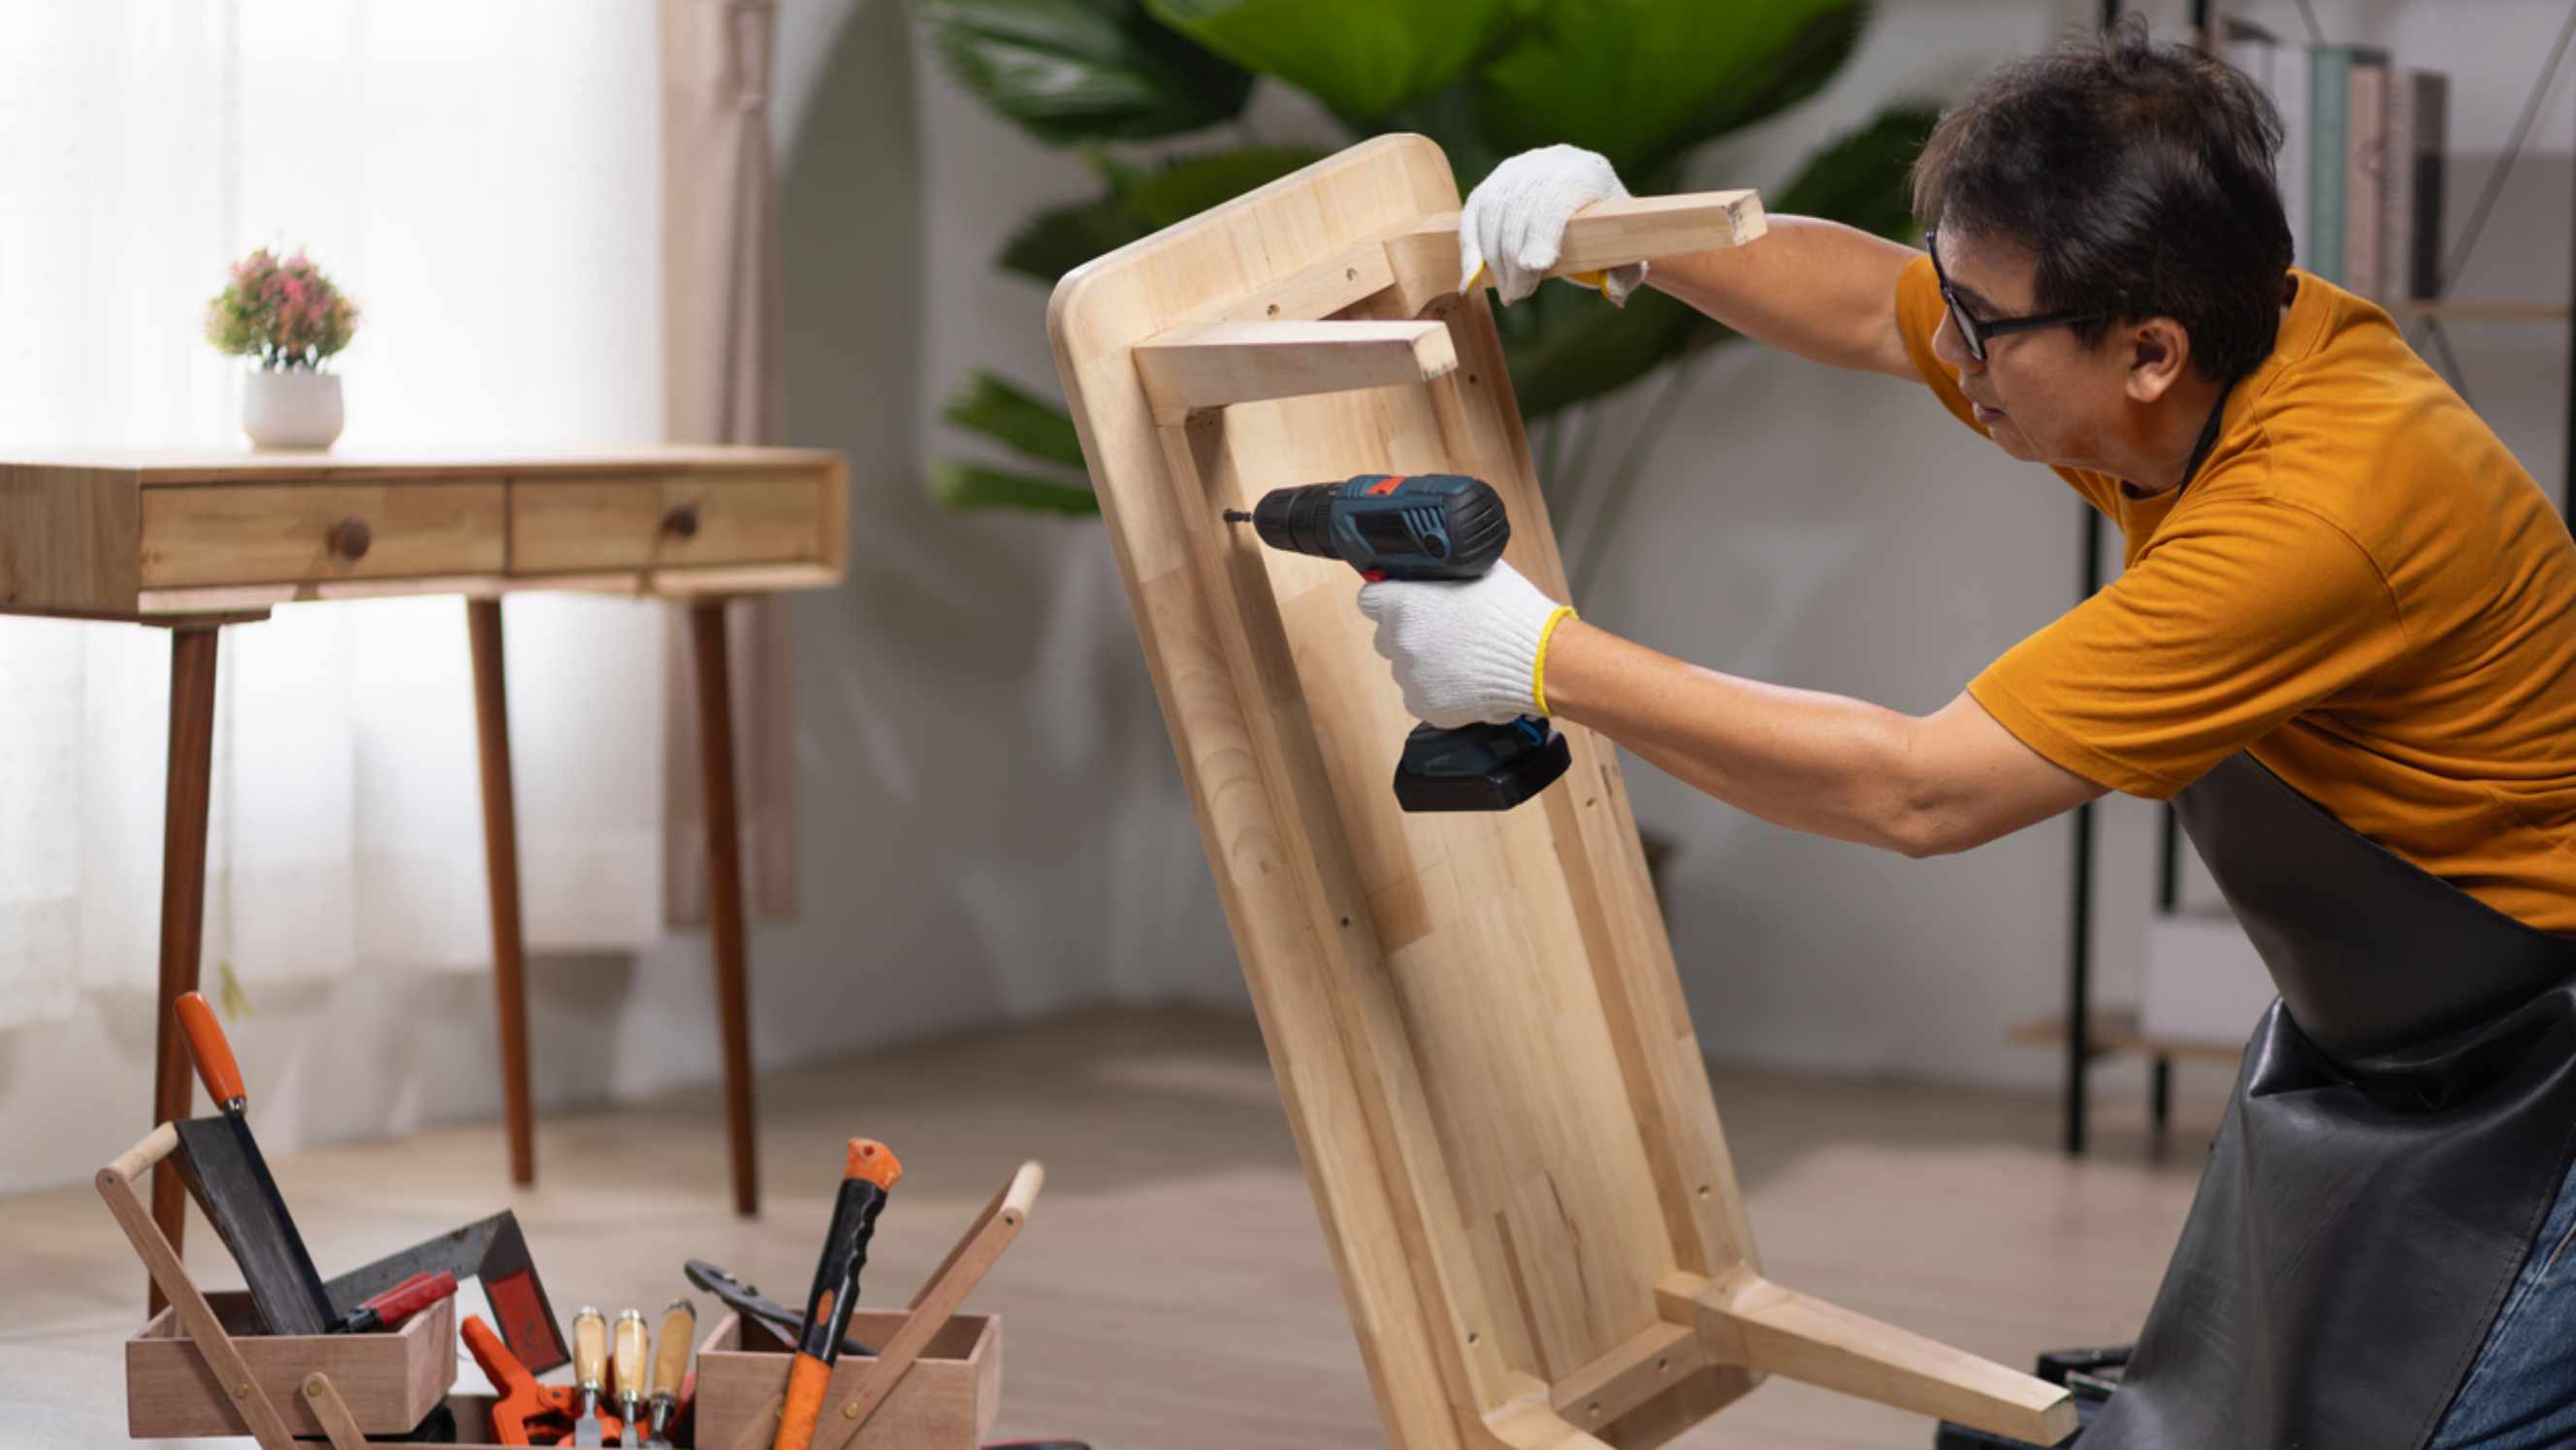
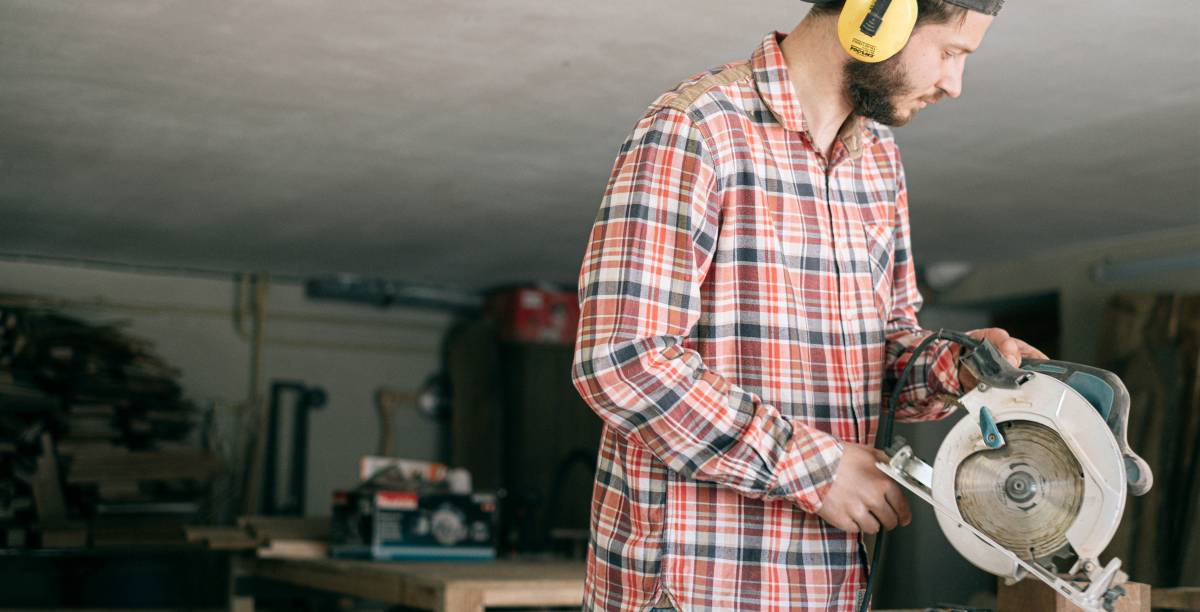
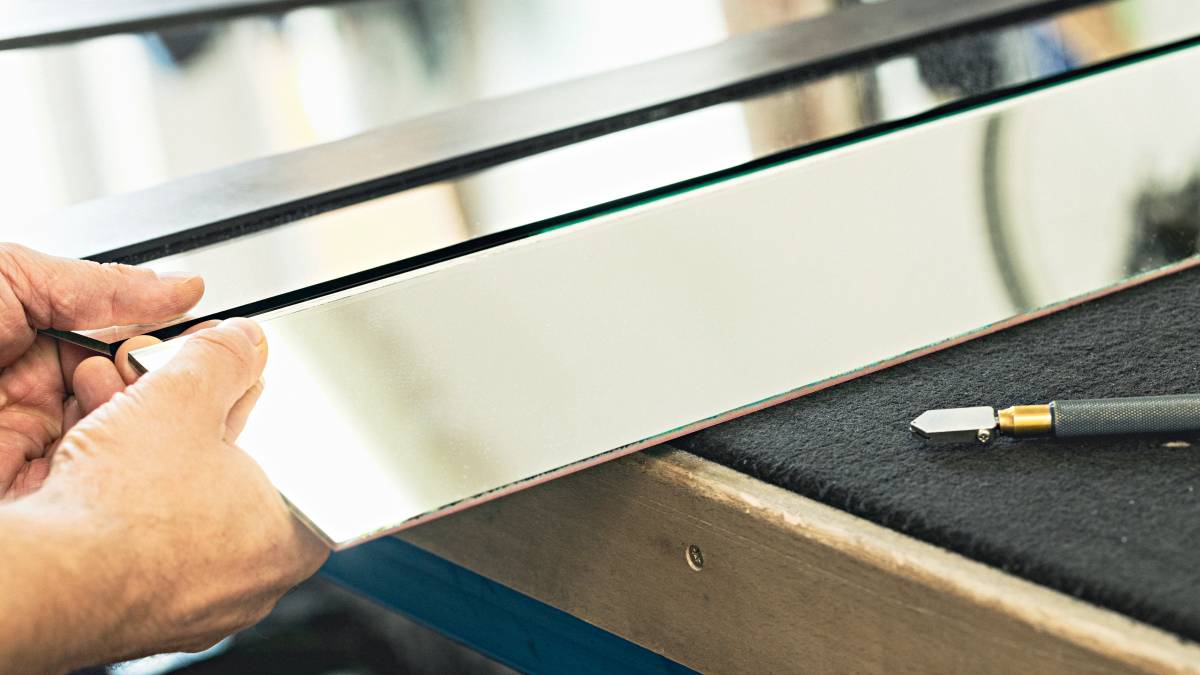
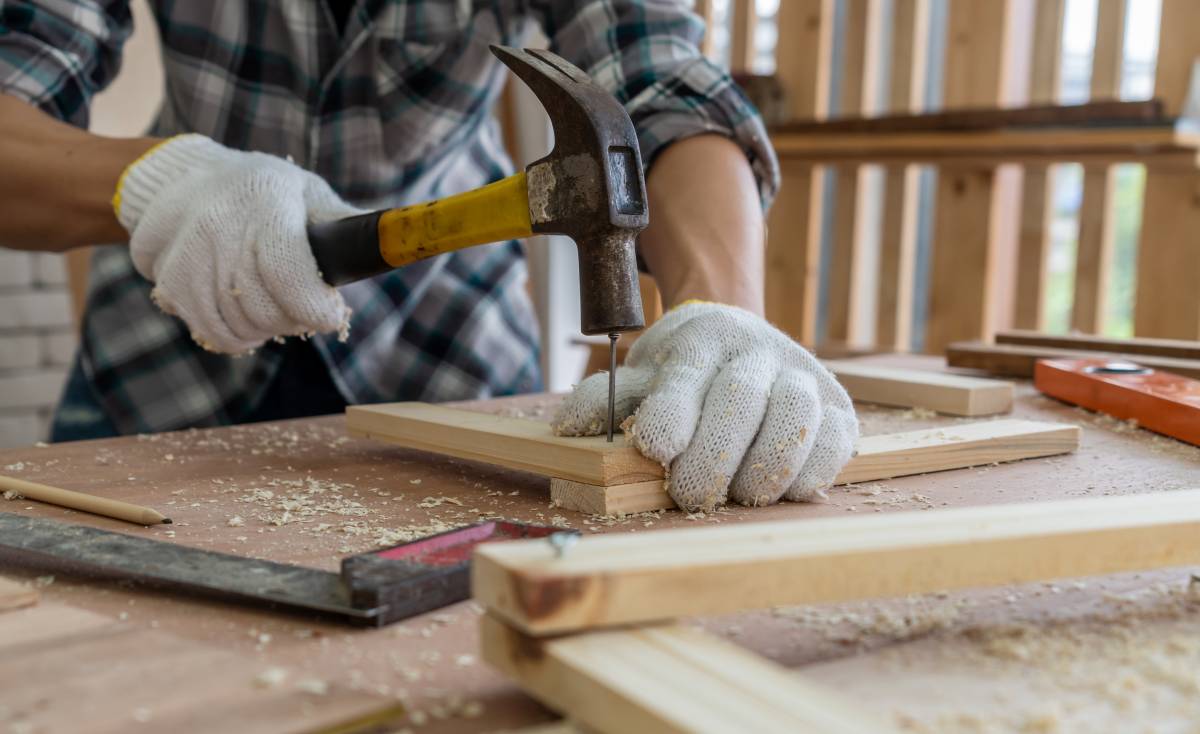
Step-by-step guide on making DIY plantation shutters
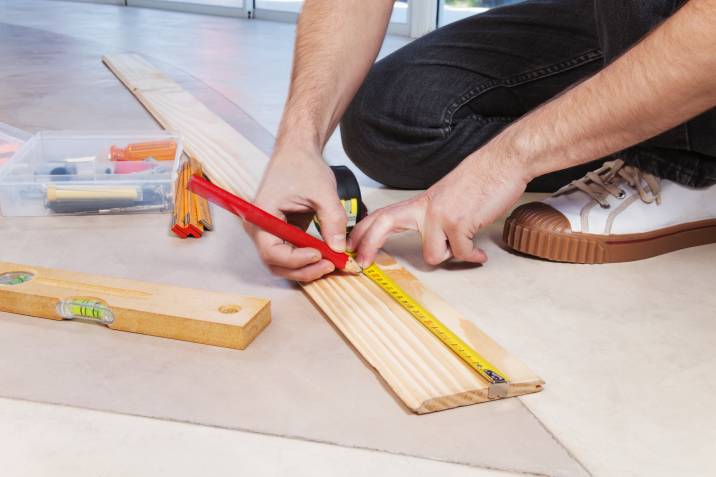
Step 1: Cut the frame and slats
Start with ¾” plywood and cut using a miter saw to turn the entire sheet into four smaller pieces. The inside window and louver frames are made using ¾” plywood. The slats will be made from ½” plywood. Cut the ½” plywood into smaller sections, then cut the slats with a table saw, ensuring each cut is perfectly straight.
Step 2: Chamfer each slat
Use a wood router to make the front and back slats rounded. A simple round-over bit should do the trick to chamber the edges. A router table is preferable to chamfer the corners perfectly.
Step 3: Trim the slats
The control arm that will open and close your slats can be placed on the front or back. The arm is a flat sheet of metal that joins the slats together. For this, each slat needs a notch cut out on the back. Use a table saw and raise the blade 5/8 of an inch. Clamp several slats together, then cut a notch the same thickness as the saw blade.
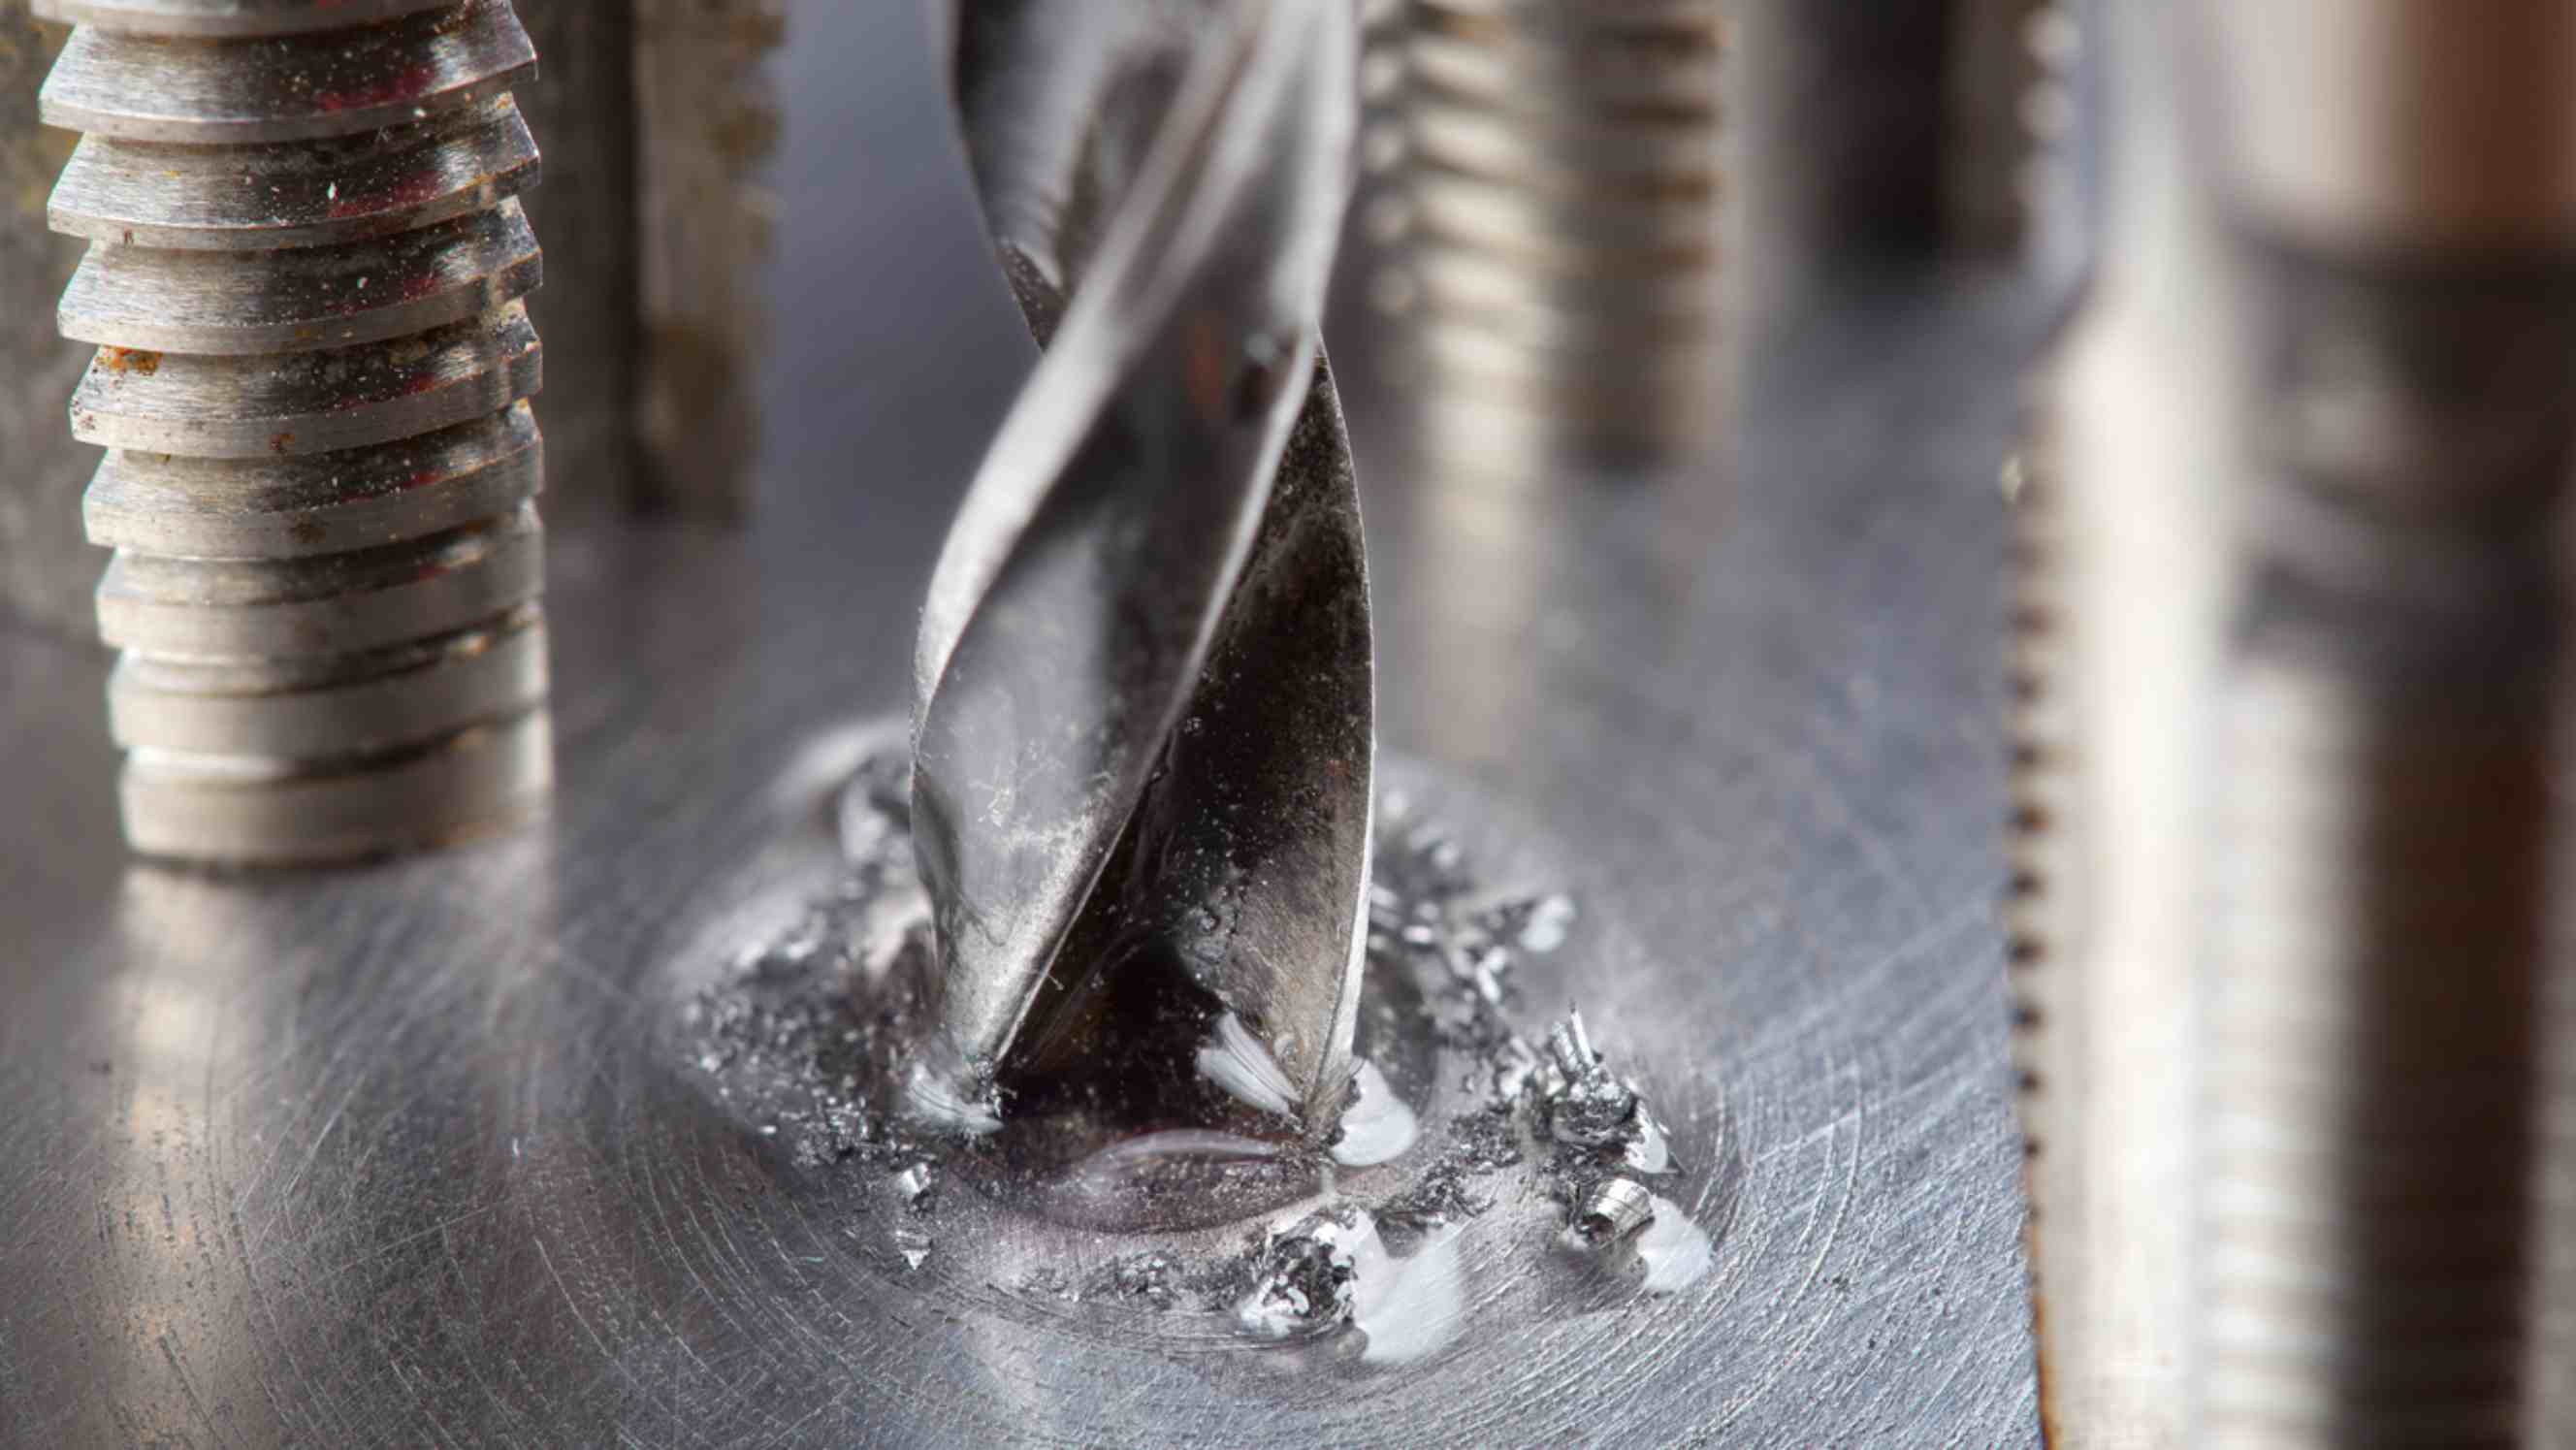
Step 4: Drill holes in each slat
Your slat holes need to be precisely in the center of each slat to ensure even gaps between them. Use a drill press and drill straight and evenly centered holes.
Step 5: Chamfer the rail boards
The louver frame will feature two side pieces attached to the slats on the top and bottom rails. Use a table saw to chamfer each board at a 45-degree angle.
Step 6: Drill pocket holes
Drill two pocket holes on the backside of the chamfered rails using a Kreg Jig. These holes will hold the louver frame together. Set the Kreg Jig for ¾” wood thickness, then drill the holes.
Step 7: Measure and mark the holes on the stile boards
The louver stile pieces must be measured from the bottom at 5 1/2″. This will be the center of the first slat. From that mark, continue every 3″ until you get to the last mark at 5” from the top of the stile.
Step 8: Drill holes for the frameless cabinet hinges
Frameless cabinet hinges are an optimal choice for a more minimal look, and they allow you to open the louvers without knocking the trim. Use a 1 3/8″ by 3/8″ Shank Forstner Drill Bit along with a 7/64″ Self Centering Hinge Drill Bit to drill holes for the hinges.
Measure 12″ from the bottom of the stile board and 12″ from the top, then place the hinge at the 12″ mark before pushing down on them with a scratch awl. This marks the position with a little dent. Drill a 1 3/8″ hole in the center of the mark with a Shank Forstner drill bit, then position the hinge inside the hole and pre-drill the screw positions using a self-centering hinge drill bit on every stile board that requires it.
Step 9: Attach rails to stile boards
Assemble the louver frame by attaching the top and bottom rail to the board with the hinges. We recommend using 1 1/4″ pocket hole screws and wood glue. Insert the slats, ensuring the notch for the control arm is facing the stile board with the hinges.
Step 10: Attach second stile board
Take the other stile board, insert the slats into the holes, then attach the stile board to the rail using 1 1/4″ pocket hole screws and some wood glue. Attach the frameless cabinet hinges as well.
Step 11: Make the control arm
This may be the most complex part of the DIY plantation shutter process:
Use a flat sheet of metal that is 27” long
Cut 1” wide strips
Measure ½” from the bottom and make a mark (this will be for a nail to control the first slat)
Continue marking every 3” on the metal strip
Use sheet metal snips to cut out the control arm
Place on a flat surface and hammer flat
Use a scratch awl at the first ½” mark and hit it hard enough to make the nail go through the metal slightly
Repeat this process for all of the marks
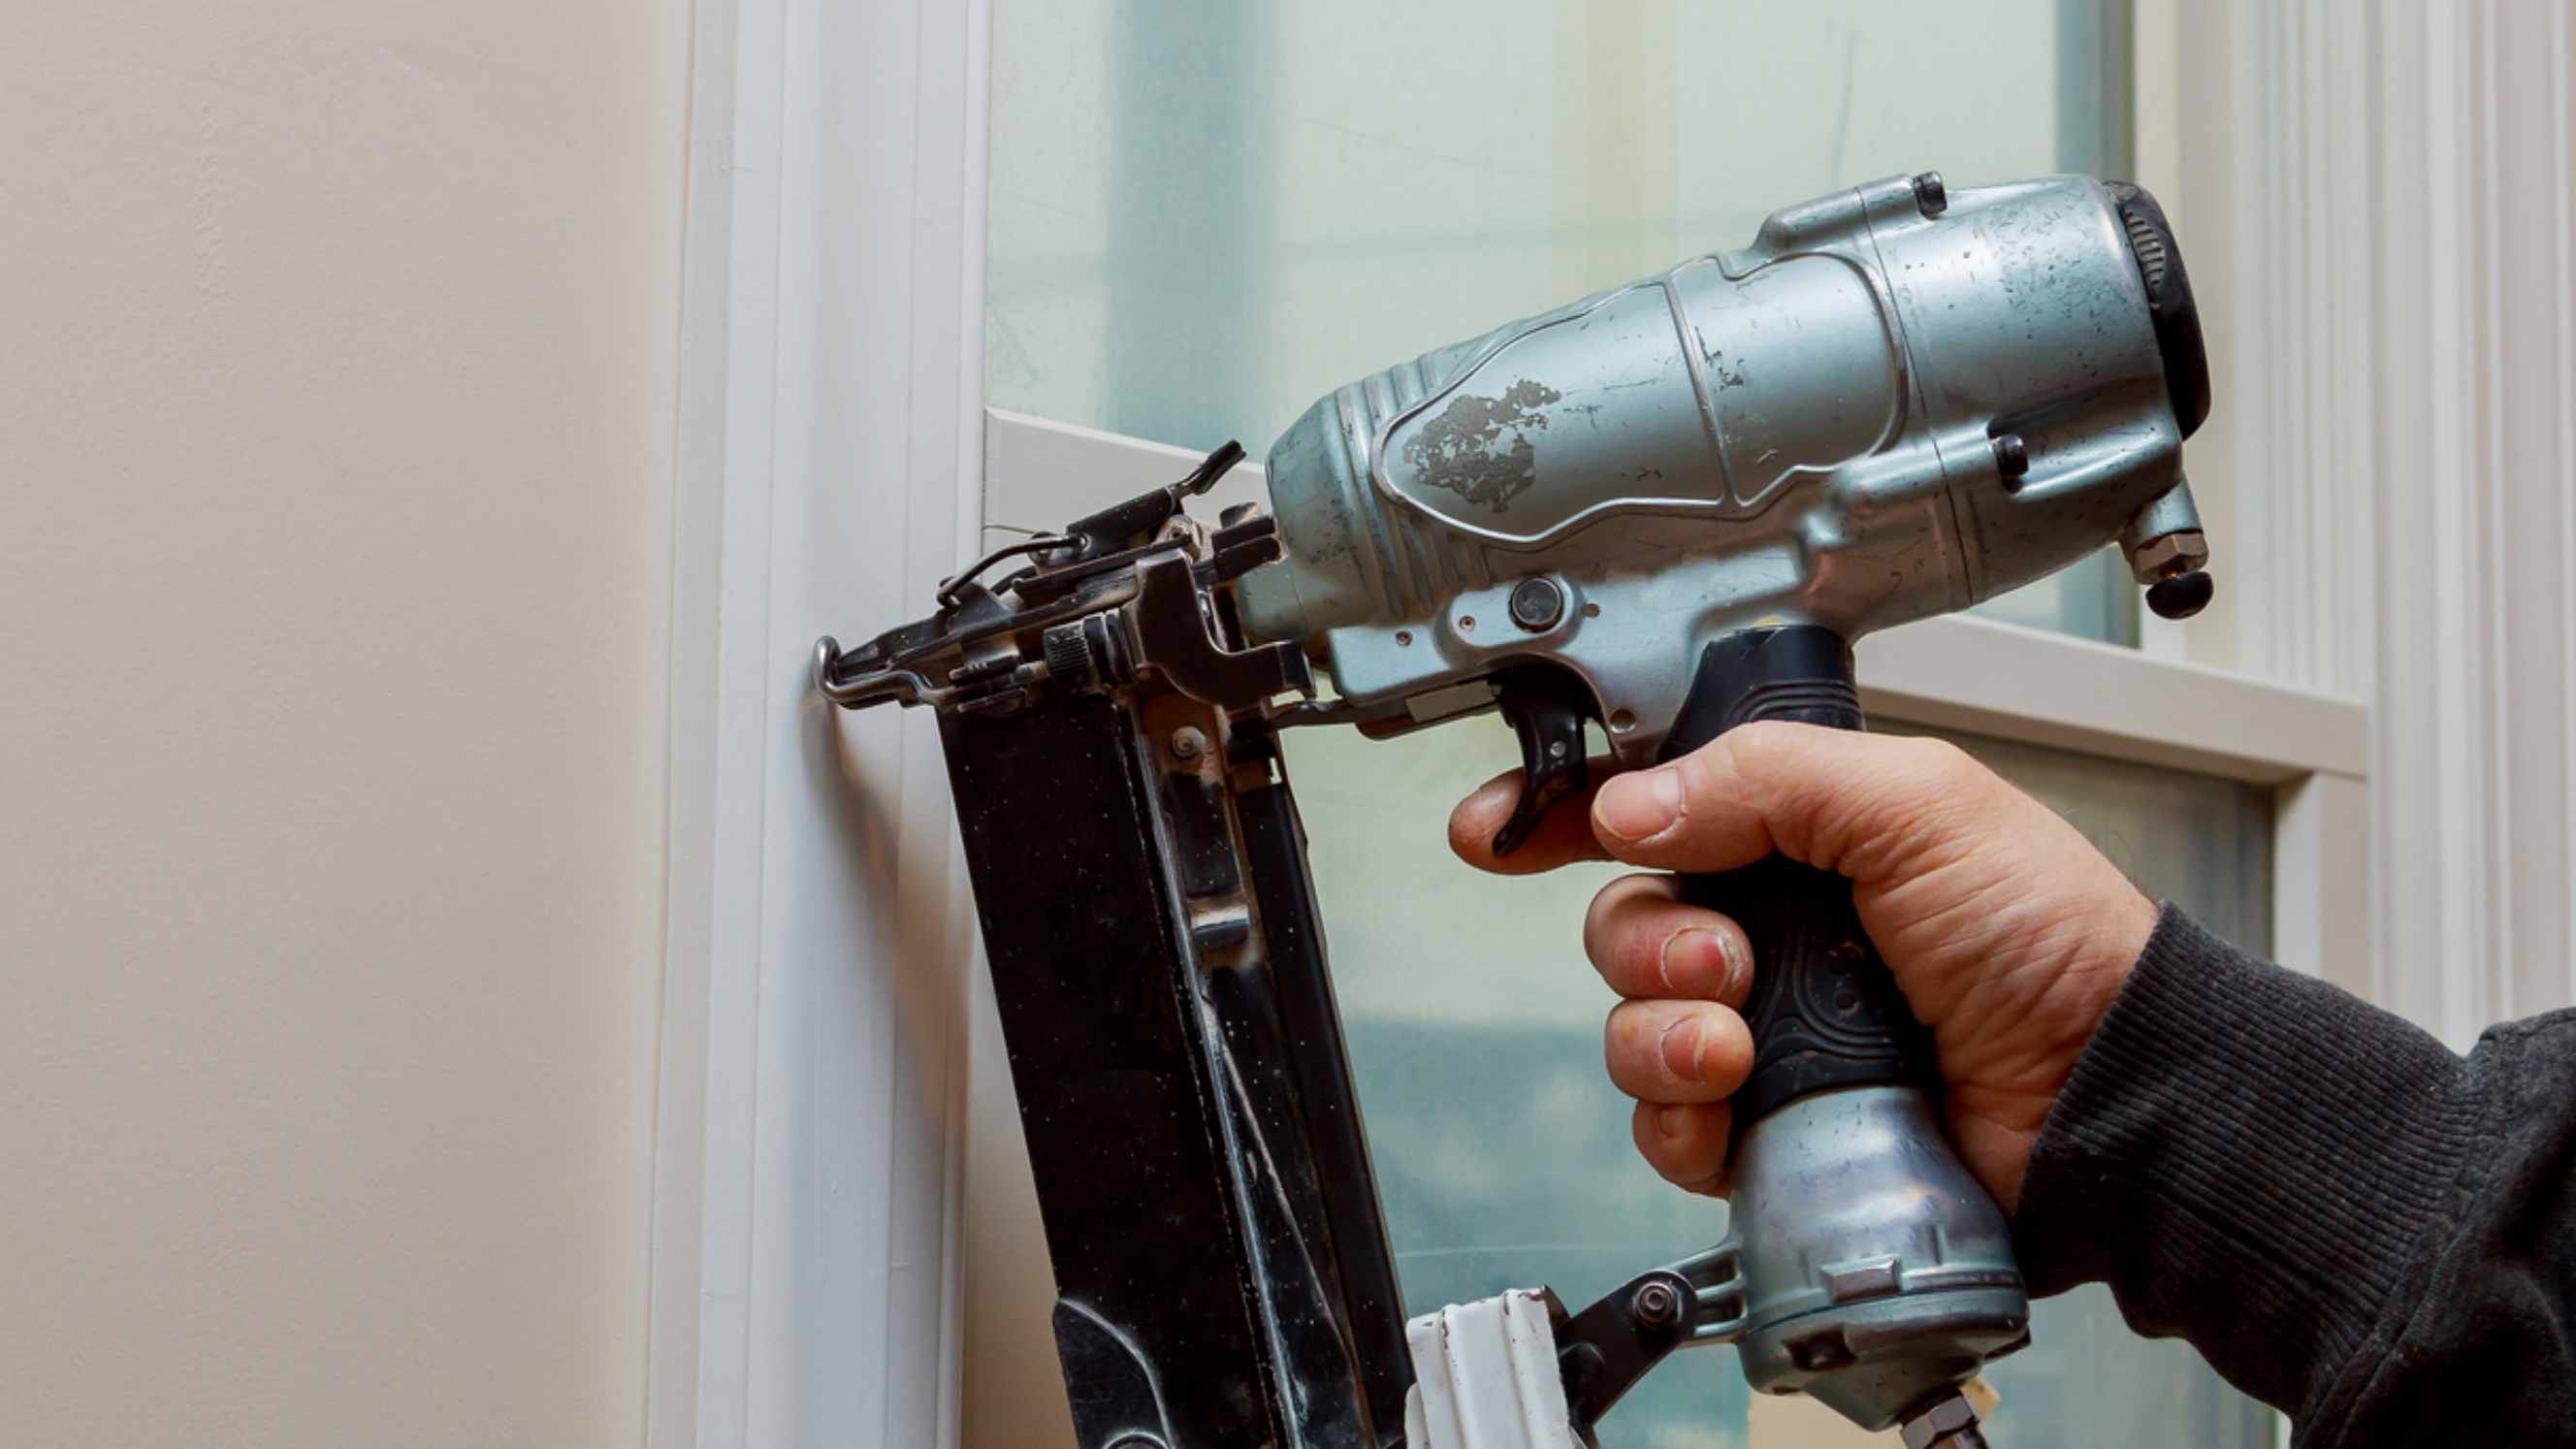
Attach the control arm to the louver using 1 ¼” finish nails
Step 12: Assemble the window frame
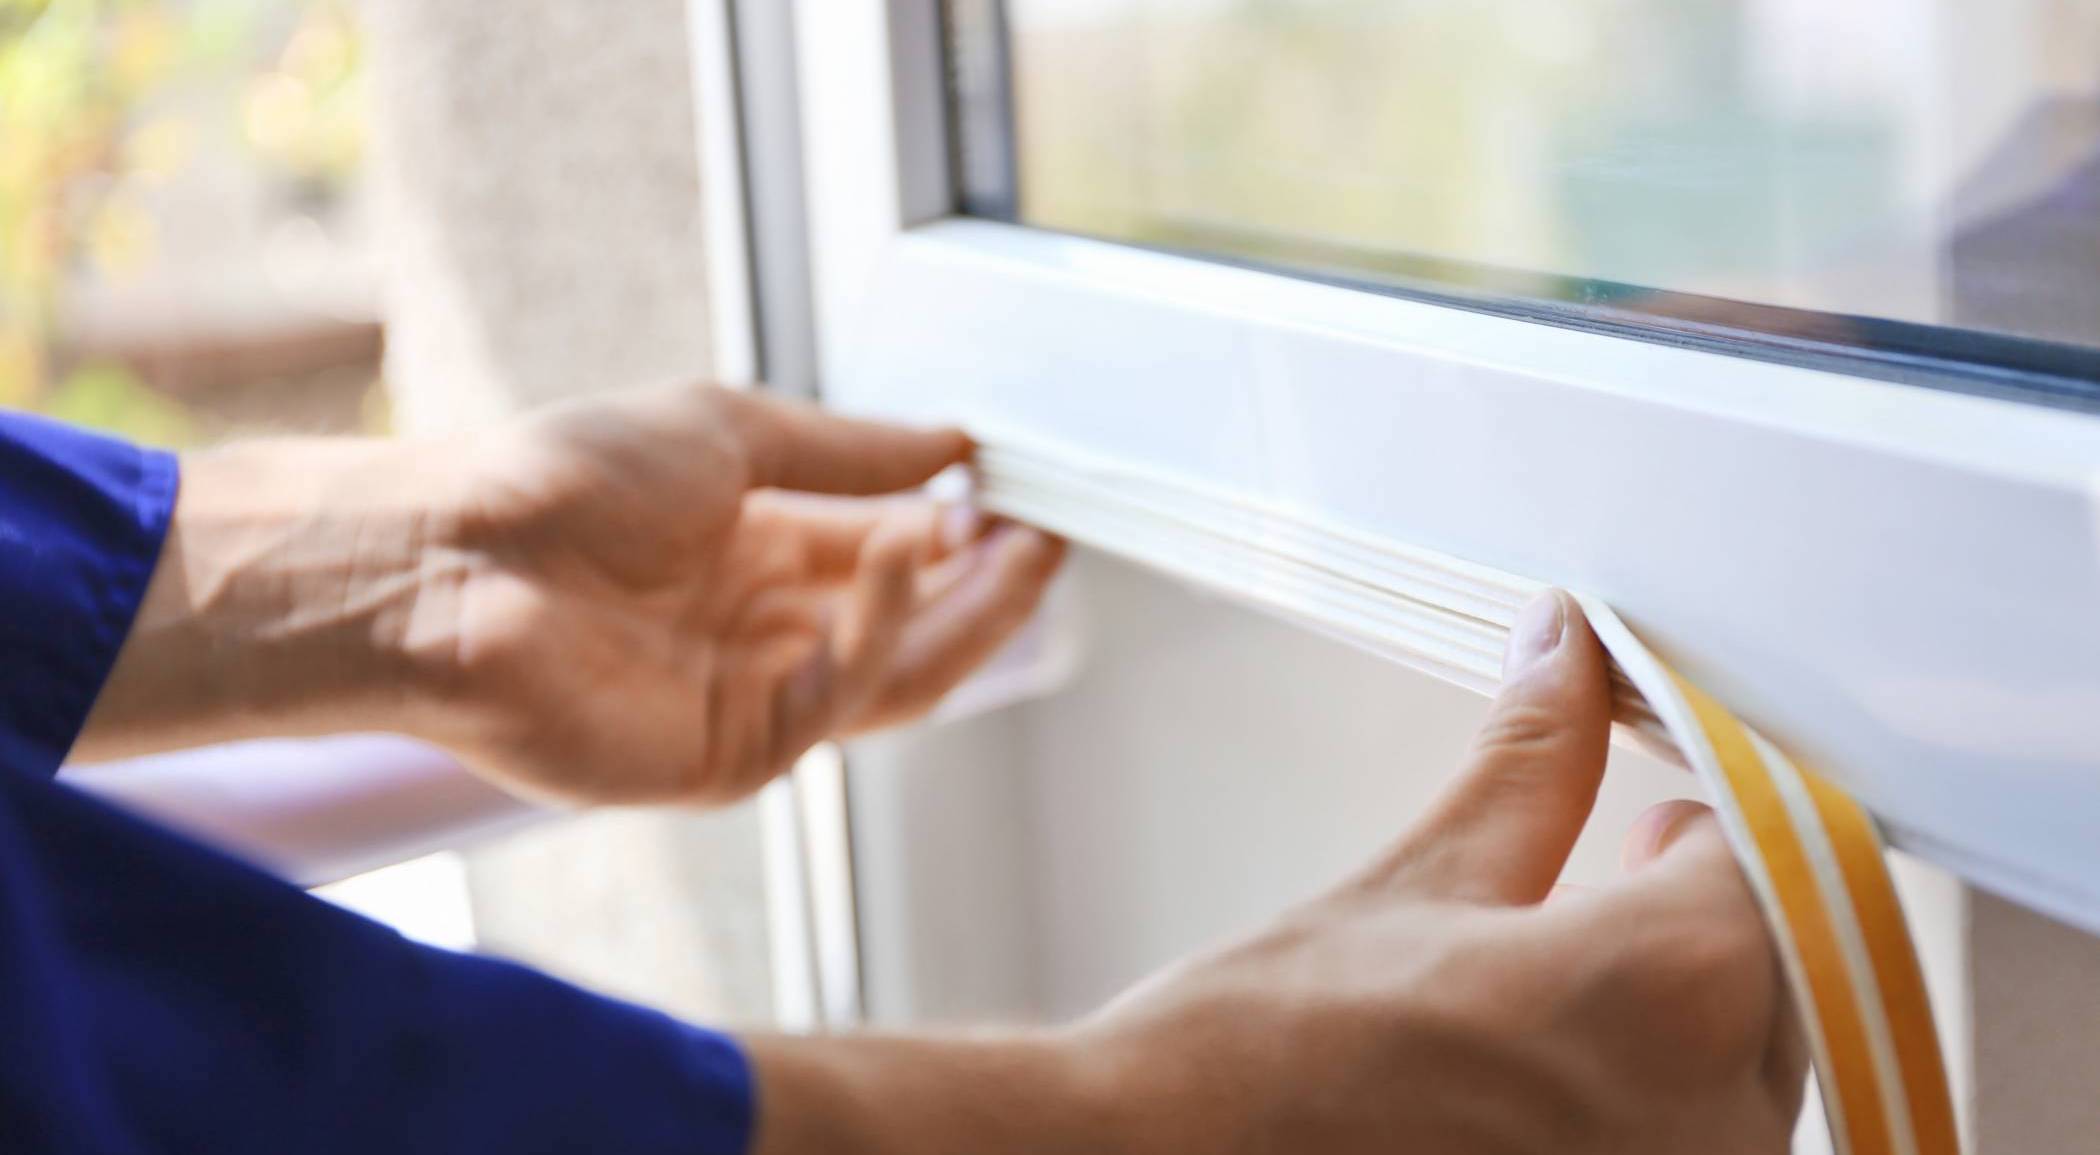
Your window frame will be the same size as the louver. Start by drilling two pocket holes on both sides of the upper and lower frame board. Attach these boards with wood glue and 1 1/4″ pocket hole screws. Assemble the frame and attach the hinge’s mounting plate to the inside. Measure 12” from the top and bottom of the window frame, then attach the louver to the frame. Screwing a small mounting plate hinge by itself is easier than holding the louver while trying to attach it.
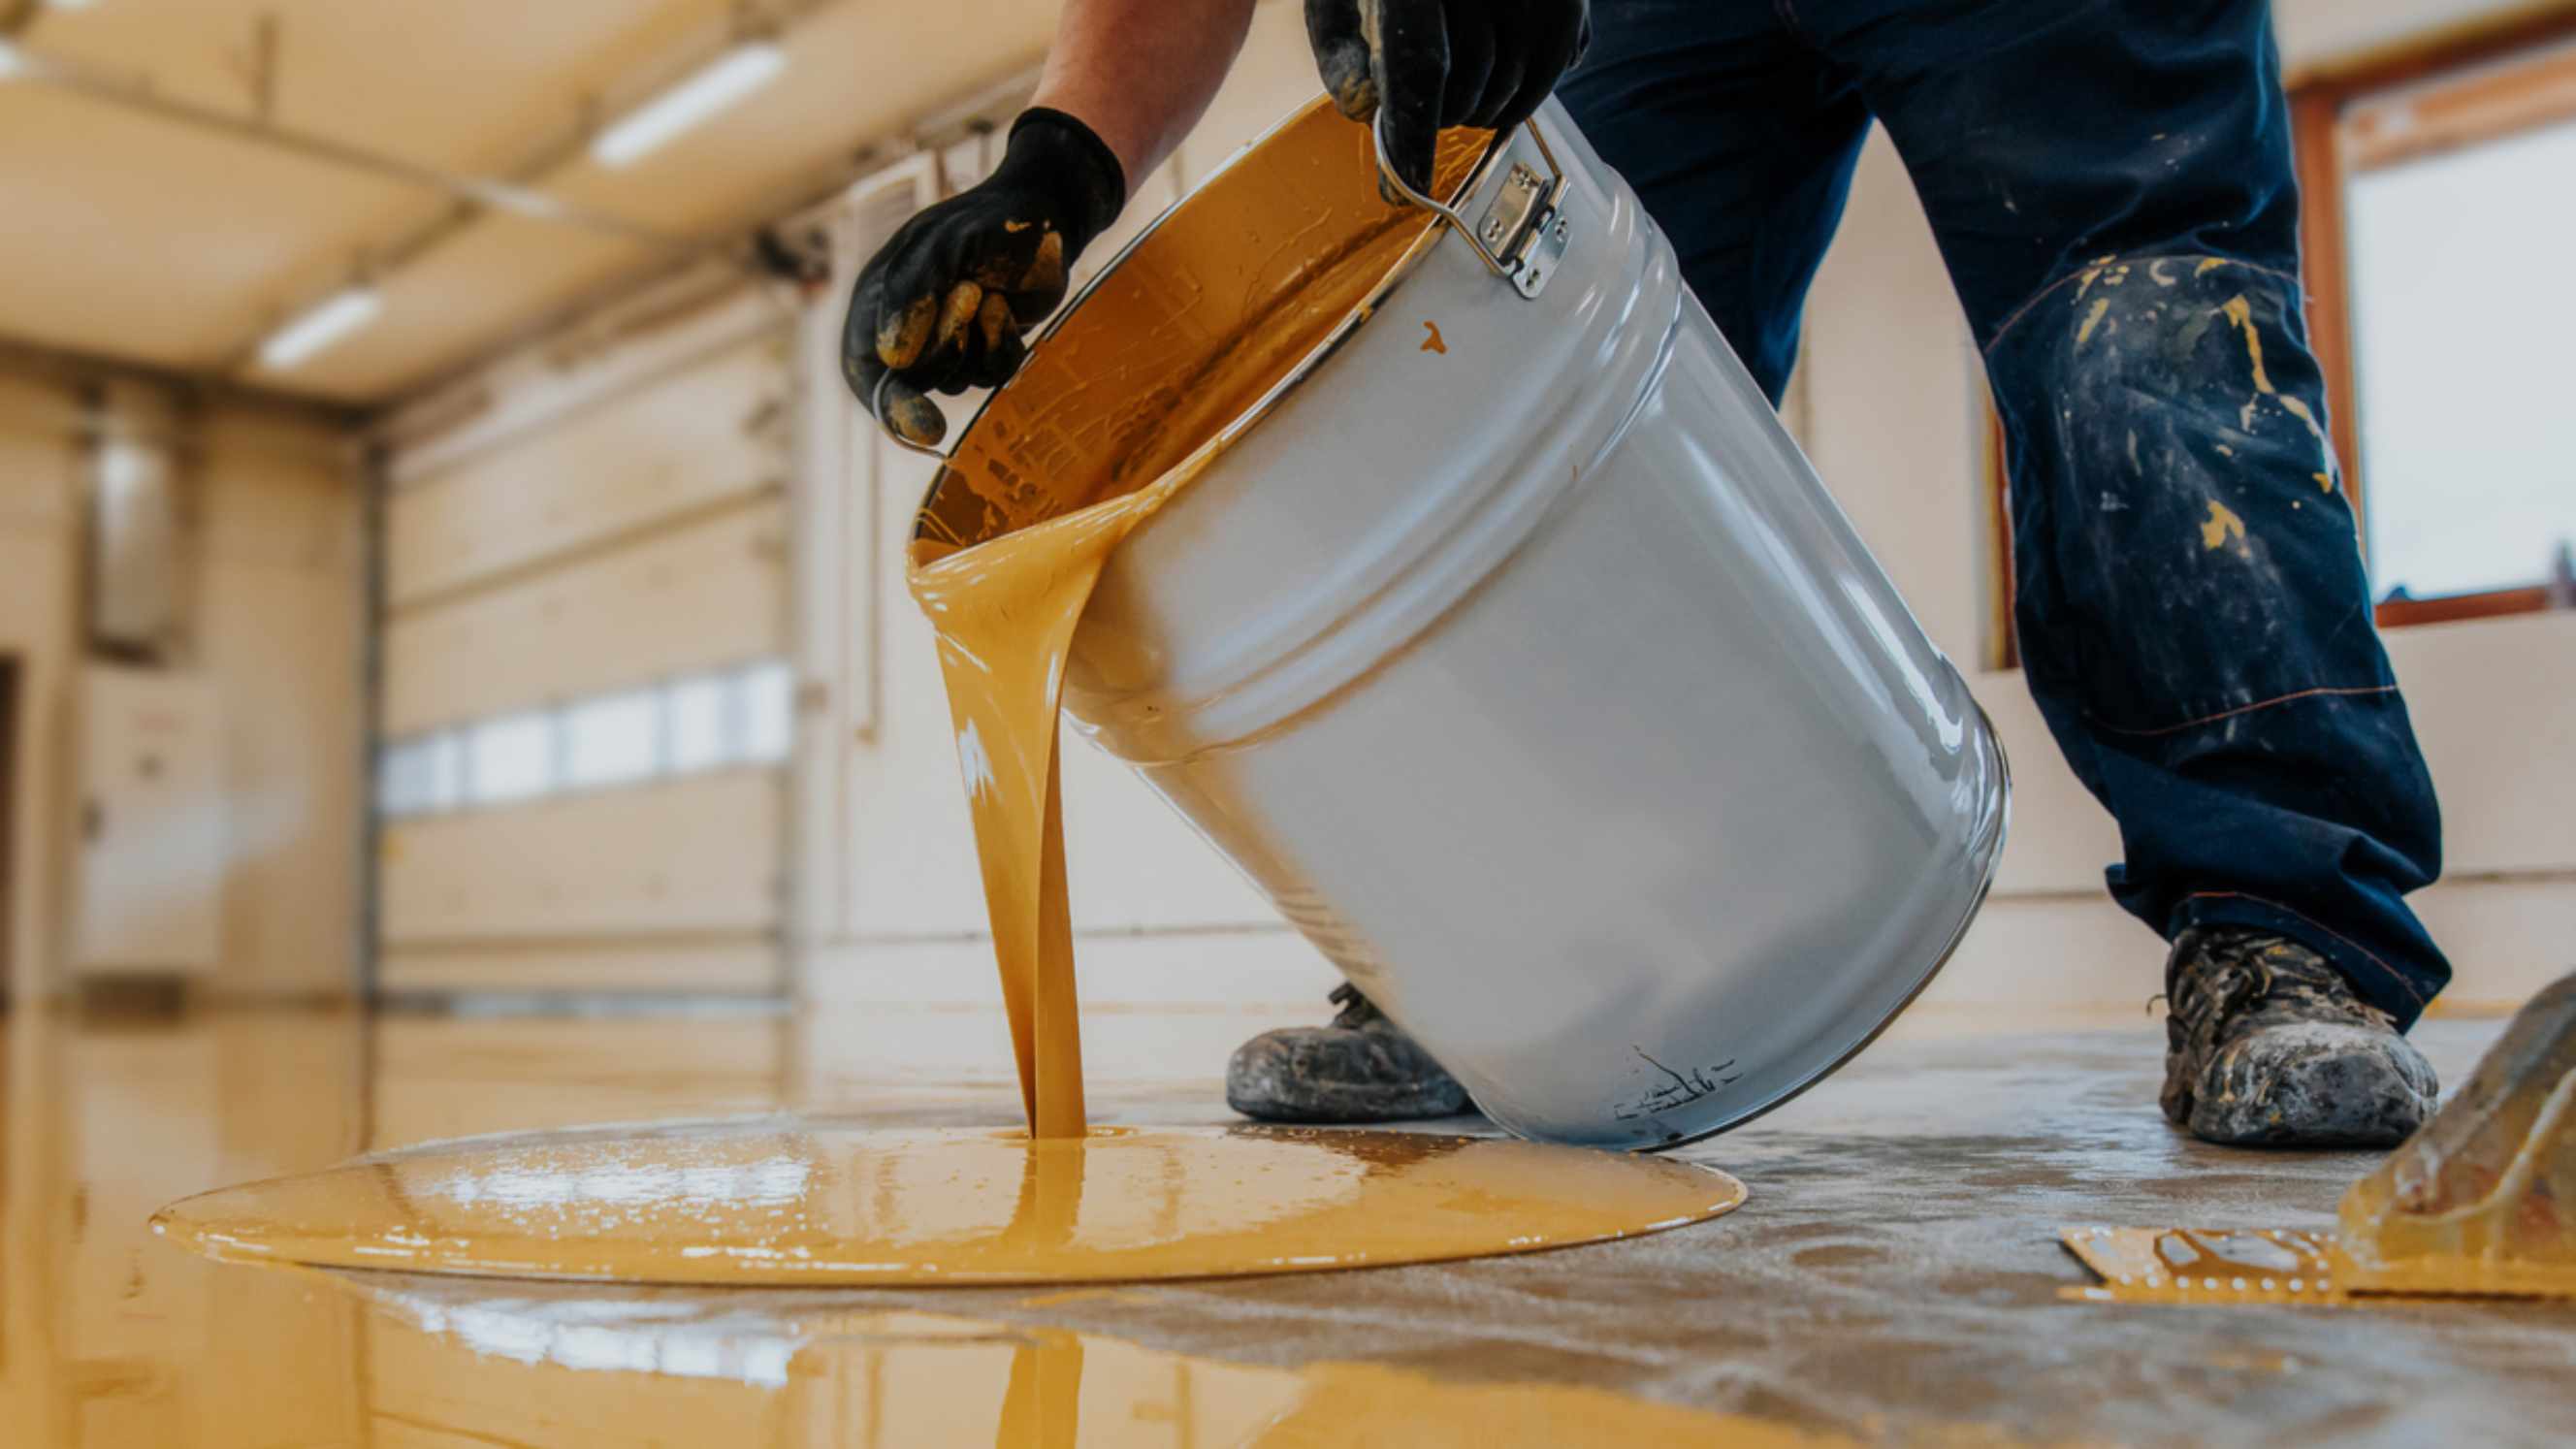
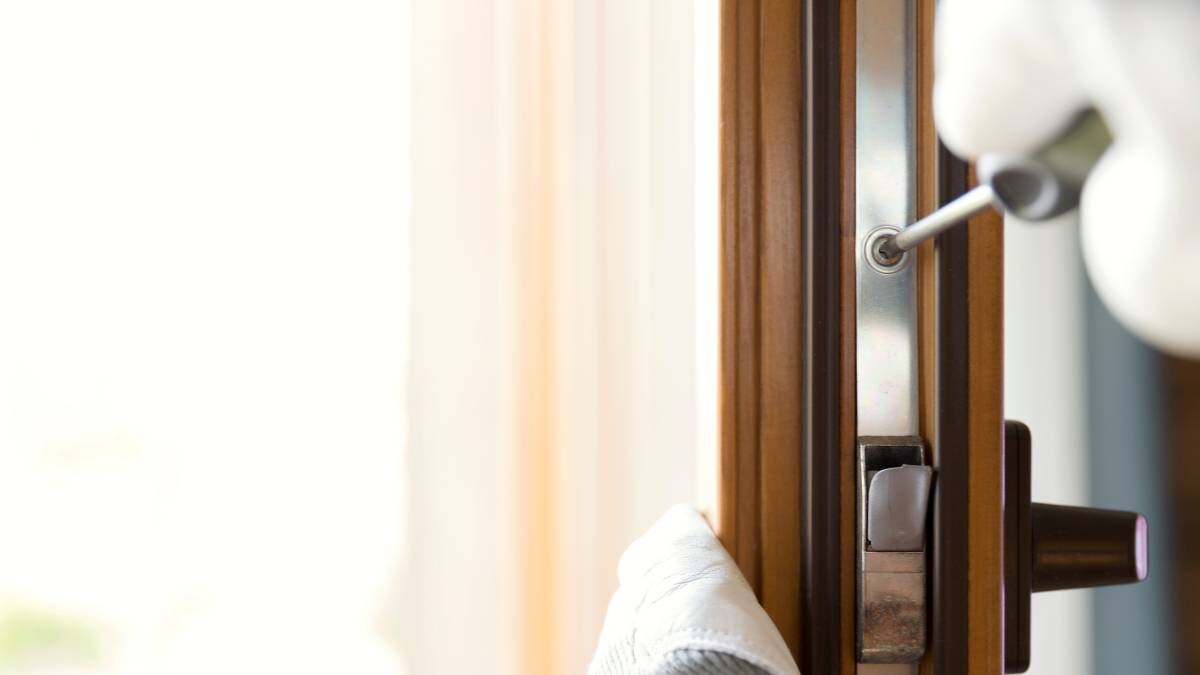
Step 13: Paint and install
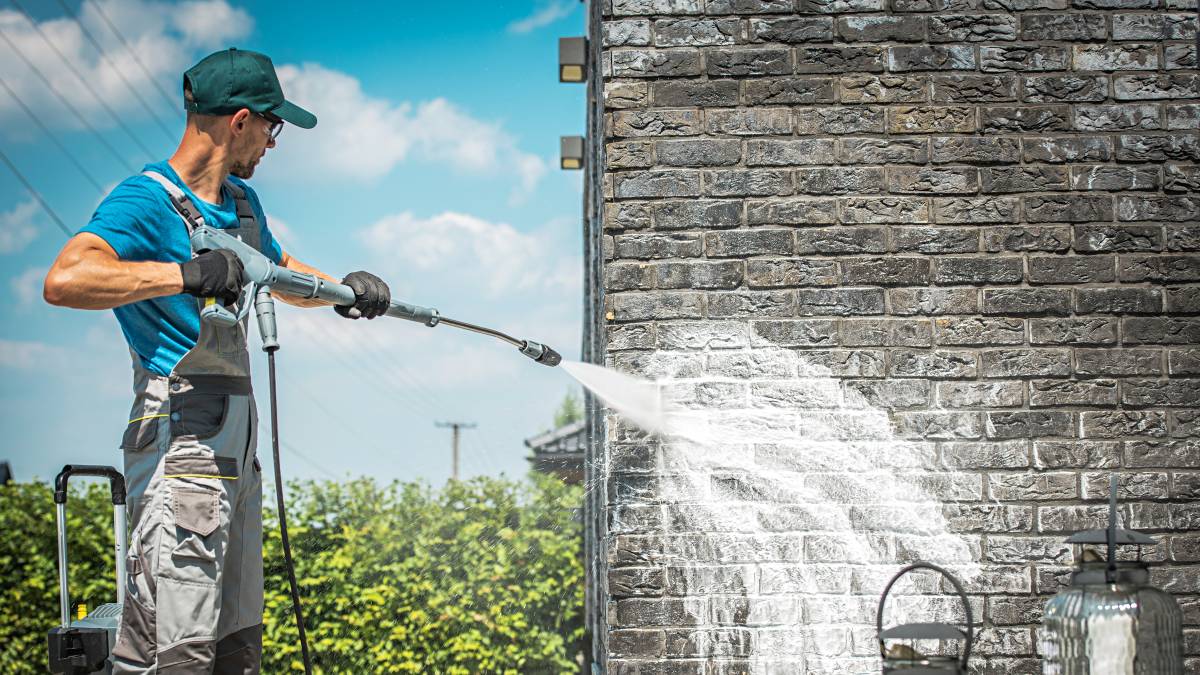
Paint the window frame and the louvers before installing. Allow it all to dry, then insert the frame in the window, securing it with wood screws. Attach the louver hinges to the mounting plates on all of the frame windows.
Building shutters to improve your home
It may be clear that the steps above are not for the absolute beginner. You’ll need some specific handyman tools and knowledge of how to use them. If you are equipped with all of this, we hope you create some stunning shutters that improve the look of your home with ease!
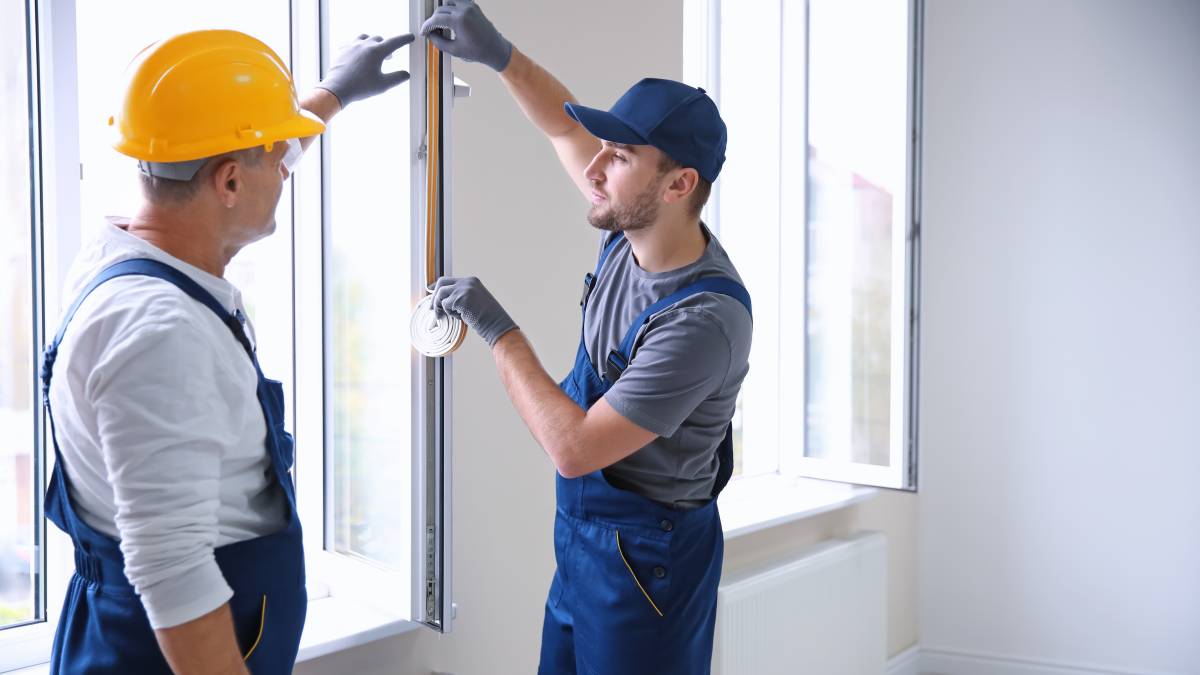
If this may be a little above your DIY pay grade, there is no shortage of skilled handymen to help with shutter repair and installation. Cost-effective shutter options are still within reach for those who choose not to create them from scratch themselves.
If you are a DIY wiz and have already mastered how to make wood shutters, keep reading our How-Tos and try other home improvements! You can start learning to screen a porch or measure your curtains correctly for a new look. Additionally, check out our privacy fence ideas if you want to upgrade your exteriors.
Improving your DIY skills offers the bonus of a much nicer home! Get reading, crack out the tools, and enjoy creative changes to your space today.
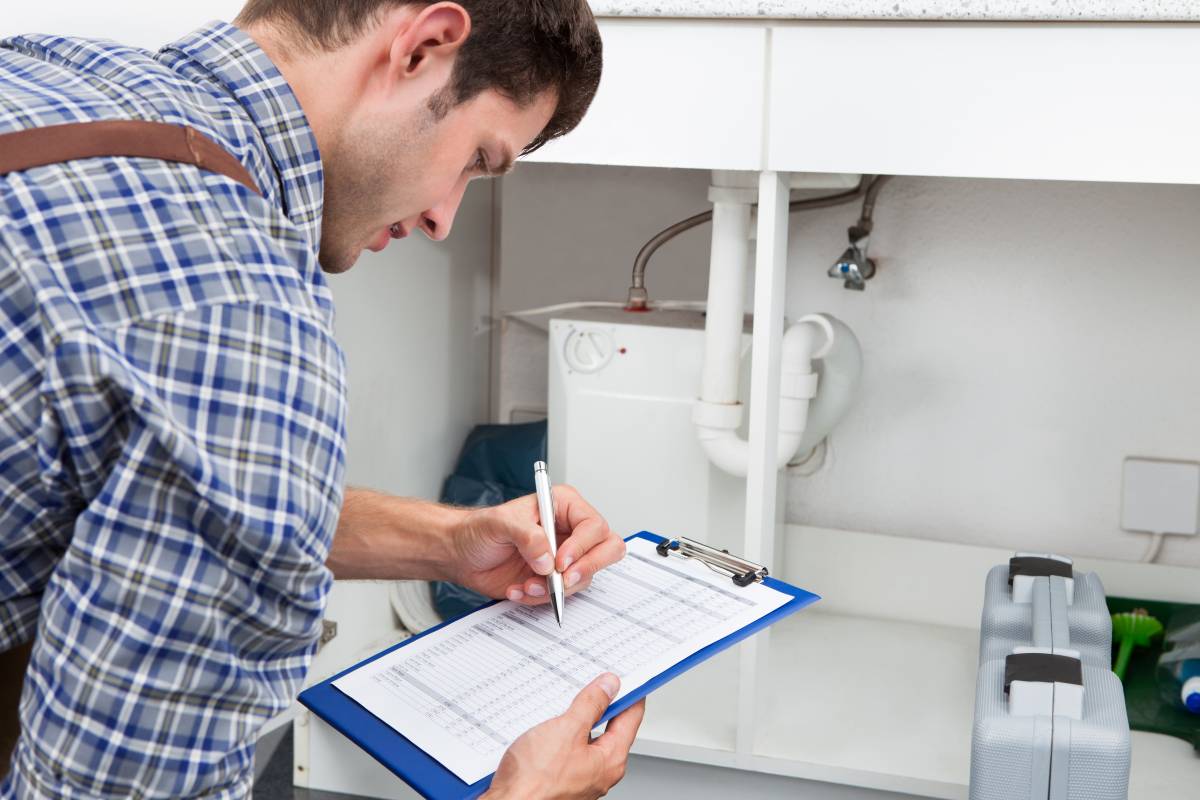
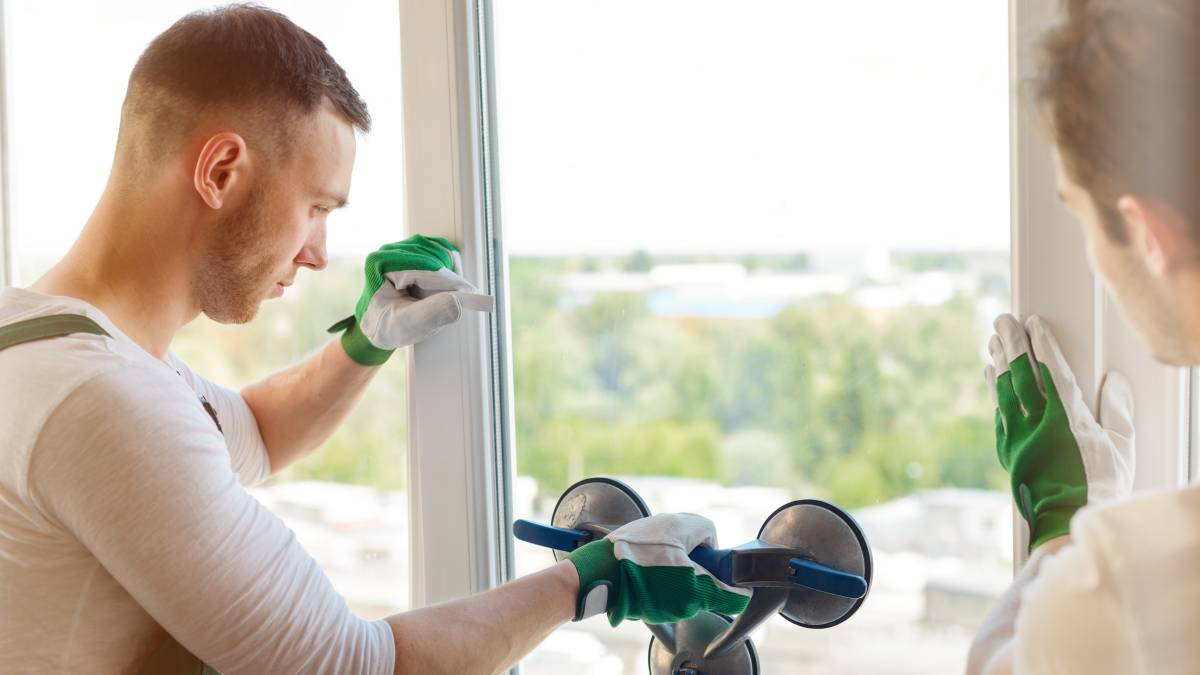
Don't have time to DIY? Let Taskers do the work for you! Post a task to get in touch with professionals who can help you with different projects, whether it's fixing awnings or installing curtains in your home.
FAQs on window shutters
Board-and-batten shutters are easy to make and are a great way to add old-style charm to your home, protect windows, and increase the security of your home.
Plywood and basswood are popular shutter options. They can be painted and stained and are flexible and light, perfect for various designs. The only downside is that they are more expensive than synthetic shutters. If you are planning a project for DIY exterior wood shutters, you might want to get more durable materials that can withstand the elements.
Yes, pine is an excellent option for exterior shutters and areas with mild, minimal temperature fluctuations. Pine is, however, a softwood that expands and contracts, meaning the internal movement over time will make it somewhat more susceptible to water damage.
The thickness of the wooden louver can play a role in the quality and functionality of your wooden shutters. Most wood shutters come in 2.5 to 4.5 inches. Thick louvers can offer extra durability, but some thinner options can be sturdy if the material is of good quality.
Yes! Whether you want to uplift your windows or save on heating and cooling costs, shutters make a good addition. They provide an elegant, low-maintenance fixture for windows.
Whilst it’s good to have shutters, not all windows need them. Shutters might not be appropriate for certain window types. For instance, if the windows are too wide, shutters might not be the best option.
Find handyman, fast
Find a handyman
Related price guides
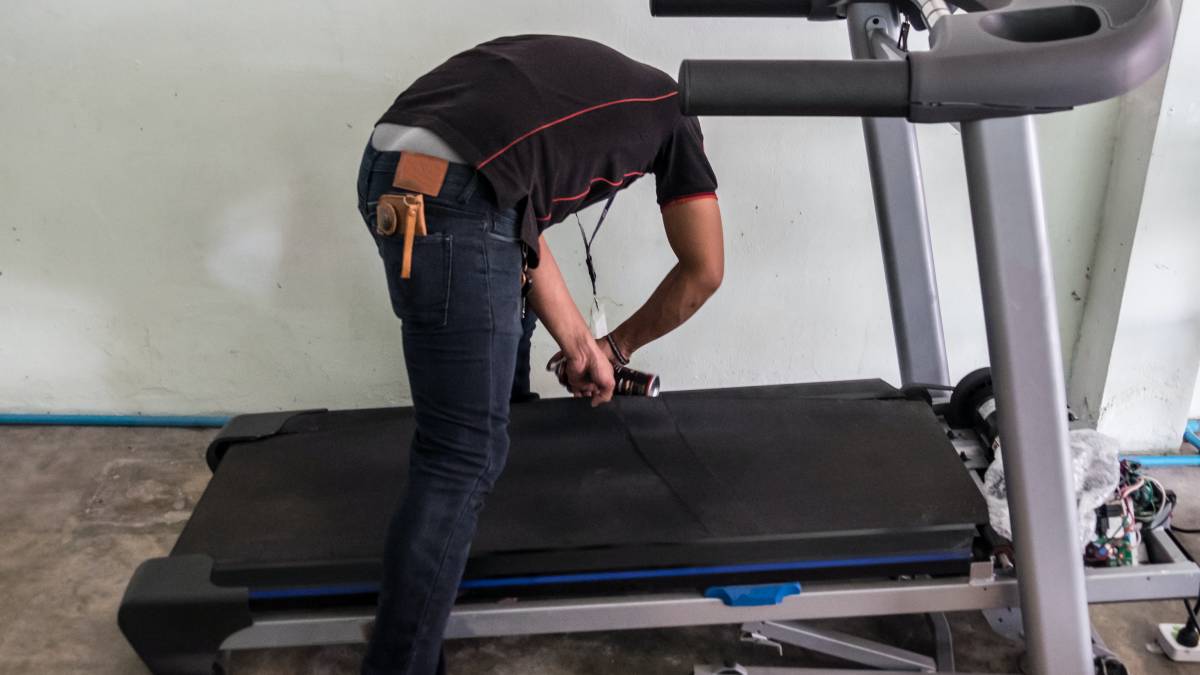
How much does treadmill repair cost?
Read more
How much do roman blinds cost?
Read more
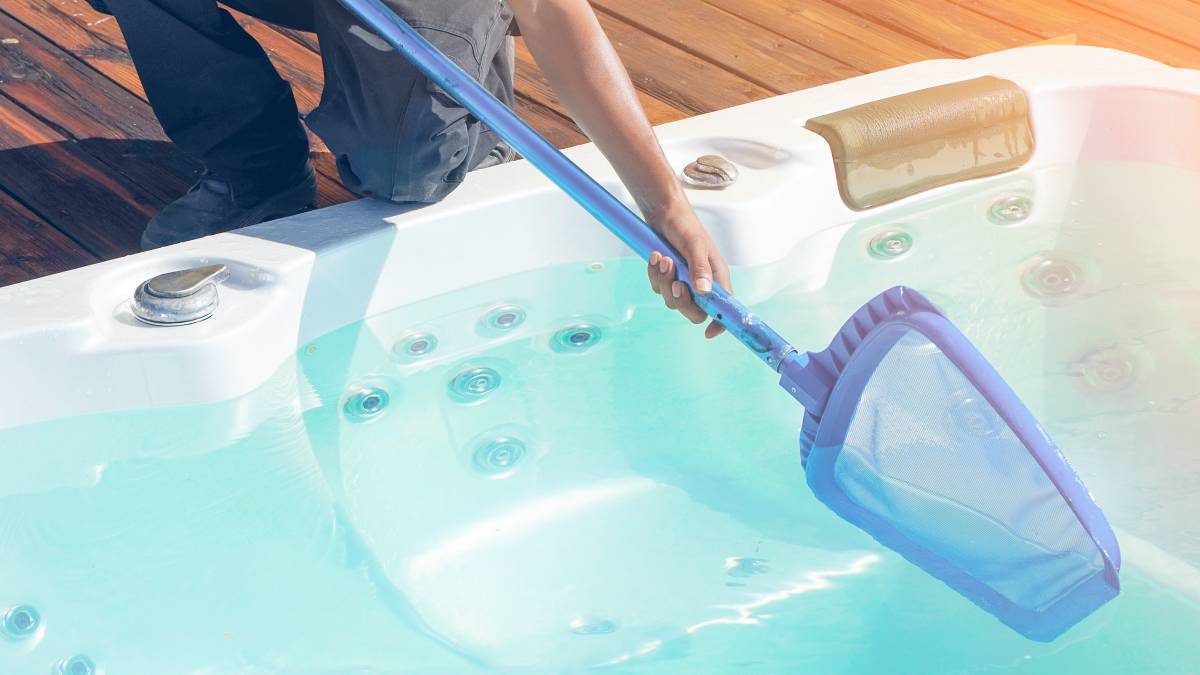
How much does hot tub repair cost?
Read more
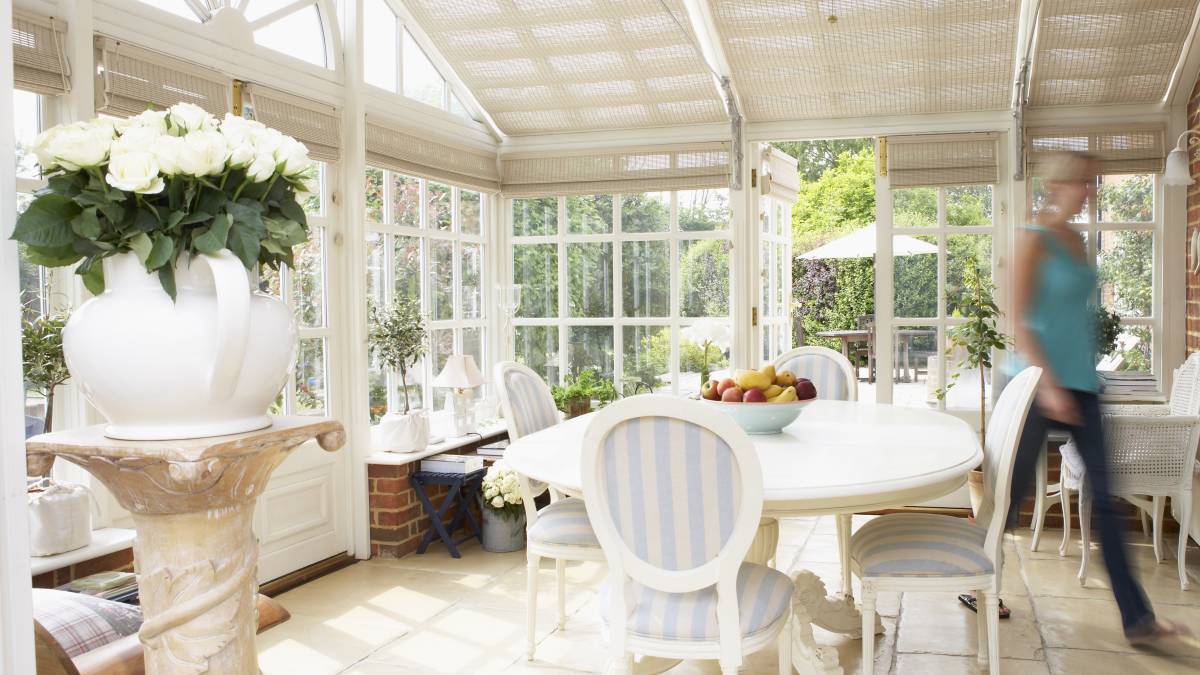
How much does a sunroom cost?
Read more
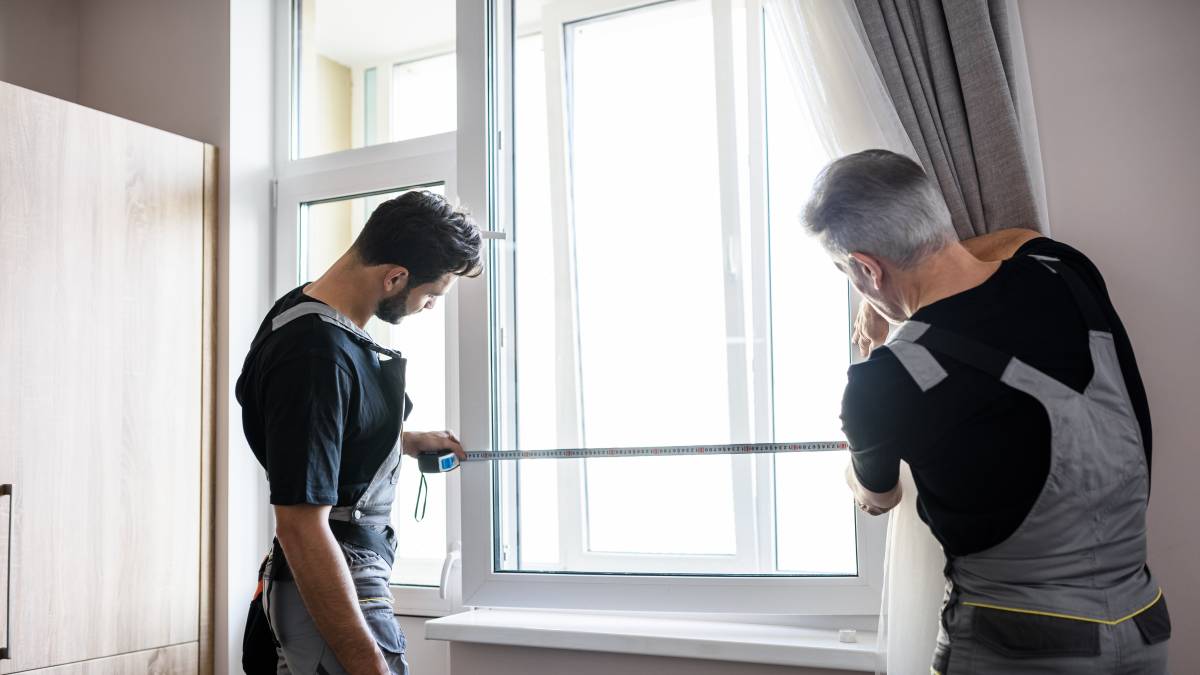
How much does window repair cost?
Read more
How much does shed roof repair cost?
Read more

How much does signage cost?
Read more


Related articles
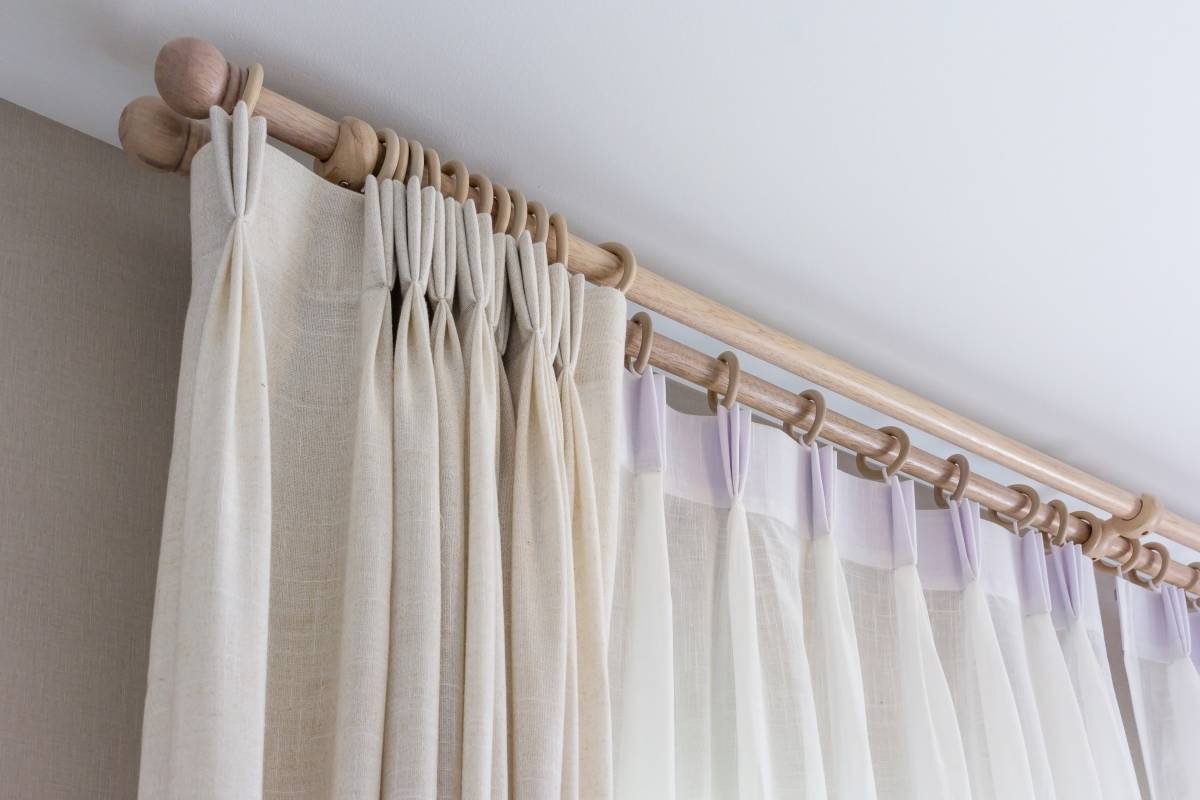
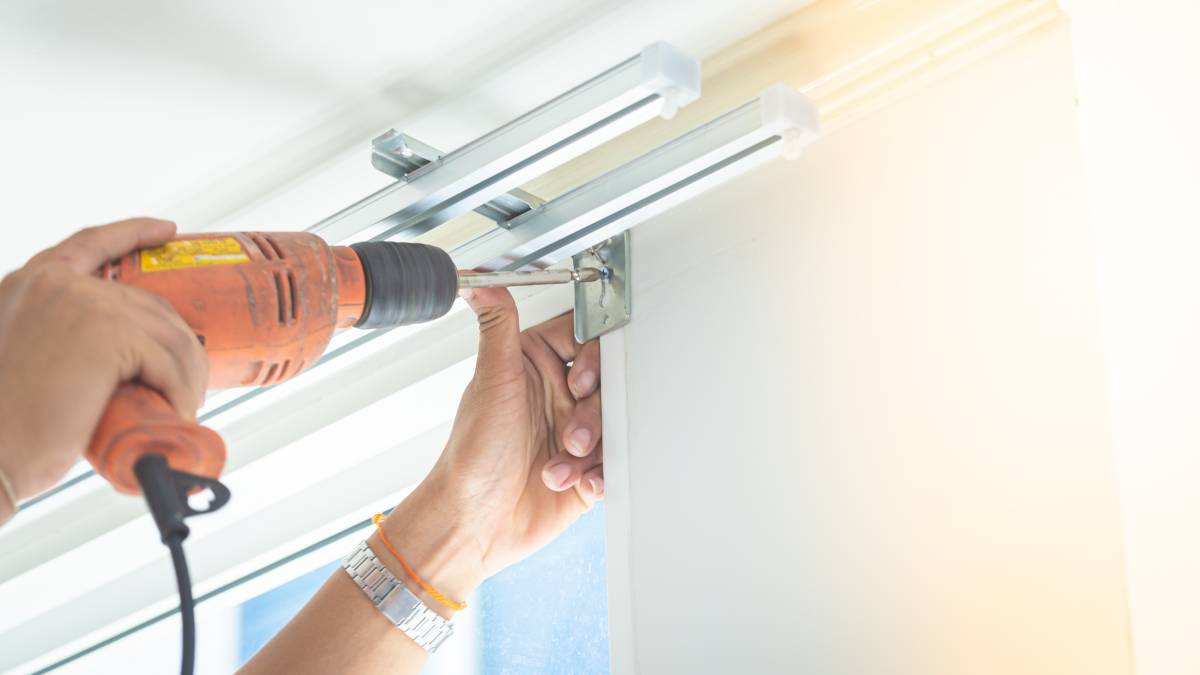
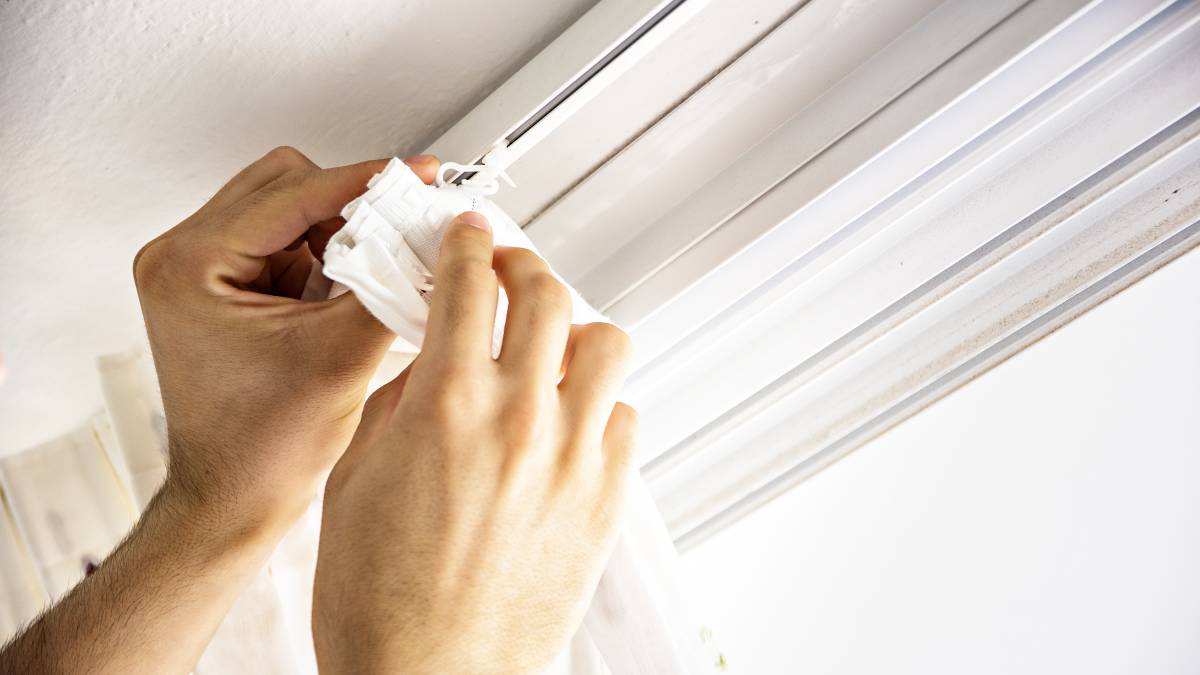
How to install curtain rods
Read more
Best blue-collar jobs on Airtasker
Read more
Install a screen door in 6 steps
Read more
How to Soundproof a Room
Read more
How to fox proof your chicken coop
Read more