- Home/
- Guides/
- Weather Stripping/
- Door Weather Stripping Guide
Door weather stripping guide: From start to finish
Learn the best weather stripping practices and install in just an hour. Do it in 6 easy steps.
Last Updated on
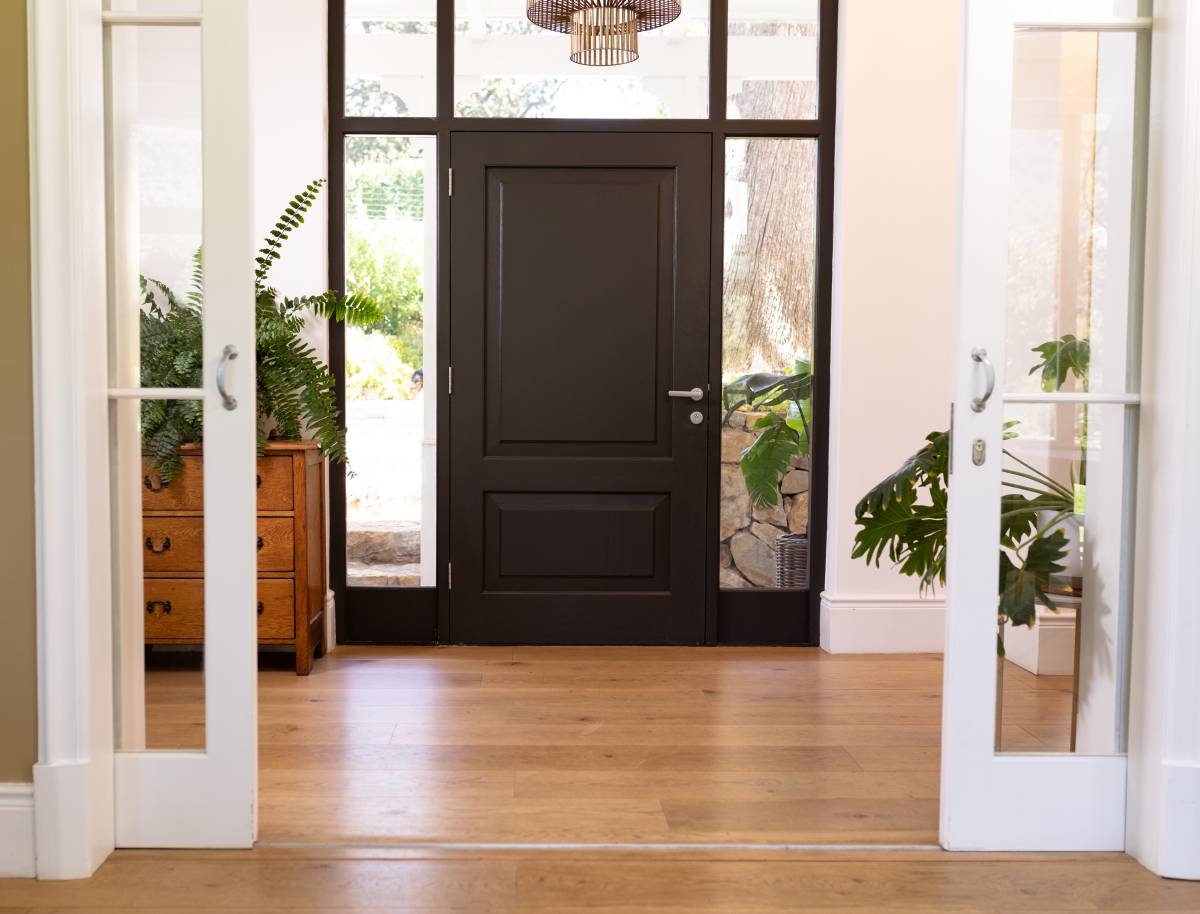
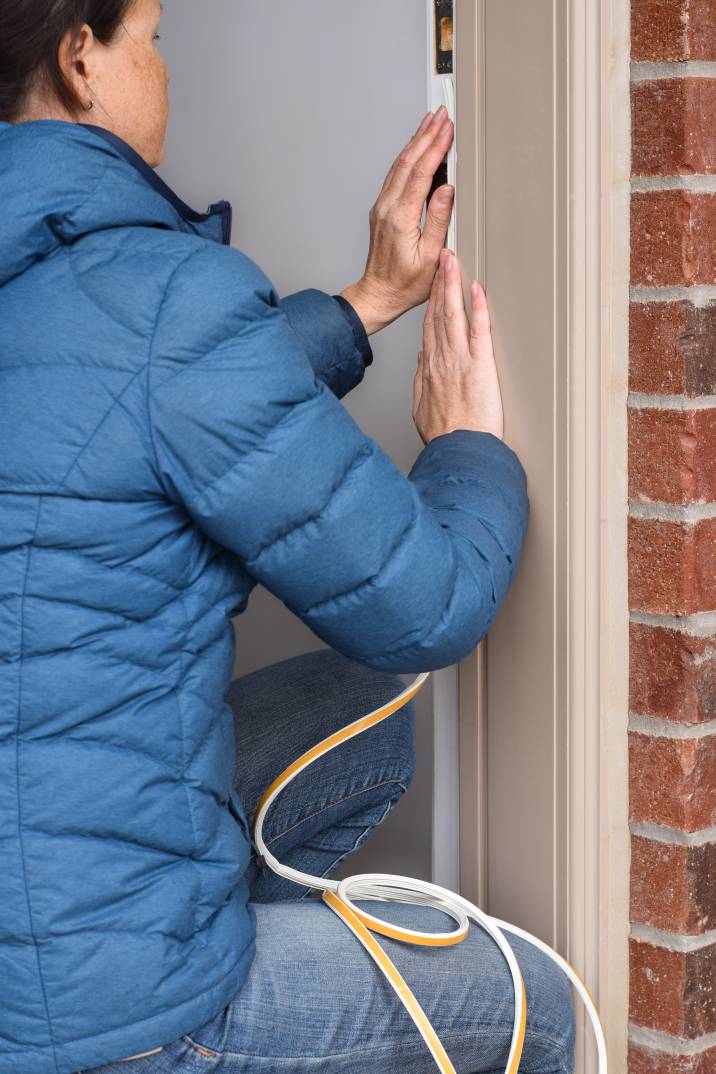
Keeping your home protected from outside elements like air, water, and snow leaks can be easy with door weatherstripping. This simple solution not only helps you regulate indoor heating and cooling but also allows you to lower your energy bill. It’s a great addition to your home’s maintenance with low-cost materials and straightforward installation.
The benefits of weather stripping doors
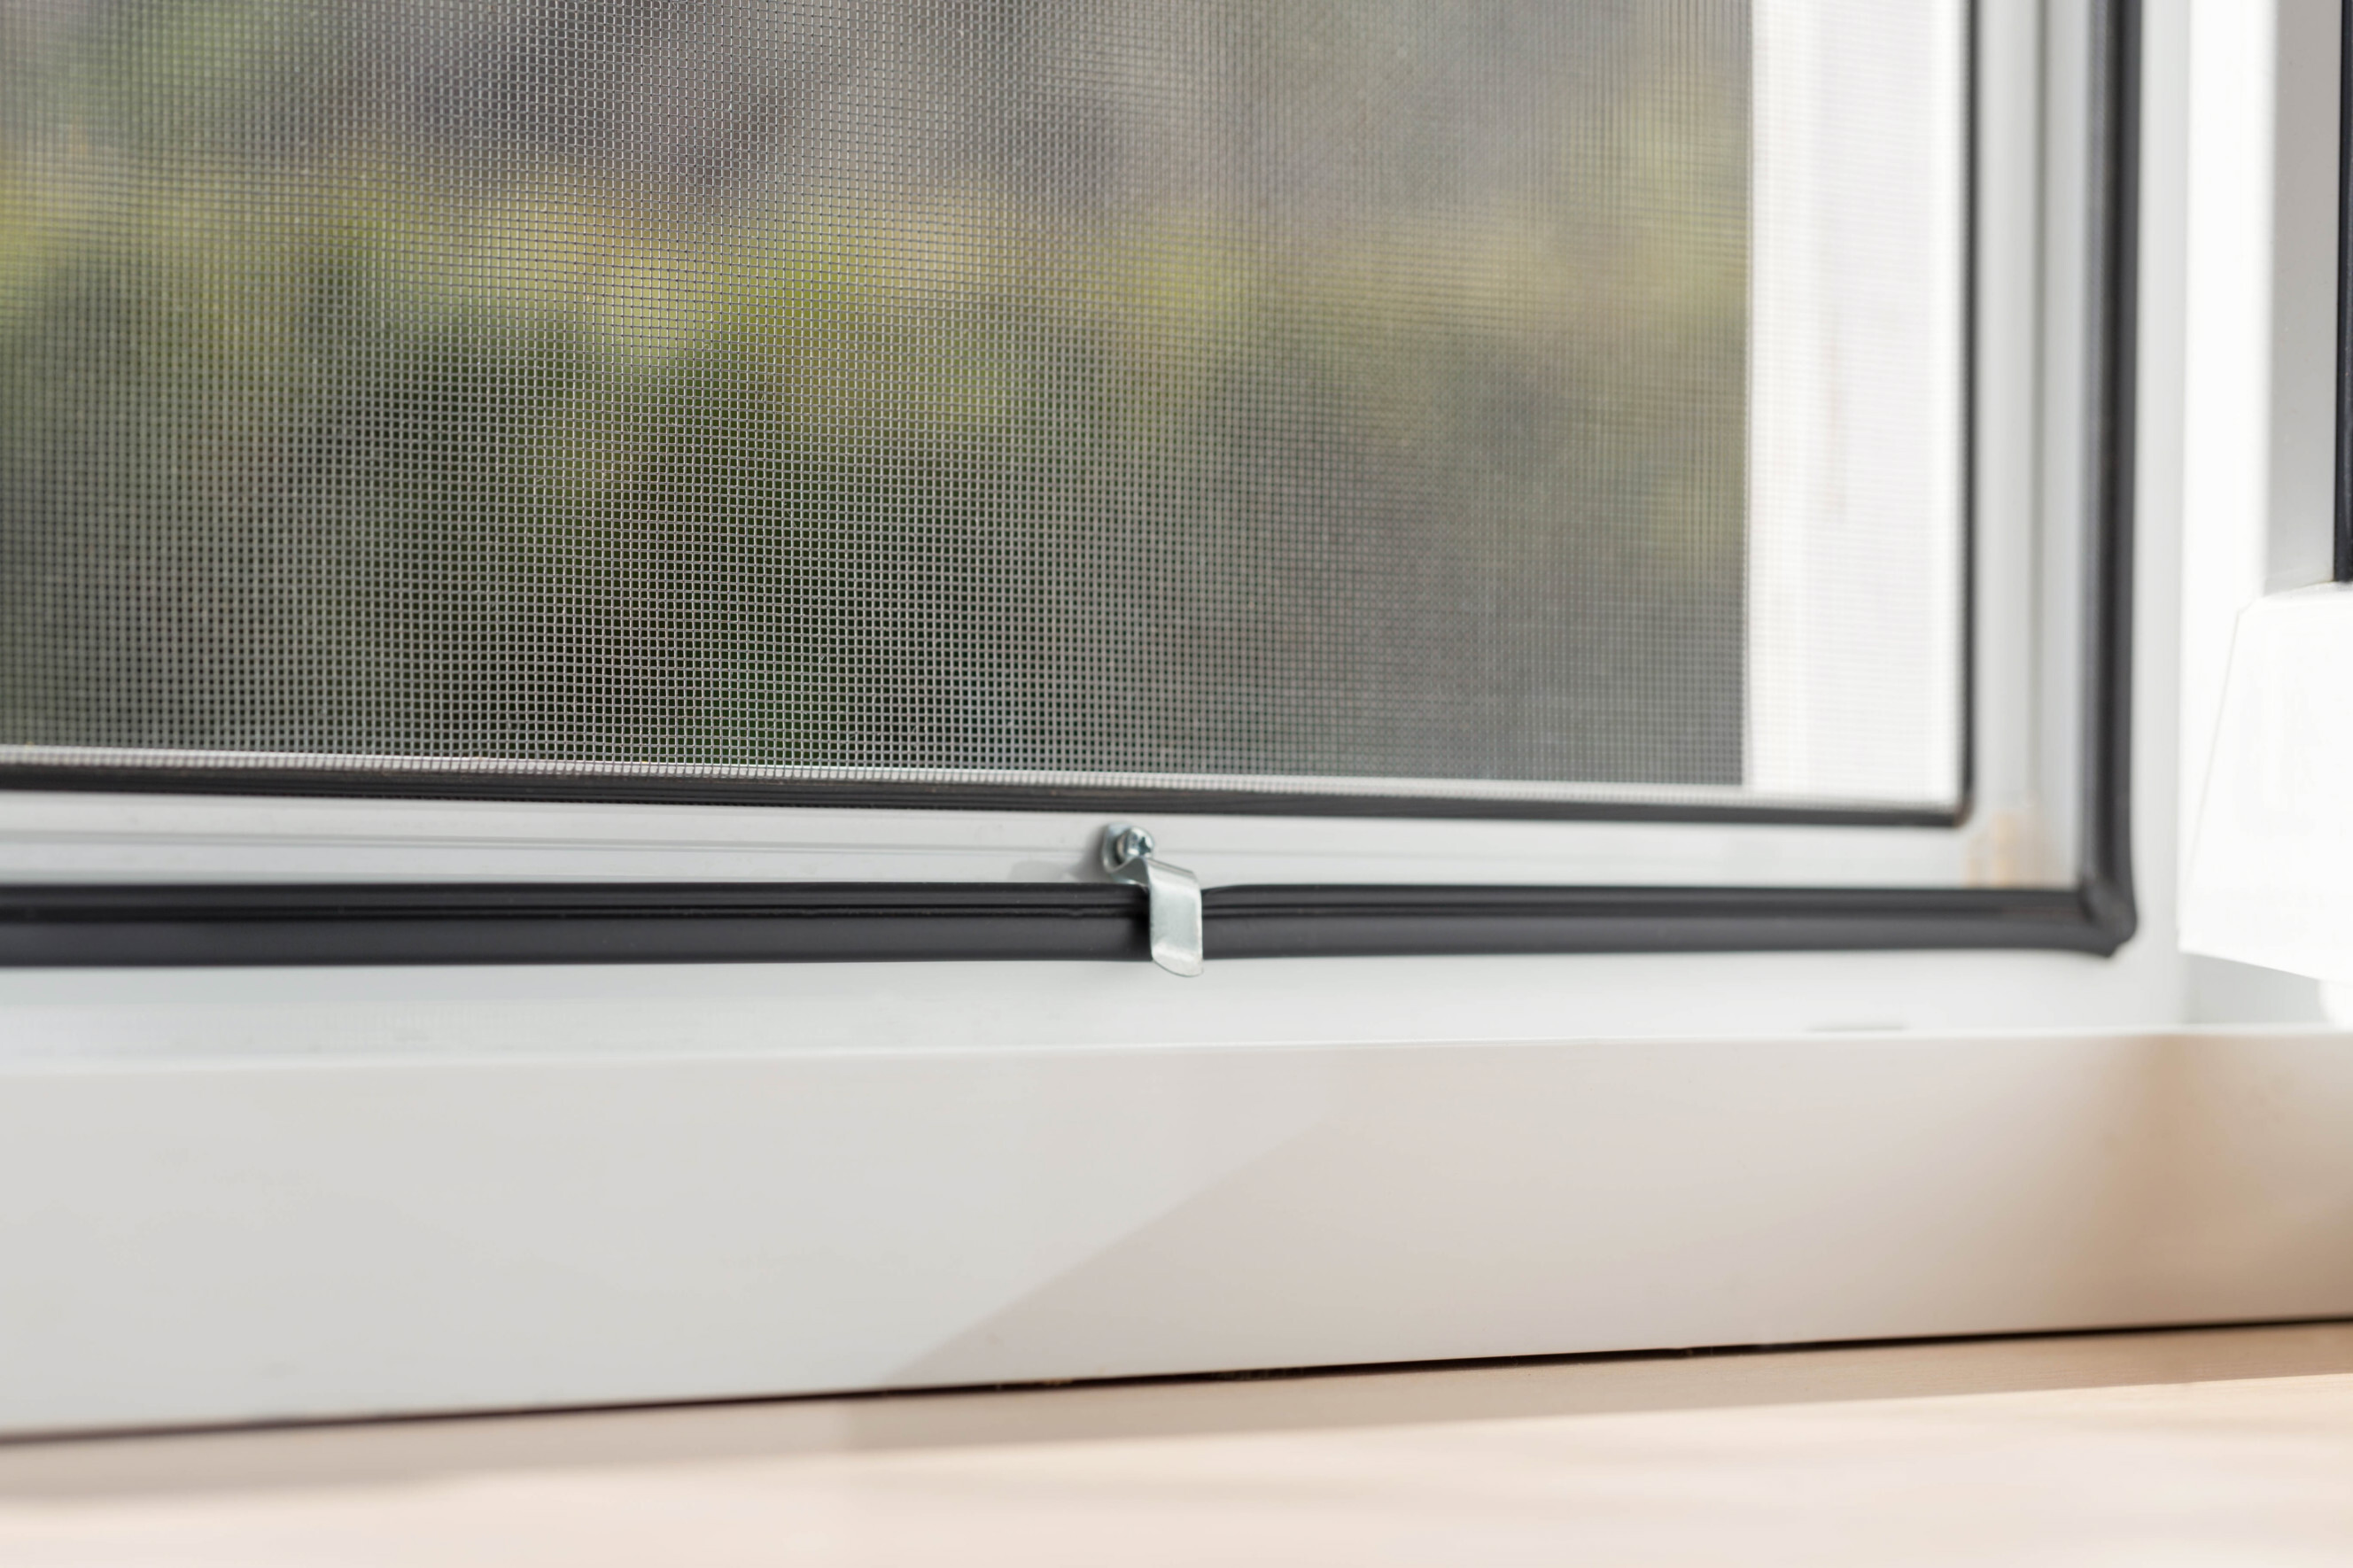
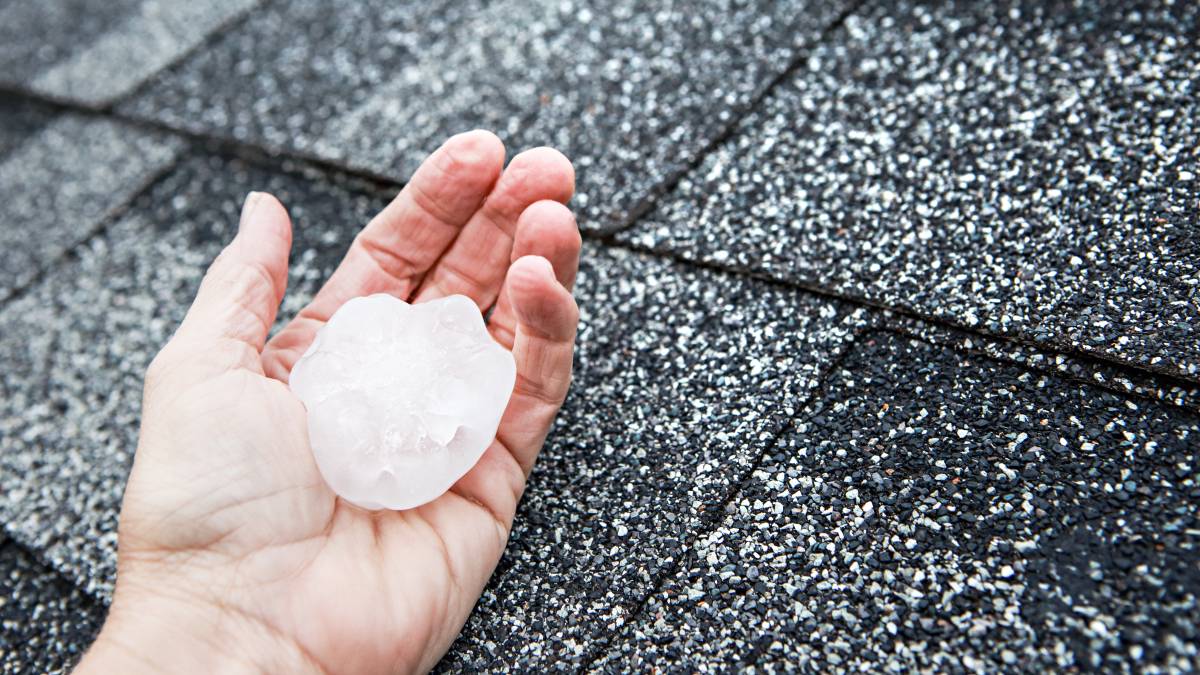
Checking your door weather stripping is a good year-round habit to protect your home from extreme climate conditions. That doesn’t mean you need to replace weather stripping every year, but monitoring its condition can prevent problems before it’s too late.
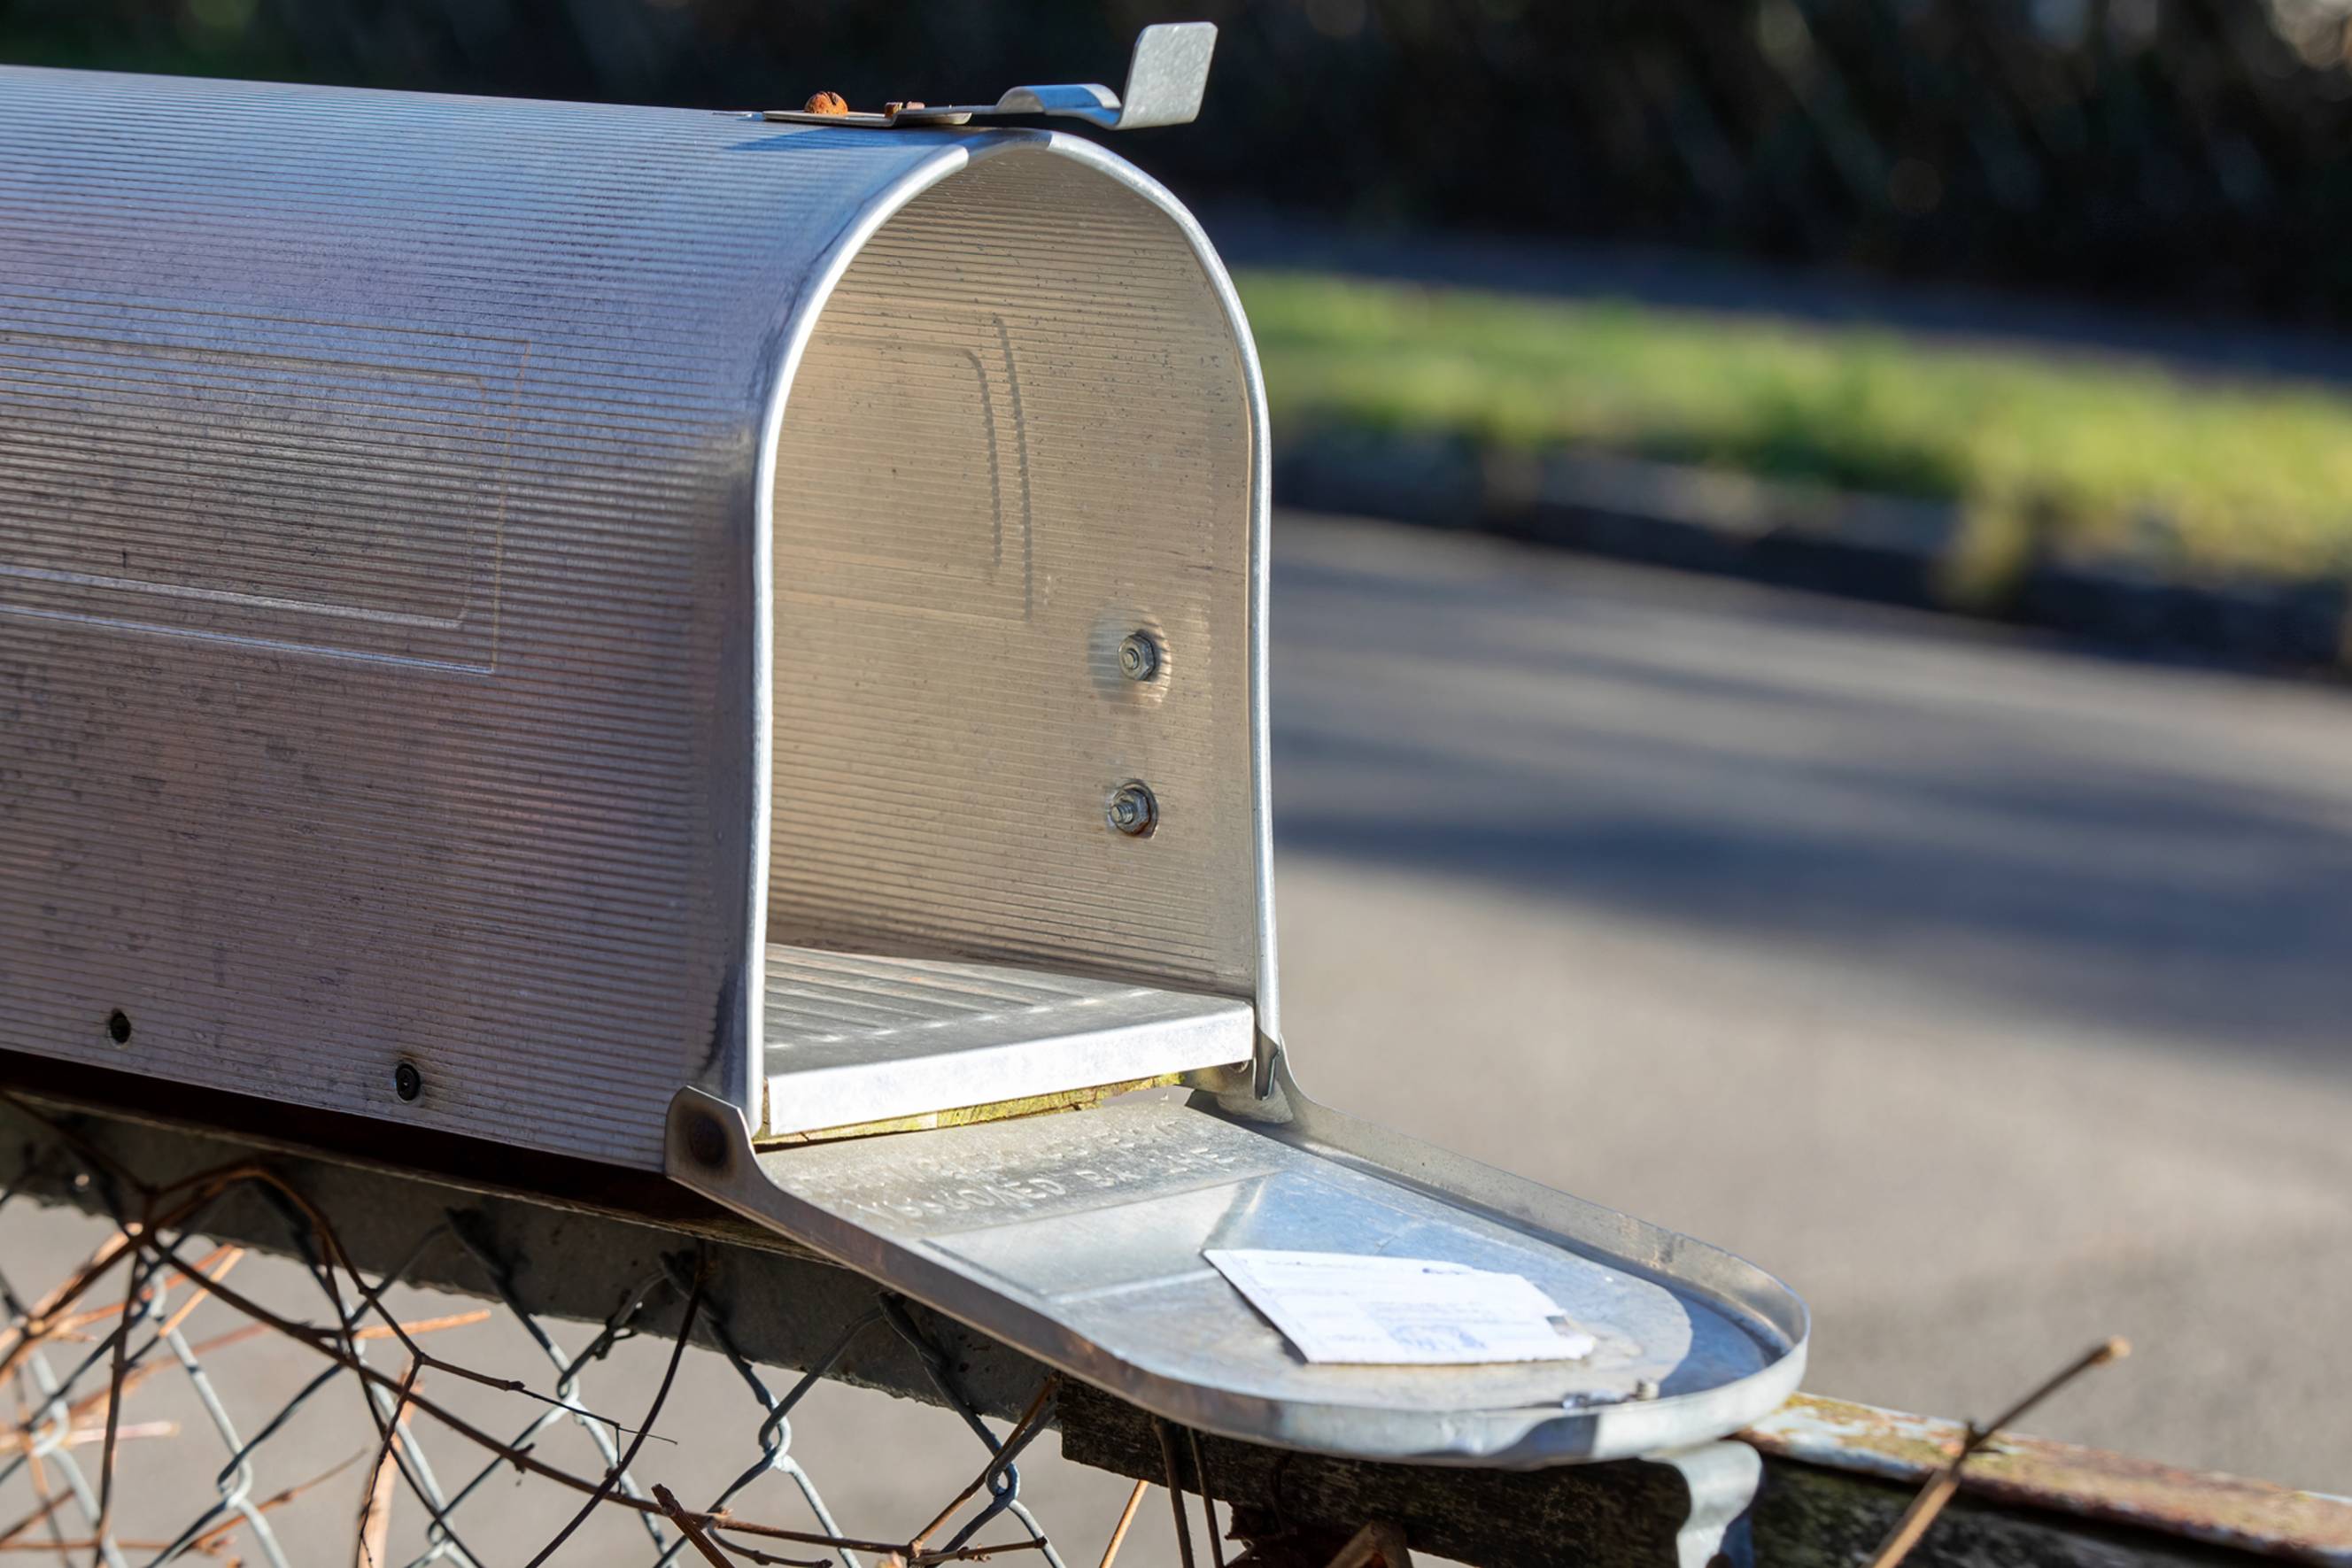
Door drafts can significantly cause heat loss in a home by as much as 25%. Weatherstripping — especially front door weather stripping — is an energy-efficient way to minimize hot or freezing air leaks, unwanted rain or snow, and even as a barrier to bugs or pests.
How to apply weather stripping to doors
Figuring out how to weather strip a door will depend on many factors, such as materials, budget, and your home’s specific conditions. Carve out time to focus on selecting materials, setting up, and installing. You can expect the full process to take up at least an hour.
What you’ll need to install weather stripping
To prepare your door, make sure you have these materials ready:
Tape measure
Pencil
Cleaning cloth and solution
Sandpaper
Screwdriver
Scissors
Nails or heavy-duty staples
Hammer
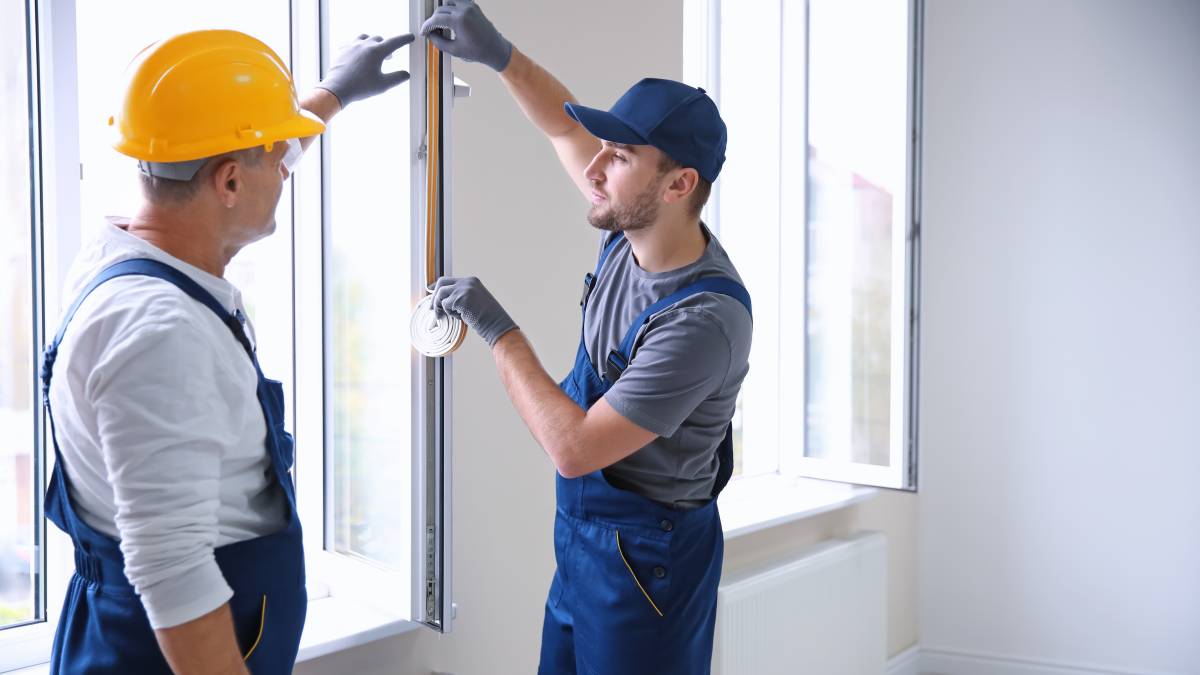
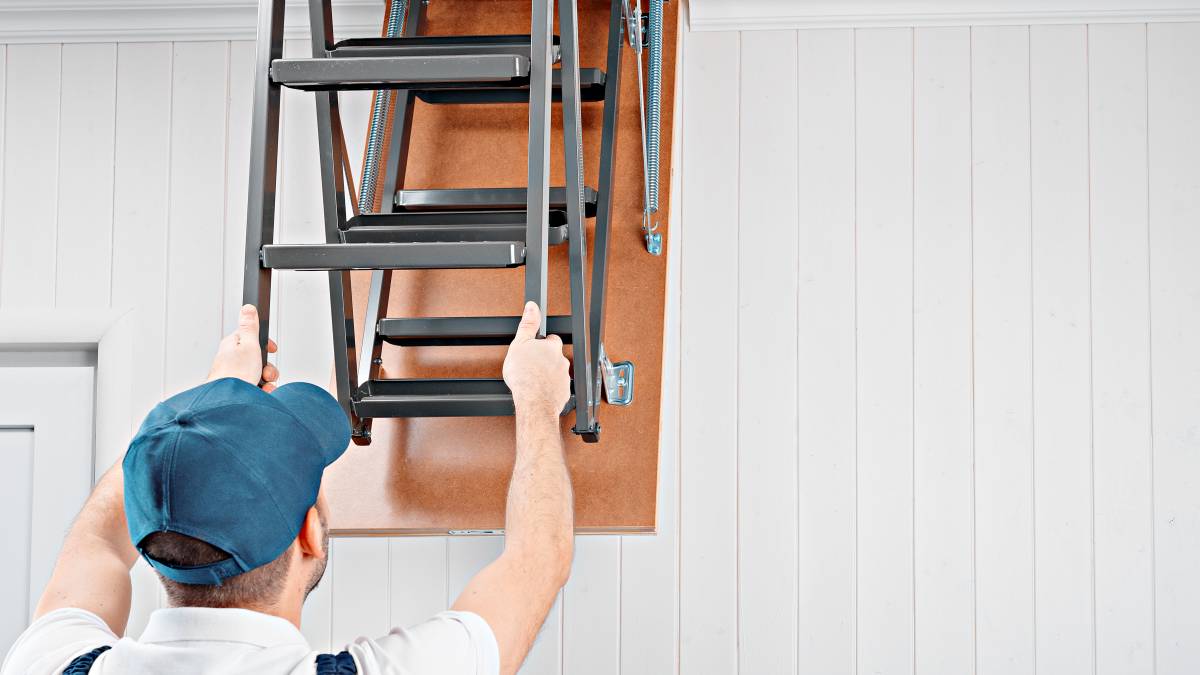
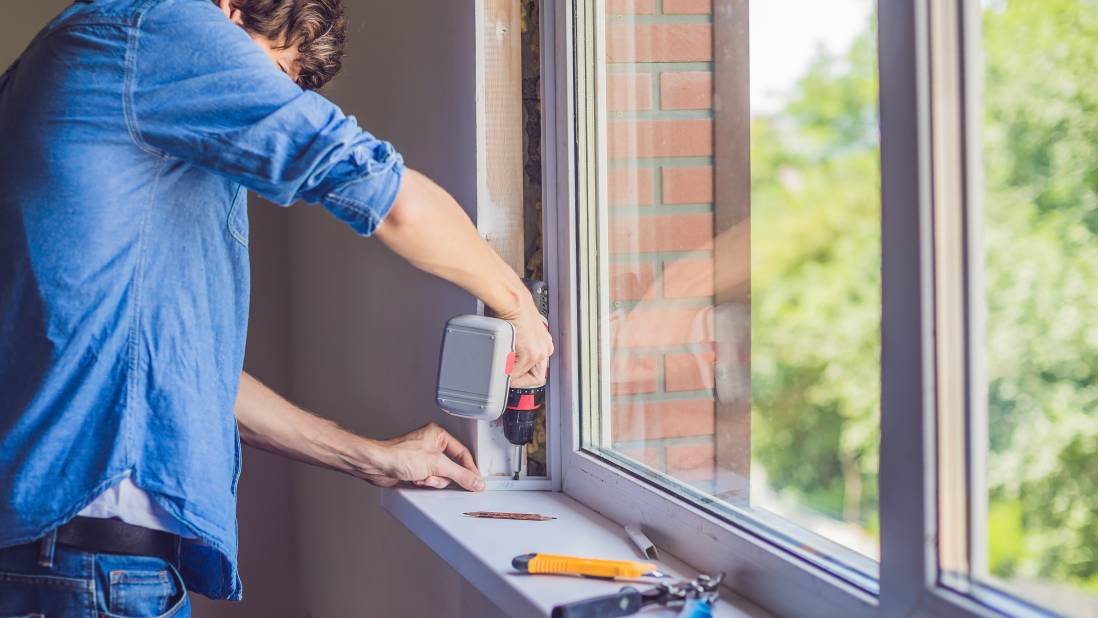
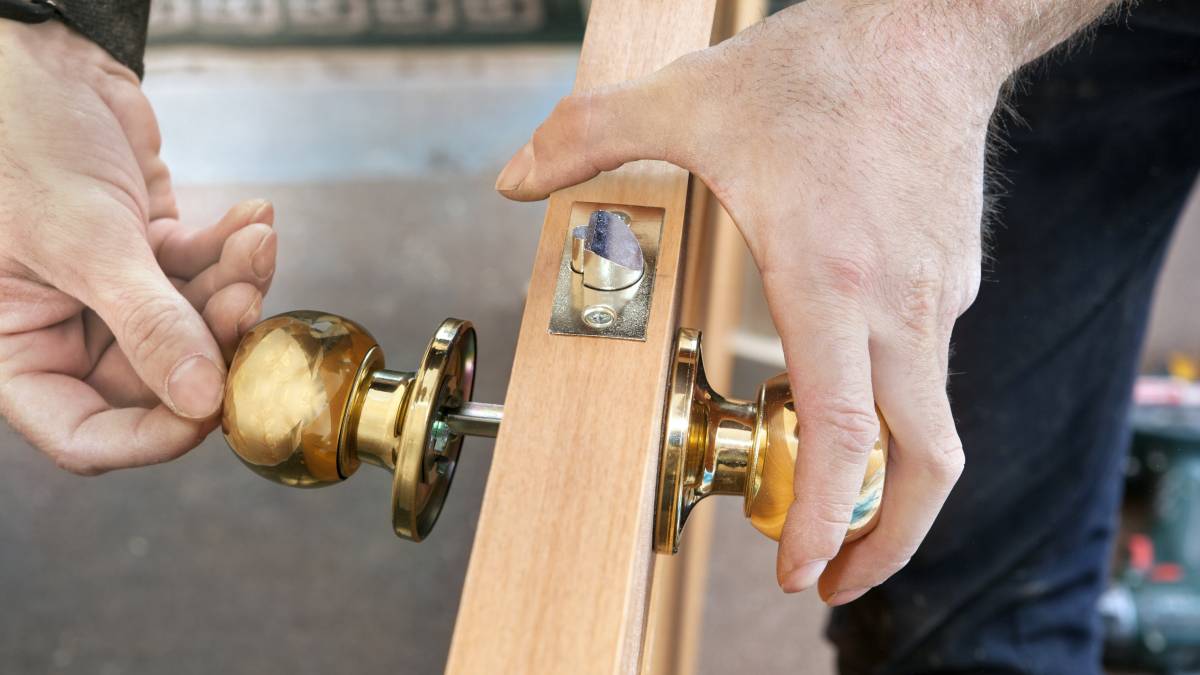
Step 1: Inspect door hinges
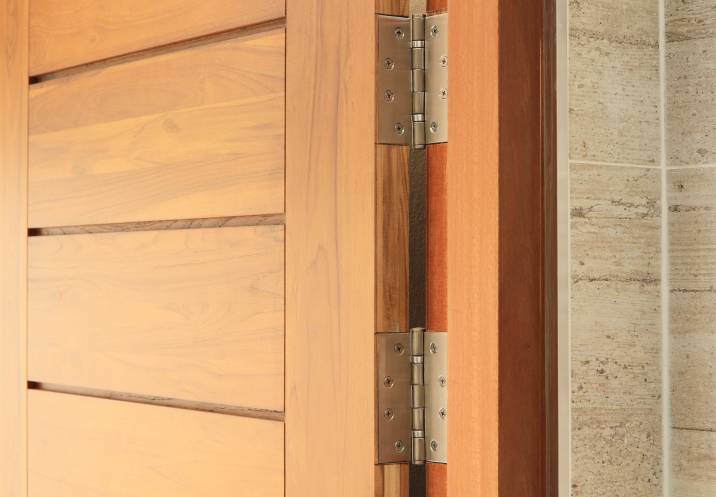
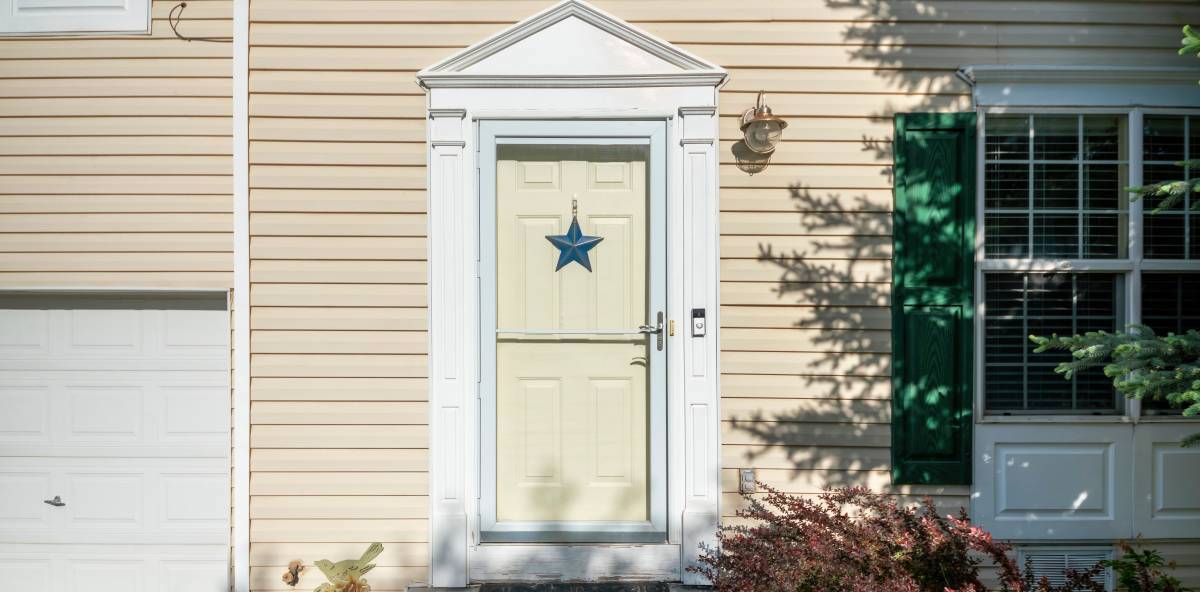
Tighten any loose hinges that might cause drafts — even loose doorknobs can affect your indoor temperature if left unaddressed. This step for front door weather stripping is doubly important as this is the most used entryway of the home and is most prone to coming loose.
If your screws don’t tighten all the way, you can always use wood plugs before reinforcing tighter screws.
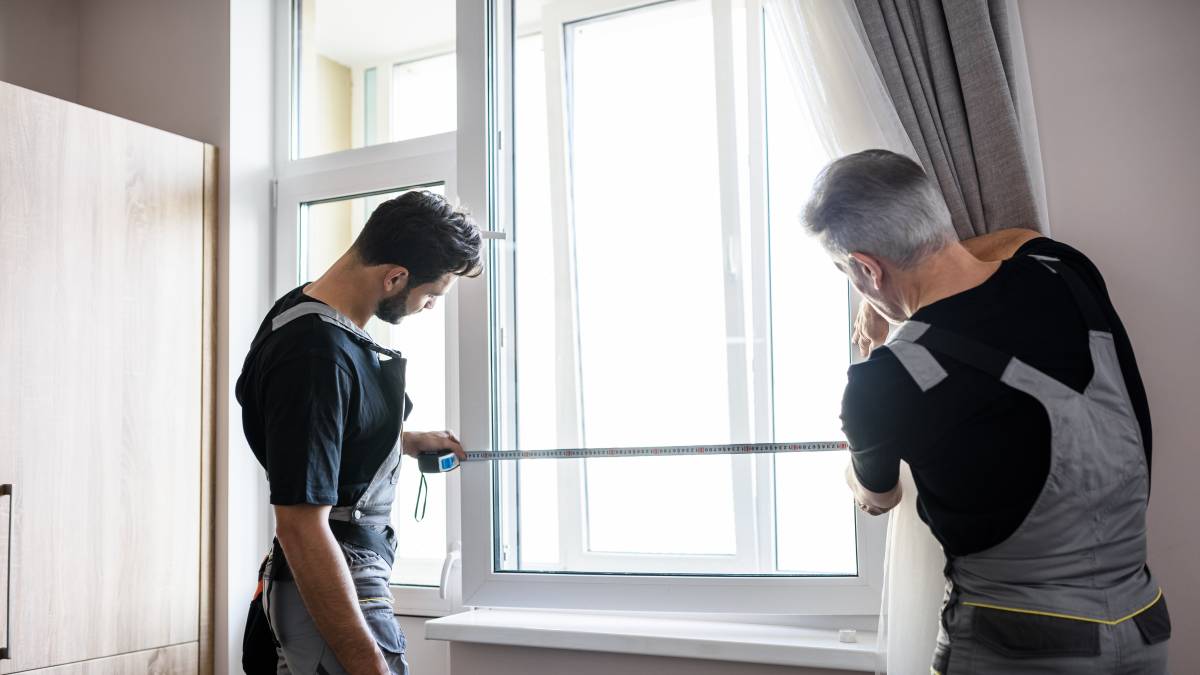
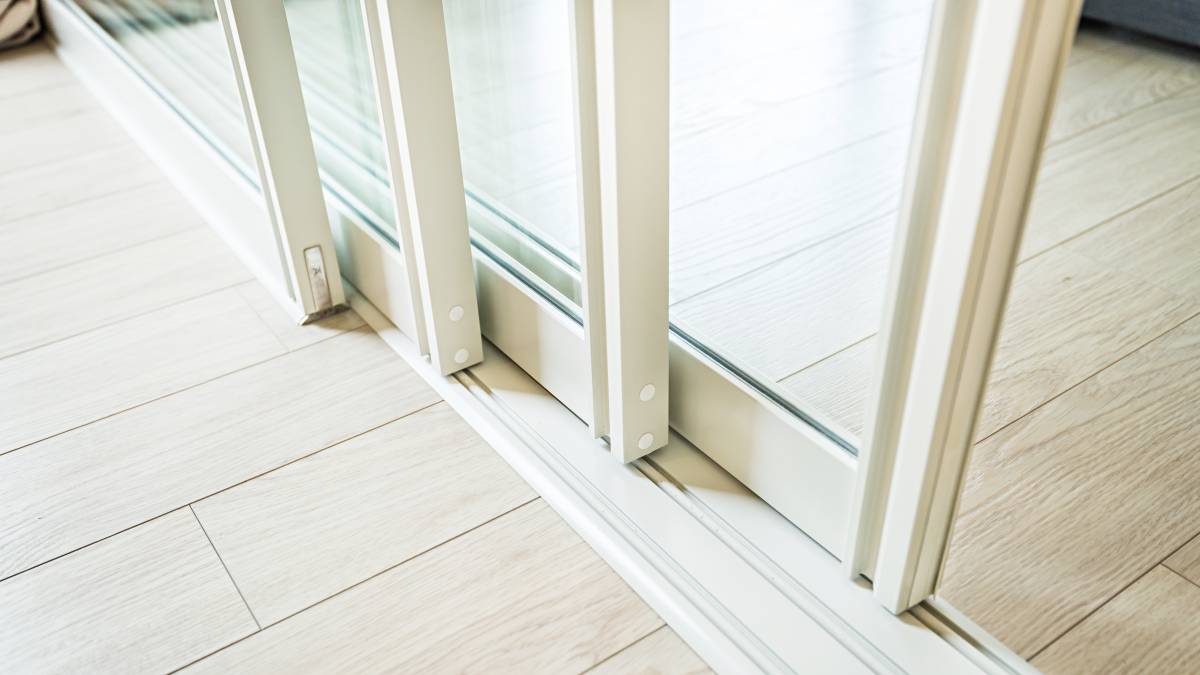
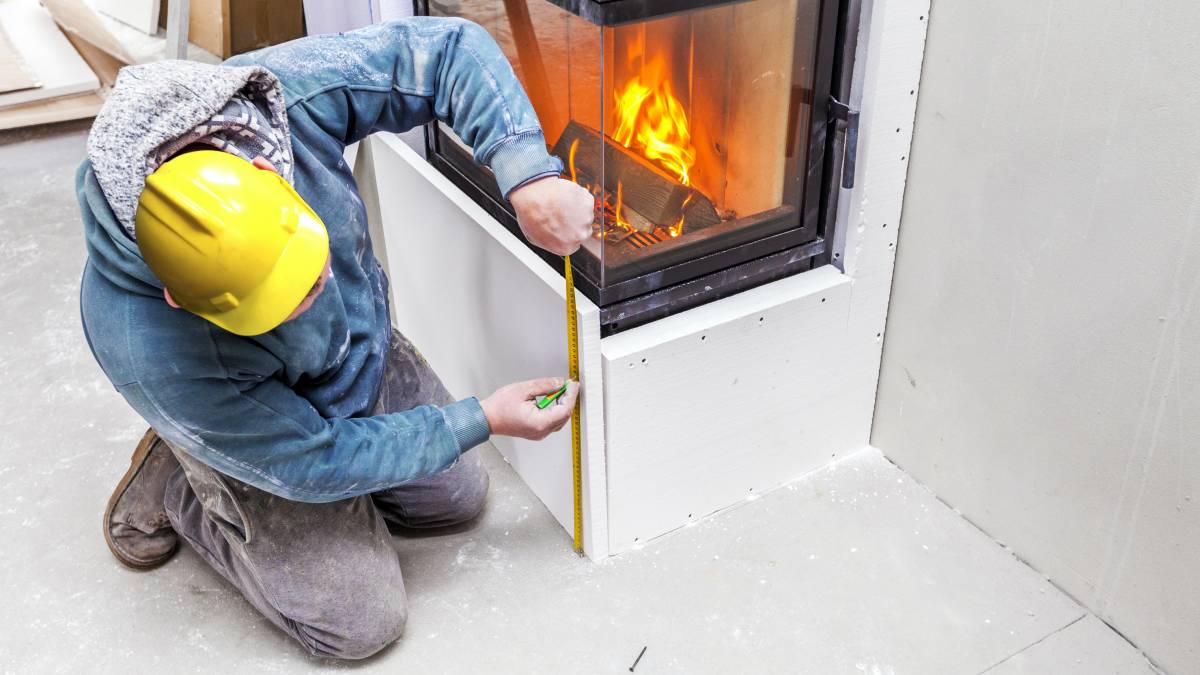
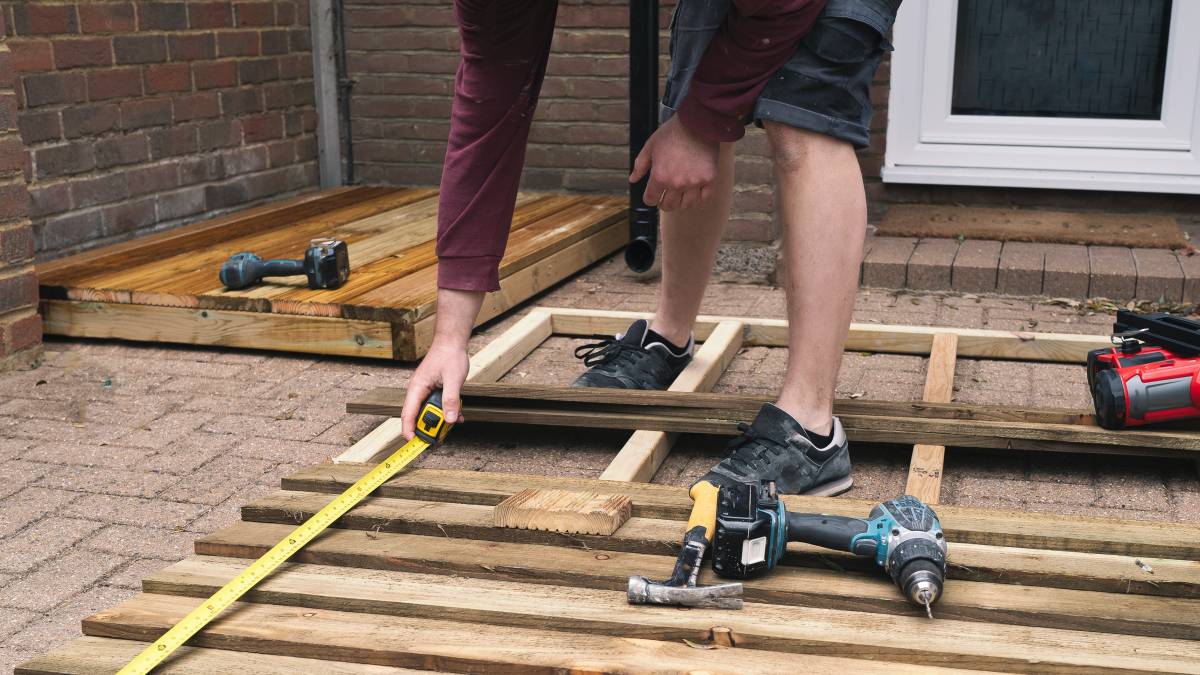
Step 2: Measure your door jamb
Using your measuring tape and pencil, take note of three key measurements:
The gap between the door and door jamb - to determine the thickness of weather stripping you need.
The top of the frame’s width and height, with the door closed. This helps you identify how much weather stripping you may need.
Add a buffer of at least 10% in your measurements for safety.
Step 3: Select weather stripping that works for you
There are different types of weather stripping to choose from, such as tape, metal, and rubber. You’ll be able to find a variety of weather stripping for doors at your local hardware stores.
You’ll likely use varying materials for different parts of your door. For instance, door jambs and door sweeps will need different kinds of strips for a more efficient seal. Adjust your weather stripping to fit your door jamb. Consider durability and requirements for installation when choosing weather stripping.
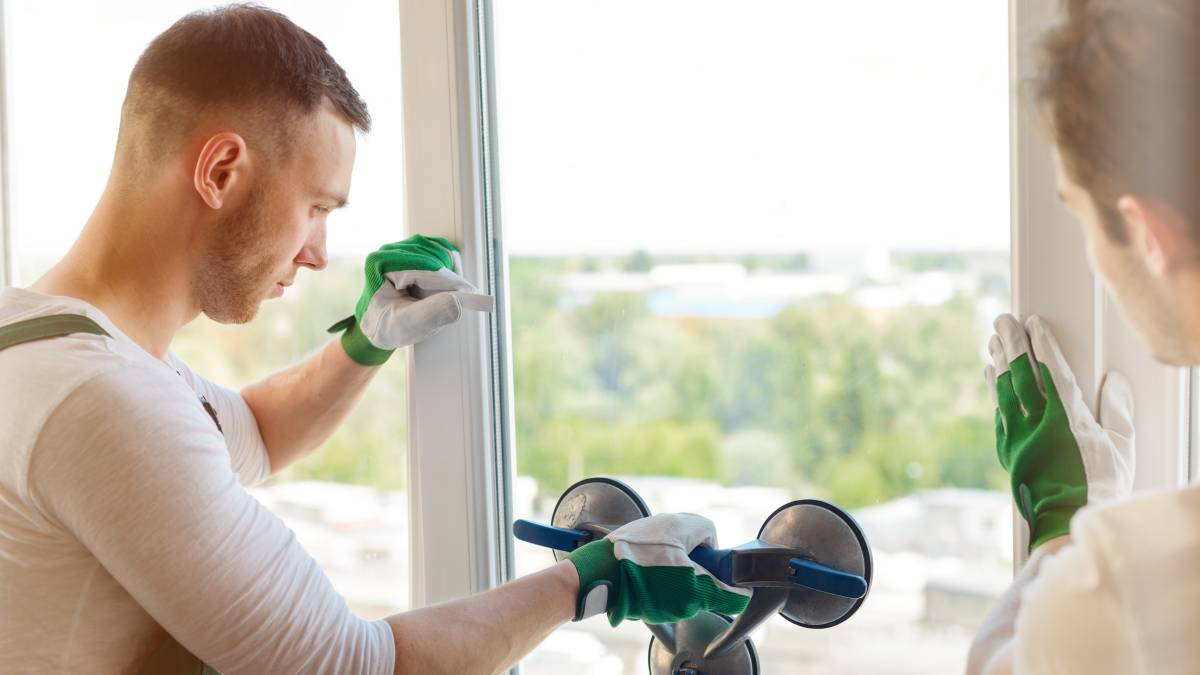
Step 4: Clean the door and jamb
Weather strips for doors are best applied to clean, dry surfaces. Before installing anything, wipe the door with soapy water and a clean rag. Scrub sandpaper over areas with the residue to work with a seamless surface.
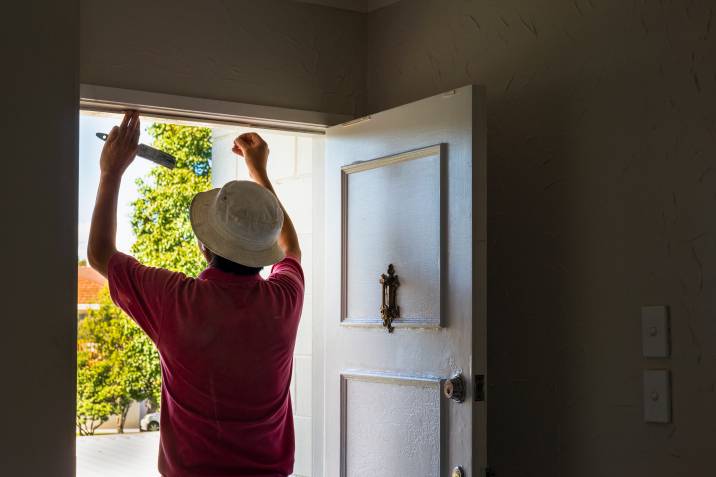
Step 5: Customize weather stripping for your door
Mark weather stripping with a pencil accordingly and cut based on your door’s measurements, accounting for the top and sides. Check if the initial cuts fit the desired areas properly. It’s always better to trim off excess than to cut too short.
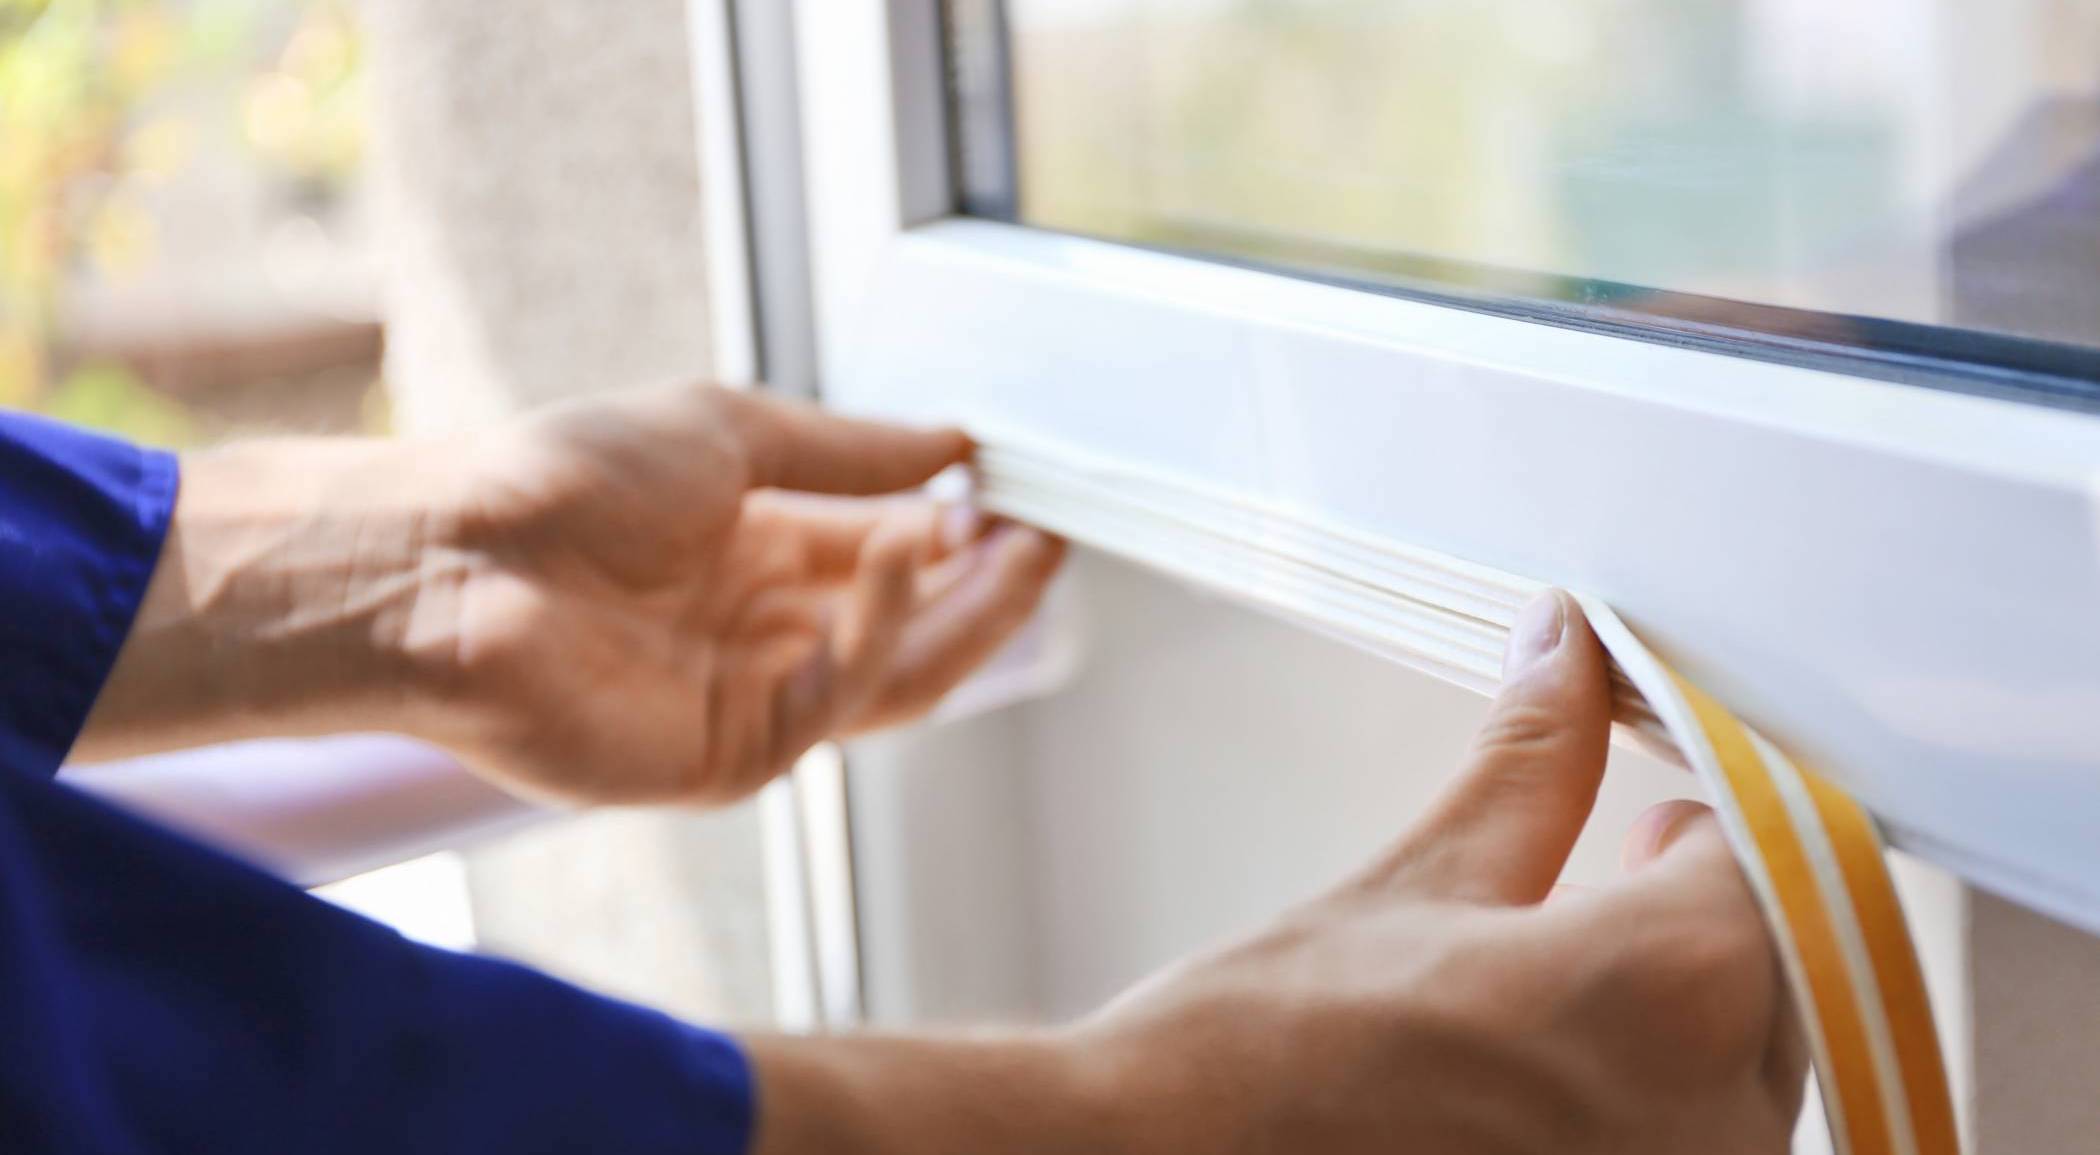
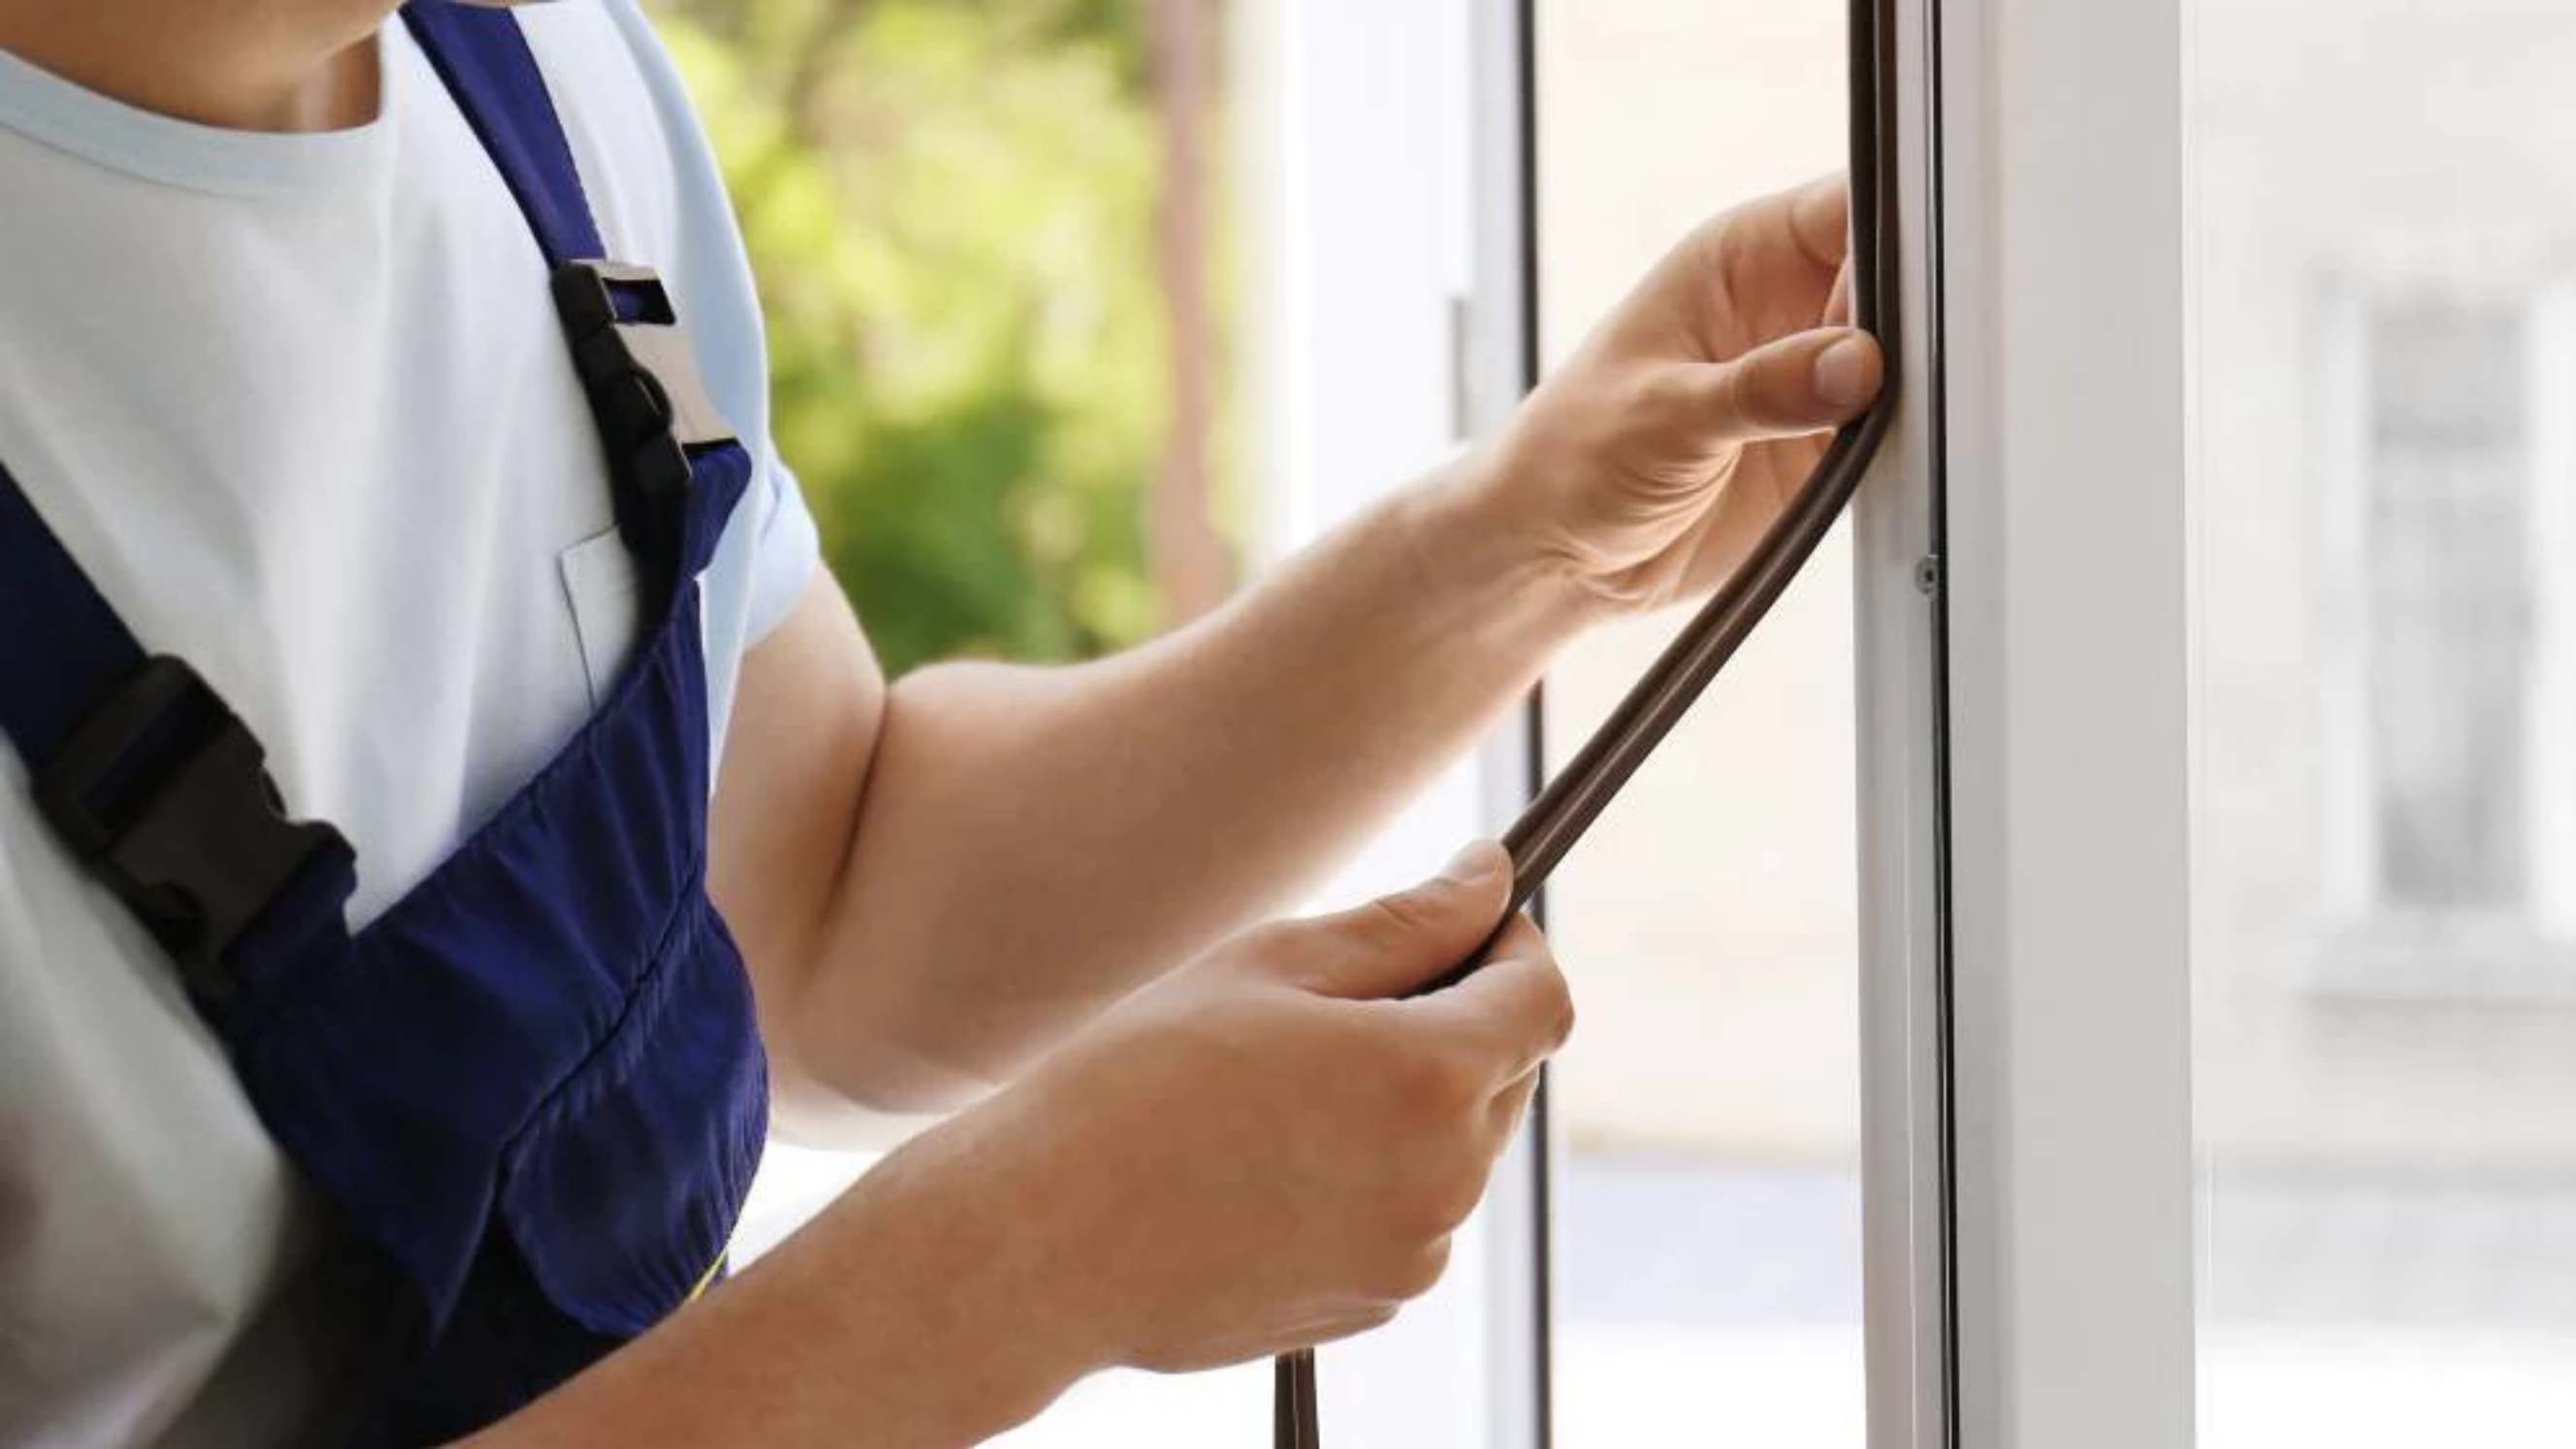
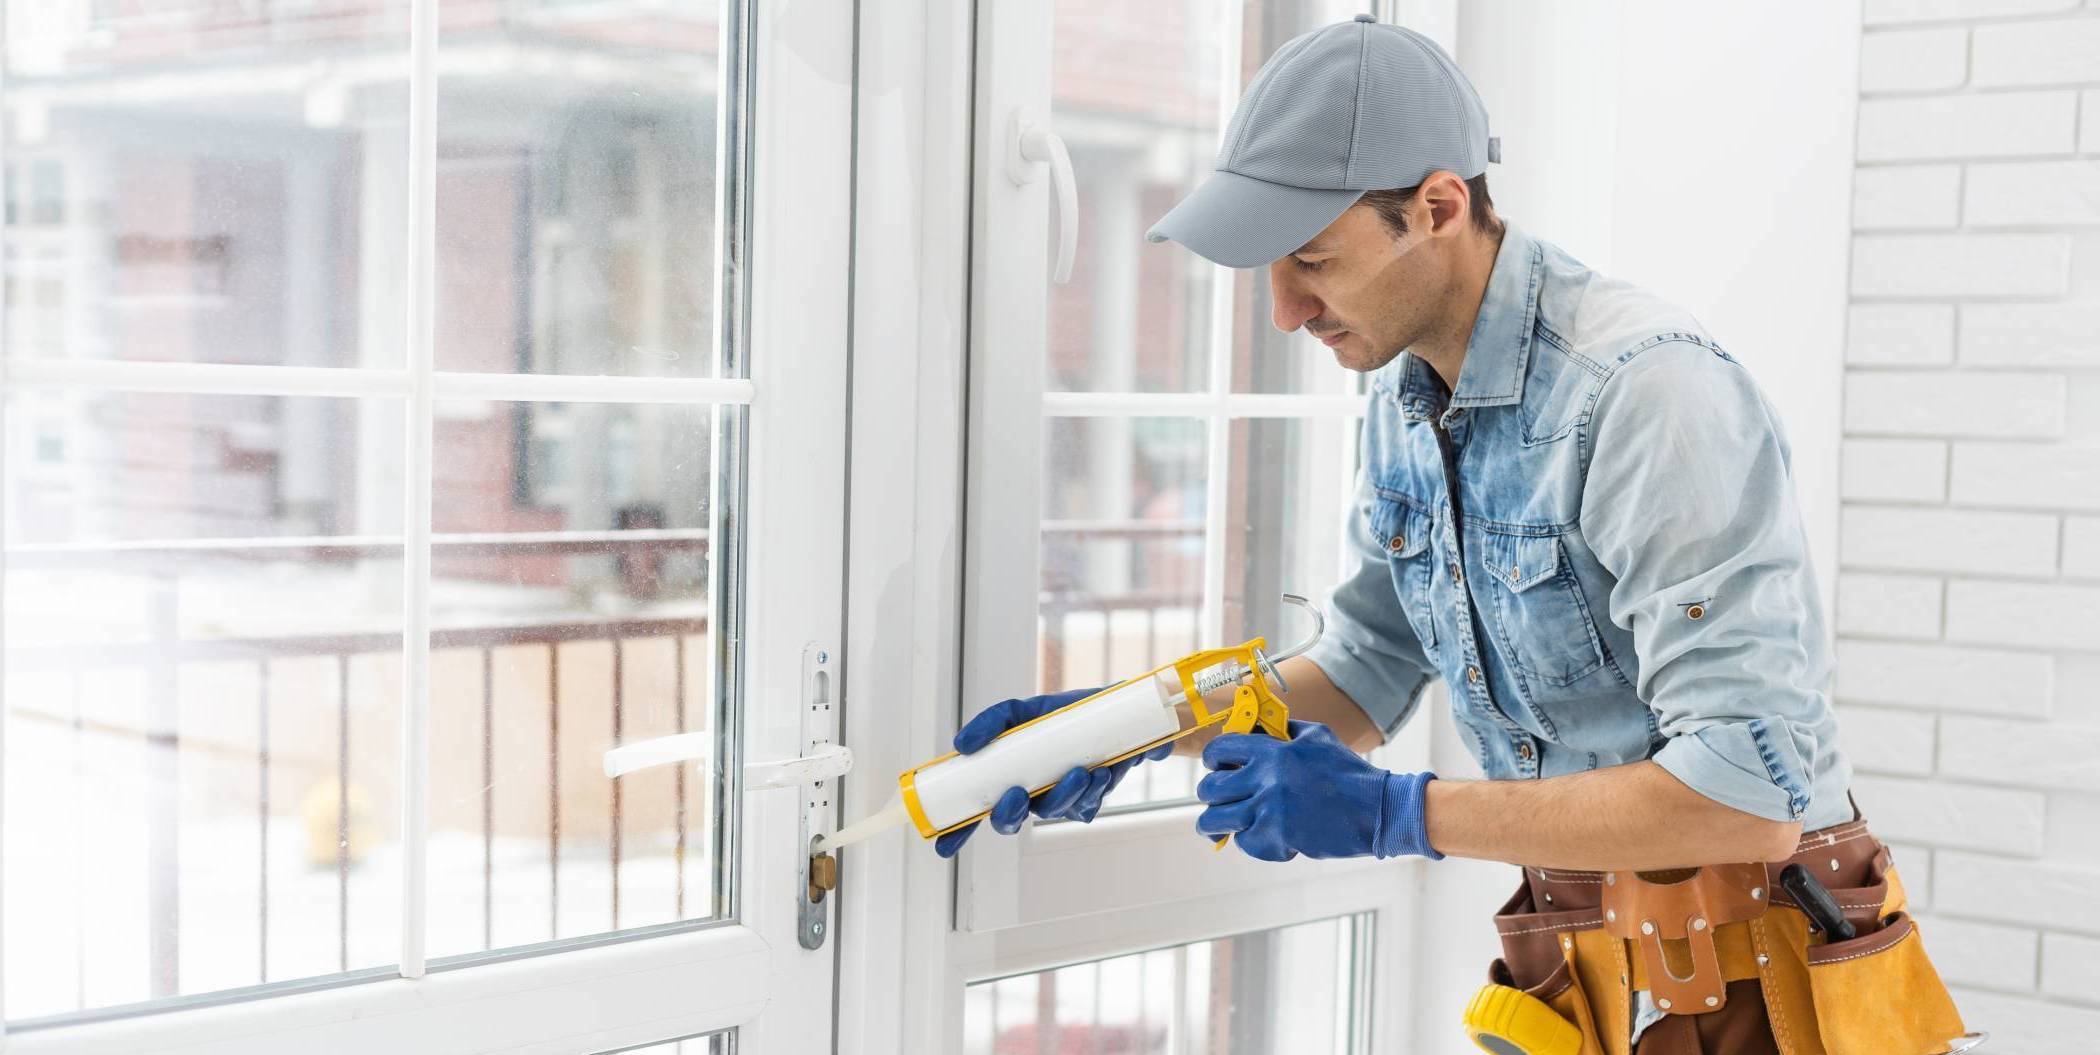
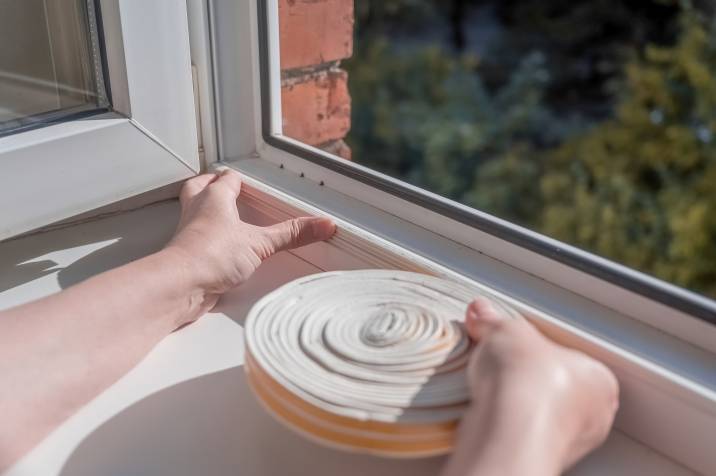
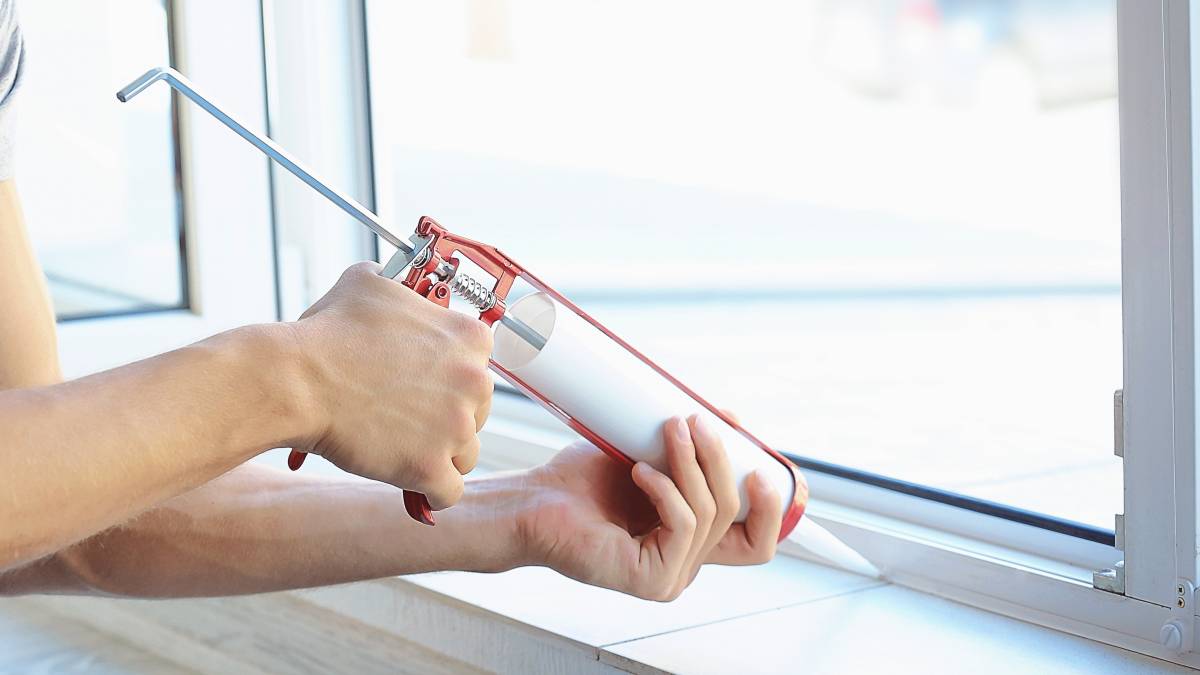
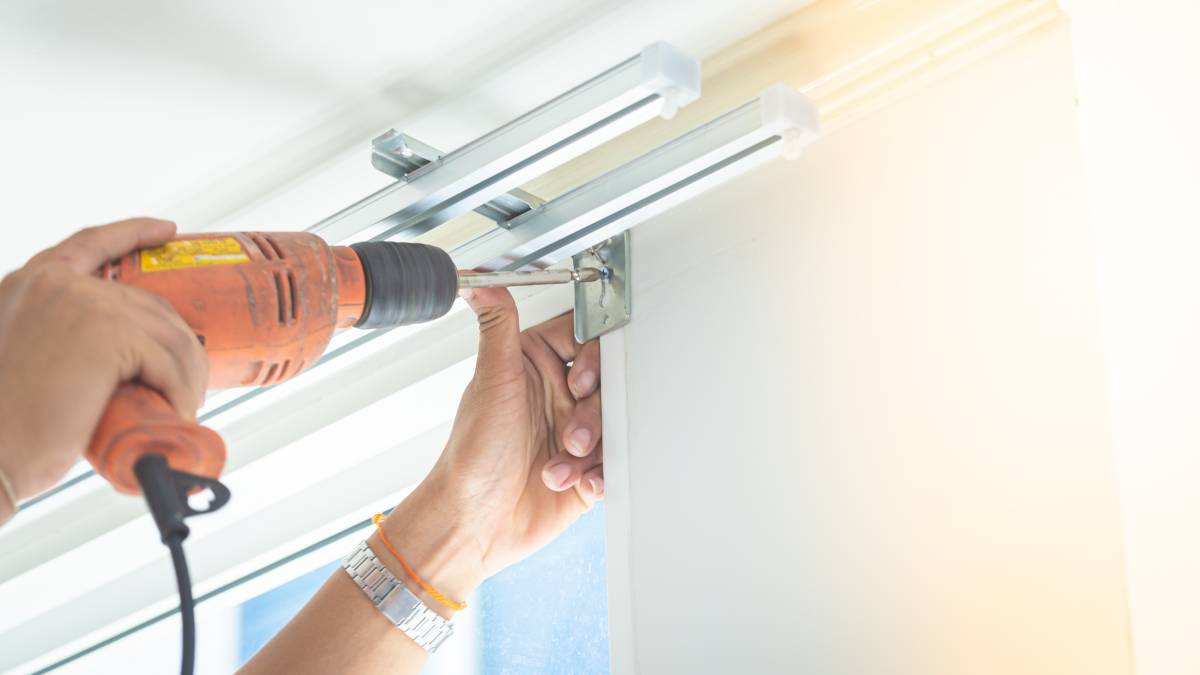
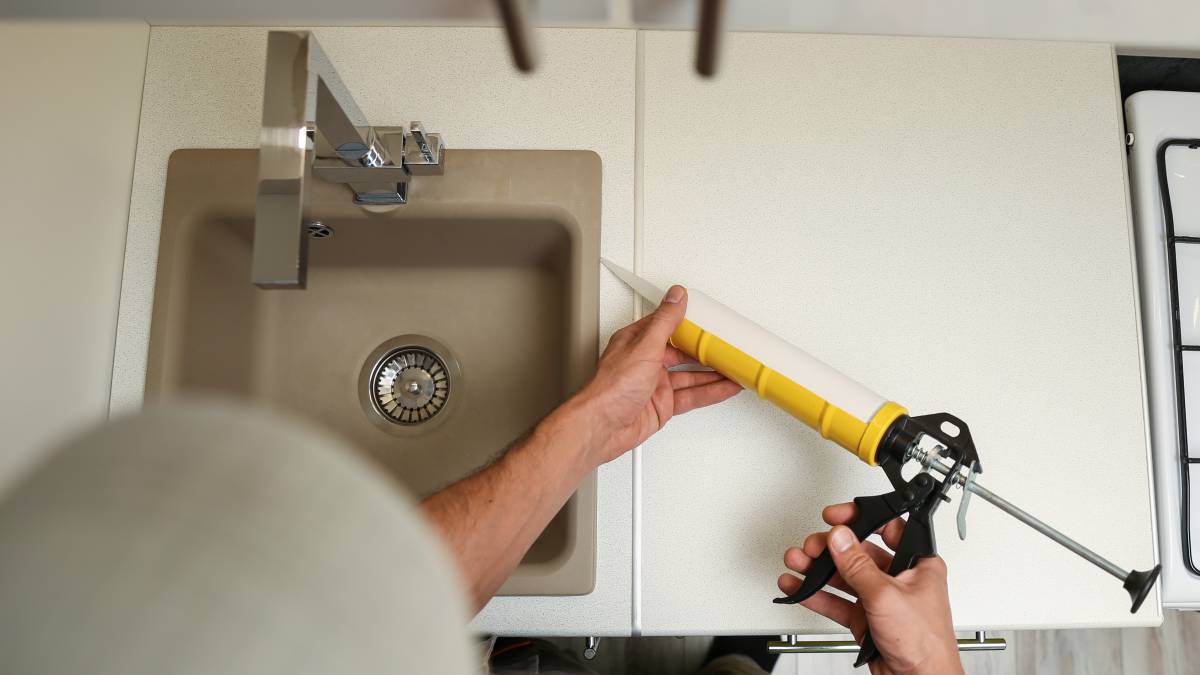
Step 6: Stick, tack, or affix weather stripping and door sweep
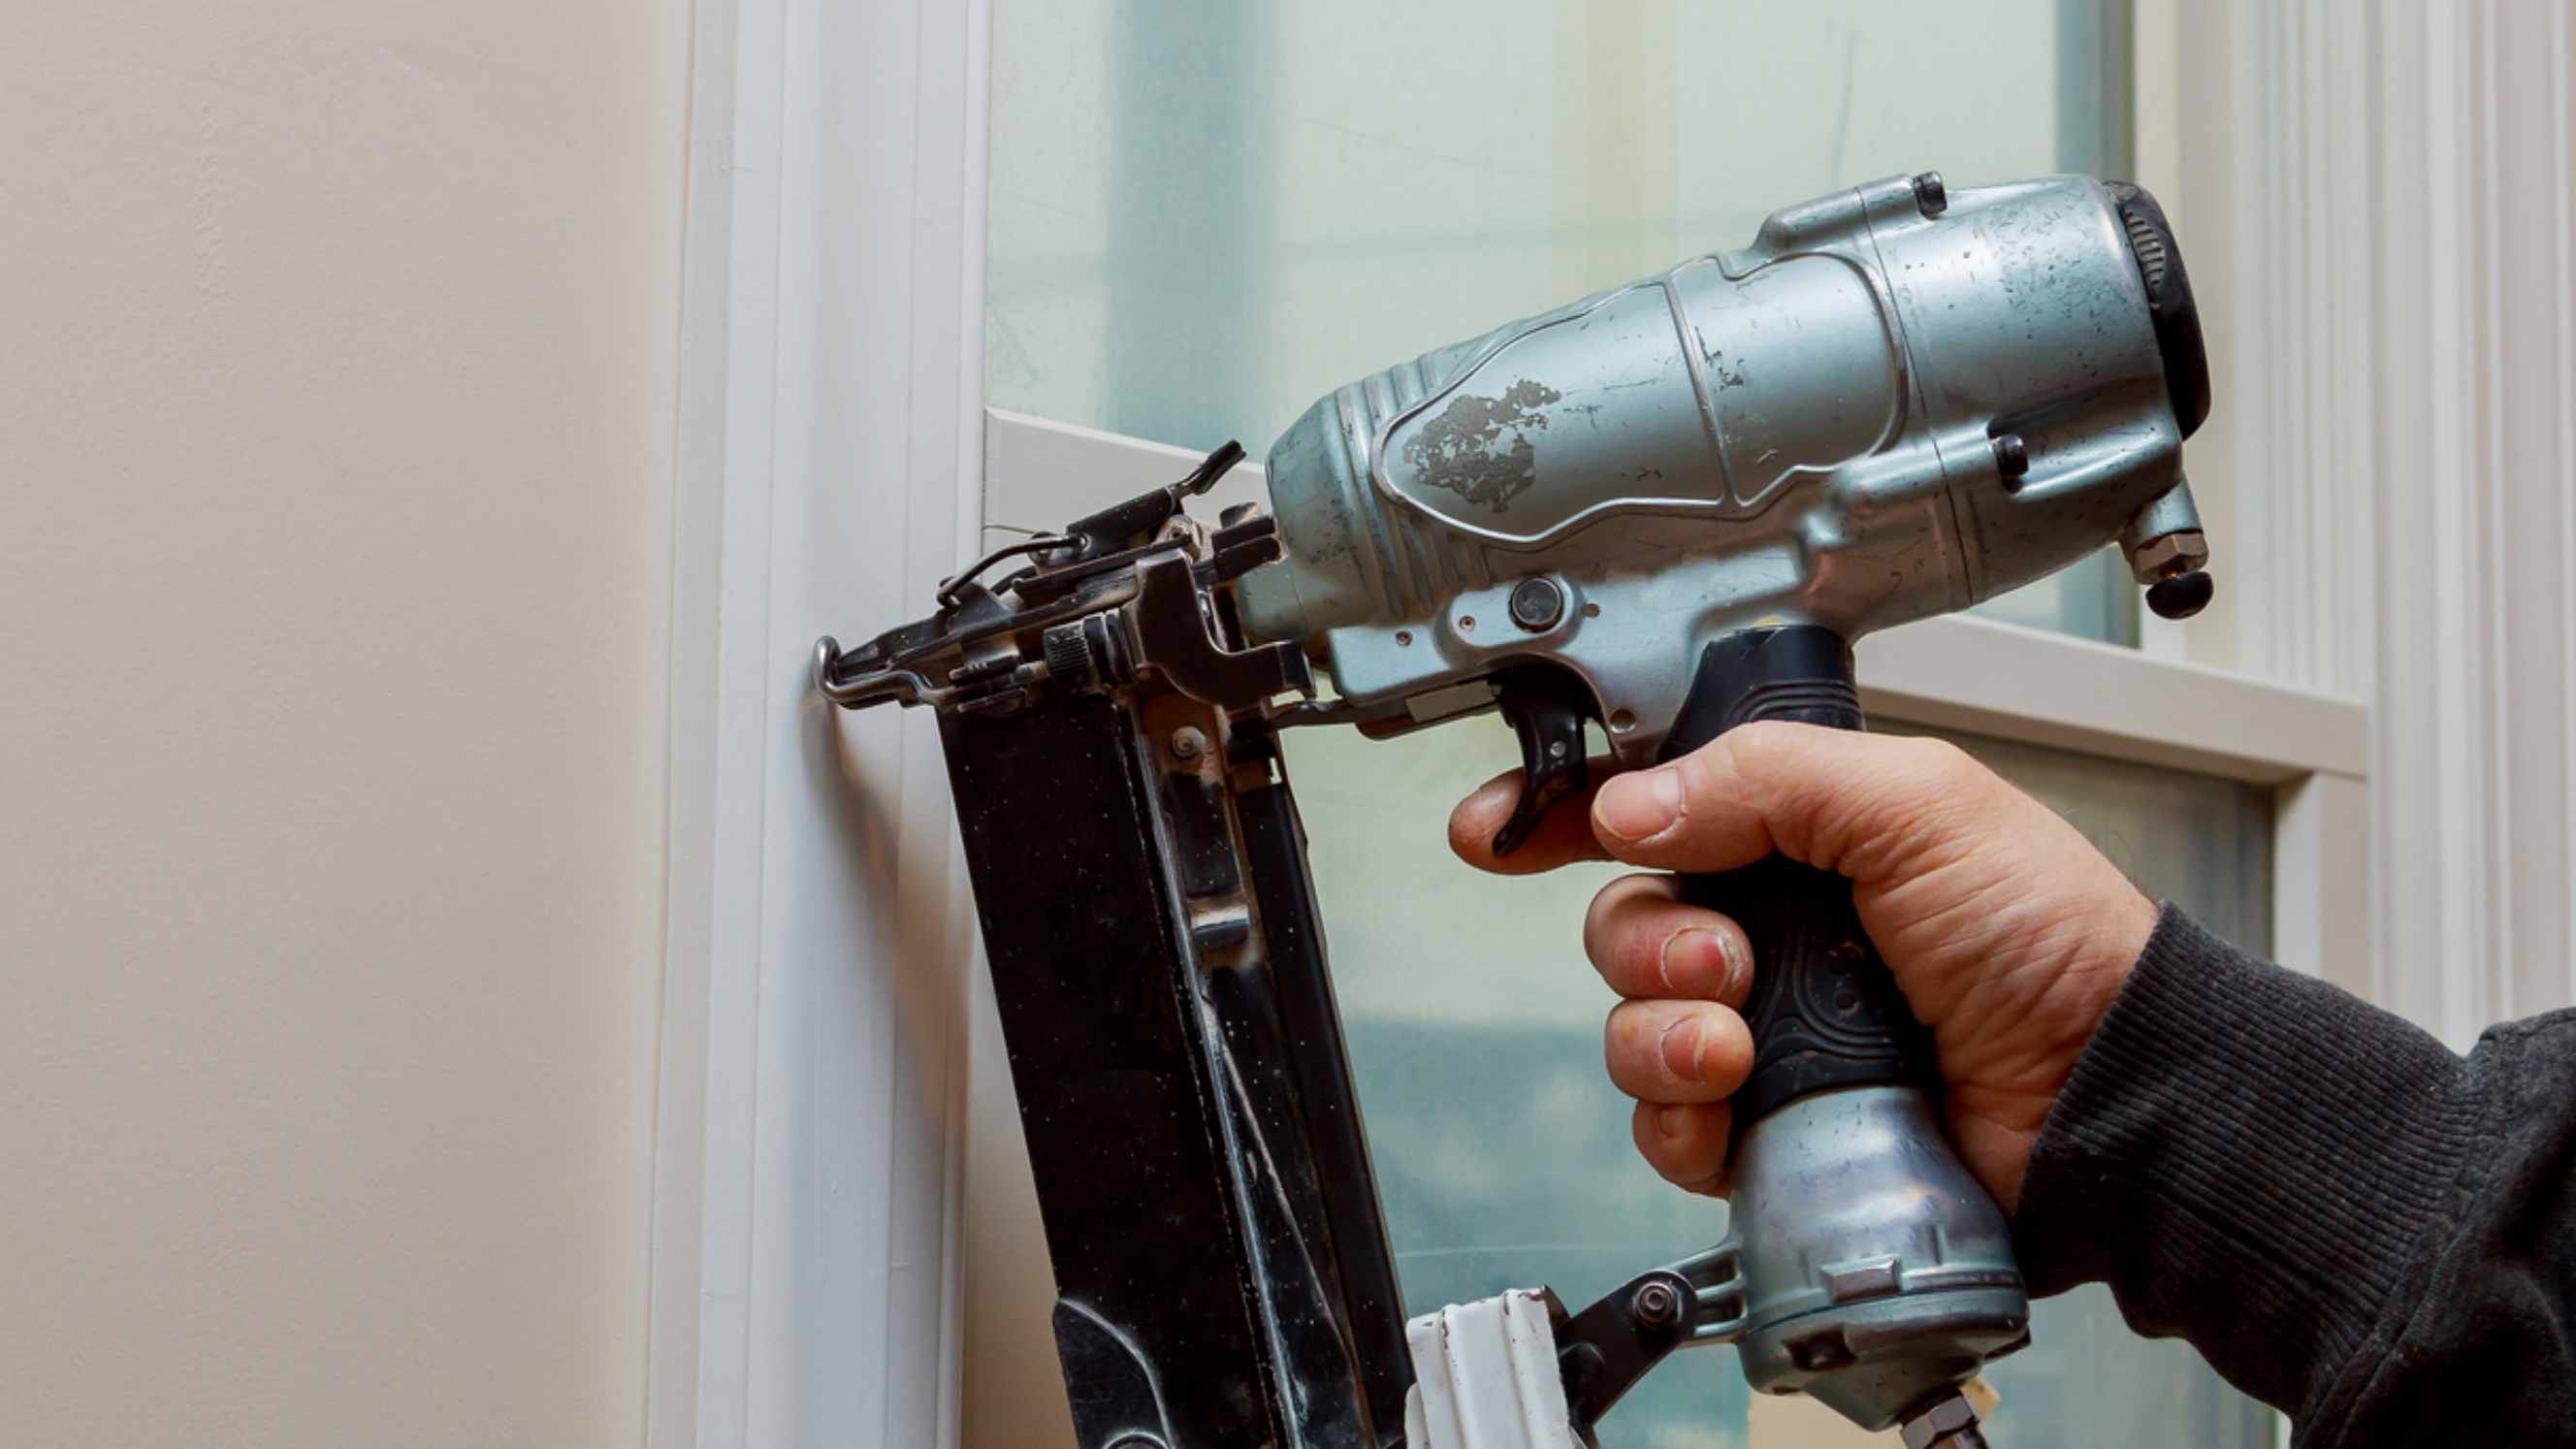
Depending on the type of weather stripping you’ve chosen, secure the areas carefully, applying enough pressure where necessary. If you’re working with adhesives, you can strengthen the installation with staples or nails.
Lastly, fasten your door sweep at the base of the door. Pre-drilling holes make it easier to apply with a screwdriver later on.
When to replace door weather stripping
The best time to make the switch is when the weather is dry enough to allow for easier application. When you’re ready to replace door weather stripping, you’ll need several materials to remove damaged door insulation and prepare it for fresh new seal.
What you’ll need to remove the weather stripping
Materials will depend significantly on the type of weather stripping you have
Screwdriver
Pliers
Cleaning rags
Step 1: Remove old weather stripping
Different types of weather stripping will require a variety of removal methods. The easiest to take off would be adhesives, as they can be peeled from the door frame. If your stripping has been fastened with screws and nail tacks, you’ll need to remove them with the necessary materials.
Step 2: Clean the door frame
Working with a clean surface is the best way to start the installation. Clean as you remove old stripping to ensure that unwanted residue doesn’t stick too long to the door jambs.
Step 3: Install your new weather stripping
Select new weather stripping for the refresh. Don’t hesitate to try other materials if you’re keen on testing to see what might work best in protecting your home.
Insulate your home with weather stripping
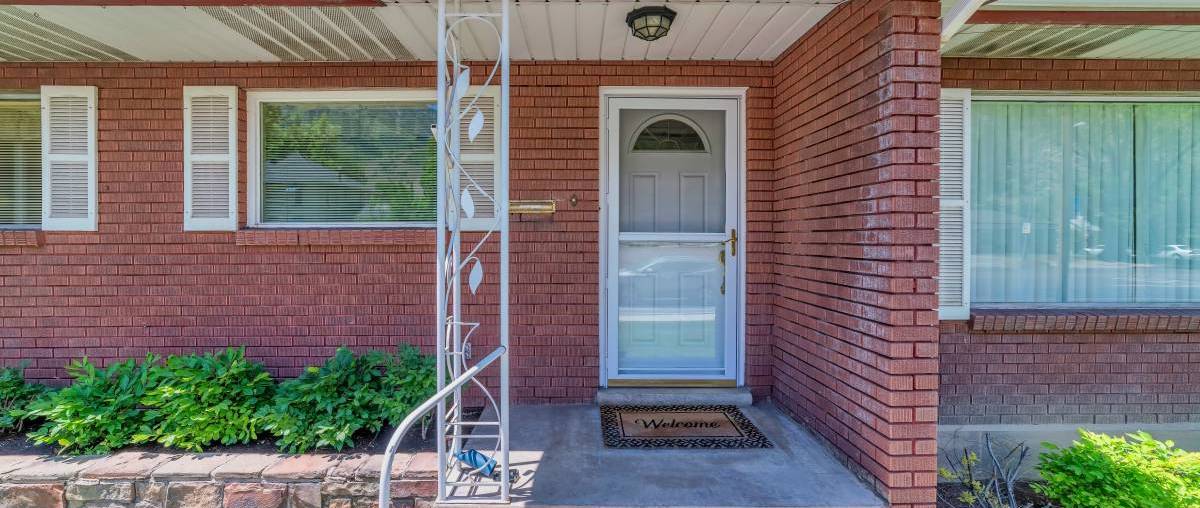
Protecting your home from the outside elements is manageable as a DIY task, especially for front door weather stripping. Its low-cost and usually easy application makes it a great way to ensure you’re saving energy and your electric bills.
However, sometimes installing the weather stripping yourself can be tricky, like dealing with heavy damage or complex installations that need tools you may not have. Luckily, you can always find weather stripping installers near you for your home maintenance needs.
FAQs on door weather stripping
Choose the type of weather stripping most suited for your door type. Always check for durability, compatibility with your door, and how best to install it yourself.
If you use adhesive-based tension seals, felt, and tapes, you should use a staple gun or tack a nail over it for added security.
If you aren’t familiar with the installation process, you can always contact professional weather stripping installers to help.
Gaps between doors and frames can cause drafts and let air, regardless of season, escape. Fixing this can be easy. You can check the following:
Adjust the hinges - If your door moves upward if you lift your doorknob, the hinges may need some tightening with a screwdriver.
Take note of measurements - List the measurement of the gap from the door and the door jamb, and the width and height of the door. This lets you know how thick you need your weather stripping to be.
Mark before cutting the stripping material - Once you have your measurements listed, mark the stripping before you cut it for accuracy. Don’t forget to angle the cut where the corners of the stripping meet.
While there’s no strict rule on weather stripping, having these seals at your entryway help maintain your home’s energy efficiency, prevents draughts and leaks and keeps bugs and pests from entering your home.
Find weather stripping installers, fast
Find a weather stripping installer
Related price guides
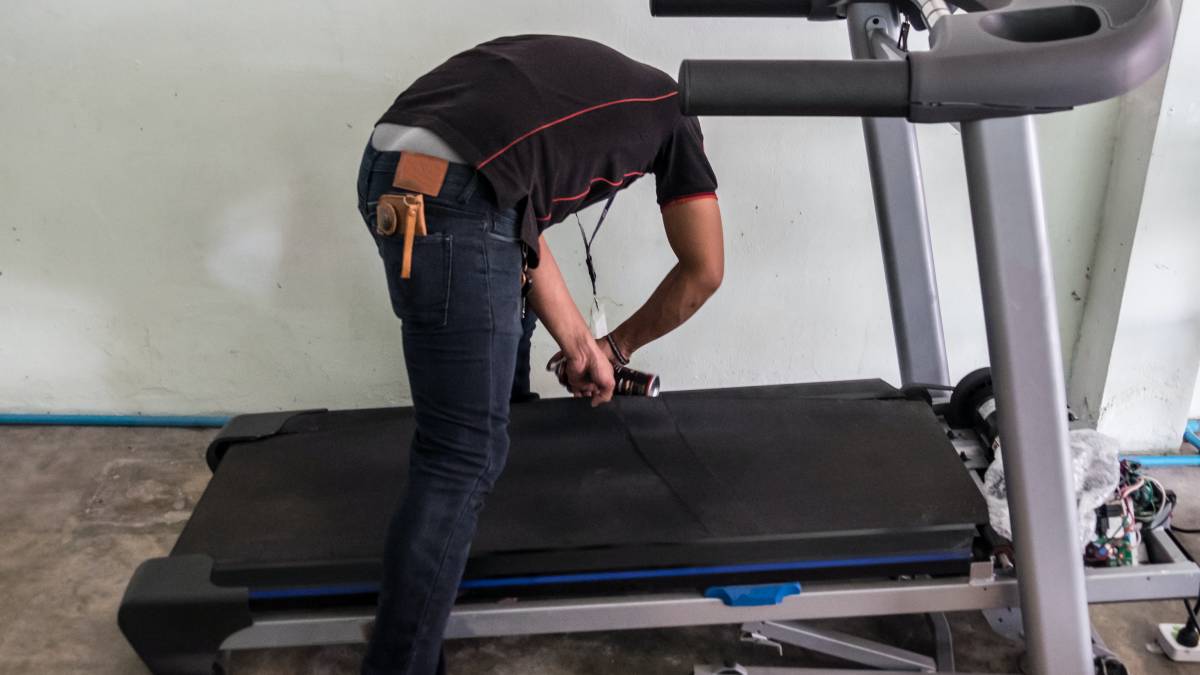
How much does treadmill repair cost?
Read more
How much do roman blinds cost?
Read more
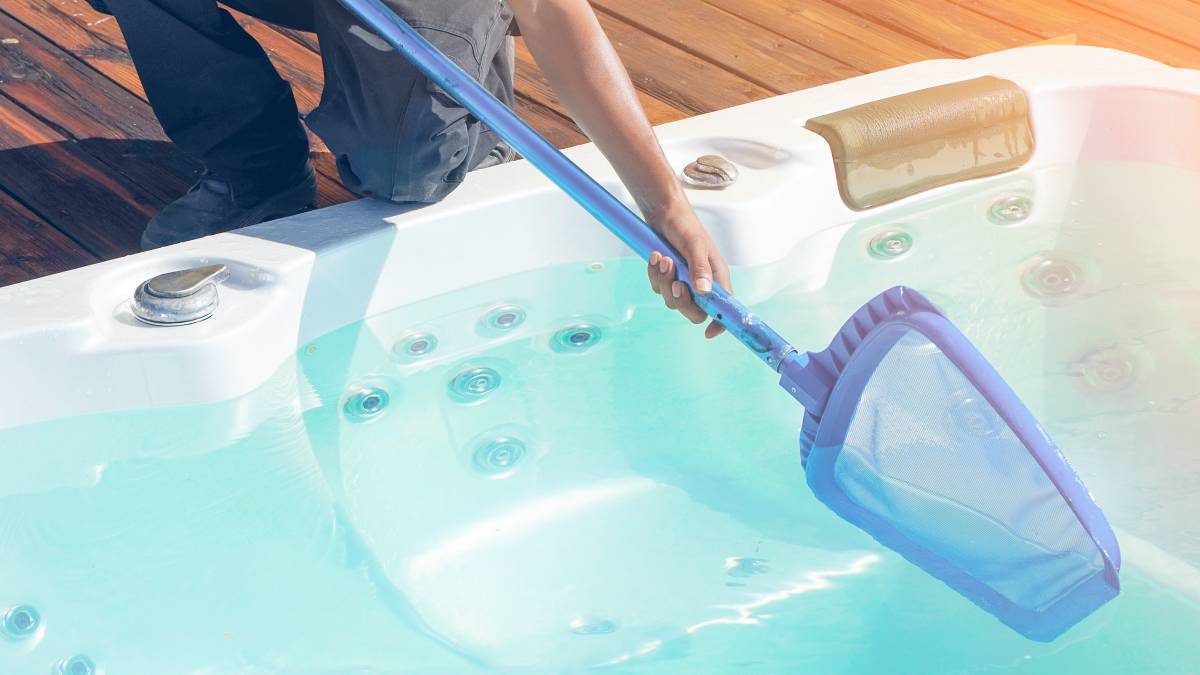
How much does hot tub repair cost?
Read more

How much does a sunroom cost?
Read more
How much does shed roof repair cost?
Read more

How much does signage cost?
Read more
How much does window repair cost?
Read more


Related articles
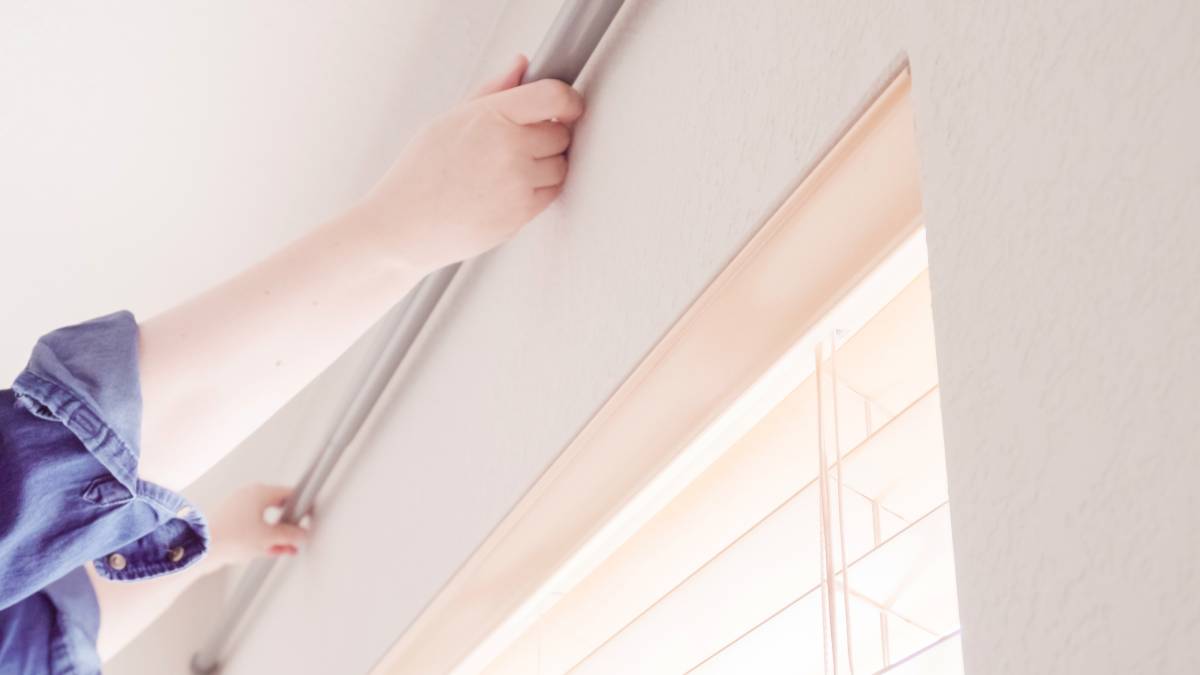
How to install curtain rods
Read more

Best blue-collar jobs on Airtasker
Read more

How to Soundproof a Room
Read more
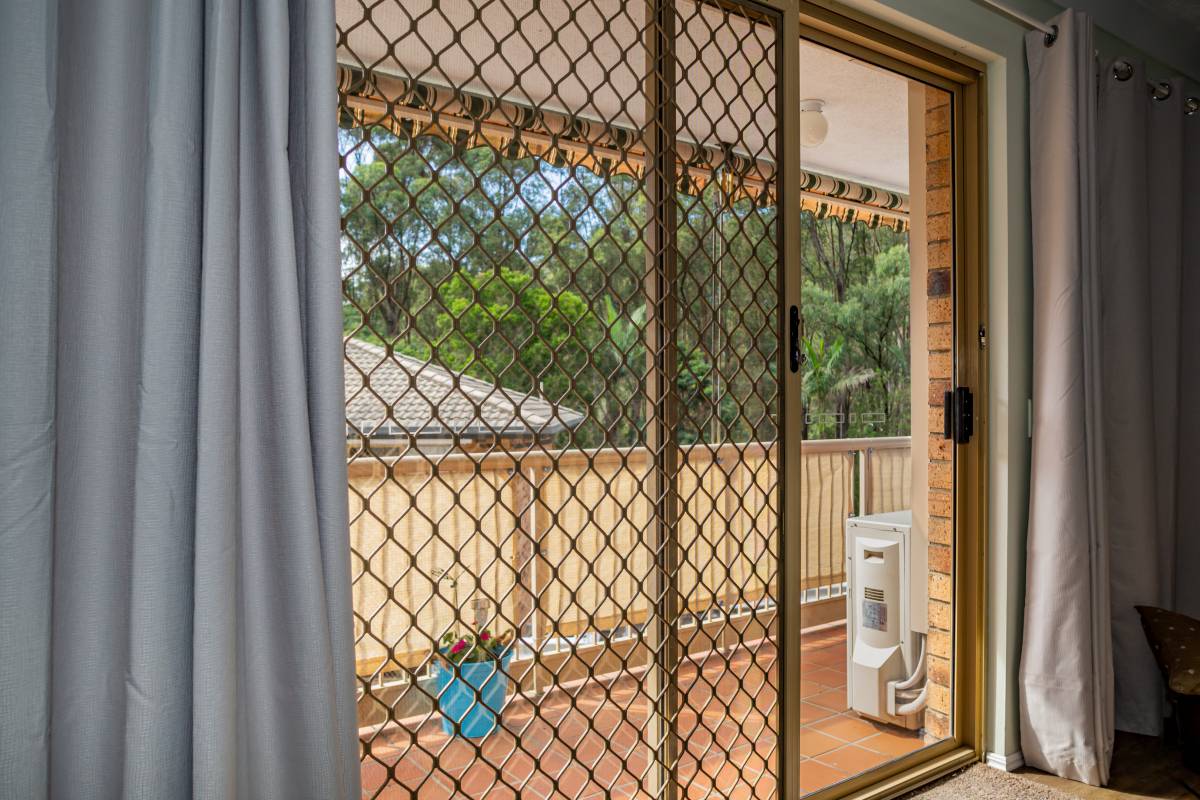
Install a screen door in 6 steps
Read more
How to fox proof your chicken coop
Read more