- Home/
- Guides/
- Door Installation/
- How to Install a Barn Door
Learn how to install a barn door at home
Need help installing a barn door? Learn from local handyman in our community!
Last Updated on
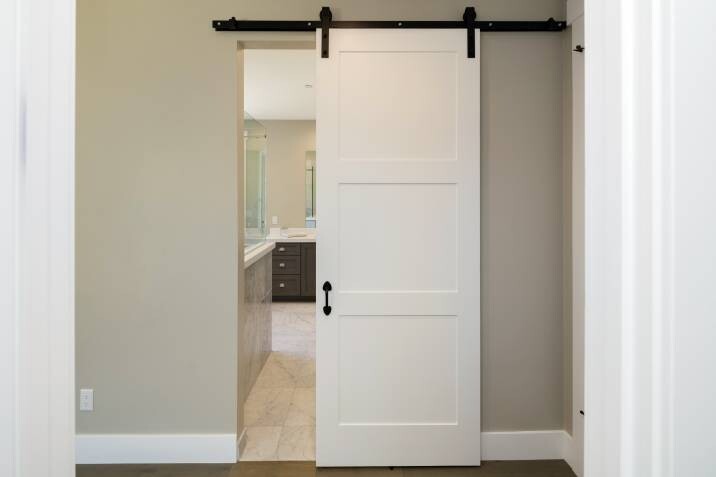
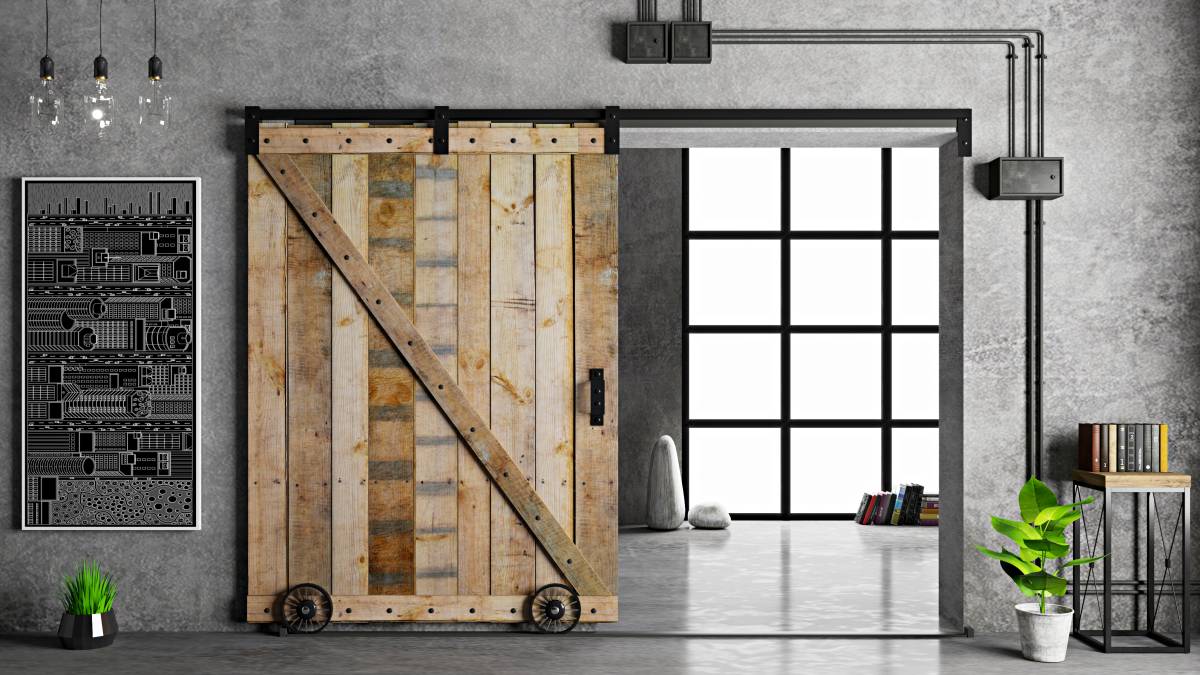
Barn doors offer beauty and charm to your house, provide easy access to rooms, and are great in tight spaces. If you were thinking of installing one for your home, know that doing so requires patience and utmost care for it to be safely operated.
There are two types of barn doors: single and double. This tutorial will focus on single barn doors, which are the more popular type. Find out how to install a sliding barn door, and learn more about what you need, what to prepare, and how long it takes.
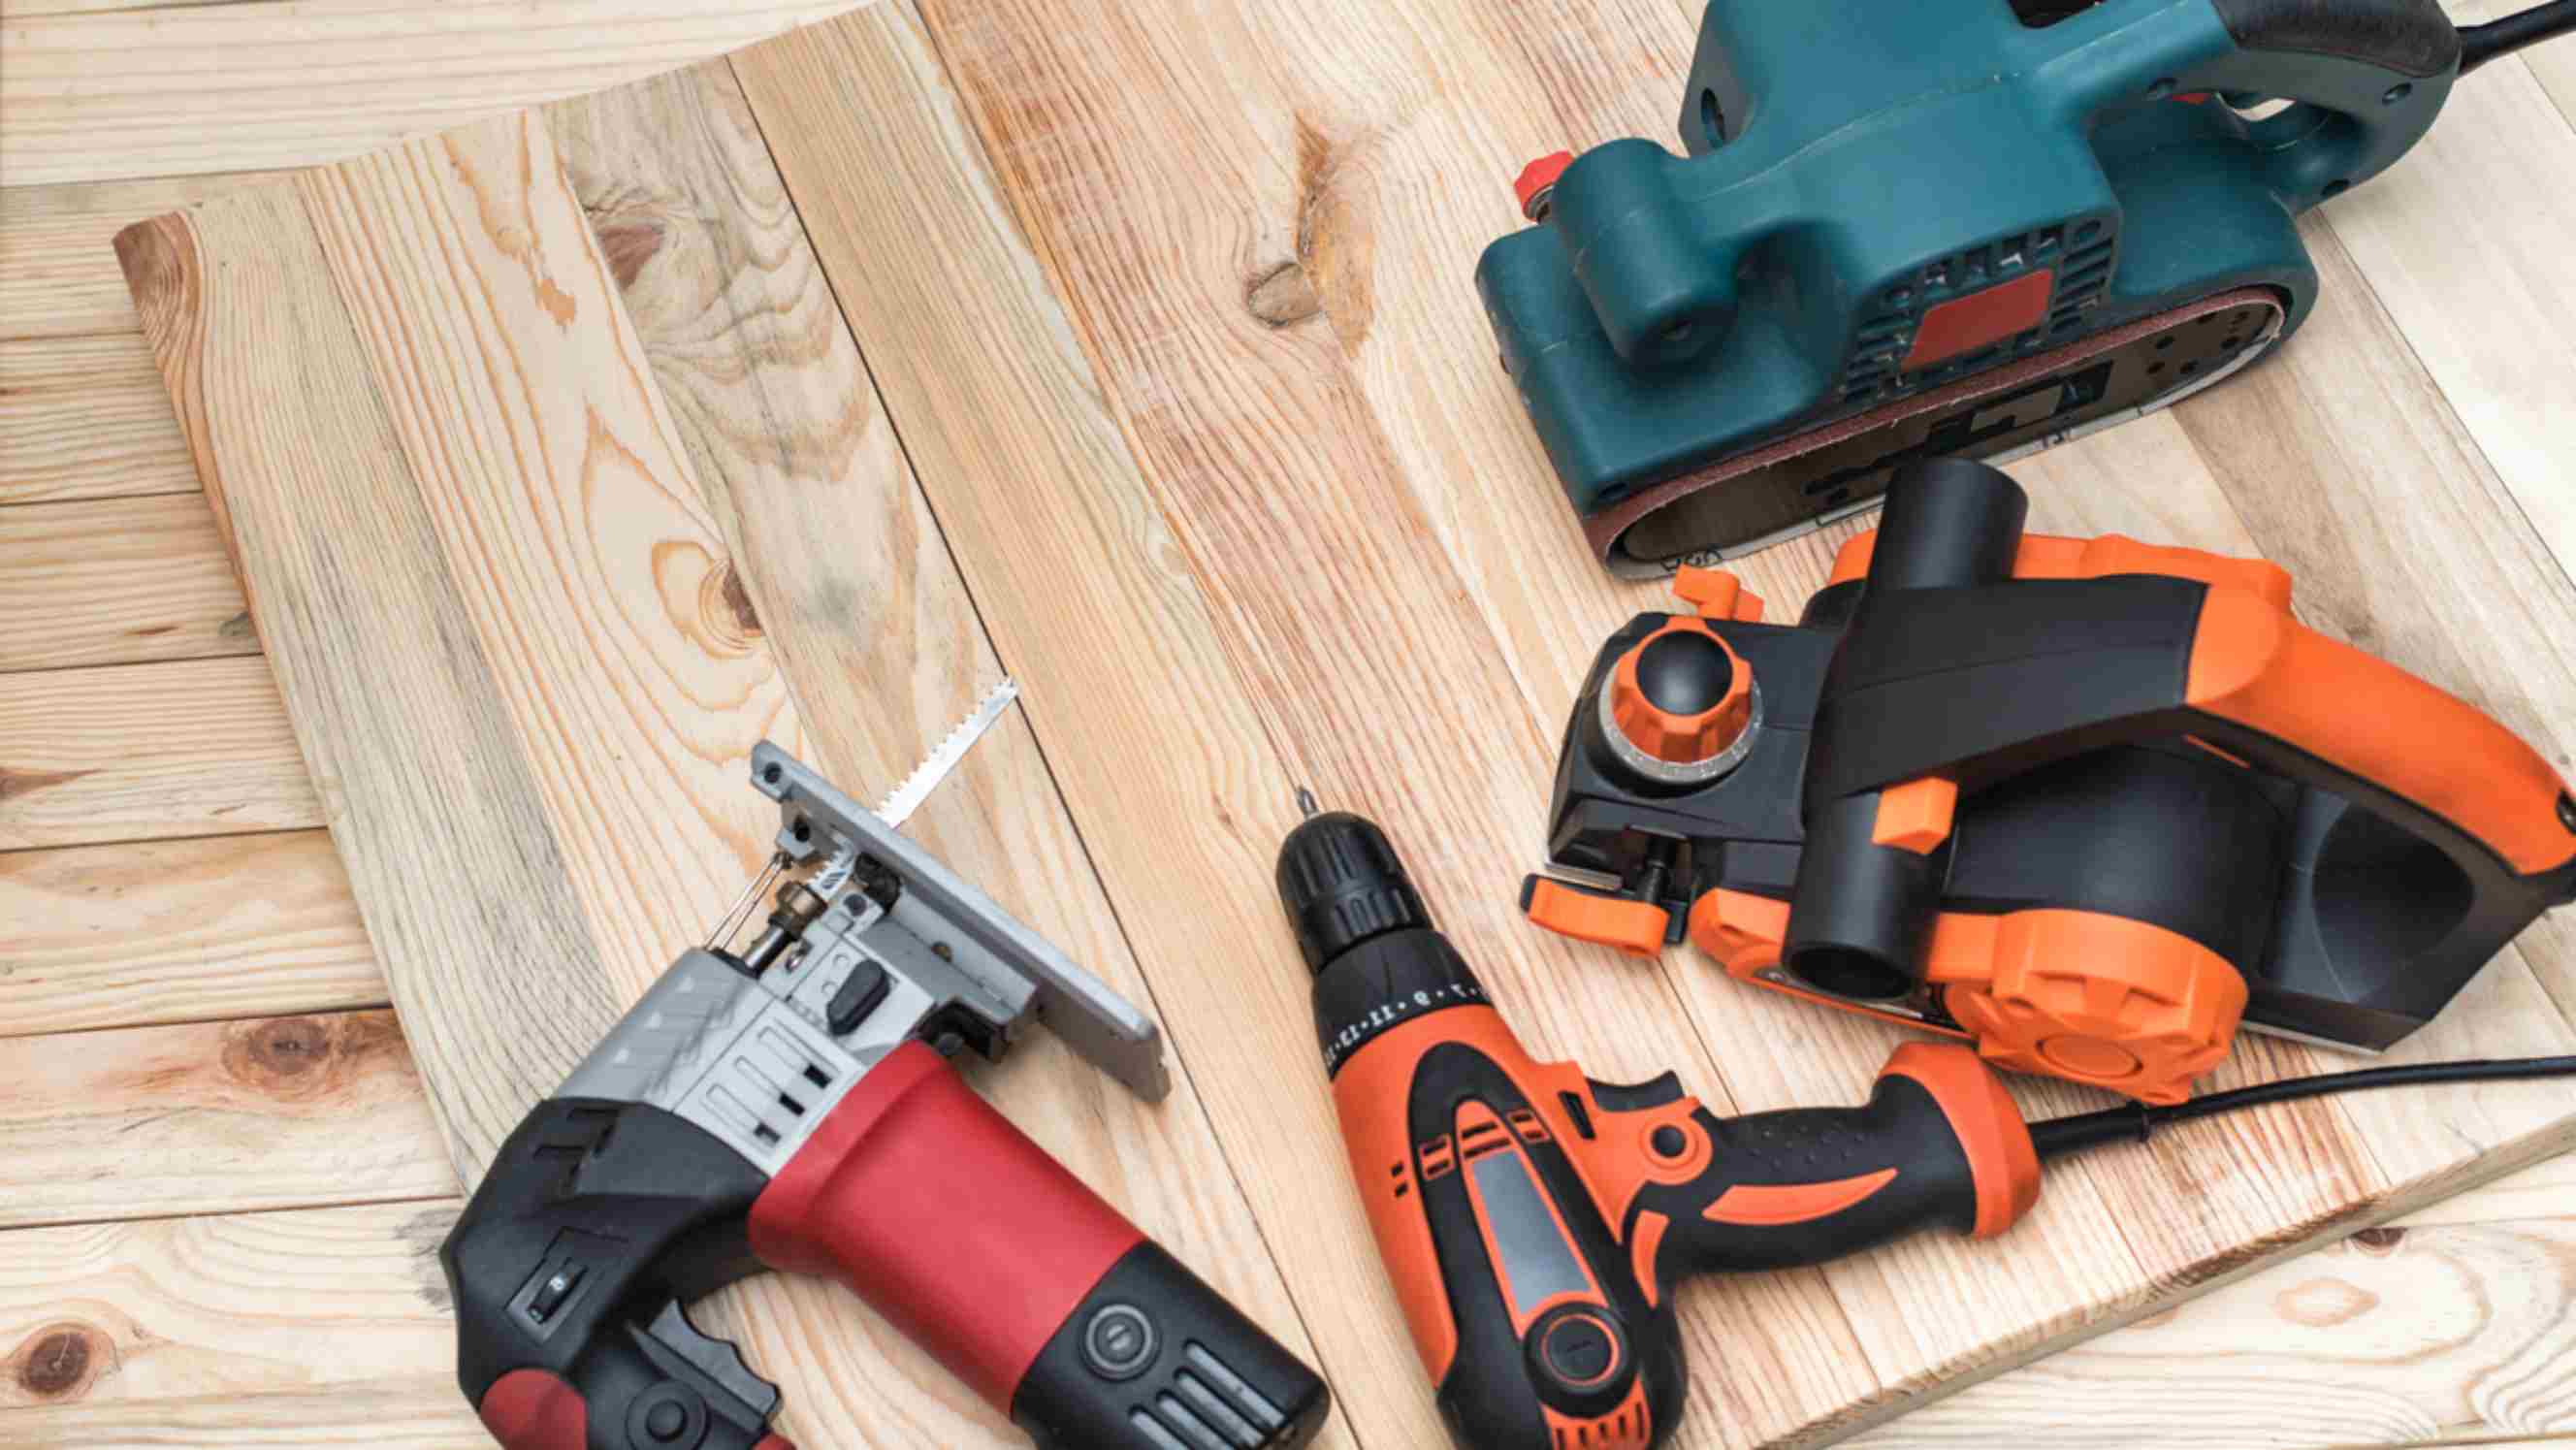
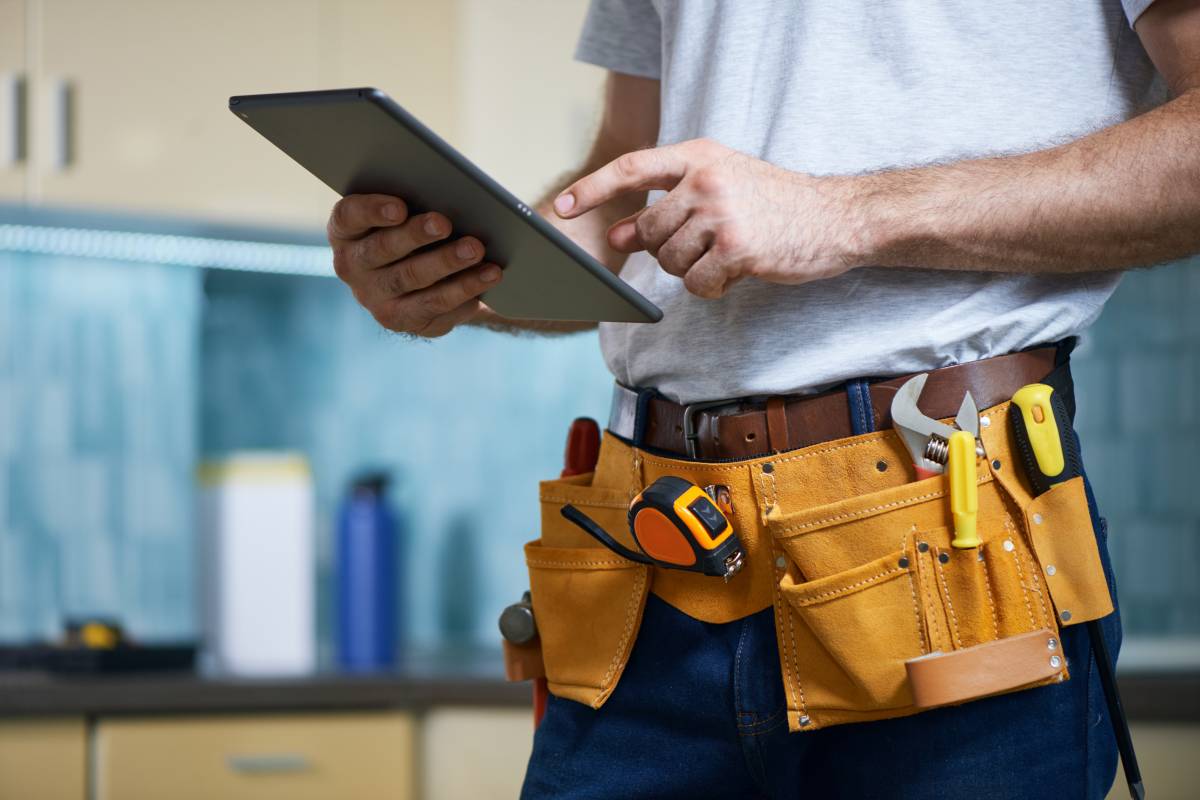
What you’ll need:
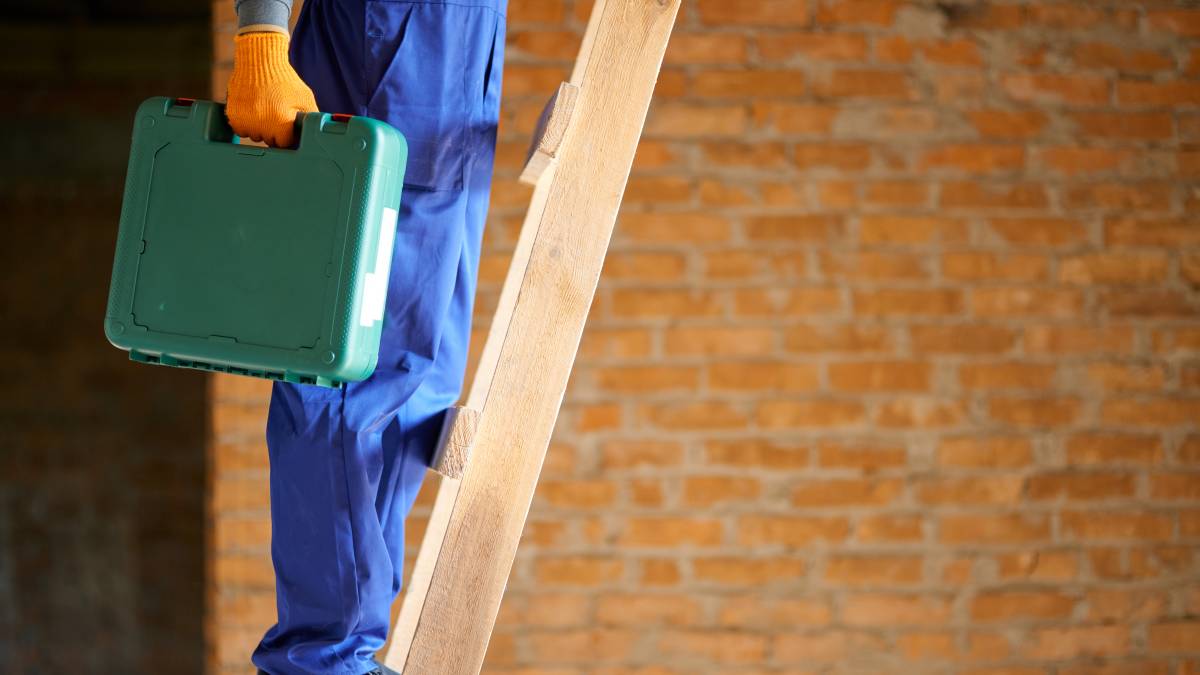
You’ll be needing a few tools to complete this project. Some will already be included in your barn door hardware kit when you purchase your barn door.
Pencil
Measuring tape
Screwdriver
Screws
Drill set
Speed square
Wrench
Stud finder
Allen key
Ladder
Line laser
Paint
Barn door
Barn door hardware kit
Time of completion:
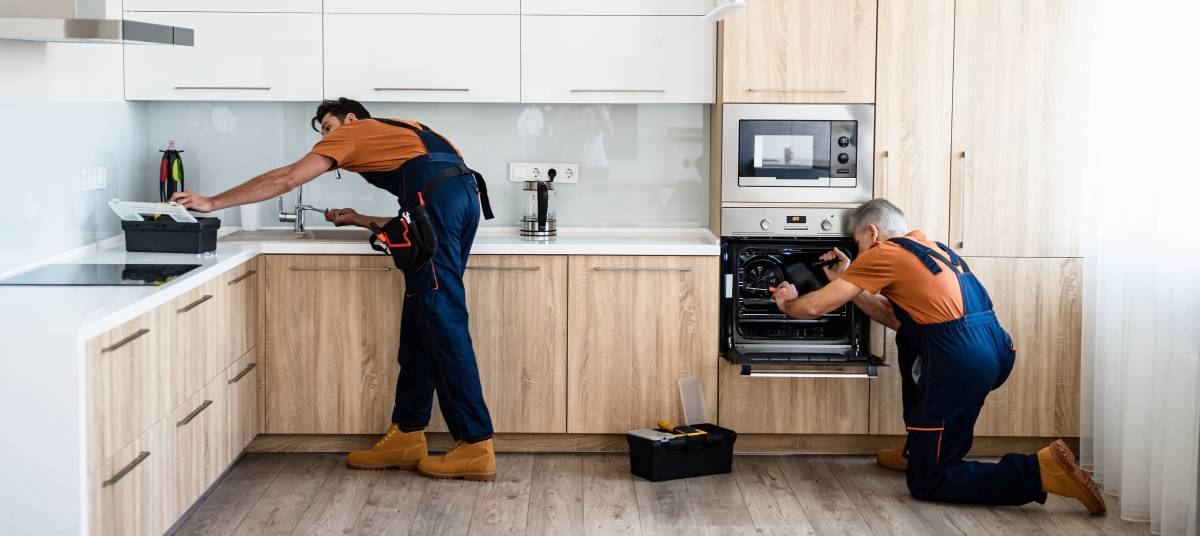
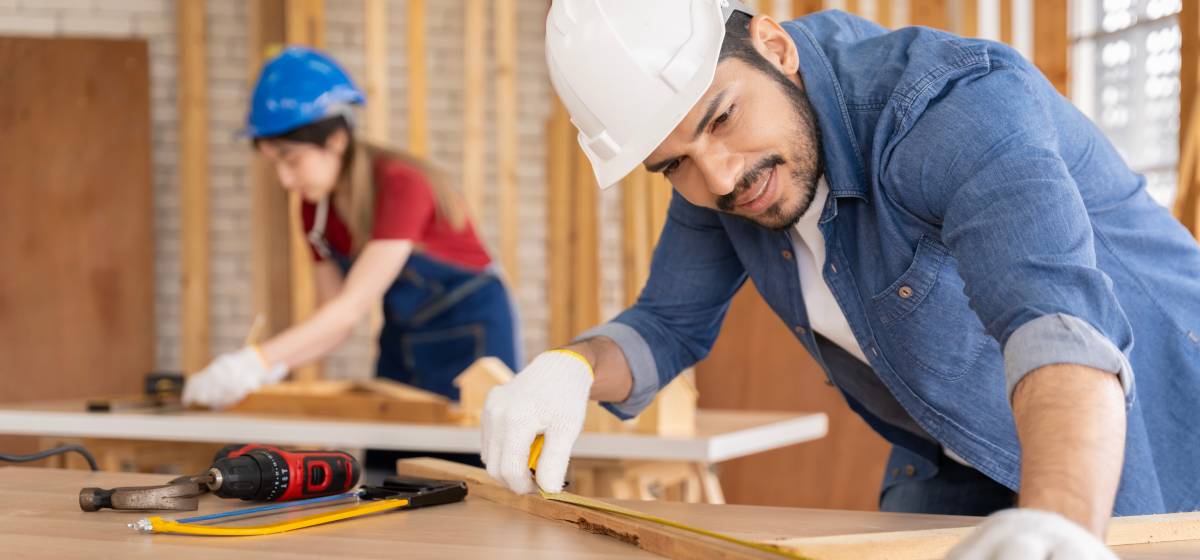
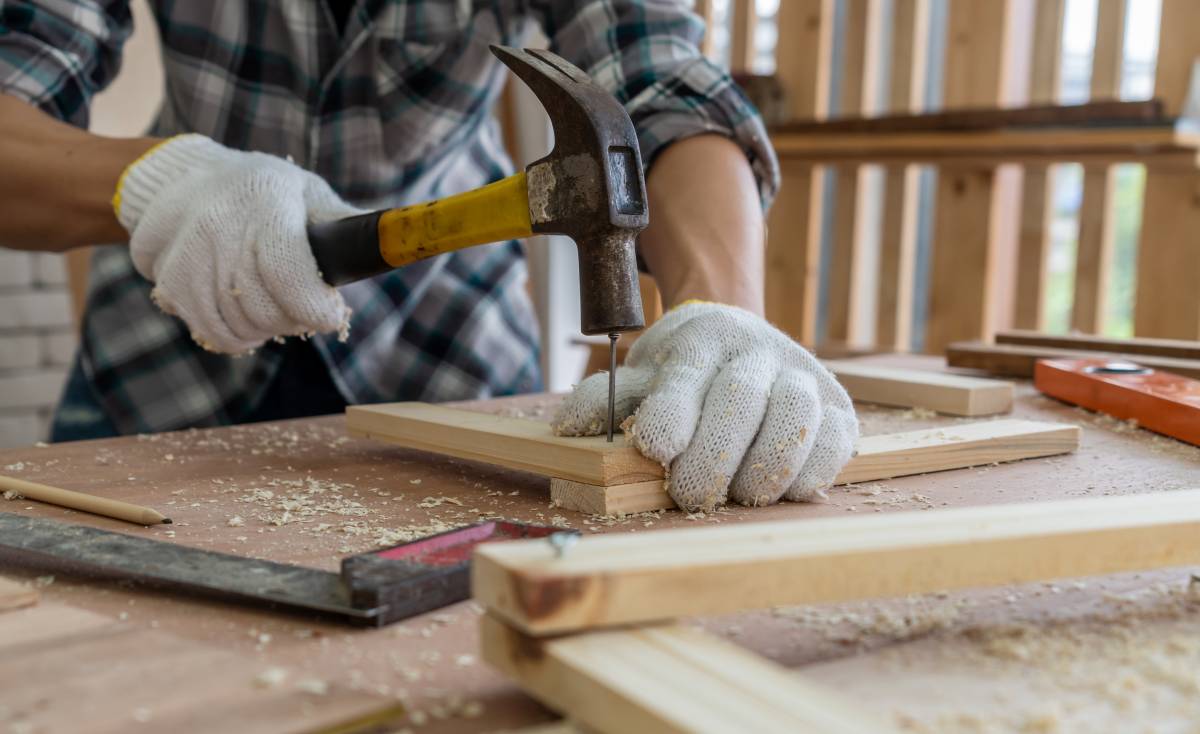
Installing a barn door usually takes a full day. Painting is usually involved—oil-based paint takes more than five hours to dry, while latex paint only takes about an hour. This job takes two people to finish. You’ll likely need help when hanging the door as it is usually made of wood and can be (quite) heavy.
How to install a barn door in 4 phases
Got your equipment and materials ready? Let’s get to it! Here’s how to install barn doors:
Step 1: Preparation

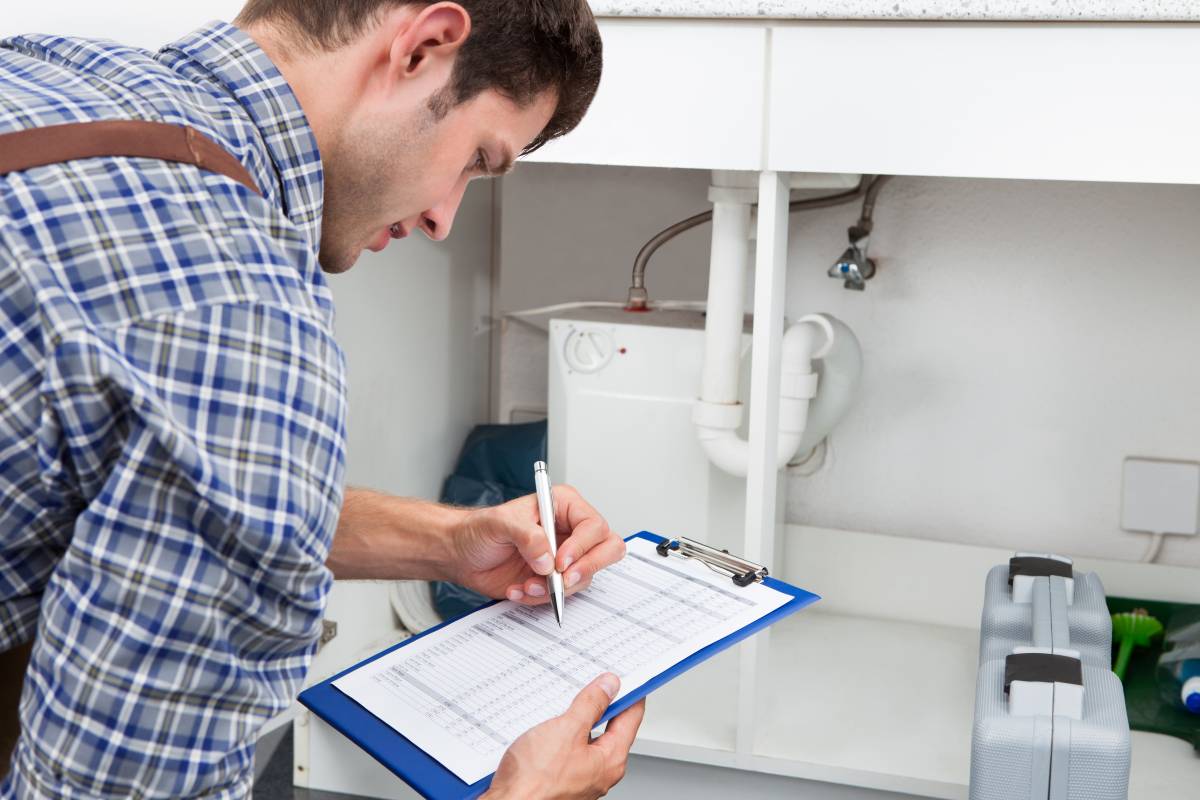
Choose quality hardware. We recommend aluminum flat rail, round rail, or stainless steel hardware. After buying, check that your hardware kit is complete.
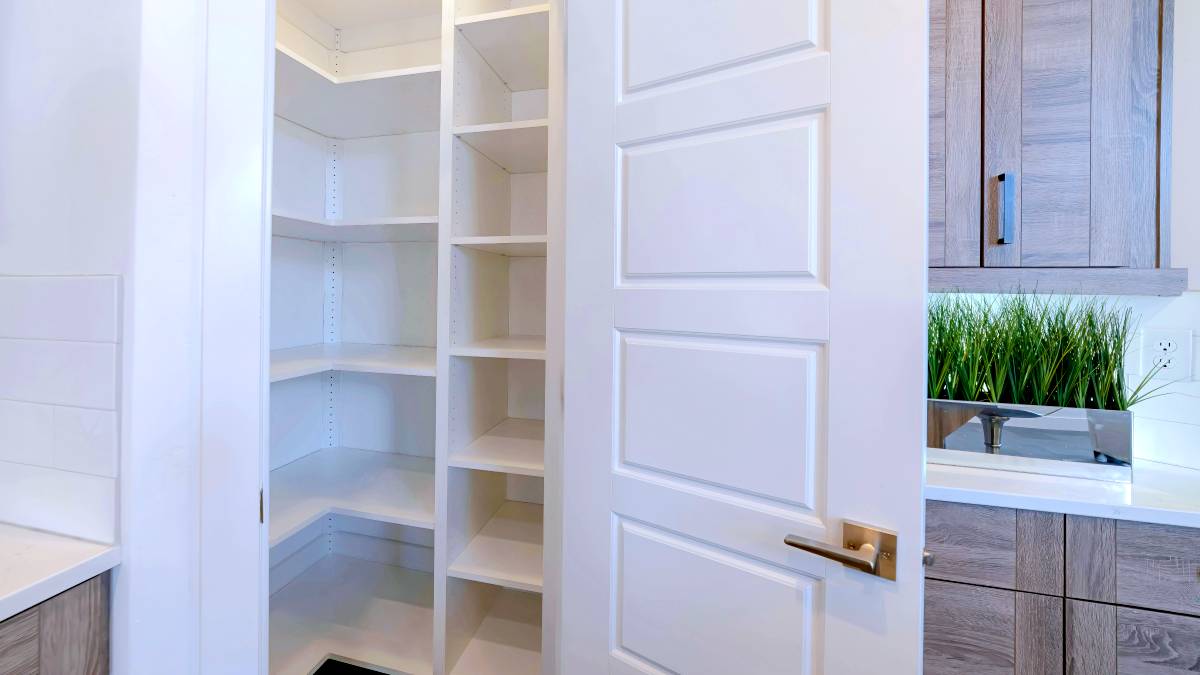
Check the space for installation. It should allow space for the door to slide along the track. The size should be the same width as the door. If you are installing a double door, there should be space for an individual door on each side.
Check for obstructions like light switches, outlets, windows, and paintings that will hinder the door from rolling as it opens.
Check door size. The door must be wider than the opening and has at least an overlap of an inch or two on both sides. Check that there is about half an inch of space between the bottom of the door and the floor.
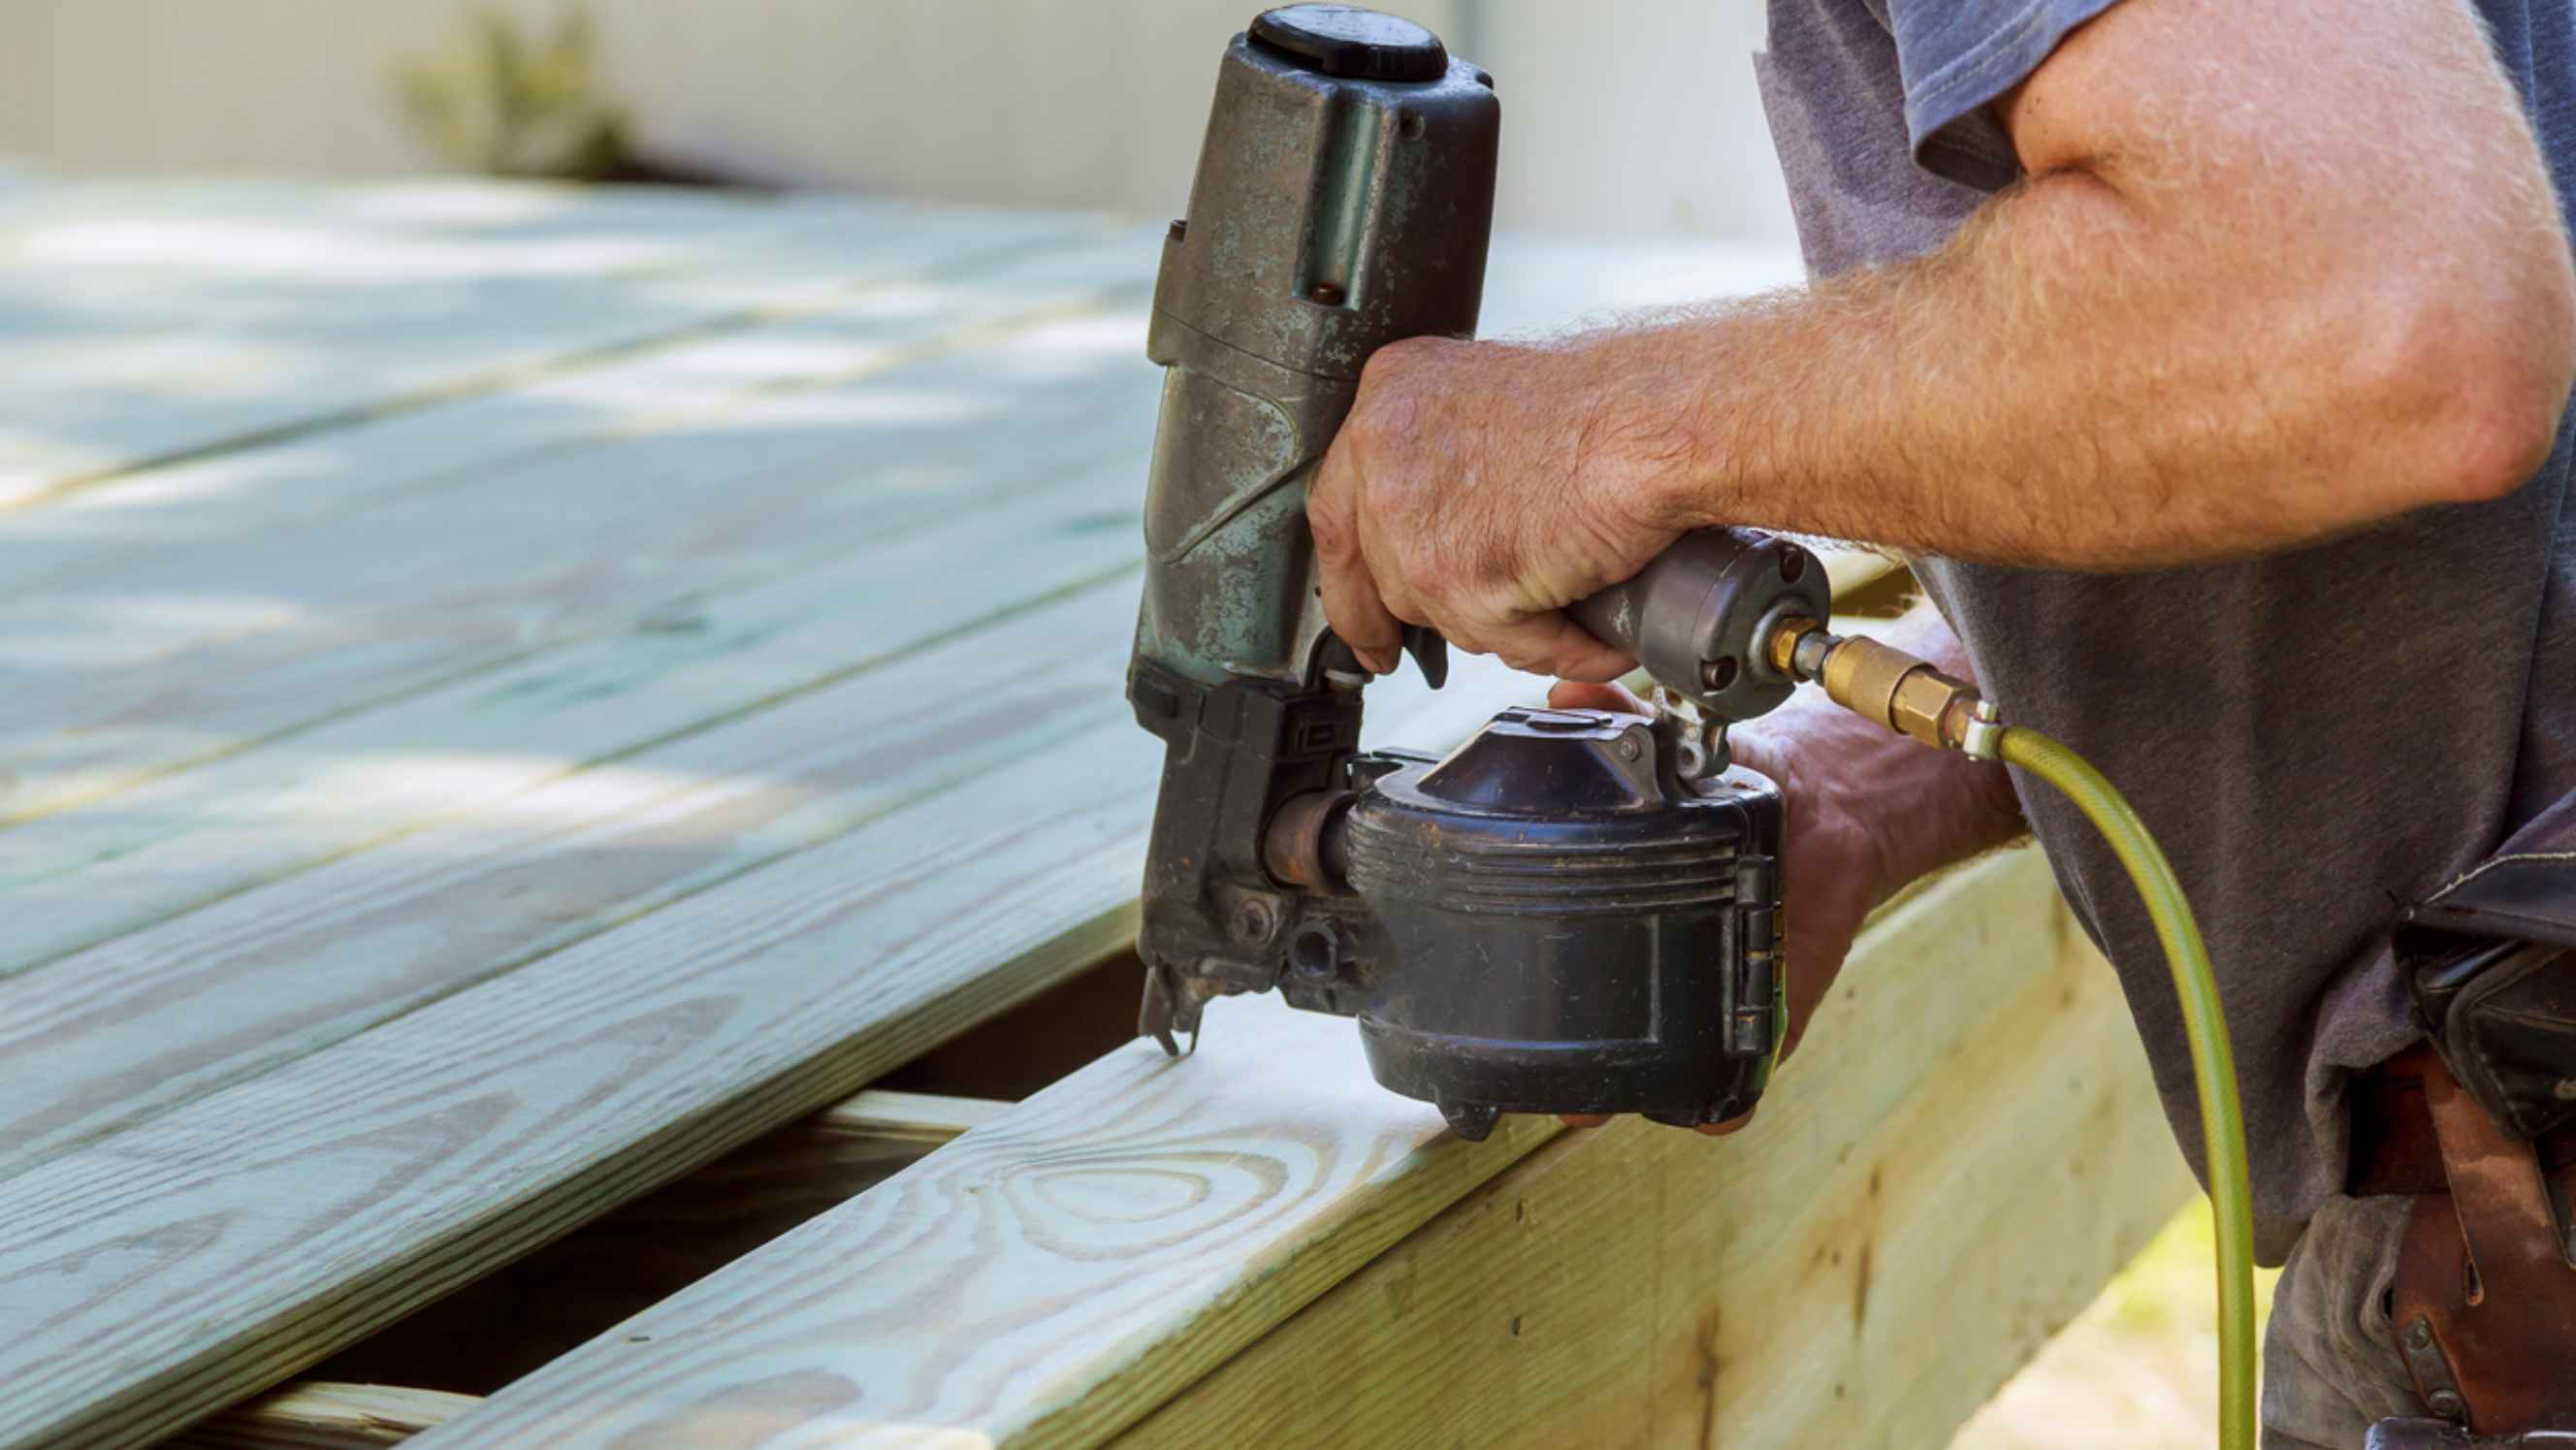
Step 2: Installation of backer board and track
Installation varies according to the hardware and the type of door you buy.
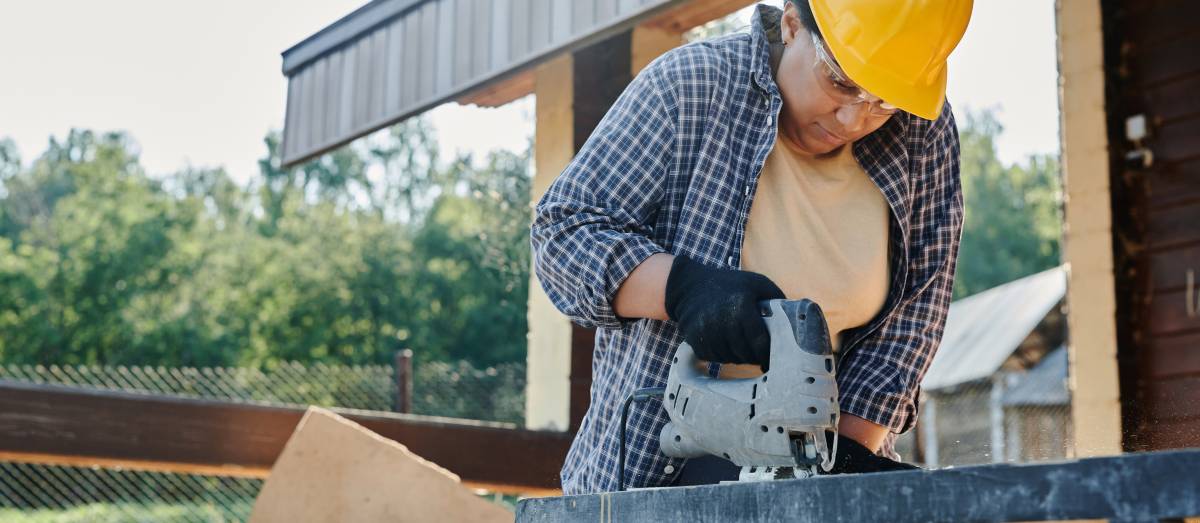
Install backer board and track. (If you have concrete walls, you can skip this step.) For a backer board, look for a one-inch thick pressured piece of lumber. Using a measuring tape, measure to accommodate the length of the track.
Paint the lumber. We recommend painting it with the same color as your wall so it blends in, but feel free to get creative and paint it with a color that pops!
Using a stud finder, locate and mark the studs on the wall. Mark three to four inches above the hinge side of the opening.
Identify the location of studs. Using a measuring tape, identify the measurements of the studs and locate them on the backer board.
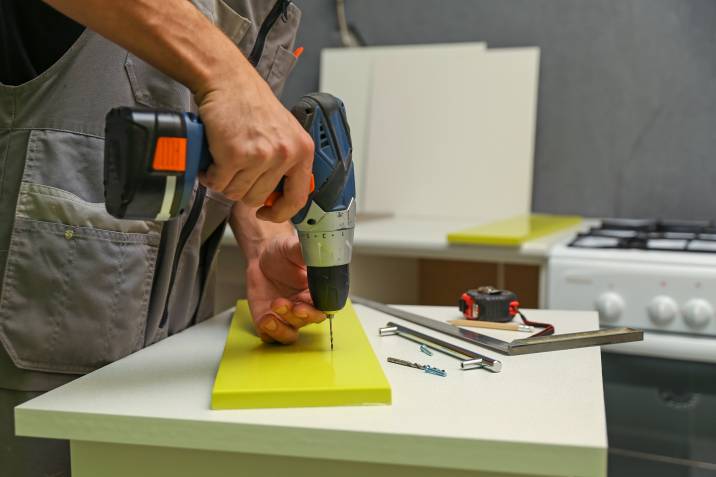
Pre-drill the holes on the backer board. Copy track holes and pre-drill according to manual instructions.
Attach the backer board to the wall. Ask for someone’s help to hold the board in place while you insert all the screws.
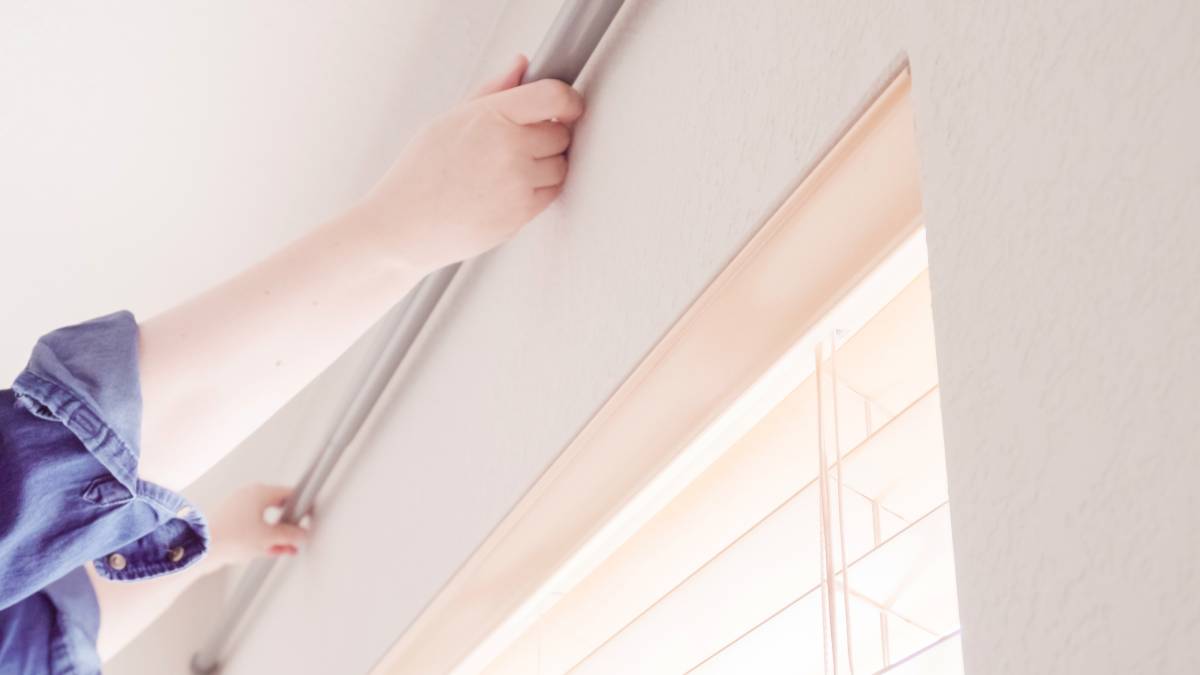
Attach the metal track. Using the hardware included in purchasing the door, use the bolts and washers to fasten the tracker onto the backer board. Tighten the bolts and adjust using a wrench for a firm grip.
If installing without a backer board, using a line laser, straighten the track and mark the holes on the wall. Pre-drill the holes and attach the tracker using the hardware kit.
Install stoppers. There will be two stoppers together with your hardware kit. Slide each stopper on each end and tighten using the Allen key.
If your walls are made of concrete, there is no need for a backer board. However, non-concrete walls like drywall should not have a track installed directly as it may not be able to support the weight.
Step 3: Prepare the door
Now that the backer board and track are installed, it is time to prepare the door.
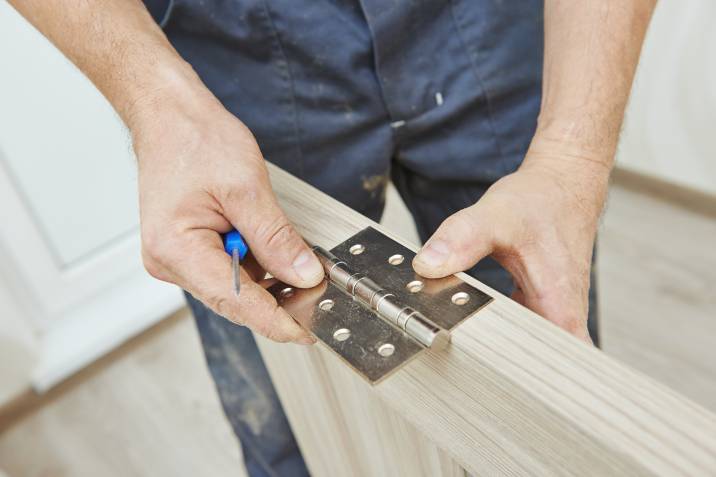
Attach the strap and rollers. Both the strap and rollers are included in the hardware kit. Follow the instructions given in the manual. When attaching the strap, make sure to follow space specifications like allowing two inches in between the top of the door to the underside of the roller.
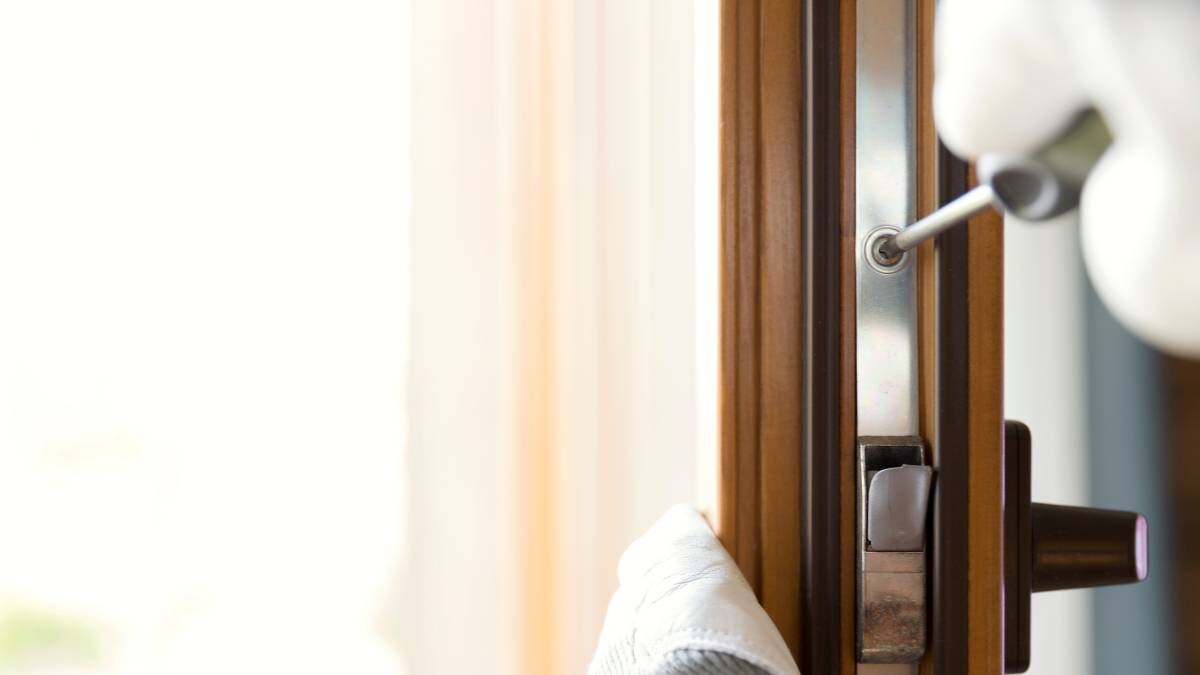
Mark the holes on the strap. Using a speed square to straighten the strap, mark the holes and drill.
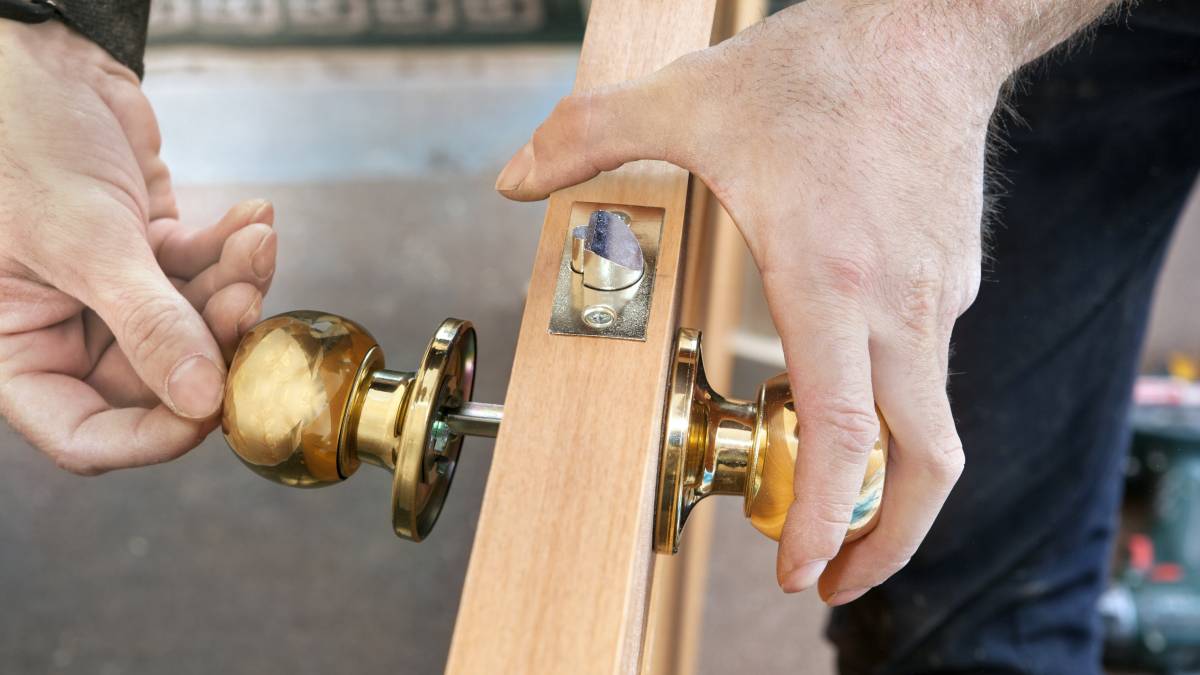
Attach the handle. Using a measuring tape, place the center of the handle 36 inches from the bottom of the door. Mark using a pencil and pre-drill the holes. Use screws and bolts in the hardware kit to secure the door handle.
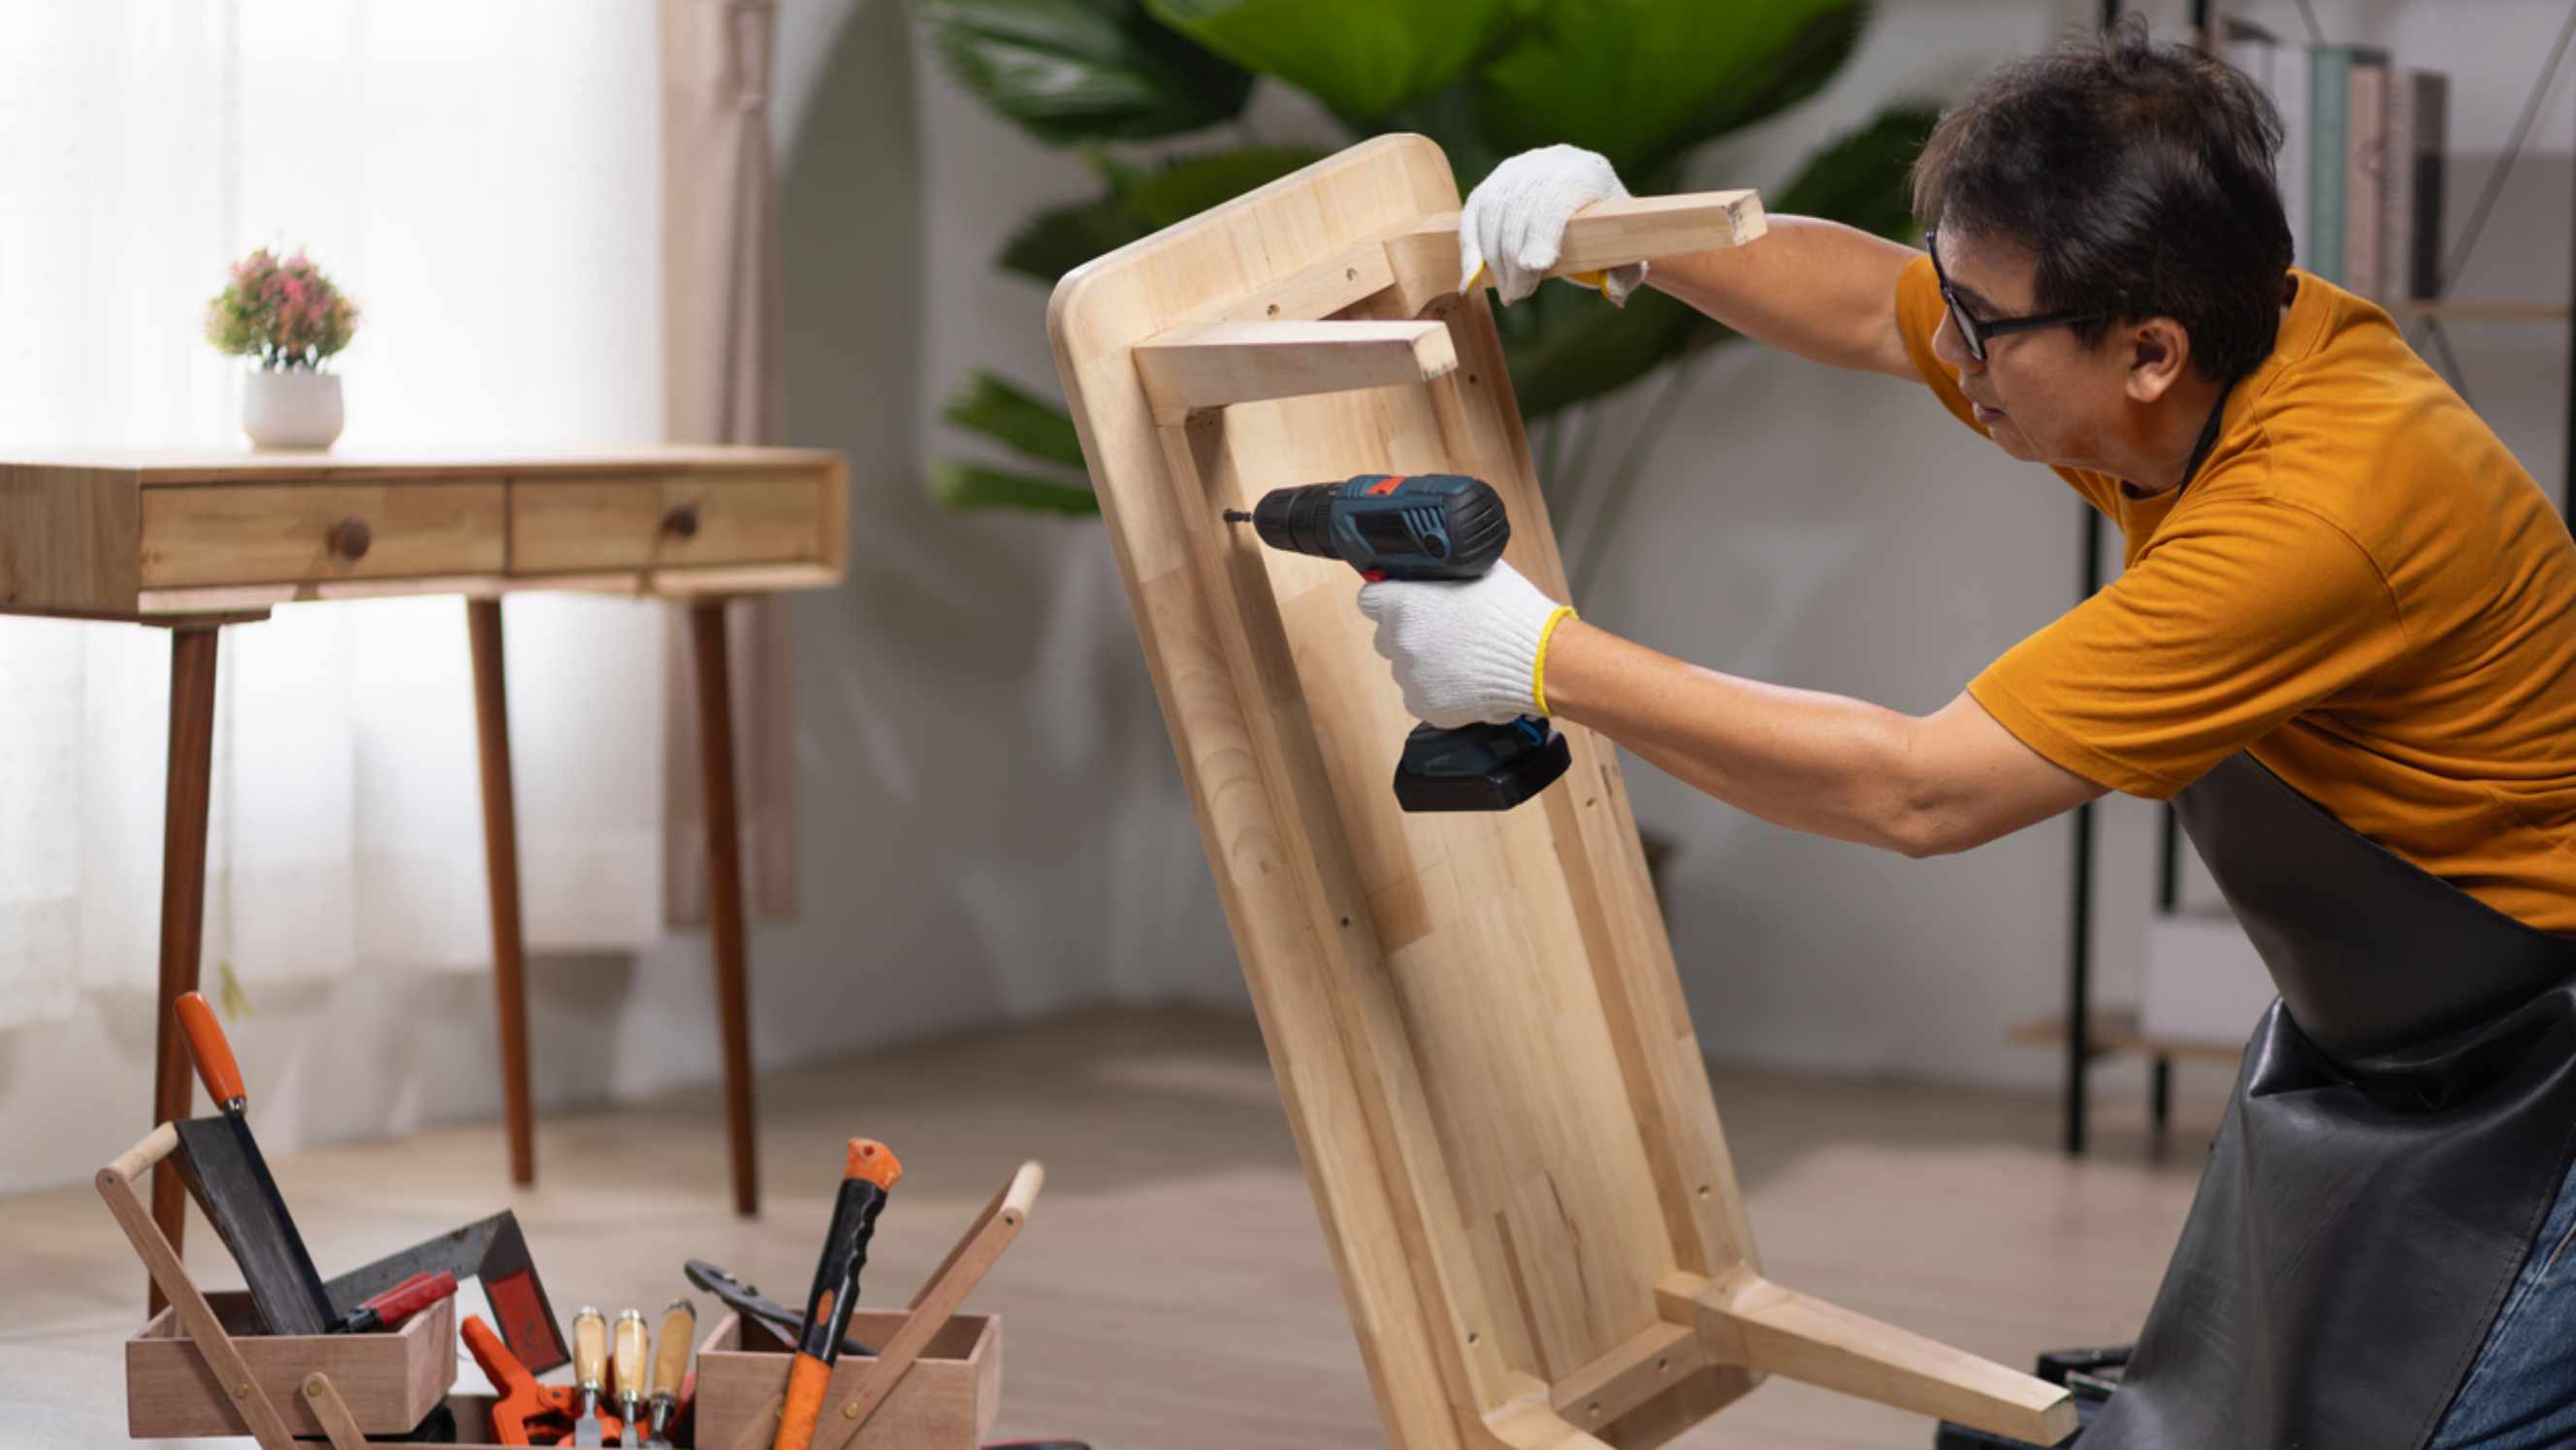
Step 4: Hang the barn door
Carry and hang the door on the tracker. With the help of someone, carry the door and hang it up on the tracker until it’s secured. Check by rolling the door properly signifying the door opens and closes properly. This also checks if your door stoppers are working, and most importantly, if you placed your tracker correctly.
Attach rubber blocks. The small circular rubbers included in the hardware kit are also called anti-jump blocks. It should be installed on top of the door between the top edge of the door and the underside of the track. This fills the gap and allows the barn door not to be taken out of the track.
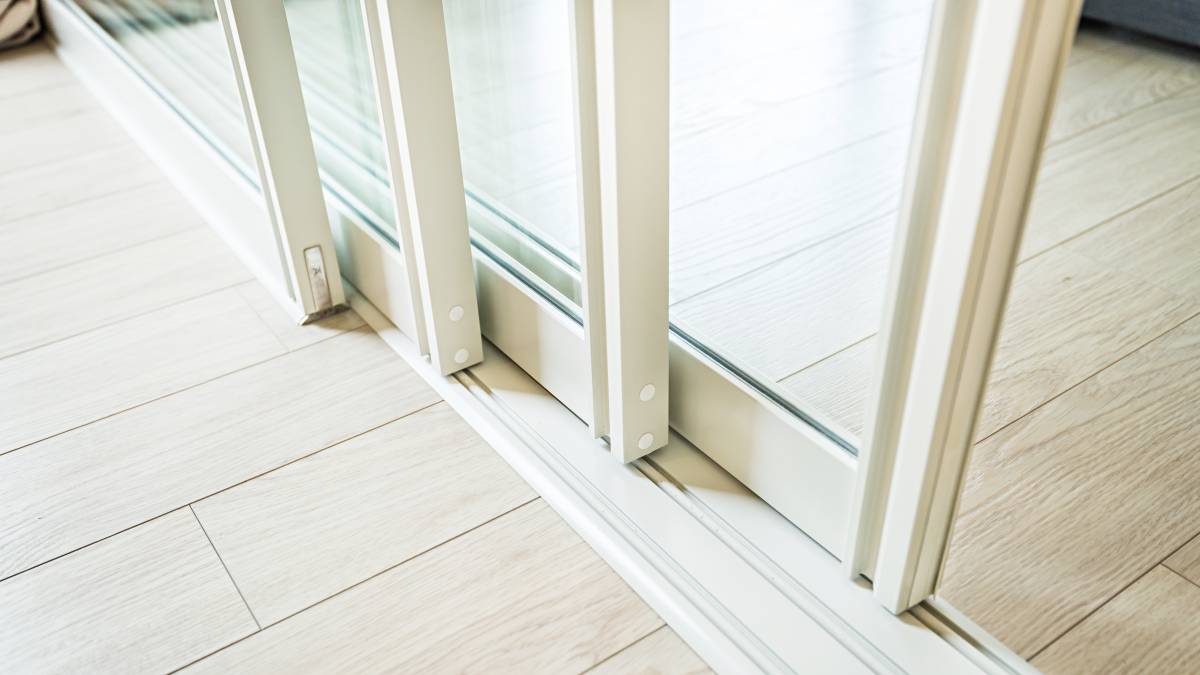
Install barn door floor guide (optional). Some hardware kits include barn door floor guides that are to be installed on the floor. Follow the manufacturer’s instructions when placing the item. This can help keep the door opened or closed. It also serves as a protective mechanism for your flooring.
And there you have it—you should have successfully installed a barn door!
How to take care of barn doors
To ensure that your barn door exudes the same charm to your home, you need to keep it clean as you do with your other furniture. Since barn doors are usually made of wood, extra care is necessary. Here are a few tips to take care of your barn doors:
Remove dust on the top and side of the door frame by using a microfiber cloth, as dust accumulates the most in this area.
Apply a smooth layer of polish by moving in one direction.
You may wipe the entire door once in a while using warm water and soap. Use a different cloth to wipe the door dry.
When cleaning the hinges, use old rags as you might encounter rust.
You may opt to use an all-purpose cleaner to clean the track.
Remove streaks and squeaky sounds by applying olive oil to the rollers and tracker.
You may use glass cleaners for stainless steel hardware.
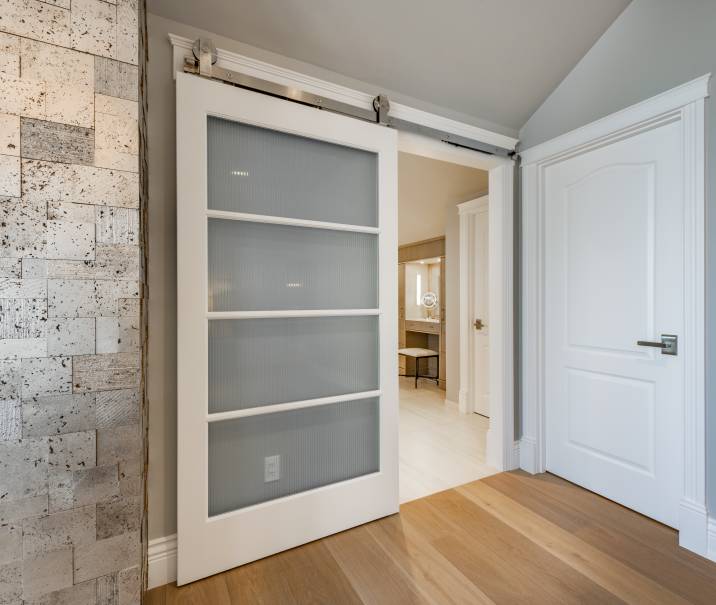
Add beauty to your home with a barn door
If there is no one around to assist you with this project, then allow Airtasker to come to your rescue. You can post a task and let a Tasker help install your barn door at home. Not only will you free up some time for yourself, but you’ll also save yourself the stress and the (possible) body pains this DIY project could cause. Get the services of a door installation professional today.
Frequently asked questions
Yes, you can! However, it is important to work on this with someone who can help you carry the door and help you straighten the backer board and the track. This ensures the safe operation of your barn door.
Non-concrete walls like drywall need to have a backer board installed before placing the tracker as it may not be able to support the weight of the barn door by itself.
Find door installers, fast
Find a door installer
Related price guides
How much does treadmill repair cost?
Read more
How much do roman blinds cost?
Read more
How much does hot tub repair cost?
Read more

How much does a sunroom cost?
Read more
How much does window repair cost?
Read more
How much does shed roof repair cost?
Read more

How much does signage cost?
Read more


Related articles
How to install curtain rods
Read more
Best blue-collar jobs on Airtasker
Read more
Install a screen door in 6 steps
Read more
How to Soundproof a Room
Read more
How to fox proof your chicken coop
Read more