- Home/
- Guides/
- Door Installation/
- How to Install a Storm Door
How to install a storm door for extra security
Find a door installerLast Updated on
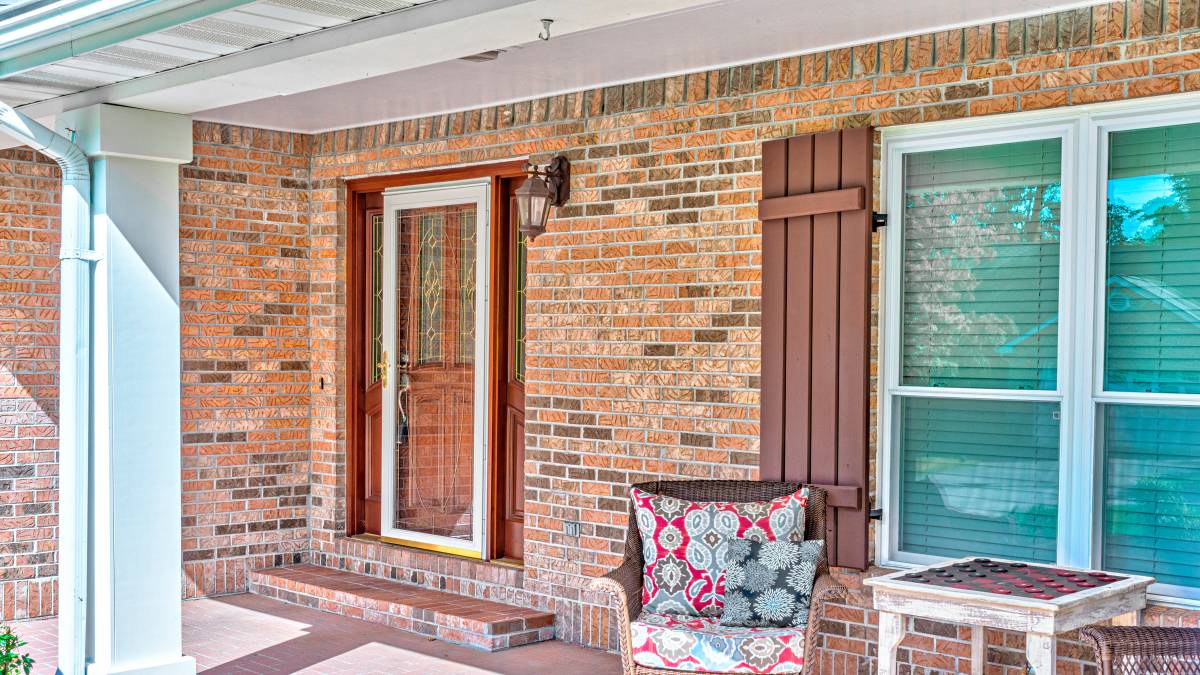
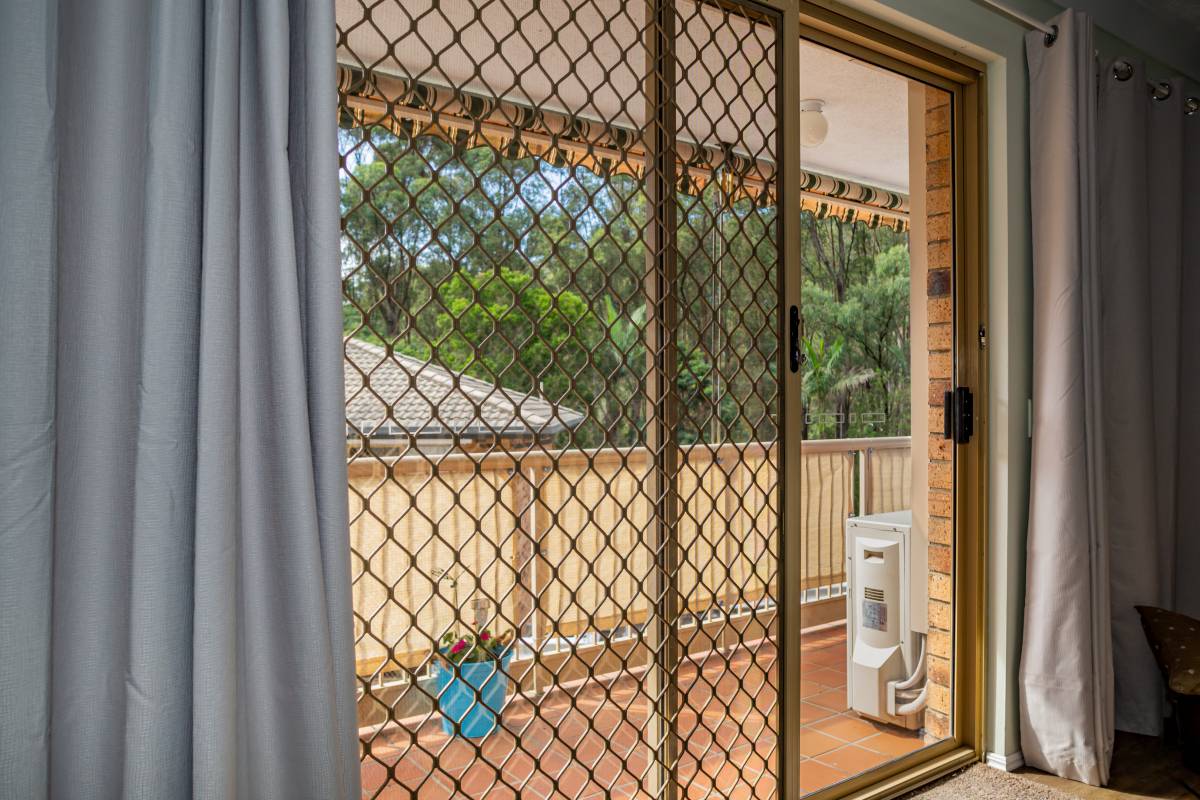
Storm doors provide some type of weatherproofing for your home while helping you gain energy savings. It also keeps off pests while letting you enjoy natural light. With its benefits, storm doors are an excellent addition to your home. In this guide, we’ll teach you how to install a storm door. Read on to learn more!
What’s a storm door for?
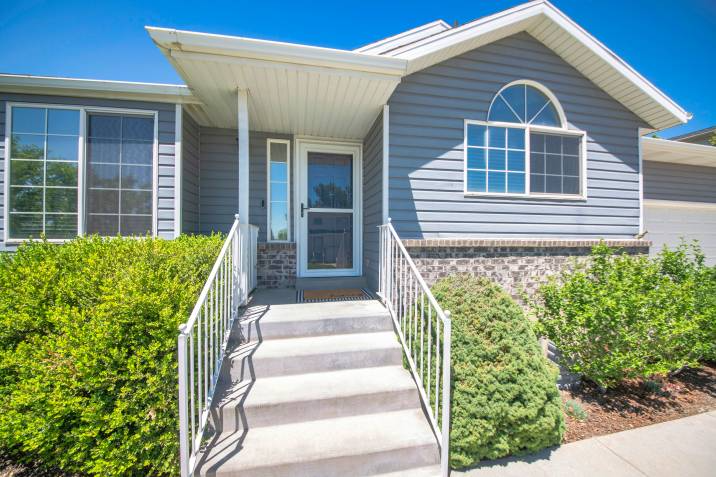
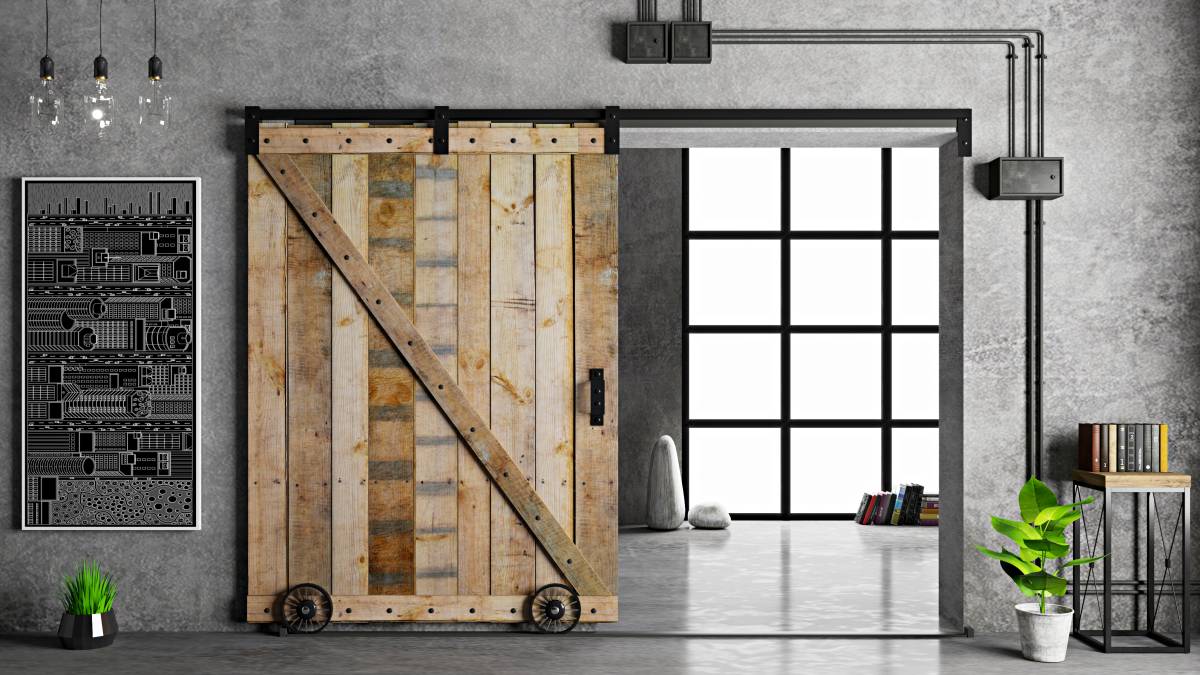
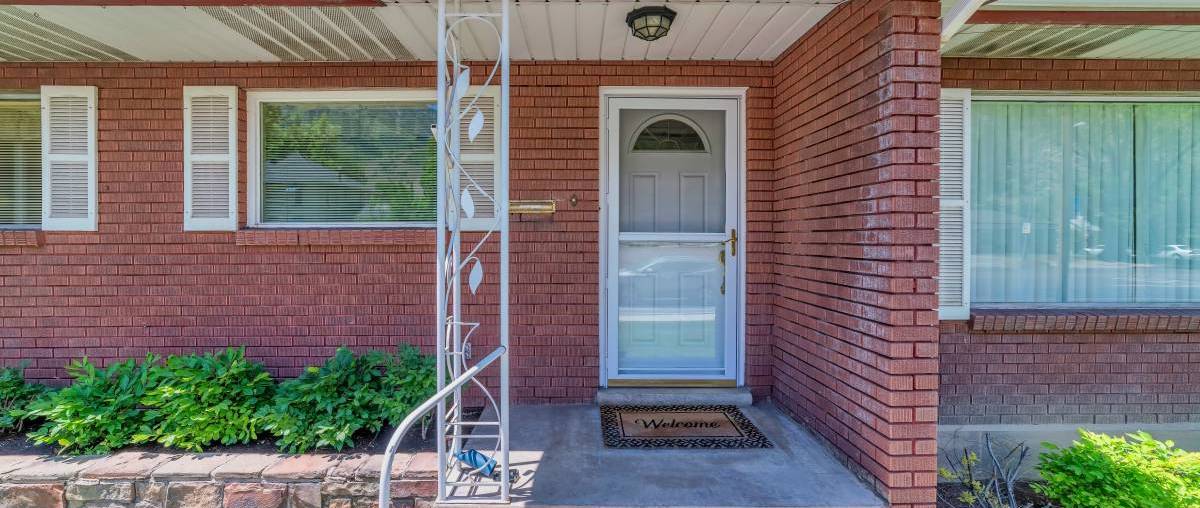
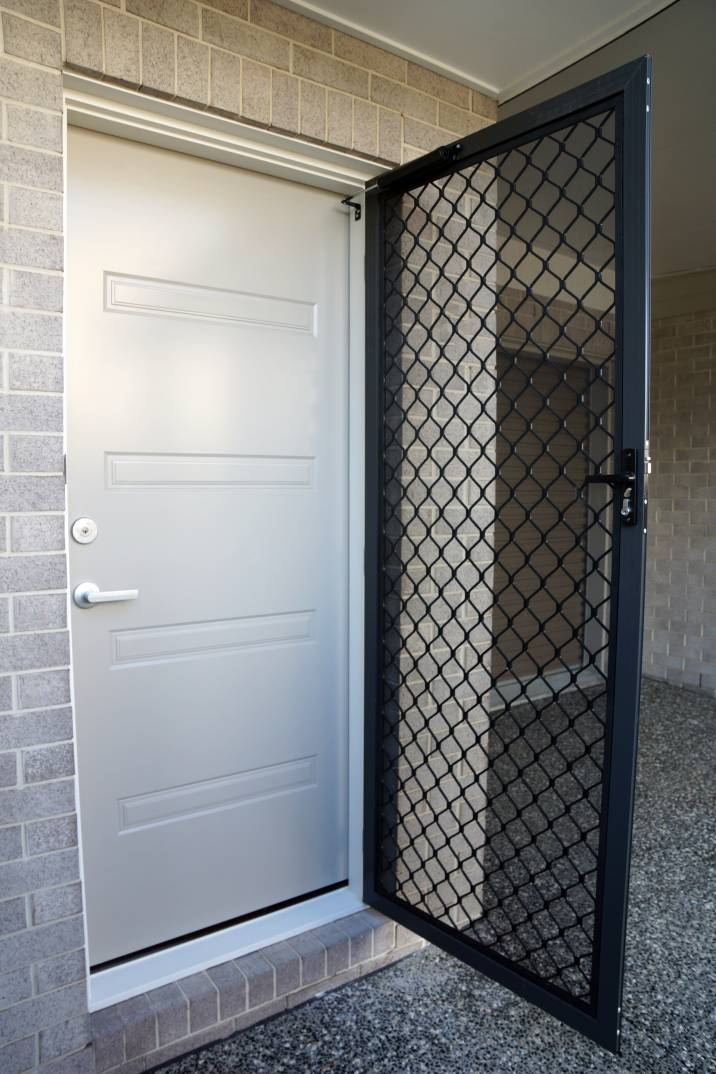
A storm door is a type of external door that adds protection to your home during inclement weather and gives you the chance to enjoy the cool breeze during good weather. Apart from these, there are many advantages to installing a storm door:
It prevents potential break-ins through durable hardware
It beautifies your home and creates an interesting focal point for your home
It helps you save more money by lowering the electricity bill
It protects your main door from outdoor elements and prolongs its lifespan
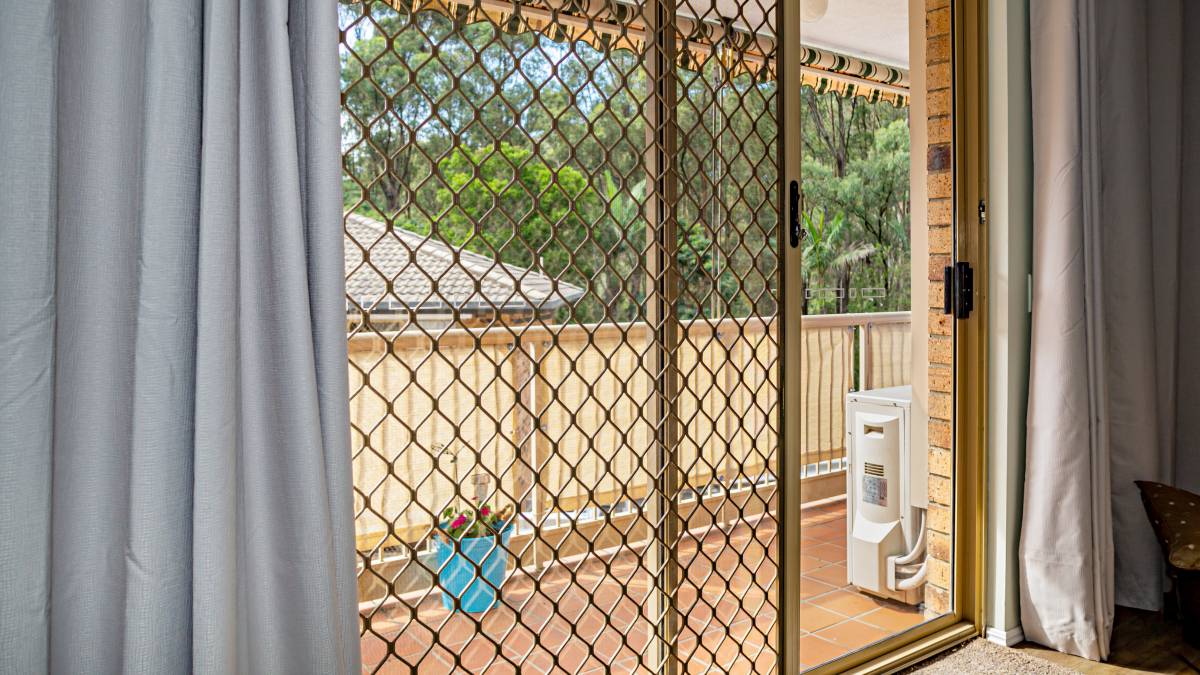
It lets you enjoy more natural light, especially during summer
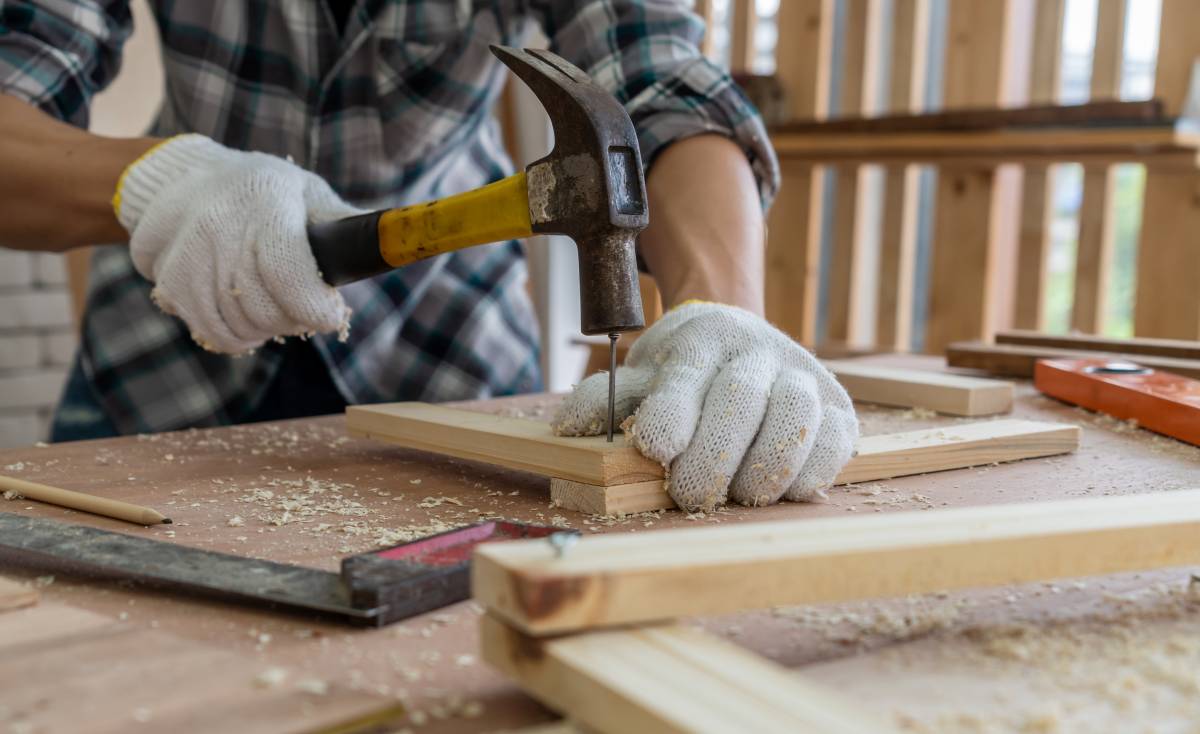
Tools needed to install a storm door
Now that you know the advantages of a storm door, here’s a list of tools and materials you will need to install one.
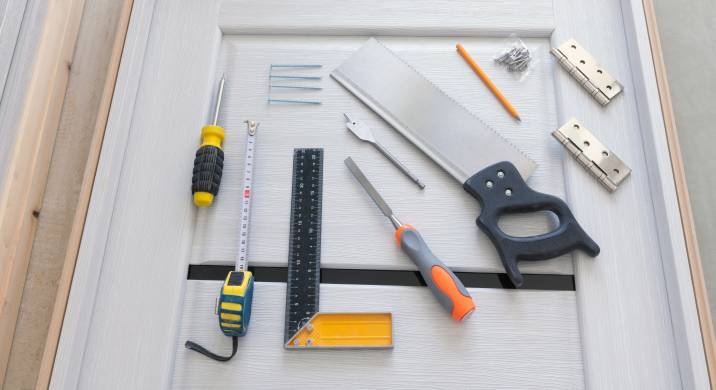
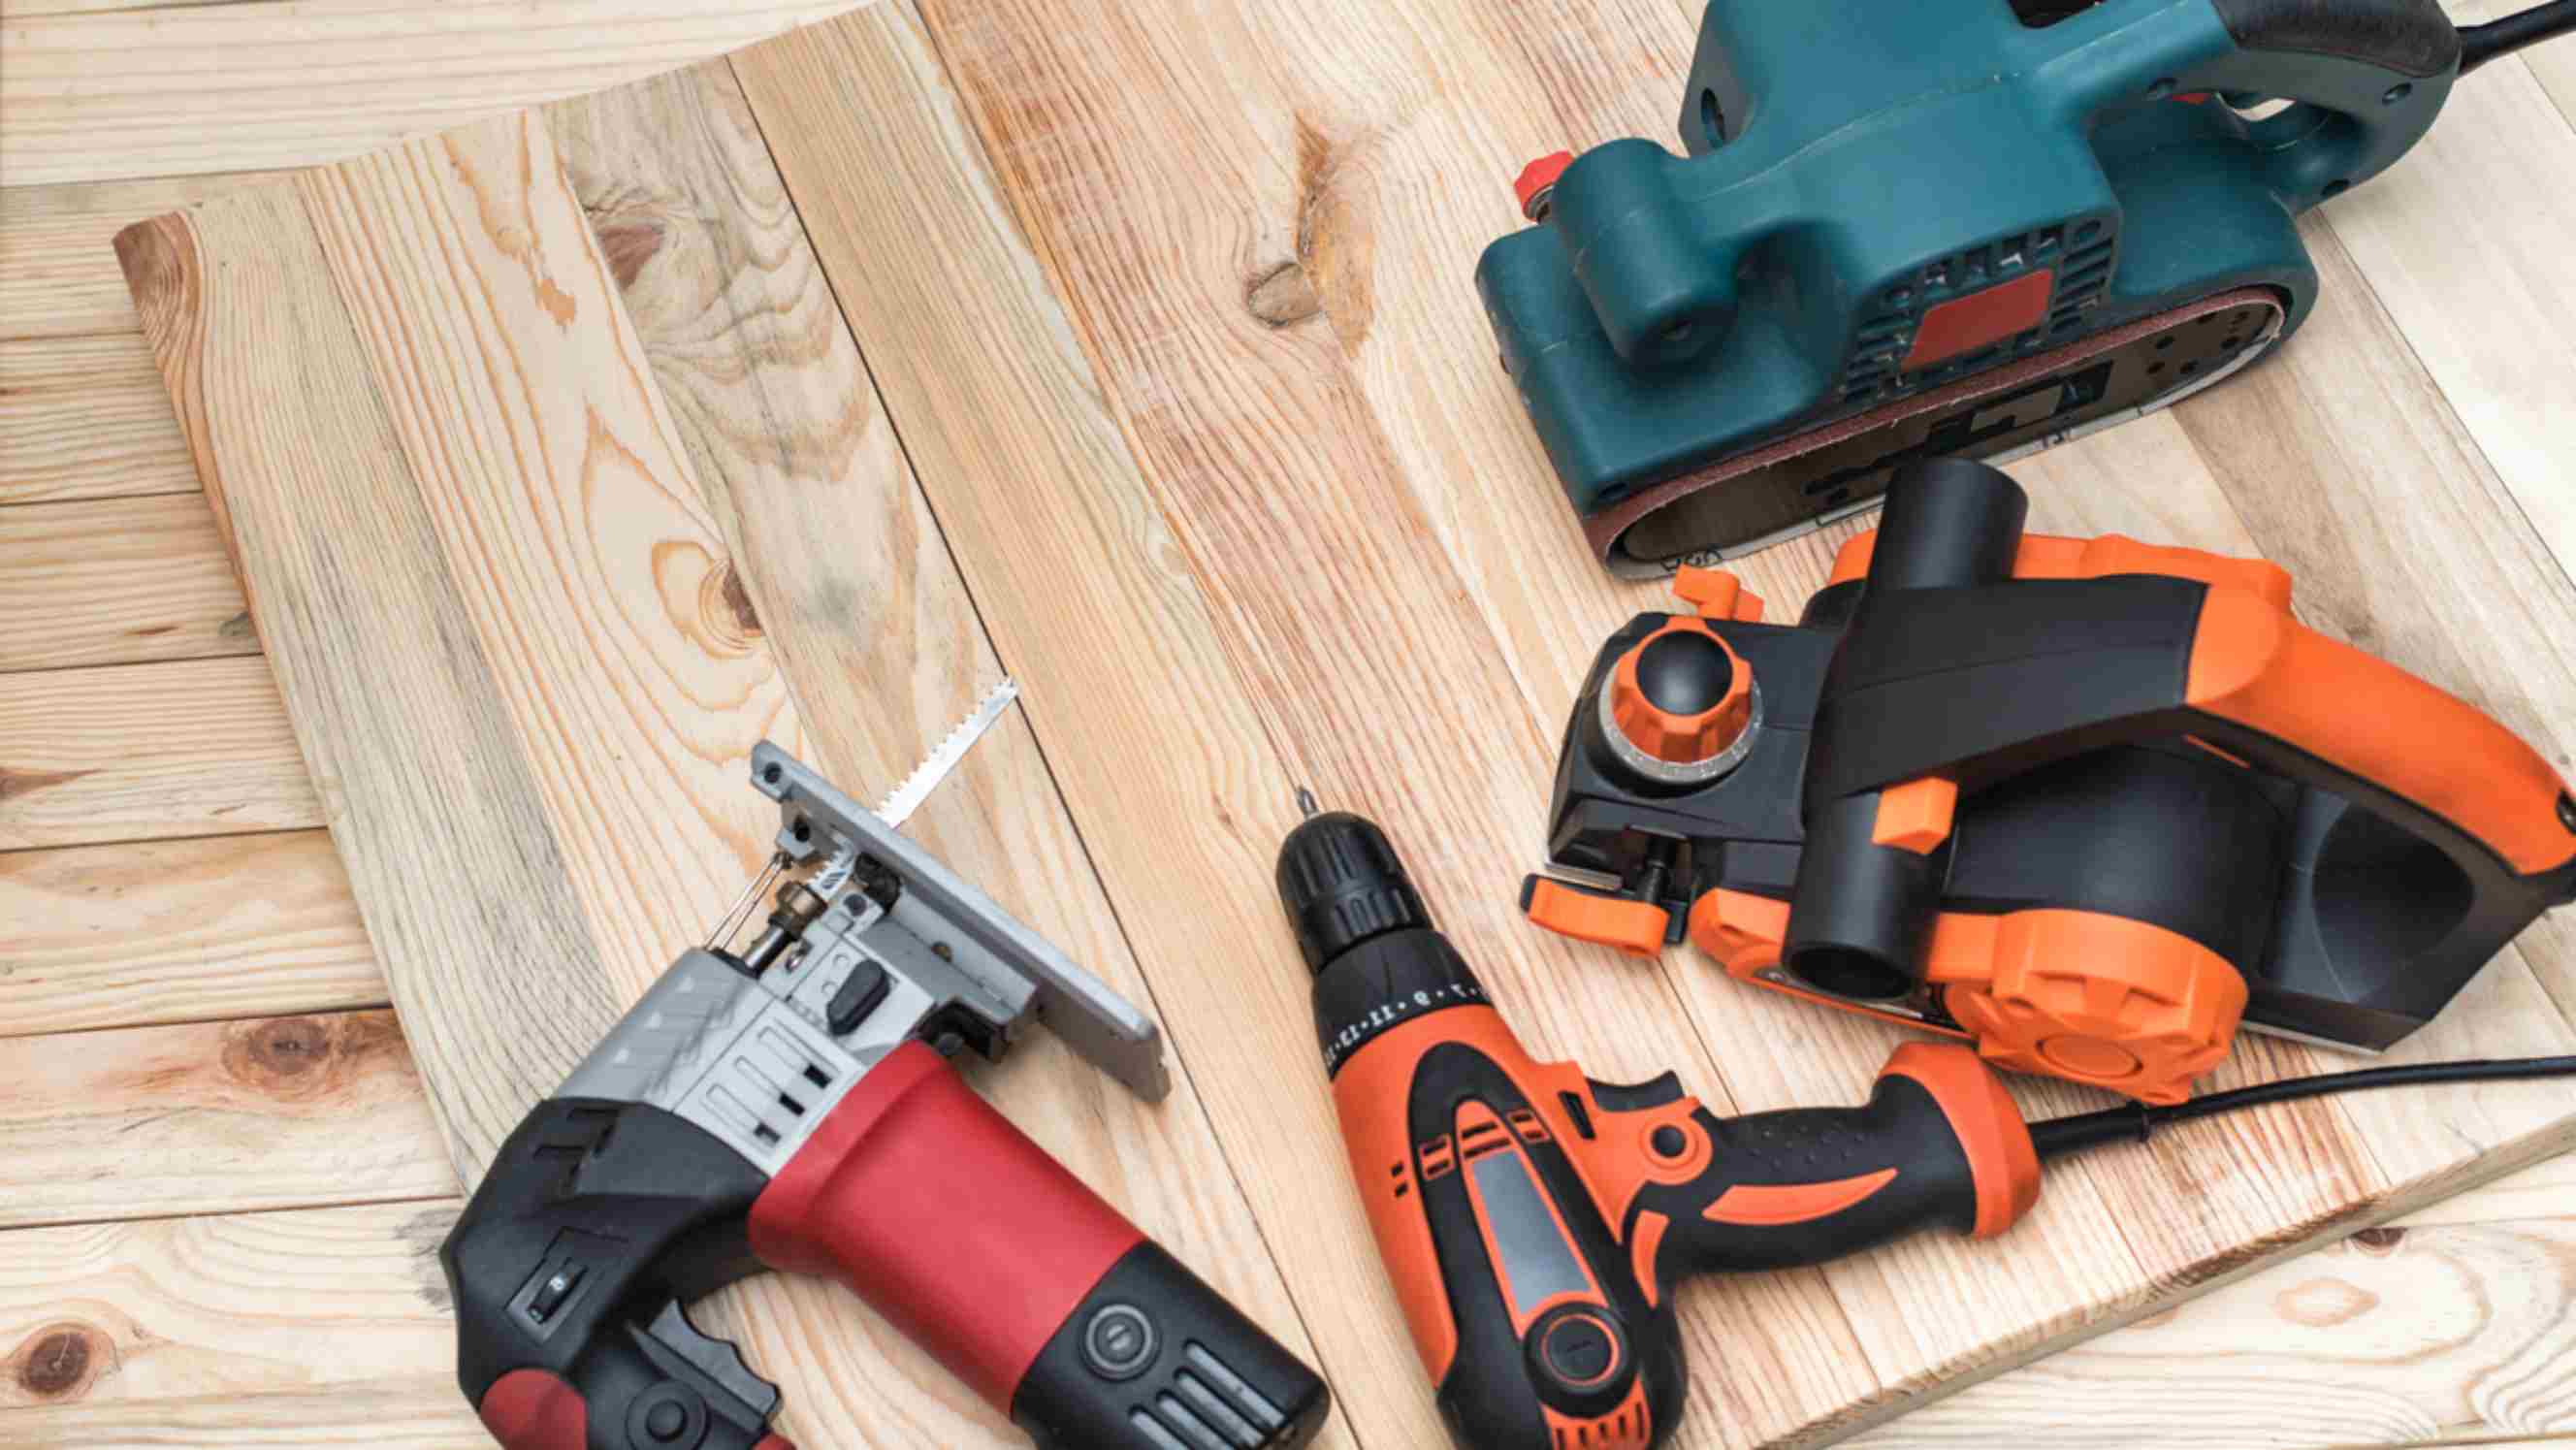
Tools
Power drill
Level
Measuring tape
Pliers
Hammer
Screwdriver
Drill bit
Hand saw
Wood shims
Pencil
Protective gears (Safety glove and glasses)
Materials
Storm door kit
Handle and lockets
Extender kit
Nails and screws
How long does it take to install a storm door?
Installing a storm door usually takes four hours. Remember to set aside an extra 30 minutes if you are using an extender kit or have bought other hardware to be installed in your door.
Step-by-step guide to installing a storm door
Installing a storm door can get difficult, time-confusing, and labor-intensive. You’ll need to work with different tools, materials, and moving parts, and follow the steps accurately. One wrong measurement or a screw drilled in the wrong place could spell trouble!
But anything and everything can get done with the right tools, lots of patience, and clear step-by-step instructions. To help you add a storm door to your home, we’ve created a simple yet straightforward guide to storm door installation.
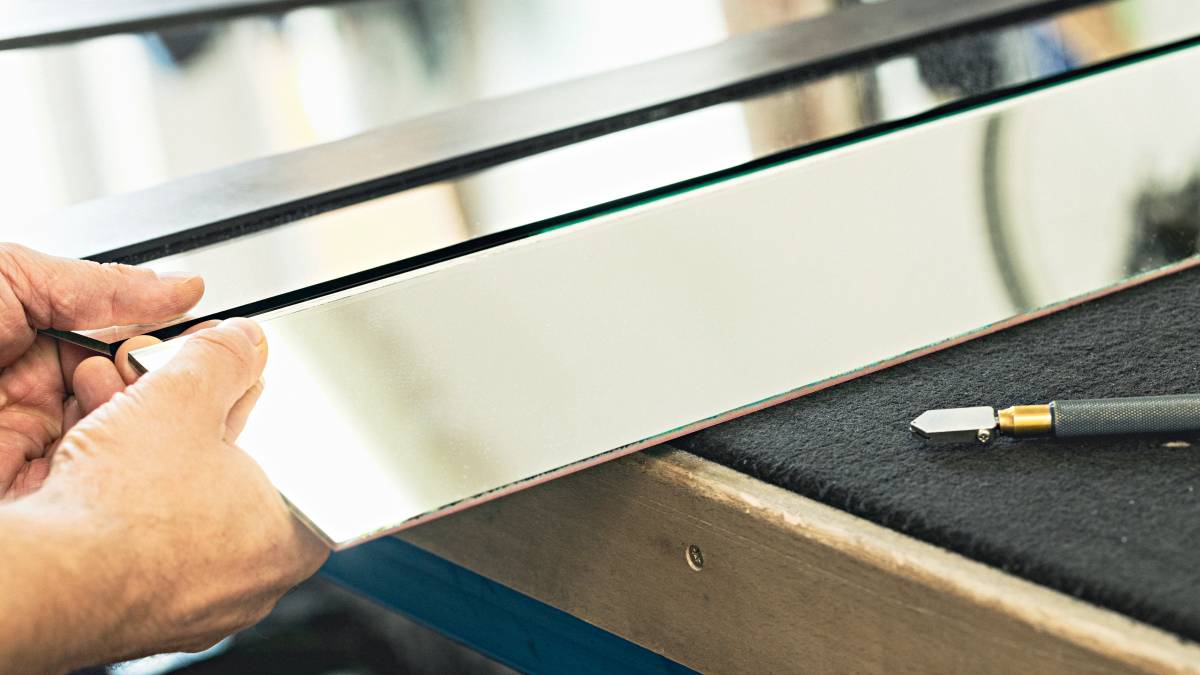
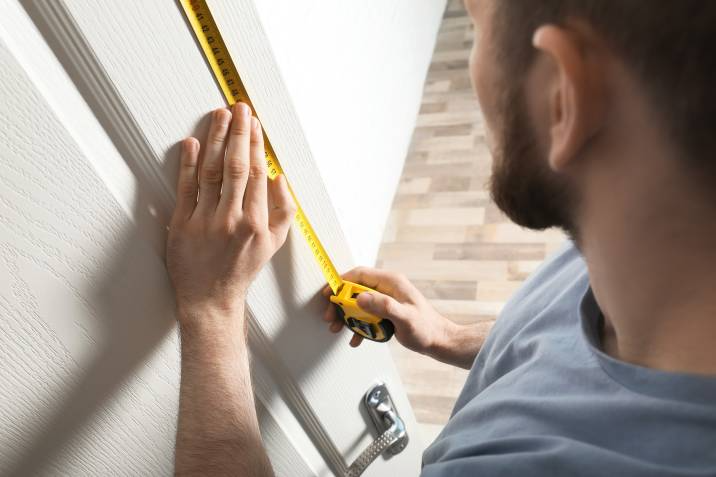
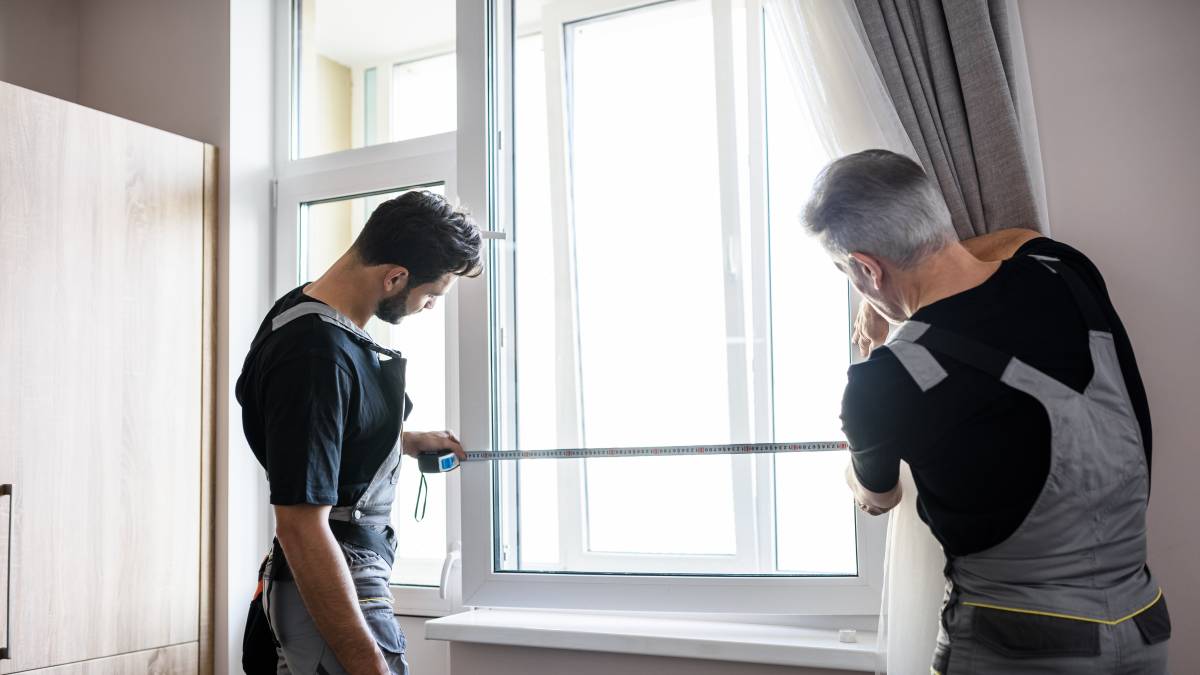
Step 1: Get the measurements of your exterior door frame
Measure your door frame by getting the width of the door on the top, bottom, and middle sections, then get the height in the middle, left, and right areas. This will help make sure you get the best fitting storm door in the store.
Step 2: Choose your preferred storm door
Pick a storm door that fits in your doorway, the budget, and the overall intended purpose–for extra protection during inclement weather, more privacy, or aesthetics.
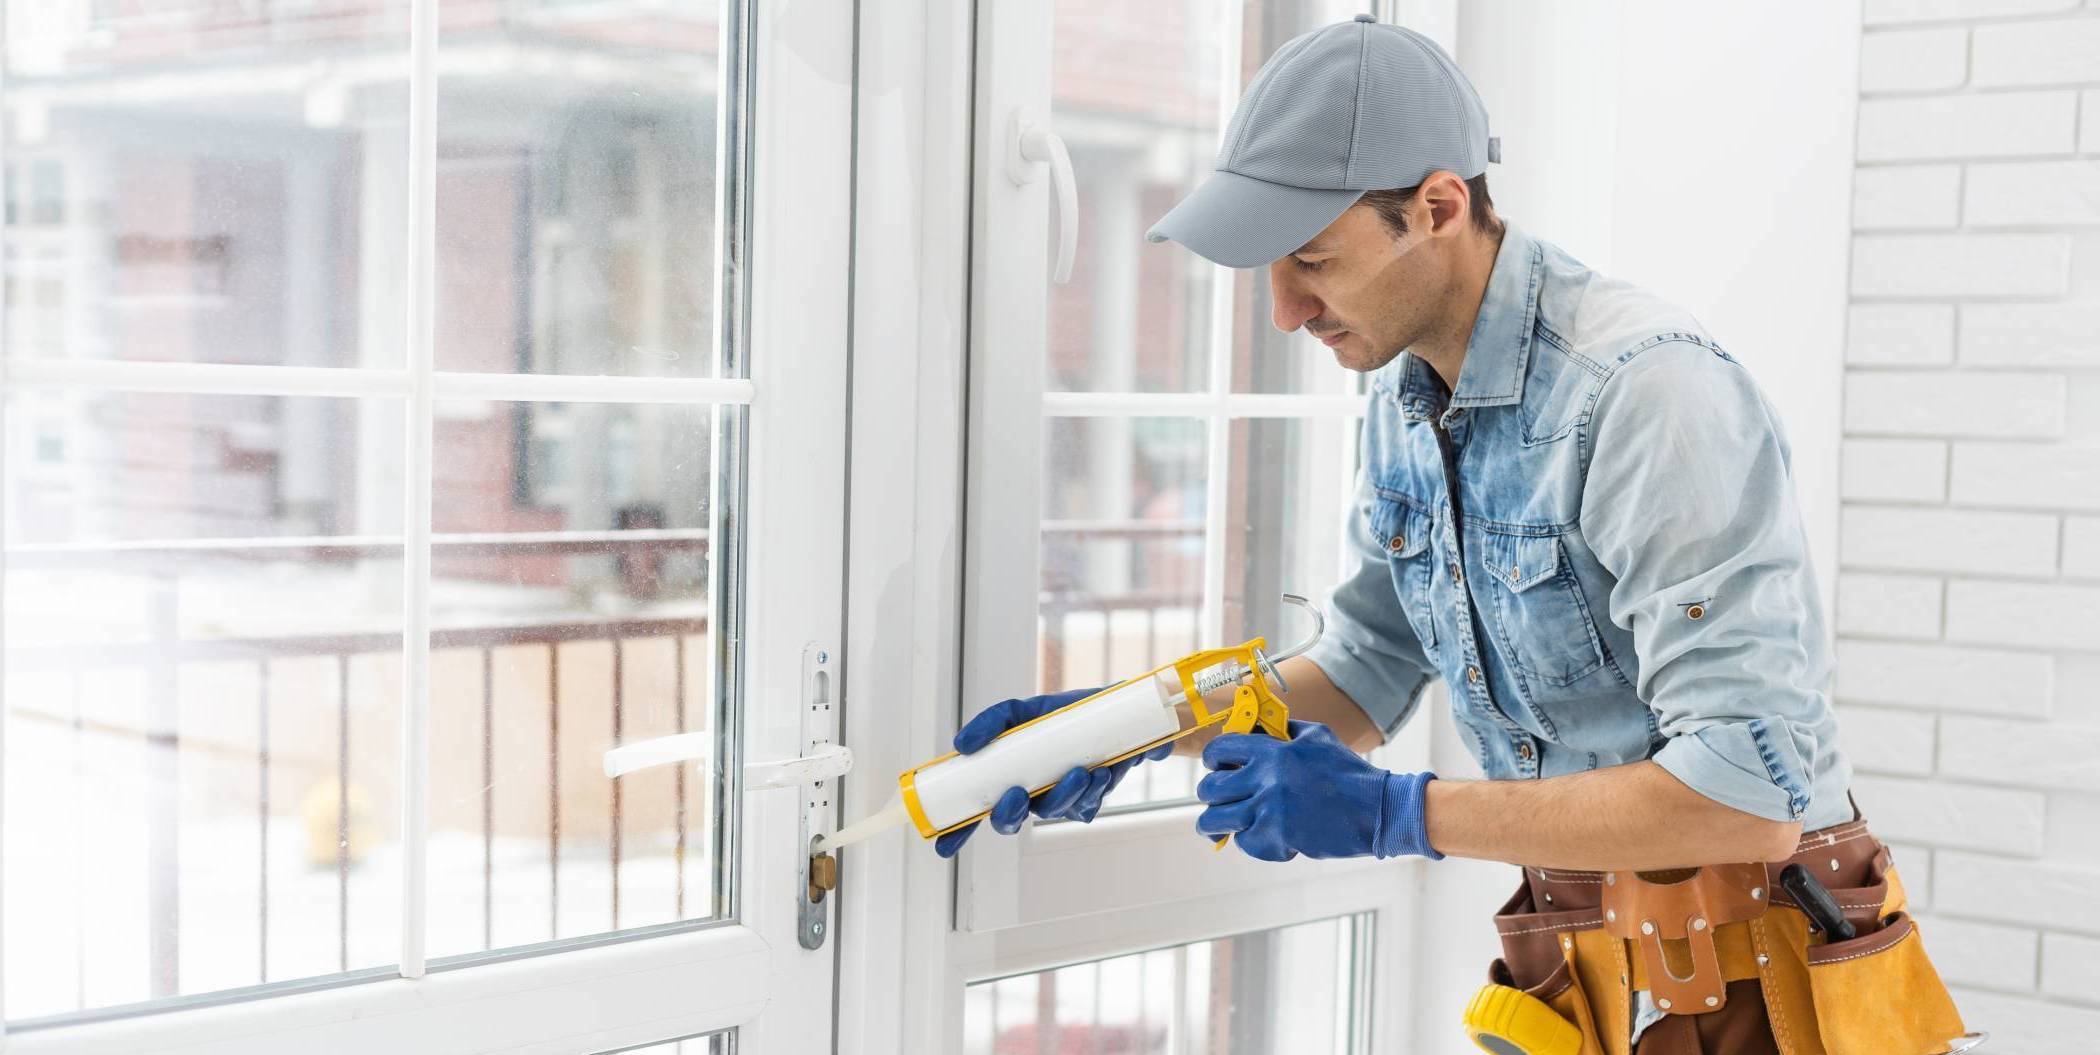
Step 3: Setup your installation space
Get ready to install the storm door. Prepare the tools and materials needed and wear protective gear. Ask a family member or a trusted friend for help in the installation especially if you’re not used to doing DIY home improvement tasks or lifting heavy objects.
Step 4: Decide where the storm door opens
This will determine where you will install the hinges and handles. Mark your measurements accurately and make sure that there are no obstructions when you open the door.
Step 5: Decide where the storm door opens
Install the rain cap or drip cap at the top-most part of the door frame then install the hinge-side Z-bar. Tighten the screws but not all the way through.
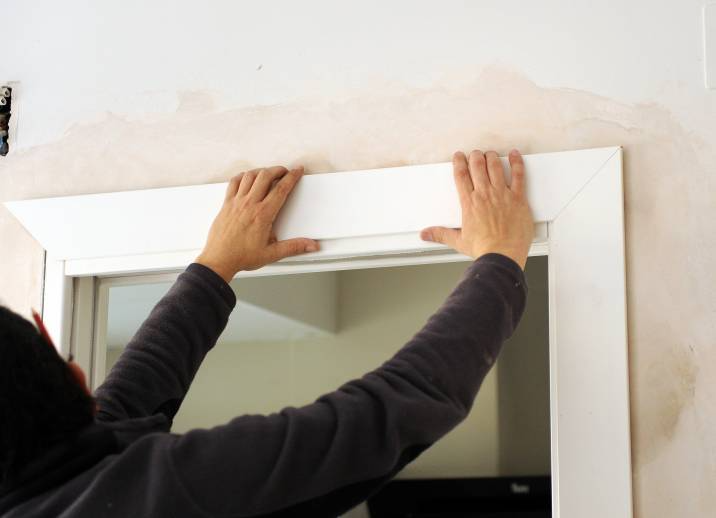
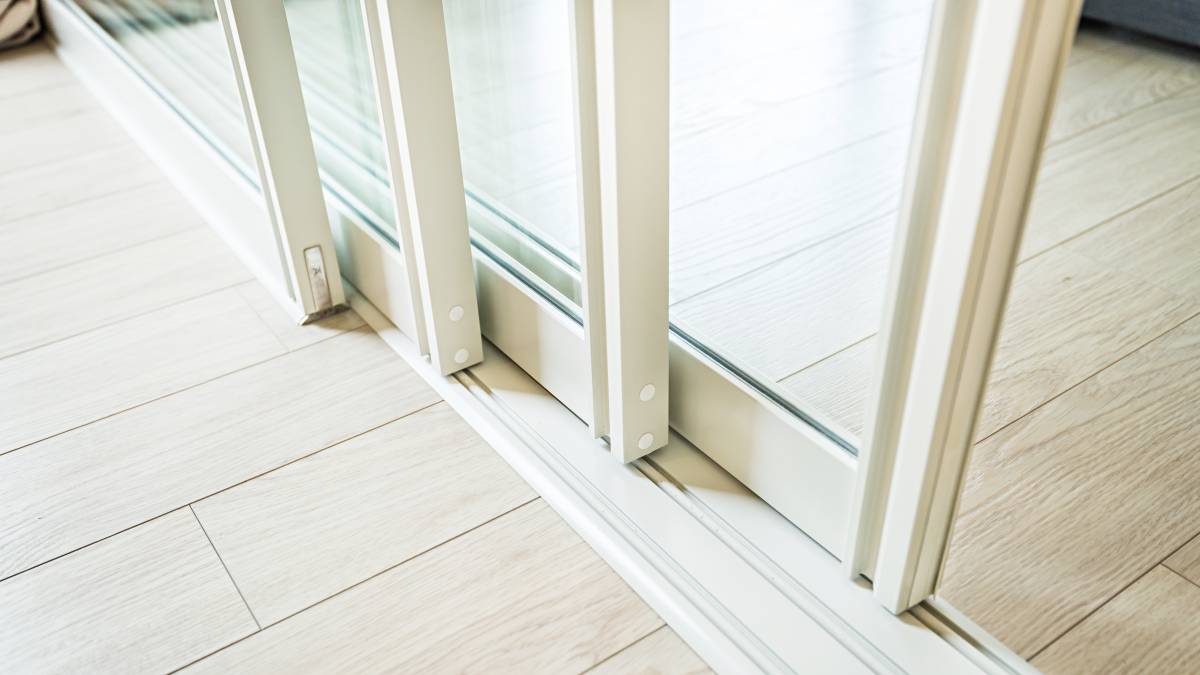
Step 6: Fit the storm door
Fit the storm door on the external opening and ensure that the door has a gap of ¼ inch from the rain cap. Inspect the door closely and ensure it is nice and level. Once you’re happy and confident with the fit, use the drill to tighten the screws on the hinge side. Try closing and opening the door a couple of times.
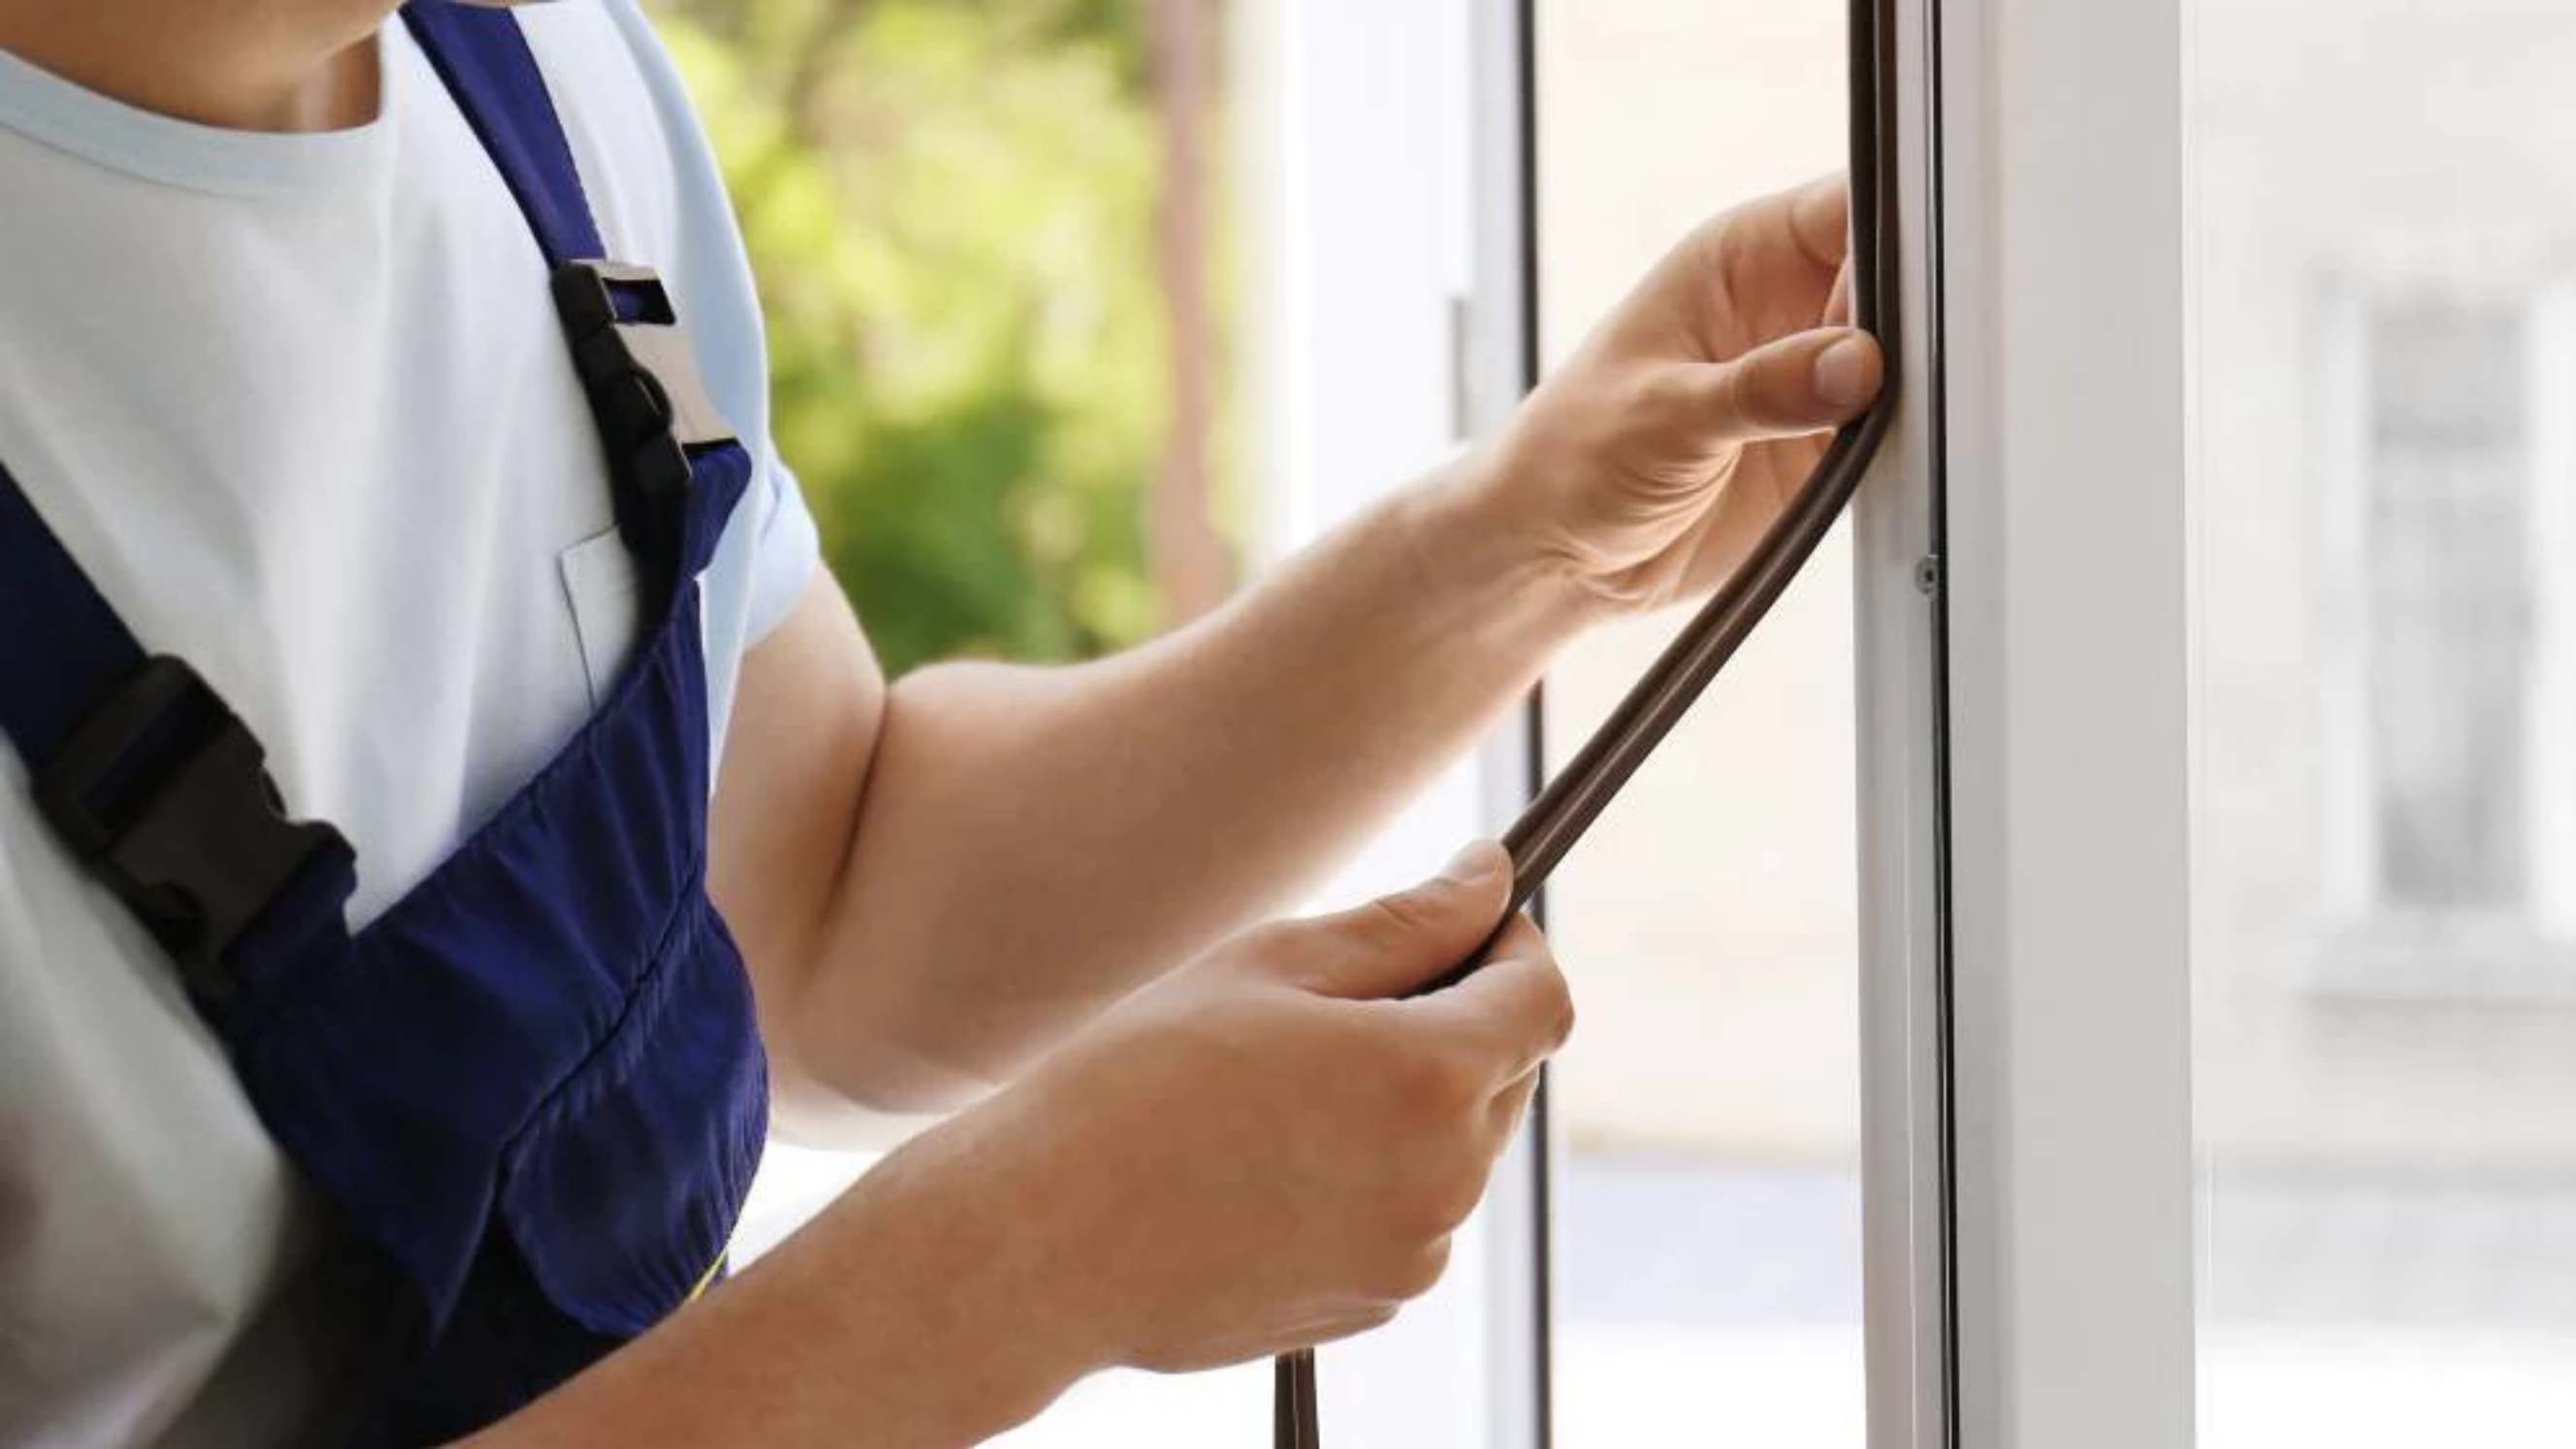
Step 7: Install the handle
Follow the manufacturer’s instructions and install the handle side Z-bar. Make sure to leave a gap of around 1/8 to 1/4 of an inch for potential warping of the door in the future.
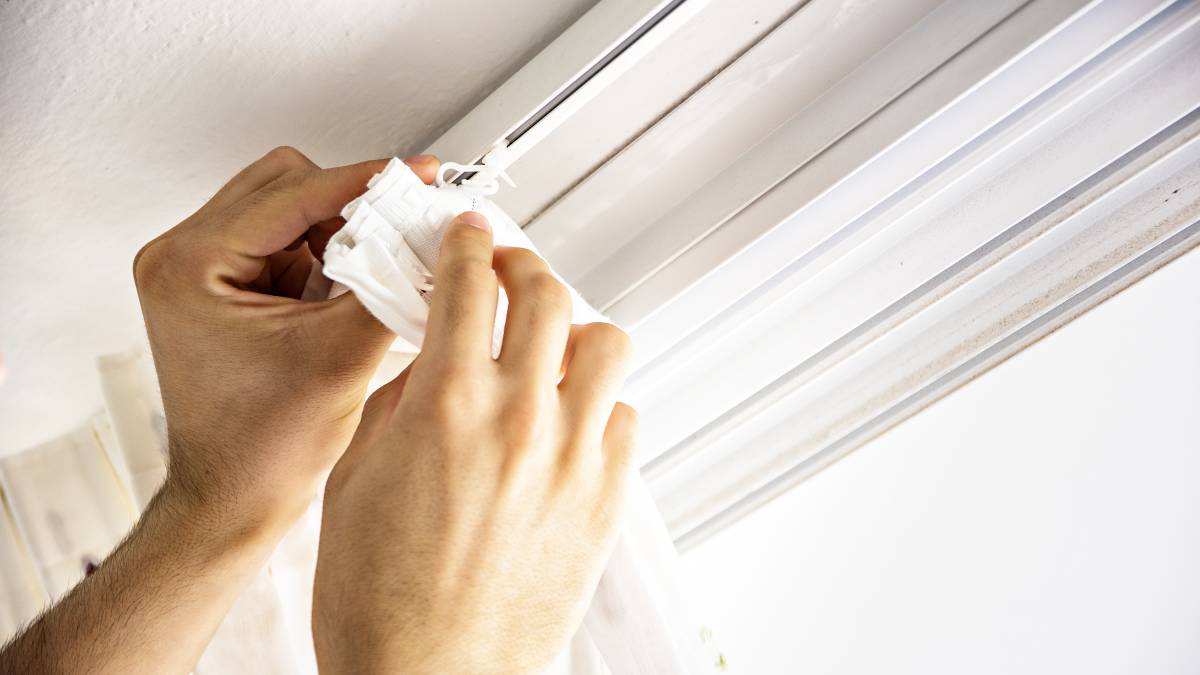
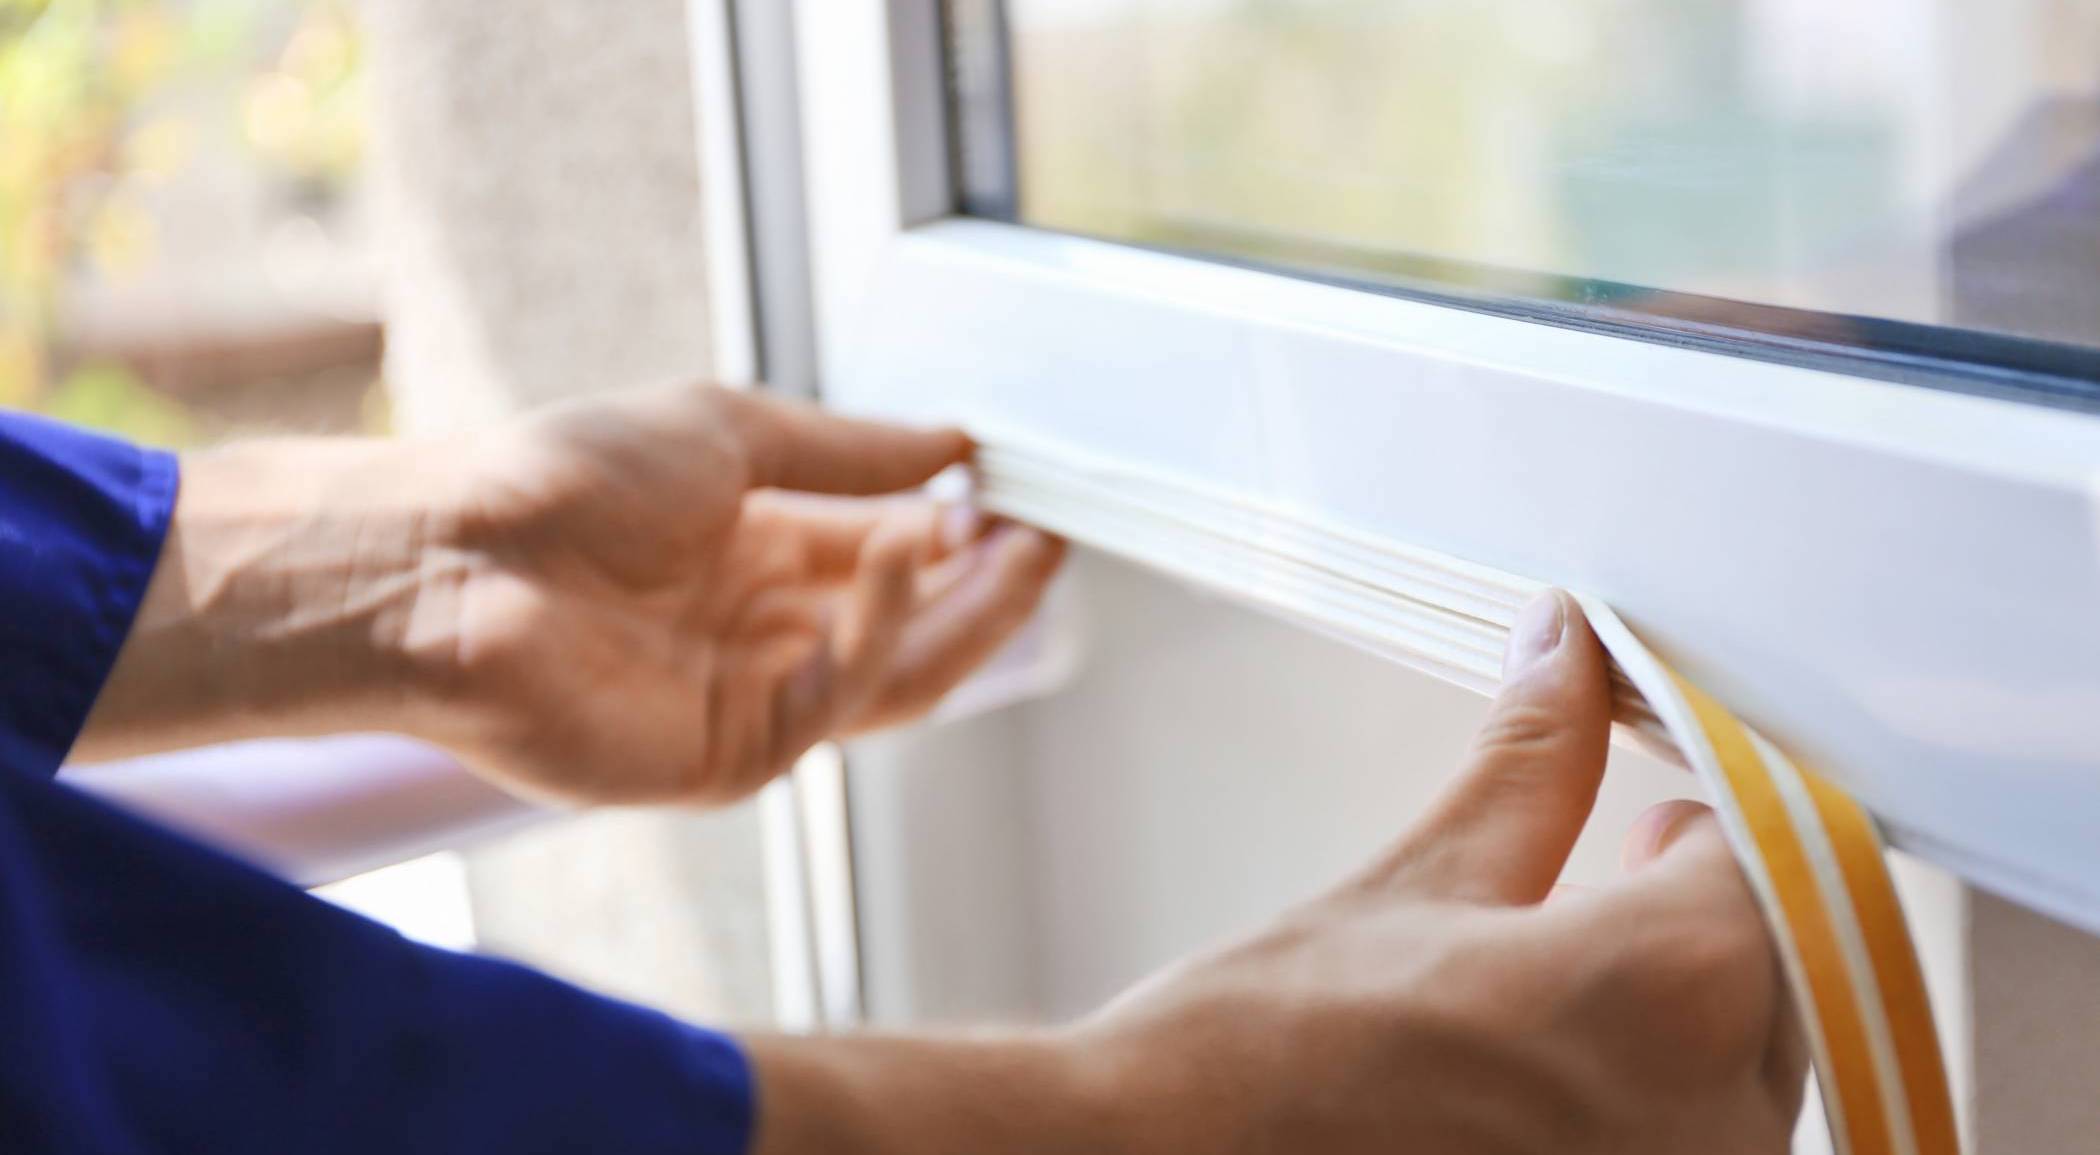
Step 8: Install the door hardware
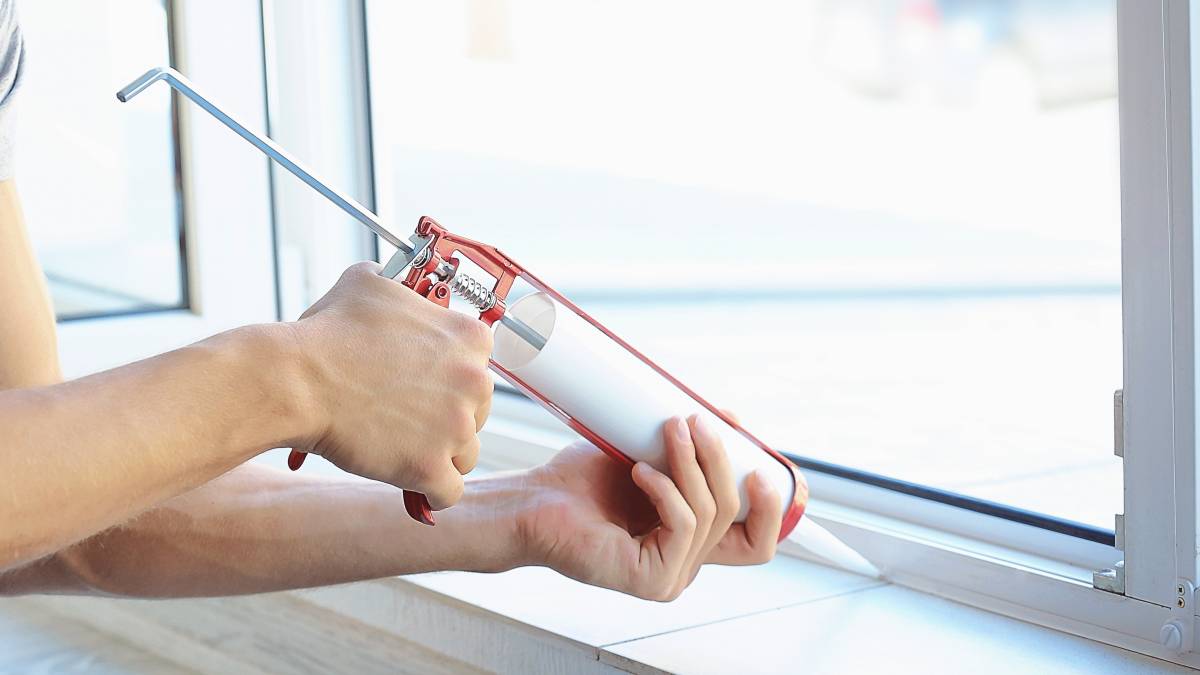
Time to add the finishing touches: the handles and lock mechanism, closer mechanism, and door sweep weatherstripping. Some storm door kits come with their own hardware while some you need to buy on your own. Whichever you choose, the installation has never been this easy as it comes with easy-to-follow instructions from the manufacturer.
Pat yourself in the back for a job well done!
| See also: How much it costs to repair hail damage |
Get your storm door installed
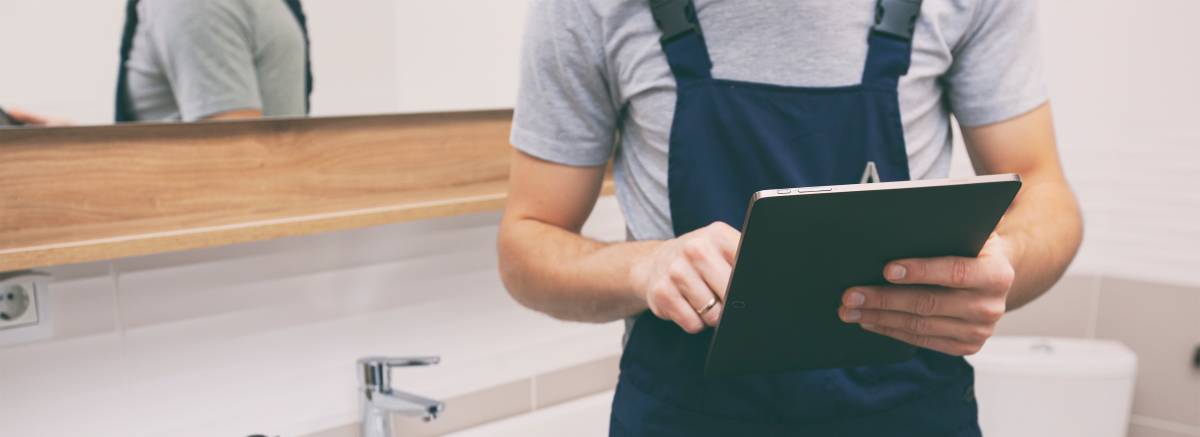
Installing a storm door can get confusing and overwhelming. You will need time, effort, and patience to measure, interpret instructions from tiny manuals, and execute these flawlessly. When things get extra complicated, you can go on the Airtasker app for help.
Whether you need a replacement or want to install a new storm door, connect with a handyman near you when you post a task on Airtasker. Skip the stress and leave it to the experts!
Frequently asked questions
Lowes charges an average of $300 to $1000 for door installation. However, the final costs will still differ depending on the type of door you choose, the supplies needed, and if other tasks need to be done like constructing a new frame. In this case, costs might reach up to $2,000.
There are many advantages to storm doors. However, there are also limitations to what it can do. It must not be treated as the end all be all for all-weather concerns. It cannot prevent a flood from coming into your home or snow leakage especially if left out for long without clearing out. If your main door already has existing insulation, storm doors might provide minimal energy savings. Keep these in mind before buying a storm door.
Summer or spring when the sky is clear and the flowers are blooming is the best time to install a storm door. Keep in mind that you will be working outdoors for a few hours so it helps to work in fair and comfortable weather.
A storm door weighs 60 to 100 pounds. It helps to seek assistance from an expert to ensure safety during the installation process.
Find door installers, fast
Find a door installer
Related articles

How to Soundproof a Room
Read more
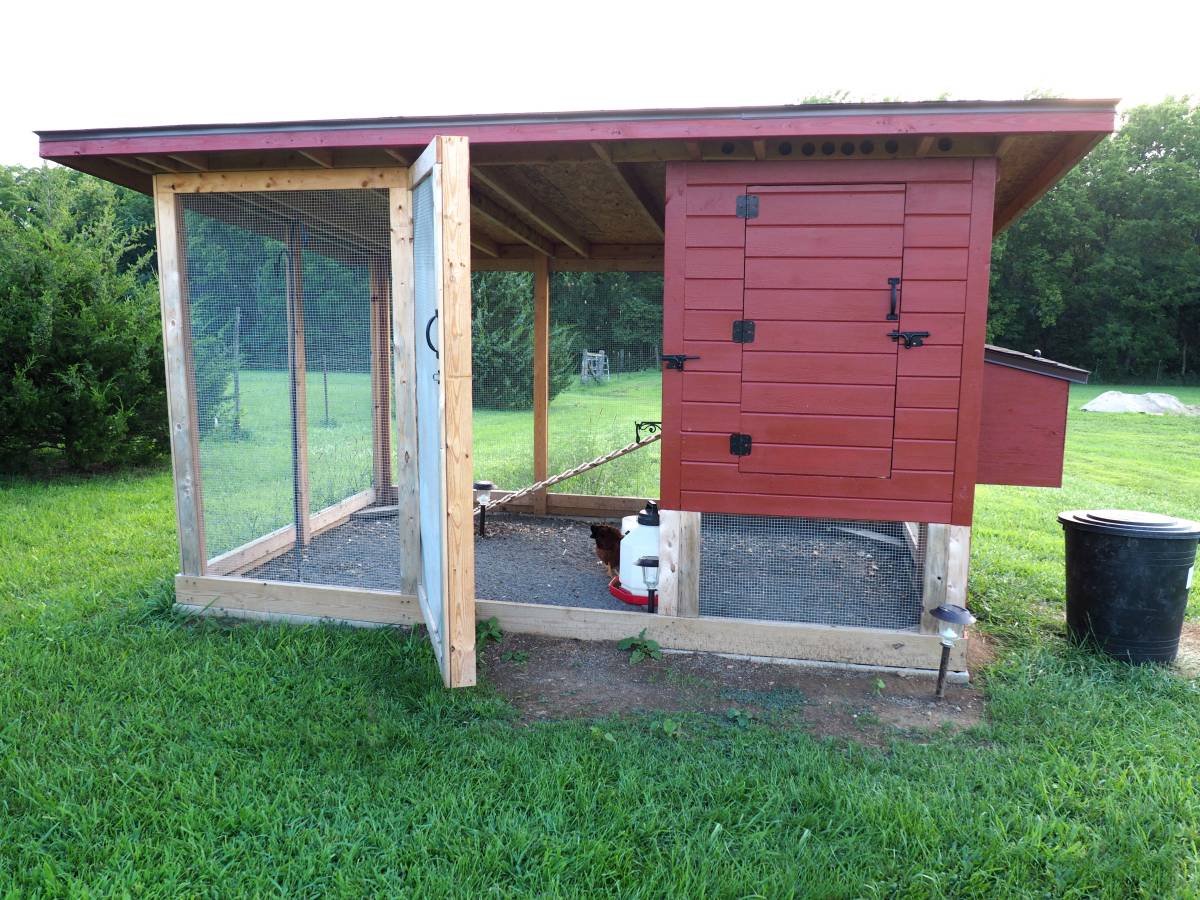
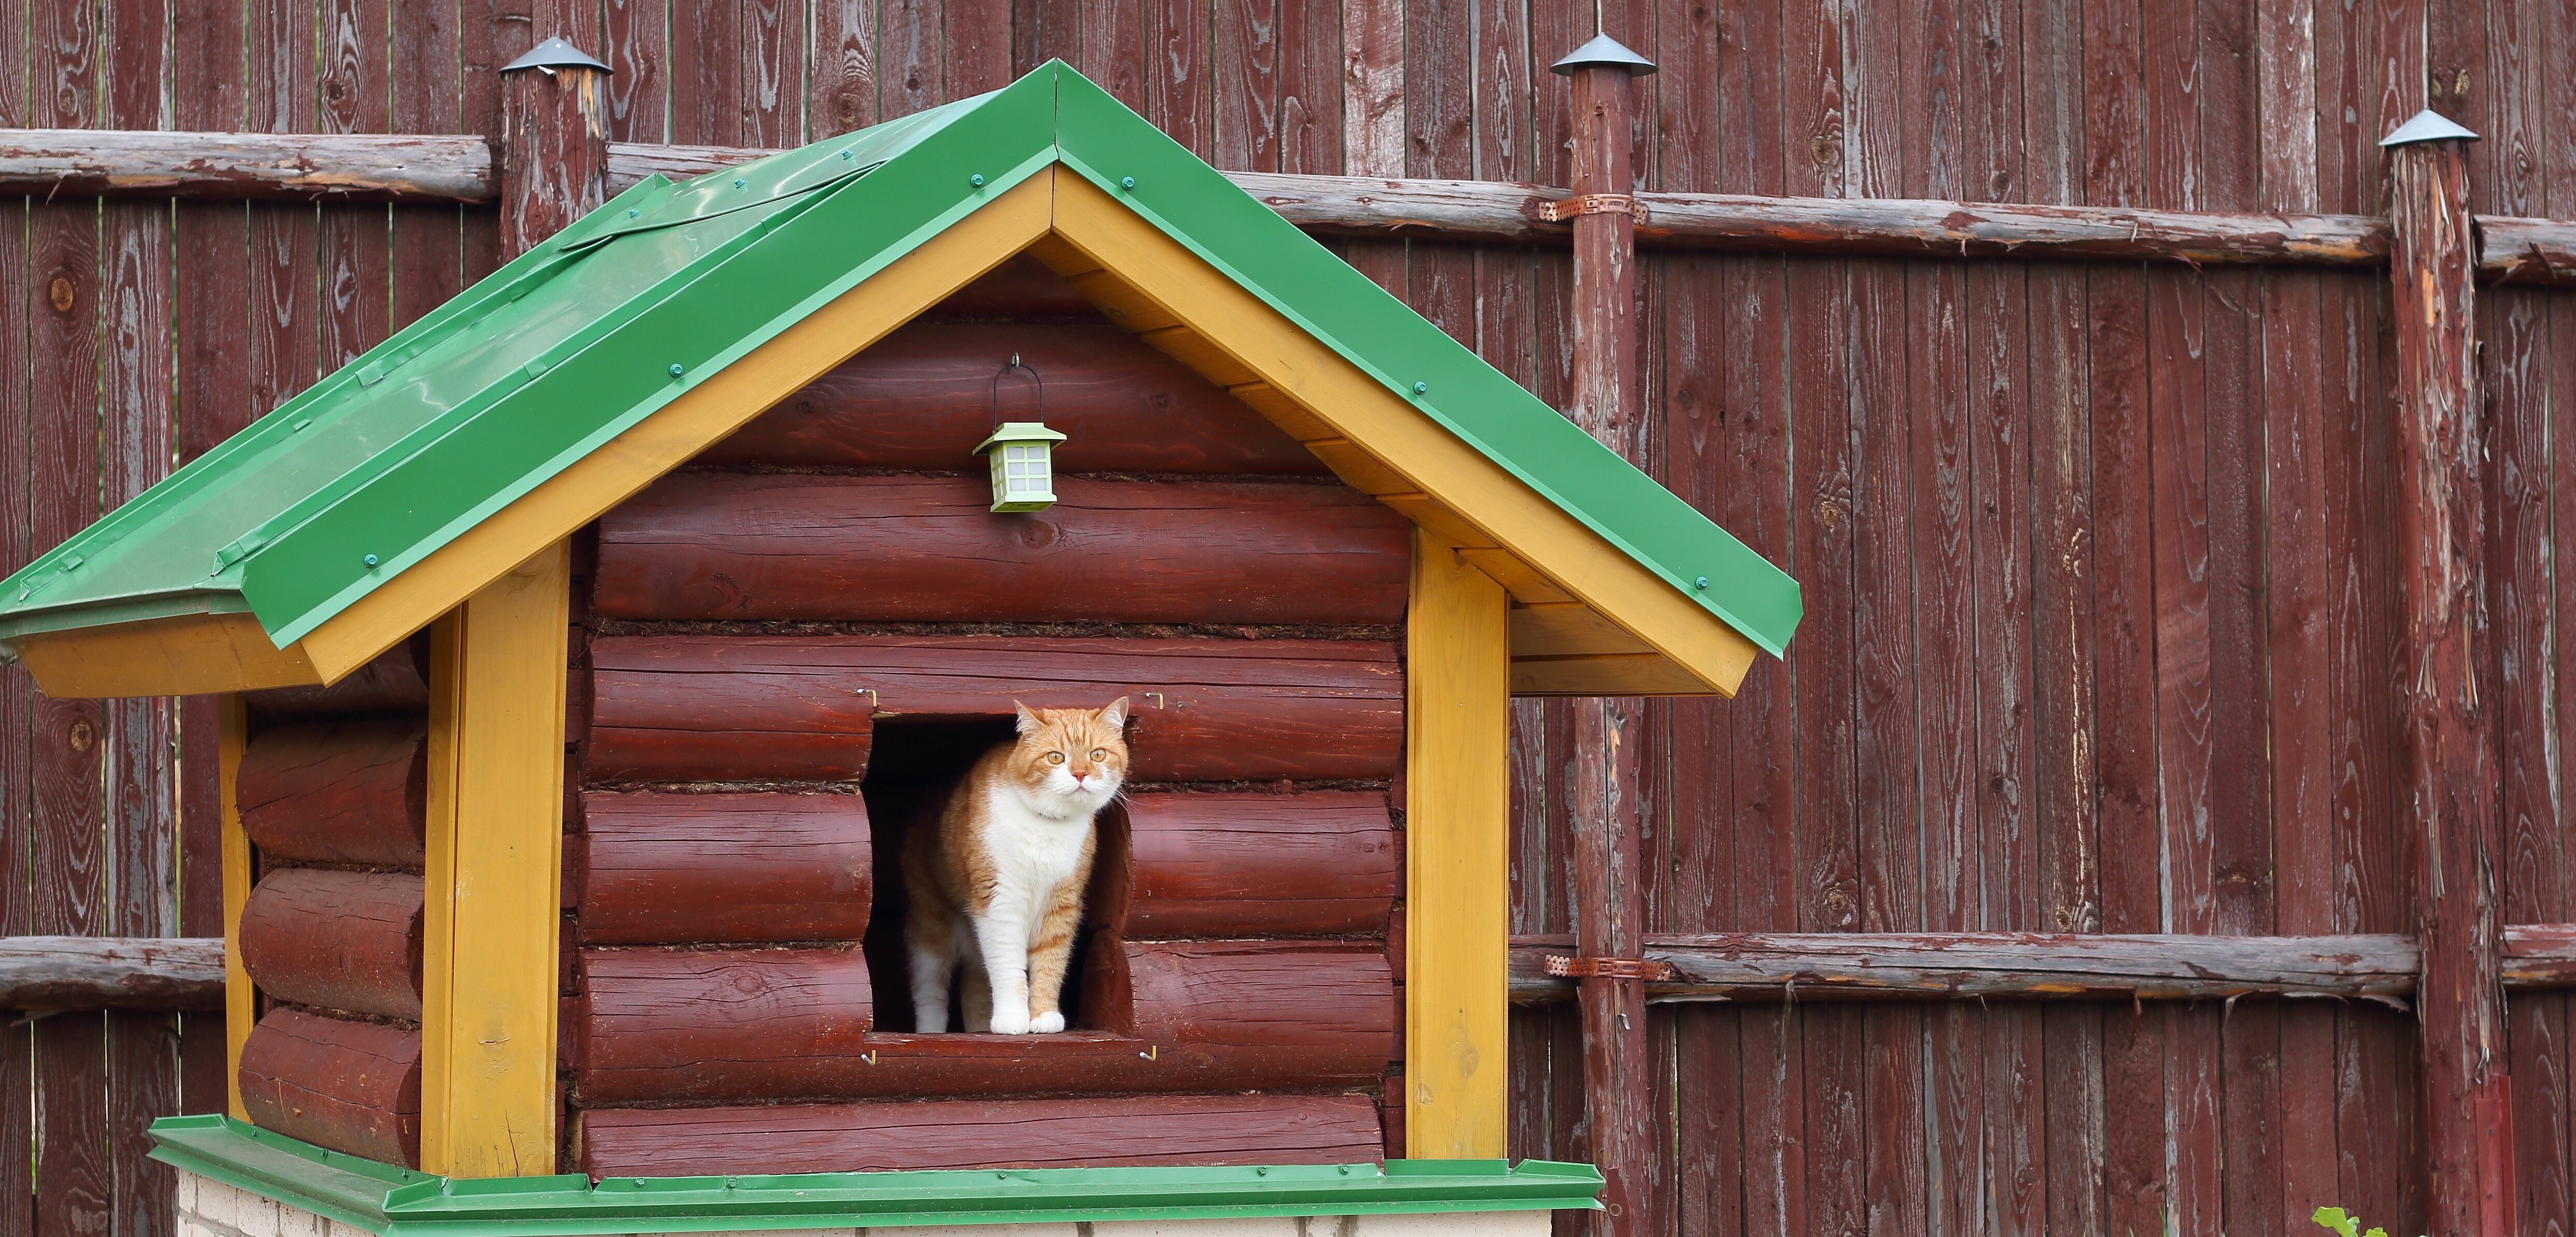
How to fox proof your chicken coop
Read more
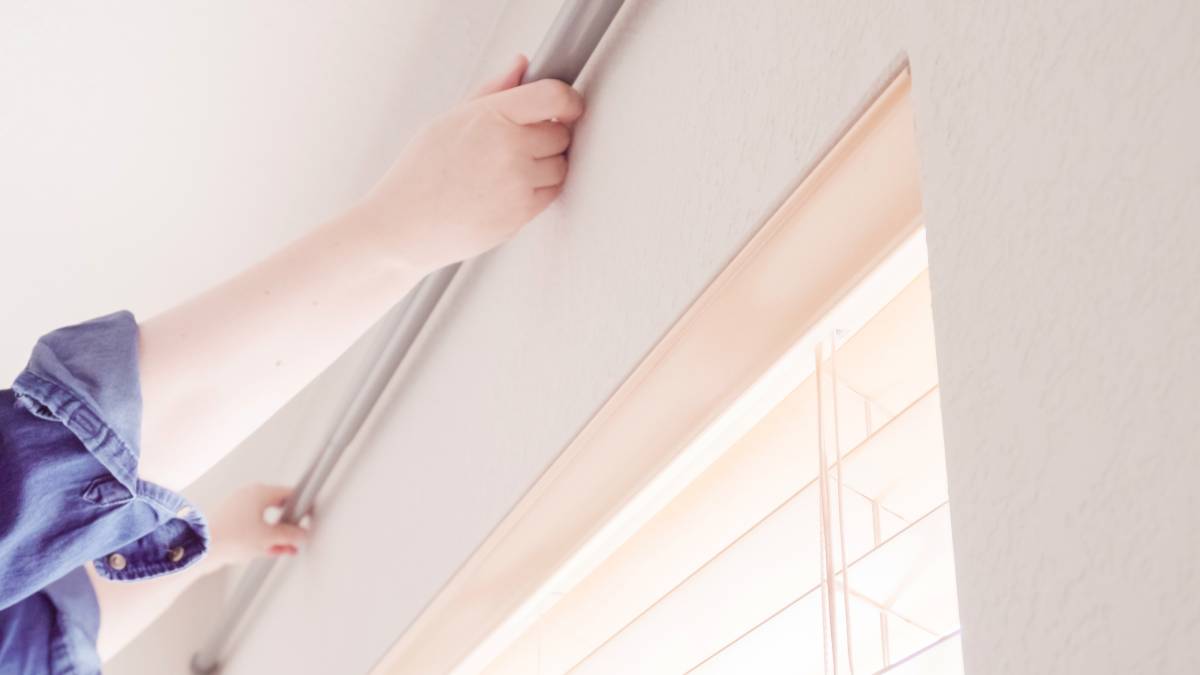
How to install curtain rods
Read more
Best blue-collar jobs on Airtasker
Read more
Install a screen door in 6 steps
Read more


Related price guides
How much does treadmill repair cost?
Read more

How much does clock repair cost?
Read more
How much does hot tub repair cost?
Read more
How much do roman blinds cost?
Read more

How much does a sunroom cost?
Read more
How much does window repair cost?
Read more
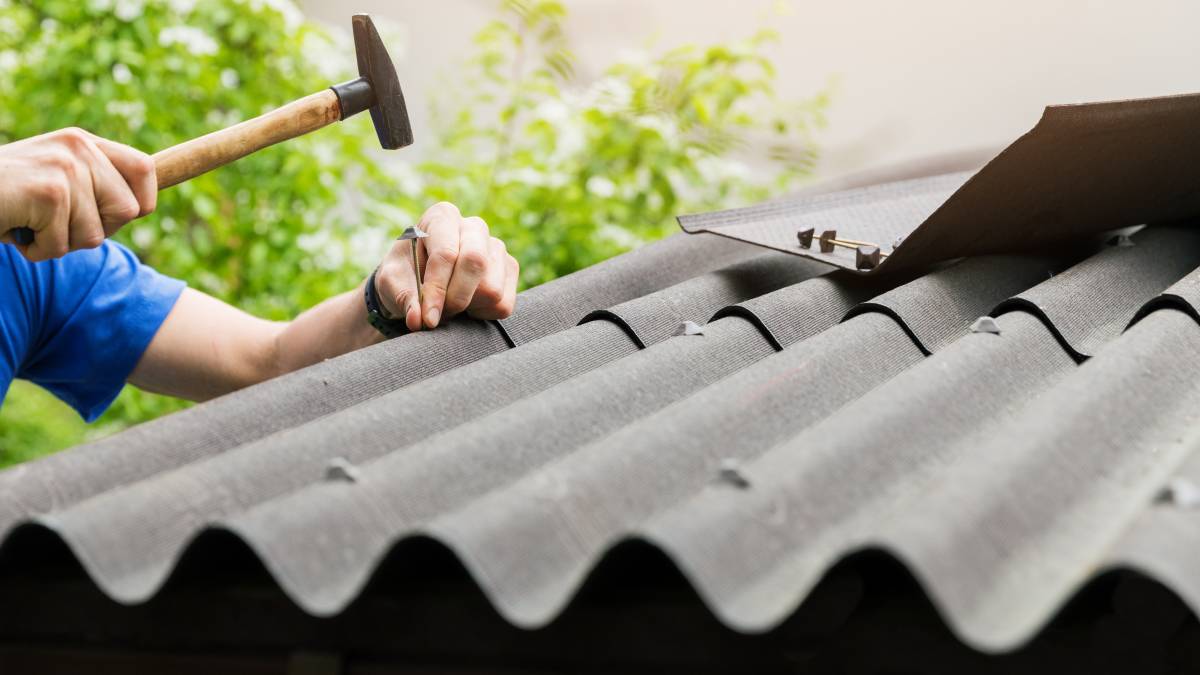
How much does shed roof repair cost?
Read more

How much does signage cost?
Read more
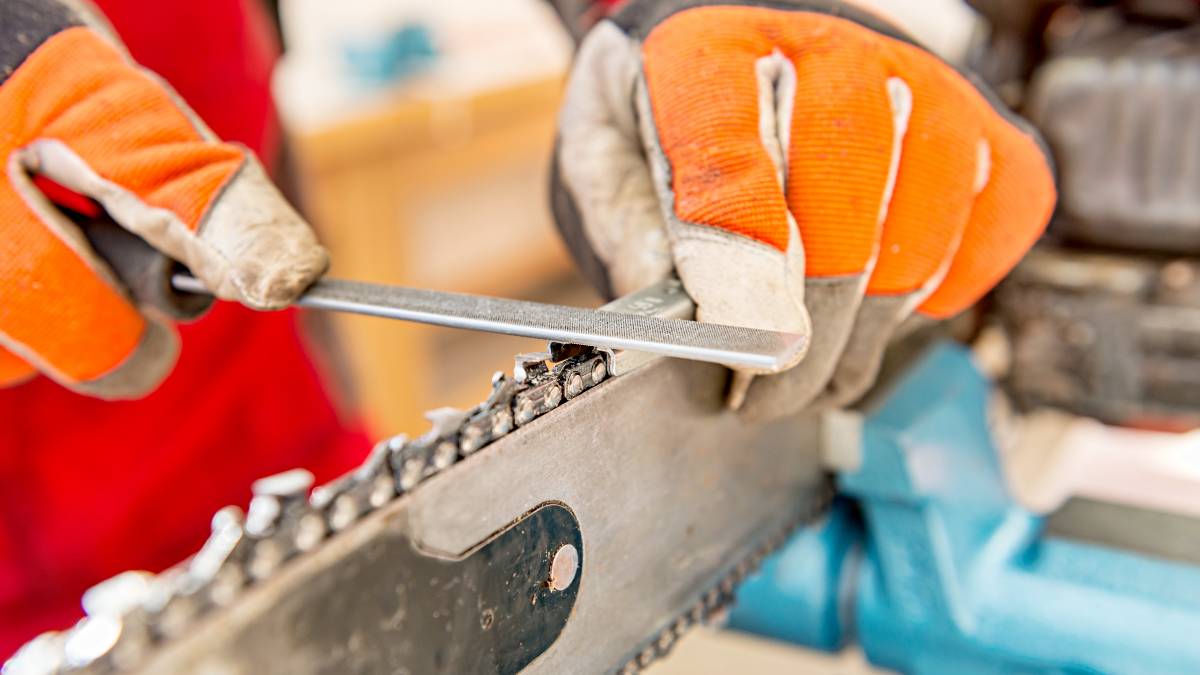
How much do chainsaw services cost?
Read more