- Home/
- Guides/
- Door Installation/
- How to Install a Screen Door
Install a screen door in 6 steps
Need help installing screen door? Learn from local handyman in our community!
Join Airtasker today!Last Updated on
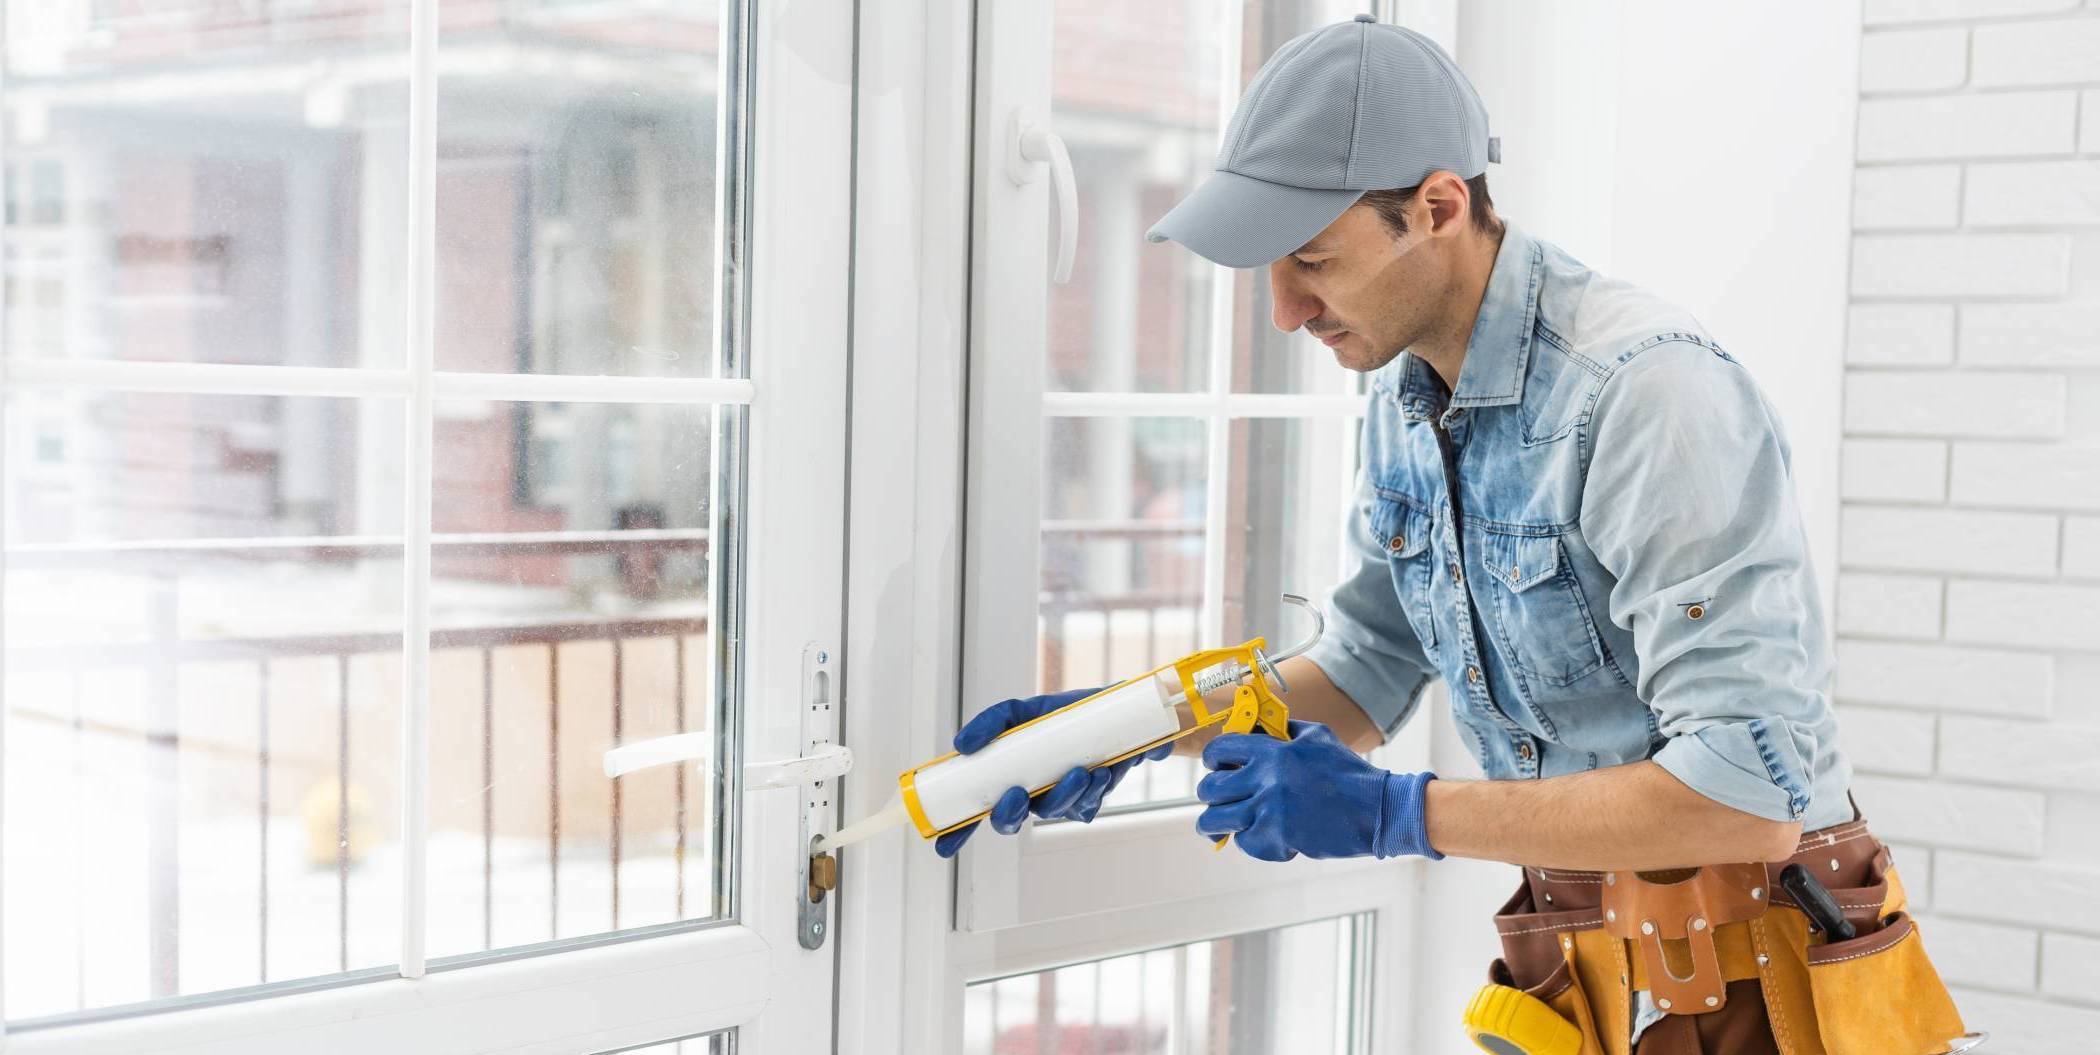
So you’ve got your screen door made and ready to go, and there’s only one thing left to do: install them in your home! Screen door installation may be a tricky project to do by yourself if you haven’t got a lot of time to spare. But if you’re ready to jump in on this DIY project, then we’re here to help.
Read on to find out more about how to install a screen door.
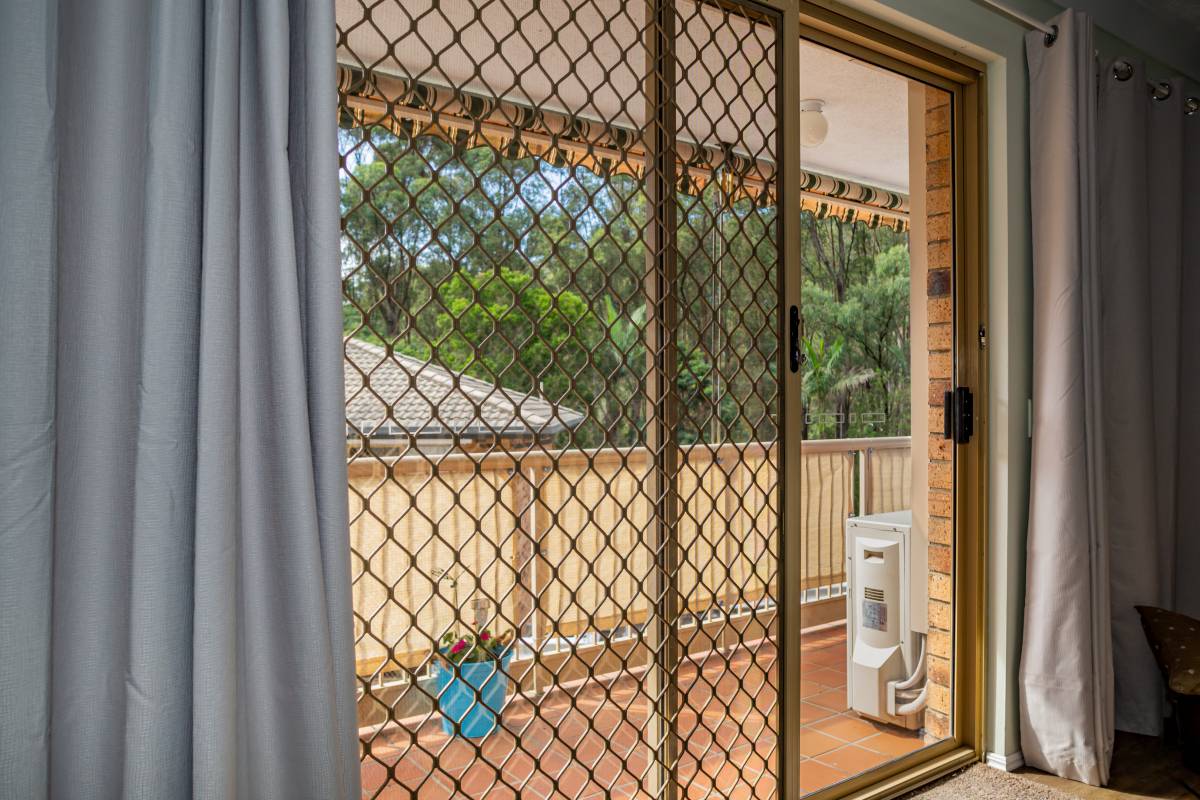
Can I install a flyscreen on my door?
The materials used in flyscreen door installation can easily be bought from your nearest hardware. These can also be bought as kits, complete with external hardware and instruction manuals. If you are handy and have time to spare, you may opt to DIY.
However, the task can get more complex, especially when installing bigger security doors. If you need help and want to know how to measure and install a security screen door, get connected to a handyman around your area.
What you’ll need:
Screen door
Power drill
Shims
Pencil
Circular saw
Tape measure
Sanding block
Step ladder (optional)
A supportive family member (if available!)
Time of completion:
If you are handy and have vast experience in DIY work, you’ll need to set aside around 1 to 2 hours for screen door installation. However, if it’s your first time doing a home improvement project, it may take around 4 hours or up to one whole day to finish.
If you have limited time, it helps to ask for support from a family member especially in carrying the door, measuring, and putting the tools in place.
Step-by-Step Guide to Flyscreen Door Installation
Here is a step-by-step guide on how to install flyscreen doors.
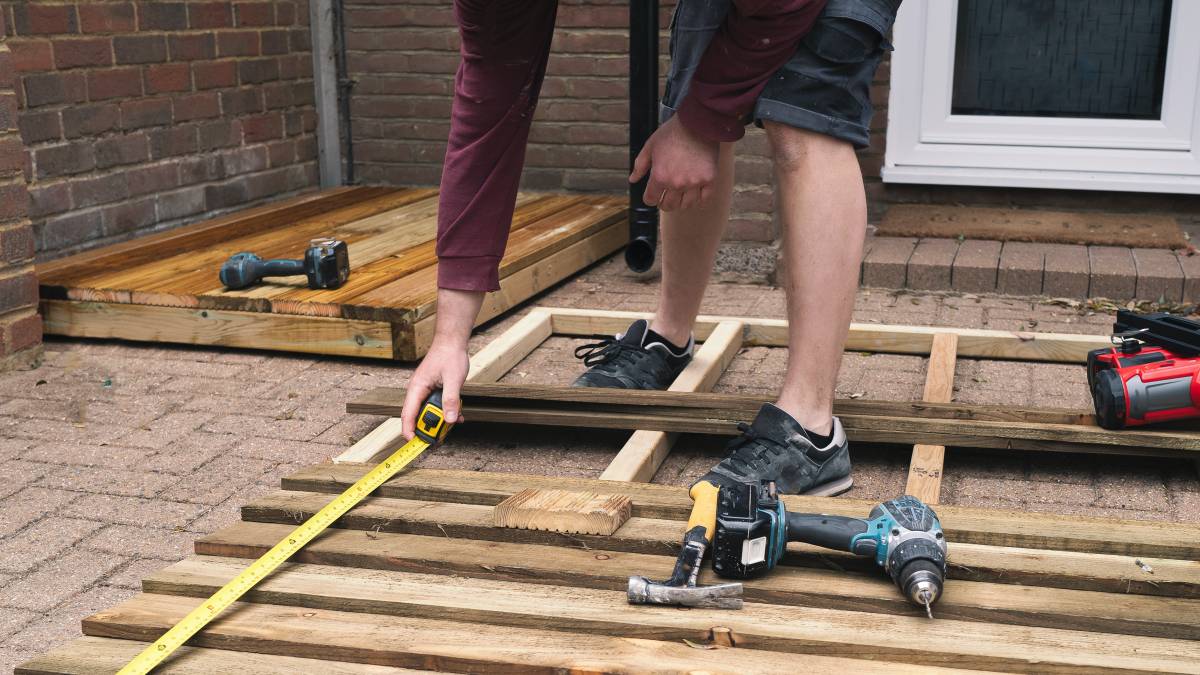
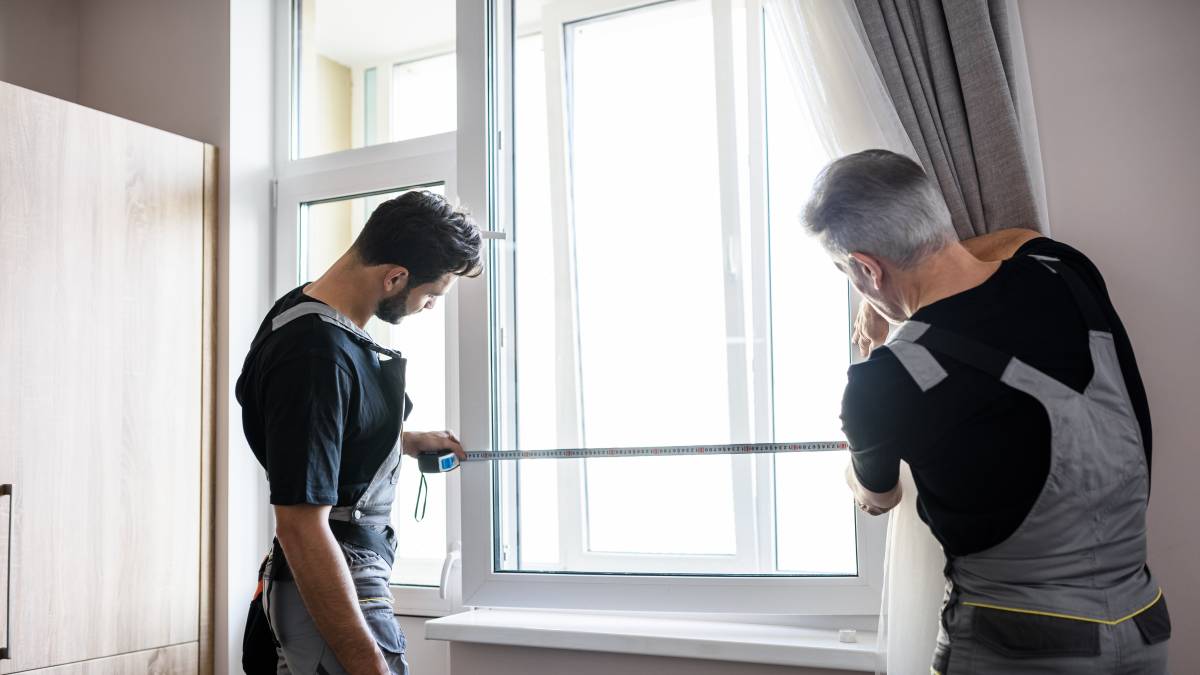
Step 1: Measure your door frame
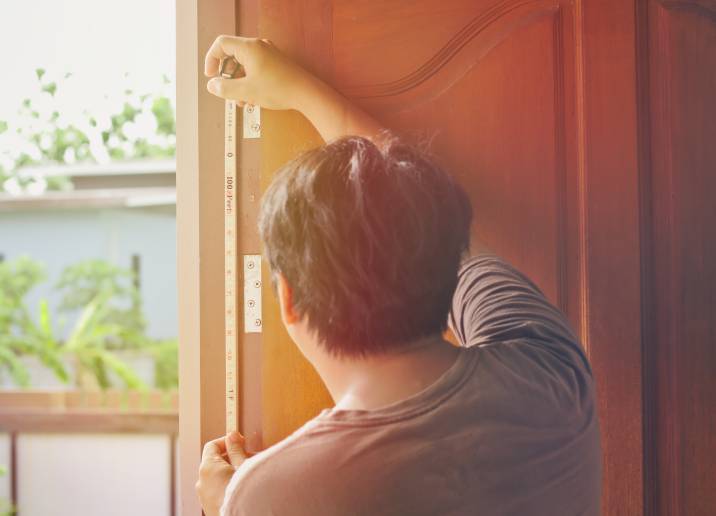
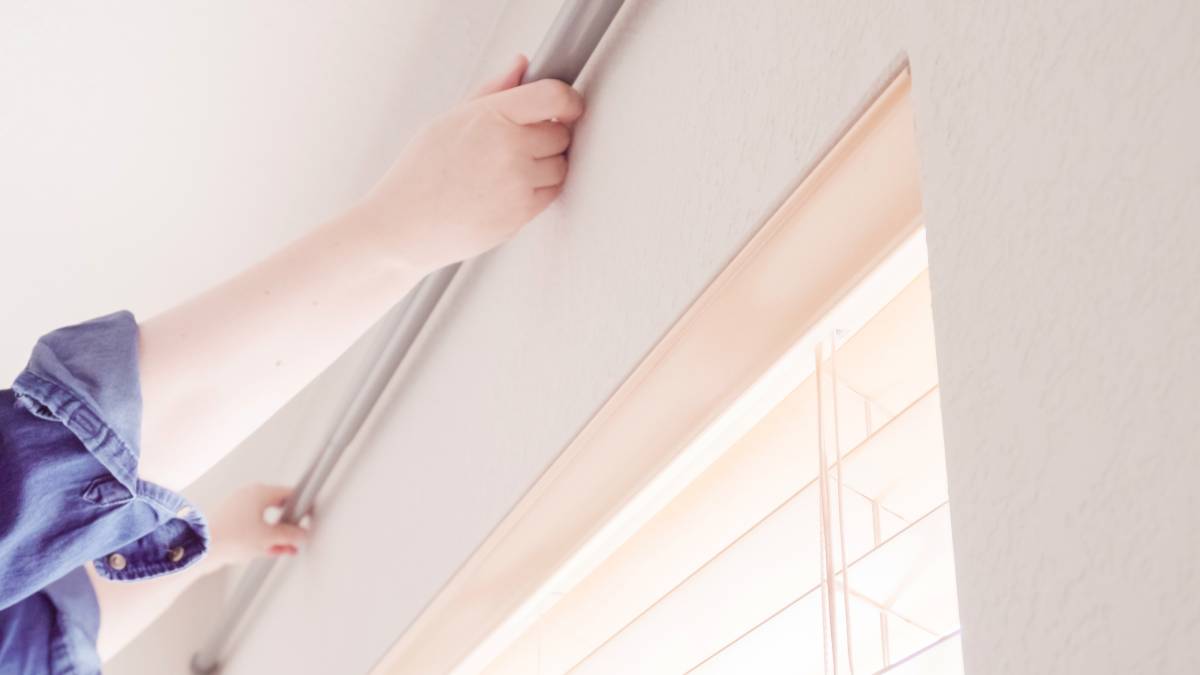
Screen doors are often sold in larger models that can be customised to fit your door. To select the right screen door for your home, you will need to measure your door frame using a measuring tape.
Get both the length and width of your door's top, middle, and bottom sections. It helps to think of these measurements as a grid in picking out the right door. If you are measuring a screen door for replacement, you may opt to get the length and width of your older screen door instead.
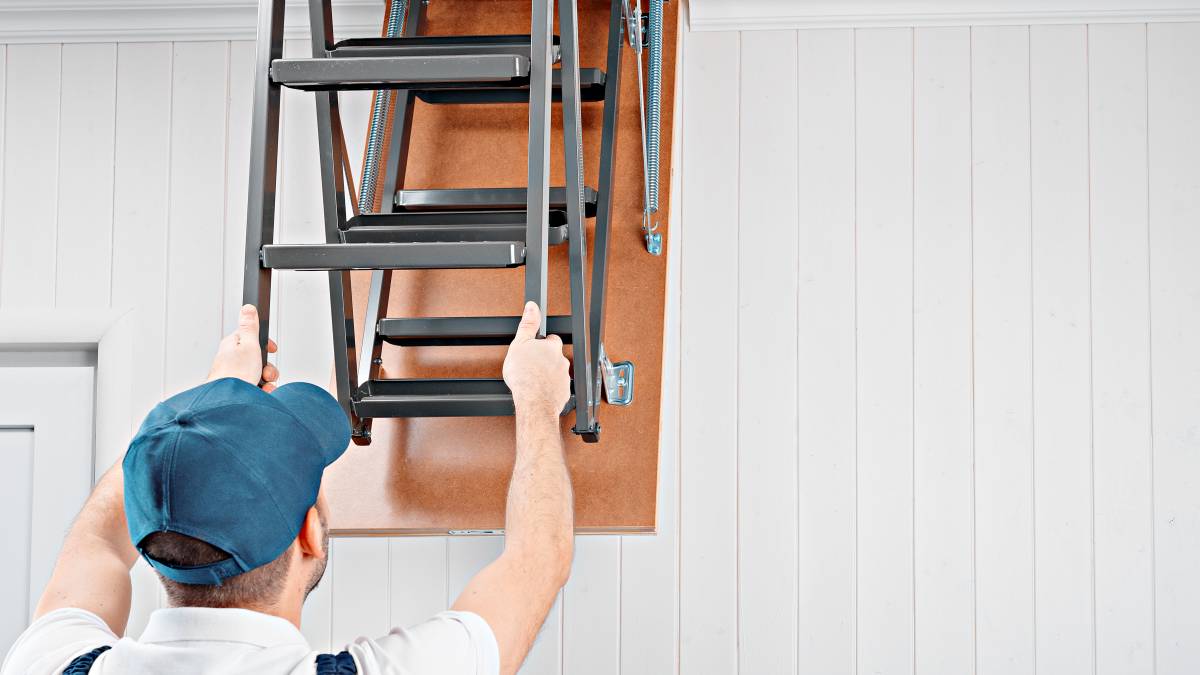
Take note when measuring the top section of your door, you may opt to use a step ladder for more convenience. Make sure to ask a family member to hold the base of the ladder in place to ensure safety and avoid injuries.
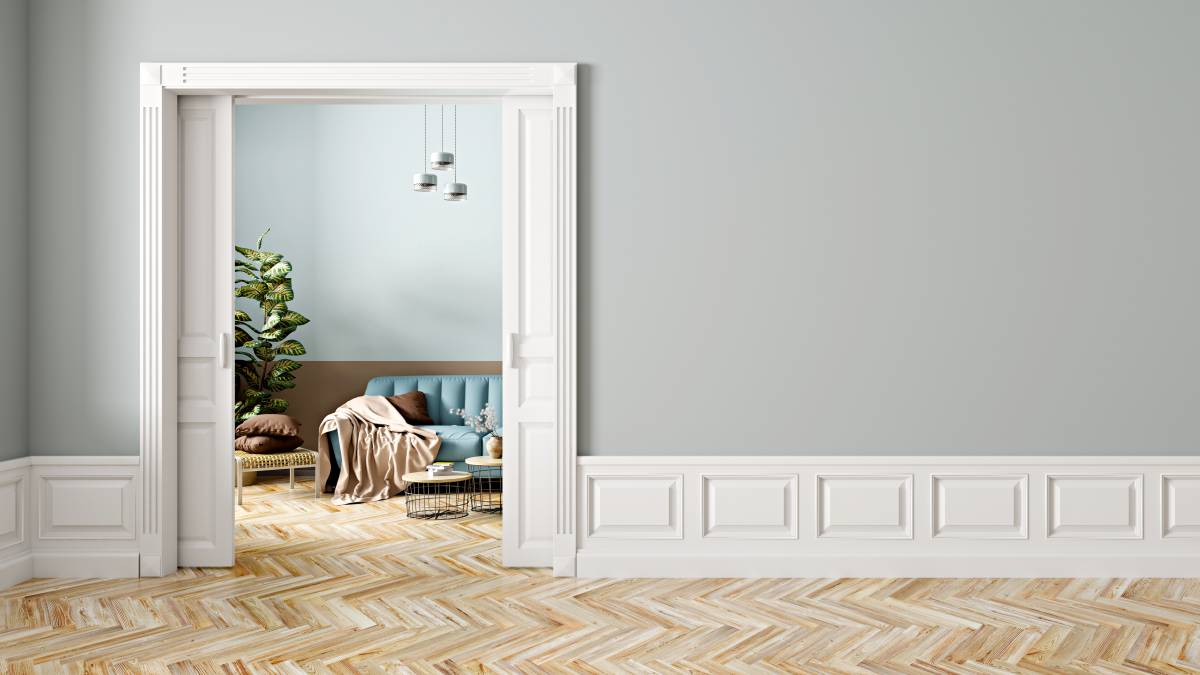
Step 2: Selecting a screen door
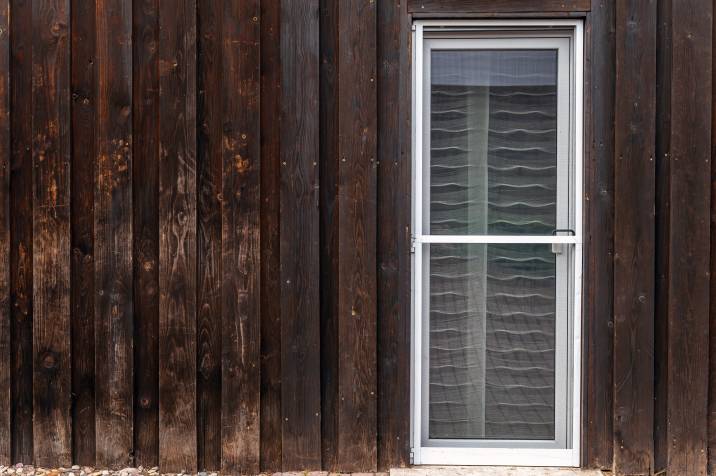
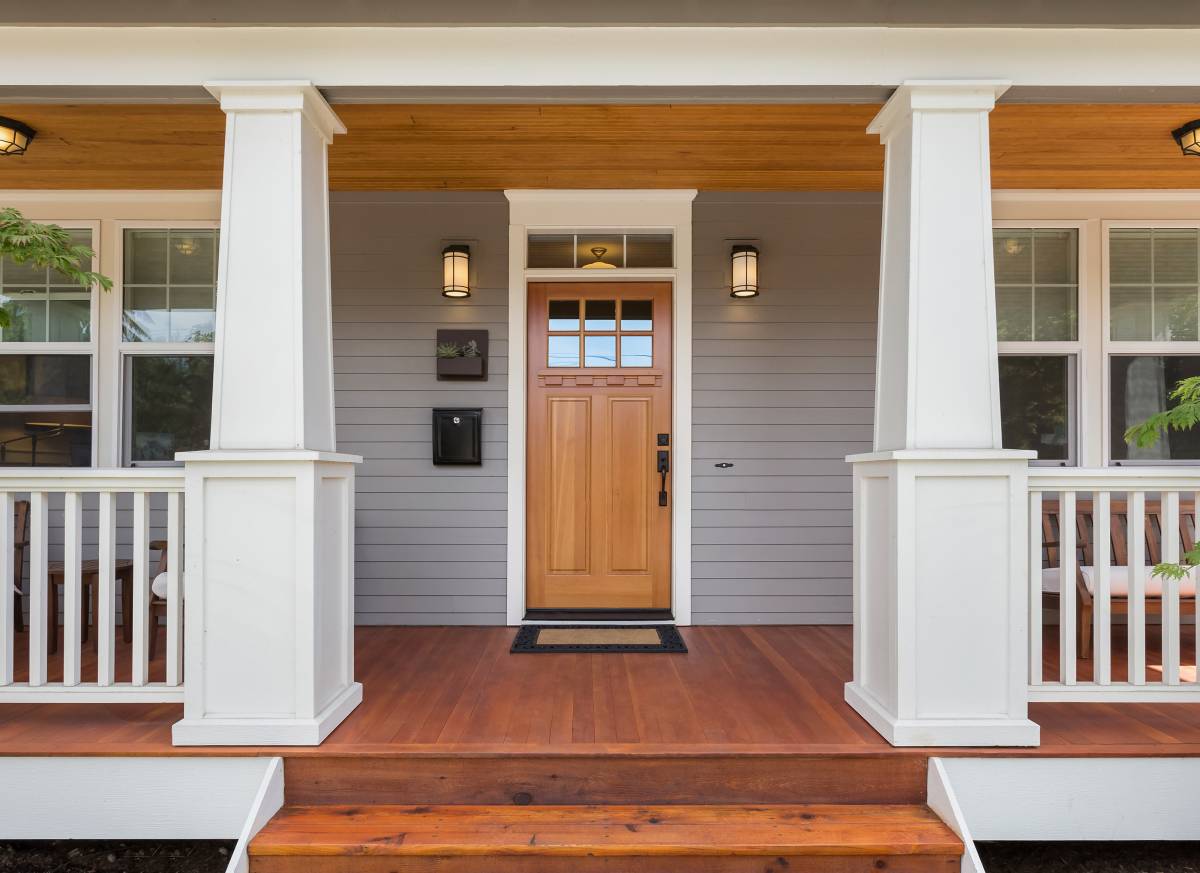
Screen doors are the first focal point of visitors when entering your home. Apart from its functional benefits, screen doors can be a statement piece for your home if picked out correctly.
In selecting what type of screen door you should choose, you must take into consideration the material that will complement and blend with your house’s exteriors. The frame is often made of wood, vinyl, aluminium, or steel.
Wood provides a more rustic, cabin-like feel to your home and can be stained or painted to a colour of your choice. Vinyl often comes in either white or black but is sturdier in the long run.
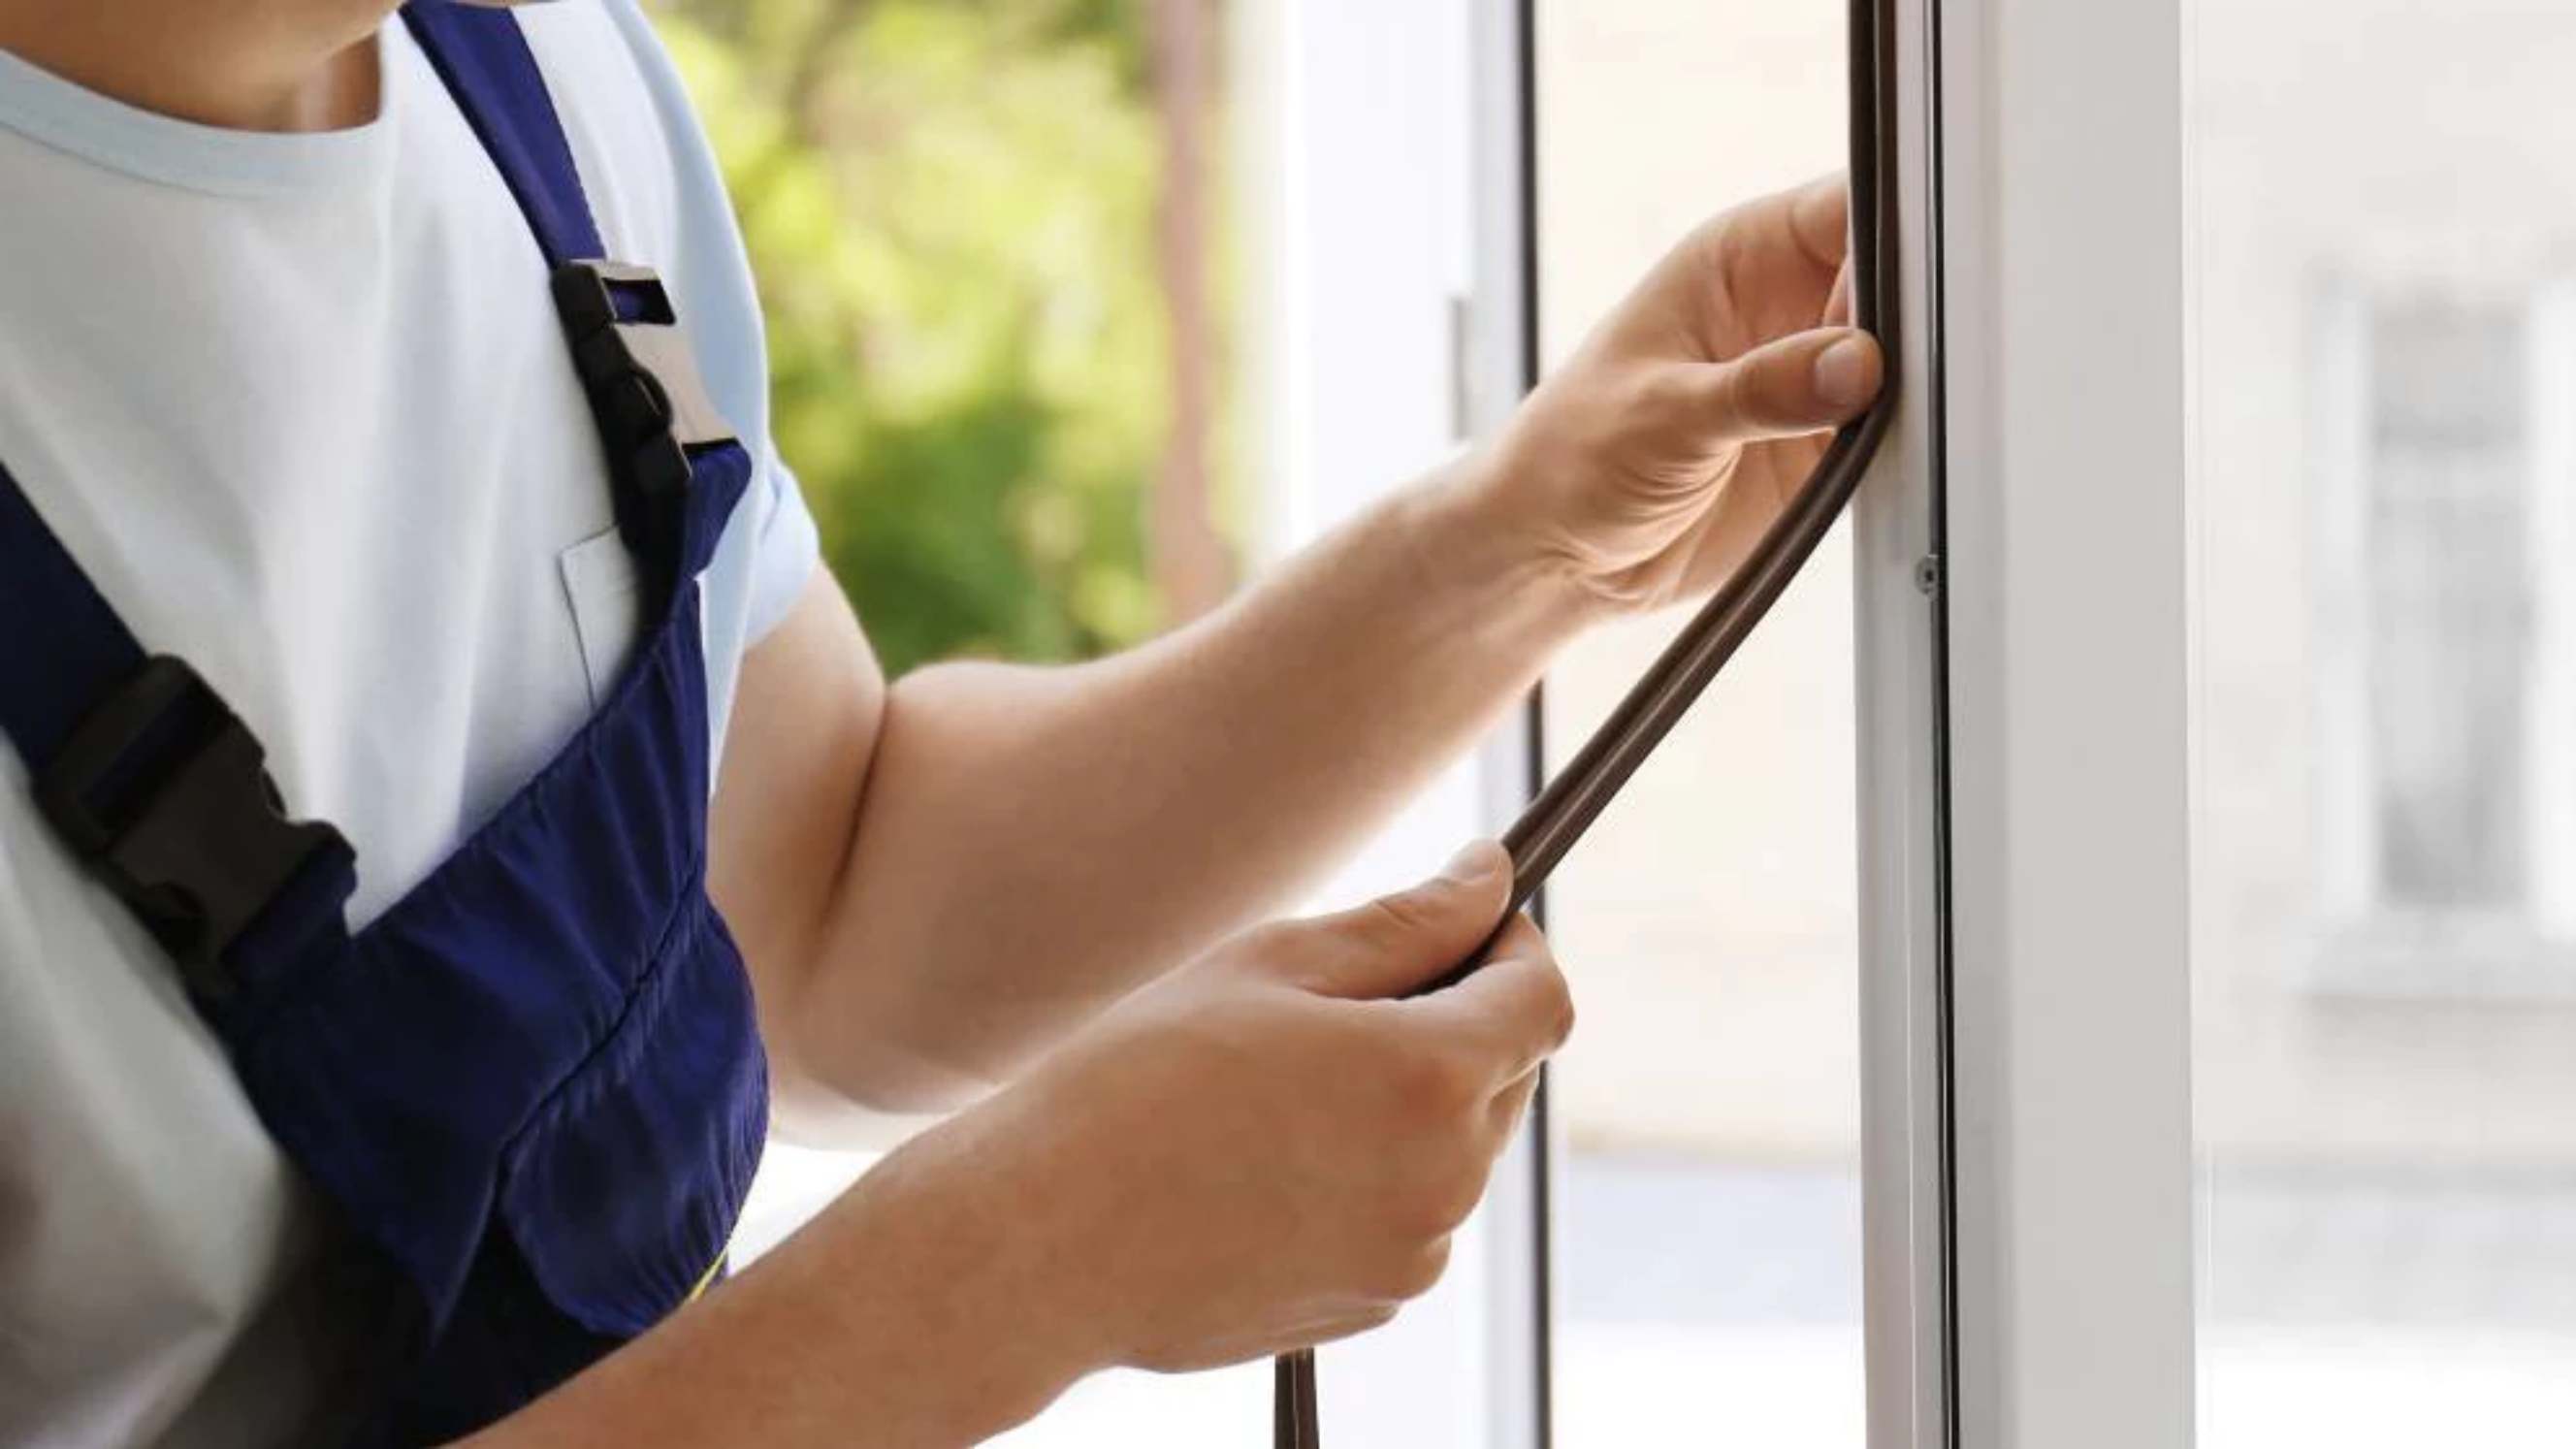
Step 3: Fitting the screen door

Once you’ve gotten the measurements of the door frame and have picked the perfect design, it’s time to fit your screen door.
Allot a 4.7625 cm distance from the screen door to the bottom, and a 3.175 cm gap from the top and on both sides of the screen door. To keep this in place, you may use shims. If there are any overlaps, use the circular saw to trim the edges. Smoothen the trimmed parts with a sanding block.
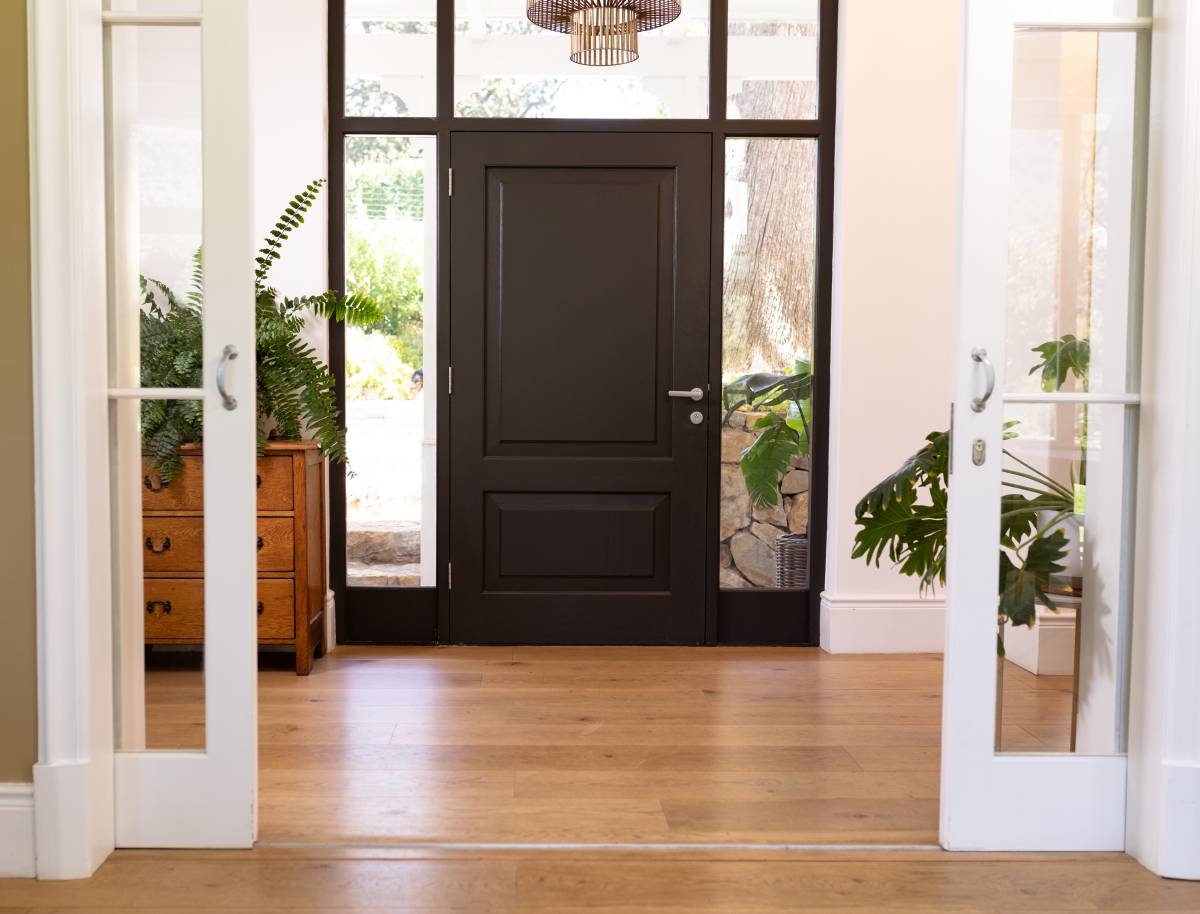
If you are wondering what way a screen door should open, designs are usually flexible and can open either way depending on your main door.
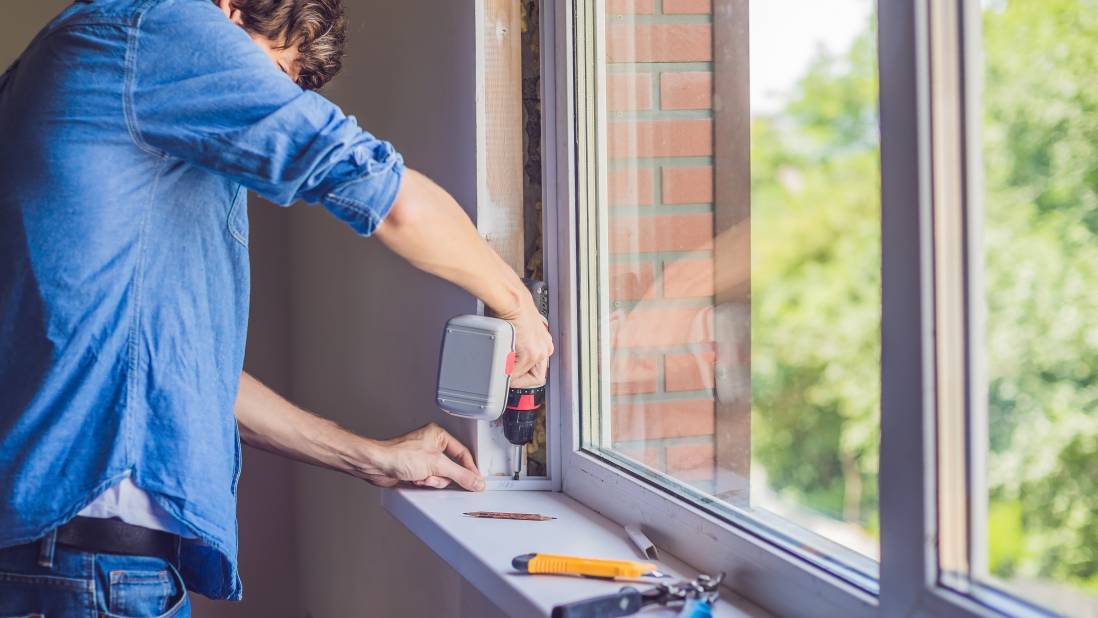
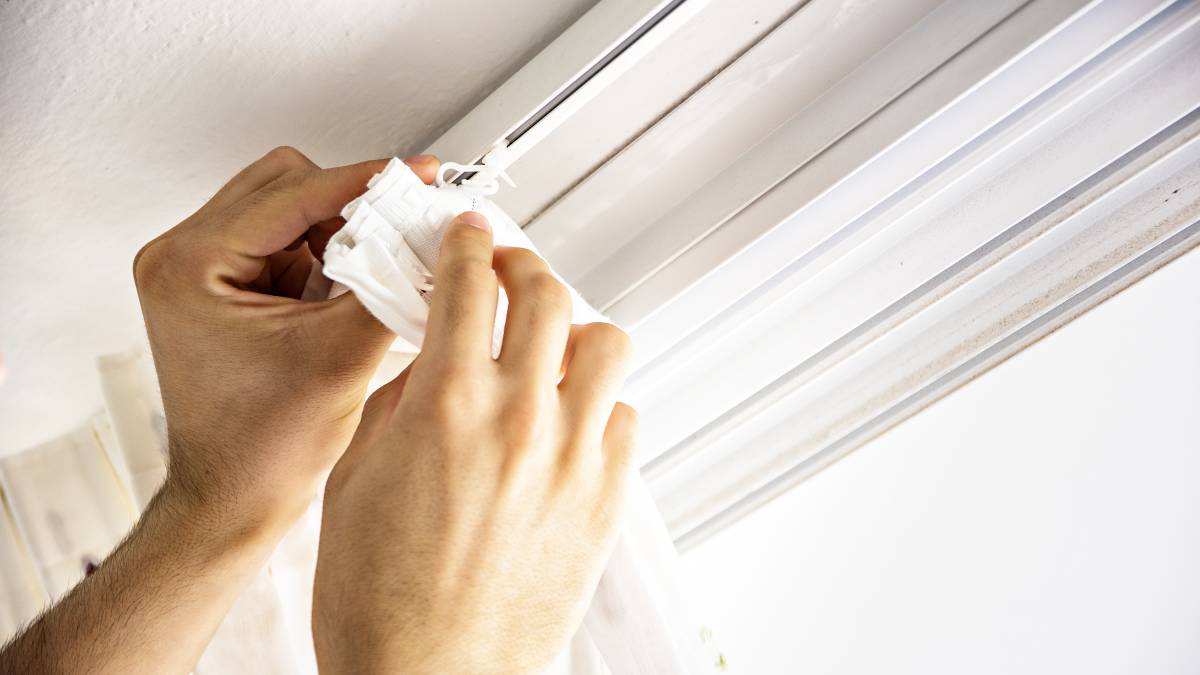
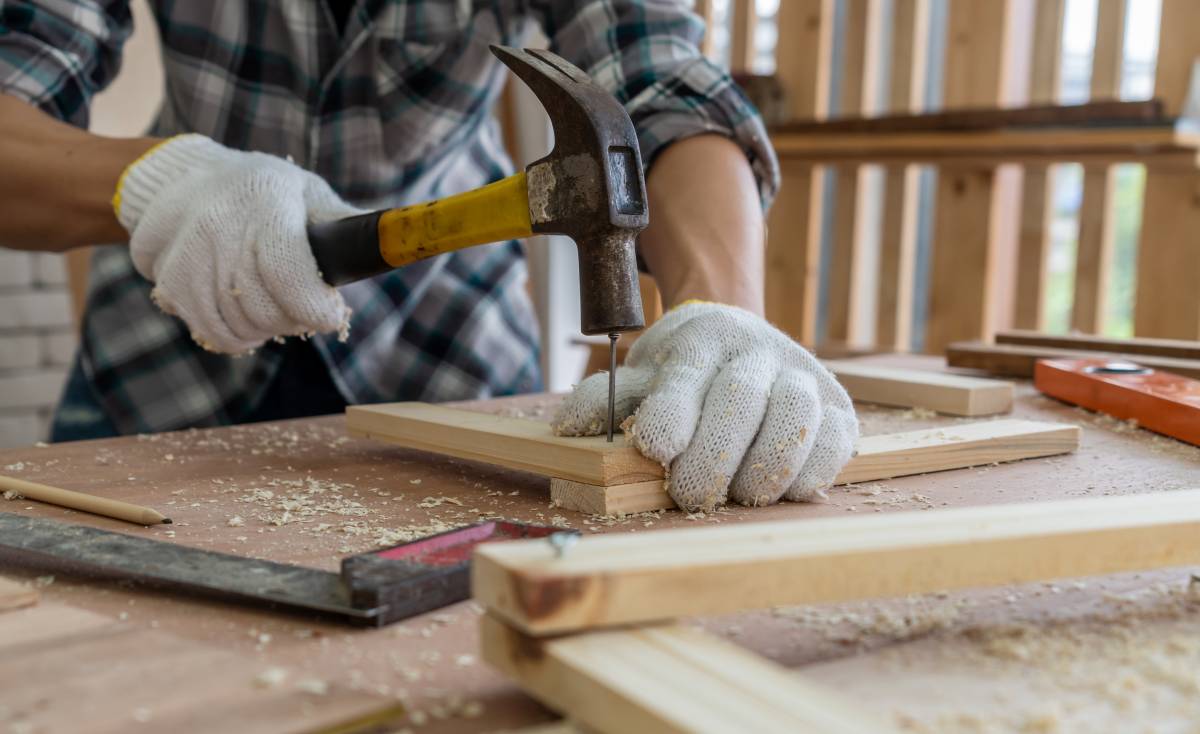
Step 4: Installing the hinges
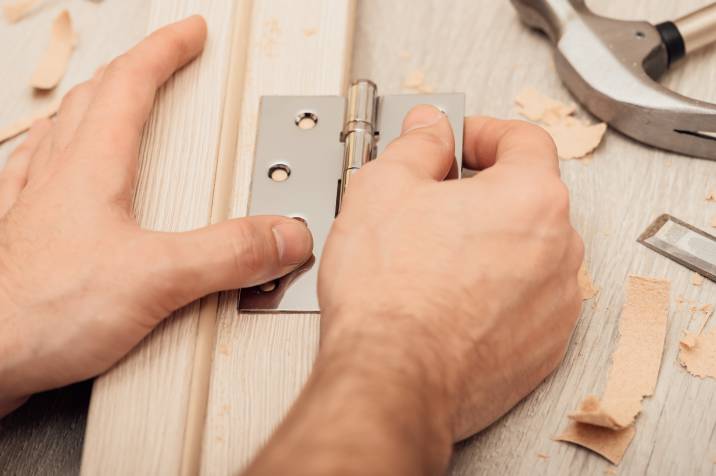
Once your screen door is set in place, you may now install the hinges. Use the hinges of the main door as a reference in placing the hinges of your screen door. Mark the location with a pencil then double-check if it matches the main door. Before drilling, make sure the screen door does not interfere with the main doors’ hinges or knobs.
If everything looks good, remove the screen door from the frame then use a power drill to put the screws in place. Start with the middle screw then work on the top and bottom screws. Only use hardware that is part of your door kit to ensure the materials are the right fit for your screen door.
After this, attach the screen door and the hinges to your door frame and open and close the door a few times to ensure the screws are tight and the door fits the frame. Make adjustments if needed.
Step 5: Installing the handle
Some screen doors come with a pre-built handle while others allow for customization. You may opt for a different design or a different placing – higher or lower – depending on your preference.
Make sure the screen door handle doesn’t obstruct the main door’s handle. Mark the location for the handle then carefully drill the holes. Attach the hardware and make sure to follow the guidelines included in the kit.
Step 6: Checking the overall project
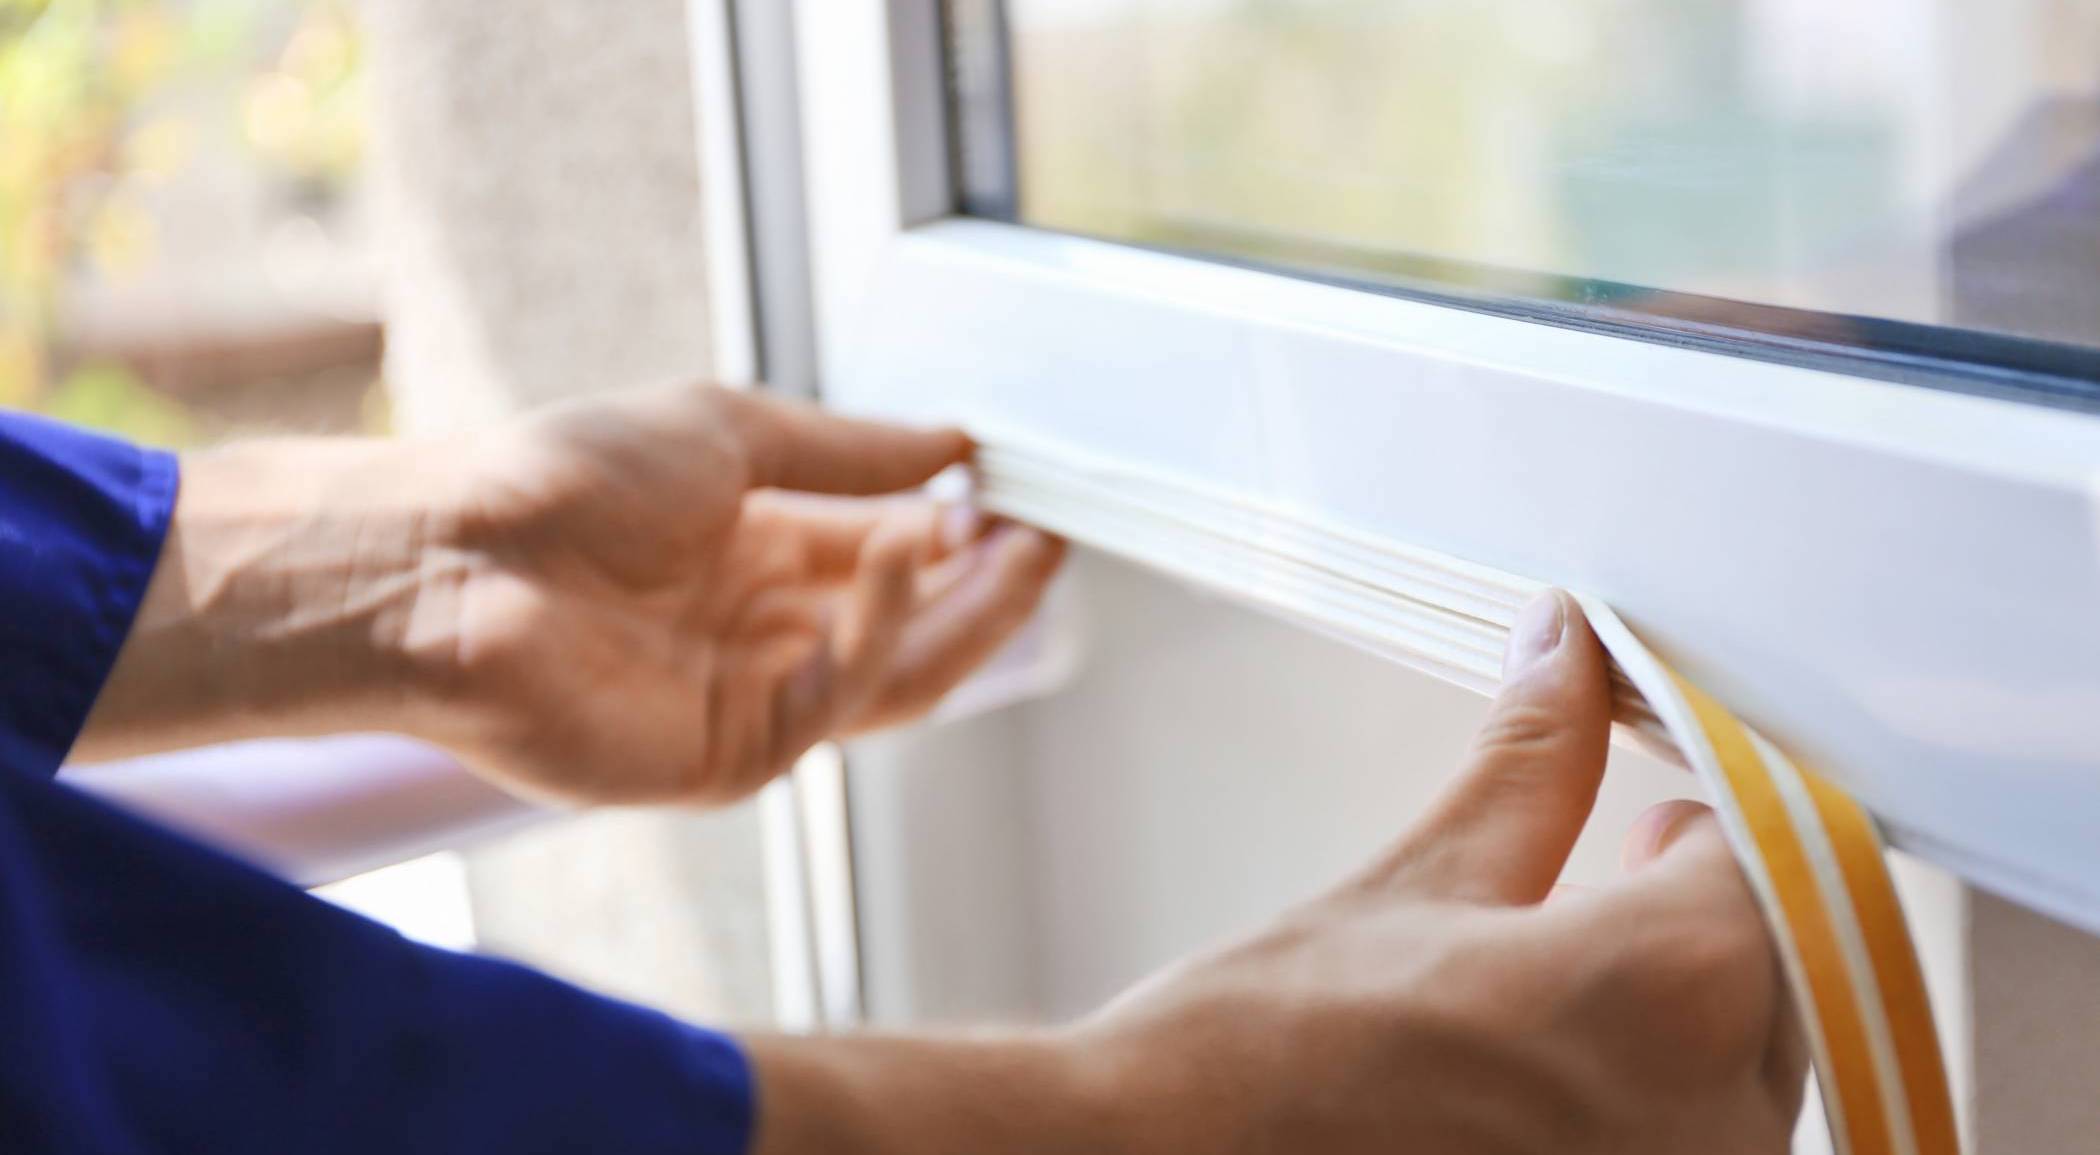
Open and close your door a few times to make sure the screws are tight and the door is sealed completely at the bottom. If there is a gap, you can buy a door sweep to keep out insects.
Protect your home with a flyscreen door
And there you have it! We hope this screen door installation guide helps you with your home DIY project. In case you found it all to be overwhelming though, we’ve also got a solution for you: get in touch with a Tasker! Hop onto the Airtasker platform and post a task to get your screen door up in no time.
Frequently asked questions
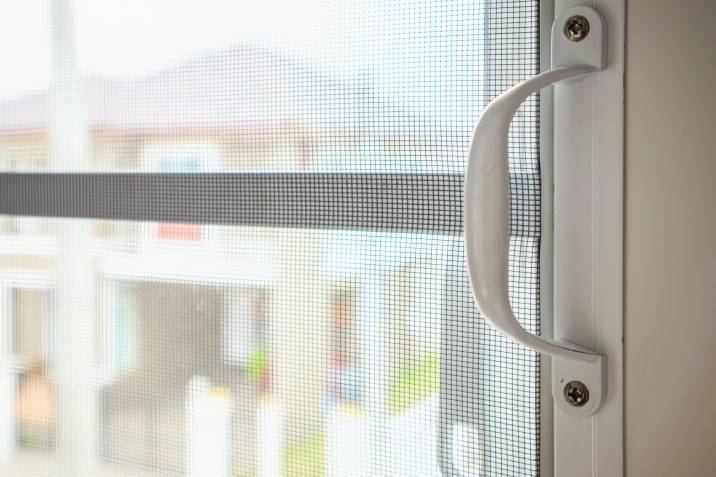
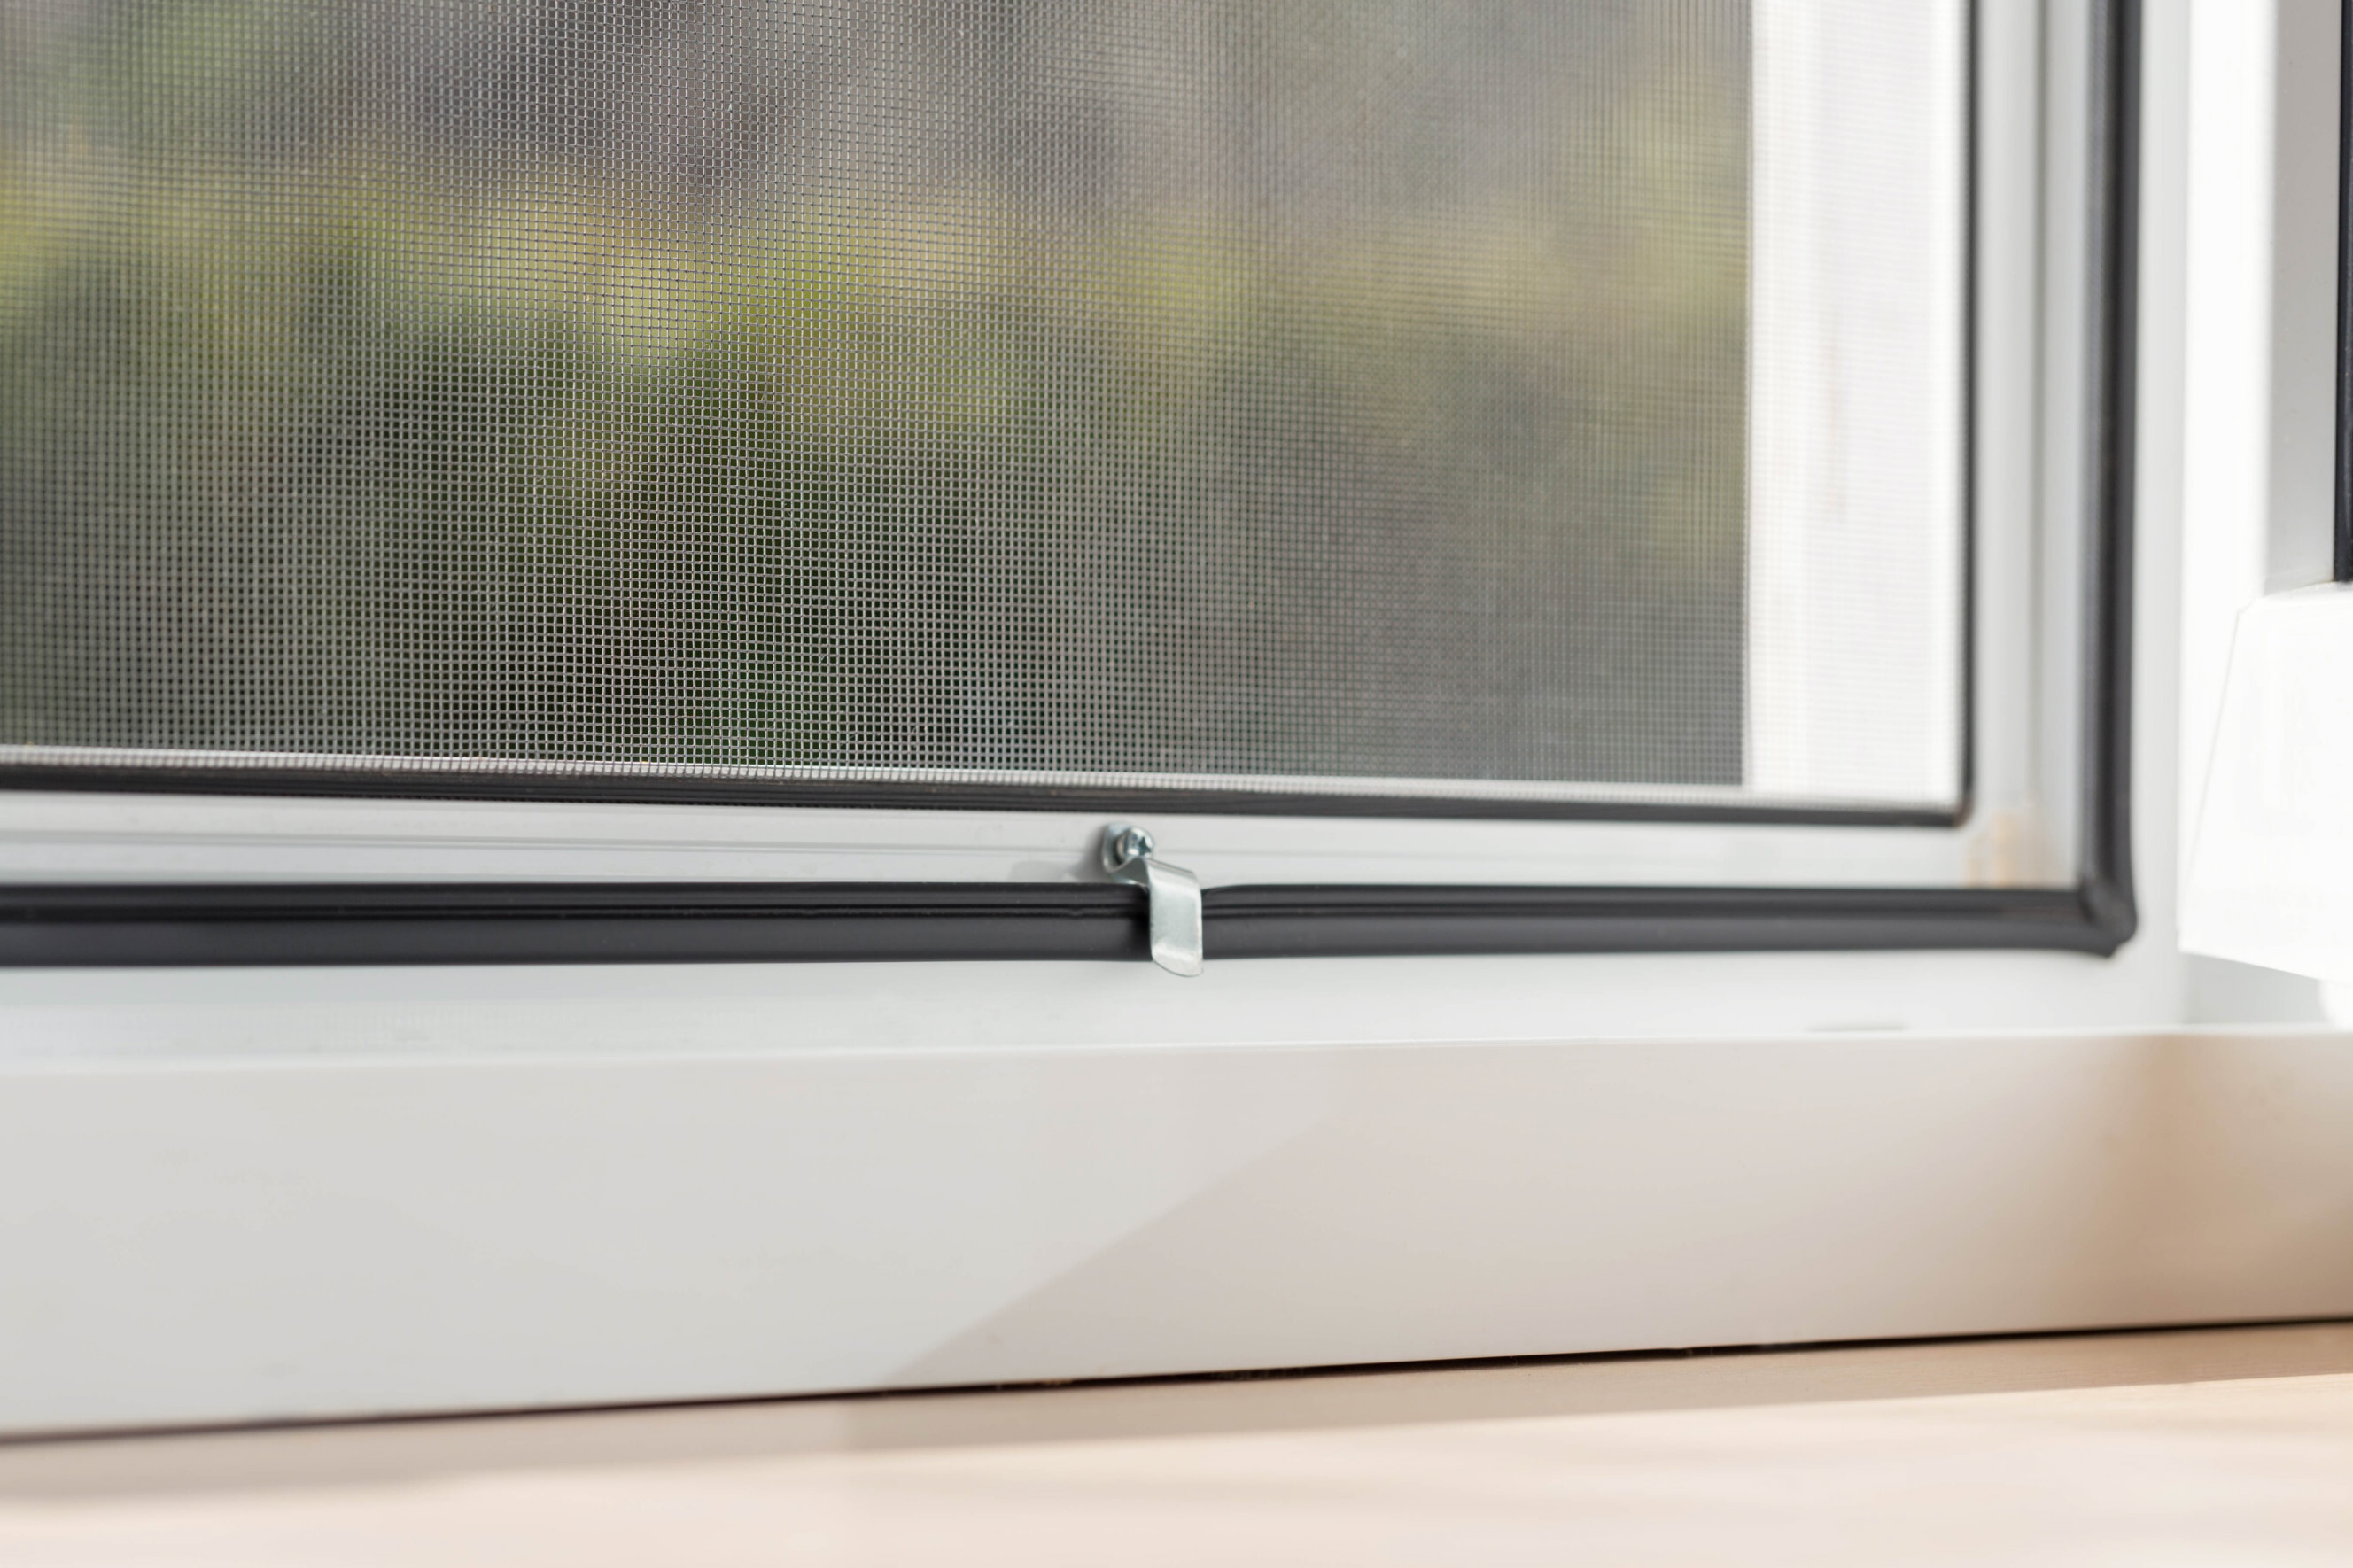
Flyscreen doors are used to protect your home from bugs and pests while enjoying the outside breeze. It is often made of thinner materials such as mesh and aluminium. On the other hand, security screen doors are used to protect your home from external elements and potential intruders. It is made of sturdier steel materials that can withstand the test of time.
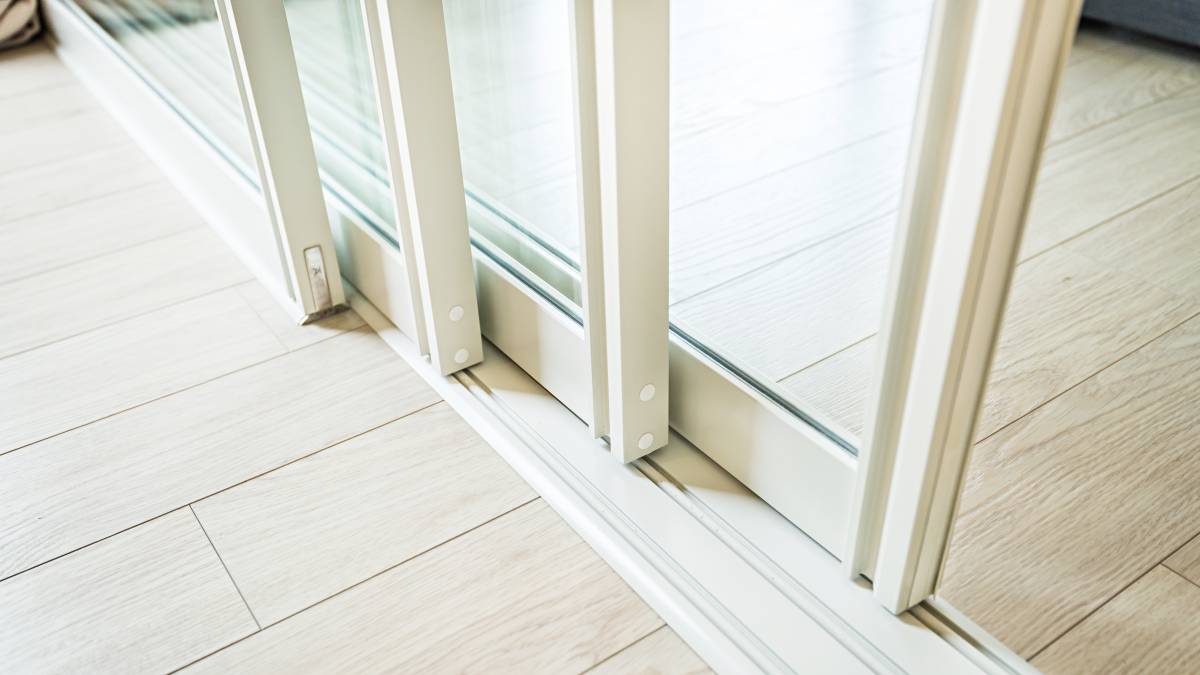
Flyscreen doors range from £40 for DIY kits to £350 for bigger sliding doors.
Find door installers, fast
Find a door installer
Related articles

How much can you earn as a handyperson?
Read more
How to Soundproof a Room
Read more
30 Lovely pantry door ideas
Read more
How to fox proof your chicken coop
Read more
How to install curtain rods
Read more
Best blue-collar jobs on Airtasker
Read more

Learn how to cut a mirror in 7 steps
Read more


Related price guides

How much does clock repair cost?
Read more
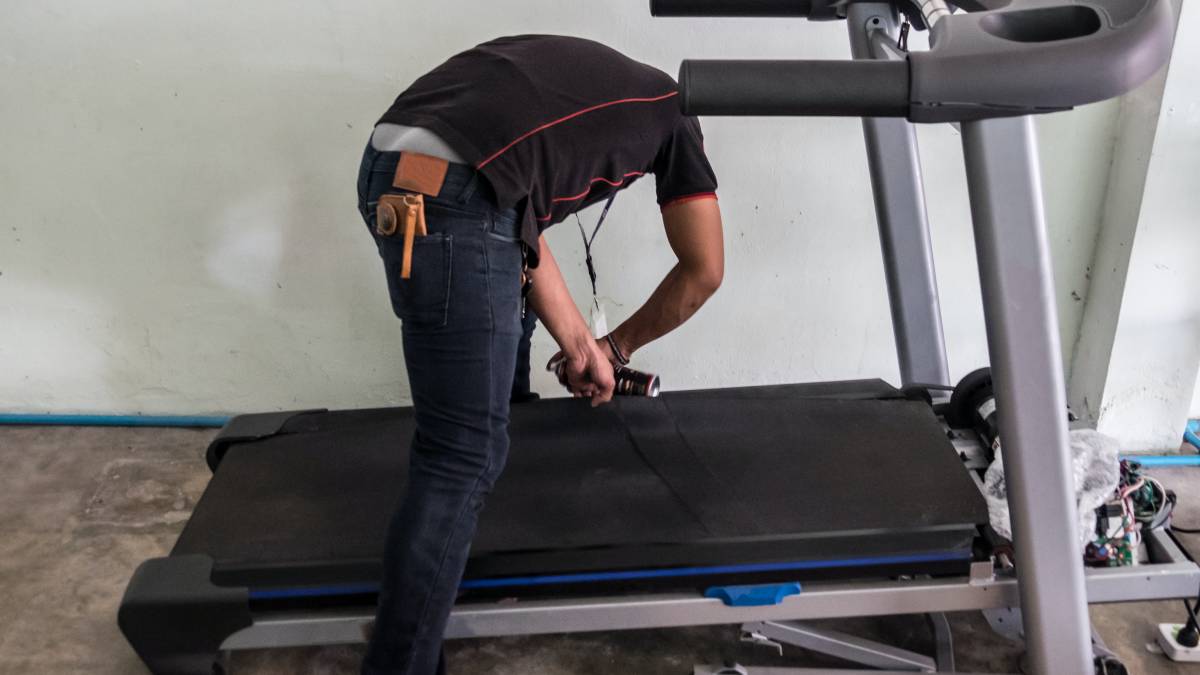
How much does treadmill repair cost?
Read more

How much does hot tub repair cost?
Read more

How much does signage cost?
Read more
How much does window repair cost?
Read more

How much does awning repair cost?
Read more
How much do chainsaw services cost?
Read more