- Home/
- Guides/
- Attic Ladder Installation/
- How to Install an Attic Ladder
How to install an attic ladder: Easy-to-follow guide
Need help installing an attic ladder? Learn from local handyman in our community!
Last Updated on
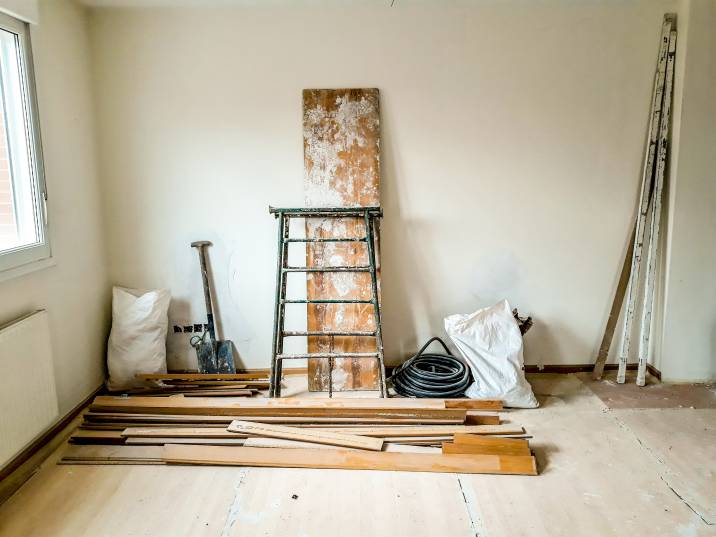
Having safe access to your attic is important for any home. Attic ladders make this possible, while also saving space around the entry point. If you need help with installing an attic ladder, then you’ve come to the right place. Learn more with our handy guide below.
Can I install an attic ladder myself?
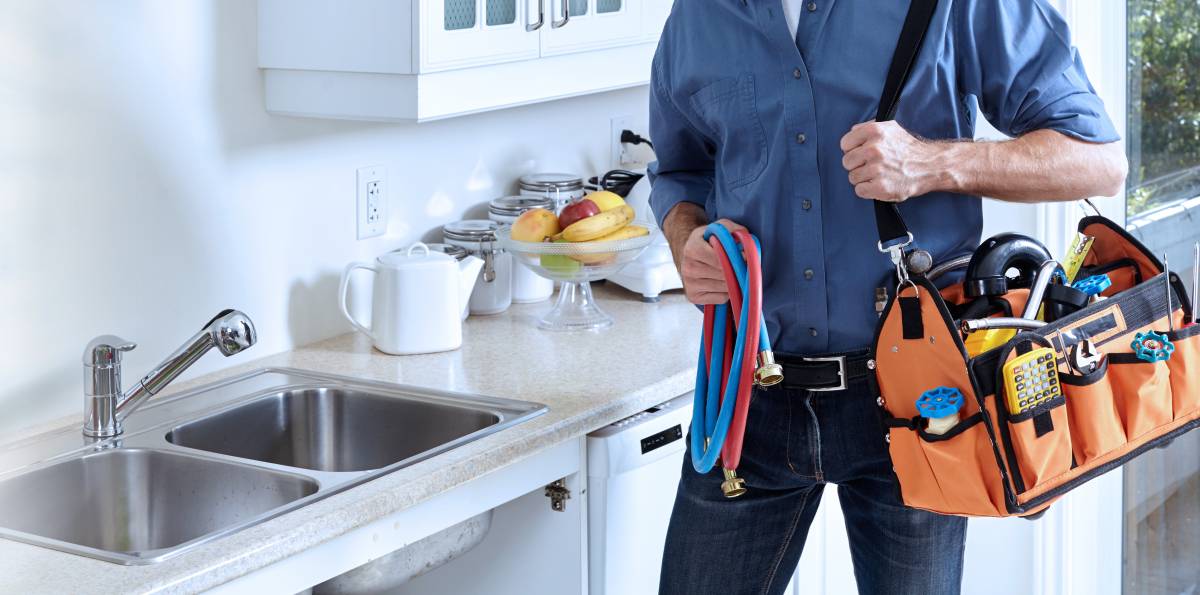
When you buy an attic ladder, it usually comes with a manual or instructions that you can follow. If you have the time, you could install an attic ladder yourself. Otherwise, you can post a task here on Airtasker to hire a handyman near you.
How long does it take to install an attic ladder?
It usually takes at least four to eight hours if you don’t have the hatch yet. If you have a hatch ready, it can only take around two to three hours to install the attic ladder. The time it takes could also vary greatly depending on your previous experience with similar projects.
What do I need to install an attic ladder?
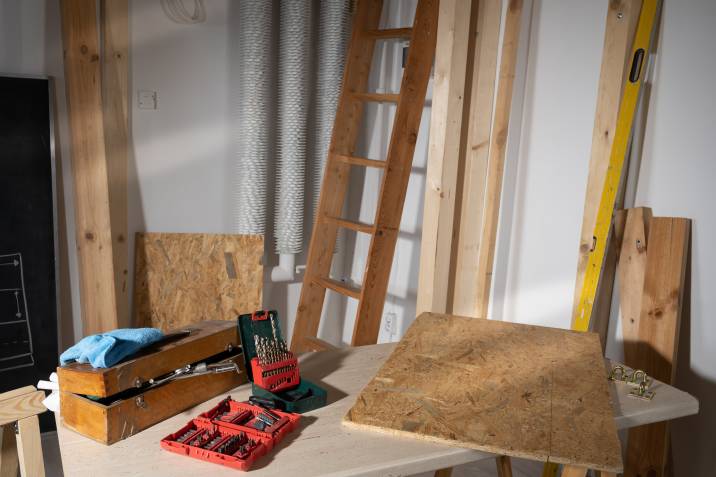
This DIY project needs at least two people, along with a variety of tools:
At least two people
Gloves, mask, and goggles
1" x 4" boards
2" x 6" boards
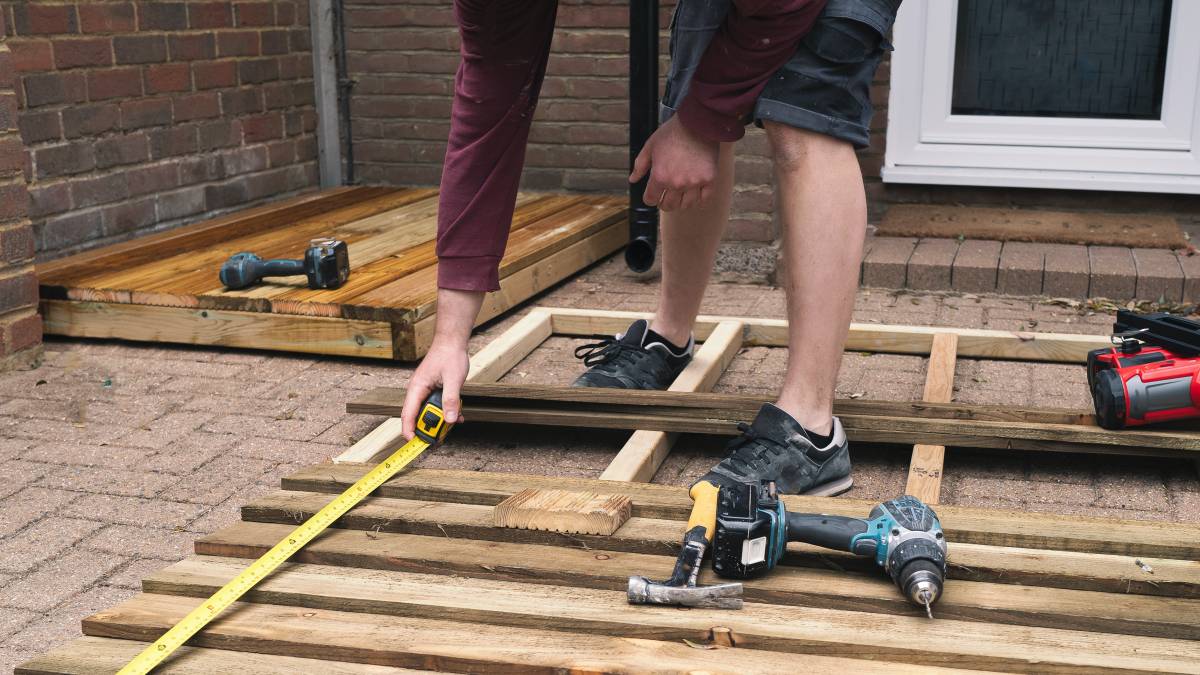
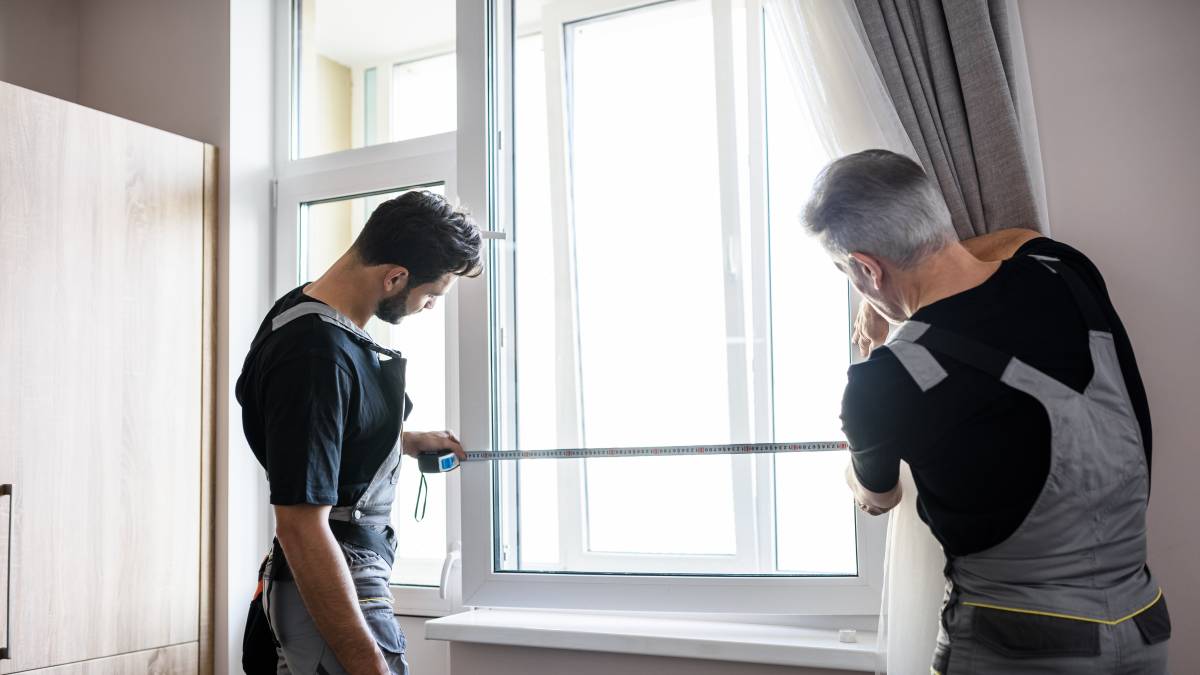
Tape measure
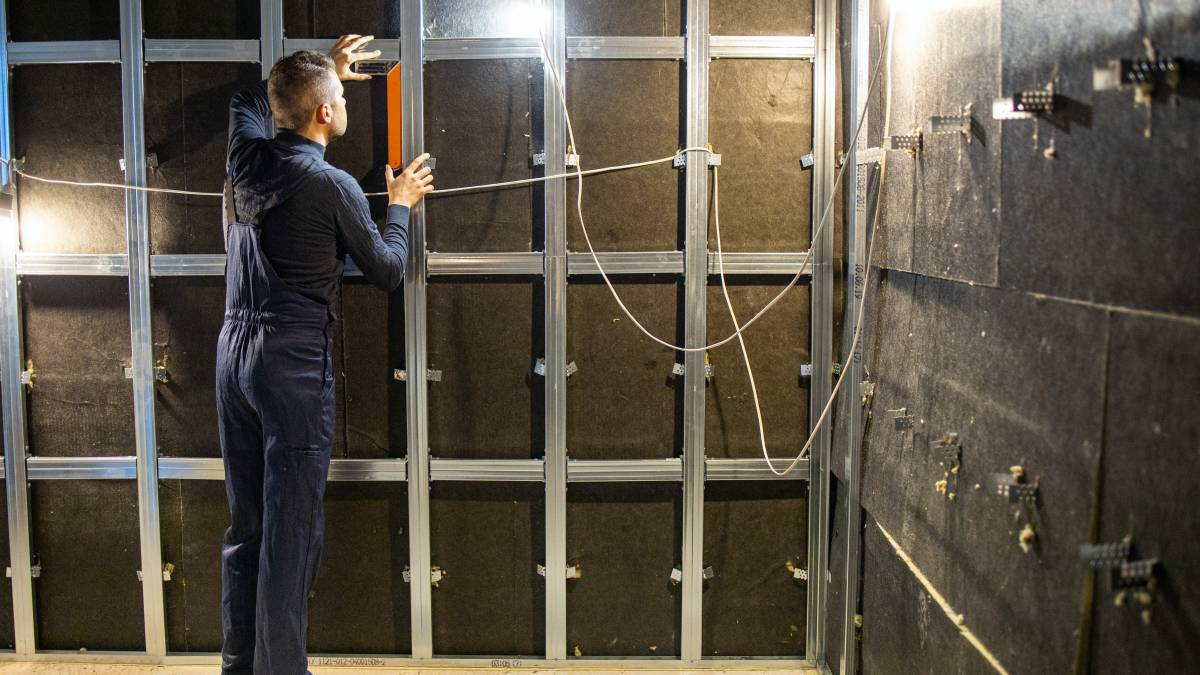
Level
Nail gun
Screws
Carpenter’s square
Shims
Chisel
Hammer
Hand saw or drywall saw
Power drill
Stepladder
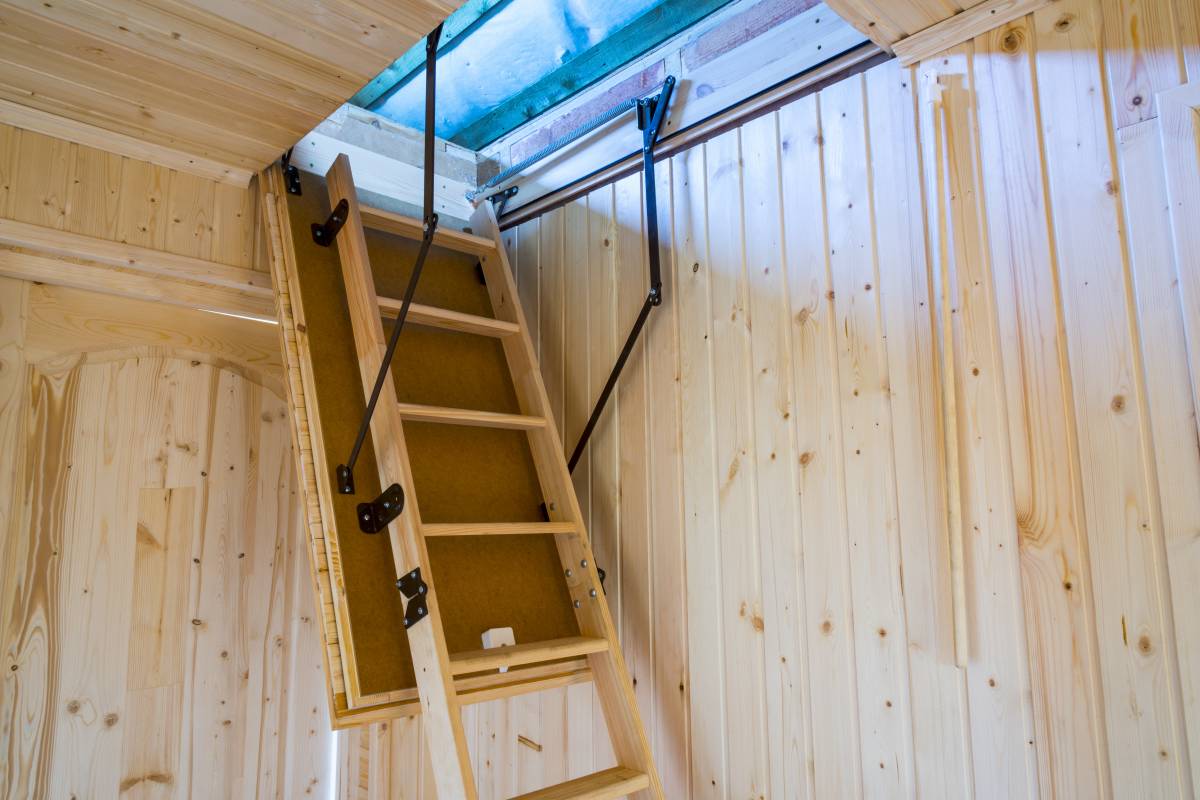
Pre-assembled folding attic ladder
How to install a pull-down attic ladder
Whether you want to install the attic ladder in your garage or inside your house, the tools and process are more or less the same. Here’s how to install an attic ladder:
Step 1: Finding the suitable installation spot
Choose a spot in the ceiling that is clear of obstacles like additional beams, pipelines, electric lines, or joists. Any of these elements should not be cut without first consulting a local building inspector or architect.
Make sure the ceiling spot is big enough for the installation. Check the swing clearance as well for proper ladder use.
The packaging of your newly bought attic ladder should specify the recommended ceiling height range. Check that the ladder's length is appropriate for your ceiling height and that both legs are properly resting on the floor. Your ceiling height should match what’s indicated on the label. If you have a small space, you may opt for a compact attic ladder installation.
Take out the new attic ladder from its packaging, but keep the tie that holds the stairs together in place. The majority of the models are pre-built, so sift through each part.
After you open or extend your ladder, inspect the area where it will rest on the floor. Make sure you have enough room to move around while climbing up or down with items/boxes/cartons. Also, consider the attic area where you will land once you’re up there. When you reach the attic space, there should be plenty of room to exit the ladder.
A large enough area on the floor or under the ceiling should be available to set up a step ladder and complete the installation. It should be spacious enough so you can move around freely and comfortably.
Step 2: Cutting a hole in the ceiling

This part is only for those who don’t have a hatch in their ceiling yet. If you wish to install an attic ladder in an existing opening, you may skip this part of the installation process.
Remove any furniture from your work area. Pets and children should be kept at a safe distance.
Wear gloves, a dust mask, and safety goggles for protection.
Make a small hole in the centre of your chosen ceiling spot using a chisel and a hammer.
Use a handsaw to enlarge this hole.
Mark the cutting lines on the ceiling at the attic opening.
Cut along the tracing lines and carefully remove the parts.
Step 3: Framing the installation opening
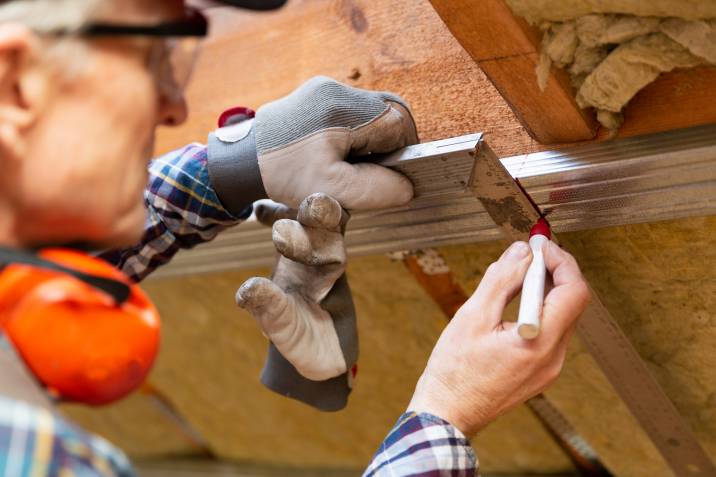
Measure the distance between the ceiling joists where you cut the hole perpendicularly.
Cut two boards to the length you measured.
These two boards are positioned at both ends of the openings. Align them so that they form a 90-degree angle with the joists. They will be used as headers. Check that they fit snugly between the joists.
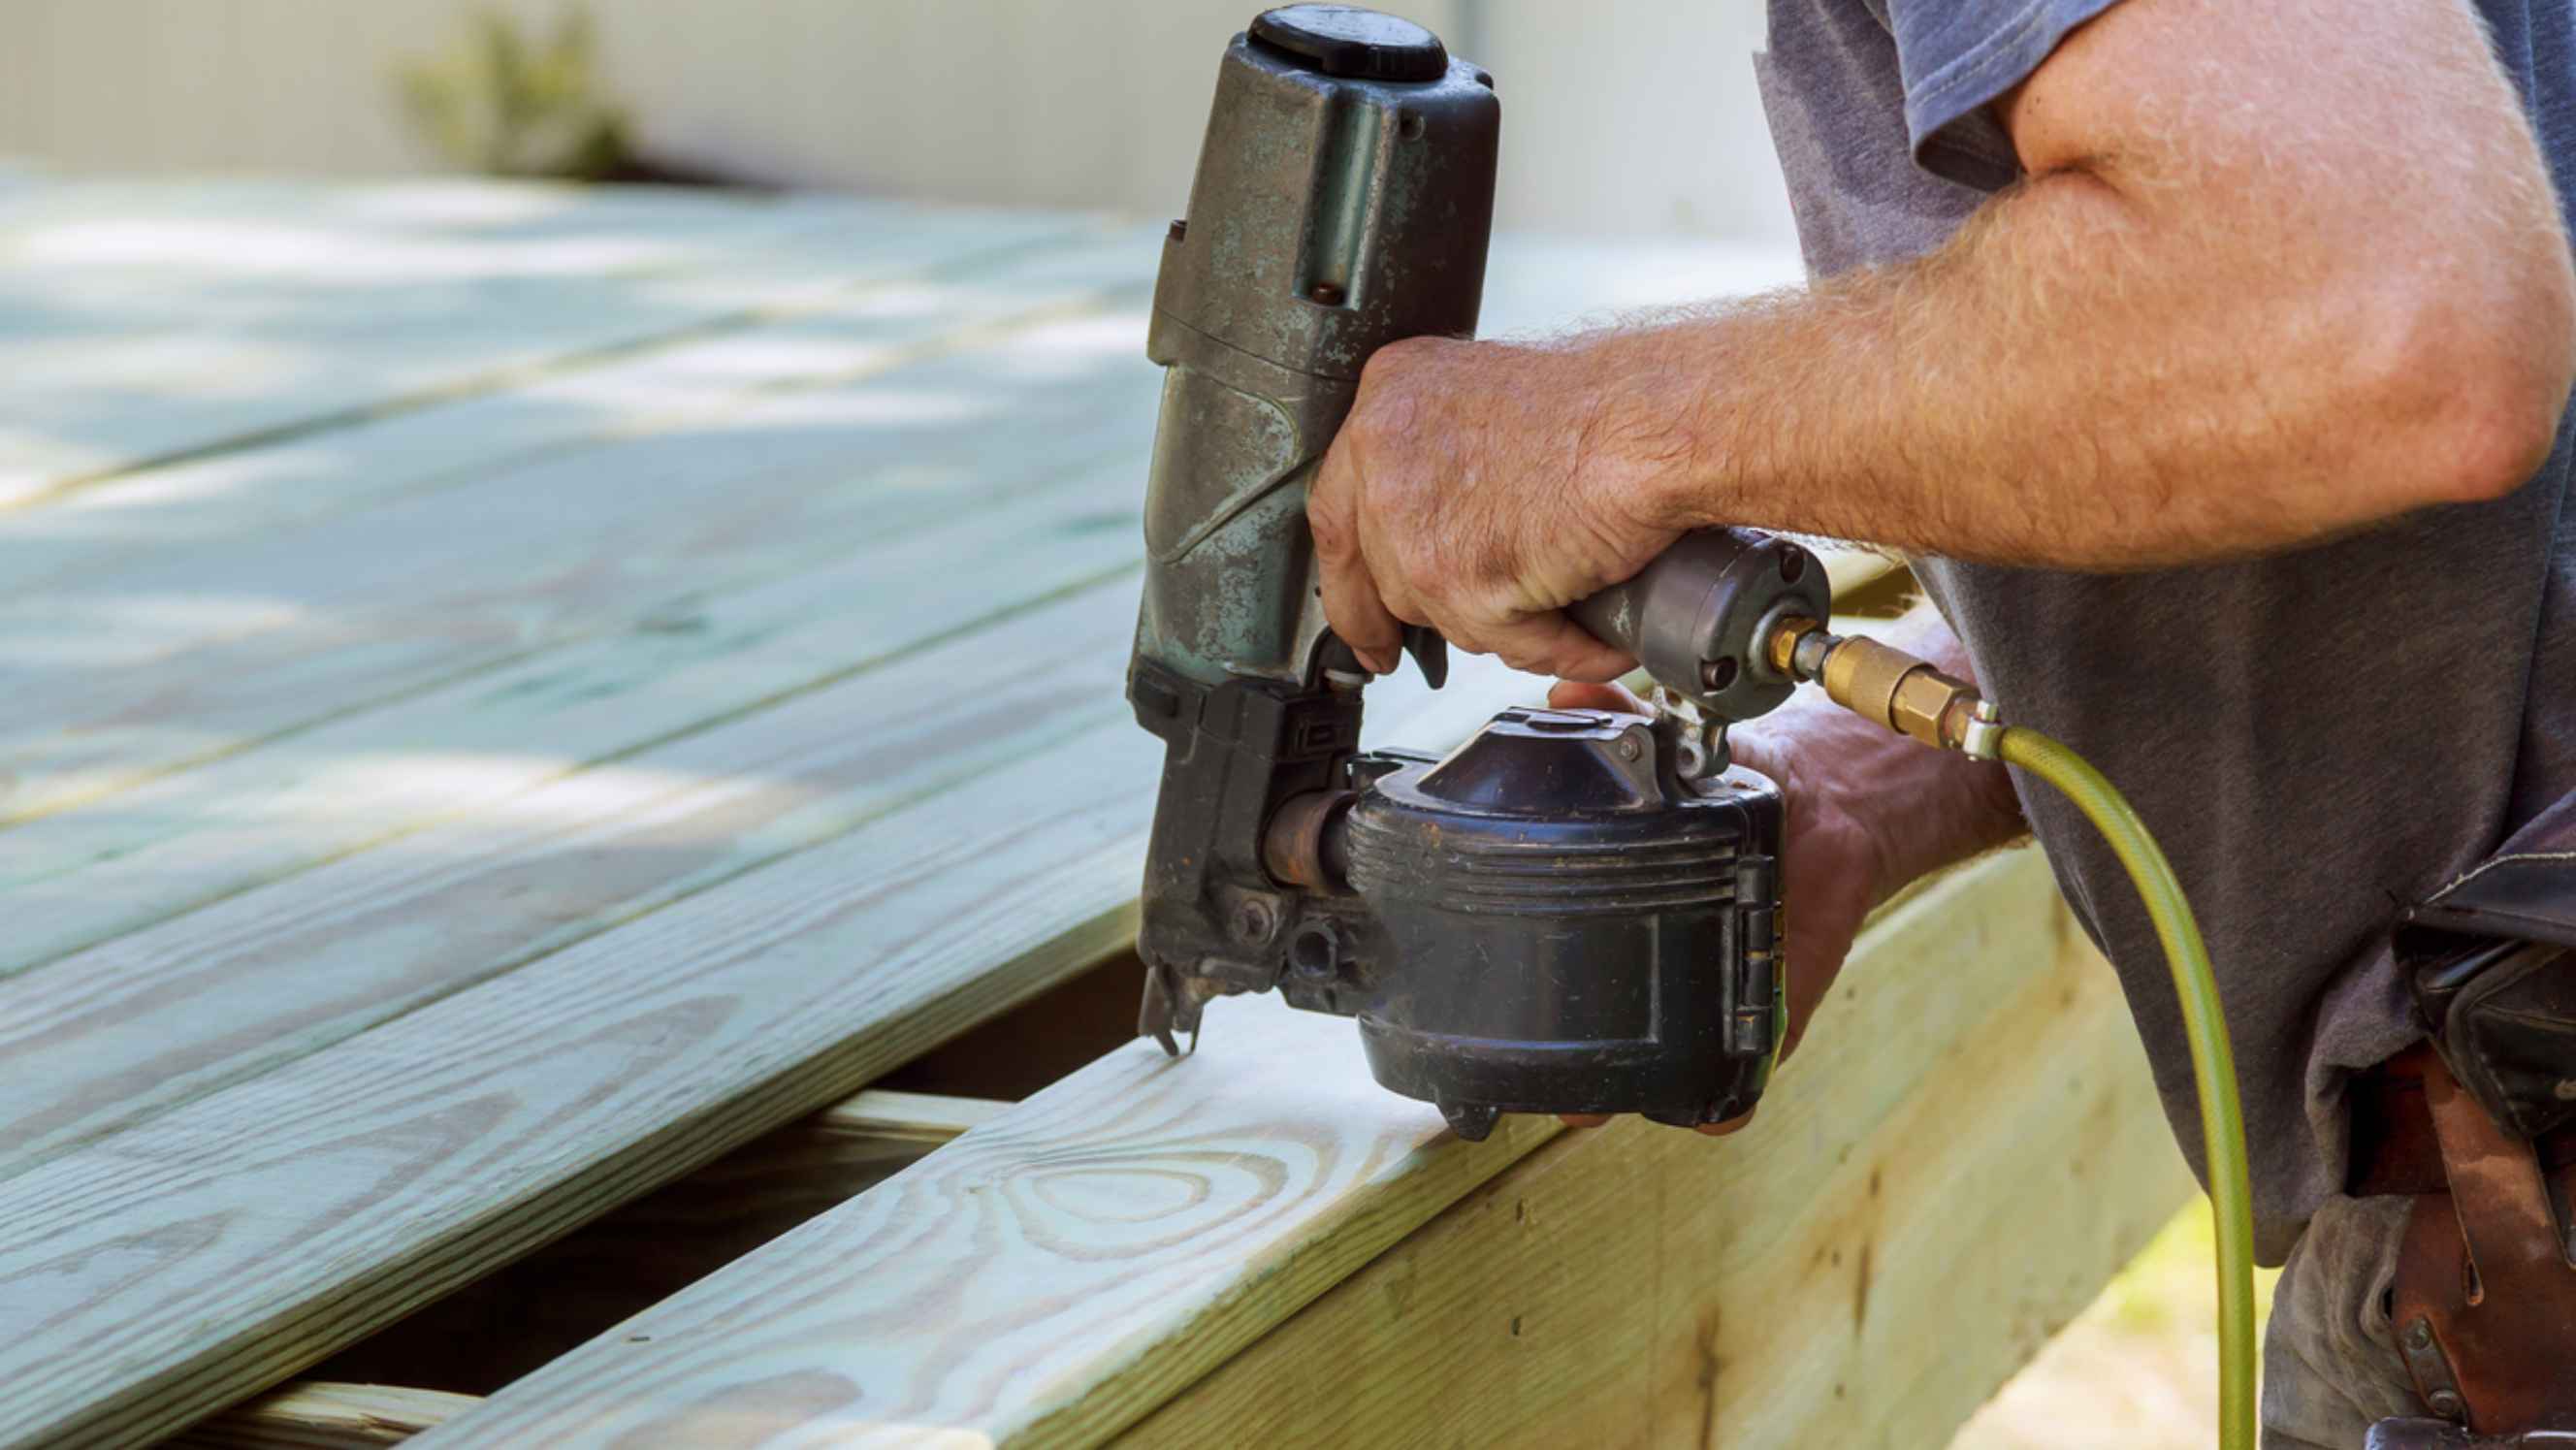
Drive at least three nails into each header end to secure it to the joists. For this task, a brad or finish nailer can be a useful tool to ensure the nails are properly set.
The two headers serve as the frame's two sides, while the ceiling joists serve as the other two sides.
Check the opening measurements again to ensure you get the correct attic ladder size.
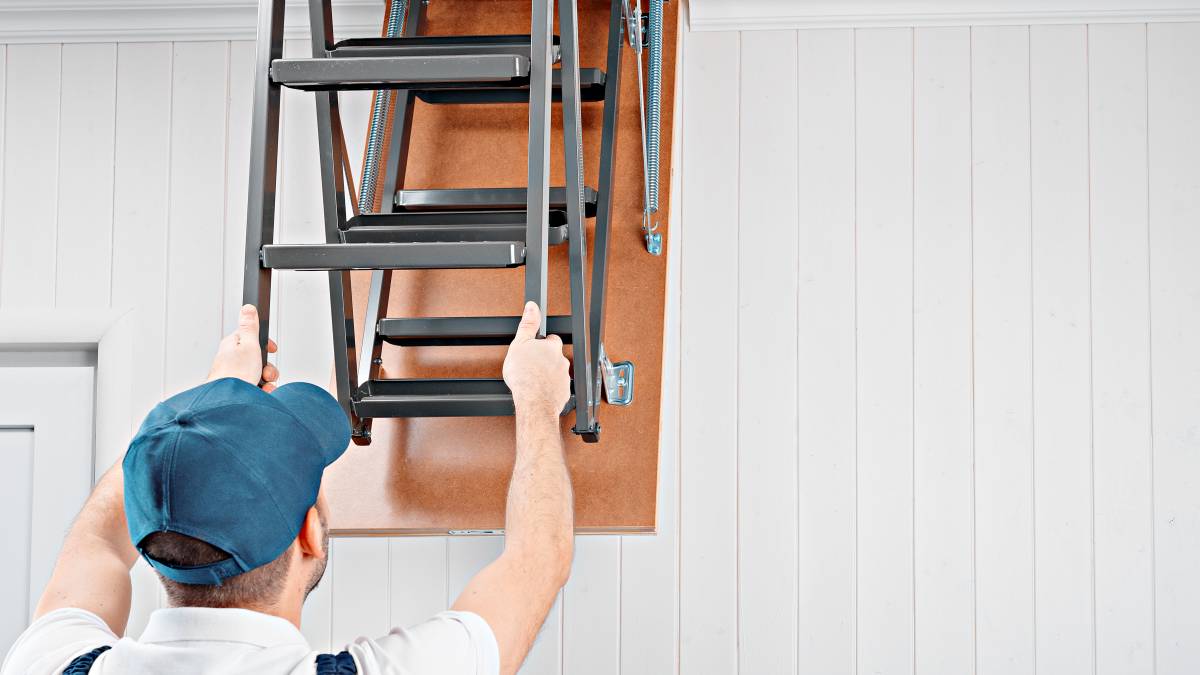
Step 4: Installing the attic ladder

This part of the installation process will require at least two people: one person should remain below while the other goes into the attic.
Attach two temporary support boards to each header end of the opening, as instructed by the manufacturer in the packaging.
Connect the attic door to the pull cord.
With the help of another person, lift the attic ladder through the access hatch, then rest it on the support boards. Never put any weight on the ladder until it is completely installed.
To centre the ladder, slide it into the hatch. Secure the hinge side for now. Screw at least two screws into the back header boards.
Carefully open the ladder door with the help of another person standing below. To open the door, use the pulling cord or control rod. Do not untie the stairs yet!
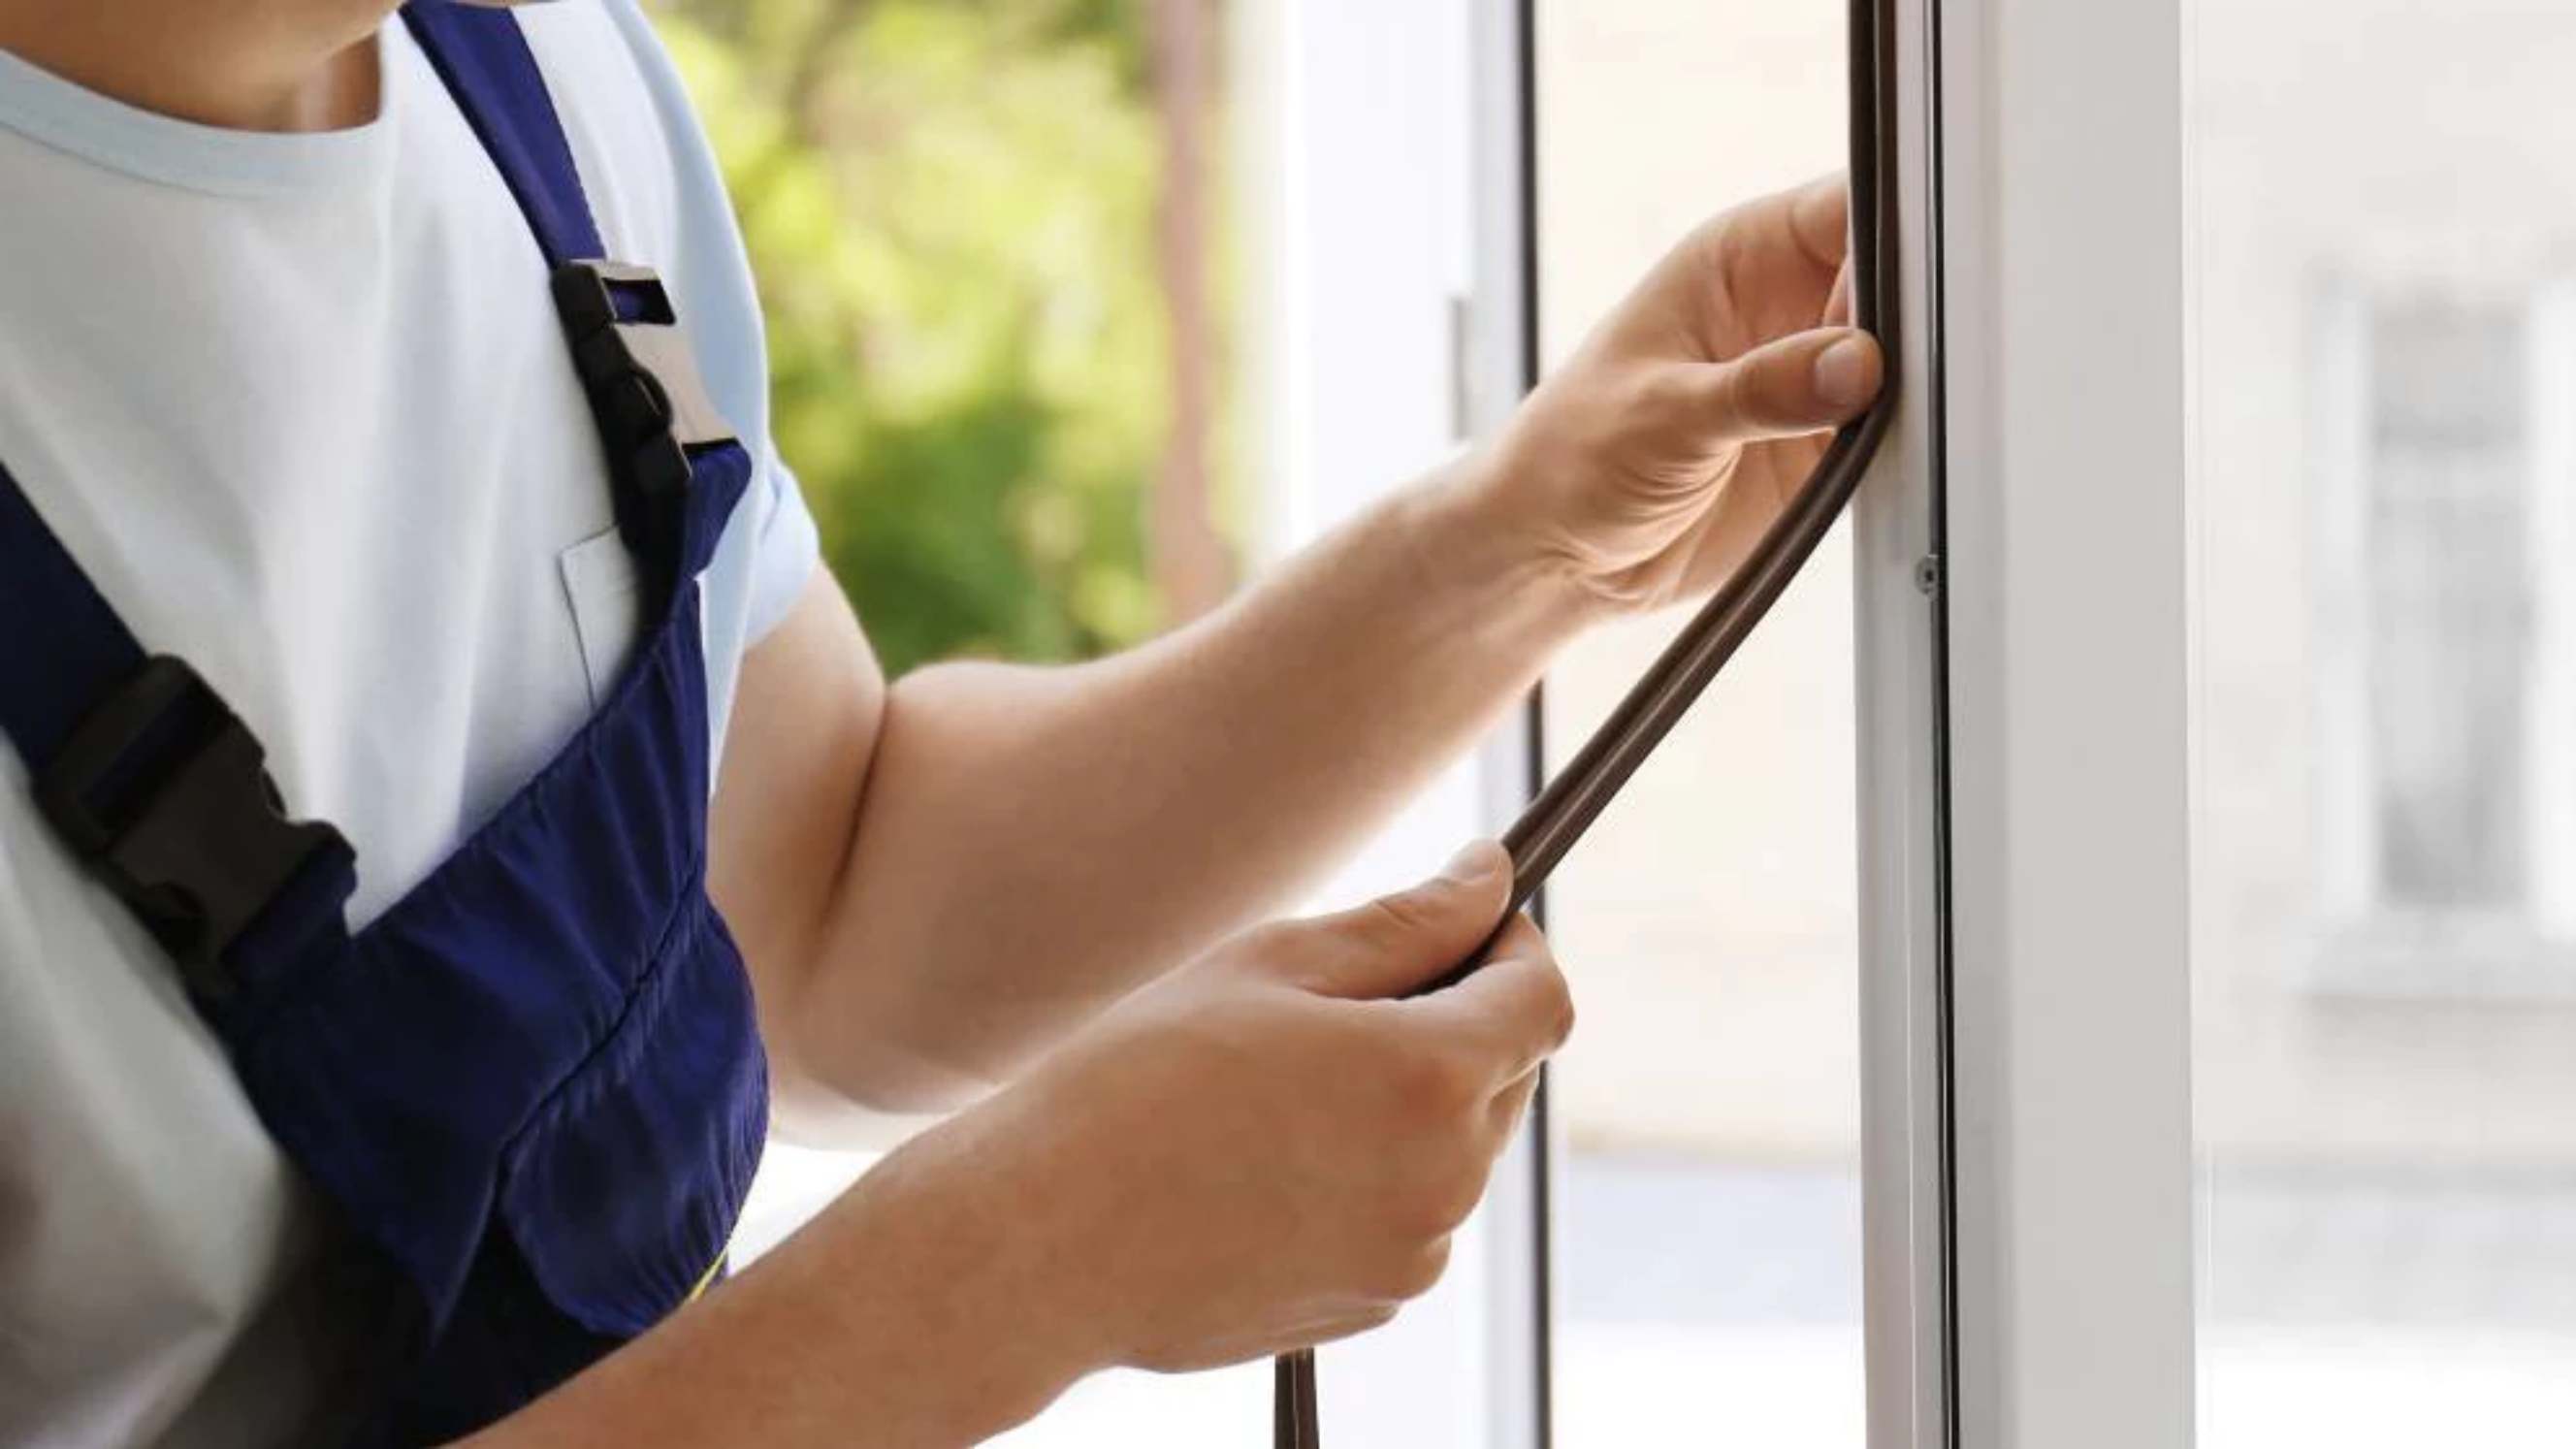
Check that the attic door opens and closes freely and without obstruction. If not, measure the diagonal dimensions of the opening from above the ladder to ensure it's square. If they aren't, use shims to adjust the frame to the corners. Drive screws through the shims to keep them in place.
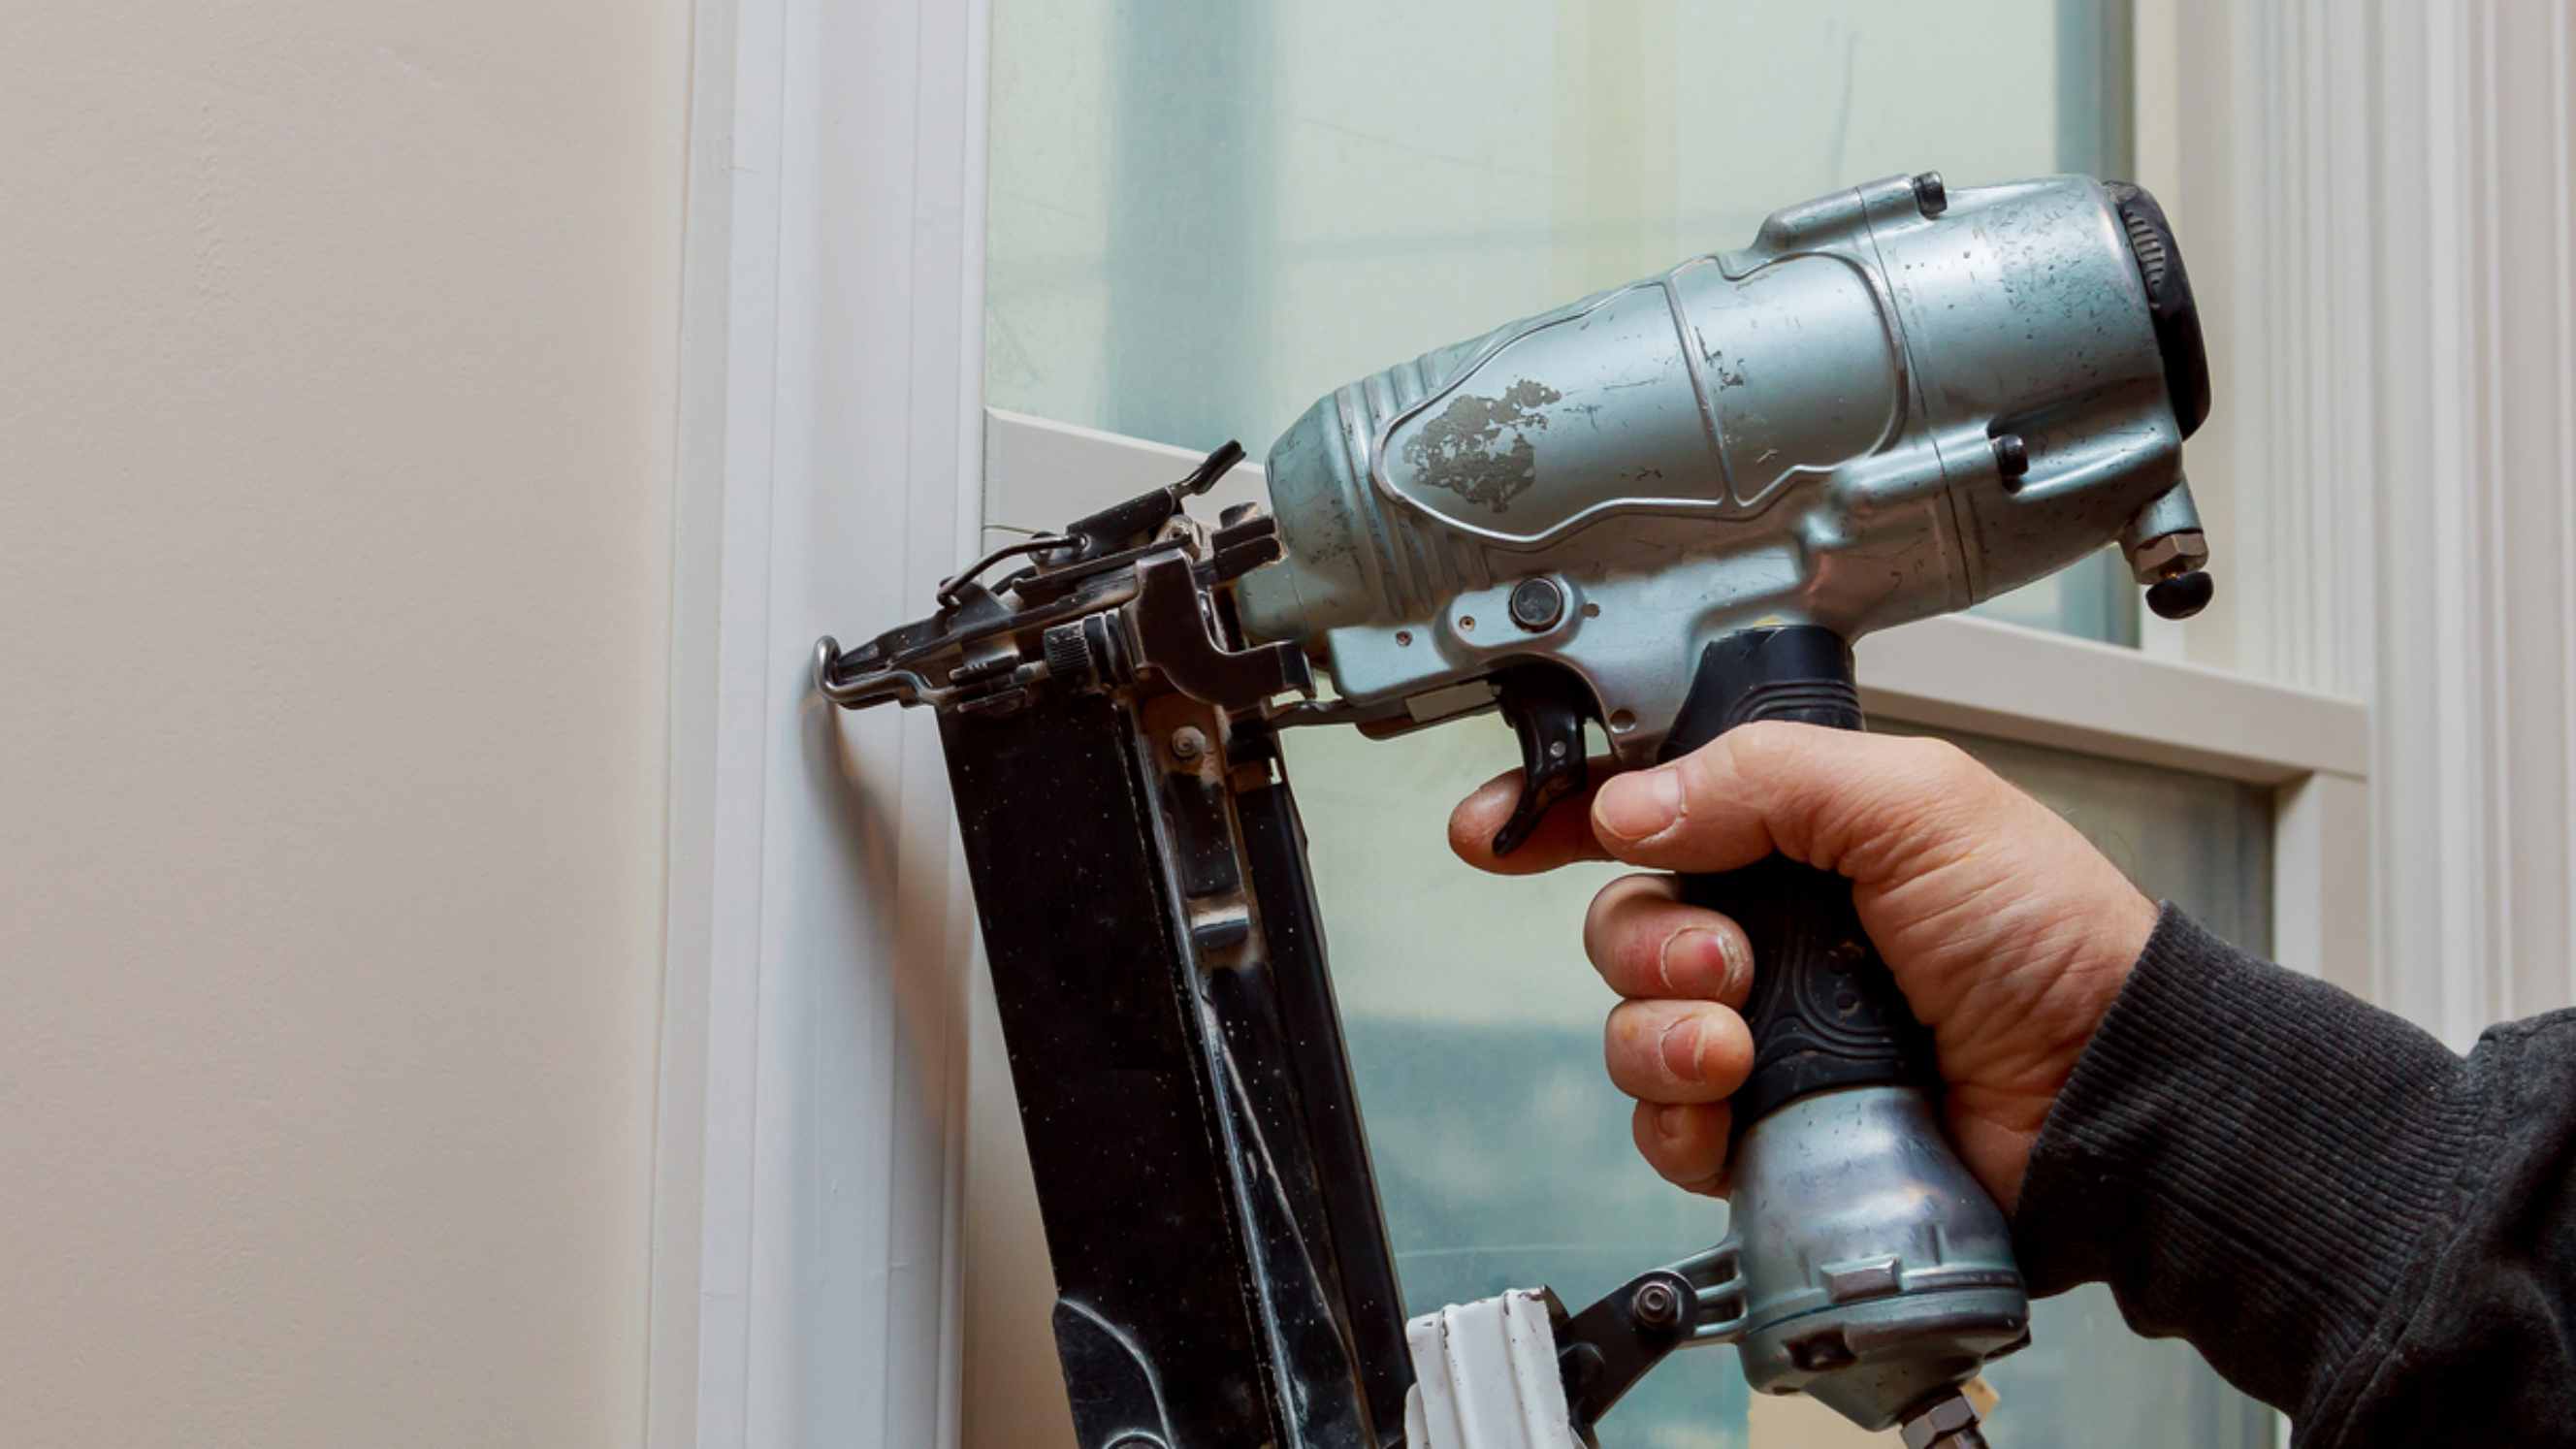
Finish the installation by drilling holes and screwing where necessary
Remove the temporary support boards and trim the tops of any shims that protrude above the frame.
Untie the stairs and unfold its legs. When fully extended, the ladder end should touch the ground, with no gaps between the hinges. If not, use a saw to cut the excess length of the legs away from the ladder.
Follow the instructions indicated in the packaging to attach the shoes or feet to the ladder legs, if applicable.
Insulate around the attic opening to prevent energy loss and pest access. To seal off the attic entryway, you can also use an attic stair insulation cover.
Hire a professional to install your attic ladder
Your attic ladder needs to be securely mounted for the safety of everyone in the house. If you’re not used to handiwork, some of the steps above may seem intimidating and confusing. So if you haven’t got the time to spare, you can easily get a Tasker to do the job for you.
Post a task now and get the service of an attic ladder installation professional in no time! |
FAQs on attic ladder installation
It depends on your experience in handyman projects and which kind of attic ladder you want to install. If you’re a beginner, it would be best to install an aluminium attic ladder as it’s durable and lightweight, making it easier to fit properly than steel or wood.
Before installing, compare the dimensions of the area where you intend to install the ladder to the dimensions on the item's packaging. Don’t modify your attic ladder for use if it doesn’t fully open or extend completely to the ground as it has been perfectly measured to fit a different area dimension.
Find attic ladder installers, fast
Find an attic ladder installer
Related price guides
How much does treadmill repair cost?
Read more

How much does awning repair cost?
Read more

How much does hot tub repair cost?
Read more

How much does signage cost?
Read more
How much does window repair cost?
Read more


Related articles

How to install curtain rods
Read more

Best blue-collar jobs on Airtasker
Read more
Install a screen door in 6 steps
Read more

How to Soundproof a Room
Read more
30 Lovely pantry door ideas
Read more
How to fox proof your chicken coop
Read more

Learn how to cut a mirror in 7 steps
Read more

How much can you earn as a handyperson?
Read more