- Home/
- Guides/
- Ceiling Fan Installation/
- How to Install a Ceiling Fan
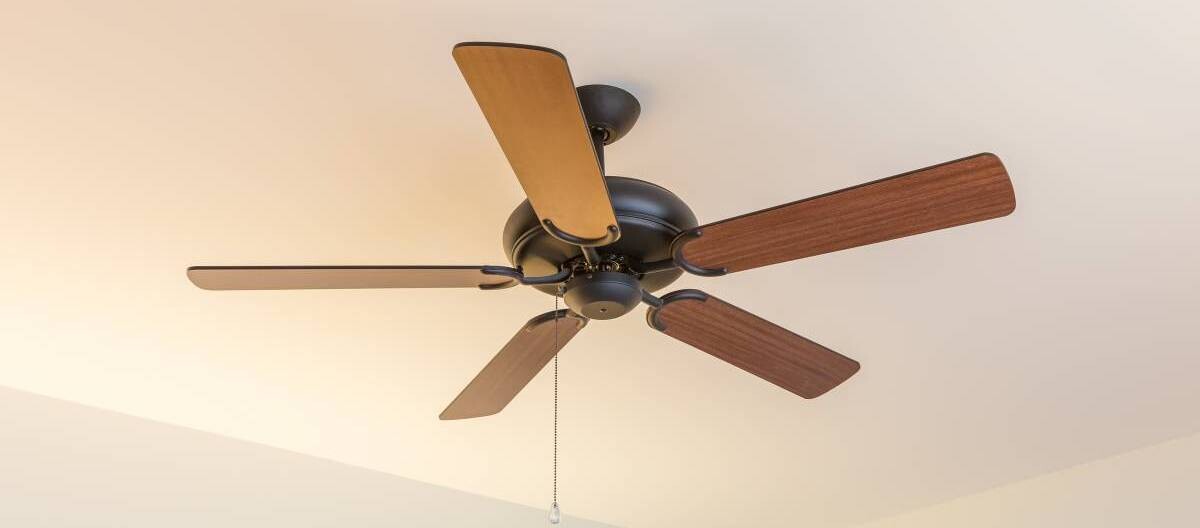
How to install a ceiling fan: A step-by-step guide
Make indoors cooler by installing a ceiling fan.
Last Updated on
Can anyone install a ceiling fan? Pretty much, yes! If you’ve got the right tools and materials, as well as this guide, you can learn how to assemble and attach ceiling fans in any room in your house. Grab your toolbox and your new ceiling fan kit, and let’s get started!
Tools needed to install a ceiling fan
You’ll need a couple of things before you start installing a ceiling fan. You can usually find these in your local hardware store, or even in your home toolbox!
6-foot ladder
Cordless drill with various screwdriver bits
4-inch hole saw
7/8 inch wrench
Stud finder
Non-contact voltage tester
Tape measure
Wrench set
Wire stripper
Ceiling fan kit
Downrod (for high or sloped ceilings)
Retrofit ceiling fan box/brace (Electrical box)
4-inch round ceiling box cover
Safety goggles
Dust mask
Pliers
Oscillating tool
Electrician’s pliers / needle-nose pliers
Wire nuts
Switch or remote control
Wire connectors
How do you install a ceiling fan?
Installing a ceiling fan can seem like a long and complex process, but with a bit of know-how and your ceiling fan kit’s manual, it can be done! Do note that depending on your comfort level with wiring, you may need to get help from a local handyman or electrician for some steps listed here.
Step 1: Do the pre-work
First, decide on a location for your ceiling fan, ideally one with a functioning ceiling light. If the spot you have in mind doesn’t have a ceiling light yet, you’ll need to contact an electrician and handyman to run an electrical cable to that part of the ceiling.
Note: Make sure that you get the correct ceiling fan size and downrod length for your room.
Step 2: Ensure safety

Put on the safety goggles and dust mask before you start installing the ceiling fan. Then, turn off the circuit breaker. This helps you avoid any accidents while installing a ceiling fan.
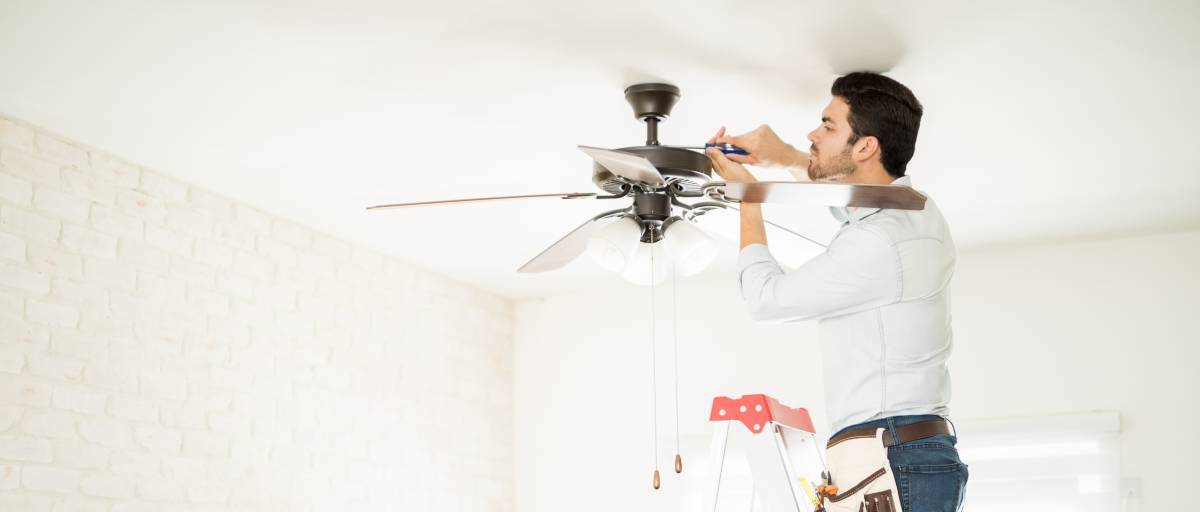
Step 3: Remove the ceiling light
Get up on the ladder and remove the shade and bulbs. Use the cordless drill to remove the light fixture. Then, use the voltage tester to check that there are no live wires. Untwist the wire nuts, then untwist the wire pigtails. Set the entire light fixture aside.
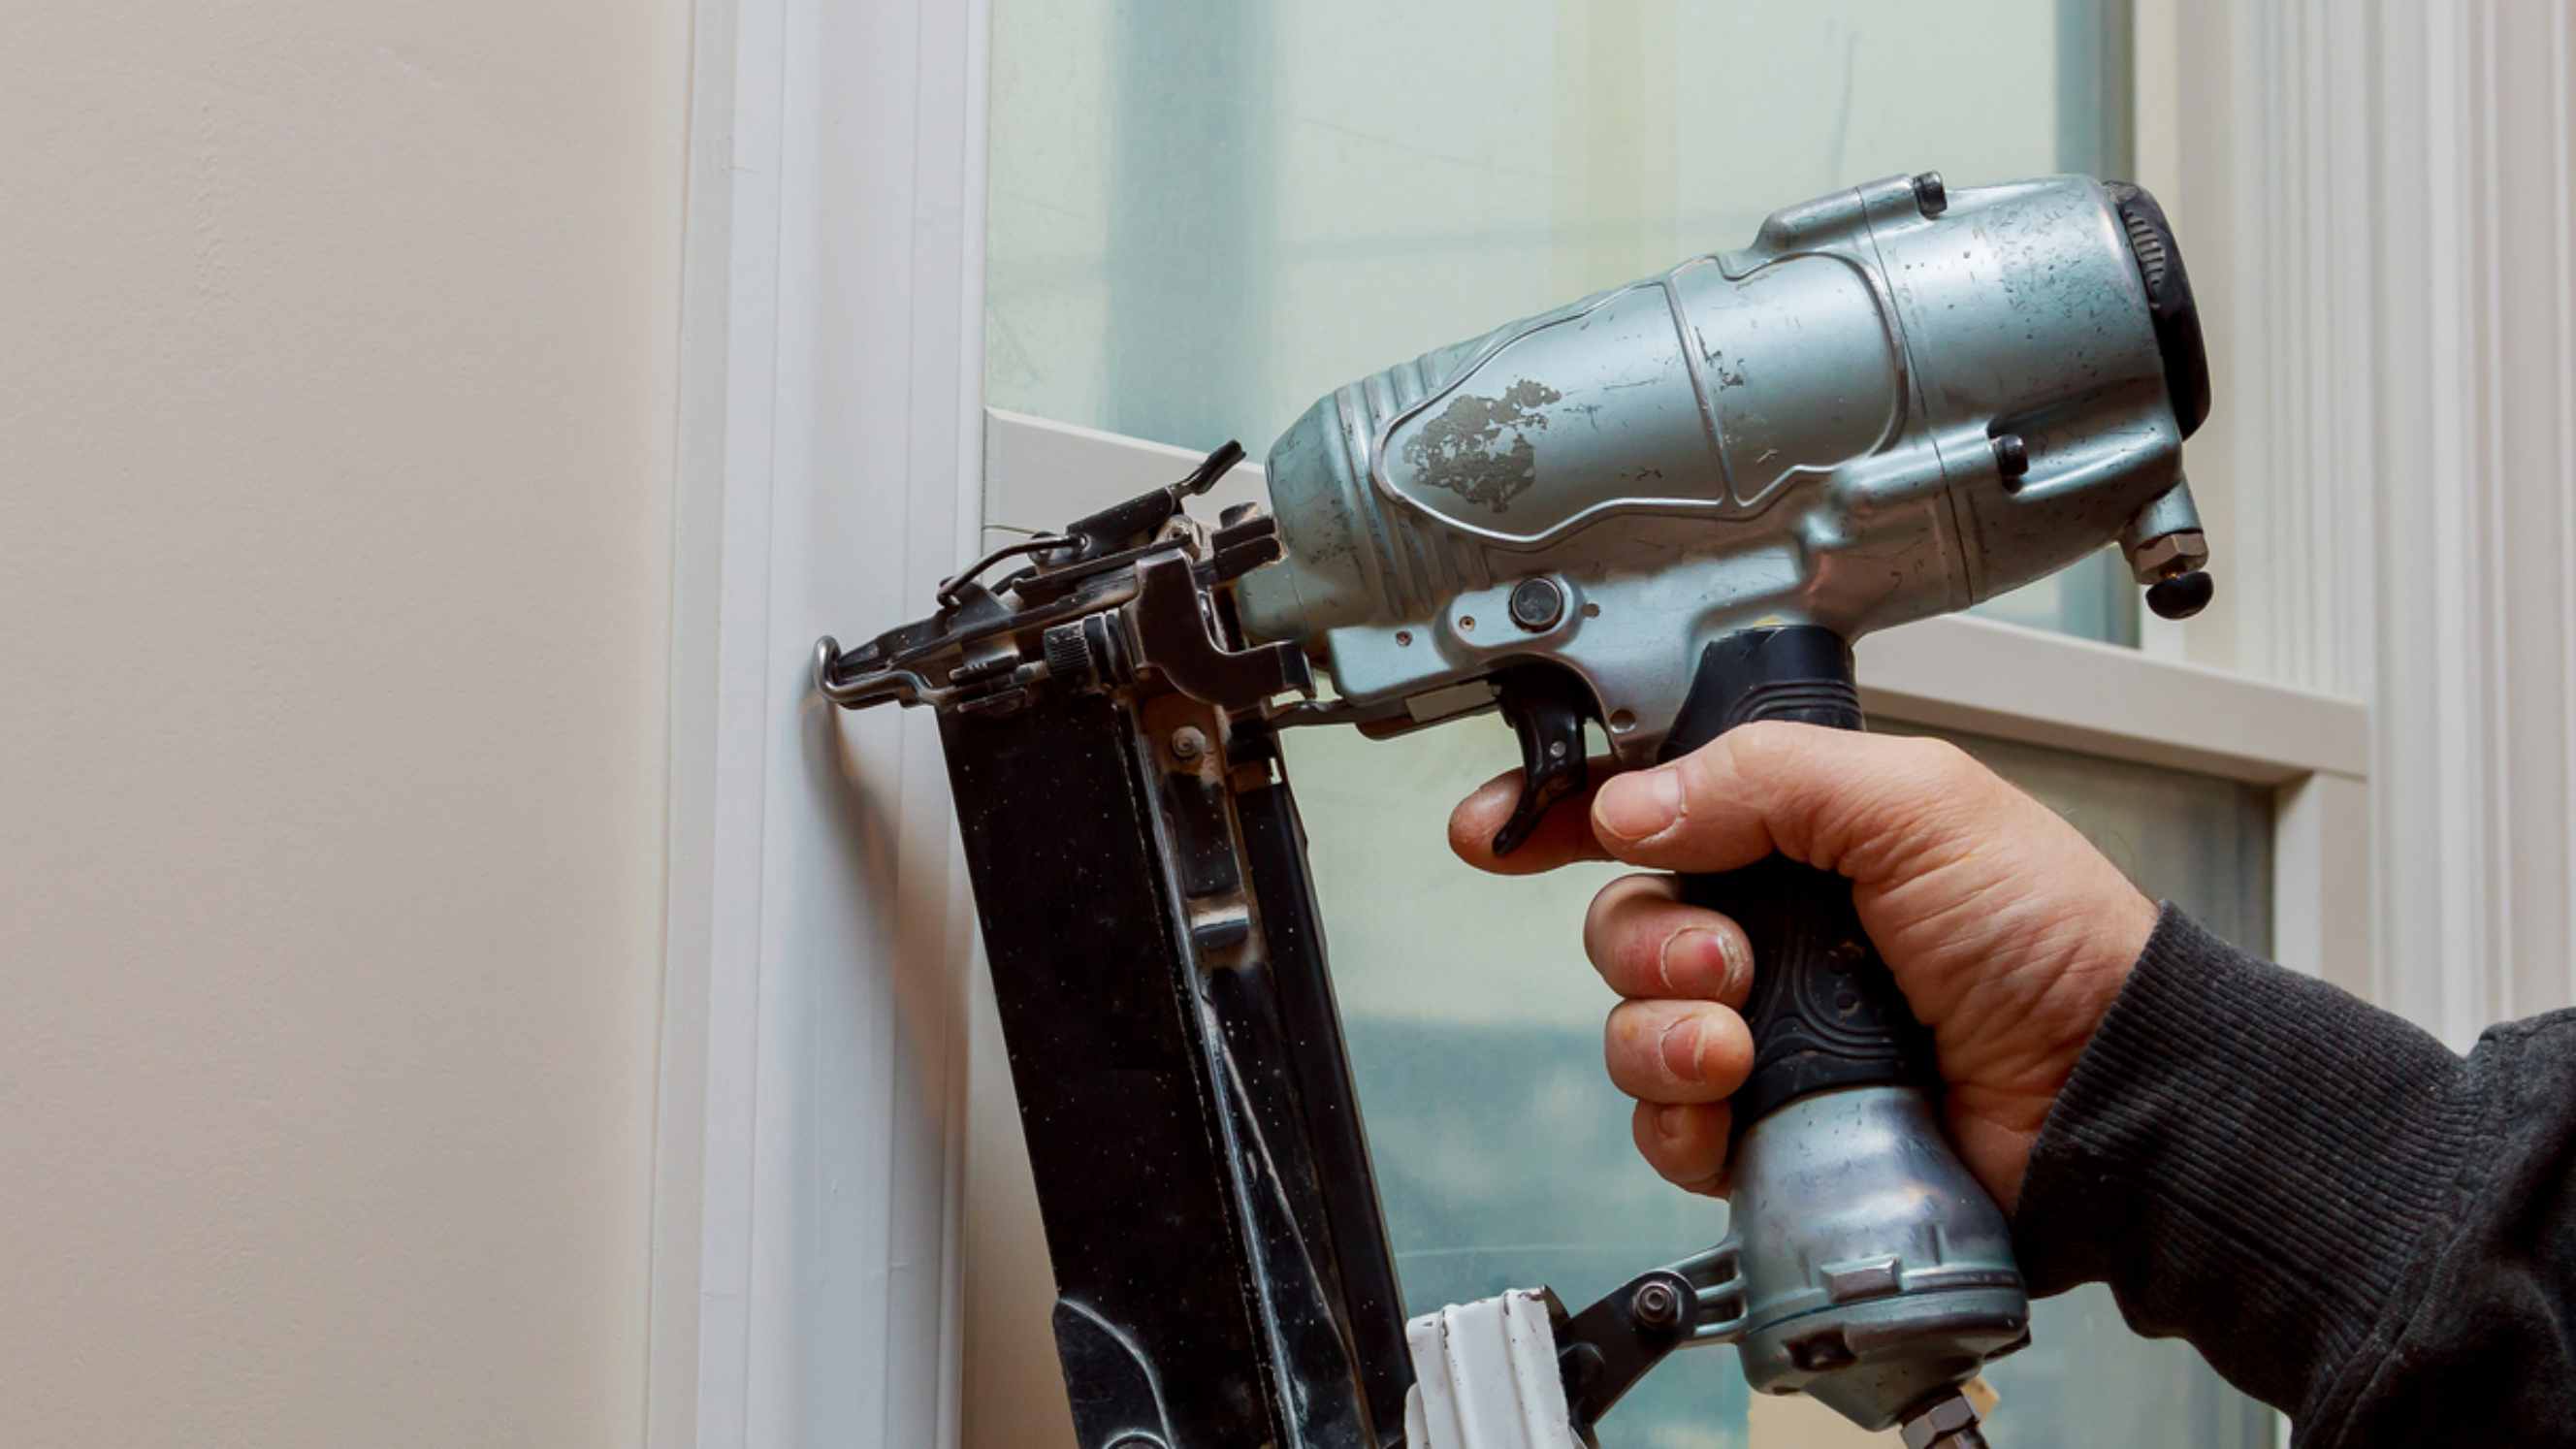
Step 4: Remove the electrical box
Since the ceiling light’s electrical box can’t support your fan, you’ll need to replace it with a more appropriate one. Detach the current box using an oscillating tool. Be sure to leave the electrical wires behind.
Note: Depending on the kind of ceiling you have, you may need to use a saw and clear out some debris and insulation inside.
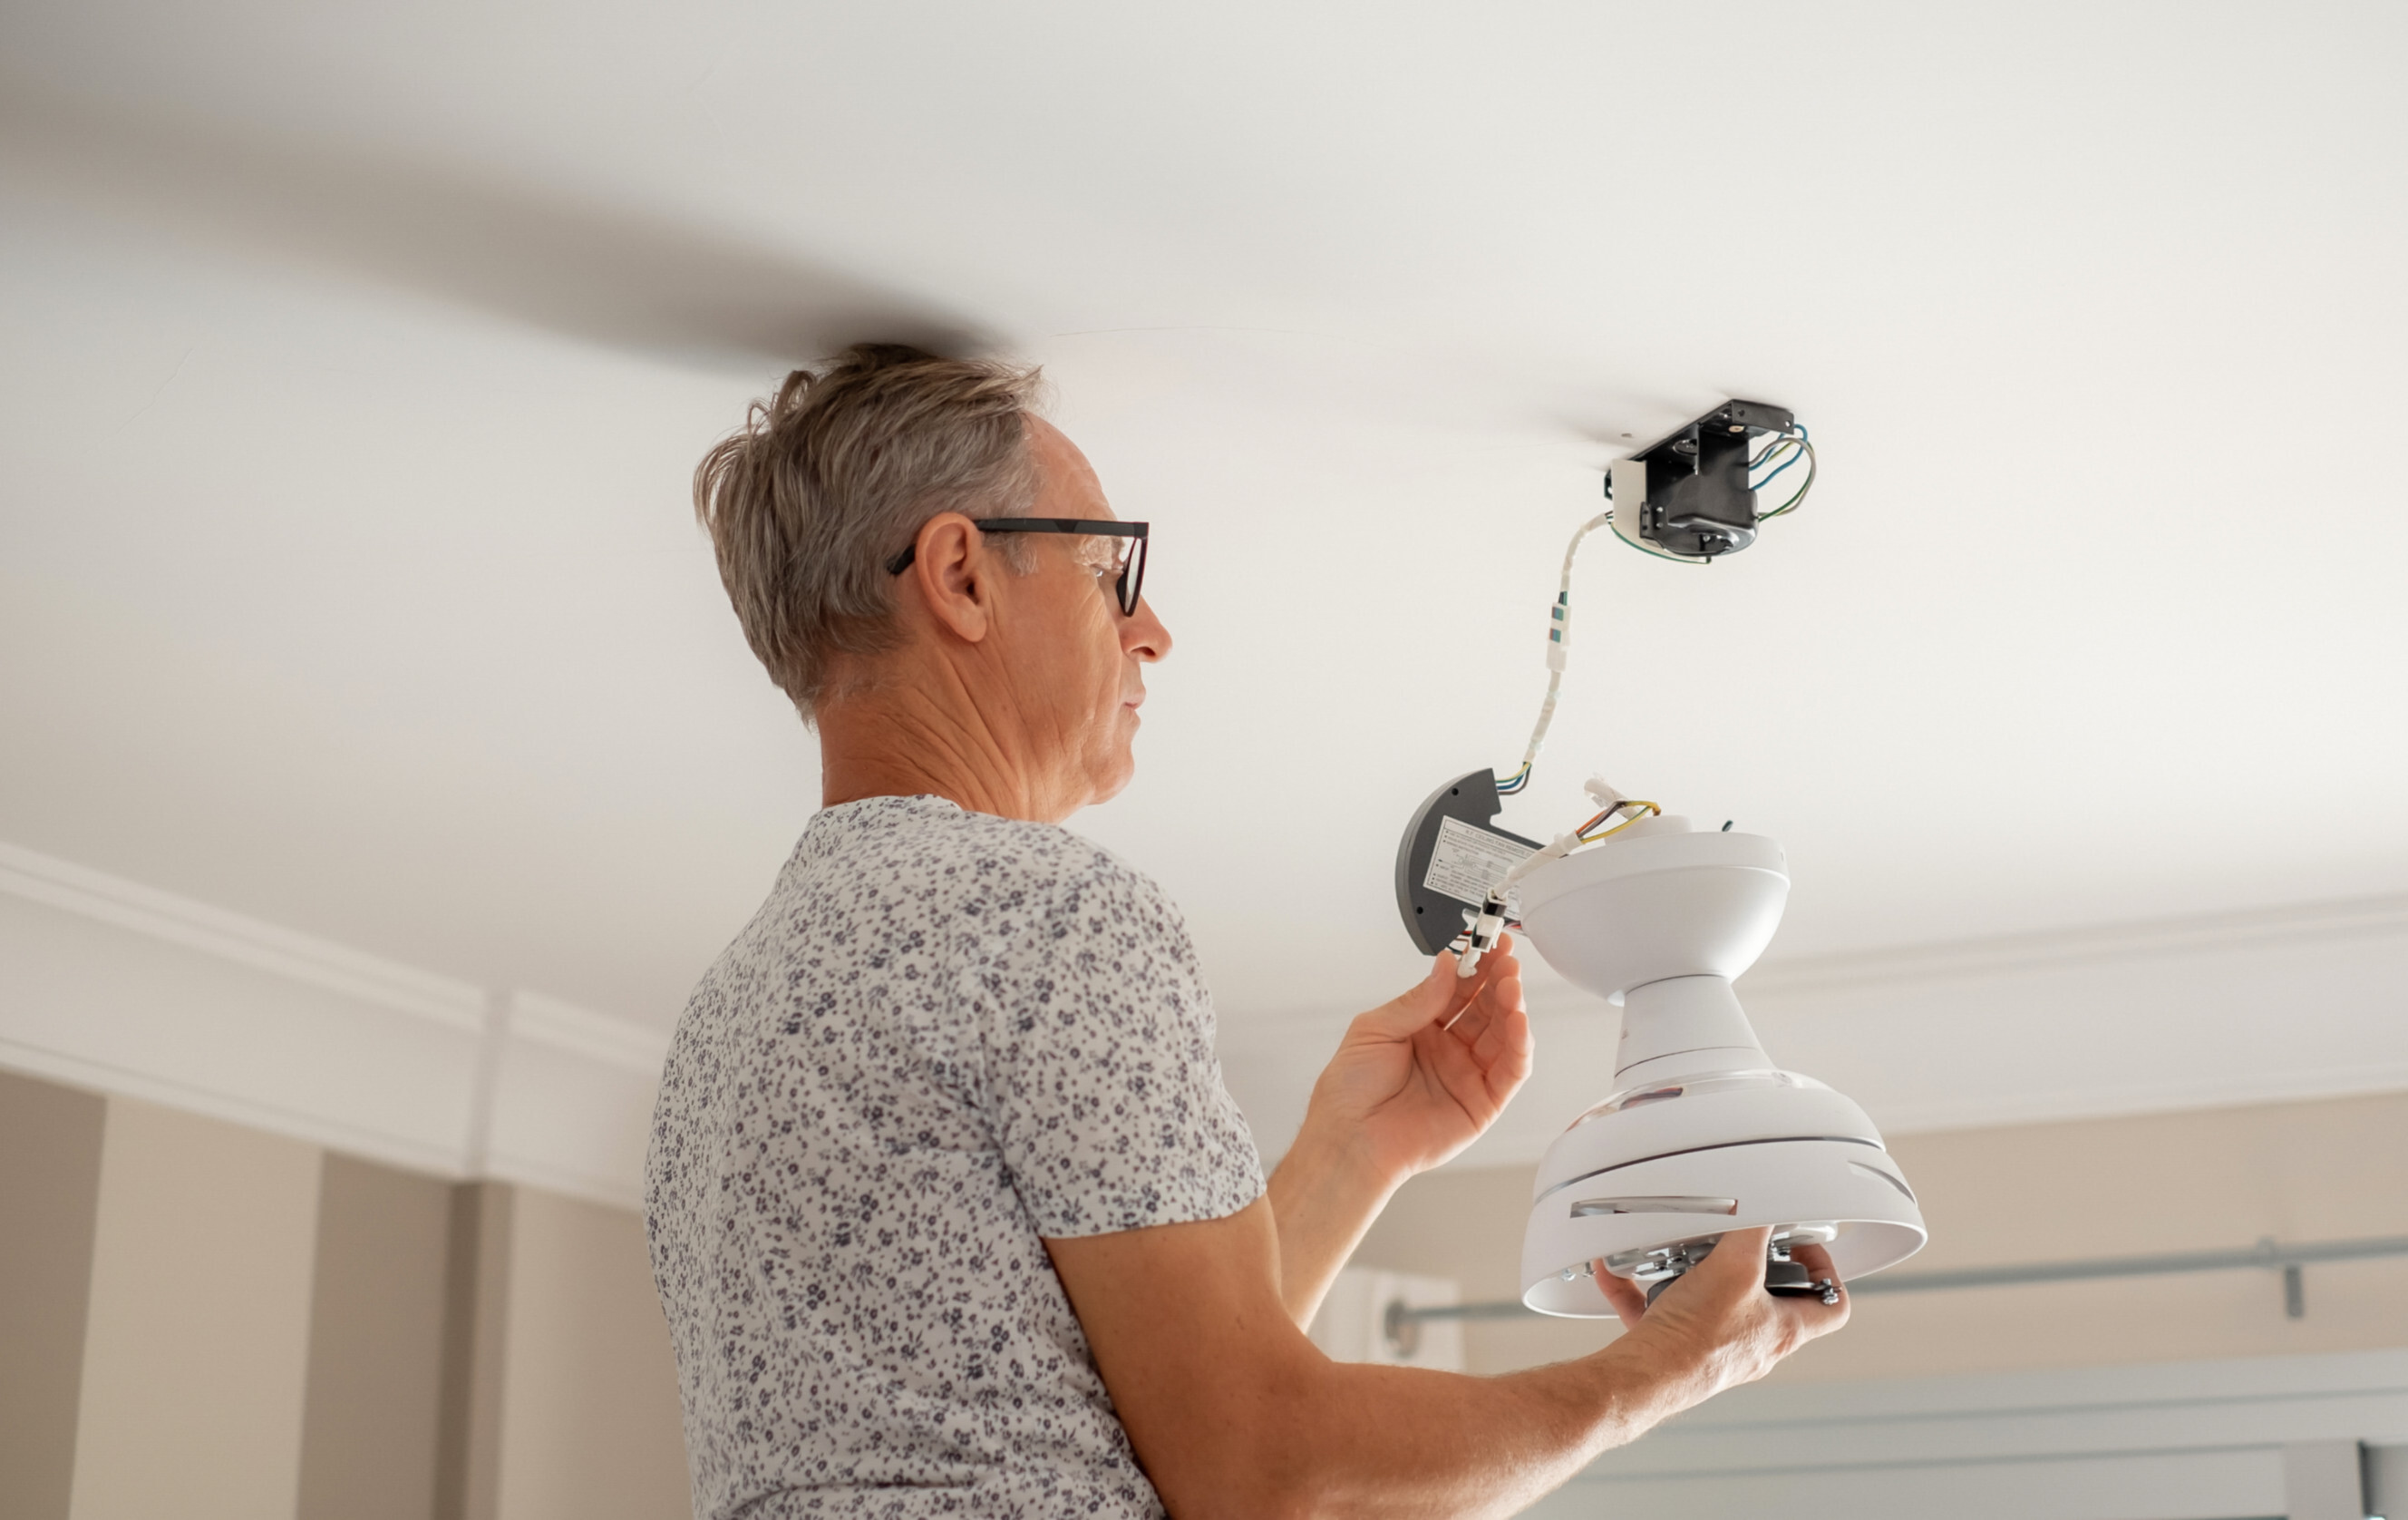
Step 5: Replace the electrical box
Use a stud finder to locate a spot between two ceiling joists. Fit the electrical box between two joists. Then, pass the electrical wires through this new box and secure it with the cable connector. After this, attach the cover plate to cover the box and wiring.
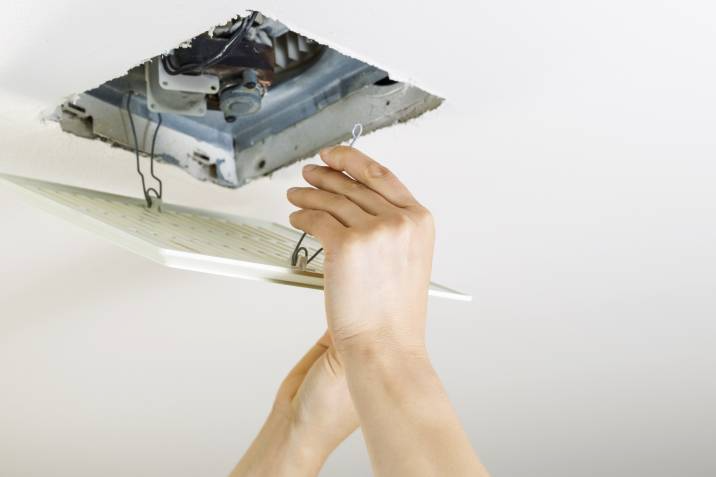
Step 6: Install the mounting bracket
The next step is to set up the mounting bracket. This can be pre-attached to the ceiling fan’s decorative cover or canopy. If this is the case, screw the bracket into the electrical box using the included screws. Run the electrical wires through the openings in the mounting bracket.
Step 7: Assemble the ceiling fan
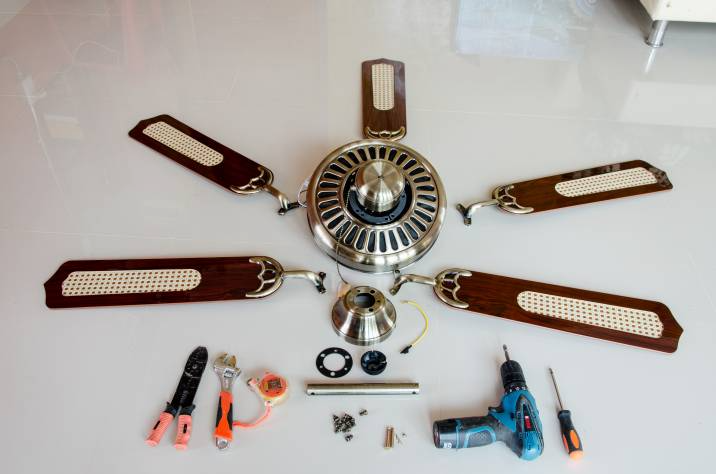
If your fan has a downrod: Set the fan motor right side up and thread the wire through the downrod. Secure the downrod to the mounting collar using the included screws, pins, or locknuts. Fit the collar, canopy, and ball over the downrod. Push the pin through the holes, then lift the ball over the pin.
If your fan has a flush mount: Attach the top housing, trim ring, and canopy onto the fan motor.
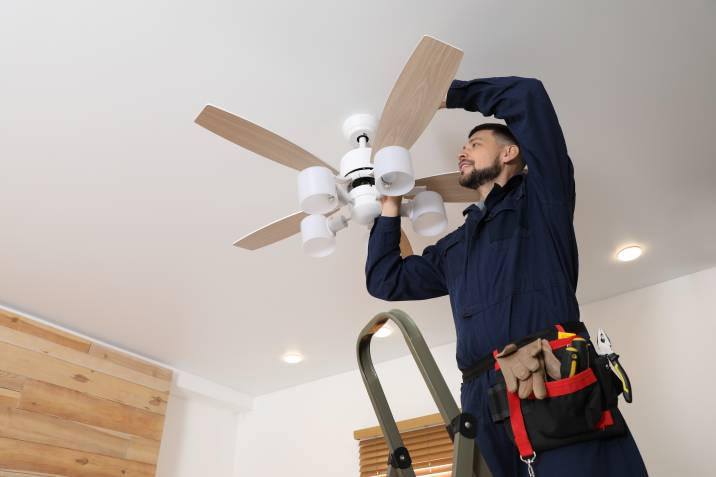
Step 8: Hang the ceiling fan
First, make sure that all the attachments are secure. Then, ask an assistant to help you lift the ceiling fan. Slide the assembled fan into the bracket, and carefully lower it into place. You should rotate the motor until you hear the fan lock into place on the bracket.
Step 9: Wire the ceiling fan
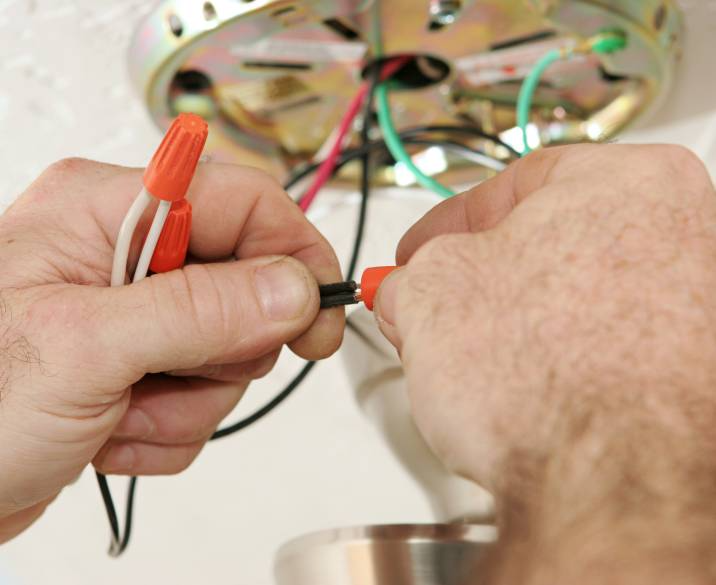
Wiring your ceiling fan may get a little complicated, so reach out to an electrician if you’re not confident with this step.
Cut and strip the wires using the wire cutters and strippers, then match and twist them together. Lay the two black wires together, then twist them using a wire nut. Do the same with the white wires. Ultimately, connect the ground wires to the electrical box using the included screw. Make sure the wires are securely fitted against the grounding screw.
Step 10: Attach the fan blades
Attach the blades to their mount. Then, connect the entire setup to the fan motor. You may need some help lifting these parts into place as you stand on the ladder.
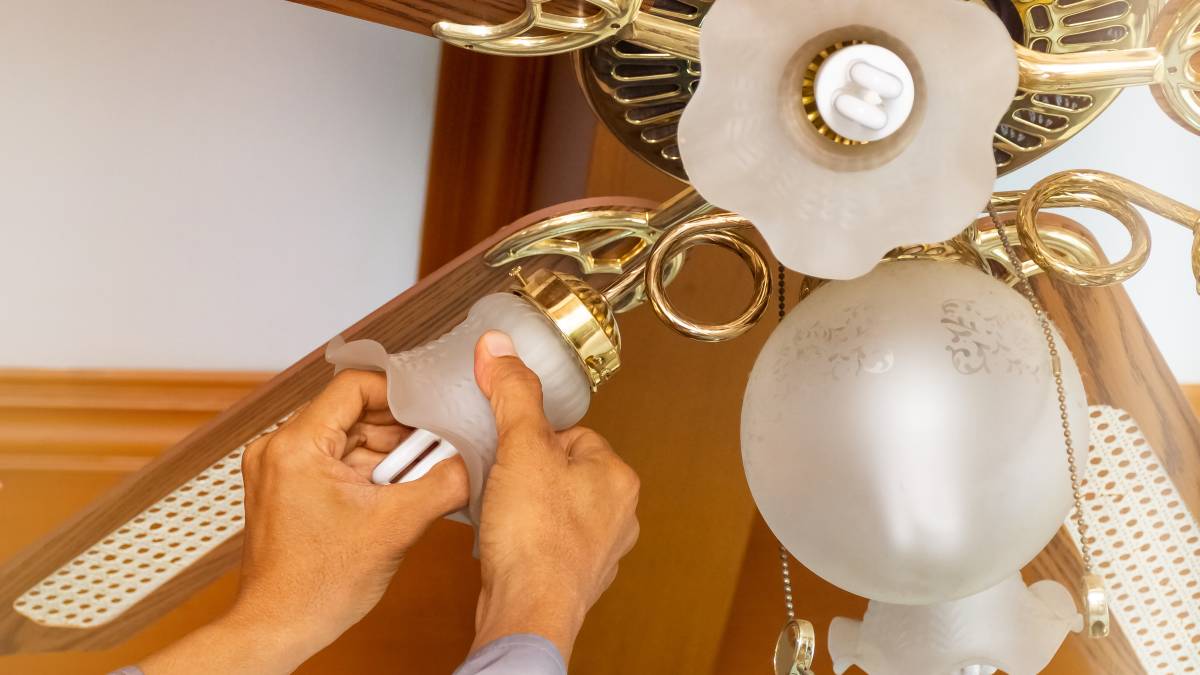
Step 11: Attach the light kit
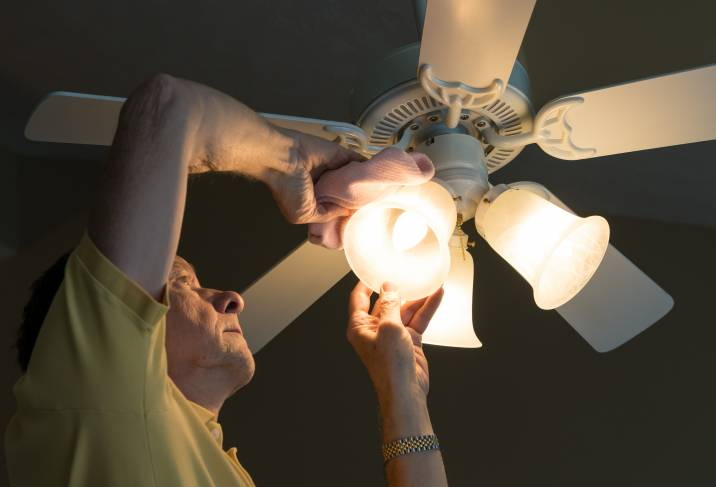
If you’re installing a ceiling fan that includes a light kit, check the instruction manual for the steps on how to attach the light bulbs.
Step 12: Connect the switch
Part of installing a control ceiling fan or switch-operated ceiling fan is setting up the connection. This can be done by replacing existing wall switches or rewiring the connection with the help of an electrician.
Step 13: Test the ceiling fan
Finally, turn on the circuit breaker and switch on the ceiling fan using a switch, remote control, or pull chains.
☞ Related guide: How much does ceiling fan installation cost?
Skip the DIY - book an expert instead!
Finding it hard to install your first ceiling fan? Can’t figure out how to install a ceiling fan with a light kit? Don’t panic - ask a local handyman near you to help you out! Tap the “Post a task” button on this page and add the details of your request. In just a few minutes, an experienced ceiling fan installer will be on their way to your location.
Frequently asked questions on ceiling fan installation
You can learn how to install ceiling fans by yourself, but some people may find it hard to do it on their own. You can ask for help from a UK-based ceiling fan installer instead.
It’s important to get a licenced electrician when dealing with something as crucial as wiring in your home. They can guide you as you learn how to install a ceiling fan in a spot without existing wires.
Yes, you can install a ceiling fan in a spot where a light fixture currently is. If you want more light in that area, you just need to learn how to install a ceiling fan with a light kit. This follows the same steps as above and will vary only based on the kind of light components included in your model.
For some people, it can be quite hard to install a ceiling fan, especially when it comes to lifting the assembly and working with wires. Thankfully, you can ask for help from a local handyman near you.
It usually takes around an afternoon to complete this kind of project. Extra steps, like wiring the room or attaching a downrod or light kit, can prolong the installation of a ceiling fan.
Find ceiling fan installers, fast
Find a ceiling fan installer
Related price guides
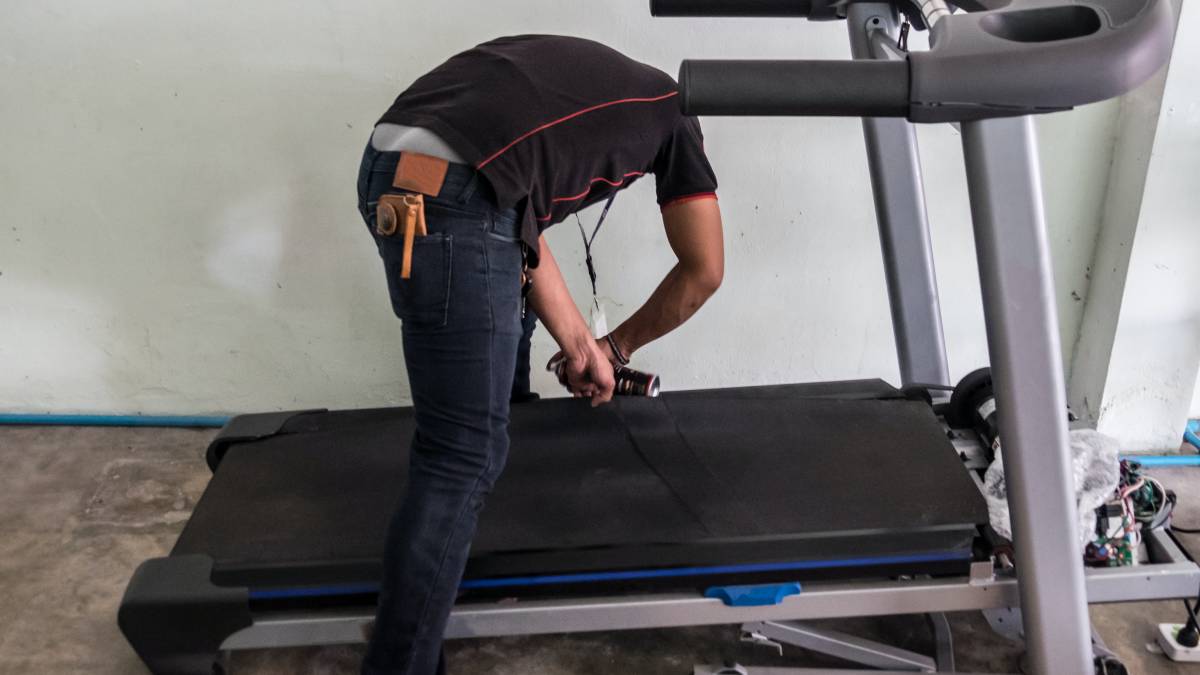
How much does treadmill repair cost?
Read more

How much does awning repair cost?
Read more

How much does hot tub repair cost?
Read more

How much does signage cost?
Read more

How much does window repair cost?
Read more


Related articles
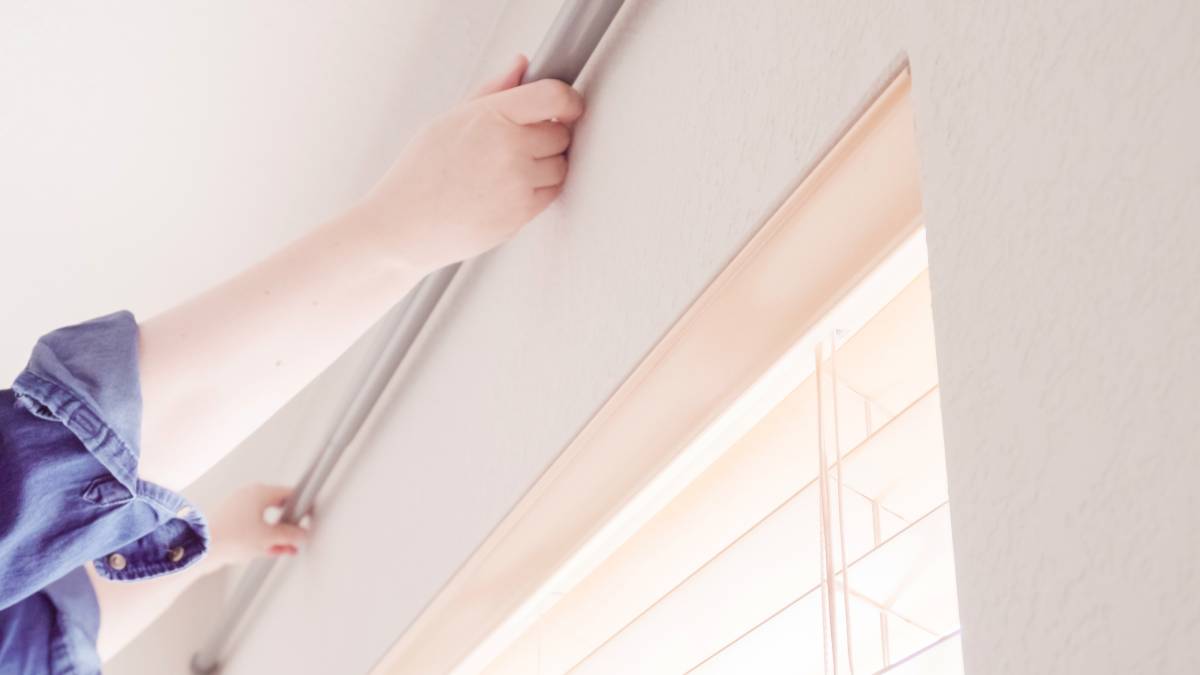
How to install curtain rods
Read more

Best blue-collar jobs on Airtasker
Read more

How much can you earn as a handyperson?
Read more

How to Soundproof a Room
Read more
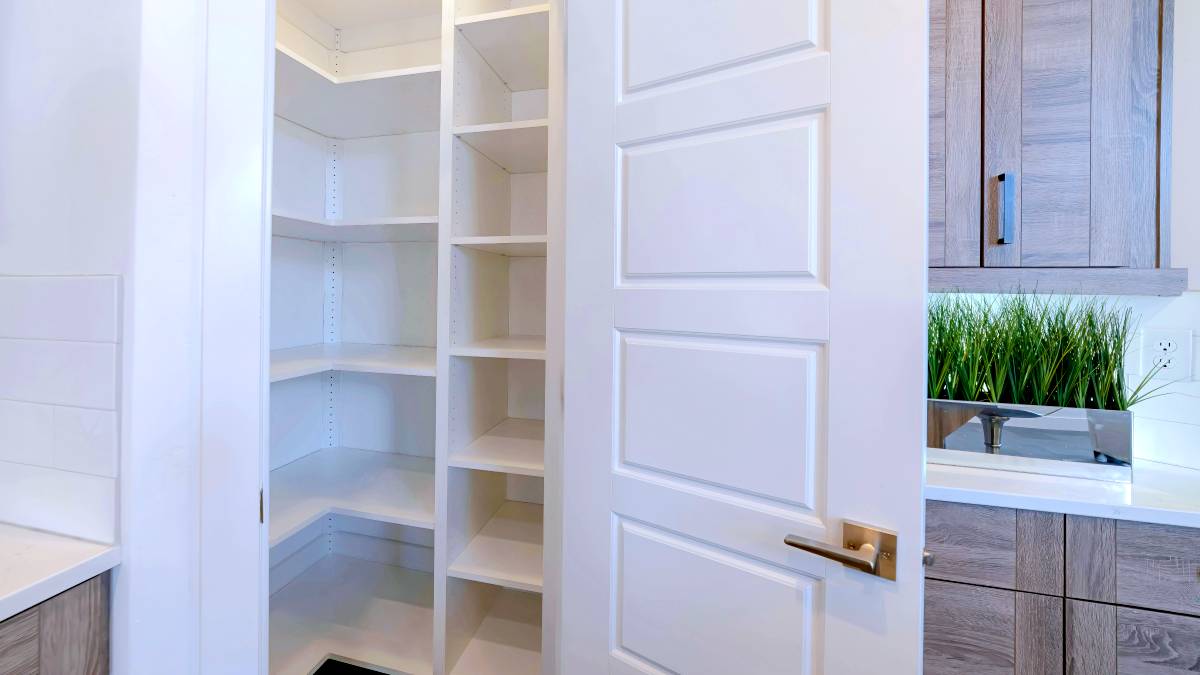
30 Lovely pantry door ideas
Read more
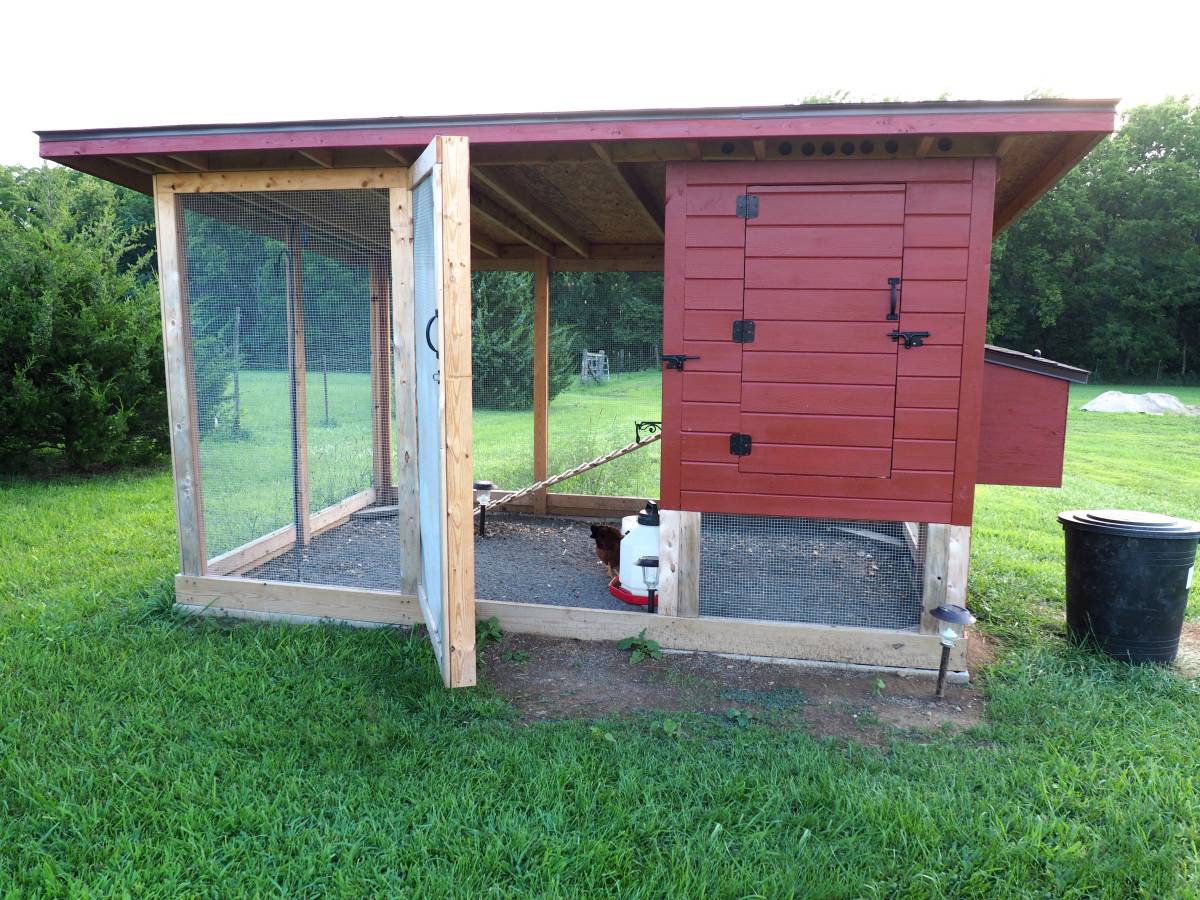
How to fox proof your chicken coop
Read more

Learn how to cut a mirror in 7 steps
Read more
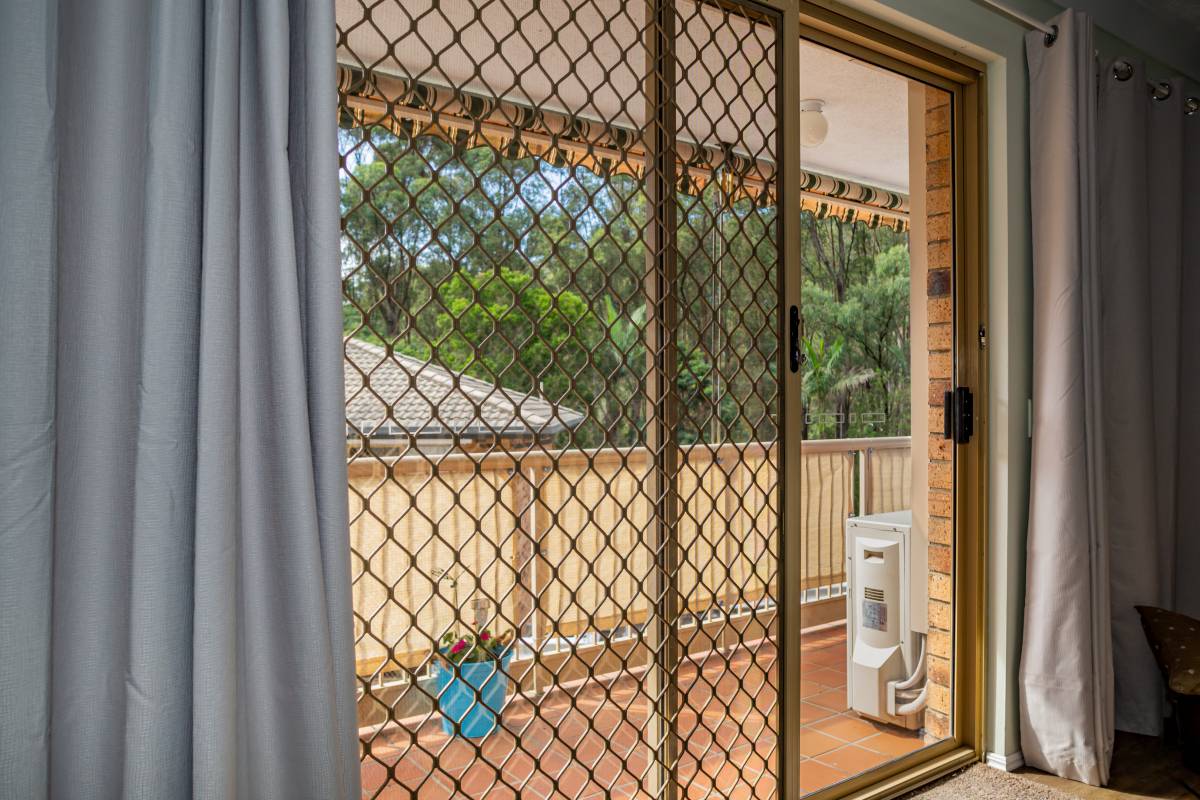
Install a screen door in 6 steps
Read more