- Home/
- Guides/
- Shower Screen Installation/
- How to Install a Shower Screen
Step-by-step guide to installing shower screens
Upgrade your bathroom by learning how to install a shower screen with our guide!
Last Updated on
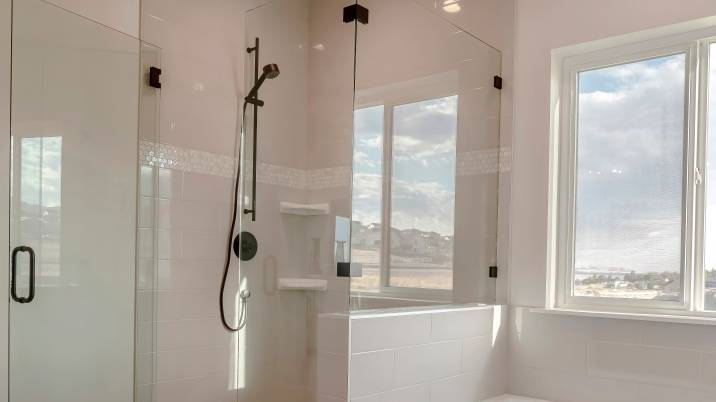
Does your bathroom seem drab whenever you visit it? Does water get all over the floor when you go to take a bath? No need to fret or get overly frustrated. A shower screen installation might just be the right fix for you!
Though hiring a professional to install a shower screen is perfectly fine, you could also easily complete the project yourself. If you’re up to the task, use this guide to learn how to install a shower screen on your own.
What do I need to install a shower screen?
Glass shower screen installation kit
- Includes glass screen, base track, hinge-side jamb, strike-side jamb, header railTape measure
Pencil
Plastic anchors
Silicone sealant
Screwdriver
3.8 cm pan-head screws
Drill (with 0.48 cm masonry bit)
Hacksaw
Metal file
Can I install a frameless shower screen?
Yes, installing a frameless glass screen for your shower is possible. While both framed and frameless shower screens are usually made of tempered glass, it’s important to note that frameless screens have much thicker panes. They will also likely need a rubber stopper in the bottom so that water won’t leak out of the shower when you take a bath.
How long does a shower screen installation take?
For skilled handymen, experienced DIY-ers, or those who have a helping hand, the project’s completion time should be around 2-3 hours (excluding the time it takes for the sealant to cure). For first-timers, however, the process might take an additional hour or two, depending on their skill level.
How to install a shower screen
Given all the benefits of having a shower screen, there’s no reason to hesitate to install one in your bathroom. You can hire a handyman to get the job done or give it a go yourself. If you choose to DIY the project, keep reading to learn how to install a glass shower screen.
Step 1: Measure your shower entrance
You first have to ensure that your glass screen will fit in your shower’s opening by getting accurate measurements. Using the tape measure, note the total length of the threshold, the length of the threshold’s halfway point, and the height of your bathroom wall.
If your wall is over 1.5 metres, you must buy a filler strip to ensure your screen is plumb (or perfectly straight) when installing it. Also, take note of the distance between the shower and other bathroom fixtures (e.g., toilet, sink) to leave space for when you open the screen.
Step 2: Cut, set, and secure the base track
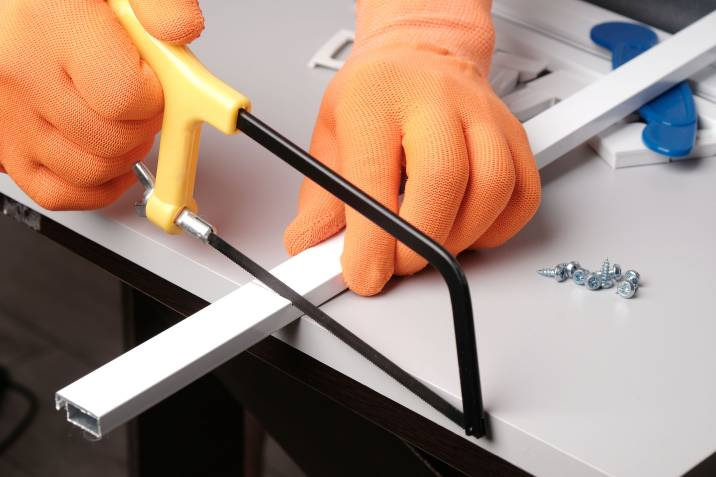
Using the hacksaw, cut the base track to match the length of the shower’s threshold. Then, use the metal file to smooth the piece down. Make sure that the base track closely fits into the stall opening and, using the tape measure, find the precise centre of the threshold and position it there. Use the pencil to mark the base track down, so you can easily recentre it if it ever accidentally moves.
Once you know where to place the base track, apply the silicone sealant to its underside and secure it on the threshold. Let the sealant dry (which may take three or more hours) before proceeding to the next step.
Step 3: Install the hinge-side jamb
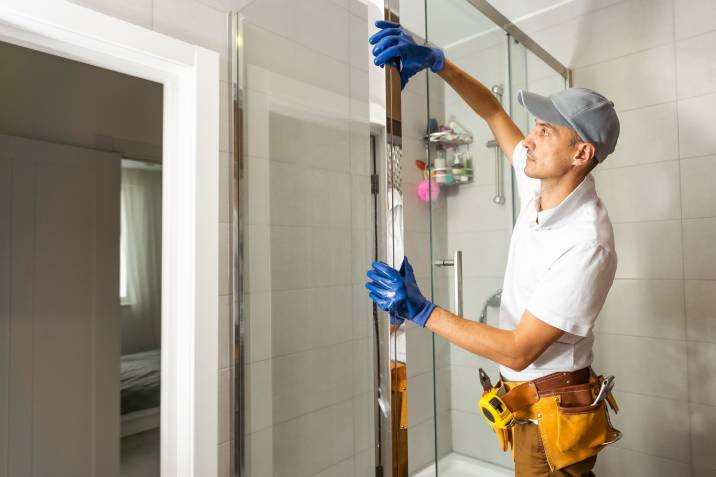
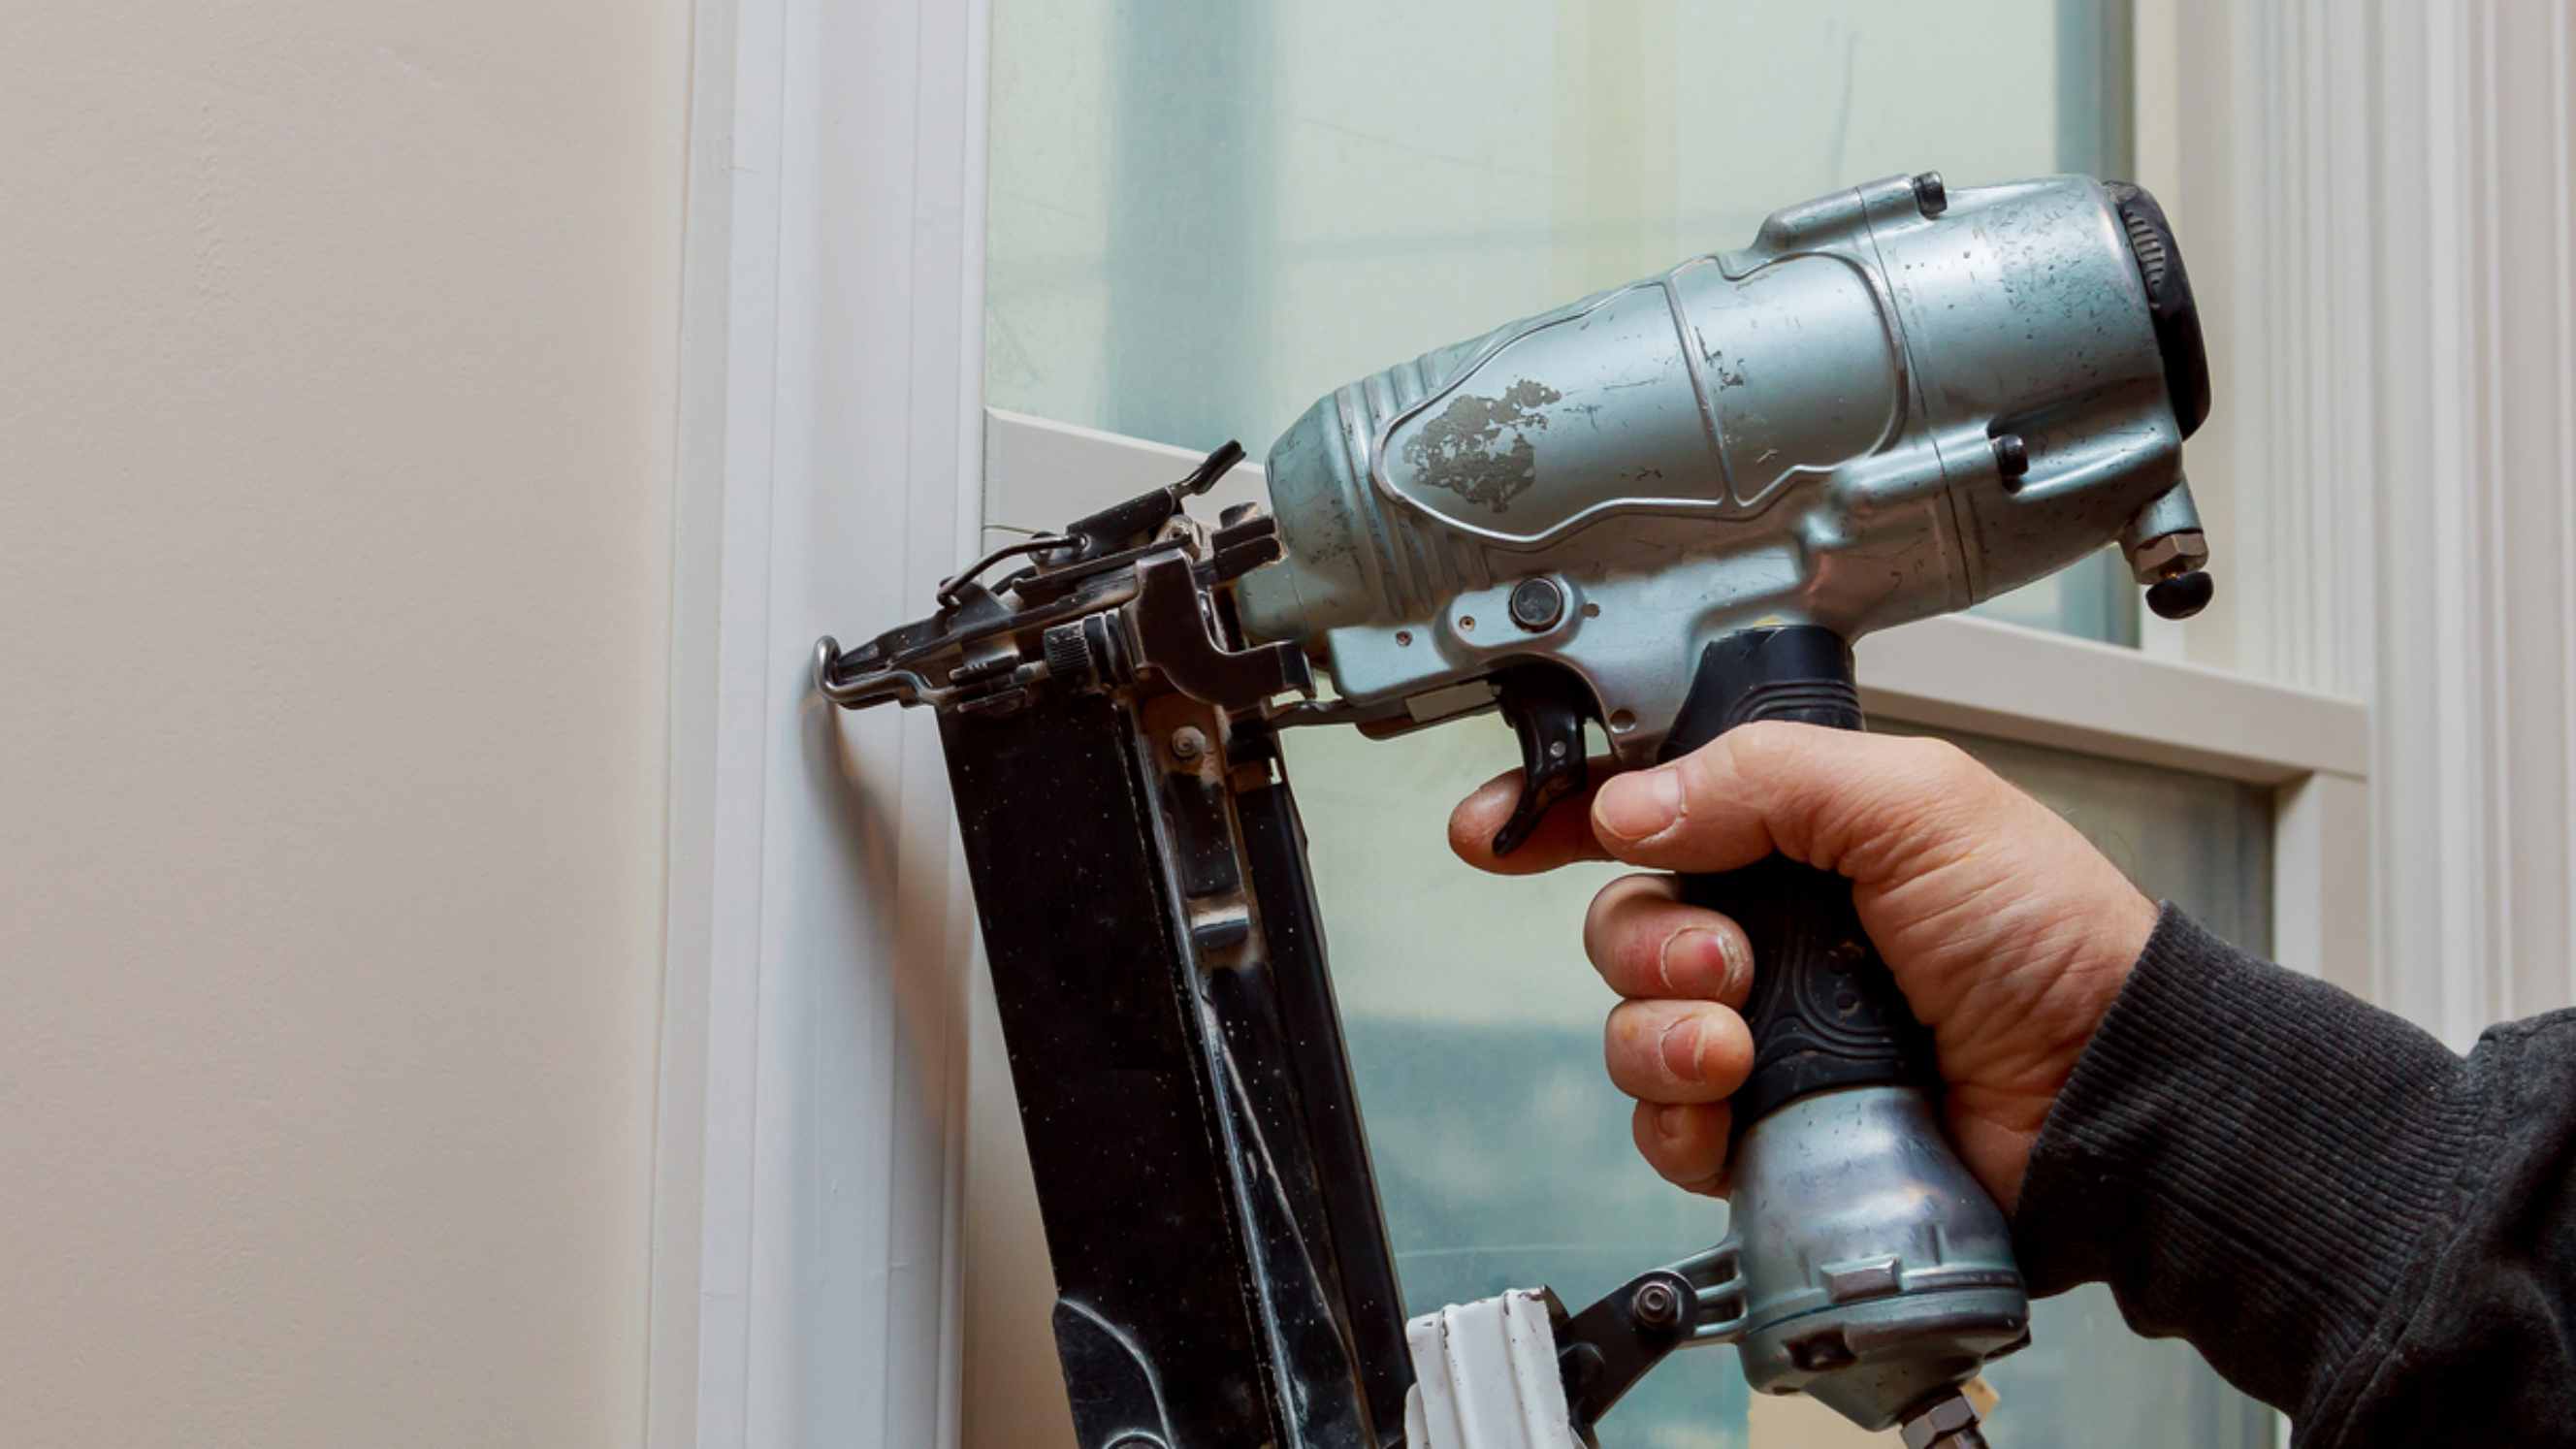
Position the hinge-side jamb onto the base track, ensuring that it’s both plumb and flush (or perfectly flat) against the wall. Using the pencil, mark where the screw holes will be placed. Then, remove the hinge-side jamb and drill approximately 4.4 cm into the wall. Add the plastic anchors into the screw holes once done.
Afterwards, reposition the hinge-side jamb onto the base track and line the frame up with the screw holes. While holding the hinge-jamb steady, tightly fasten the pan-head screws with the screwdriver.
Step 4: Install the strike-side jamb
Fit the strike-side jamb onto the base track and position it against the wall opposite the hinge-side jamb. Like with the hinge-side jamb, use the holes of the strike-side jamb to mark where you will drill 4.4 cm holes into the wall. Remove the jamb, drill the holes, and add the plastic anchors inside them once you’re done. Put the strike-side jamb back into place and then secure it onto the wall with the screws.
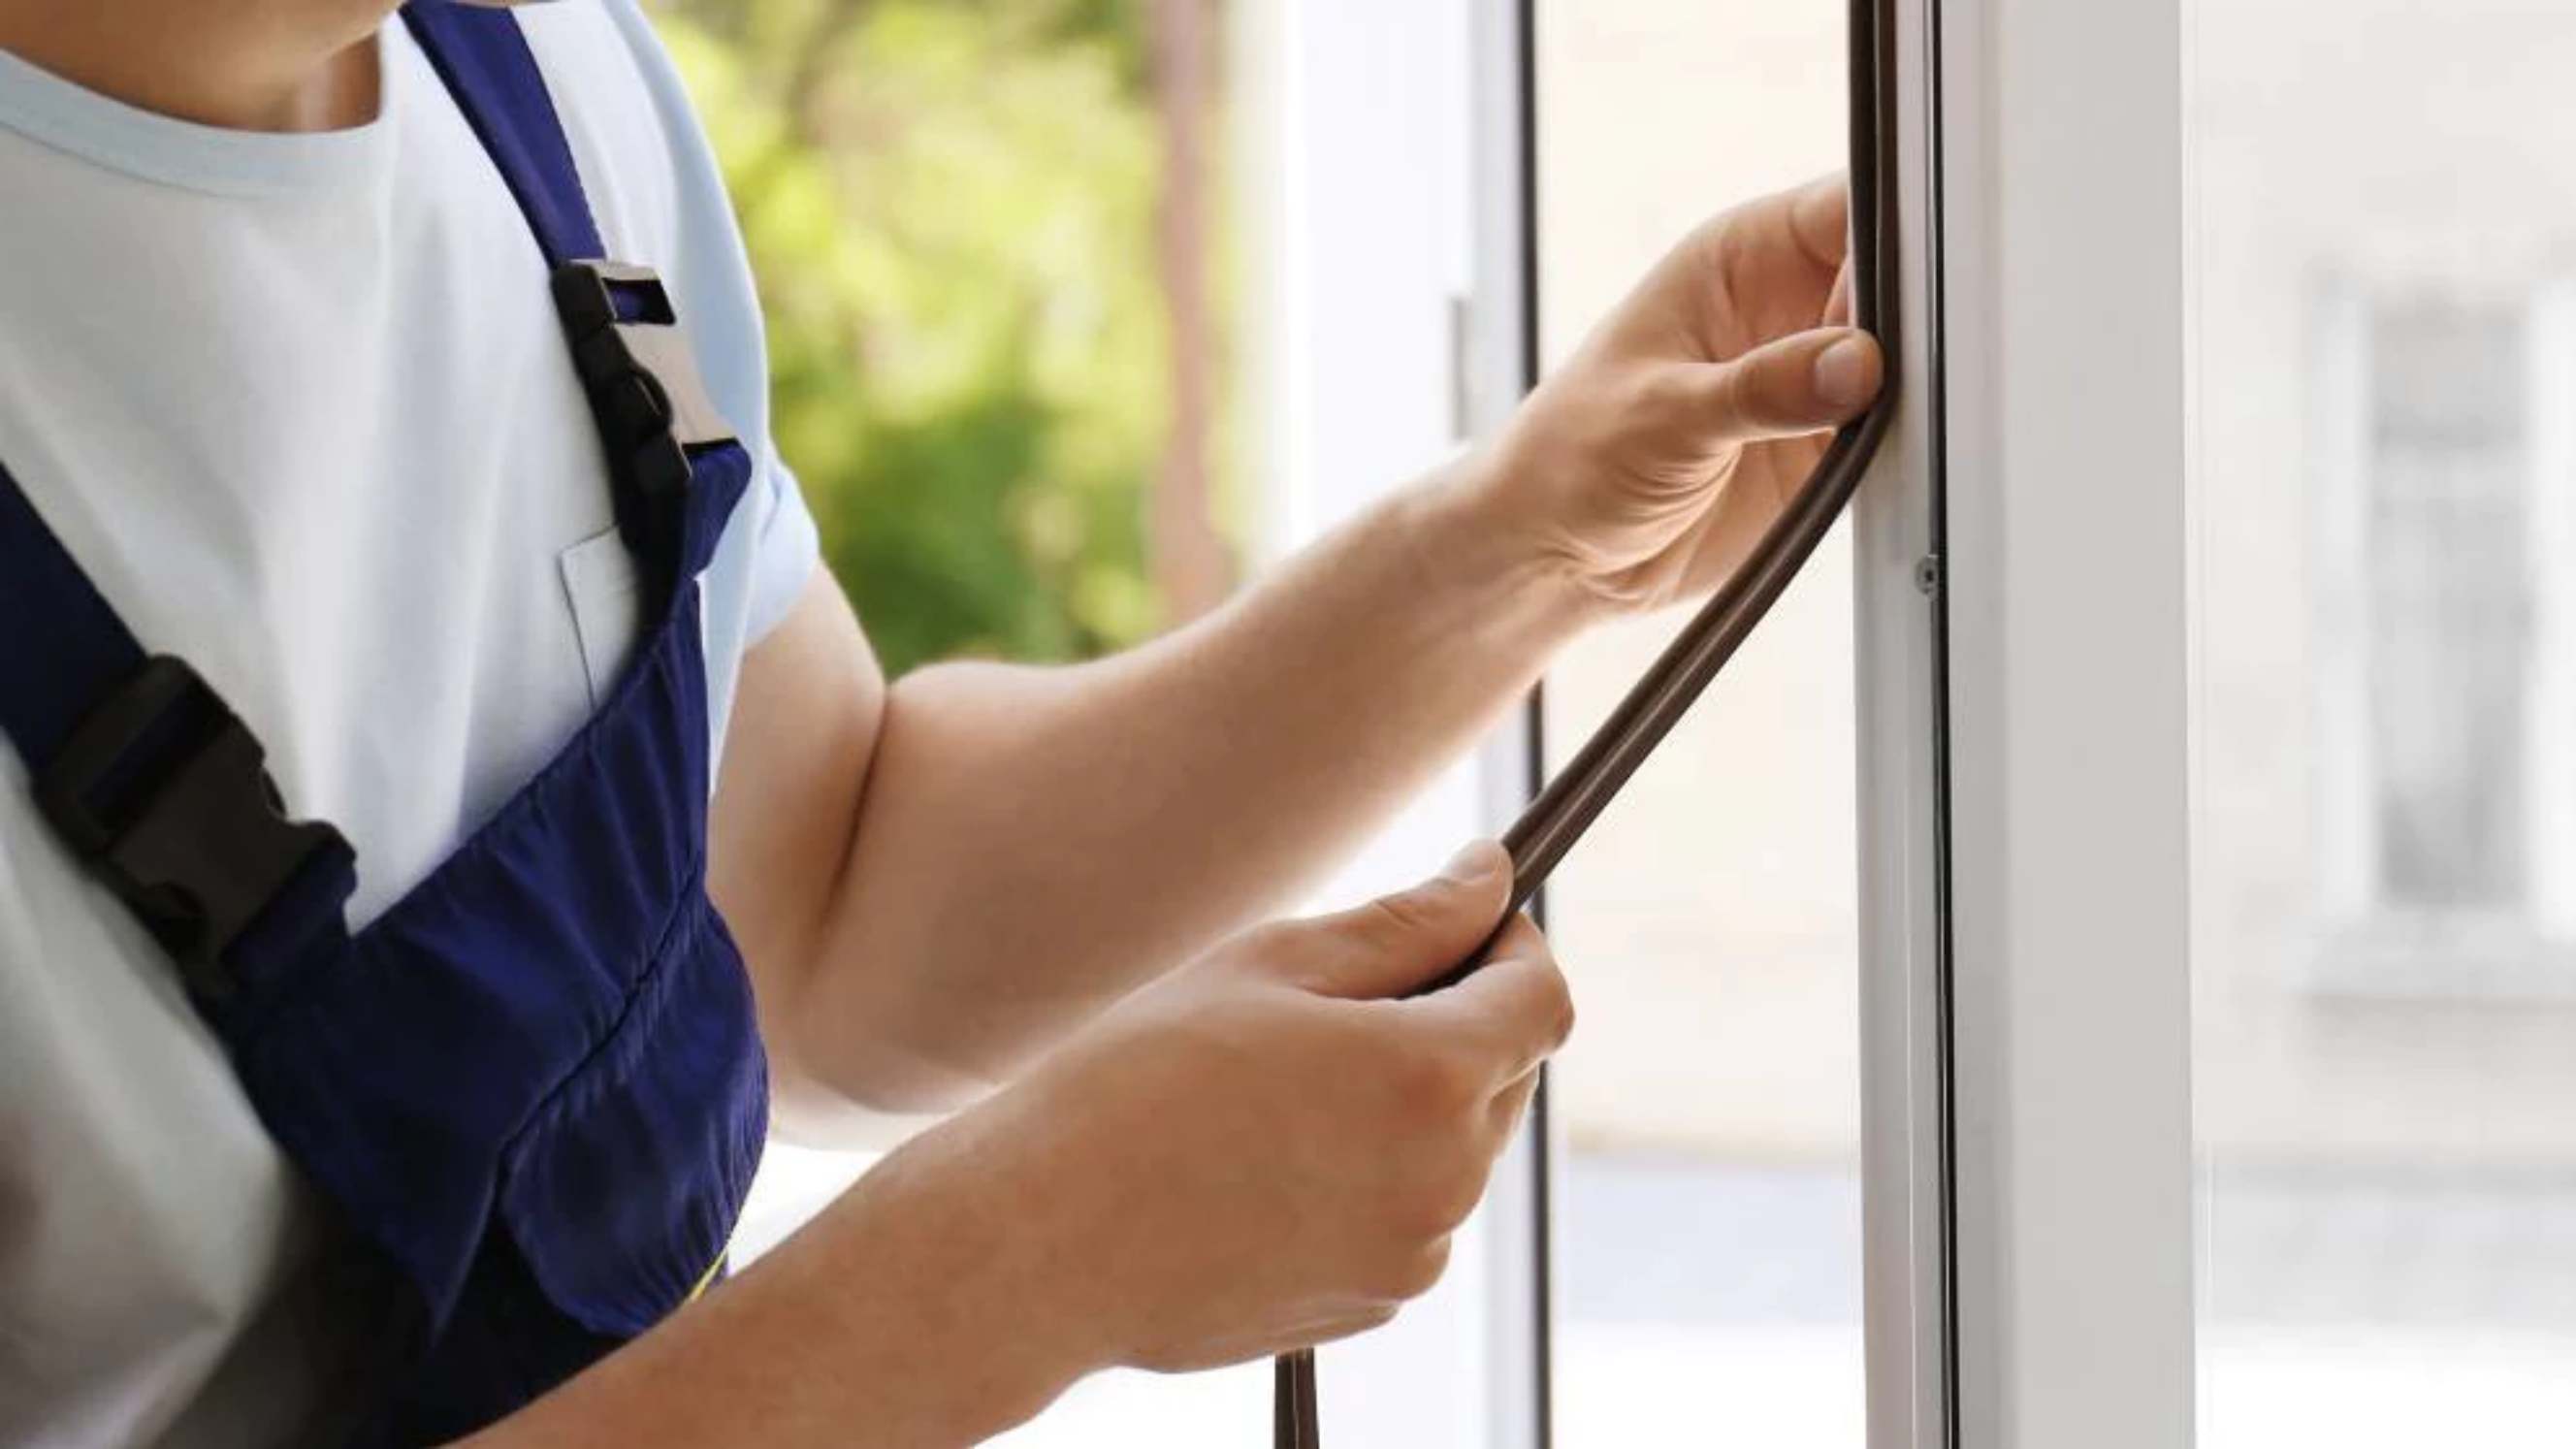
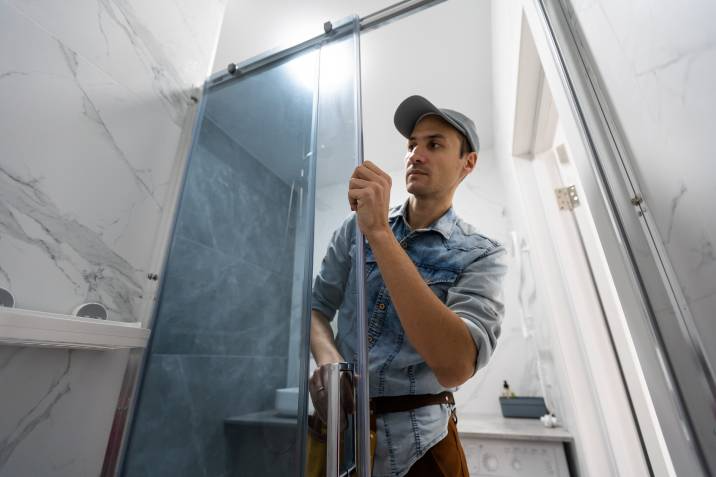
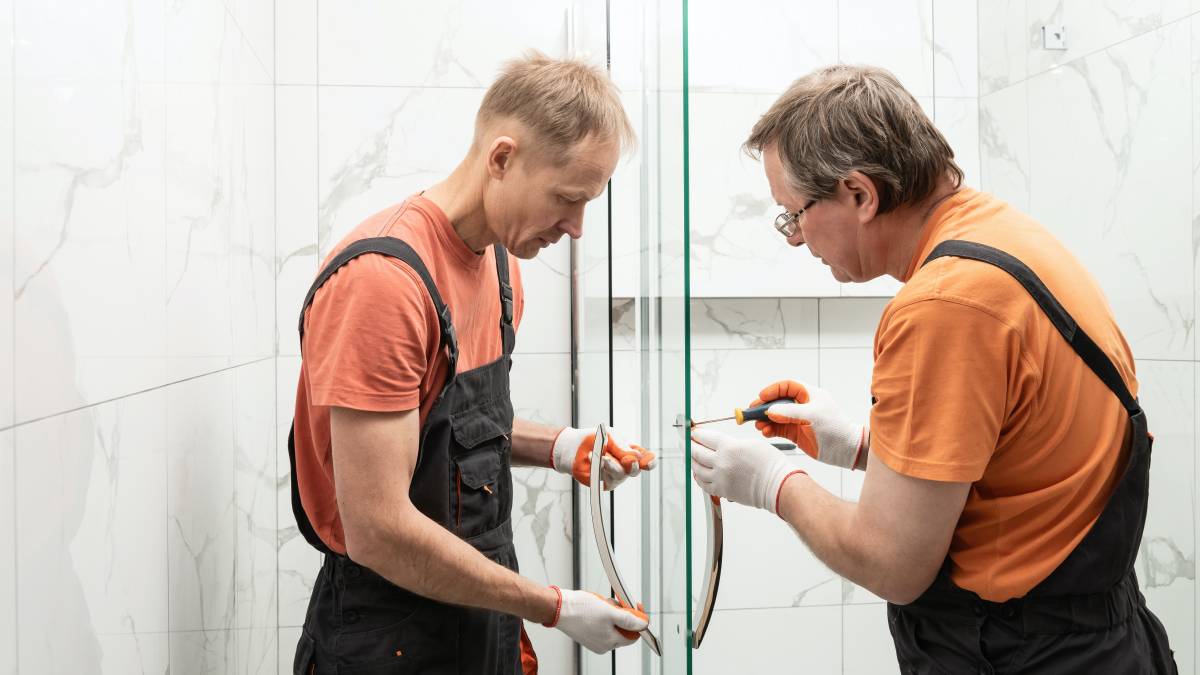
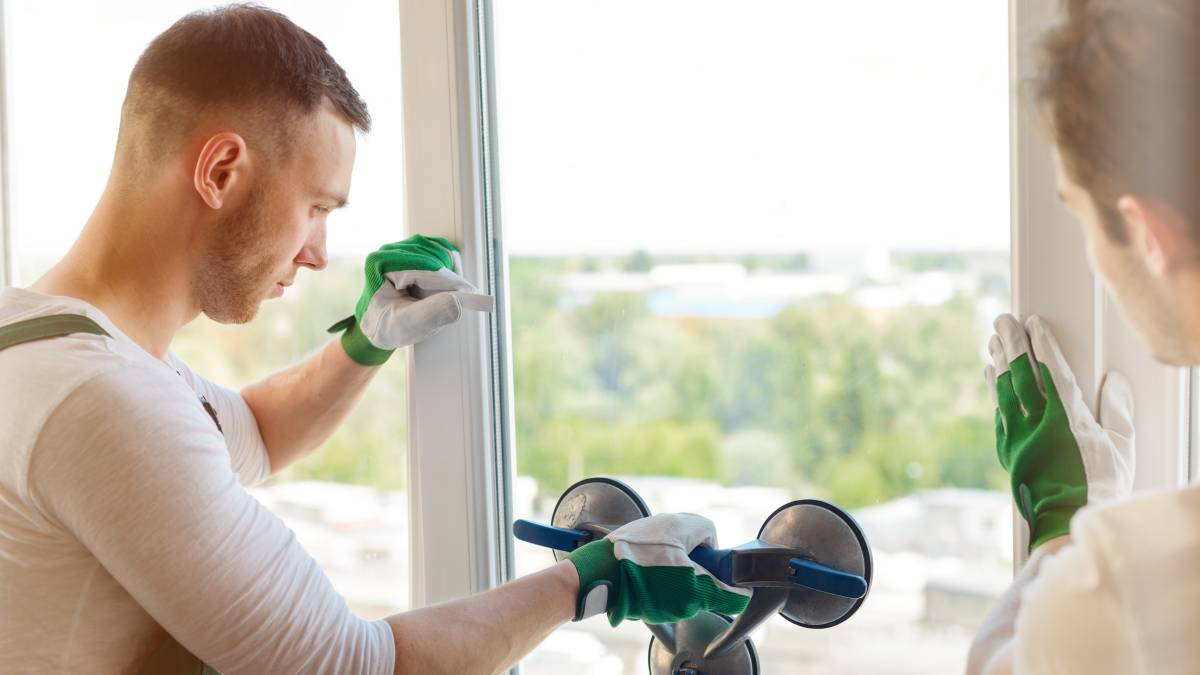
Step 5: Mount the glass screen
Lift the glass screen with its hinge rail swinging out and slip the hinge rail onto the hinge-side screen jamb. Check if the screen is plumb before drilling 0.56 cm holes through the hinge rail’s screw holes and the jamb. Then, secure the glass screen onto the frame with the pan-head screws.
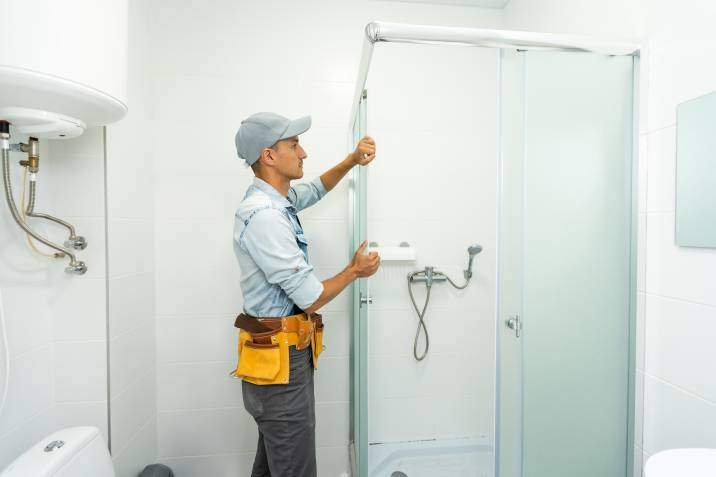
Step 6: Cut and position the header rail
Using the measuring tape, get the exact length of the top of the screen fixture. Then, cut the header rail with the hacksaw in this exact measurement. After smoothing the piece down with the metal file, slide the header rail into place atop the screen jambs. If the header rail you’re working with has screw holes on its ends, screw these into place too.
Step 7: Test the screen for possible adjustments
After mounting the shower screen, take the time to inspect whether there’s any need to make minor adjustments. For example, if there are gaps or cracks in the screen frame where water can seep through, you may use silicone sealant to close them up.
On the other hand, if there’s any resistance when opening and closing the shower screen, you may need to check the tightness of the screws or whether the frame’s parts are all plumb, level, and flush.
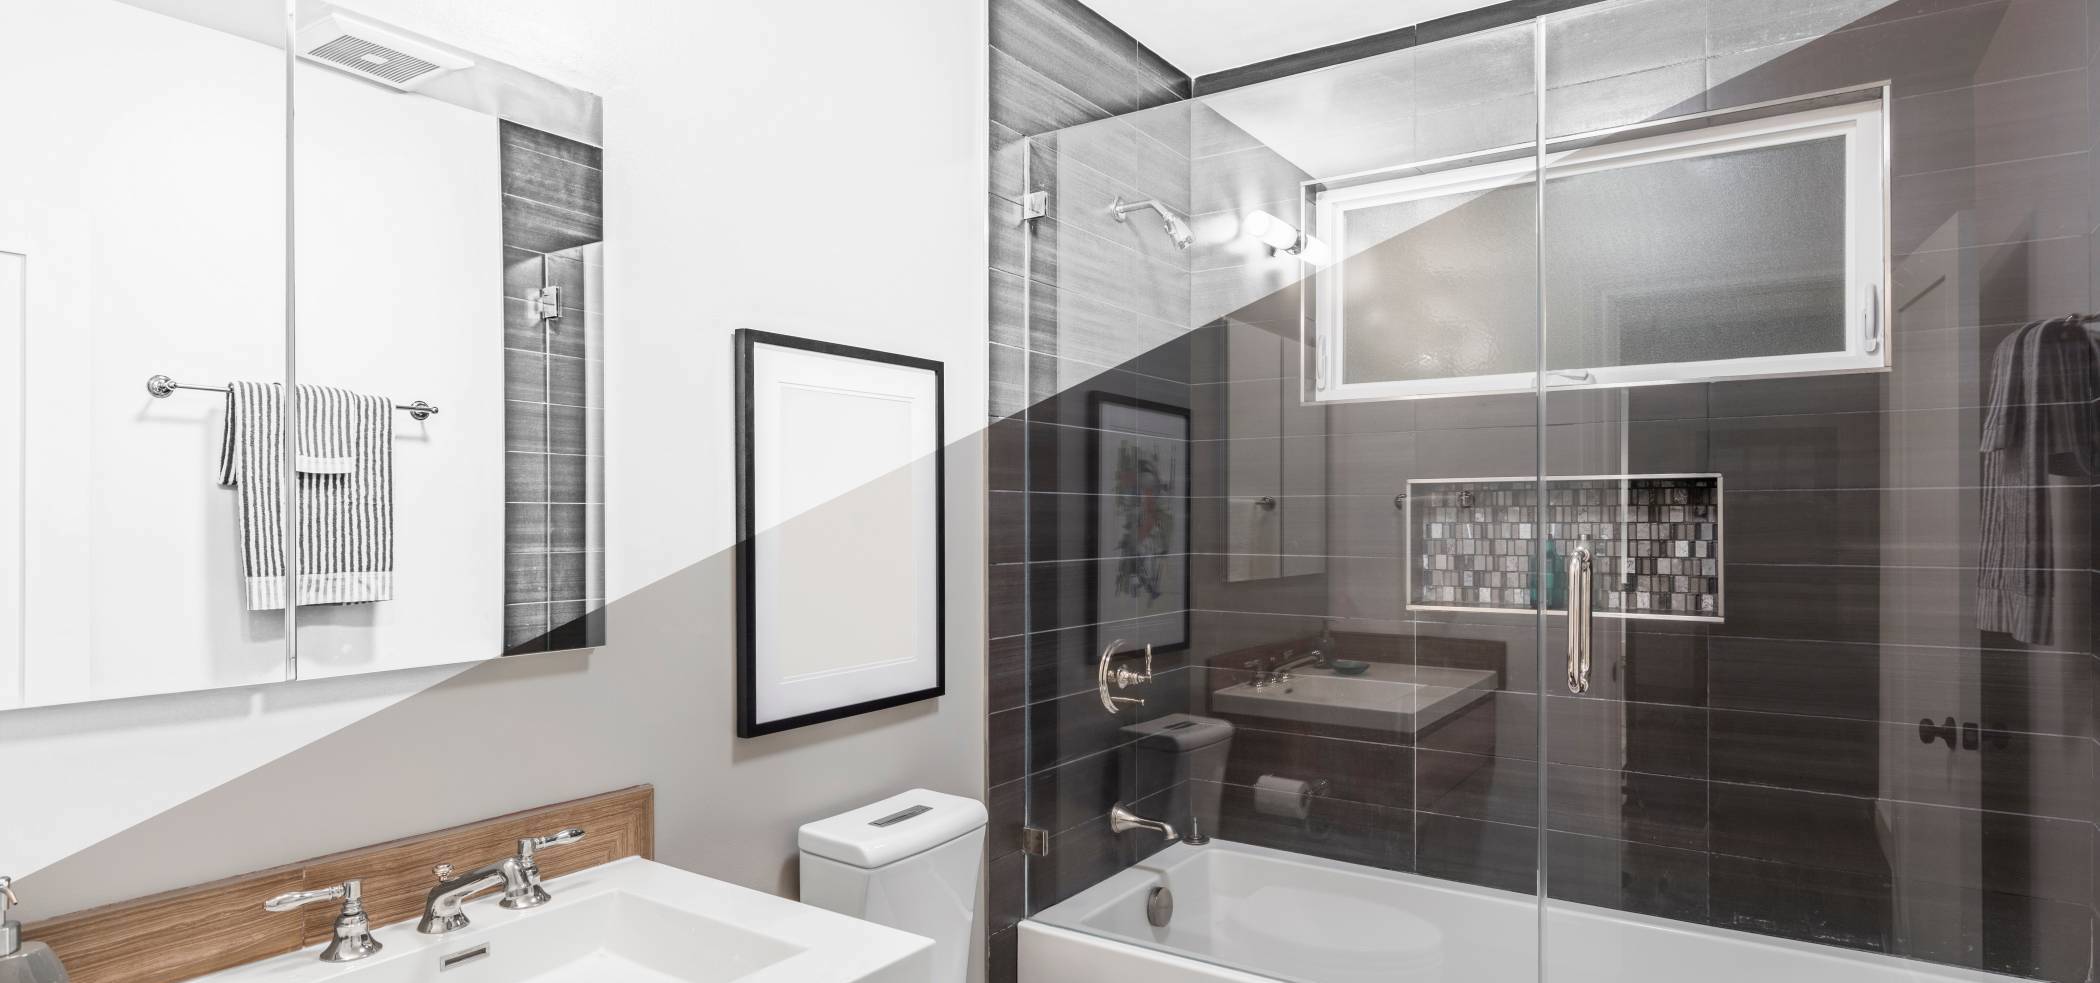
Want a bathroom upgrade? Invest in a shower screen
Installing shower screens is a great way to spruce up any plain, old bathroom. Given all its benefits, there’s no need to think twice about taking it on as a DIY home improvement project.
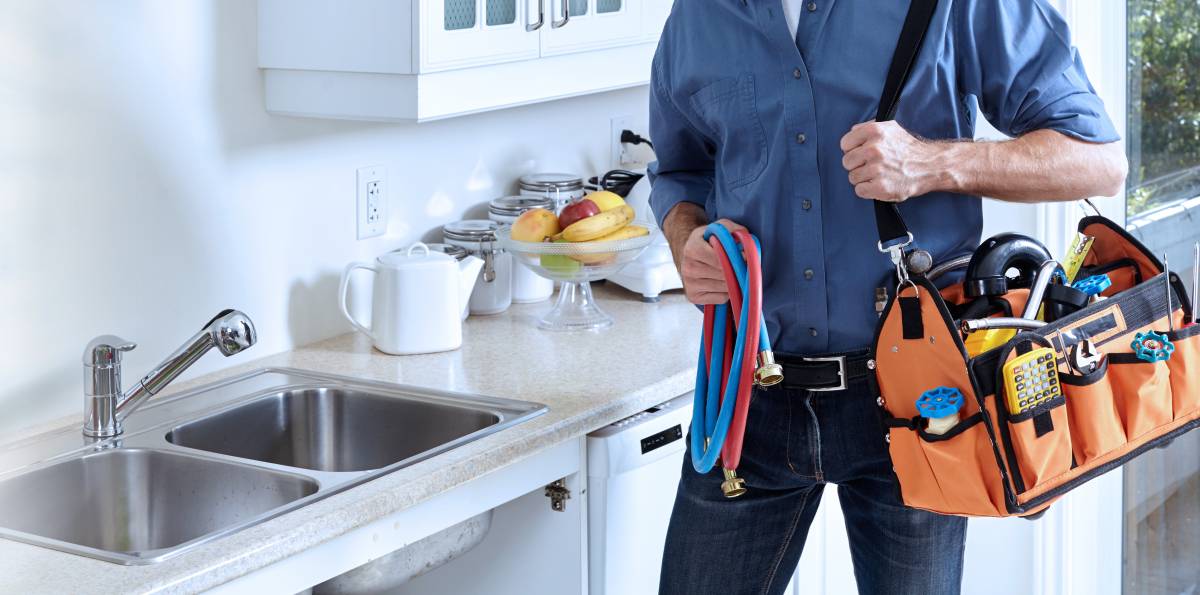
However, some people would rather hire a professional to install a shower screen for them than risk wasting time, energy, and money. If that sounds like you, just post a task on Airtasker to find the best handyperson for the job!
FAQs on installing a shower screen
Installing shower screens yourself is very doable, as long as you properly follow the instructions. That said, if you’re not confident in your DIY skills or are unsure how to execute any step, hiring a professional will save you from exerting too much energy and making costly mistakes.
For a shower screen installation, you’ll first need to assemble the screen frame. Once you’ve securely attached the base track, hinge-side jamb, and strike-side jamb around the shower’s opening, you can mount the screen onto the wall via the hinge-side jamb. You will need to use a drill, screws, and silicone sealant to do all this. You must also ensure that each piece is positioned plumb and flush so that the screen opens properly.
Find shower screen installers, fast
Find a shower screen installer
Related price guides
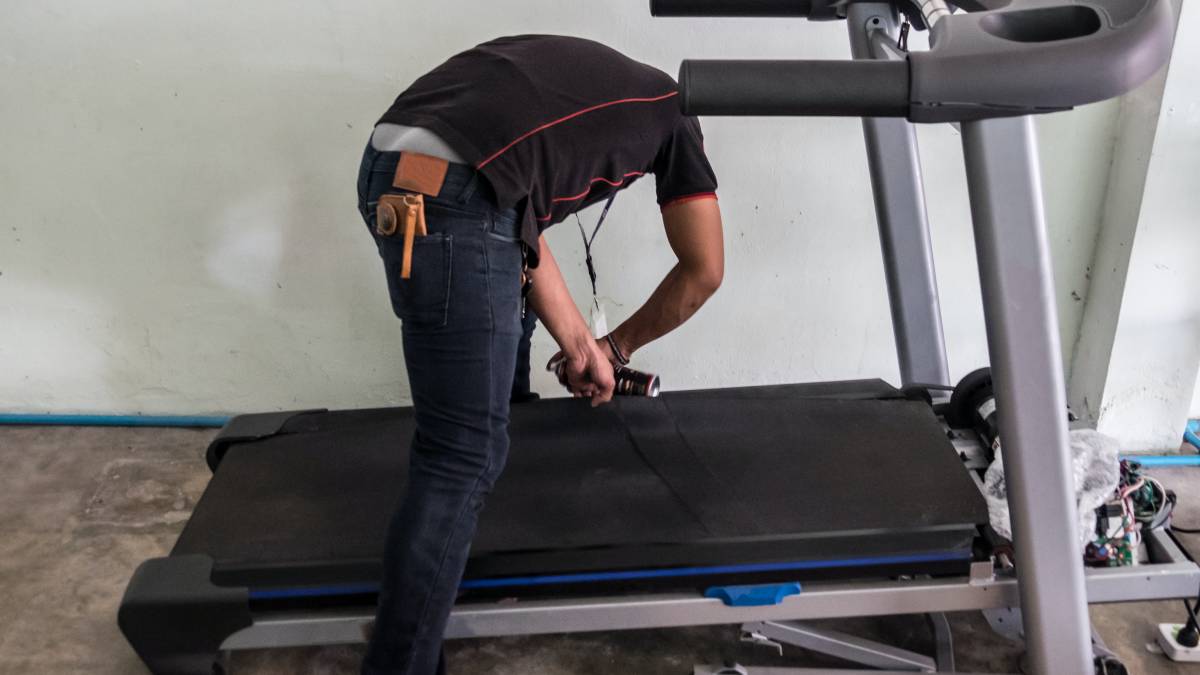
How much does treadmill repair cost?
Read more

How much does awning repair cost?
Read more
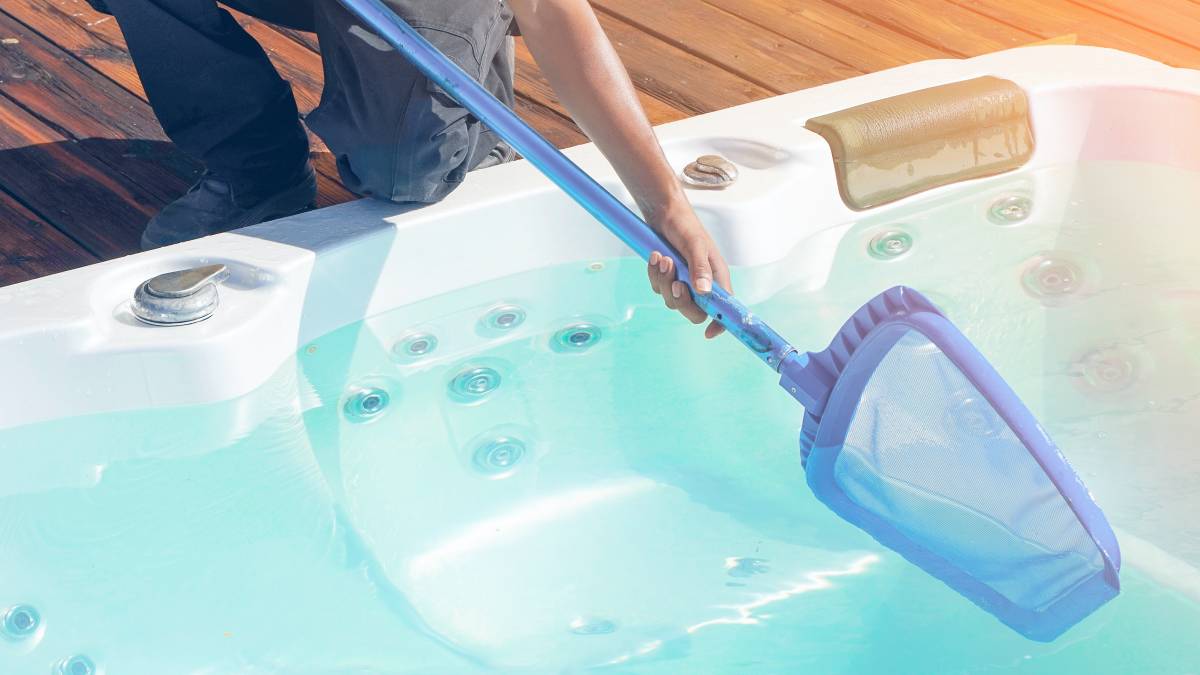
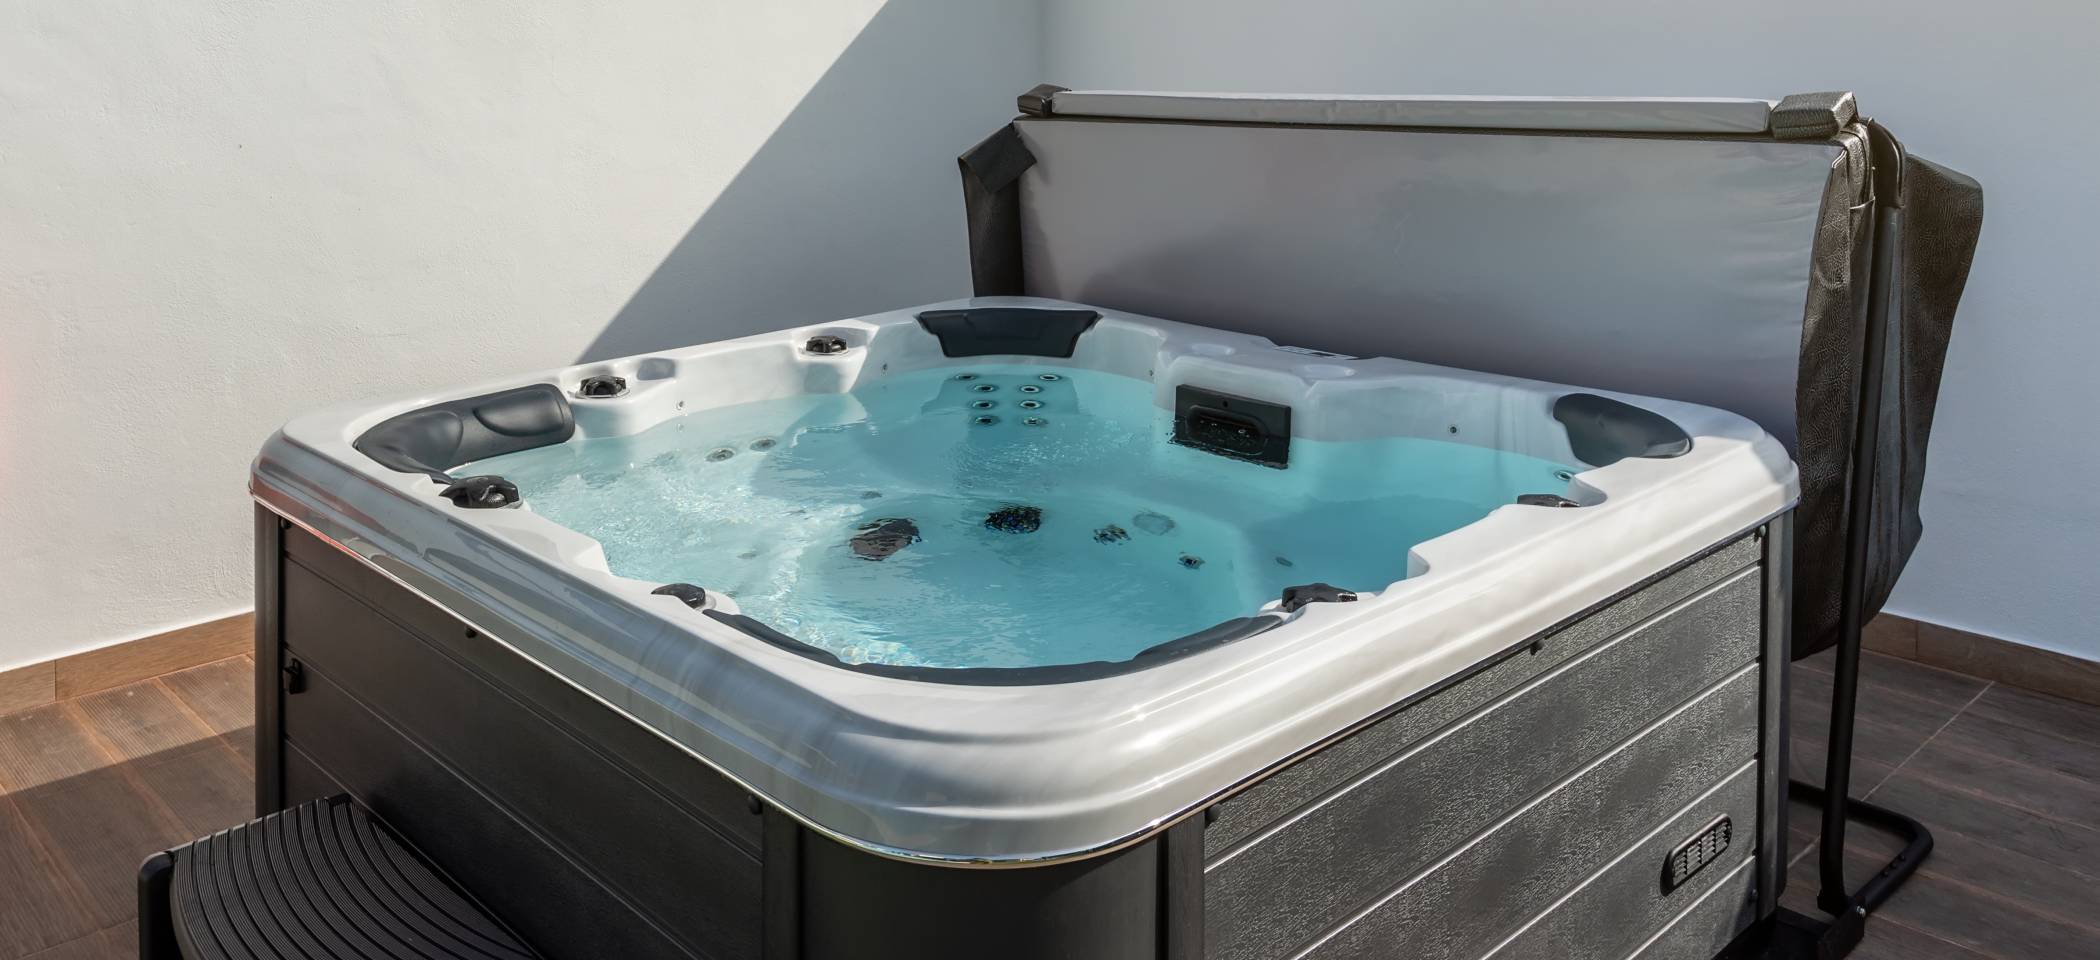
How much does hot tub repair cost?
Read more

How much does signage cost?
Read more
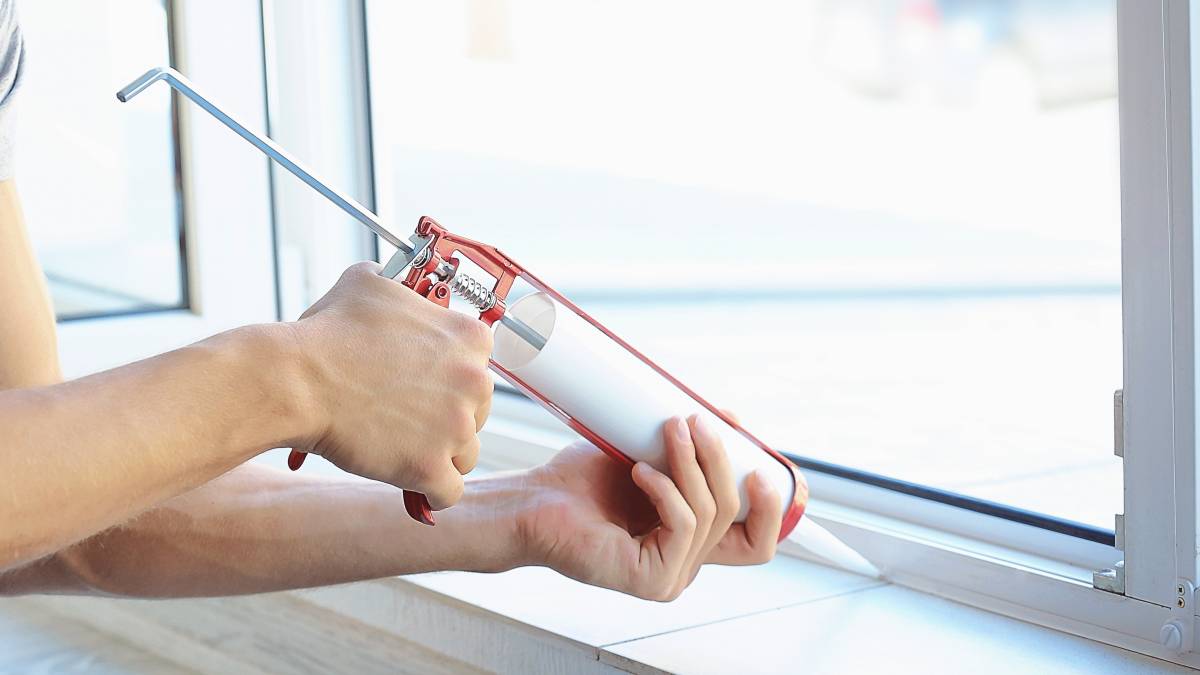
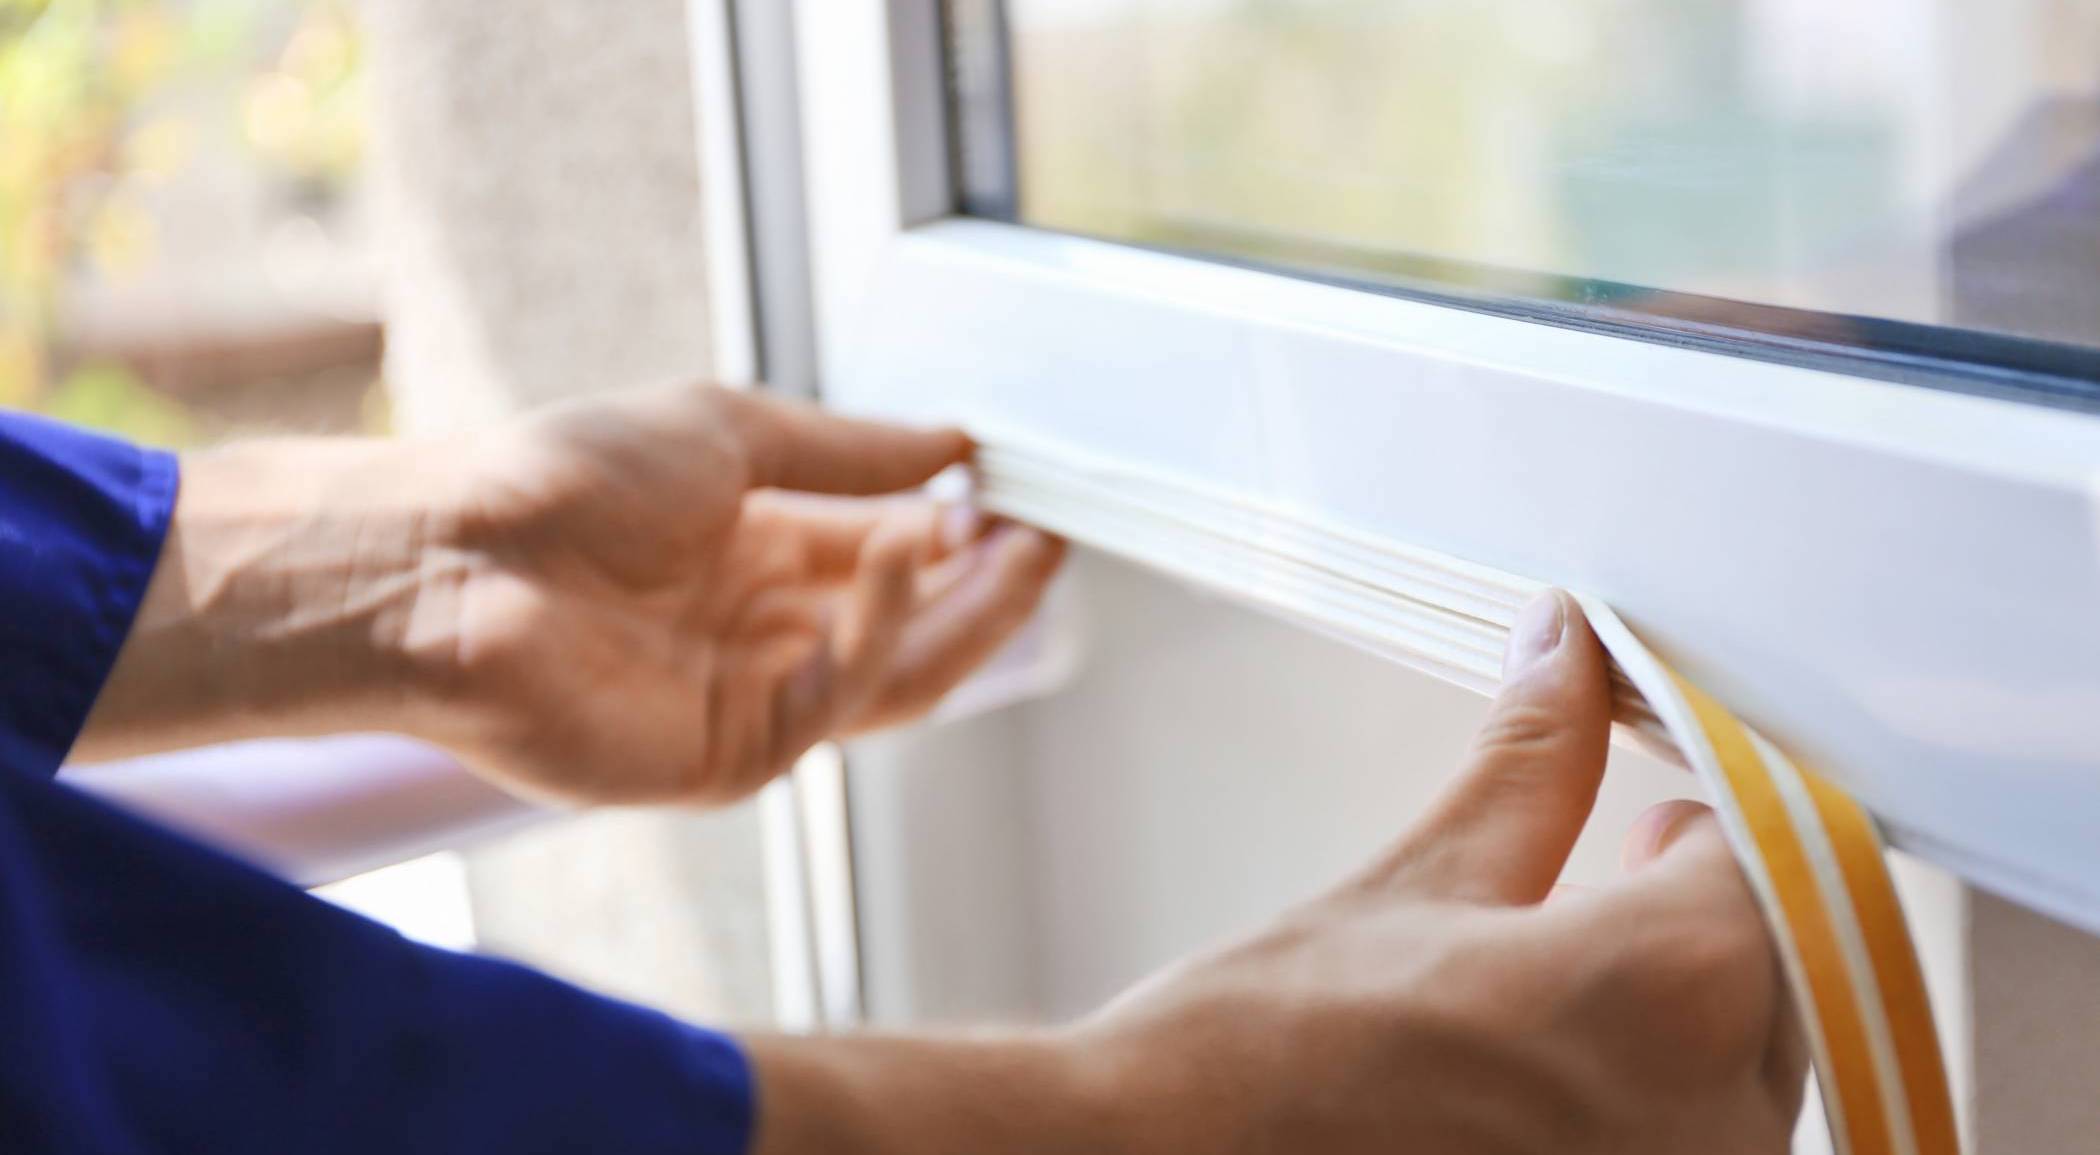
How much does window repair cost?
Read more


Related articles
How to install curtain rods
Read more

Best blue-collar jobs on Airtasker
Read more

How to Soundproof a Room
Read more
30 Lovely pantry door ideas
Read more
How to fox proof your chicken coop
Read more

Learn how to cut a mirror in 7 steps
Read more

How much can you earn as a handyperson?
Read more
Install a screen door in 6 steps
Read more