- Home/
- Guides/
- Mirror Cutting/
- How to Cut a Mirror
Learn how to cut a mirror in 7 steps
Looking to reshape an old mirror or break it down to create different-sized mirrors? Read our guide to know more!
Last Updated on
Planning to divide that large mirror in your bedroom into three smaller mirrors? You totally can just by cutting mirror glass! Don’t worry; it’s not as scary as it sounds. As long as you take all the safety precautions and follow Airtasker’s guide, you can take on this project and learn how to cut a mirror yourself. Keep reading to find out.
What do I need to cut a mirror?
If you were wondering how to cut a mirror without breaking it, the answer is: you have to. Mirrors are made of glass, and the only way to separate one part from another is by breaking it. You can do it cleanly as long as you have these tools.
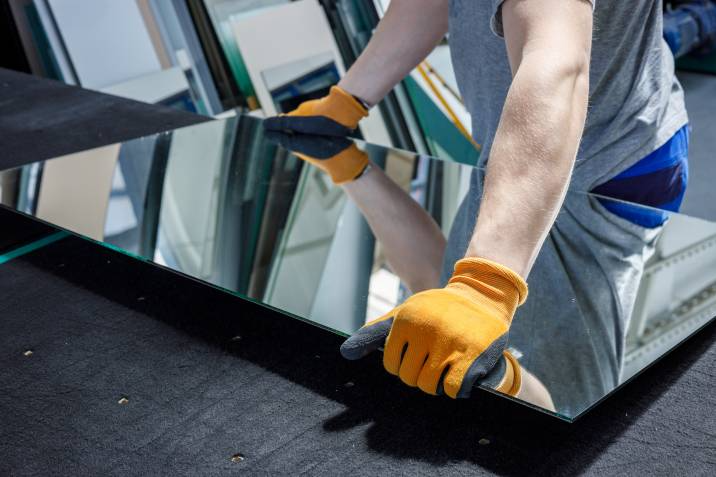
Gloves - You’ll be handling an object with sharp edges; protecting your hands is vital.
Safety glasses or goggles - This will prevent microscopic pieces of glass from getting into your eyes.
Black marker - Perfect for noting where you want to cut your mirror!
Straight Edge - It will be your guide when cutting the mirror.
C-Clamp or heavy object - This will stop your mirror from moving around while you’re scoring it.
Glass Cutting Oil - Not only will this protect your glass cutter, but it will also help produce cleaner cuts.
Glass Cutter (or Diamond-Tipped Scribe) - If you were wondering if you could cut a mirror with a glass cutter, yes, you can. It’s the main tool that will change the shape of your mirror.
Mini hammer - To help further break the mirror.
Newspapers - To protect the surface you’re working on.
How to cut glass mirrors
It’s amazing that you can customise mirrors in the comfort of your home! Follow these seven steps to help you get the shape and size you desire.
Step 1: Clean and dry the mirror
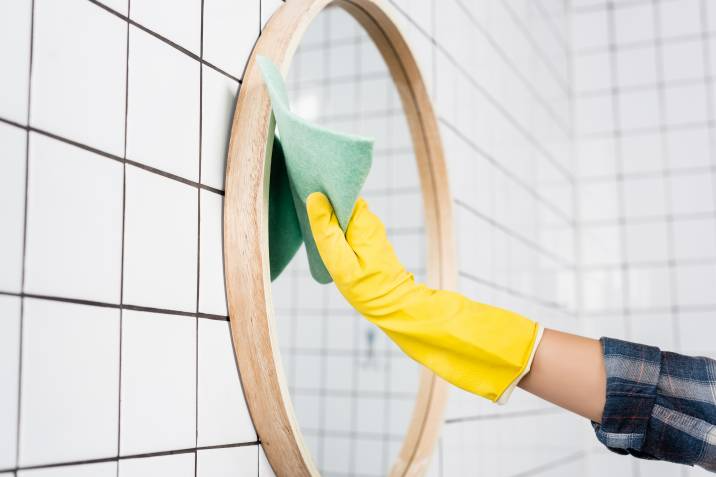
Mirrors can accumulate dirt, oil, grime, and other dust particles through the years. Before starting the cutting—or scoring—process, squirt some rubbing alcohol over it and wipe it off using a microfibre towel. Wait a few minutes for it to dry.
Step 2: Put on protective gear
You’ll be handling sharp objects, so it’s best to be safe with goggles and gloves. If wearing large rubber gloves makes it harder to hold the mirror, try surgical or latex gloves. It won’t be as thick, but there will still be a layer of protection for your hands.
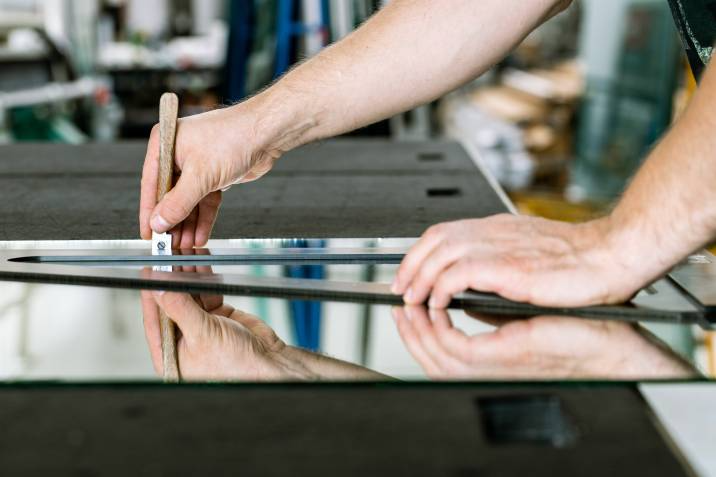
Step 3: Set the mirror down and measure
Planning to cut your mirror on your dining table? Avoid damaging it by placing three to four layers of newspaper on top. Gently set it down on the surface to prevent random cracks or breaks in the mirror.
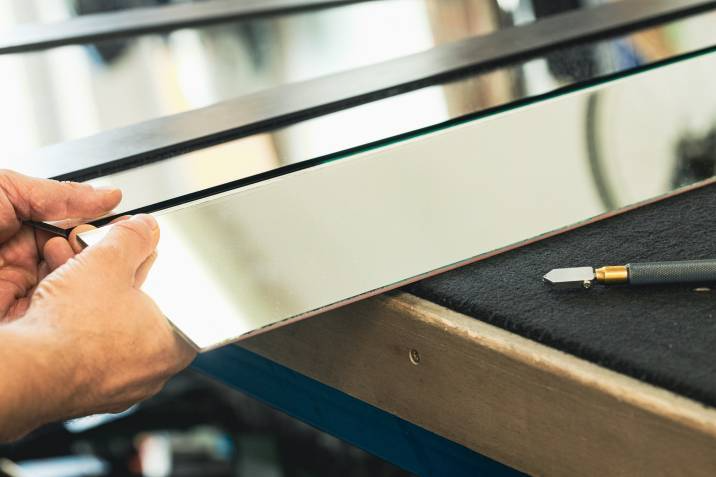
Using a straight edge and a marker, note the measurements of the new mirror. Put tiny marks on where you intend to cut your mirror. Don’t mark the whole mirror, as you might have difficulty erasing it. Small marks on the top and bottom will do!
Step 4: Use the straight edge as a scoring guide
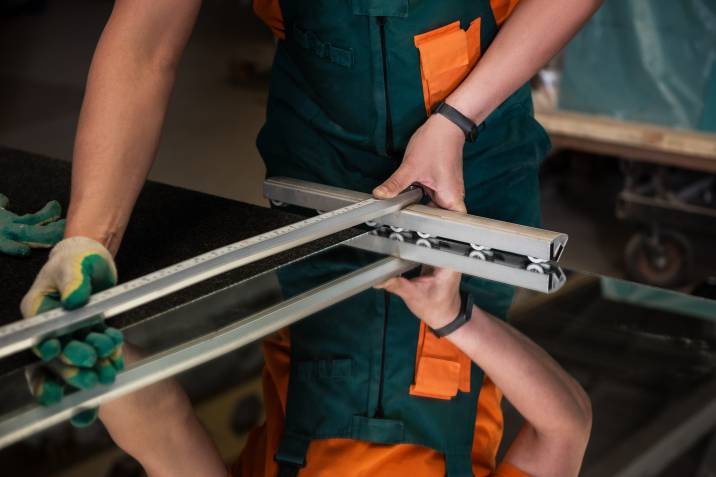
Take the straight edge and line it up against the measurements. A straight edge can be like a piece of plywood. Since you didn’t mark the whole mirror, this will guide you on where to score.
Mirrors are extremely smooth, so you don’t want your straight edge moving around while cutting it up. With a C-Clamp or heavy object, like a paint can or a book, weigh both edges of the plywood to stop it from moving.
Step 5: Squirt a few drops of glass cutting oil where the cut will begin
Squeeze a few drops of glass cutting oil on your starting point down to the end so breaking the glass is easier and smoother. Cutting oil is usually made of mineral oil and other water-based lubricants.
Step 6: Take your glass cutter or scribe, and start cutting
With a bit of pressure, press your glass cutter down on the starting point and roll it to the end. It’s important to add pressure as this will force the blade to break the glass and that you make one continuous score to prevent overlaps, which could lead to an uneven cut.
Step 7: Lift your mirror and gently tap on the score
Once you’re done scoring, lift the mirror slightly and tap the back of the cut with a small hammer. The taps and the mirror’s weight will force the crack to run the entire length. The result? A new mirror shape for you to use!
Give your mirror a revamp
You can easily become your own professional handyman with the right tools and instructions. Since you’ll be handling sharp objects with this DIY mirror project, don’t forget to wear safety goggles or glasses and rubber gloves!
Not sure about cutting your own mirrors? No worries. Sign up on Airtasker today and find the perfect mirror-cutting experts for your needs and budget!
FAQs on mirror-cutting
First, make sure you have enough surface area to score your mirror. You don’t want it falling off your table. Second, weigh down your straight edge so it’s not moving around while cutting up your mirror. Third, score your mirror in one continuous stroke. Don’t go back over certain parts—this could result in an uneven line and a weirdly-shaped mirror. And fourth, don’t be heavy-handed when tapping the score. The gentler, the better since you just made such a fine, clean cut. Mirrors are made of glass, a solid liquid, so heavy pressure could cause shatters where you don’t want them to be.
Ever wonder how to cut a mirror without a glass cutter? It’s possible. Instead of getting a glass cutter made out of tungsten carbide or hardened steel, you can use a diamond-tipped scribe—these are used to score sheets of metal, so they’re more than sharp enough to cut glass. While they’re more expensive, they last longer than glass cutters.
All you need to do is follow the same steps above, except instead of using a glass cutter, you’ll use a diamond-tipped scribe.
Find mirror cutting experts, fast
Find a mirror cutting expert
Related price guides
How much does treadmill repair cost?
Read more

How much does awning repair cost?
Read more
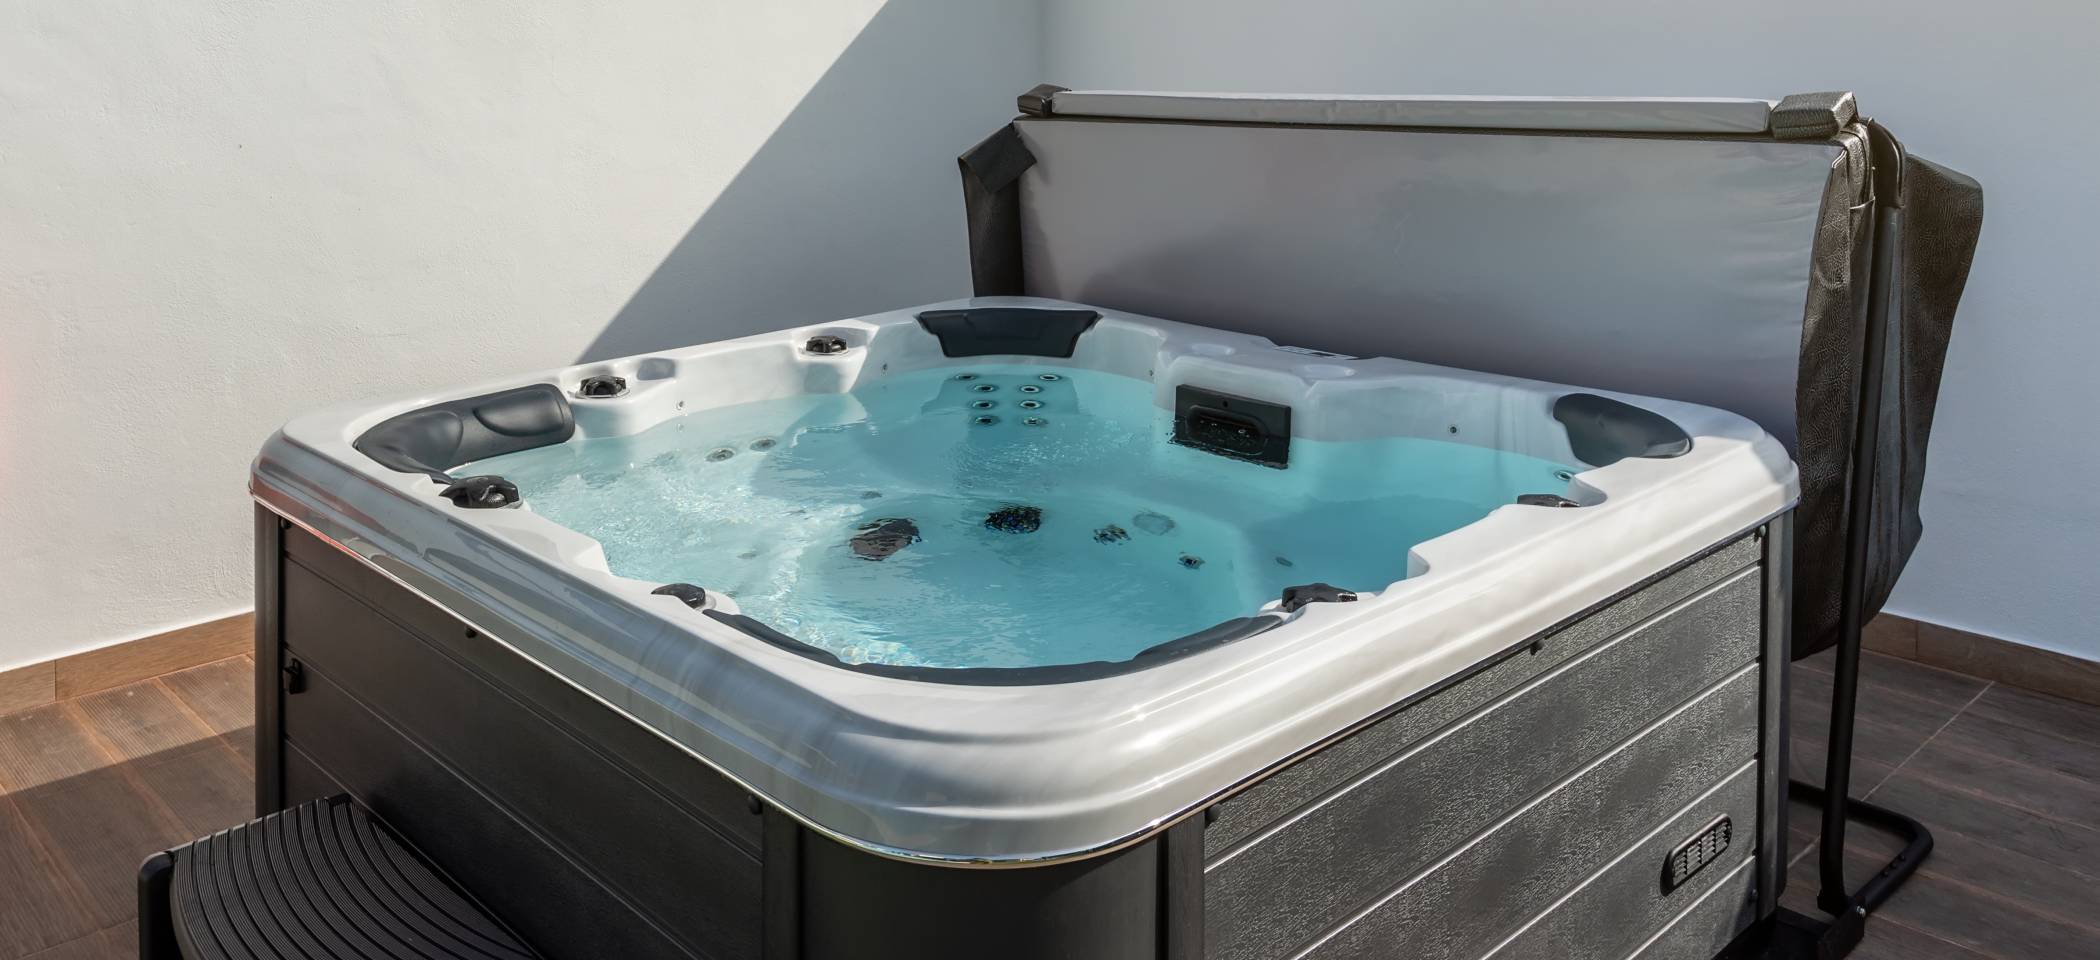
How much does hot tub repair cost?
Read more

How much does signage cost?
Read more
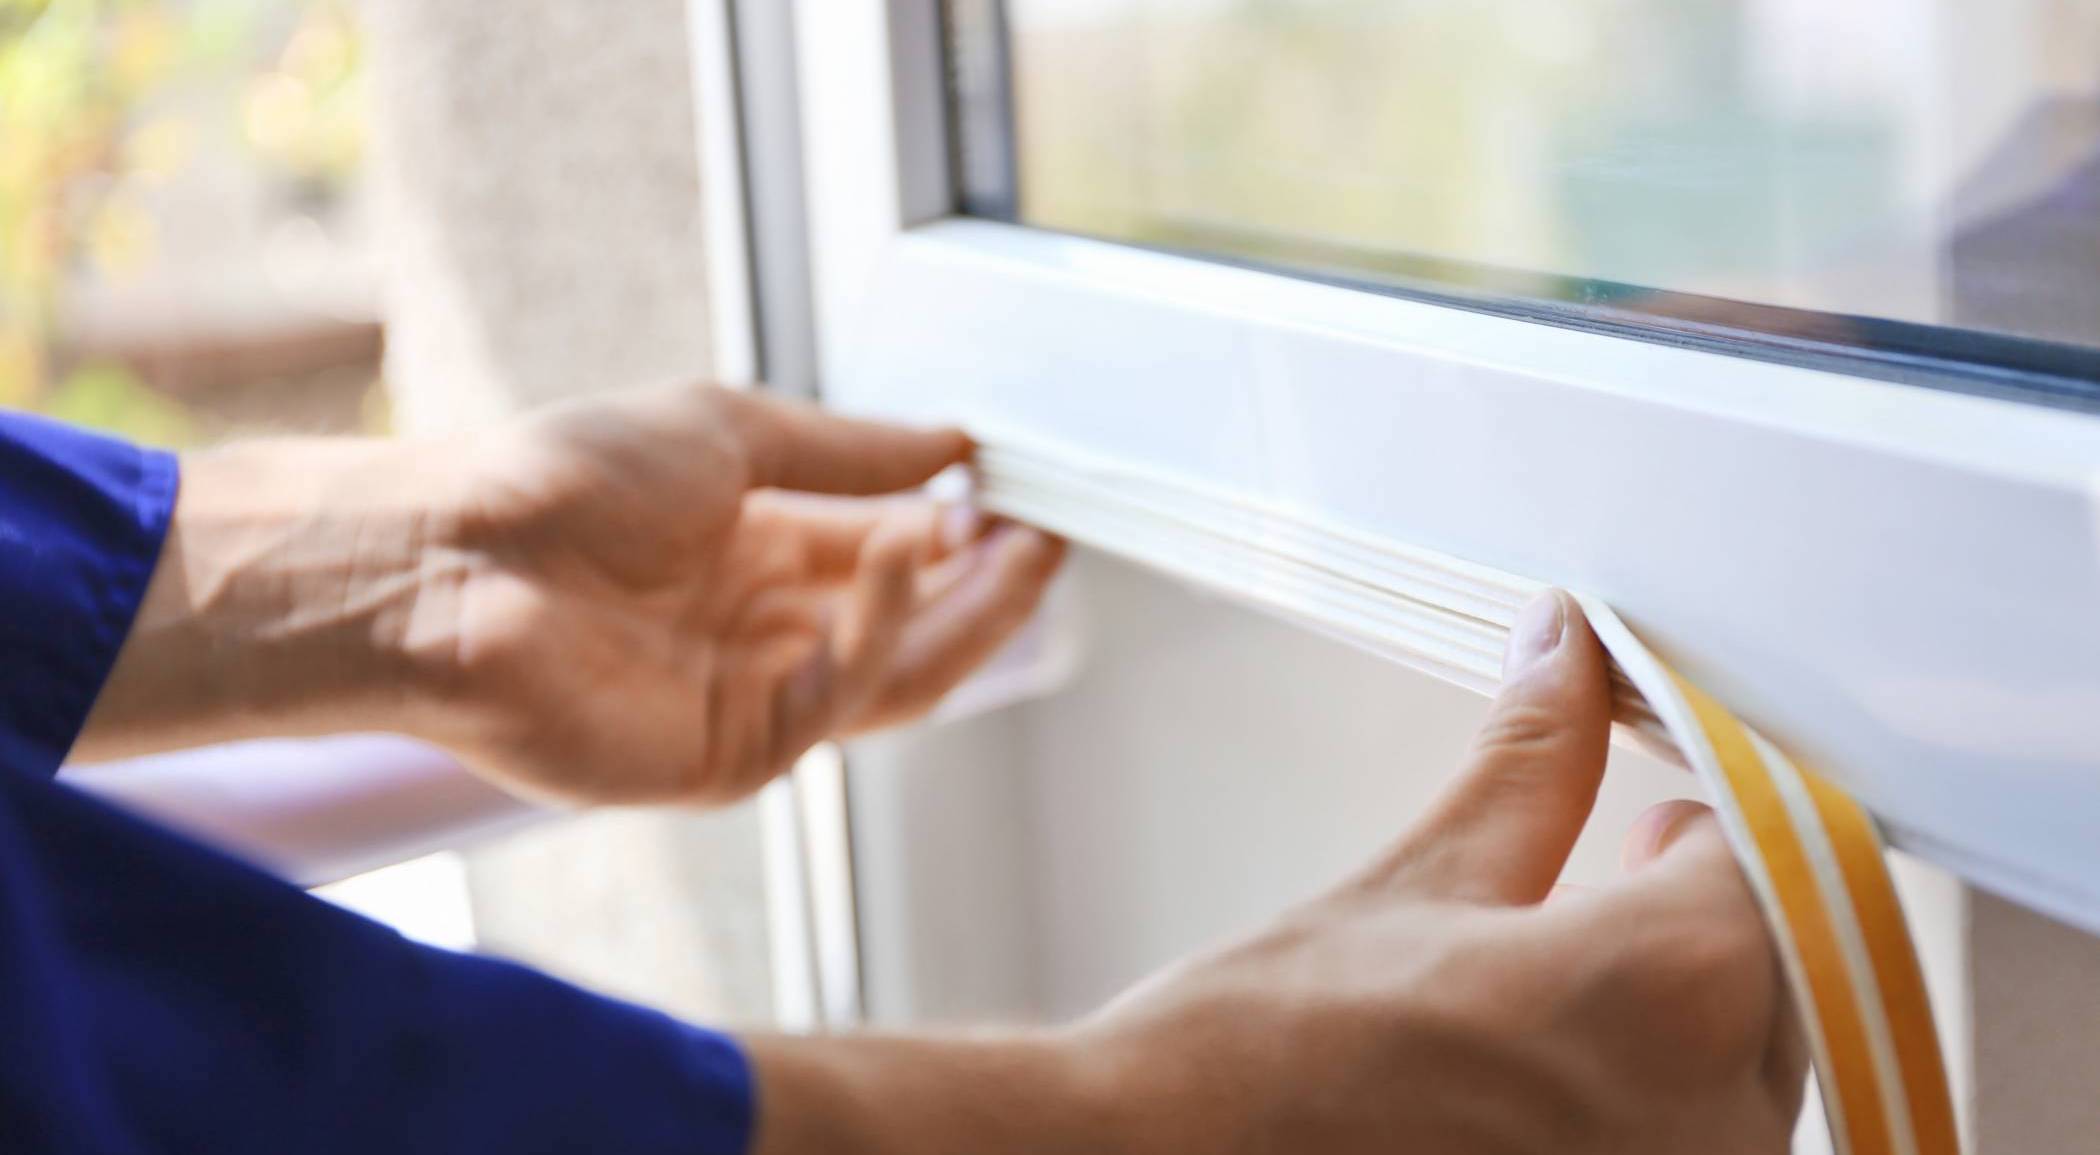
How much does window repair cost?
Read more


Related articles
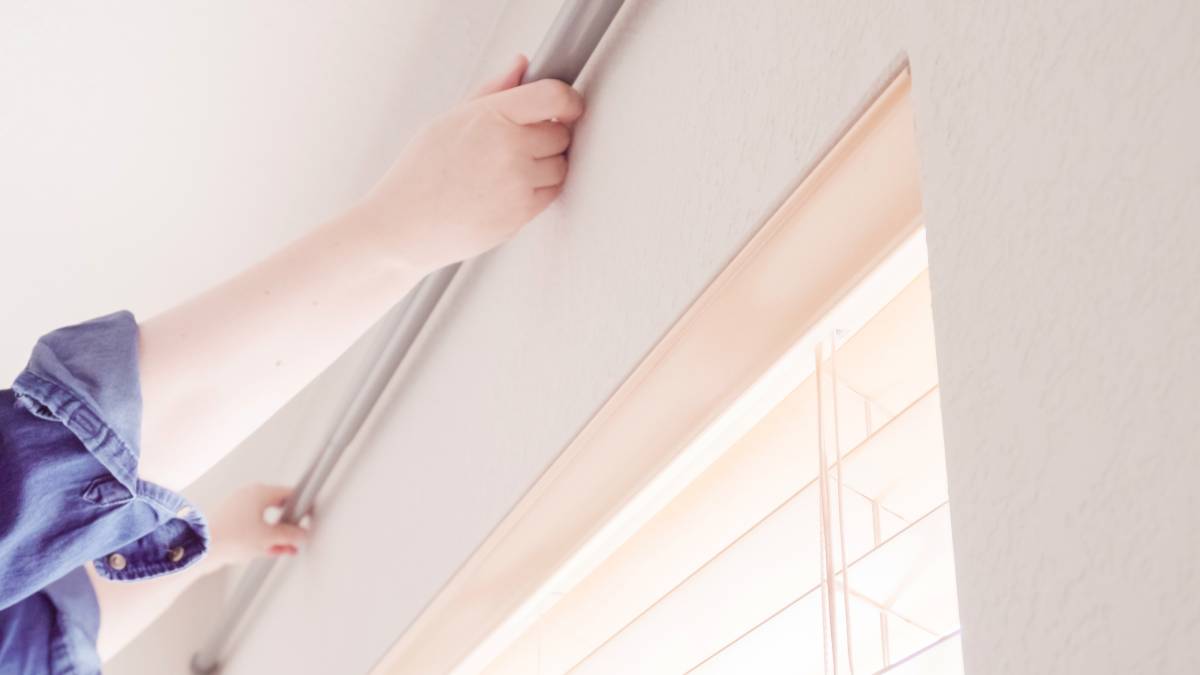
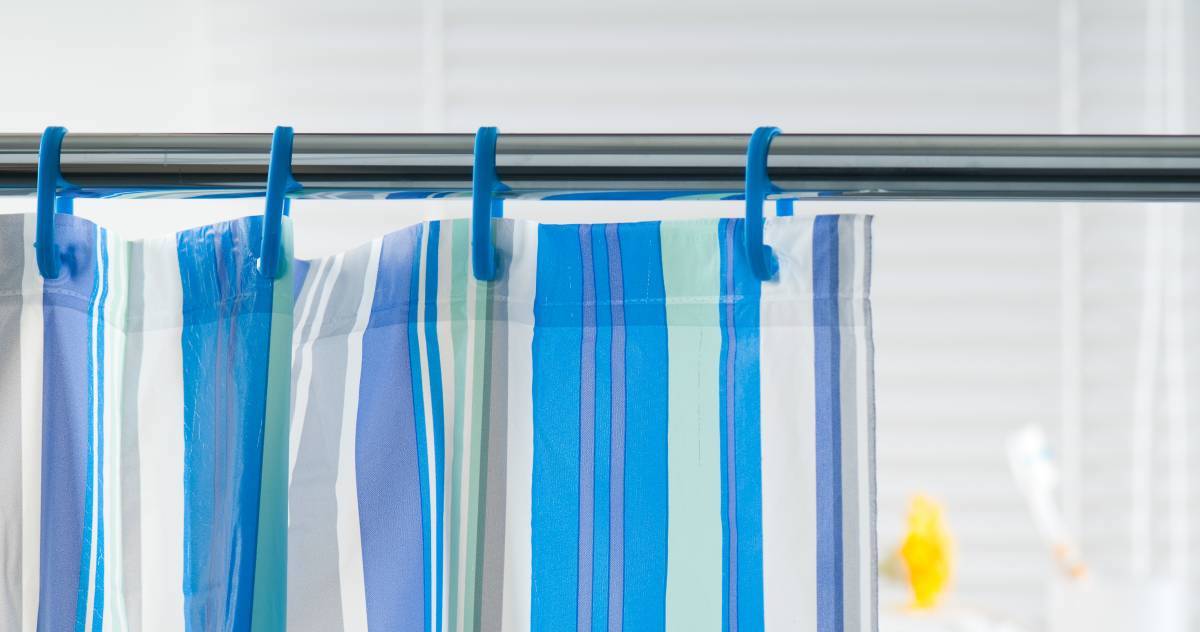
How to install curtain rods
Read more
Best blue-collar jobs on Airtasker
Read more

How to Soundproof a Room
Read more
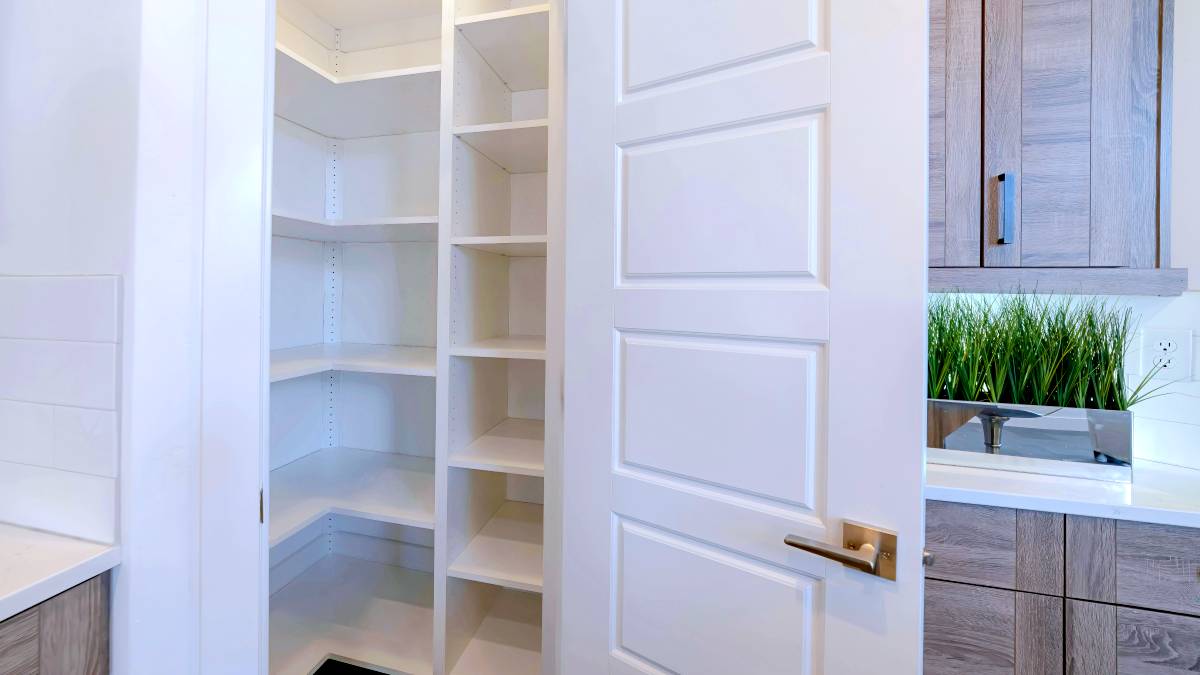
30 Lovely pantry door ideas
Read more

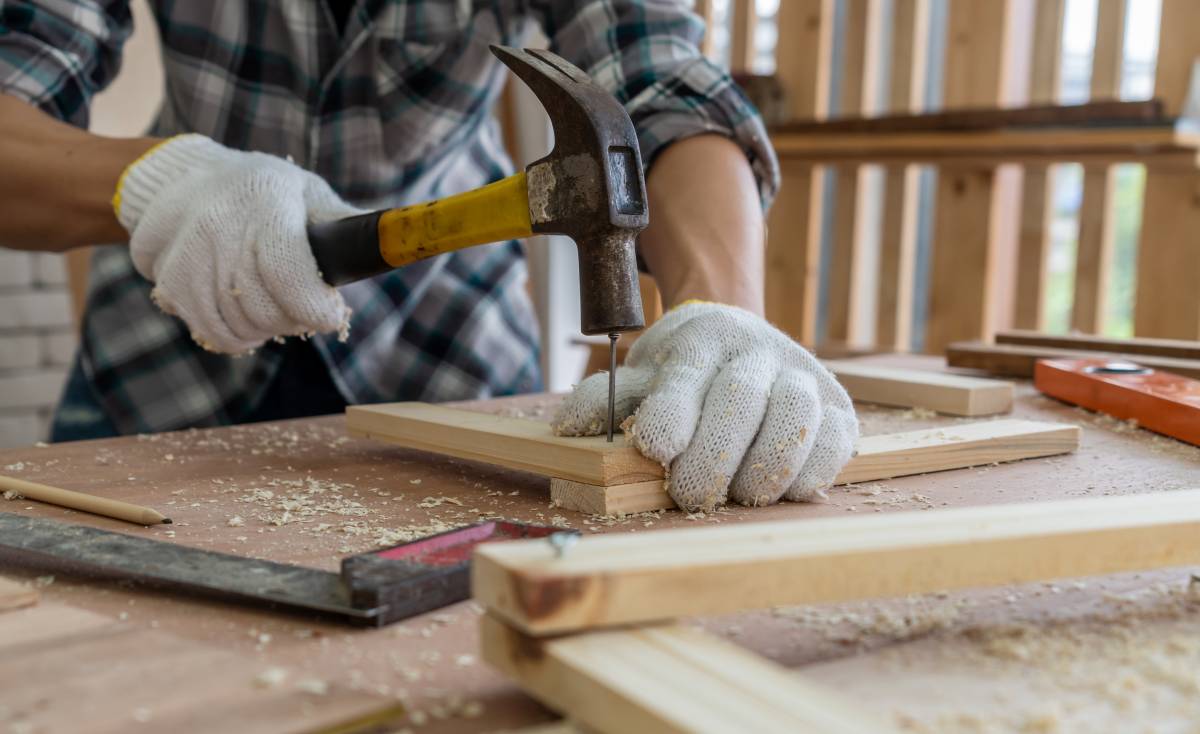
How much can you earn as a handyperson?
Read more

Install a screen door in 6 steps
Read more
How to fox proof your chicken coop
Read more