- Home/
- Guides/
- Ring Doorbell Installation/
- How to Install a Ring Doorbell
A step-by-step guide to installing a Ring doorbell
Learn how to install a Ring doorbell, the necessary tools and equipment, and how long it takes to accomplish the task.
Last Updated on
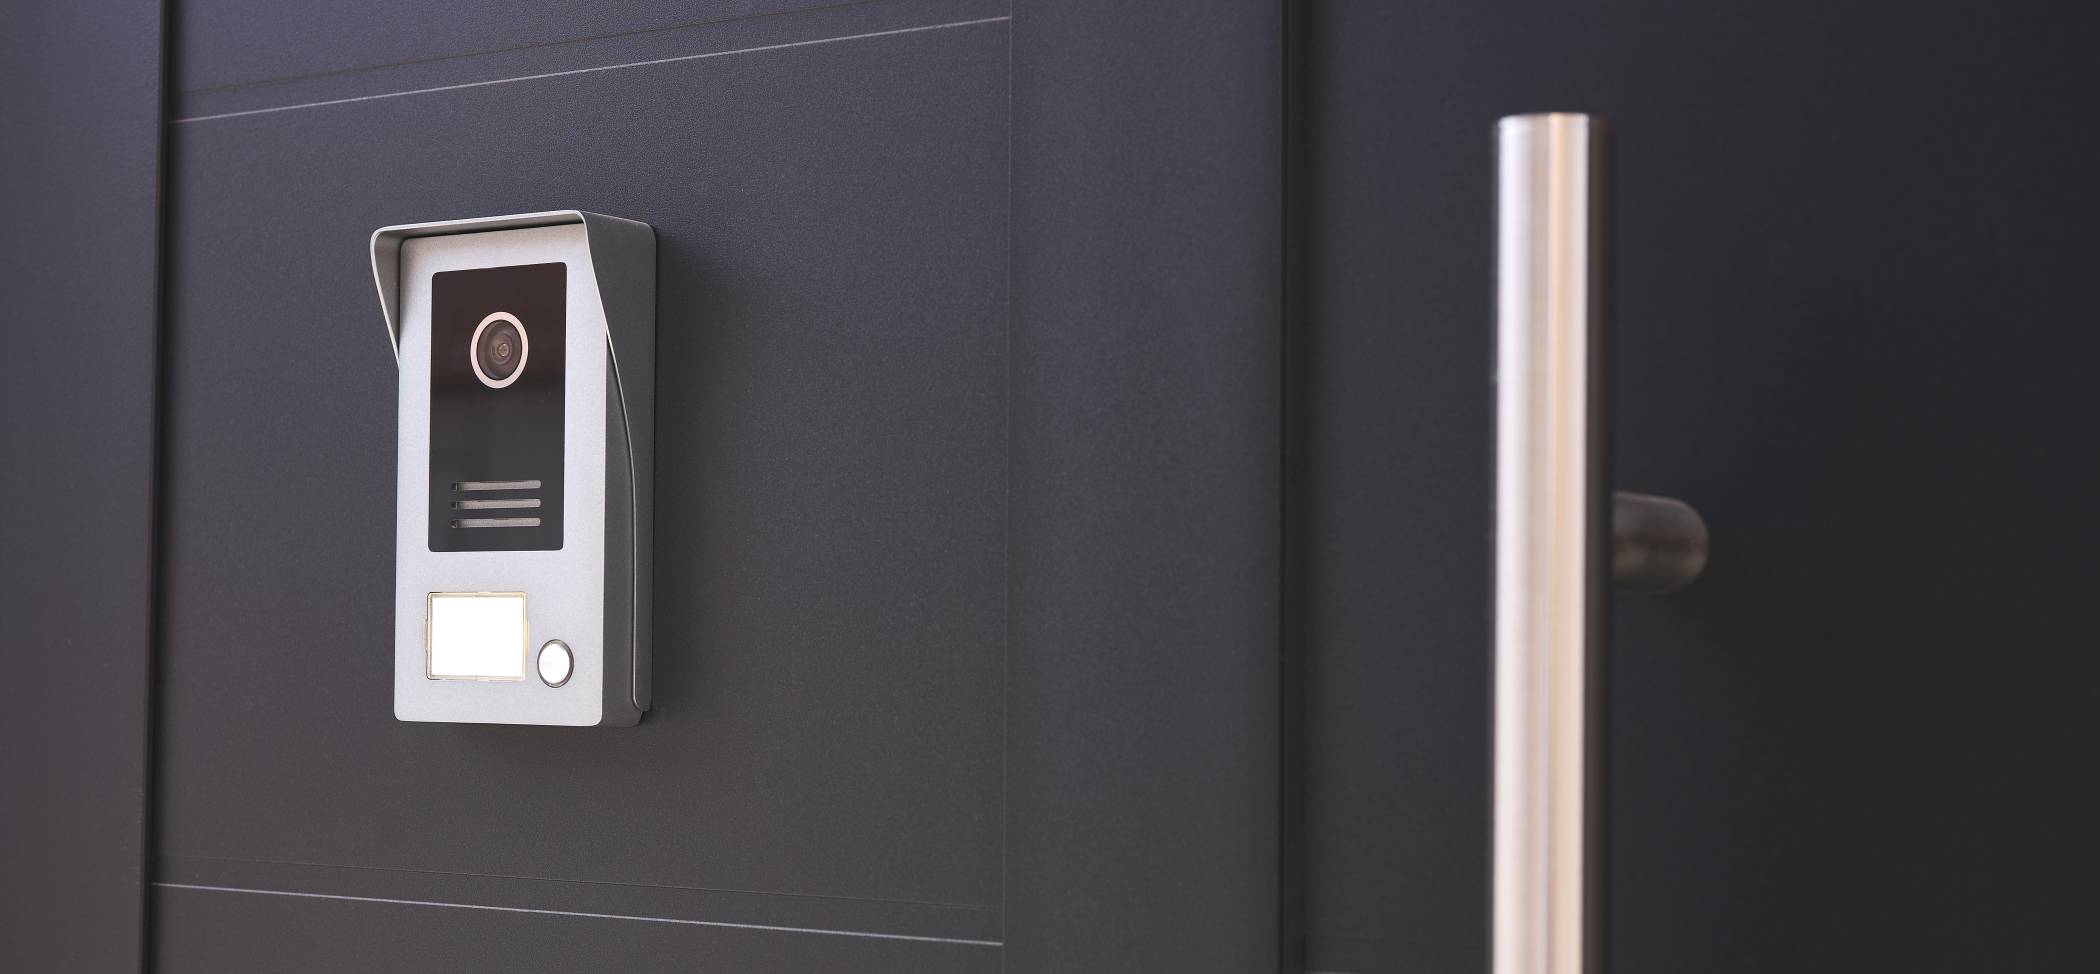
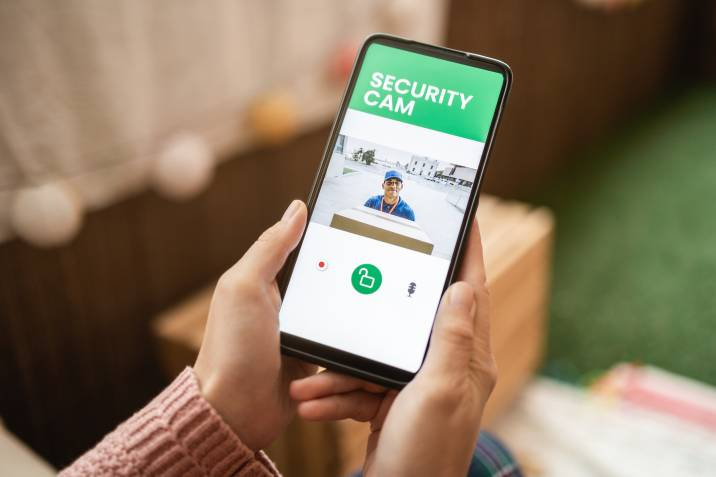
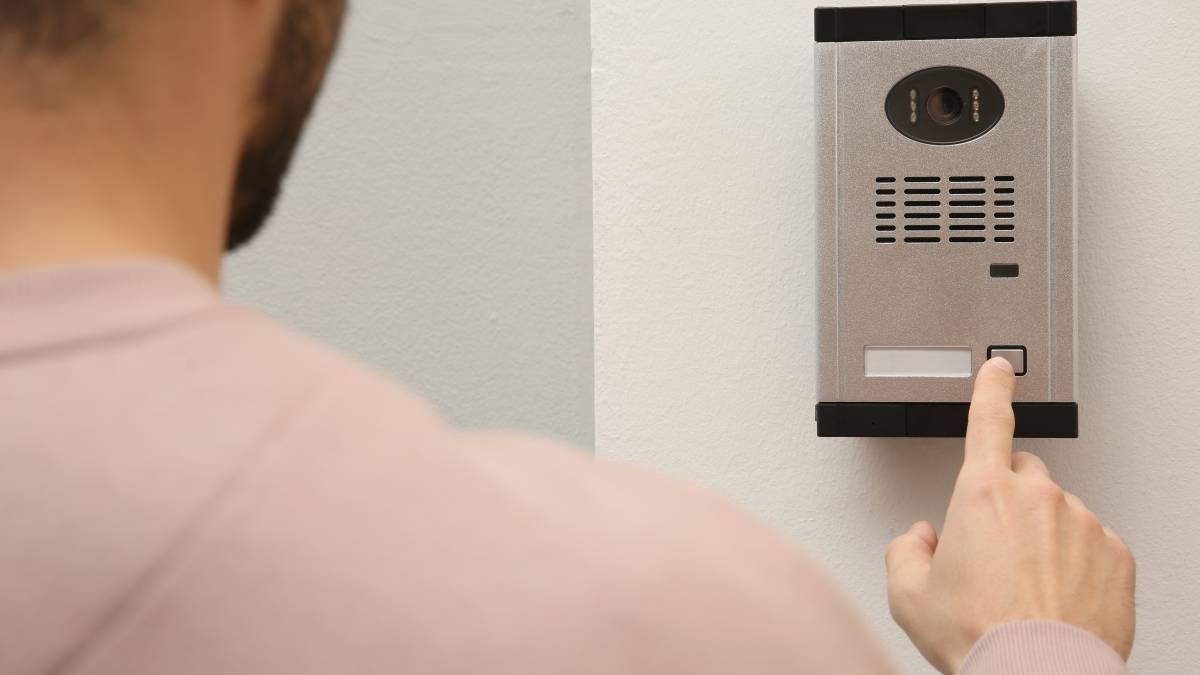
The Ring doorbell is a very popular and practical home security device. It allows homeowners to see and speak with their visitors via live feed on their smartphones, regardless if they’re home or not. It’s no wonder that many opt to use this for their homes!
To maximize all these perks, you should know how to install a Ring doorbell properly. It may seem simple, but opening the package can be intimidating the first time. While you can always hire a professional handyperson to do the job, this guide has got you covered!
Learn how to install a Ring doorbell, the necessary tools and equipment, and how long it takes.
What do I need to install a Ring doorbell?
Here are the tools you need to install a Ring doorbell:
Ring doorbell kit
Screwdriver
Screws
Charging cable
Box cutter
Drill
Before you start
Ring requires a home Wi-Fi network, a smartphone or tablet, and the Ring app for setup and use. This will allow you to monitor and control your Ring devices from a single location. All Ring devices work with 2.4 GHz Wi-Fi networks, but some can connect to 5 GHz networks. A mobile phone hotspot and Bluetooth will not work with your Ring devices.
This straightforward step-by-step guide can help you install your Ring doorbell, regardless of whether you already have an existing one.
Ring doorbell installation without existing doorbell
-
Place the level tool in front of your Ring device. This must be done before installing the faceplate. The level tool is available in the Install Tools section. It’s a small orange bar filled with fluid.
Place the Ring doorbell where you want it installed using the levelling tool. The object should be 4 feet above the ground (at chest height). The level tool’s bubble needs to be precisely in the middle.
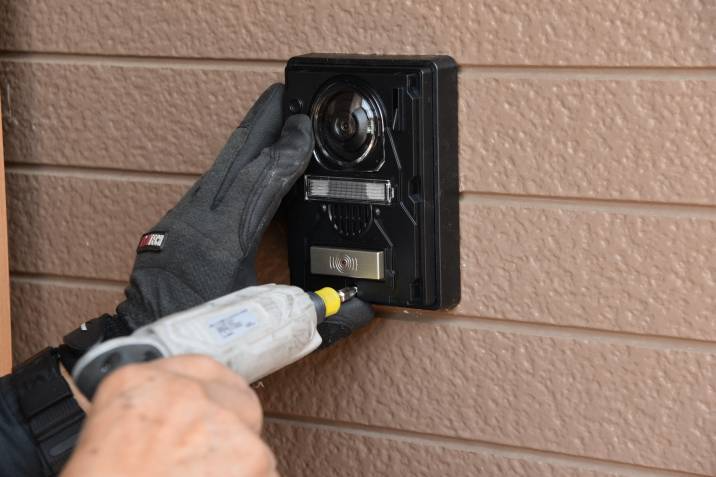
Using a pencil, mark the mounting holes. This step is only required if your Ring video doorbell is installed on stucco, brick, or concrete. You will need to drill a hole into your wall with the provided bit for this installation. Then, insert the anchors supplied into the holes.
Place your Ring doorbell into the wall using screws.
Attach the Ring video doorbell’s faceplate. The faceplate’s top should be inserted at an angle and slid into place until it clicks. Be sure to first remove the levelling tool.
By the doorbell’s bottom, tighten the security screws. To secure the faceplate, tighten it using the included screwdriver and security screw with a star head.
Ring doorbell installation with existing doorbell
-
At the breaker, turn off the electricity to your doorbell. Next, take out your current doorbell button and unplug the cables.
Insert the levelling tool provided into the mounting bracket. You can access the power lines once the mounting bracket is in place. Level the mounting bracket with the levelling tool. Screws must be inserted into the holes. If mounting on a masonry surface, use the mounting bracket as a template to mark pilot holes. Drill the holes first, then insert the anchors. Remove the levelling tool from the mounting bracket.
Connect the wires to the mounting bracket screws. It doesn’t matter what order the wires are connected; make sure they don’t touch.
Install the diode in your Ring kit if you have a digital doorbell.
Align the mounting bracket tabs with the slots on the back of your Ring doorbell. Do not be afraid to use some force.
Tighten the two security screws at the bottom of the Ring Video Doorbell with the included security screwdriver.
How to install Ring Doorbell Pro
-
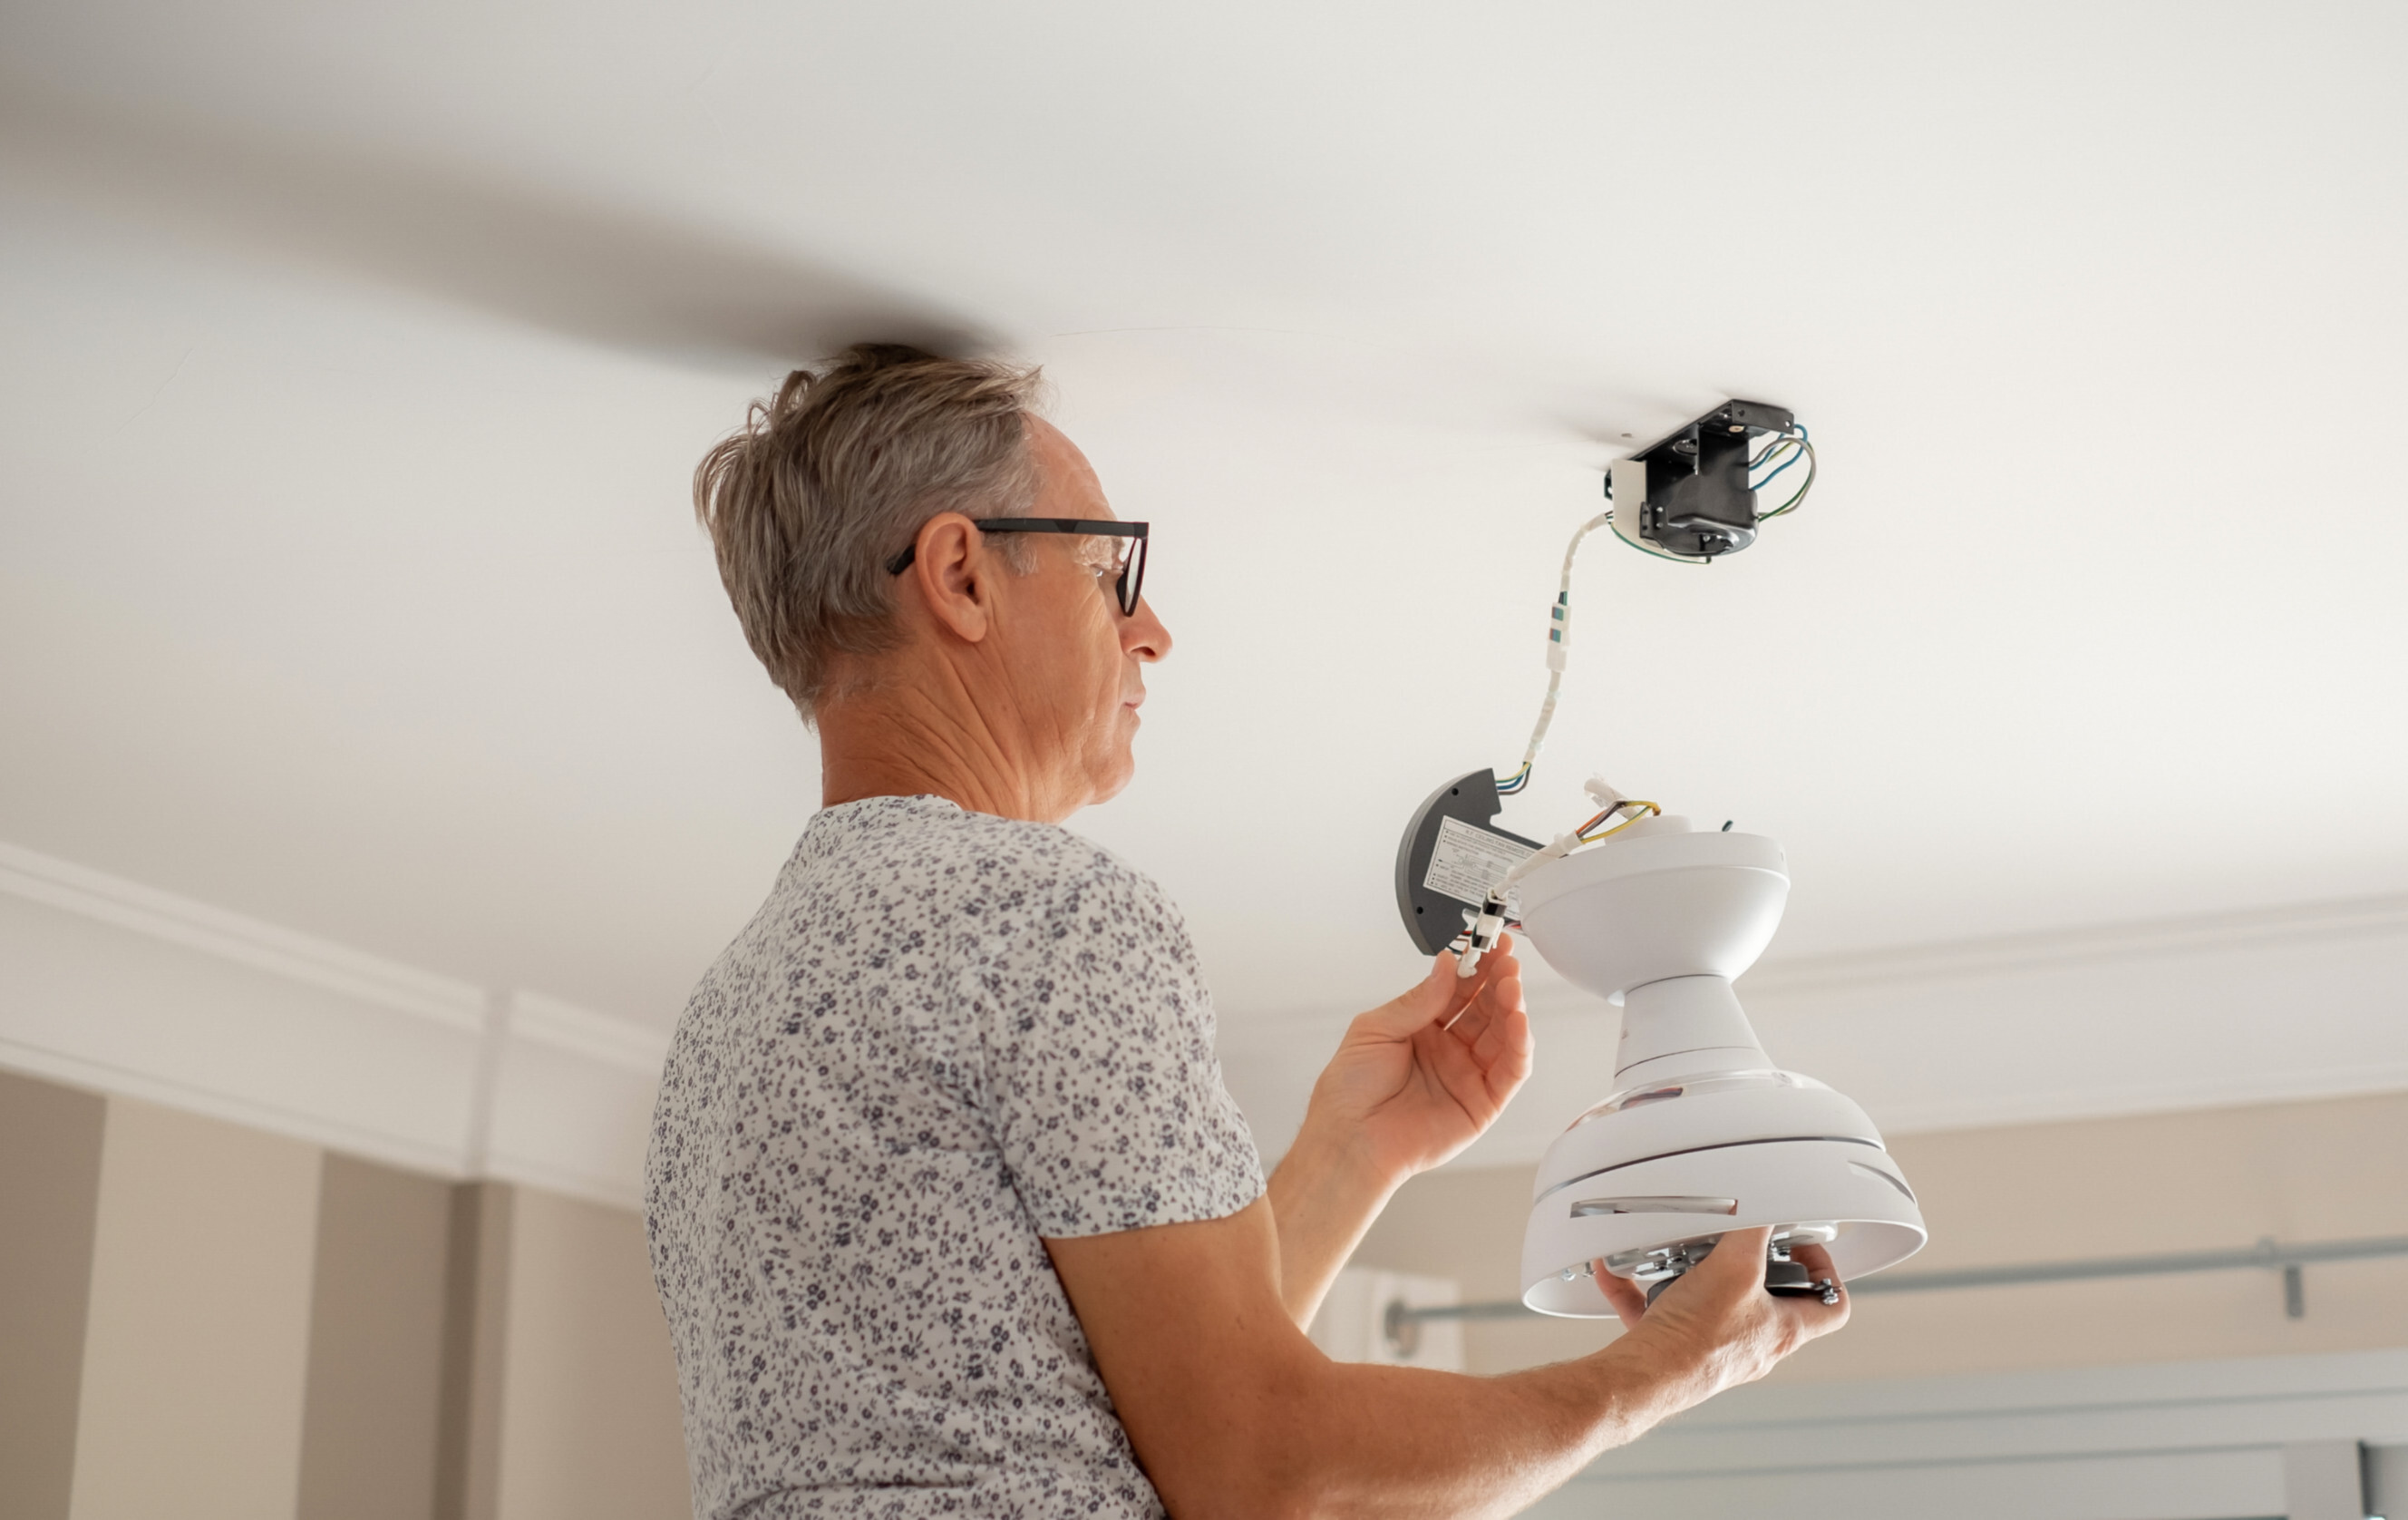
If you have an existing doorbell, turn off the power at the circuit breaker, disconnect the wires, and remove the current button.
Remove the cover from your doorbell chime kit. Check to see if it is compatible with the Ring Doorbell Pro. If the doorbell wires are incompatible, you can bypass them by firmly inserting them into the Bypass Mode holes until they lock into place.
Check that your transformer has an output voltage of at least 16V 30VA (40VA maximum) and a frequency of 50/60 Hz. Otherwise, think about getting a replacement or plug-in adapter. A halogen or garden-lighting transformer and a DC transformer/power supply should not be used.
Connect your existing doorbell wires to the screws on the back of the Ring Doorbell Pro, then tighten the screws to secure the cables. Attach the Ring Doorbell Pro’s baseplate to your door frame (or wherever you’re installing your doorbell) with the included screws. If the new doorbell does not match the dimensions of the old one, you may need to drill new holes.
Check that the power to your internal chime is off before removing the chime cover and loosening the front and trans terminal screws. Attach one wire from the Pro Power Kit to each terminal without removing the cables that are already connected.
The Ring Doorbell Pro comes with four different removable faceplates that connect to the Video Doorbell Pro’s baseplate in satin nickel (silver colour), Venetian (bronze), pearl (off-white), and black. Choose one and secure it with the security screw at the bottom of the doorbell.
How to connect to an already installed Ring doorbell
-
Download the Ring app from either App Store for iOS or Play Store for Android.
Create an account in the app.
Select Doorbells from the Set Up a Device menu.
On your Ring device, scan the QR code or MAC ID barcode. If you have trouble scanning the QR code or MAC ID barcode, select “Set Up Without Scanning” and “Ring Video Doorbell” to proceed with the setup.
Your phone will notify you that the Ring app wishes to use location services to determine your location. Allowing the app to enter your address simplifies the process. In the app, enter and then verify your address information. Some features of your Ring doorbell will only function if you specify a location.
Give your Ring Video Doorbell a name to distinguish it from other Ring devices on your account. By clicking “Custom...” at the bottom of the list, you can choose one of the suggested default names or enter your own.
Depressing and then releasing the orange button on the back of your Ring Video Doorbell is required. When a spinning white light appears on the front of your Ring Video Doorbell, tap the “Continue” button in your Ring app.
On the back of your Ring Video Doorbell, press and release the orange button. Tap the “Continue” button when you notice a spinning white light on the front of your Ring Doorbell.
Link to your Ring device. When the Ring app invites you to join the Ring Wi-Fi network on an iOS device, tap “Join.” Your Android device should immediately connect to the Ring wireless network.
Time to connect your Ring doorbell to your Wi-Fi.
After connecting to your Wi-Fi network, your Ring Video Doorbell may update its internal software. While the update is ongoing, the front-facing light on your device will blink white. After the light stops blinking, indicating that the update is complete, you can continue with the setup. If you try to ring the doorbell at this time, the update will be further delayed.
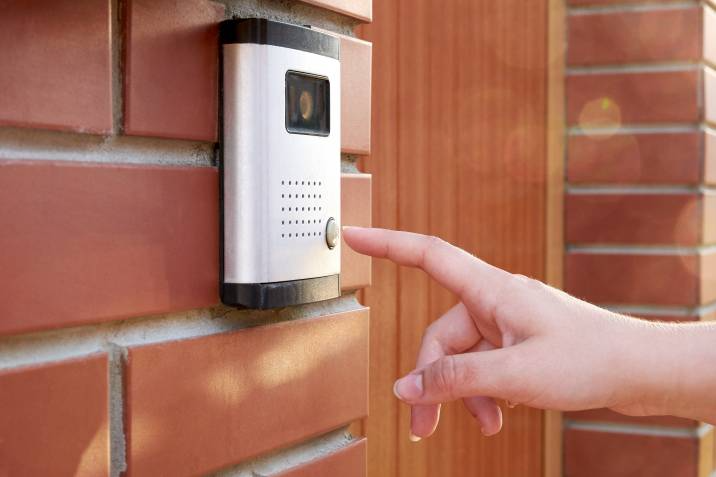
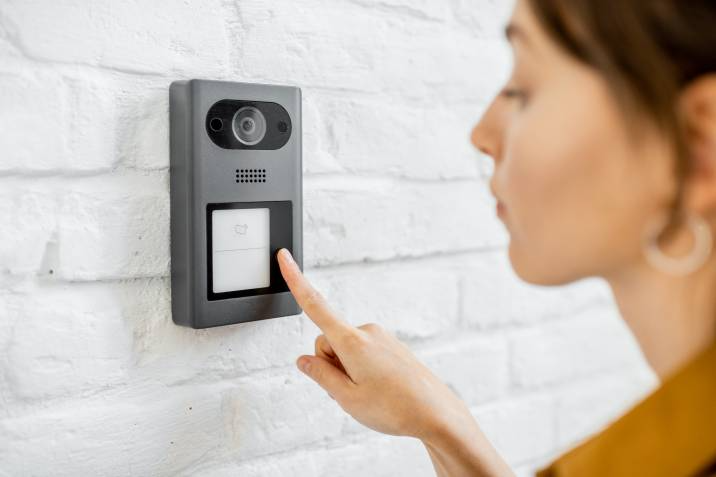
After your Ring doorbell has finished updating and setting up, press the front button to make a test call. This will start your program and ensure your doorbell is ready.
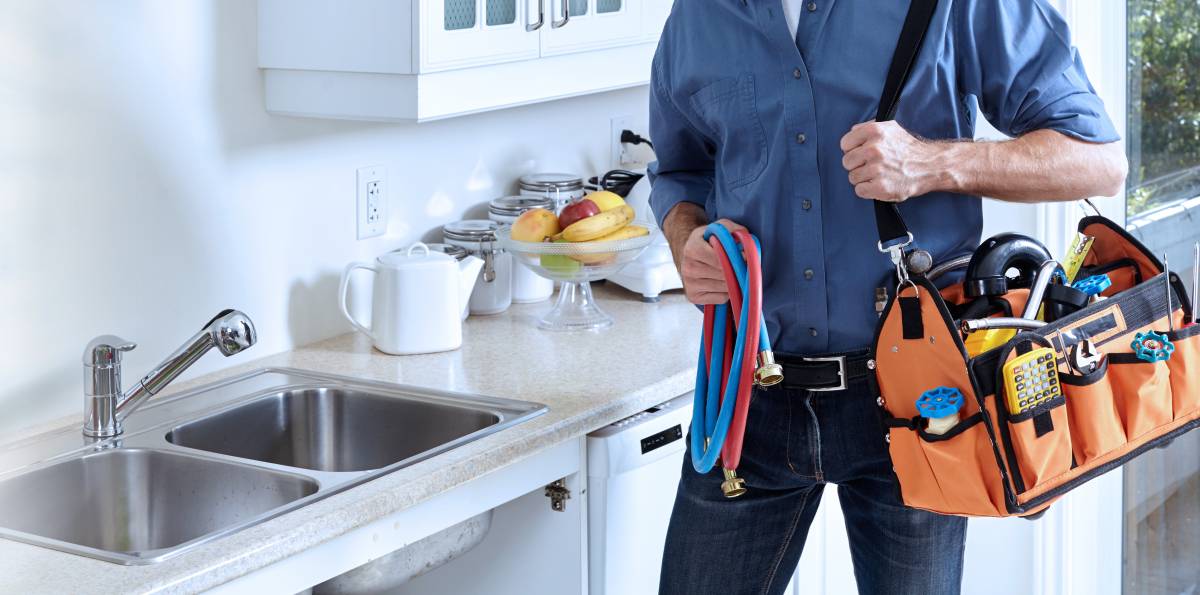
Get a professional Ring doorbell installer
Need help installing your Ring doorbell? Consider using Airtasker! All you have to do is post a task and await offers from nearby Taskers. Not only will you save time and energy, but you’ll also have the peace of mind that the Ring doorbell installation will be done correctly. It also ensures the job is done safely because it involves working with electrical wires.
Post a task now and hire a professional for your Ring doorbell installation through Airtasker!
FAQs on Ring doorbell installation
The Ring doorbell installation is simple and should take 15 to 20 minutes.
Yes, Ring doorbells work with smart locks, smart lighting, and other devices. Ring Security alarms can function as smart home hubs, allowing you to connect multiple Z-Wave devices.
Without a Wi-Fi connection, your Ring Video Doorbell will only sound your mechanical chime (assuming you use doorbell wiring and the power is still on). The doorbell will automatically rejoin your network whenever Wi-Fi is once again accessible. If your device doesn't come back online, investigate and troubleshoot the wireless connection on your device to fix the issue.
Find ring doorbell installers, fast
Find a ring doorbell installer
Related price guides
How much does treadmill repair cost?
Read more

How much does awning repair cost?
Read more

How much does hot tub repair cost?
Read more

How much does signage cost?
Read more
How much does window repair cost?
Read more


Related articles

How to install curtain rods
Read more

Best blue-collar jobs on Airtasker
Read more

How to Soundproof a Room
Read more
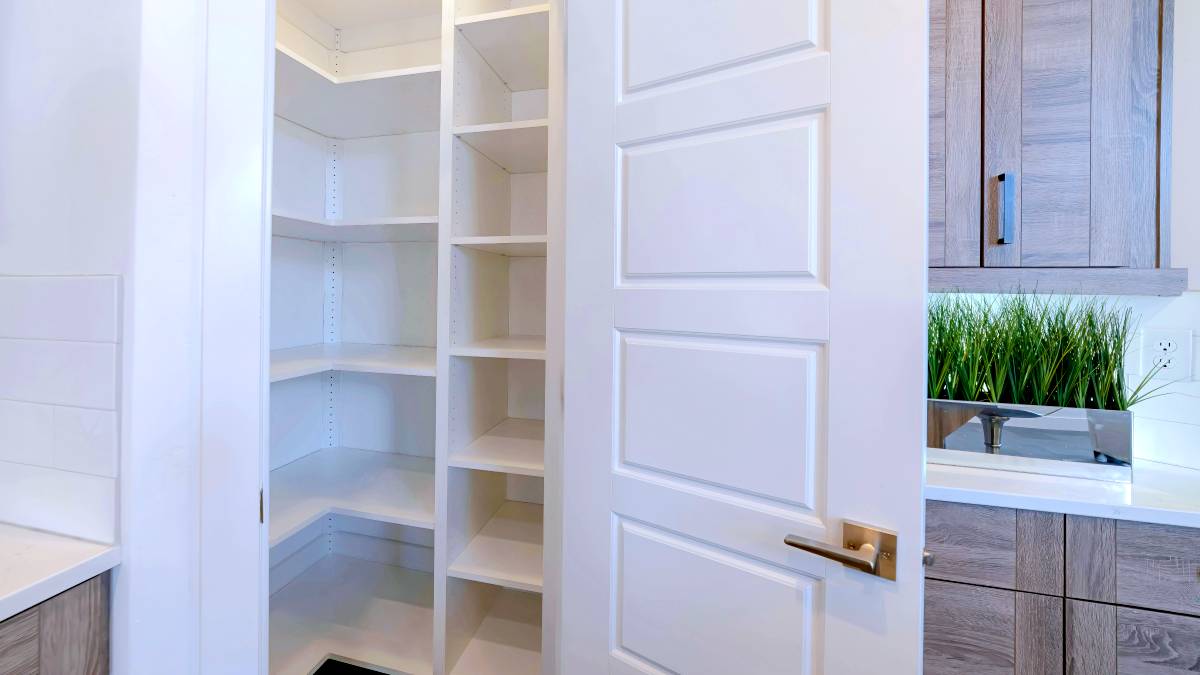
30 Lovely pantry door ideas
Read more
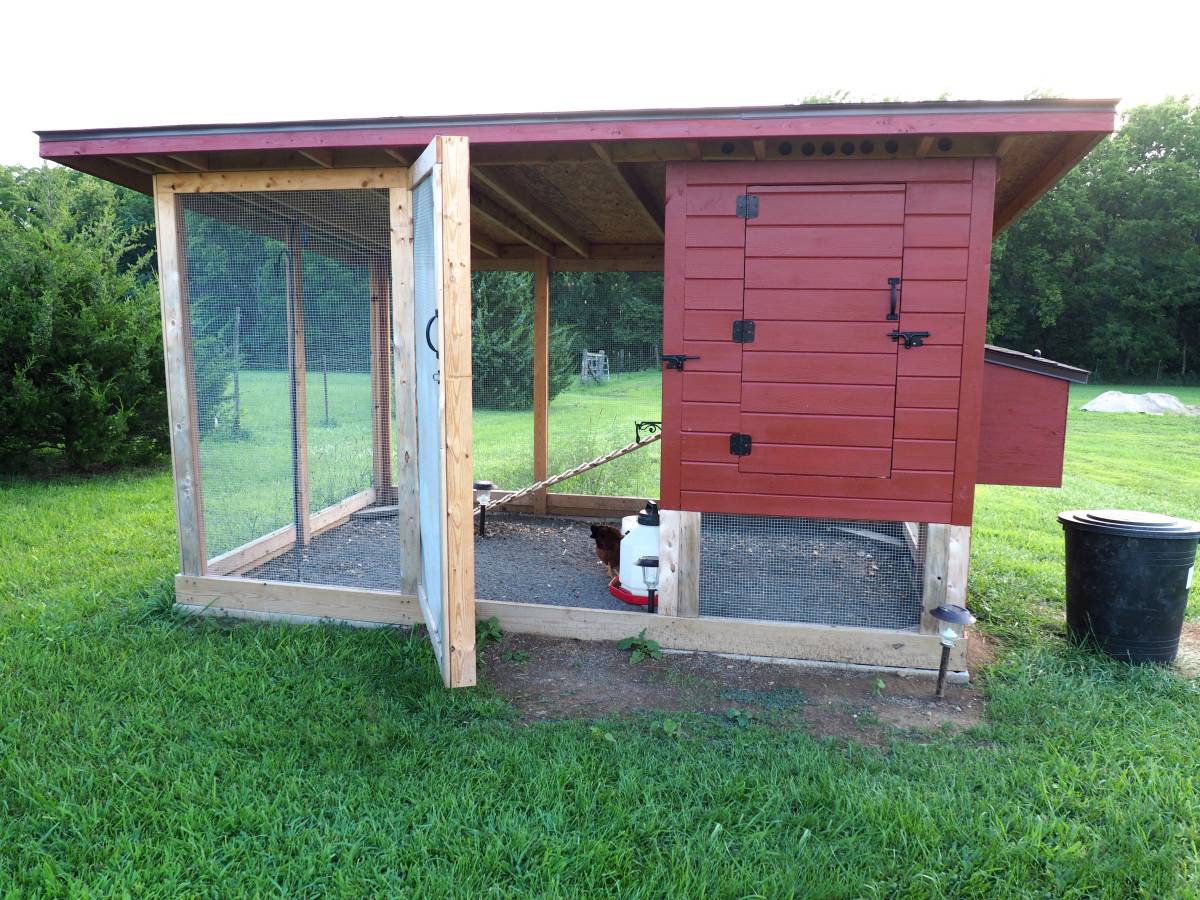
How to fox proof your chicken coop
Read more

Learn how to cut a mirror in 7 steps
Read more

How much can you earn as a handyperson?
Read more
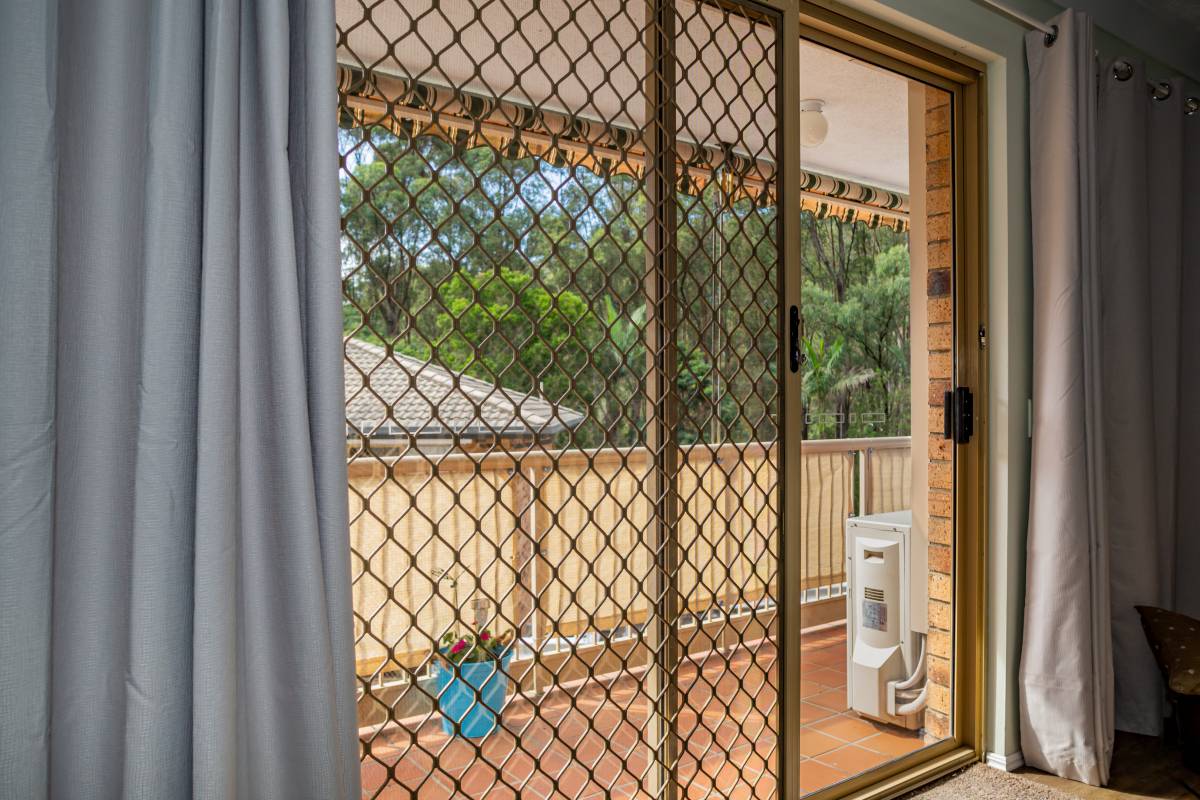
Install a screen door in 6 steps
Read more