A quick homeowner’s guide to letterbox replacement
Get the job done right with these steps
Published on

Written by Maureen C.
Contributor
Read more about our contributor
Key Takeaways
- Replace your letterbox immediately if it shows rust, cracks, loose fittings, or can’t accommodate modern parcel sizes.
- DIY letterbox replacement takes 1 to 2 hours and requires basic tools like a drill, spirit level, measuring tape, and weather sealant.
- Hiring a professional ensures your new letterbox is correctly positioned, securely fastened, and properly sealed against harsh weather conditions.
Across British neighbourhoods, you’ll encounter a variety of letterbox designs. Regardless of colour and style, the letterbox is universally recognised as an iconic symbol of British heritage. That’s why it’s important to keep your letterbox in good condition and recognise when it’s time for a replacement.
This article covers everything about letterbox replacement. You’ll learn how to identify signs of wear and tear, follow a step-by-step guide on how to replace a letterbox, and find where to book a professional handyman near you.
Signs you need to replace your letterbox
It’s normal for your letterbox to sustain wear and tear over time, so knowing when it’s time to swap yours is key to protecting your deliveries and maintaining your house aesthetic. Below are common signs that you should watch out for:
Visible damage like rust, cracks, and a broken flap
Poor security if the existing letterbox has loosened, or it’s now easy to tamper with
Doesn’t fit modern mail or parcels
Aesthetic reasons, like if you’re looking to upgrade your exterior, the colour or design of the letterbox no longer aligns with the rest
If your letterbox shows any of these signs, consider replacing it with a fresh one that better suits your needs and style.
Types of letterboxes to consider
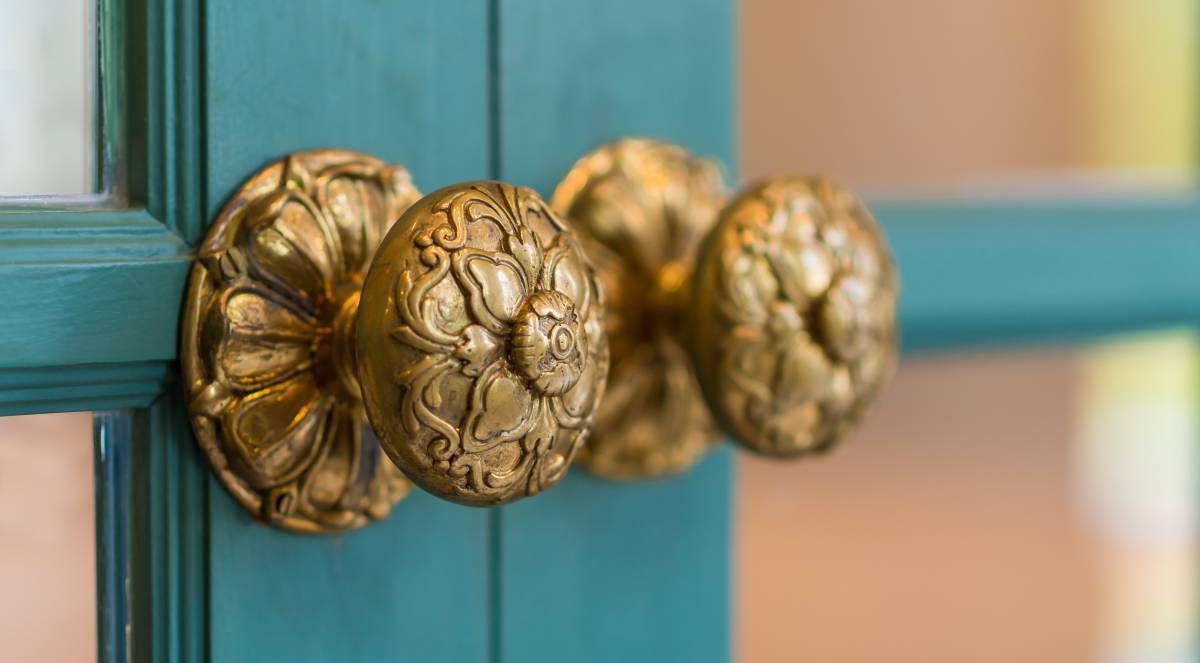
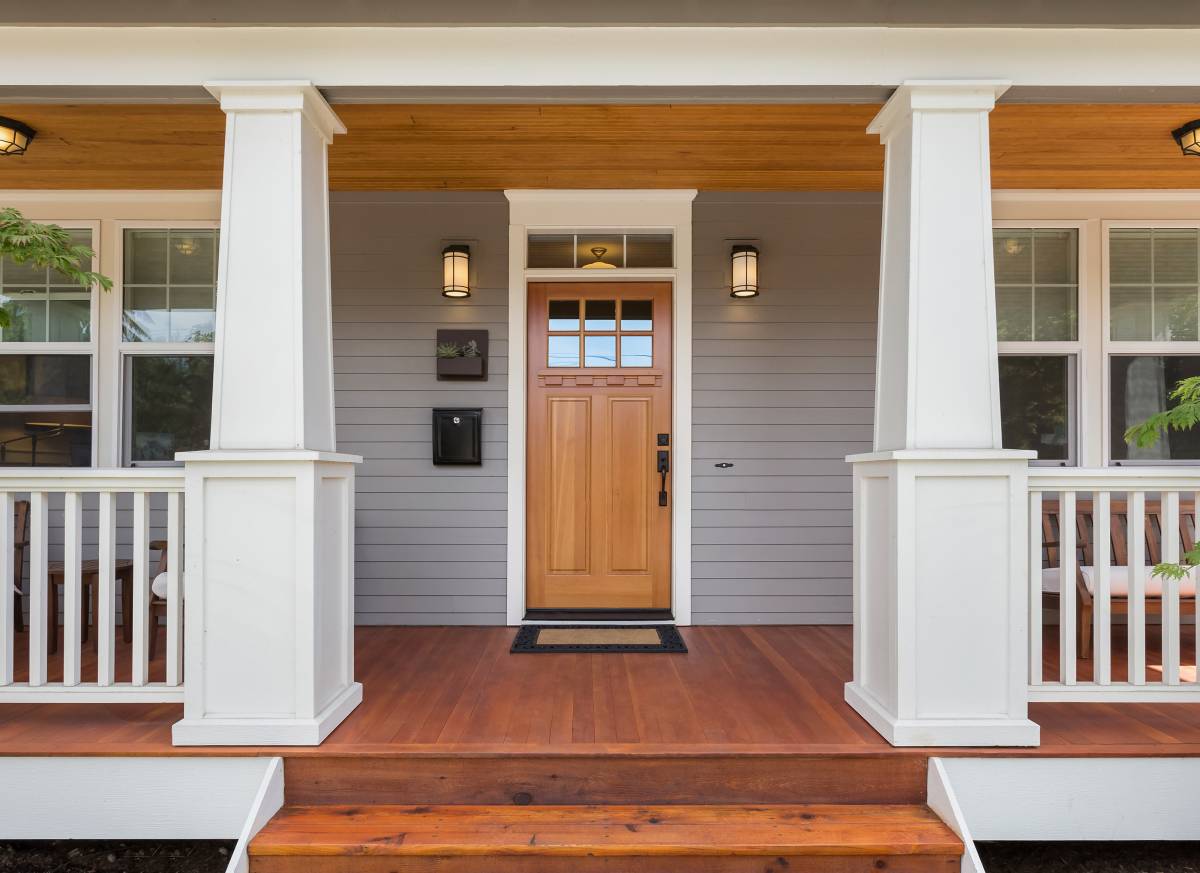
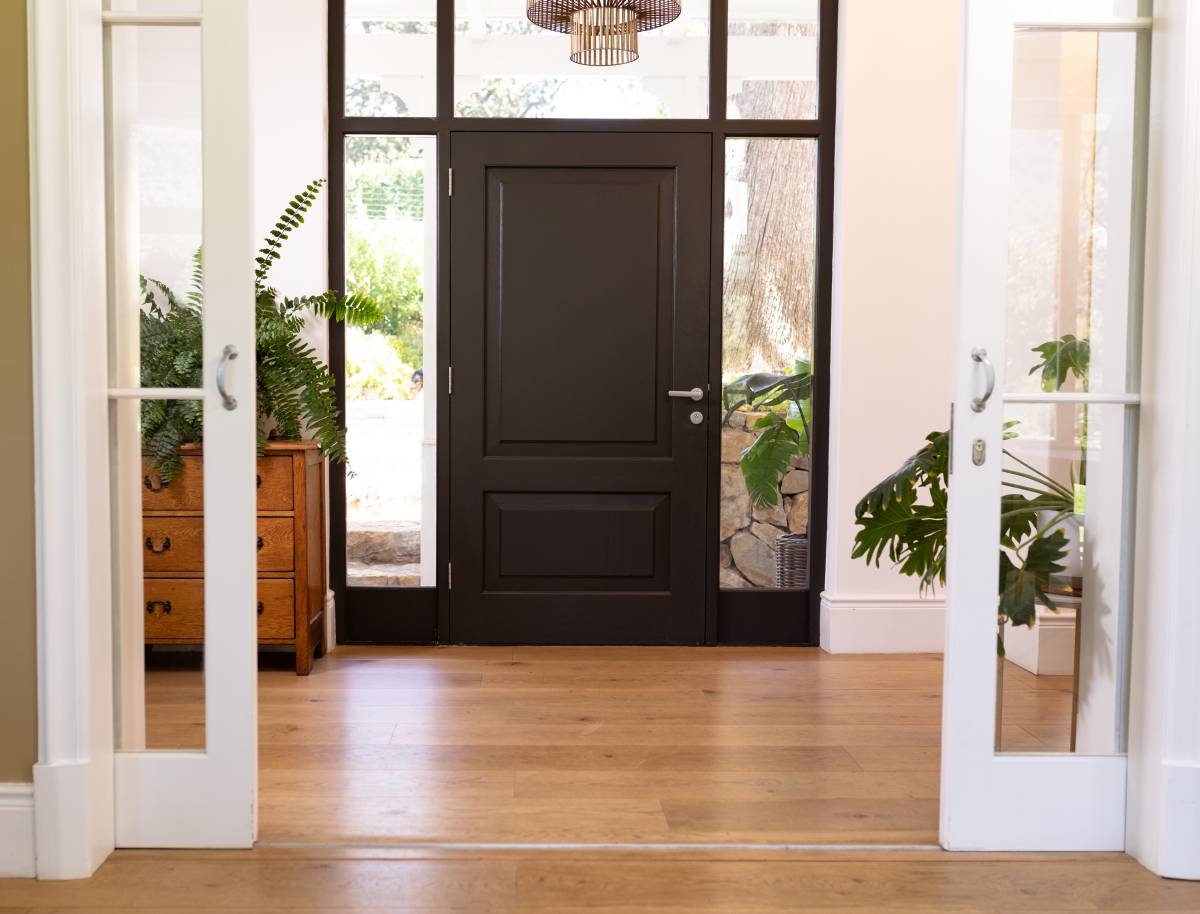
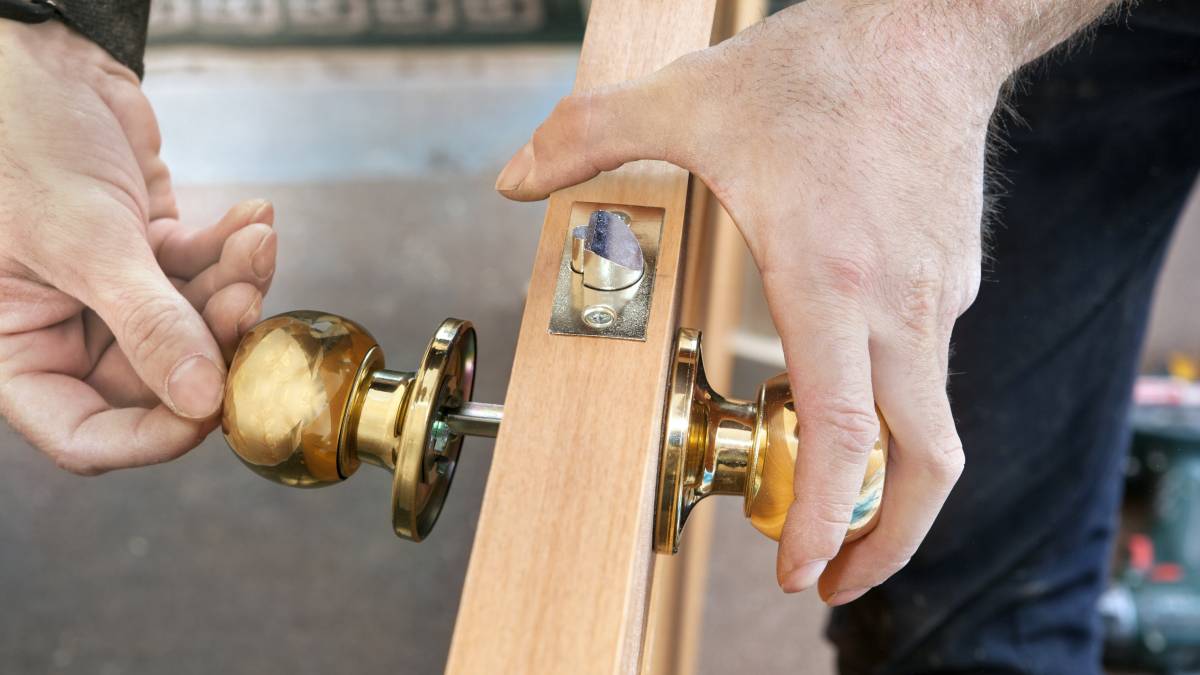
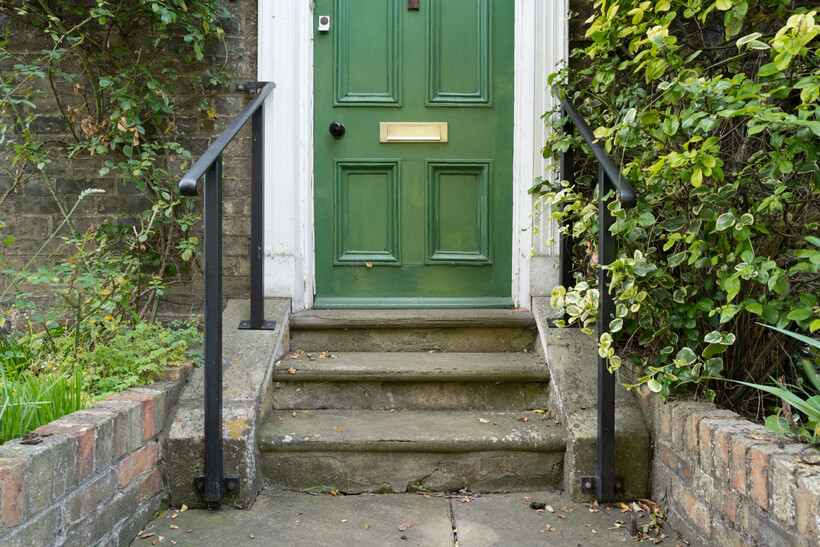 A traditional front door with a brass letterbox (Source: iStock)
Once you’re set on replacing your letterbox, the next thing is to narrow down your choices. Different types cater to home setups and needs. Here’s a quick overview of the common ones:
Door-mounted letterboxes: The slots of a door letterbox go through a front door or a small flap.
Wall-mounted letterbox: Usually attached to the house’s exterior wall for those without a yard.
Freestanding/post-mounted letterbox: These are usually located at the front of the house, near the street, or driveway.
Fence-mounted letterbox: This is fixed or built into the boundary fences or gates facing the streets.
Parcel letterbox: This has a larger capacity to fit bigger deliveries, like packages, and not just letters.
As there are many options available to you, feel free to select one that best complements your space and accommodates the volume of mail you receive.
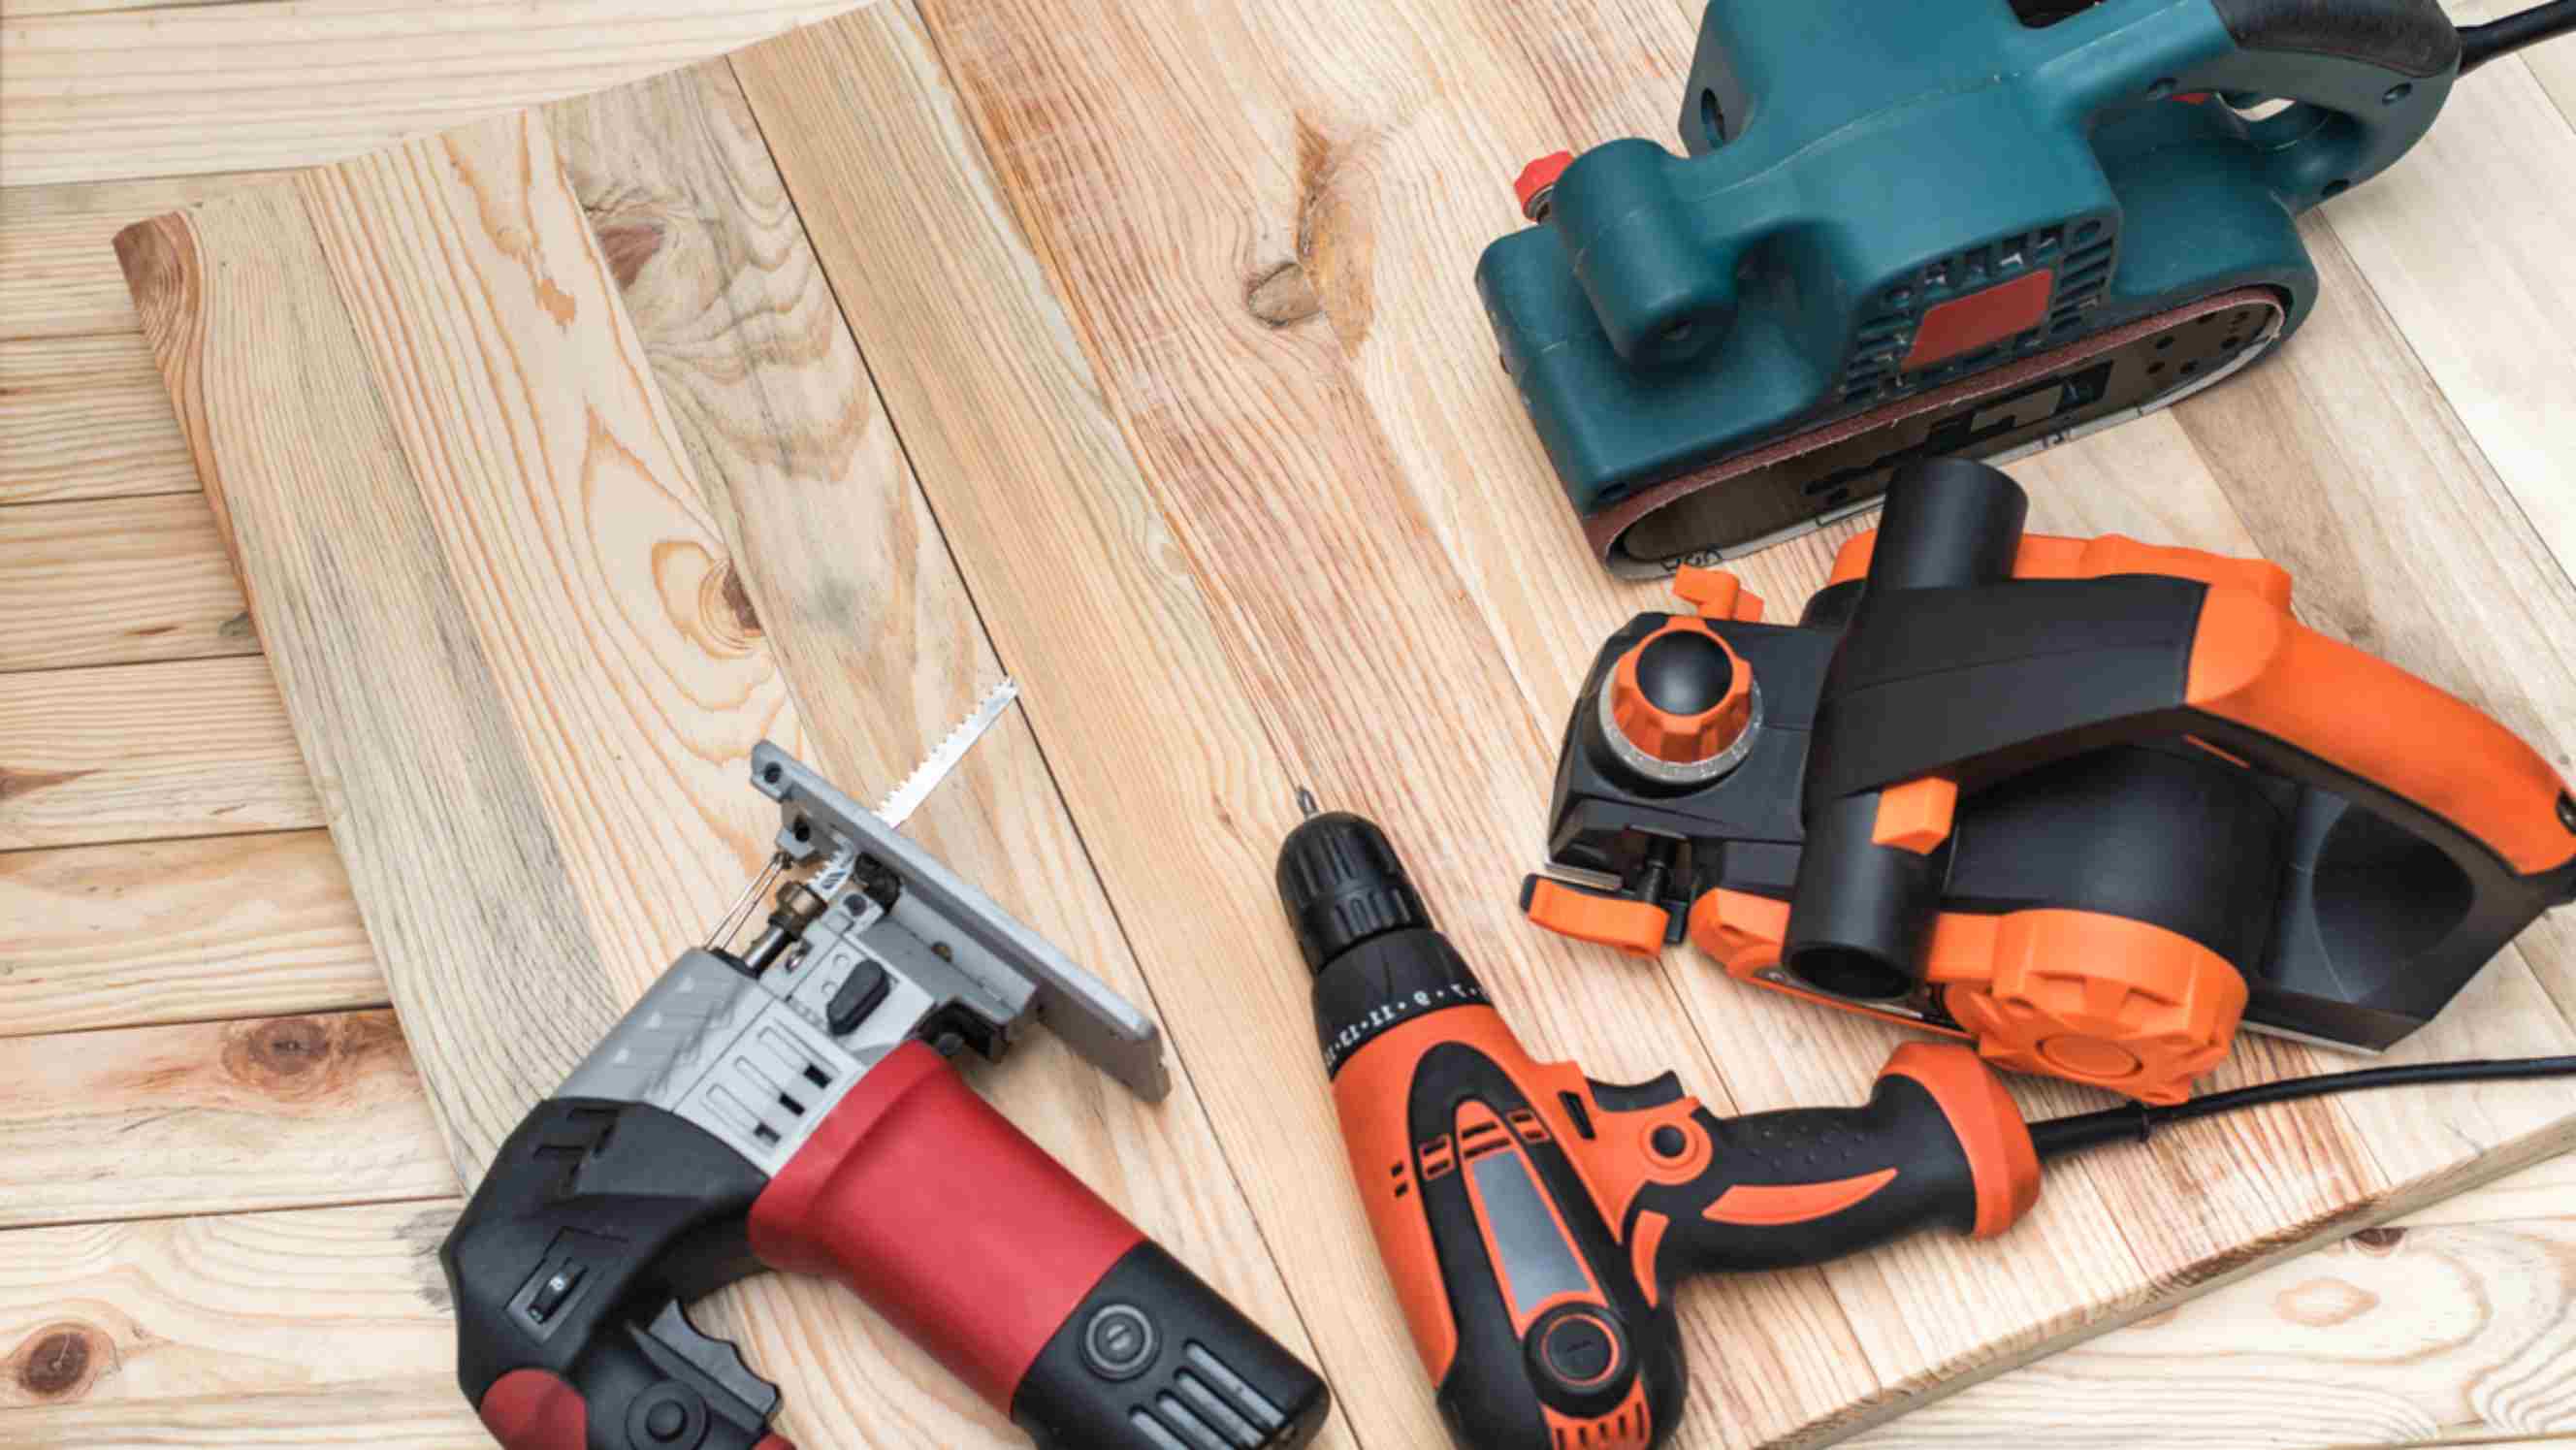
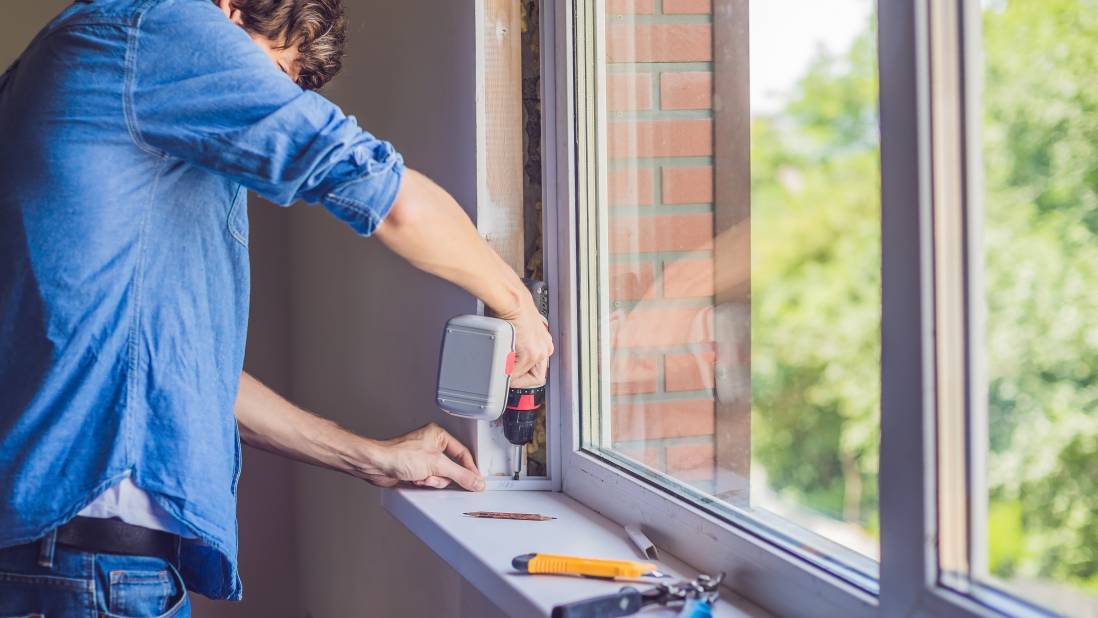
Tools and materials you’ll need
When replacing a letterbox, make sure to prepare your tools and materials before starting. Here’s a checklist of the essentials you’ll need:
Tools:
Screwdriver or drill to fasten the screws
Measuring tape to get accurate dimensions for your letterbox position
Pencil to mark the areas for your drill holes
Chisel (for door-mounted types) to shape and smooth the edges of the cutout opening
Sandpaper to smooth any rough edges for a safe and clean finish
Spirit level to make sure the installed letterbox is even and straight
Safety glasses and work gloves for protection during cutting and drilling
Materials:
New letterbox to replace your old one
Screws (usually included) to hold the letterbox in place
Weather stripping or sealant (if needed) to create a tighter fit while preventing moisture around the edges of your letterbox slot
Steps to replace your letterbox
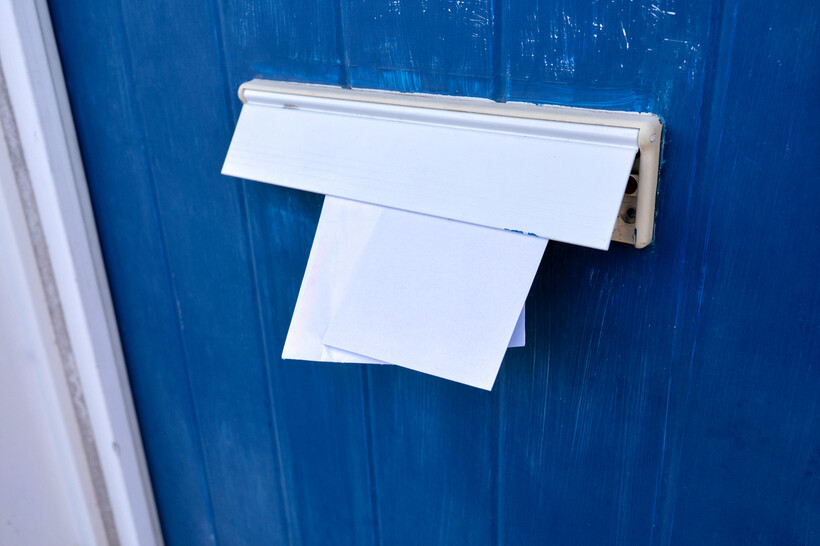 Letters sticking out of a door-mounted letterbox (Source: iStock)
Once you’ve got all your essentials, it’s time to go over the steps on how to change a letter box. From removal to measuring and installation, follow these steps carefully to ensure a successful project.
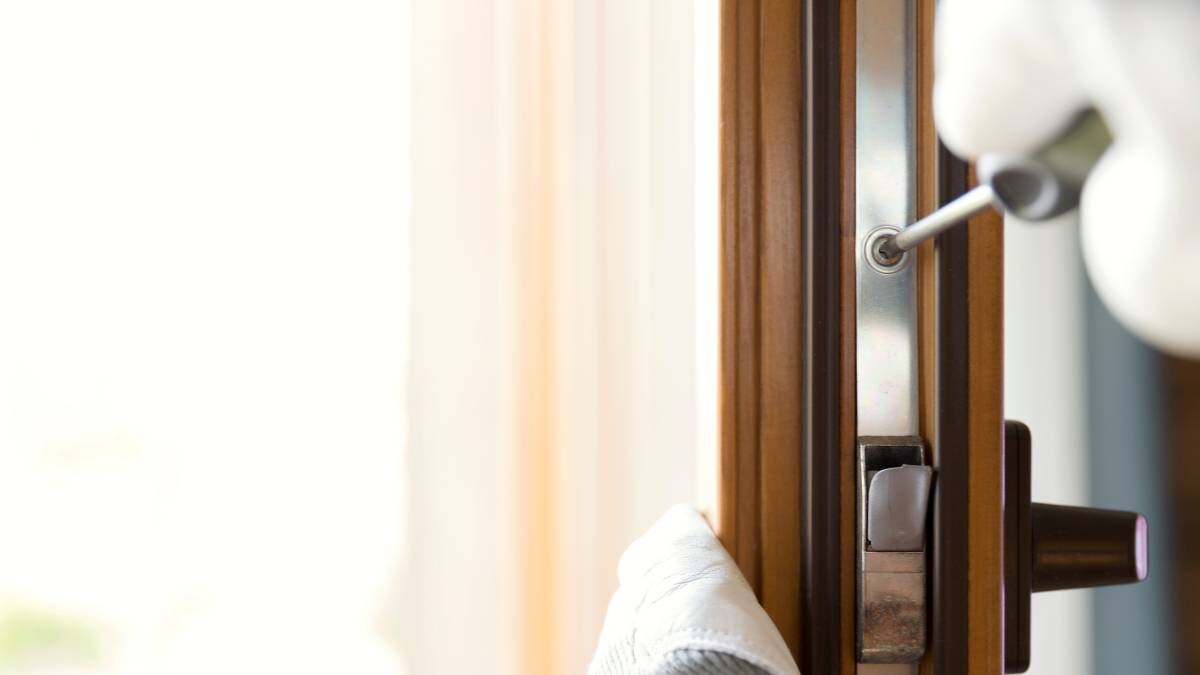
Step 1: Remove the old letterbox
Start to remove the old letterbox by unscrewing its sides slowly. If the screws are too rusted, try applying a lubricant to make removal easier and avoid scratching the edges.
For door-mounted or wall-mounted letterboxes, have someone support the letterbox from the other side as you remove the last screws to ensure it doesn’t bend or fall. For freestanding letterboxes, gently lift the unit off its post or mounting base.
Don’t feel rushed to remove the old letterbox at once. Take your time, especially if it has been around for years. A slow, careful removal helps ensure any debris has been cleared out and the new surface is clean and ready.
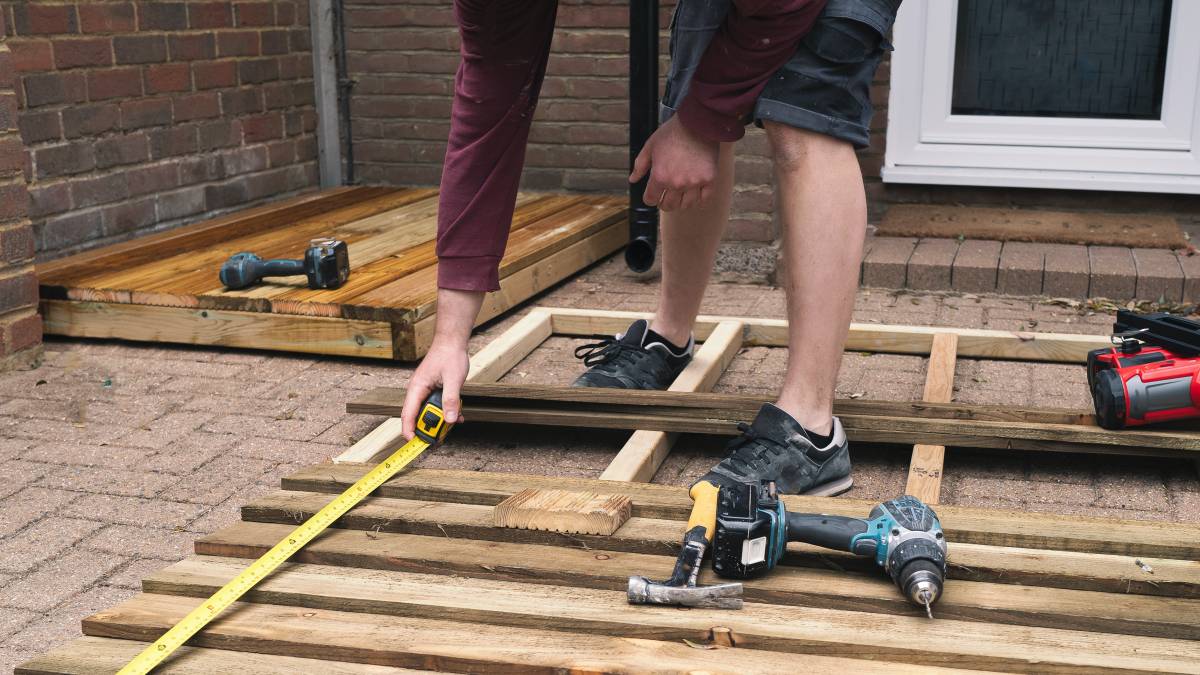
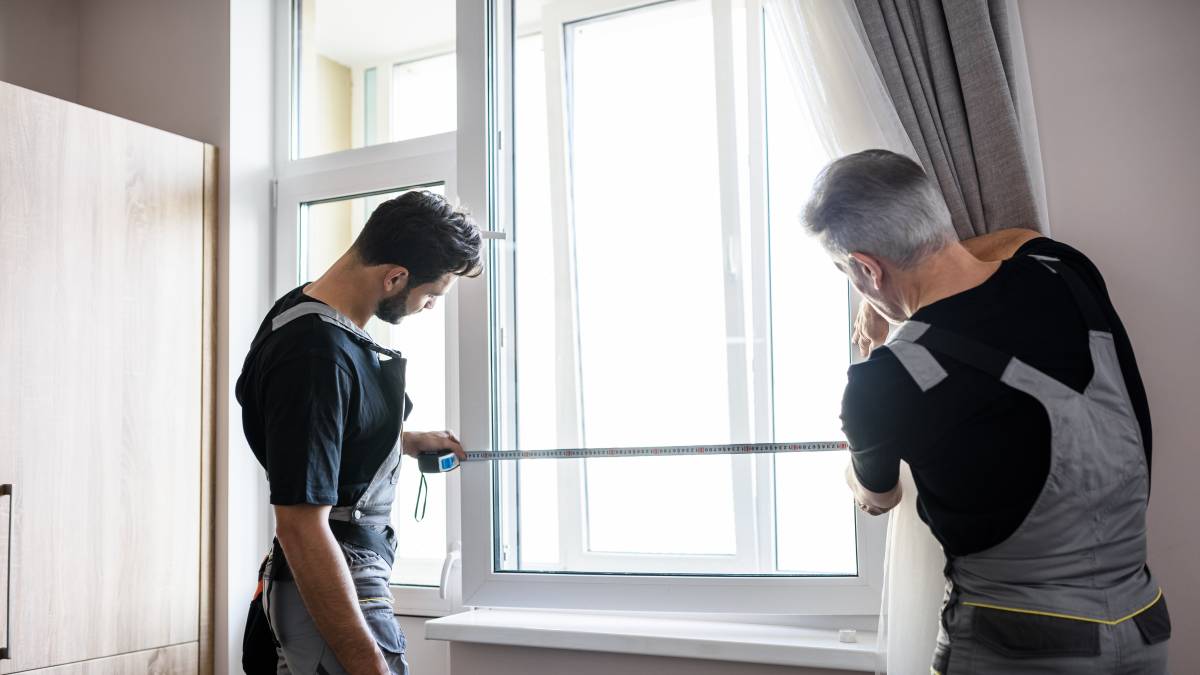
Step 2: Measure your mail and space requirements
Next is how to fit a letterbox. Measure the height, width, and depth of your usual mail to get an idea of the internal dimensions that your replacement letterbox requires. It’s best to add an allowance for parcels or larger envelopes. This allowance helps accommodate various mail sizes without bending or damaging.
According to industry guidance, the height should be between 700mm and 1700mm when measured from a delivery floor level. Letterbox fitting can be done by a professional handyman specialising in letterbox fittings to make sure they meet British standards.
For door-mounted or wall-mounted installations, measure the available space on your door or wall to ensure your chosen letterbox will fit properly.
Step 3: Mark the installation position
Using your measuring tape and pencil, mark where your new letterbox will be installed. Use a spirit level to ensure your markings are straight and even.
For freestanding letterboxes, ensure the mounting height will be between 700mm and 1700mm from the ground. For door or wall installations, mark the centre point and outline where the letterbox will sit.
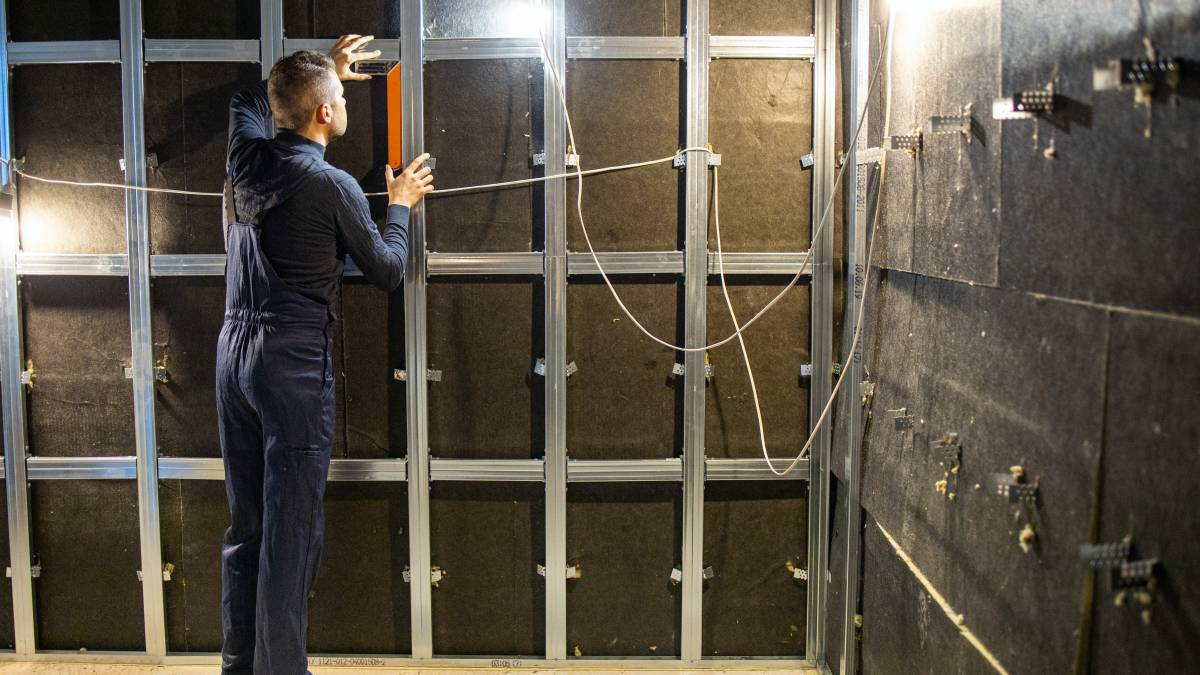
Step 4: Prepare the opening (for wall-mounted and fence-mounted types only)
Note: Skip this step if you’re installing a freestanding or door-mounted letterbox.
For wall-mount letterboxes or those installed in fences, you’ll need to prepare the opening. The opening must be slightly larger than the letterbox dimensions to allow for easy installation and adjustment.
Start by marking the exact position where the letterbox will fit; this should align with your measurements from Step 2. Use a drill to make the initial two holes in the corners of the marked area, then use cutting tools like an angle grinder or saw to cut out the opening. Be sure to wear safety gear and smooth any rough edges to avoid damage and injury.
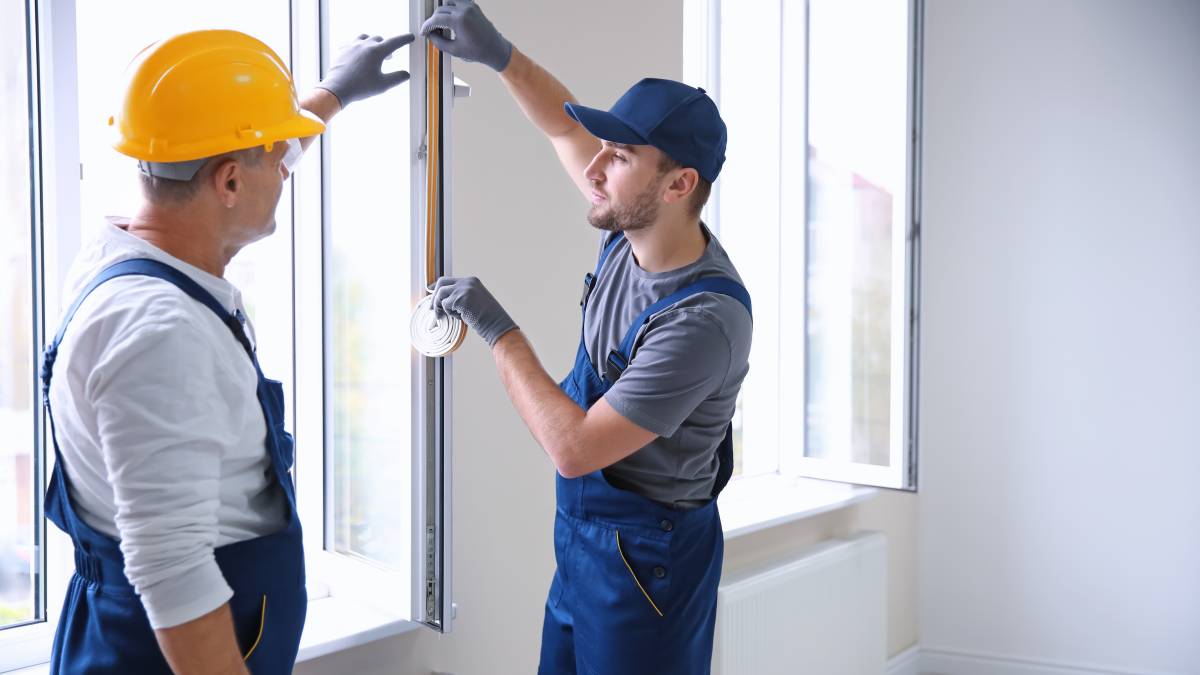
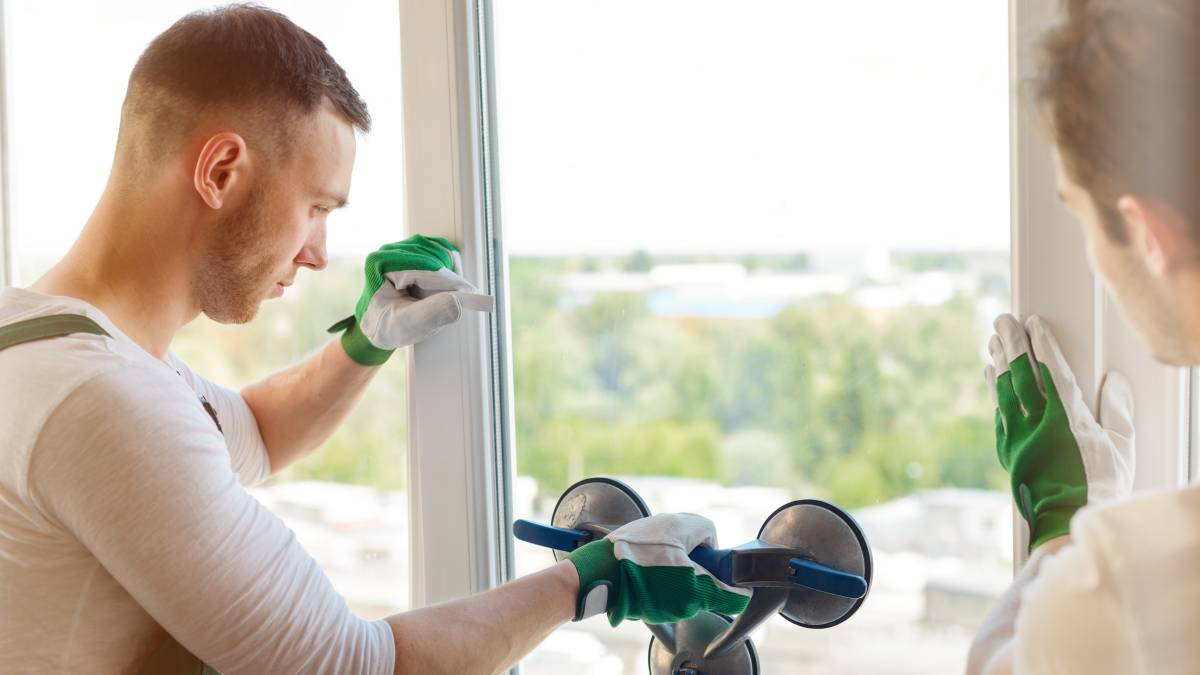
Step 5: Install the new letterbox
Position your new letterbox according to the marks you made. For freestanding letterboxes, secure the unit to its post or mounting base. For door, wall, or fence-mounted types, align the letterbox with the prepared opening or marked position.
Insert and tighten the screws gradually, alternating between sides to ensure even pressure. The screws should be firm enough to hold the letterbox securely in place, but avoid overtightening, which can damage the letterbox or mounting surface and lead to cracks.
Once installed, use your spirit level to check that the letterbox is straight. Make any necessary adjustments before fully tightening all screws.
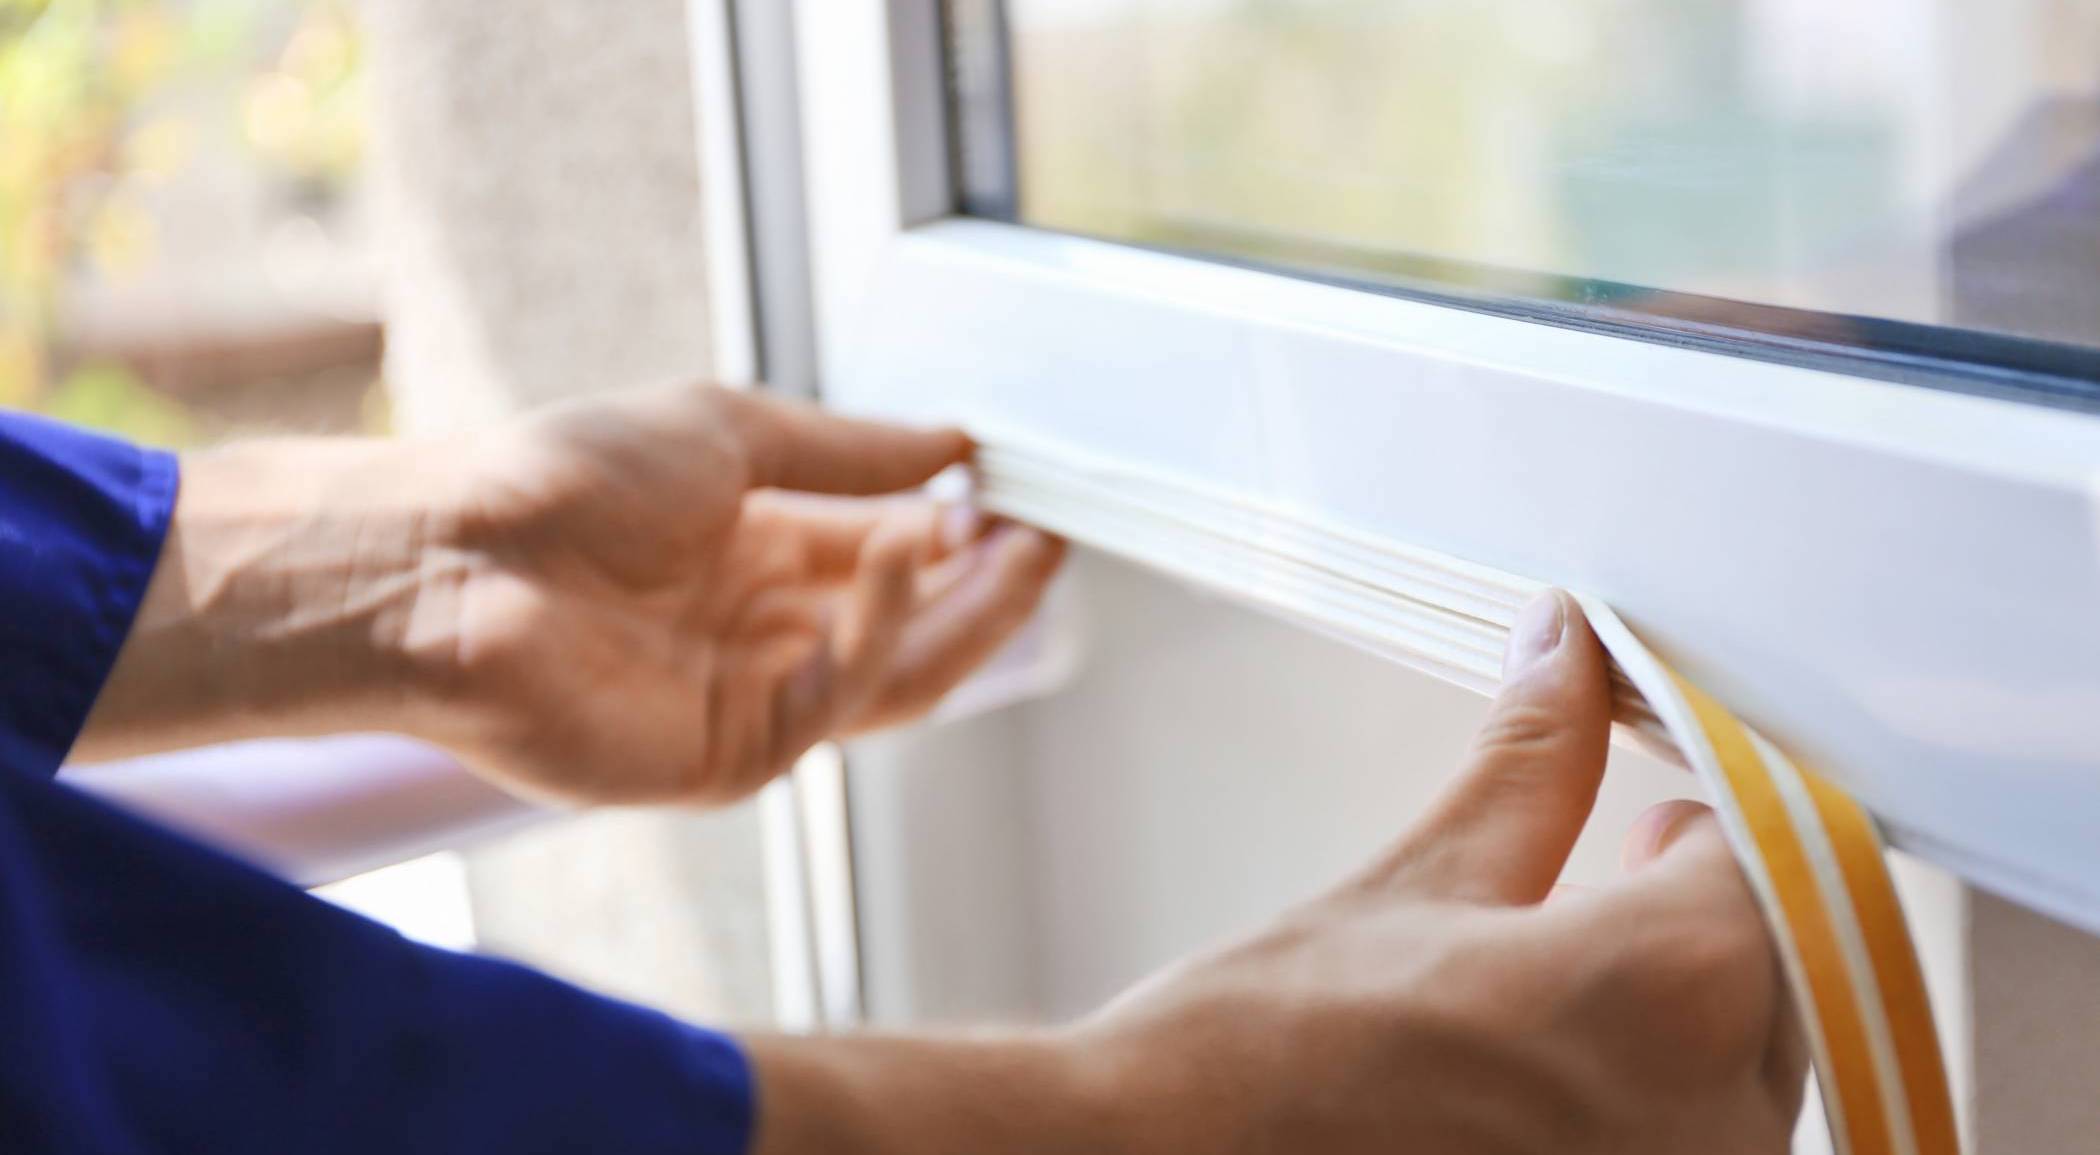
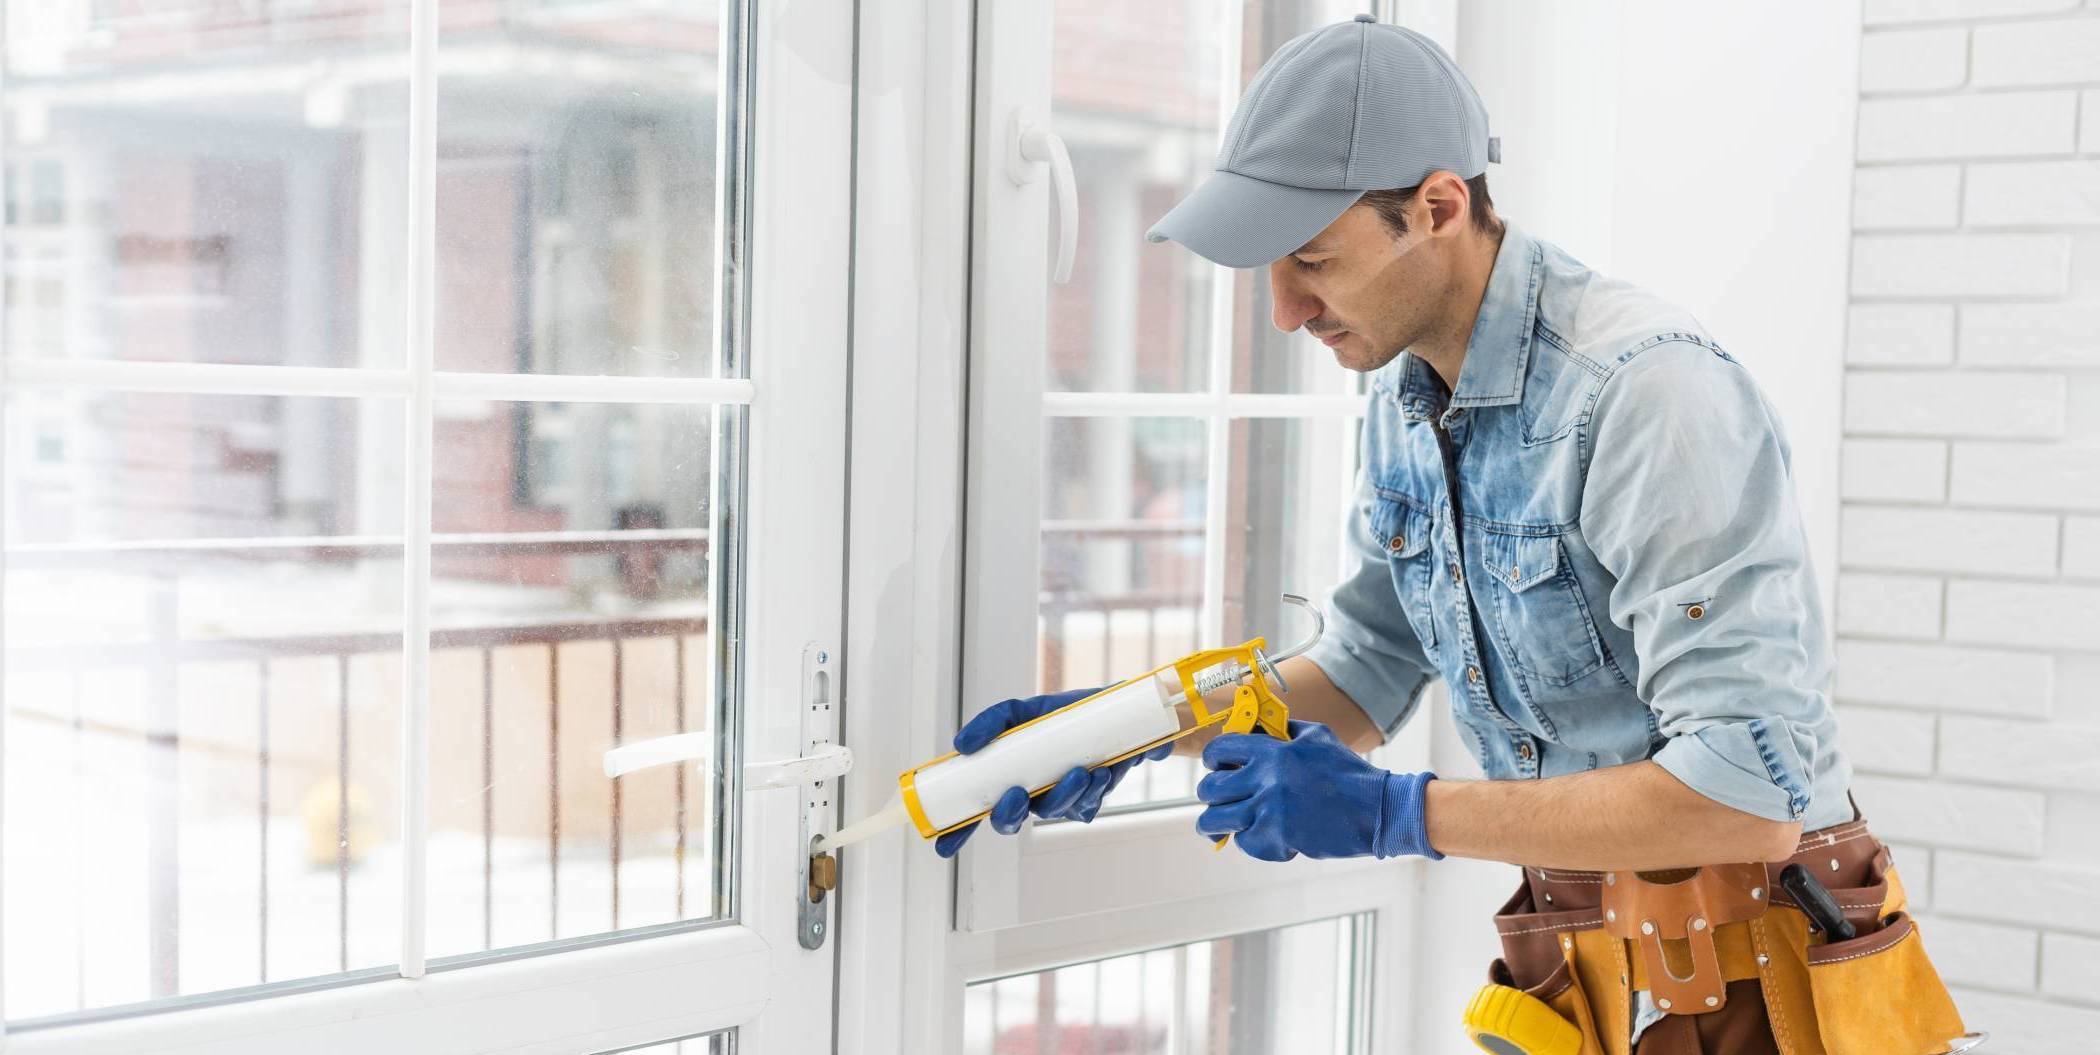
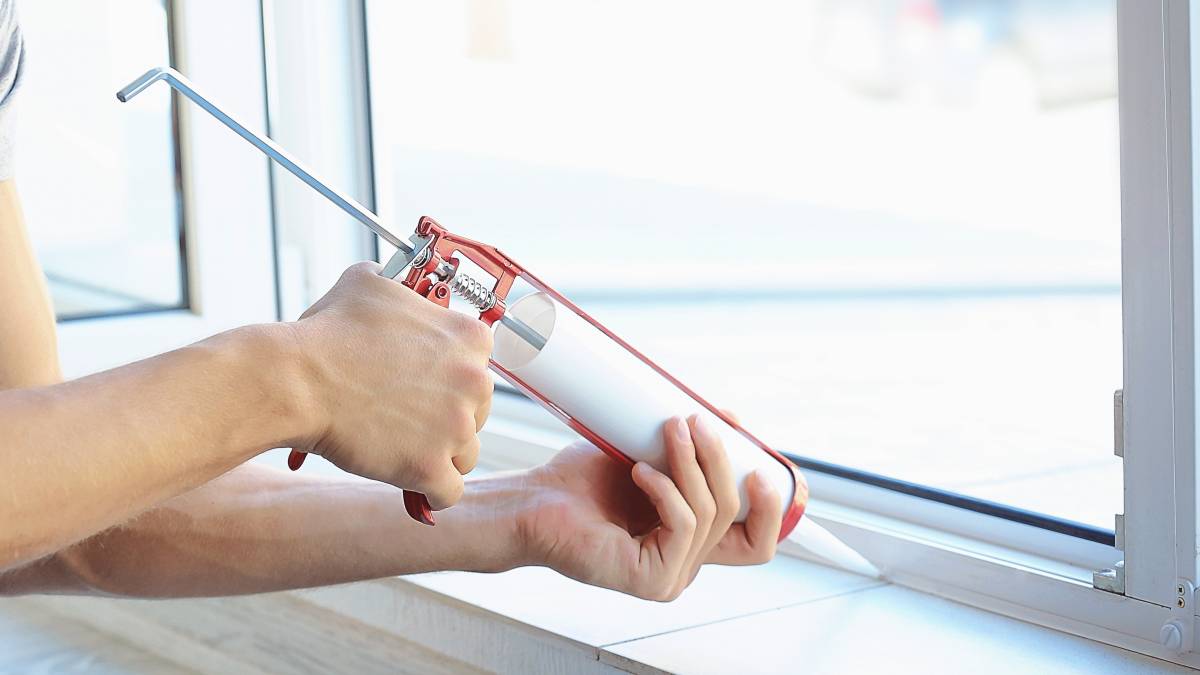
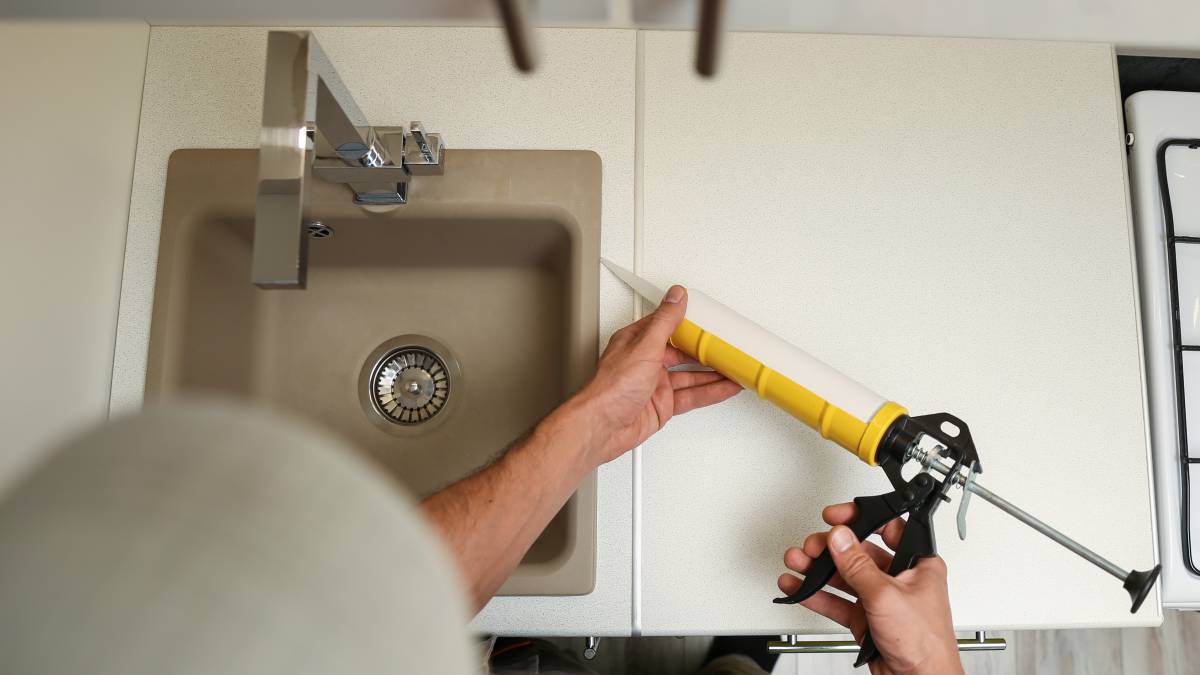
Step 6: Seal and weatherproof
The last step is to seal and waterproof your new letterbox. This protects it against harsh rain and wind. Apply a weather-resistant sealant around the edges and any screw holes to prevent water from seeping inside.
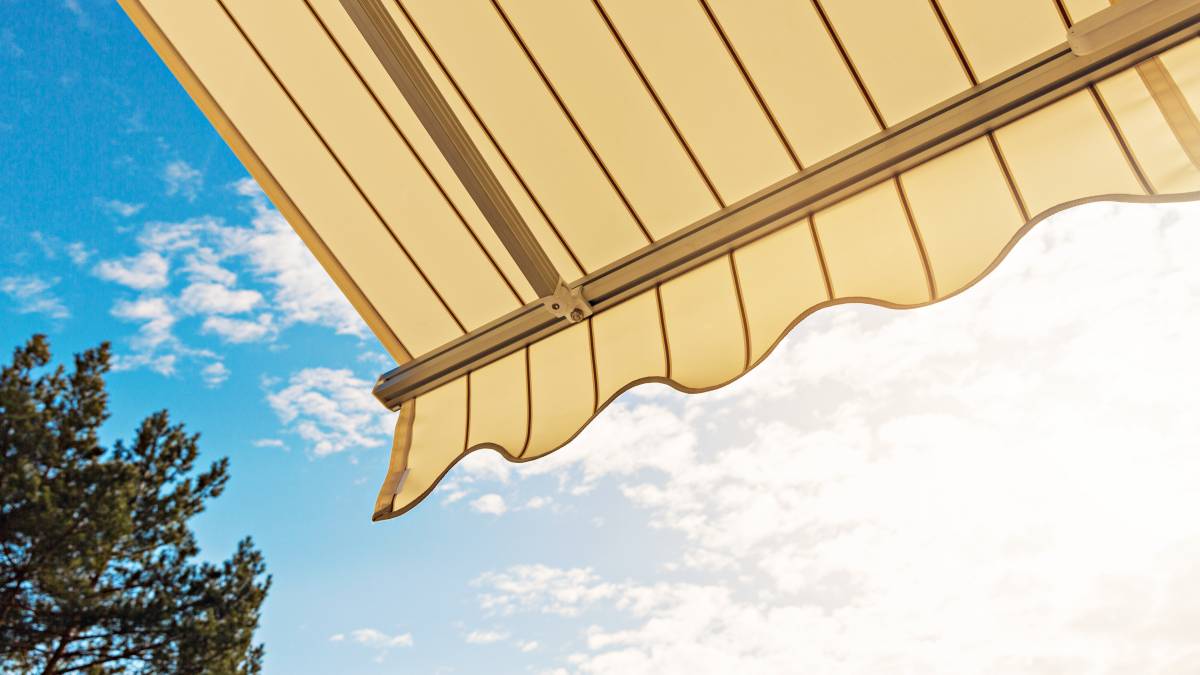
Meanwhile, if your letterbox is made of metal or wood, there is more painting work to consider, such as adding a rust-resistant paint or protective coating for extra durability. You can also install a small cover or awning above the letterbox to provide extra shelter from direct rain and sun.
Tips for a successful letterbox installation
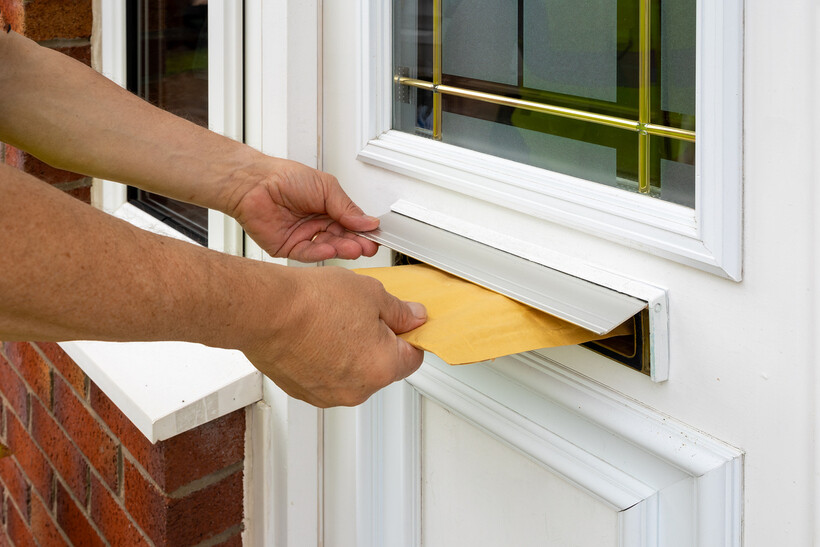 Courier delivering a parcel through a letterbox (Source: iStock)
Installing a letterbox can take some time, so it’s important for you or the handyman not to rush and risk mistakes. Follow these tips for a smooth and successful installation at home:
Don’t overtighten the screws. This can damage your letterbox or mounting surface and lead to cracks. Especially if yours is a letterbox for wooden door, make sure the screws are tight enough to hold the letterbox securely in place without adding too much pressure.
Check that the flap or lid opens and closes smoothly after installing. Once the job is done, immediately check if the letterbox flap replacement or lid is functional. This can prevent damage to your mail and avoid delivery issues later on.
Add security features. Some features include selecting a lockable letterbox with a secure flap with replacement keys, choosing a location that’s visible but not easily reachable, and using strong fasteners to prevent it from being easily removed.
Get expert letterbox replacement services with Airtasker
Replacing a letterbox is more than just picking the right colour to complement your exterior. It also involves precise measurement and selecting the type that offers the best functionality for your mail. If you’re short on time or want to avoid the hassle, Airtasker has you covered.
The platform connects you with skilled professionals who will handle the removal and installation of your letterbox quickly and securely. With Airtasker, you can browse multiple quotes, find experts within your budget, and enjoy the convenience of flexible scheduling and secure payments.
Learn more about our contributors
Written by Maureen C.
Contributor
Maureen C. is a writer with a passion for crafting clear, meaningful content. With a degree in English Literature and experience writing for lifestyle and educational platforms, she brings a thoughtful approach to topics such as home safety and improvement, logistics, and eLearning. Outside of writing, she enjoys reading and walking her dogs.
FAQs on letterbox replacement
Replacing a letterbox in the UK typically ranges from £50 to £92. The actual cost varies depending on the complexity of the work and whether additional tasks, like aperture adjustments or weatherproofing, are needed.
No, letterboxes are not universal in size as they vary based on type, style, and purpose. It’s always important to check the measurements of your current space or door to avoid getting one in the wrong size.
The best material for a letterbox is aluminium, as it’s known for its longevity, water resistance, and simple upkeep. They can be easily cleaned with a cloth and can last for decades. Other popular materials include stainless steel for added security and UPVC for a budget-friendly, low-maintenance option.
The best place to install your new letterbox is near the front boundary of your property, ideally close to the pavement so it’s easy for postal workers to access. During your letterbox installation, ensure that you or the handyman selects a spot that can withstand harsh weather but is still visible from the street to keep it protected and within reach.
A high-quality letterbox made of aluminium or stainless steel can last for decades with proper maintenance. These materials protect against rust and oxidation, especially important in the UK’s wet climate. Budget materials like basic plastic may need replacement every five to 10 years, depending on weather exposure.
Find handyman, fast
Find a handyman
Related price guides
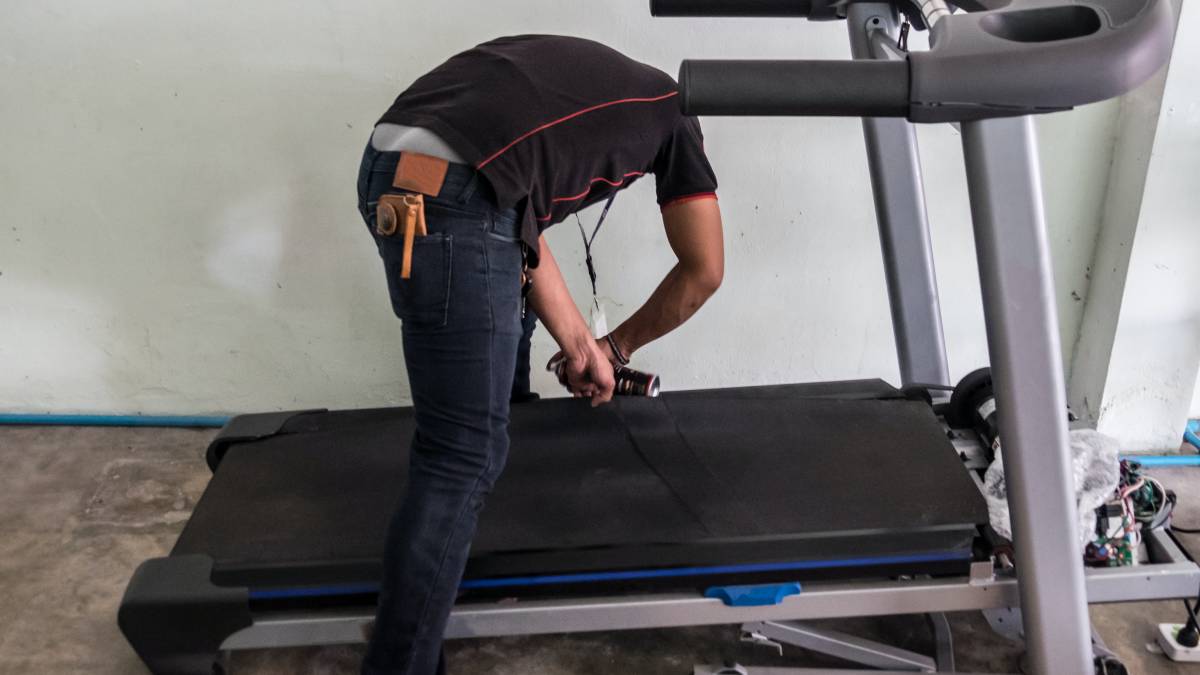
How much does treadmill repair cost?
Read more
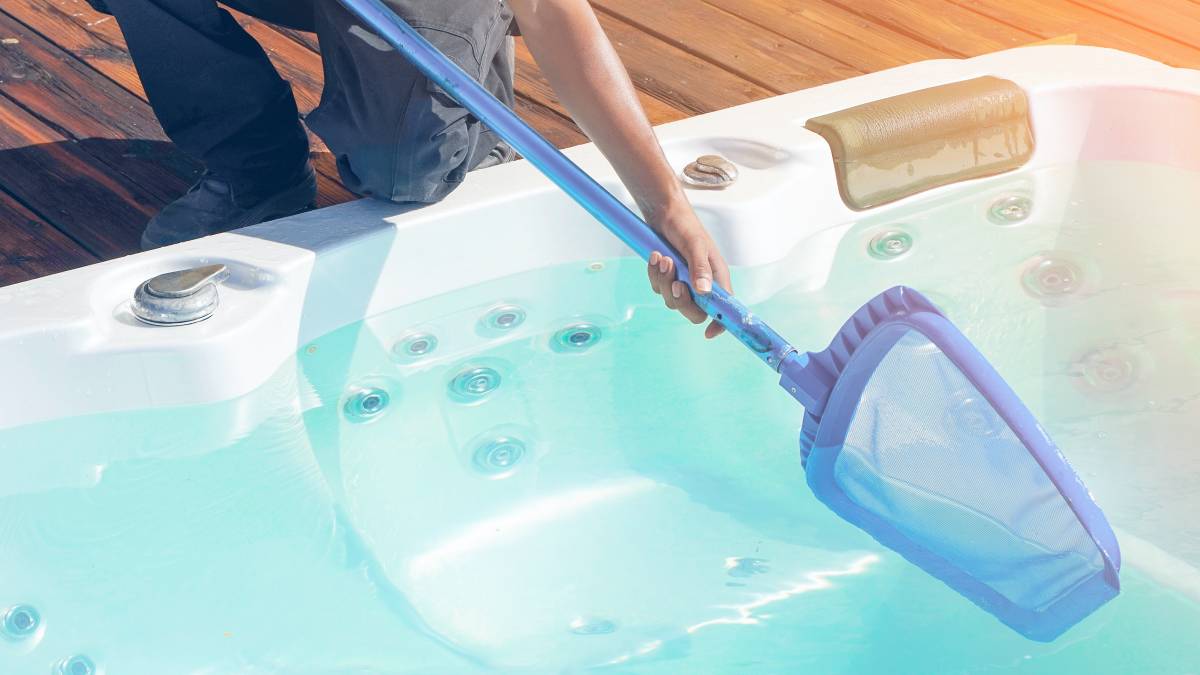
How much does hot tub repair cost?
Read more
How much does window repair cost?
Read more

How much does signage cost?
Read more
How much does awning repair cost?
Read more


Related articles
Install a screen door in 6 steps
Read more
How much can you earn as a handyperson?
Read more
How to Soundproof a Room
Read more
30 Lovely pantry door ideas
Read more
How to fox proof your chicken coop
Read more
How to install curtain rods
Read more
Best blue-collar jobs on Airtasker
Read more
Learn how to cut a mirror in 7 steps
Read more