- Home/
- Guides/
- Garden Designers/
- How to Build Garden Steps
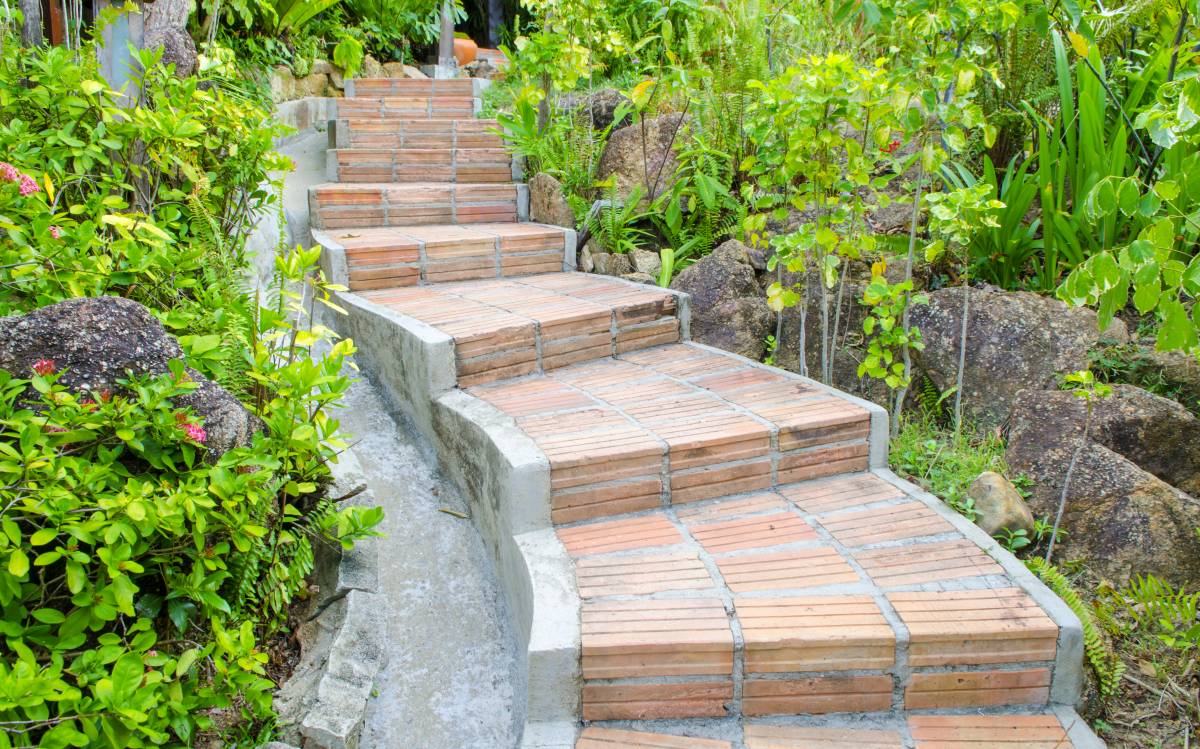
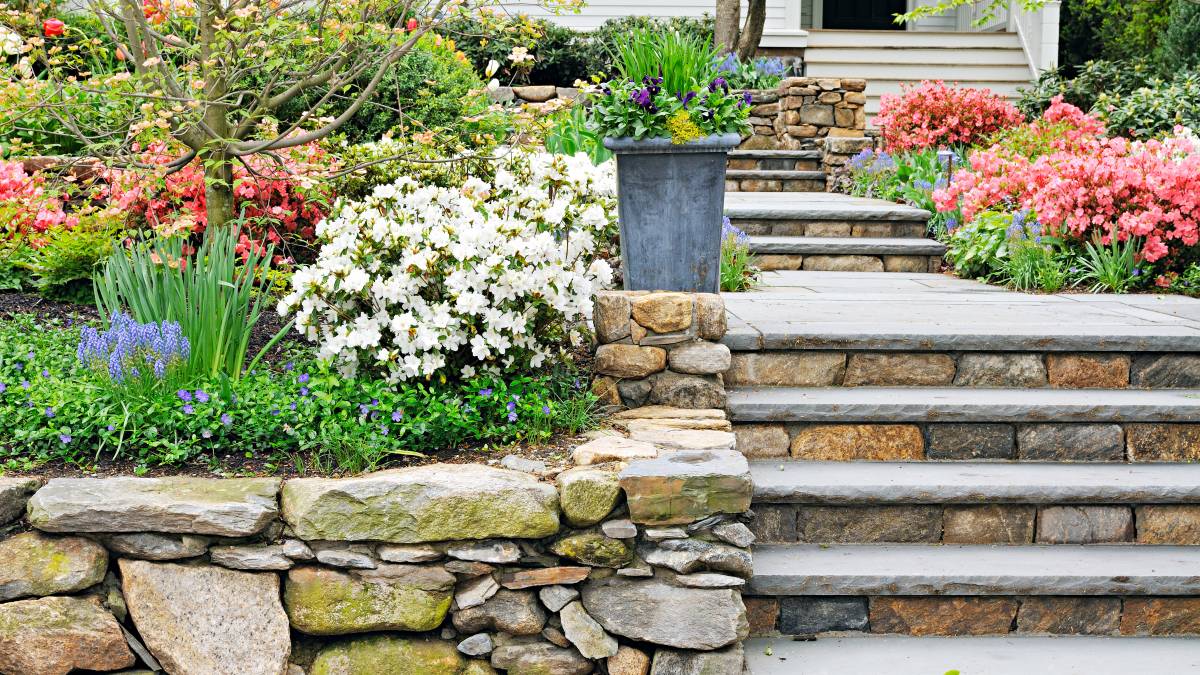
How to build garden steps
Transform that large slope in your garden into beautiful garden steps.
Find a garden designerLast Updated on
A huge garden space offers lots of potential. You can build beautiful garden steps and transform a large slope or short incline. Garden stairs provide easy access to your garden or patio. Not to mention, garden steps can increase your property value!
Learn how to build garden steps by reading through this step-by-step guide.
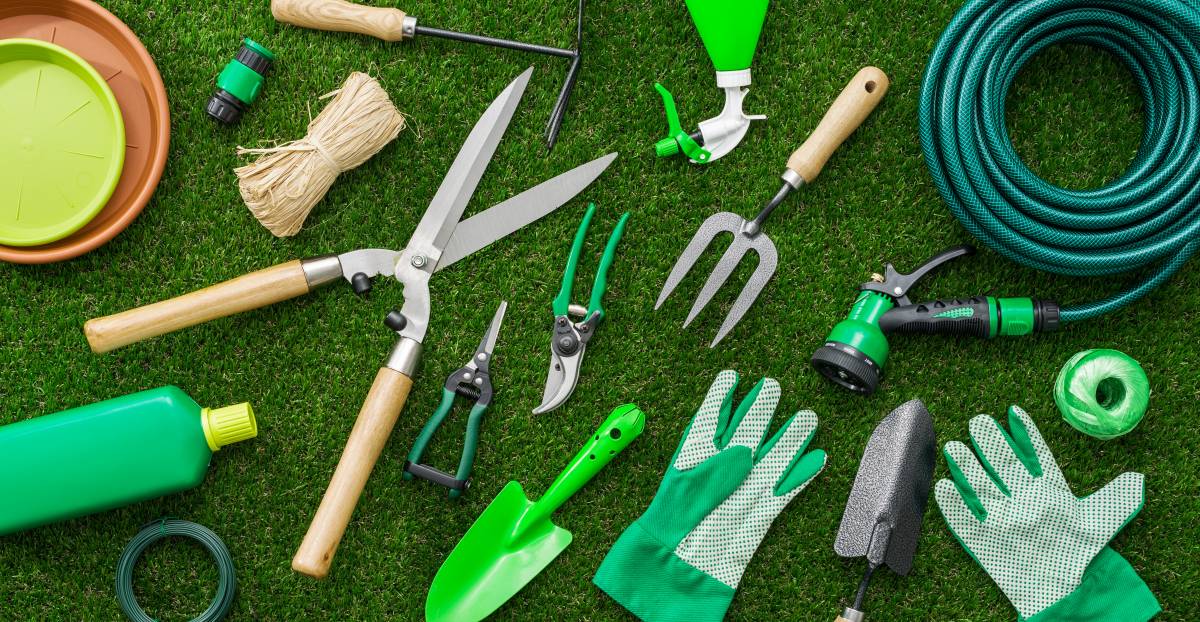
What’s the best material for garden steps?
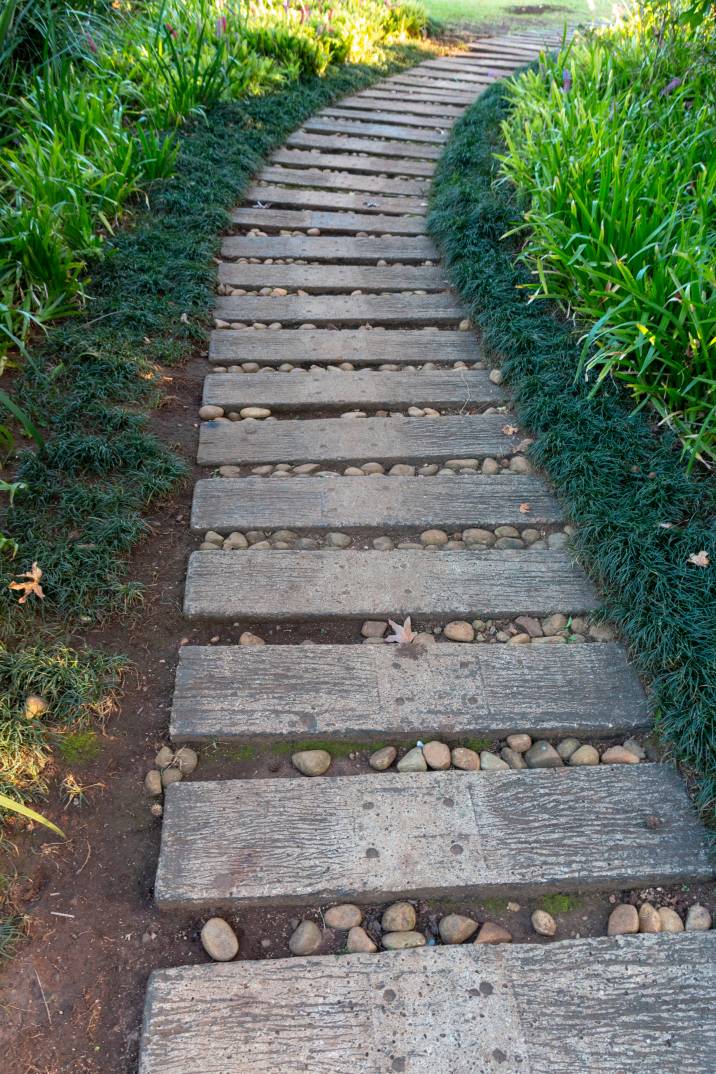
The best material for garden steps vary depending on the size and layout of your garden, your budget, and your design preference. Pavers are a popular material for garden steps. Here are some other common options:
- Bricks
- Concrete
- Paving slabs
- Natural stone
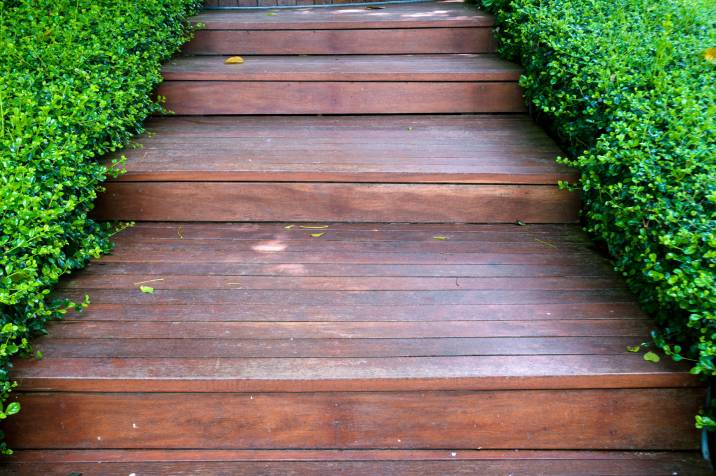
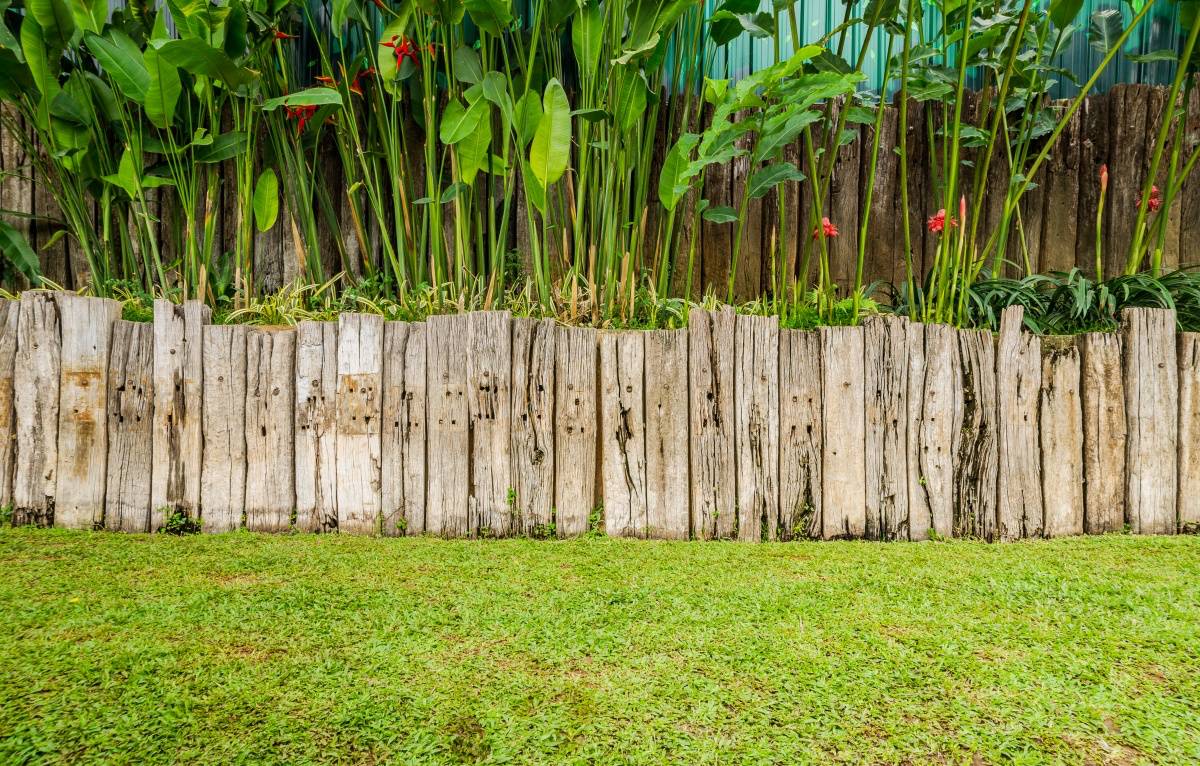
- Railway and wooden sleepers
- Wooden planks
These materials can come in different colours and design patterns. Materials such as bricks and paving slabs have some texture that adds traction. This means you’re less likely to slip while going up and down your garden steps.
With a wide range of materials to choose from, each has its own pros and cons. You can mix, match, and even combine them all. If you need some help, you can discuss your options with a garden paving specialist. You’ll find there's more than one way to build garden steps.
How to build garden steps
Step 1: Prepare the area
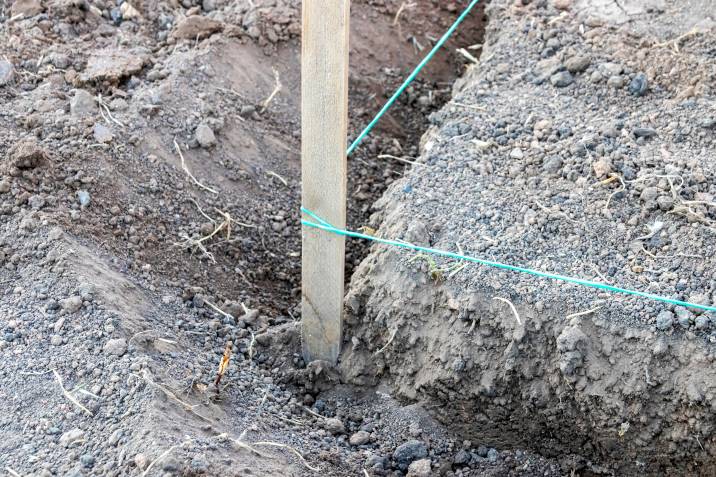
Prepare the site where you want to build your garden steps – either on a slope, up against a garden wall, or towards a patio.
- Use a few pegs and string lines to mark the area if you plan on building steps on a slope.
- Attach the string lines parallel to each other on the edges and run it down the slope from top to bottom. You can also add string lines to mark out the steps. This will be particularly helpful when you cut steps into a bank.
If you’ll be building steps that go up to a patio or up against a garden wall, then you’ll need to lay out the area with planks to serve as a cement mould.
Step 2: Start digging
Before we proceed, let’s go over some key terms:
- Riser - The vertical surface of the stair
- Tread - The horizontal area people step on
Now it’s time to roll up your sleeves and get to work with your shovel!
- Strip away turf and dig out the steps and a trench.
- Pour your foundation to serve as a base for your first riser. If you’re wondering how deep the foundation of your garden steps should be, digging at 125mm should be sufficient. Be sure to dig back 100mm behind the riser so you have enough space to work.
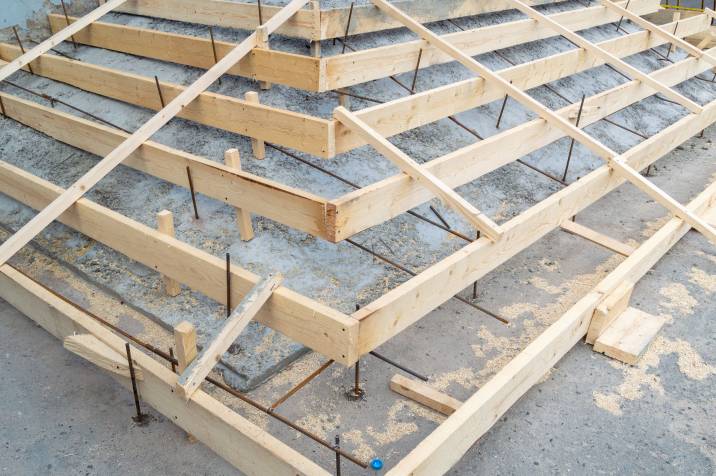
Step 3: Lay your foundation
It’s important to build a solid foundation for your garden steps. Aside from concrete, you'll also be needing some hardcore.
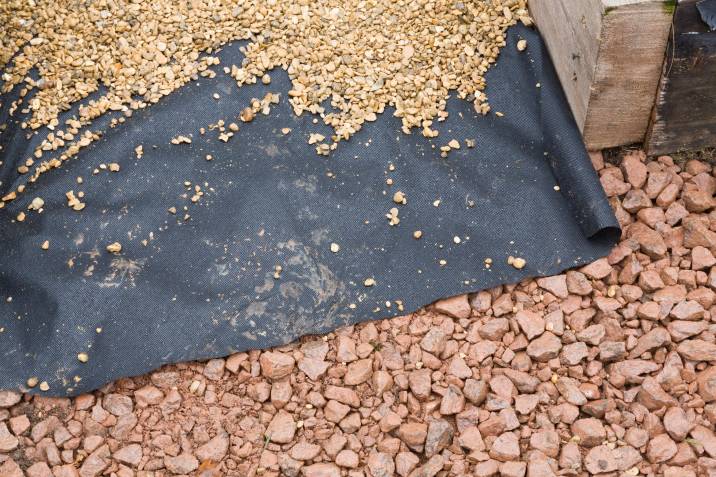 |
Hardcore is any solid material used to create a base for any concrete floor or load-bearing structure. Hardcore can be made out of crushed rock, gravel, concrete rubble and debris. You can purchase hardcore at your local gardening or landscaping supply shop. |
- Fill in your trench with hardcore and flatten it out with an earth rammer or the back of your shovel.
- Pour over the concrete onto your trench and ensure it’s level.
- Leave it to dry for 24 to 48 hours.
- Once it’s all dry, you can start building garden steps using your preferred material.
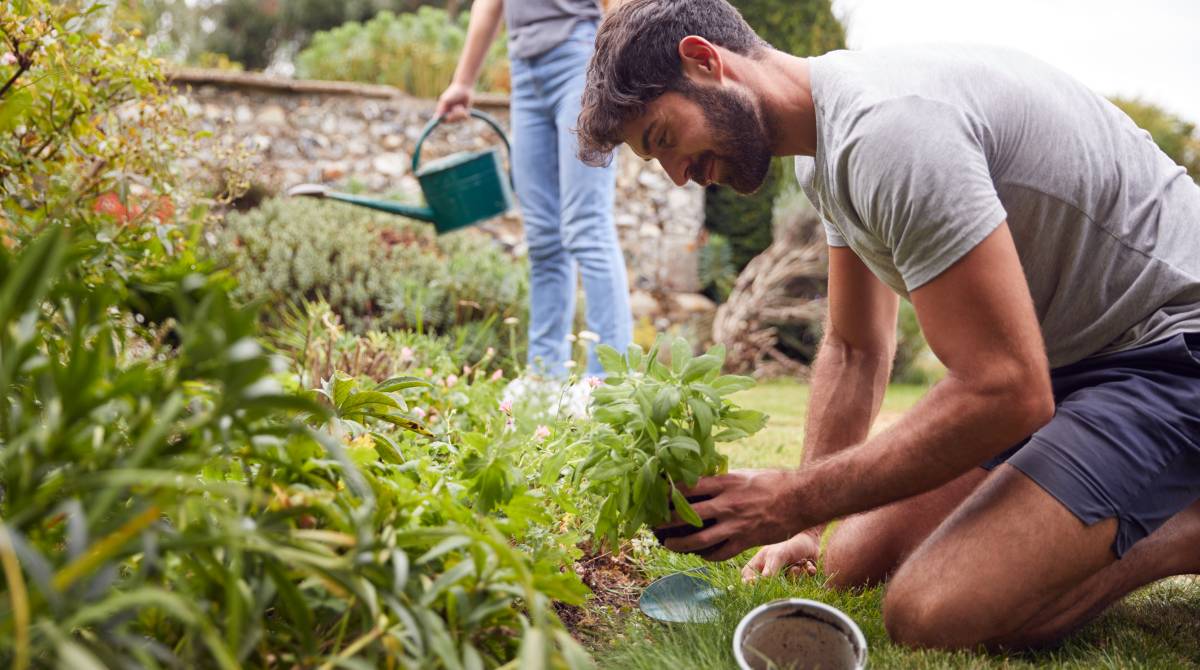
If you’re undecided between building garden steps with blocks, bricks or paver slabs, hire a garden designer on Airtasker to help you decide on the best material that is suitable for your garden.
☞ Related: How much does a garden designer cost?
Step 4: Do the maths for your garden steps
How high should garden steps be? There’s a universal average that you can follow. The average height of a riser is 200mm, and the average length of a tread is 300mm.
But you’ll need to know how many steps to make.
To do this, measure the total height or the rise, and the total length or tread.
You then divide the total height by the average height of each step (200mm) to give you the number of steps you need.
To measure the tread length for each step, divide the average tread length of steps (300mm) by the total length.
Depending on the material you’ll be using to build your garden steps, you may not be able to follow these measurements to a tee. But you can always follow these measurements as closely as possible.
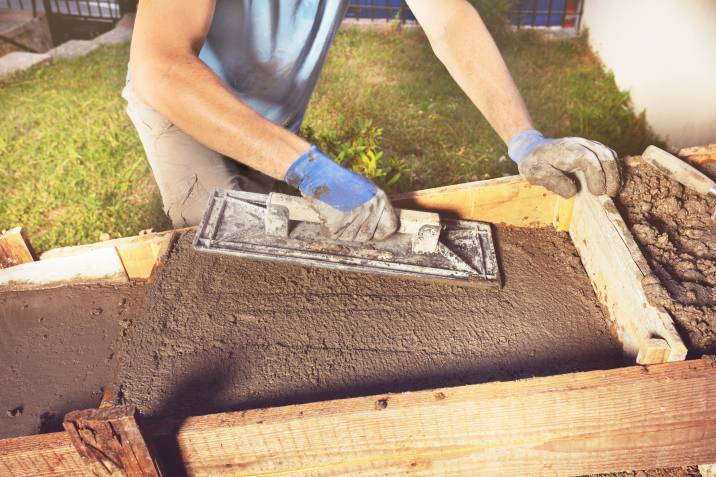
Step 5: Build the first step
Once your foundation has hardened, you’re now ready to lay down your first riser. Just follow the steps below:
- Prepare and mix your mortar.
- Spread a layer of mortar.
- Lay the bricks. Lay down one brick at a time, side by side. Make sure to spread mortar on the first brick before you lay the next. This allows you to fill in the joints easily.
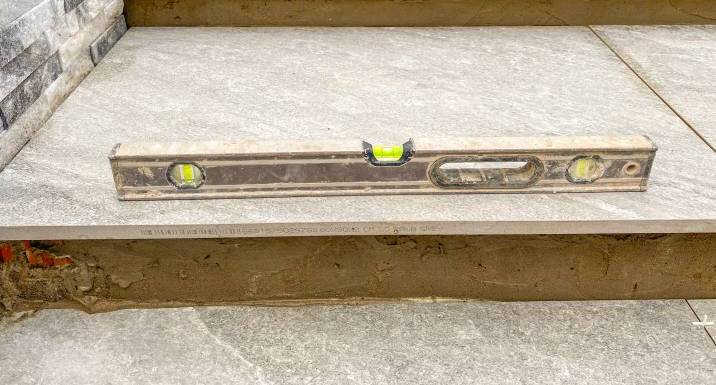
- Remember to always have a spirit level on hand and regularly check if your riser is level and horizontal.
- After laying the first riser, leave the mortar to dry for a couple of hours.
Step 6: Add hardcore
Once the mortar has dried, fill hardcore behind the riser and compact it using your shovel or an earth rammer. This ensures the stability of your garden steps and prevents water from seeping in and compromising its overall structural integrity.
Step 7: Build one garden step at a time
When the mortar has dried and you’ve added the hardcore, you can now lay out your tread.
- Add another generous bed of mortar on your riser and hardcore.
- Lay and position your paver or desired tread on top of the mortar.
- Your tread should overhang your riser at the front and sides by at least 40mm.
- Wait for the mortar to dry for a couple of hours.
- Then rinse and repeat until you’ve built your very own garden steps!
How to build garden steps out of sleepers
Build sleeper steps by following the same procedure above. But do note that unlike blocks, pavers, or bricks, wooden sleeper steps usually come in a set size and are not as flexible to work on. Also, sleeper steps can be slippery when wet. You’ll need to improve its grip by carving patterns or horizontal marks on the wood for texture. Alternatively, you can paint your steps with non-slip paint or cover the steps with chicken wire.
☞ You might also like: 5 Garden steps ideas to beautify your outdoor space
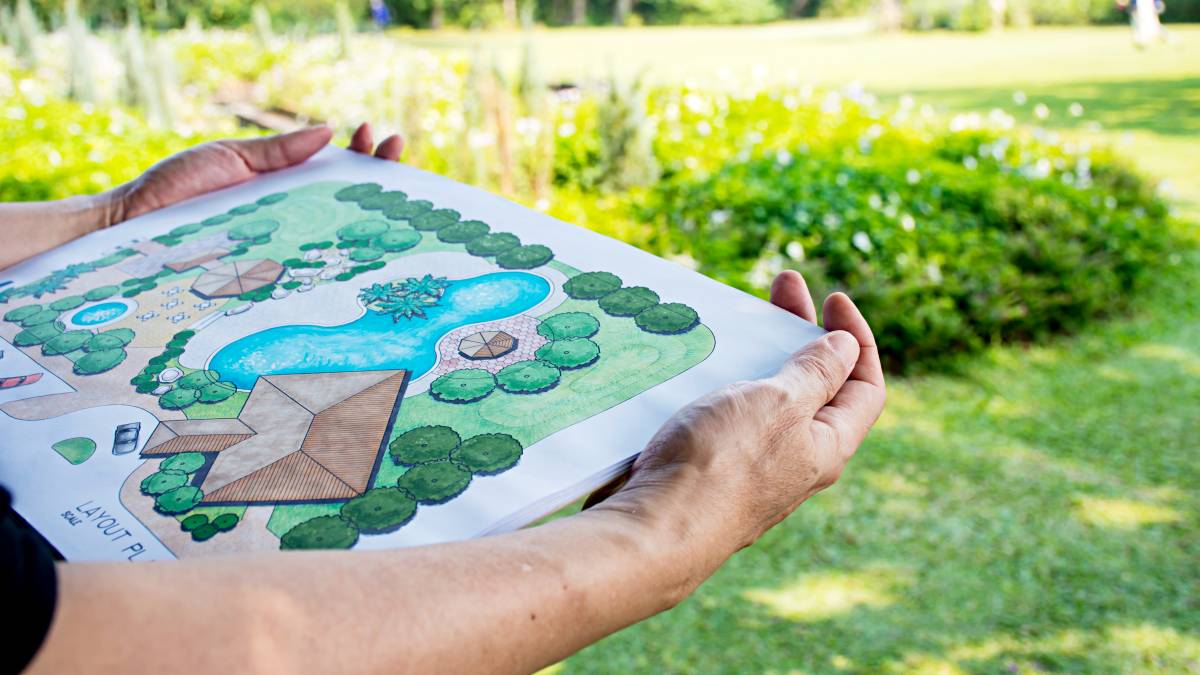
Should you hire a professional to build your garden steps?
A professional garden designer can save you the guesswork and possible frustration with DIY construction. Building your own garden steps with your bare hands is an amazing achievement. However, this task requires muscle, skill, and the right tools. For some, DIY construction can take lots of trial and error. It would be a shame if your garden steps don’t turn out the way you pictured it!
You can post a garden design task on Airtasker to find a professional who can efficiently build beautiful garden steps for your home.
Related articles
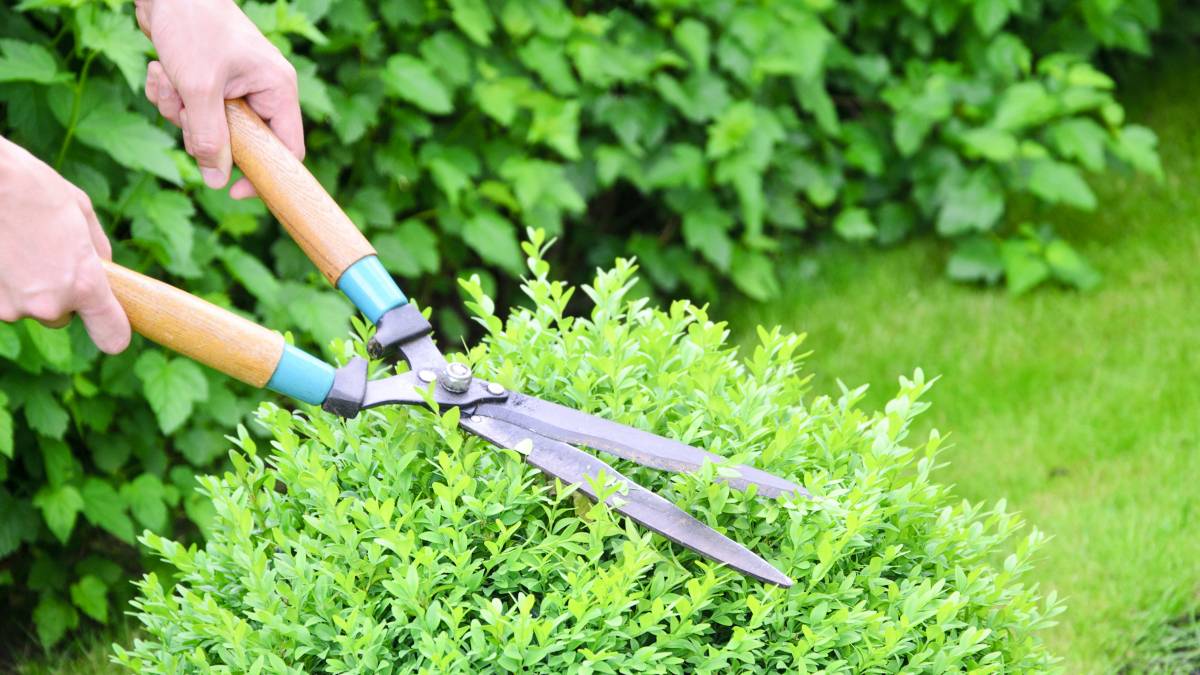
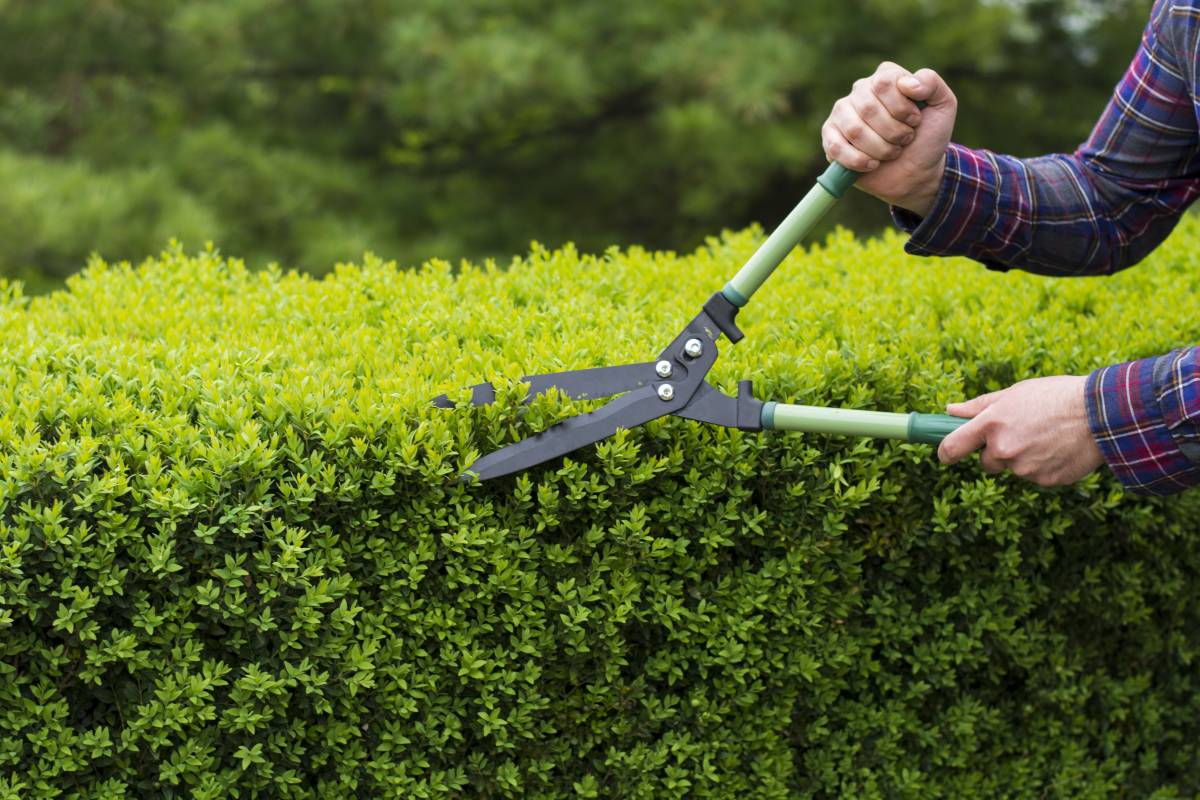
How to trim bushes the right way
Read more

13 Best Spring Gardening Tips
Read more
How to clean garden stones
Read more
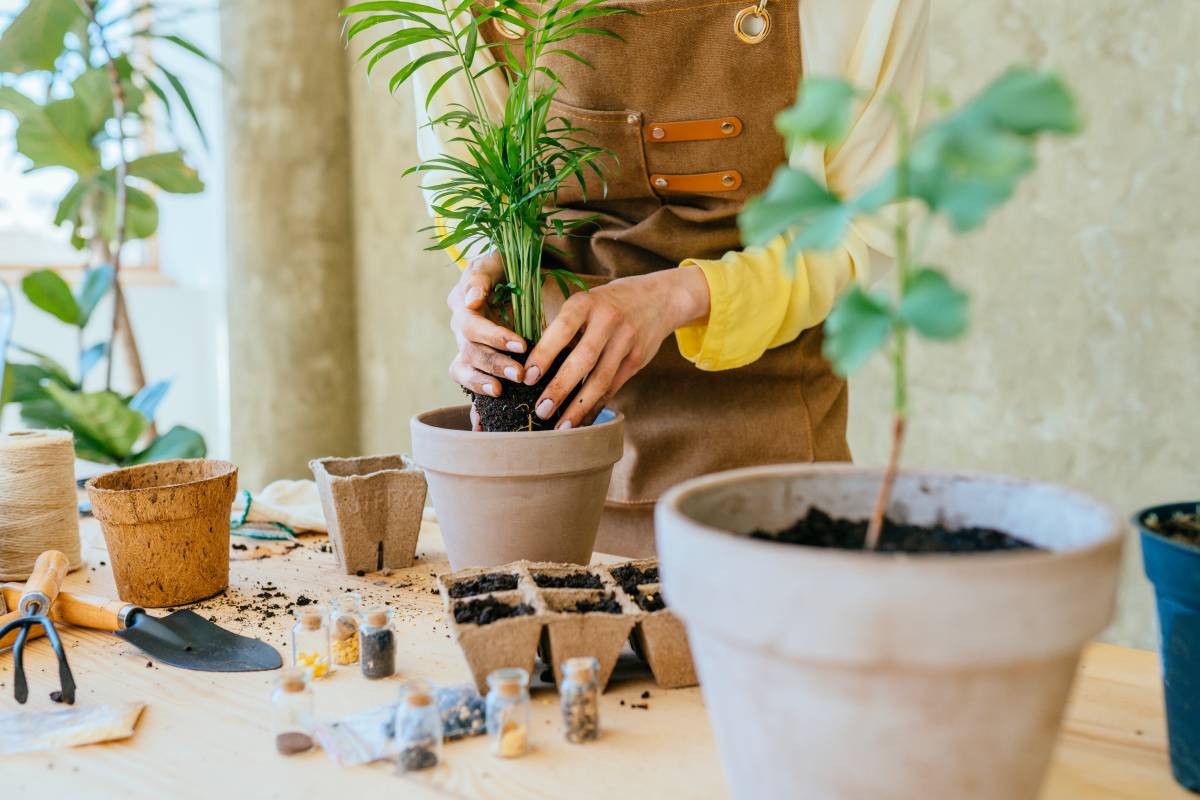
36 Quirky plant pot ideas you’ll love
Read more
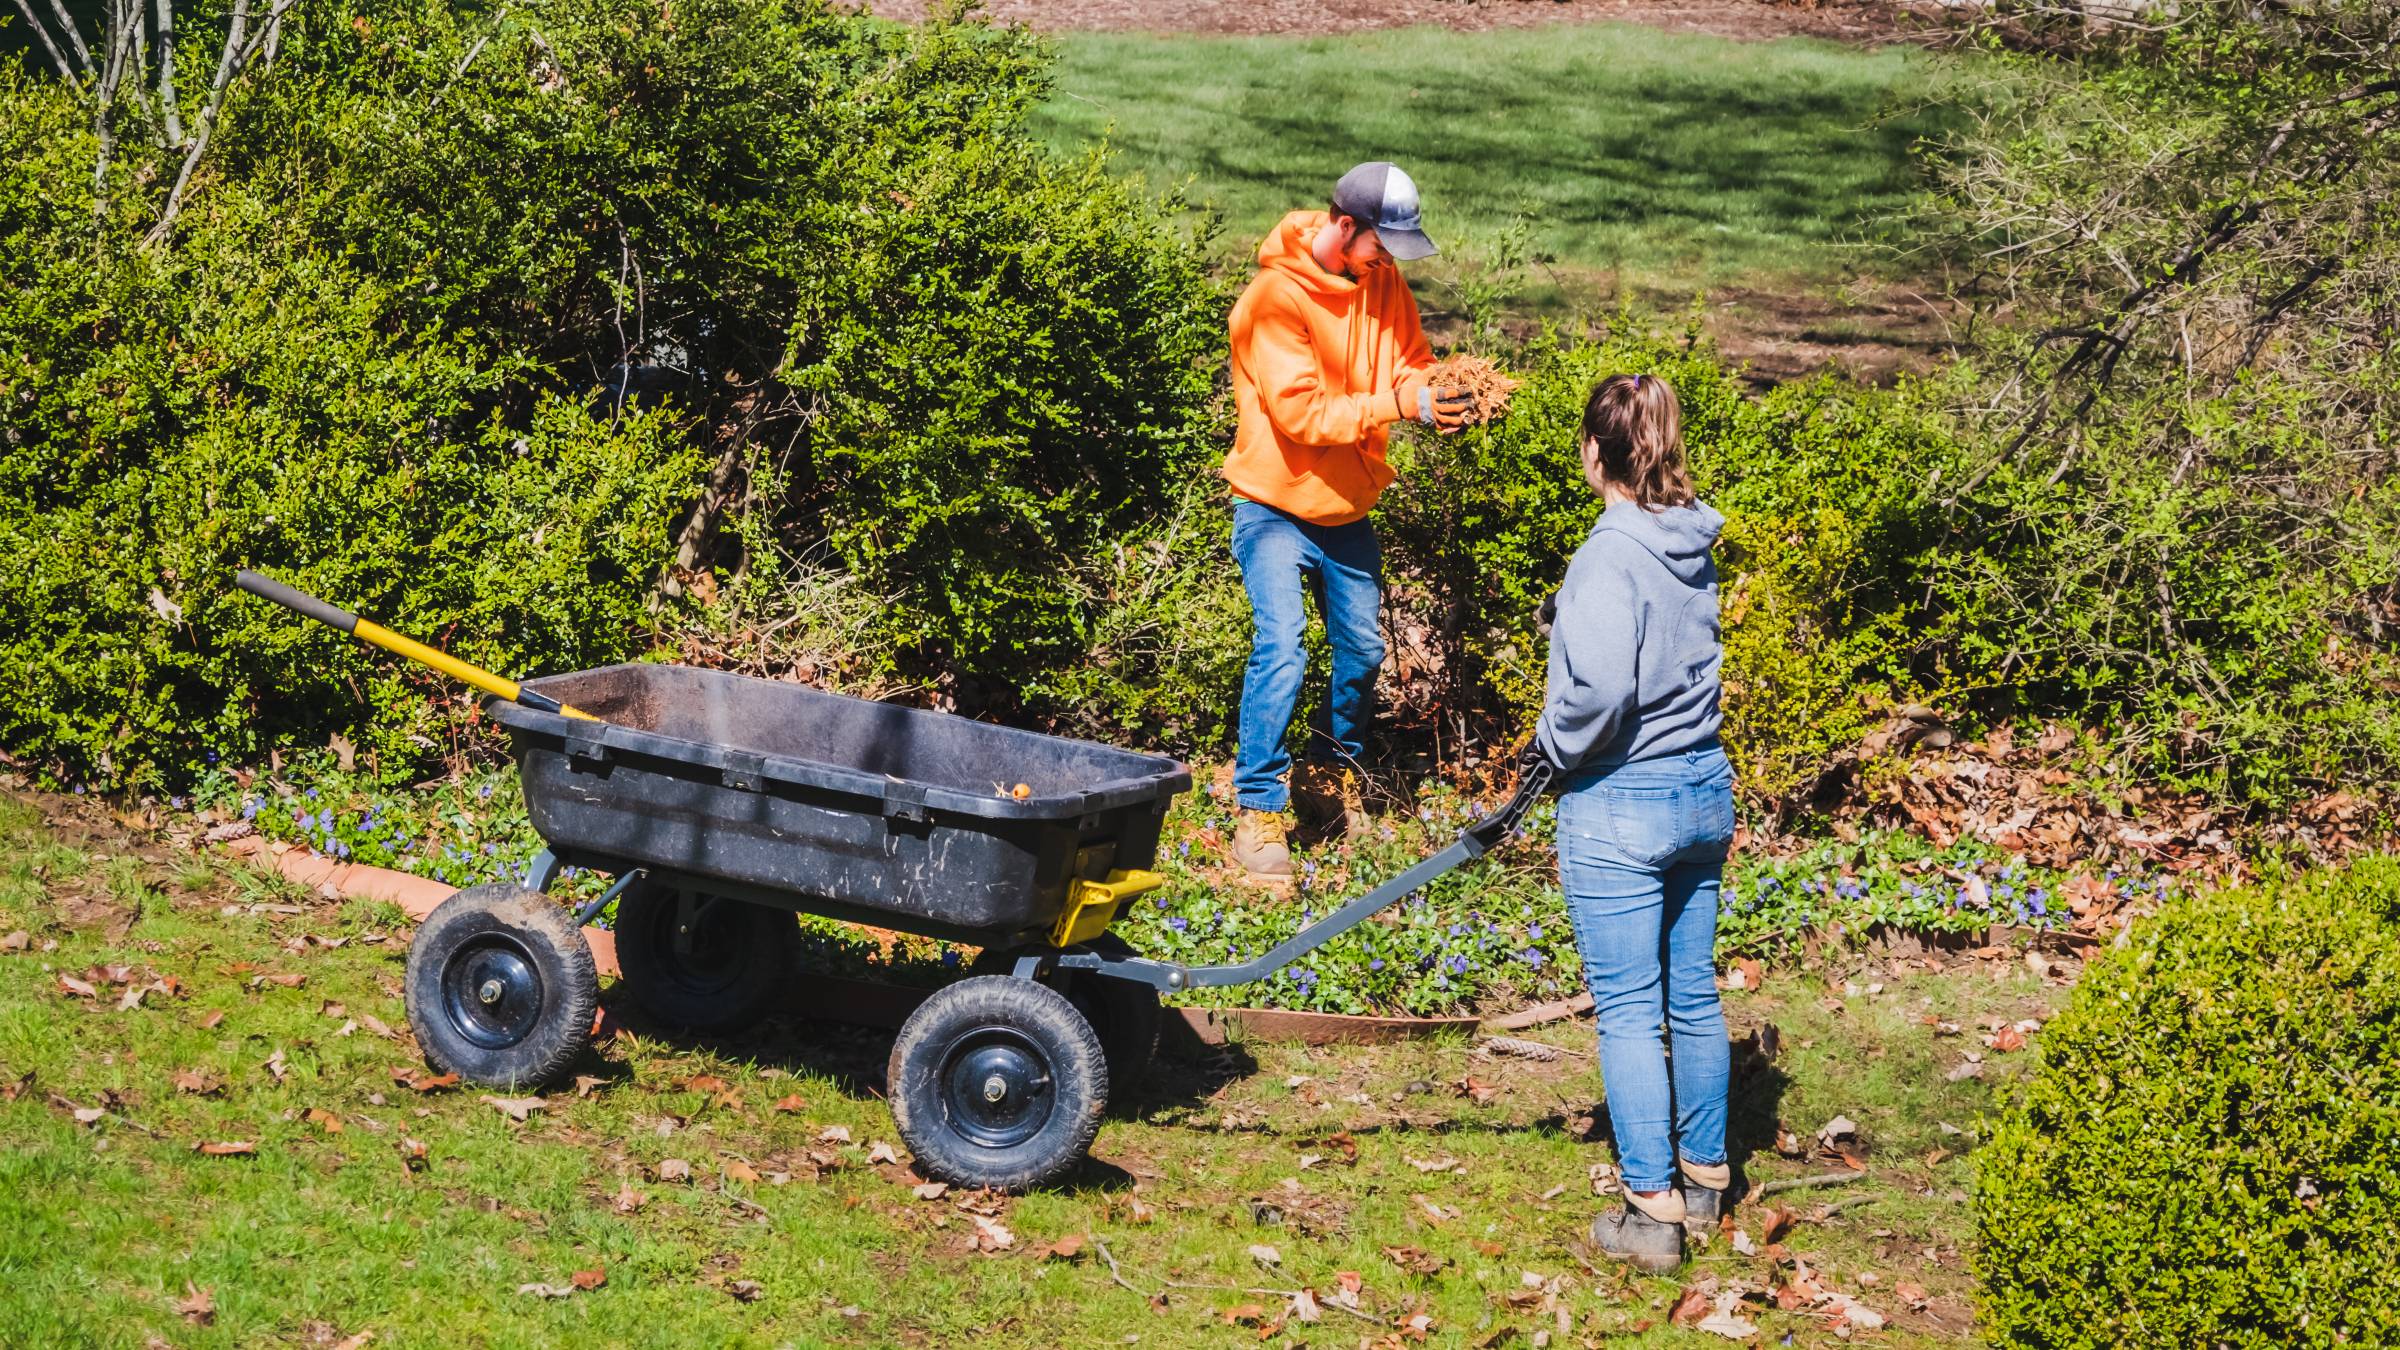
Your garden maintenance checklist
Read more

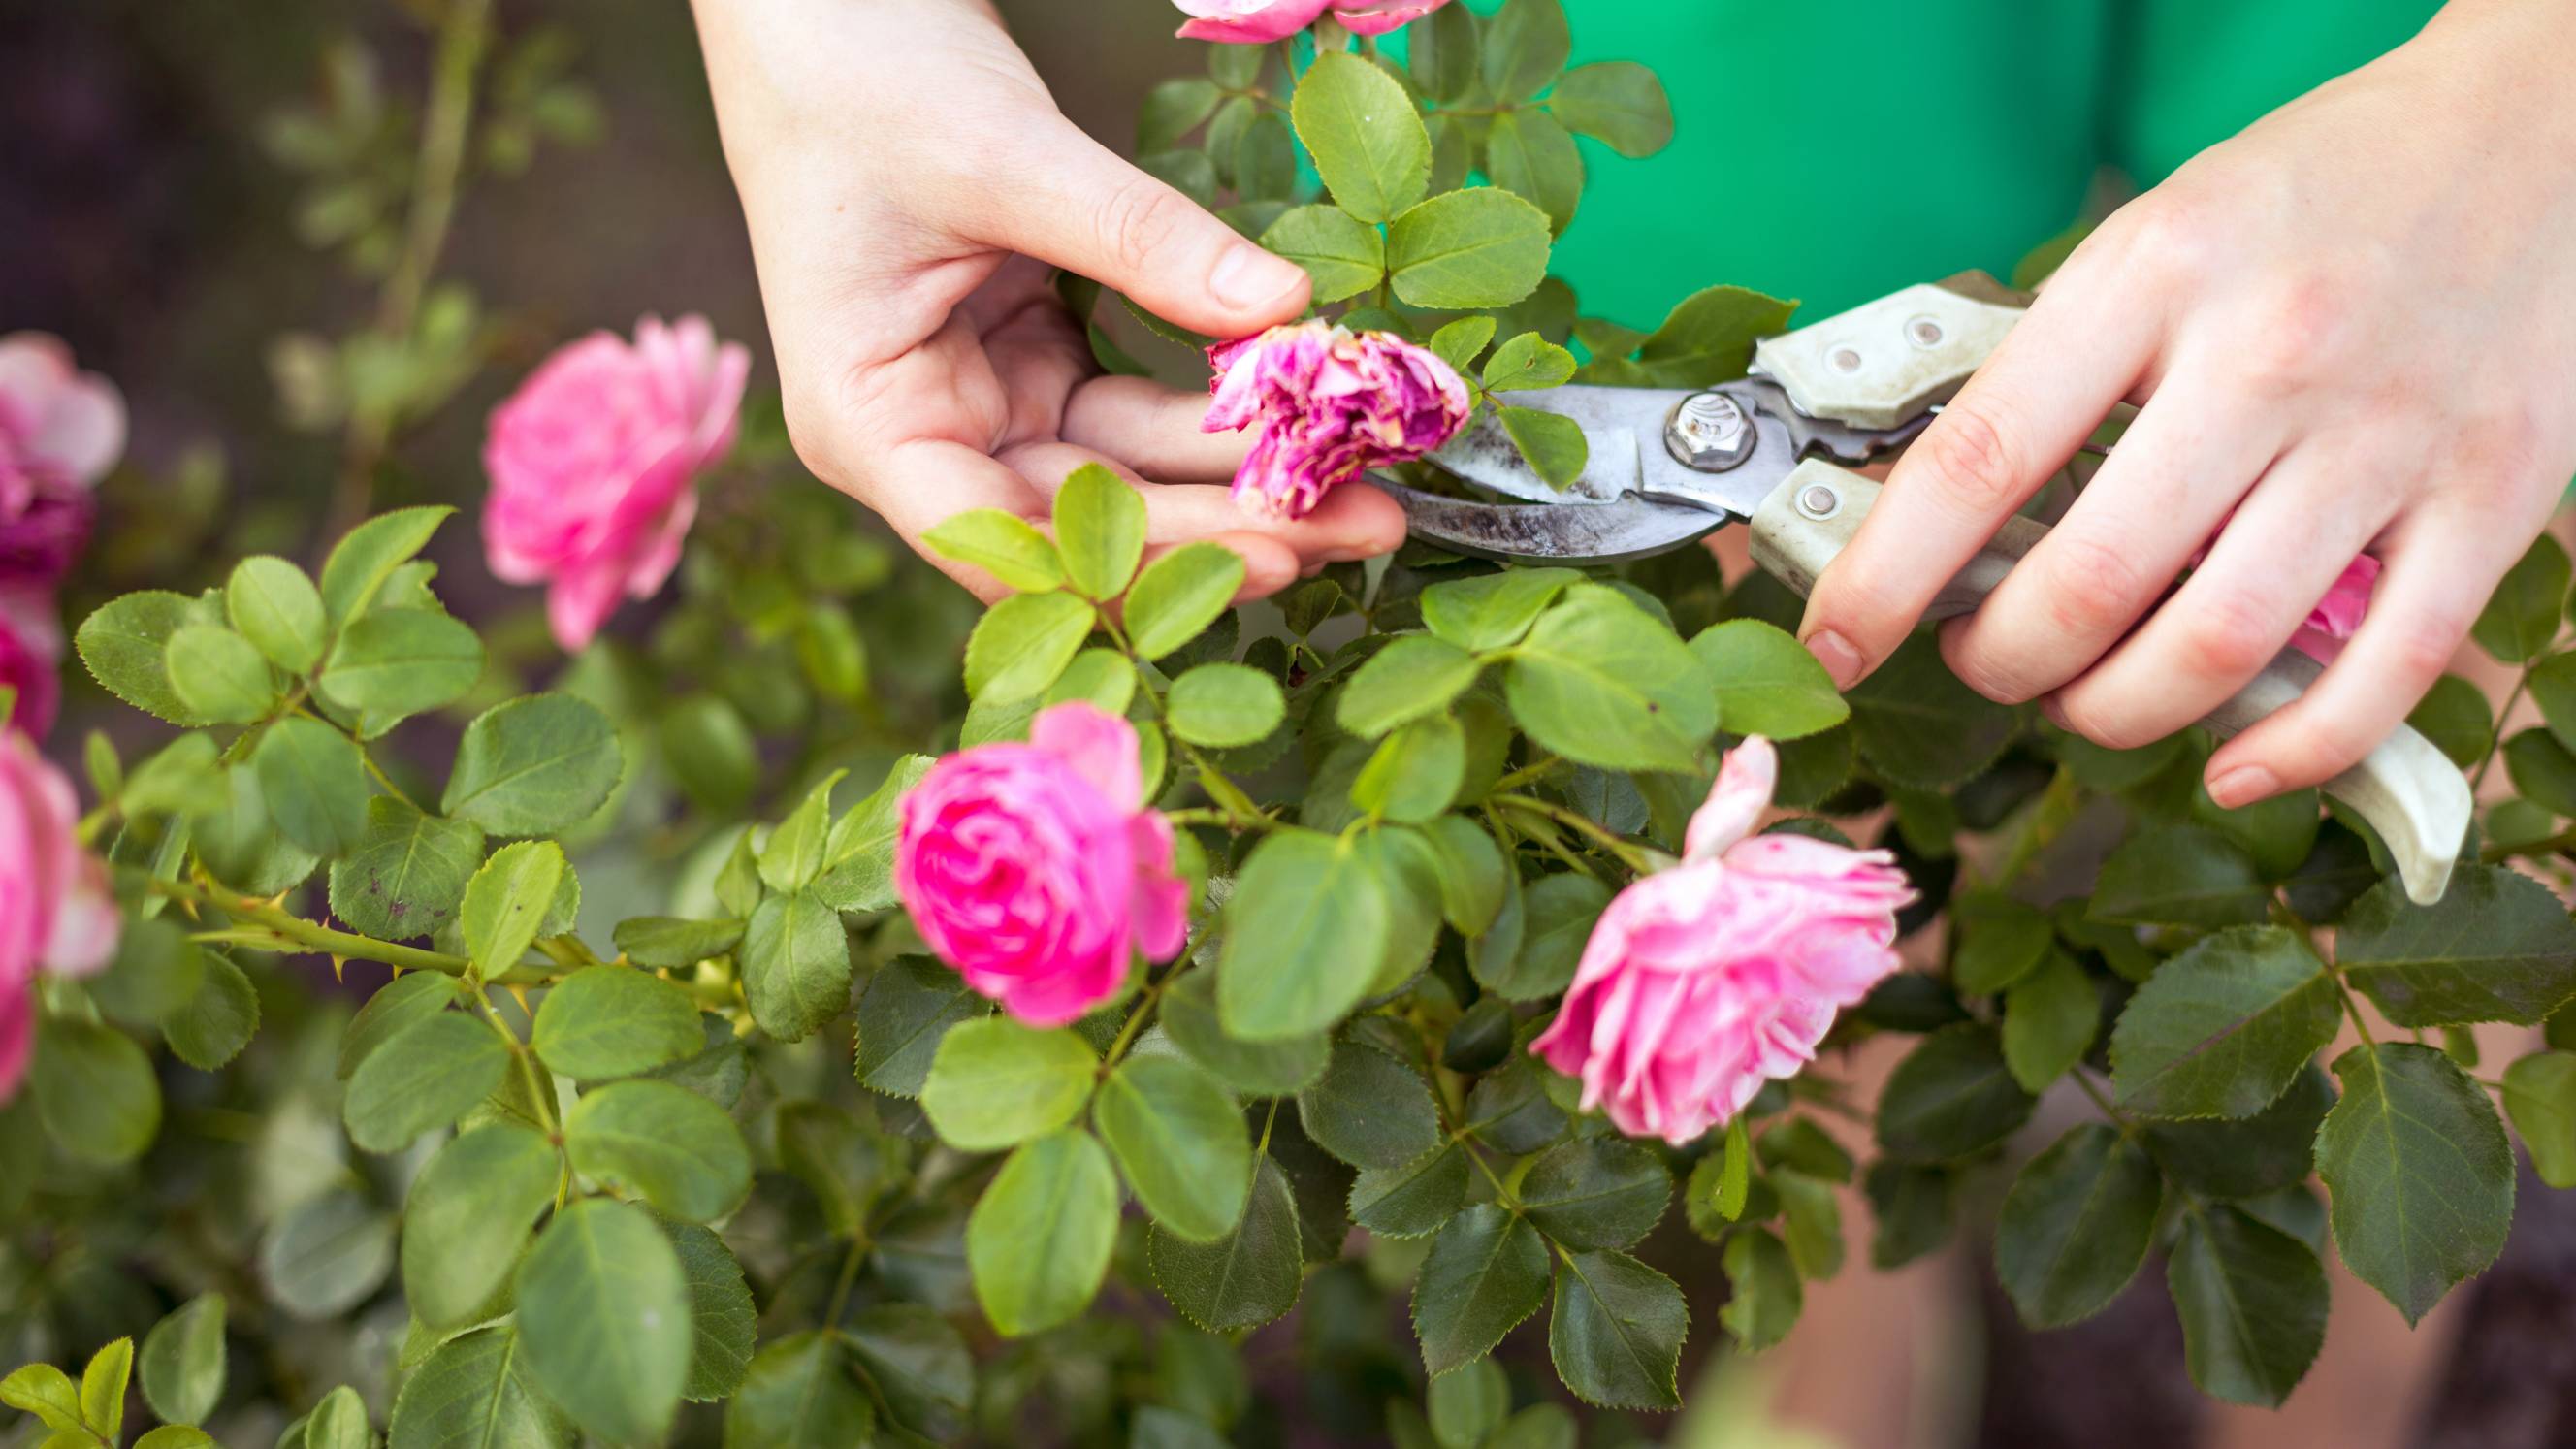
How to prune roses the right way
Read more
8 steps to build a DIY pond filter
Read more


Related price guides

How much does weeding cost?
Read more
How much does mulch cost?
Read more

How much does garden clearance cost?
Read more

How much does a garden room cost?
Read more
How much does hedge removal cost?
Read more