- Home/
- Guides/
- Garden Planting/
- Types of Hydroponic Systems
4 Common types of hydroponic systems and how to set them up
Last Updated on
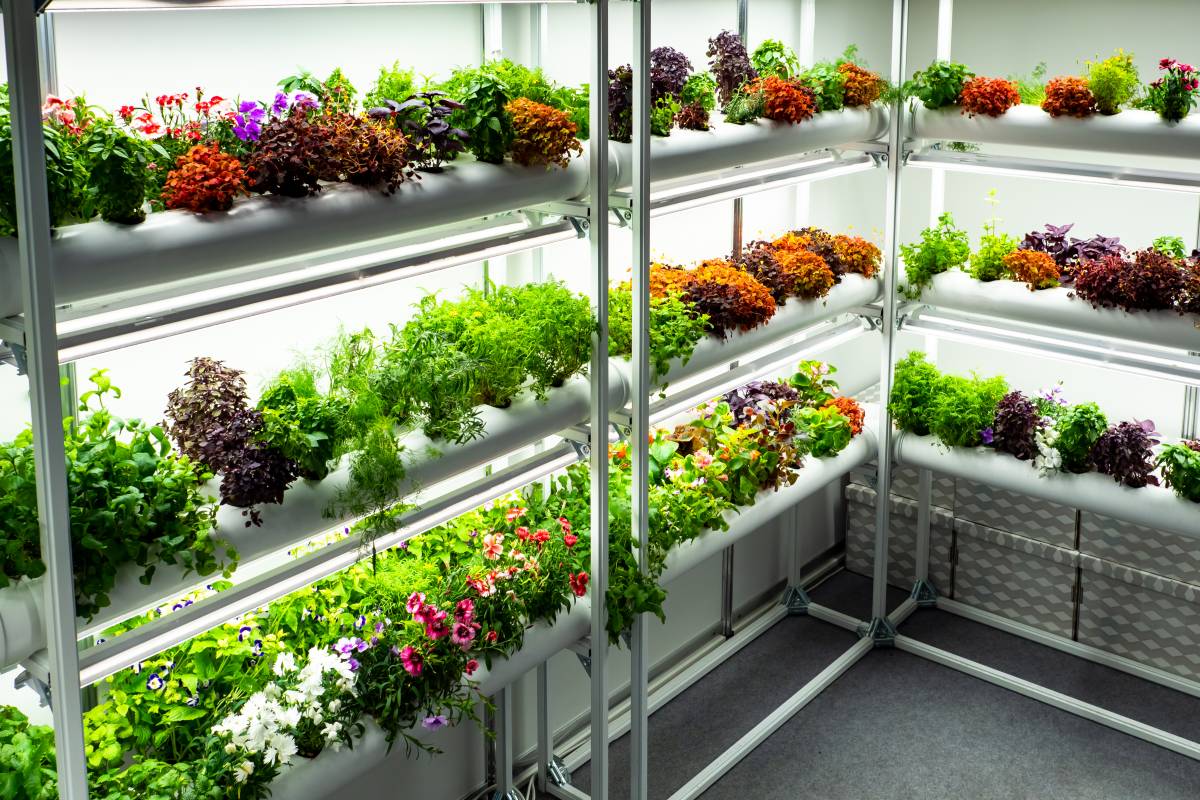
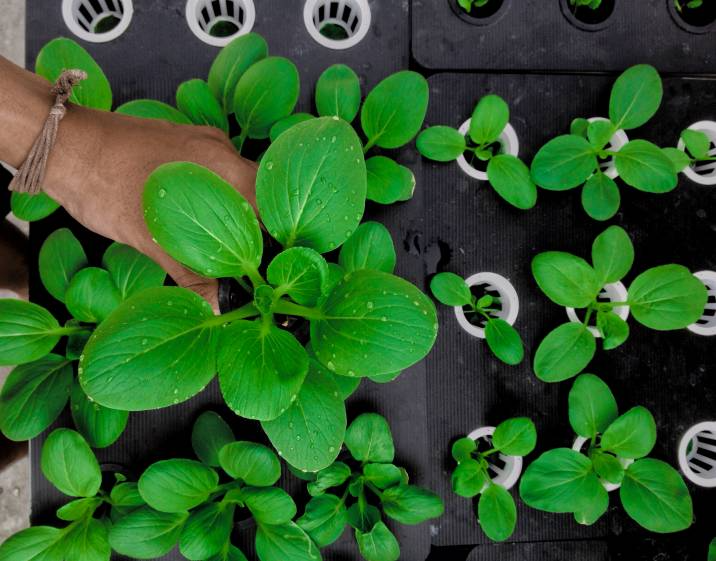
Hydroponic gardening can be set up in many different ways, ranging from beginner to advanced systems. In this article, we're going to dive deep into the world of different hydroponic systems, so you can start your gardening journey without a hitch.
Get ready to take some notes and explore which of the four systems you want to implement for your home gardening.
4 Common types of hydroponic systems for beginners
Wick System
The Wick system is the simplest type of hydroponic garden and is perfect for beginners. Its main parts are a growing tray for the plants and a reservoir for the nutrient-enriched water that’s placed under it.
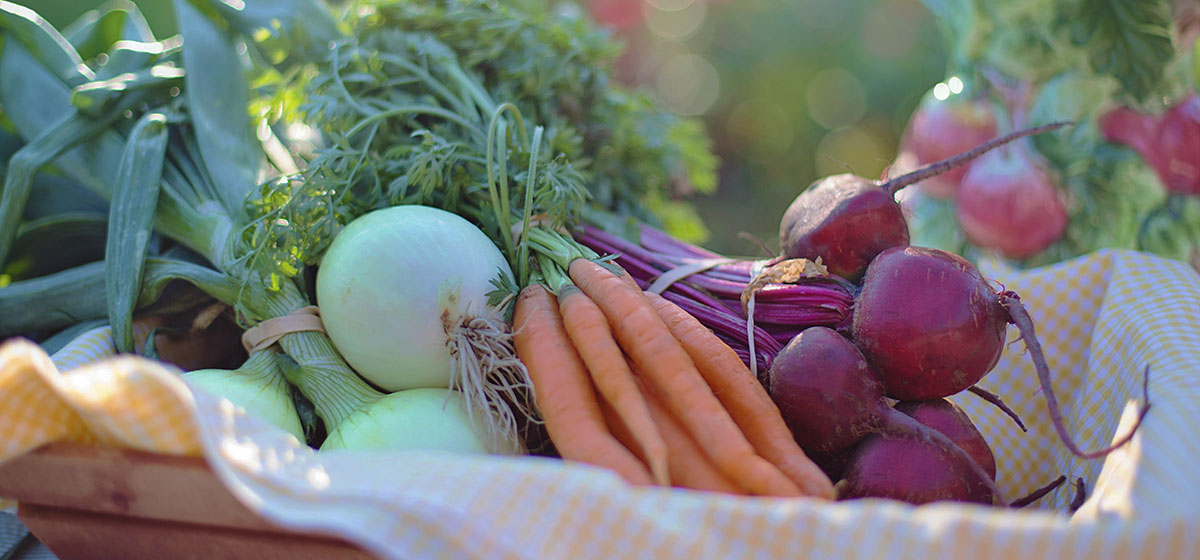
This system doesn’t use any electrical components or moving parts, so it only needs minimal maintenance. This method is best for microgreens like broccoli, mustard, kale, and peas, as well as beans, herbs, and peppers.
What you’ll need:
-
Wicking material (wool, cotton, or nylon rope or strips of fabric 0.6cm in diameter will suffice)
Container to serve as a reservoir
Styrofoam, wood, or plastic tray
Net pots or seedling trays
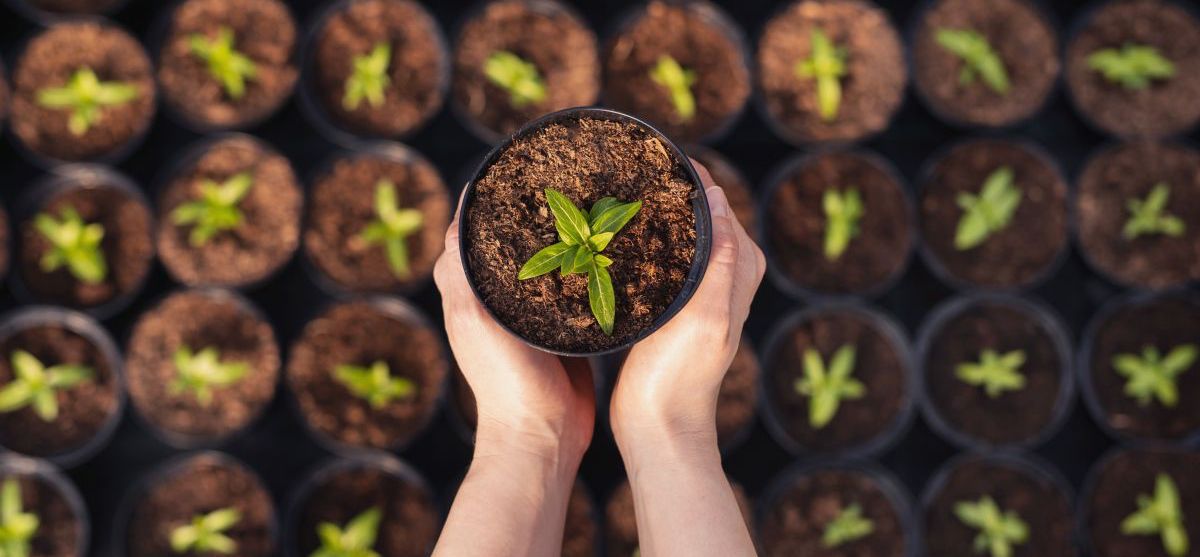
Seedlings
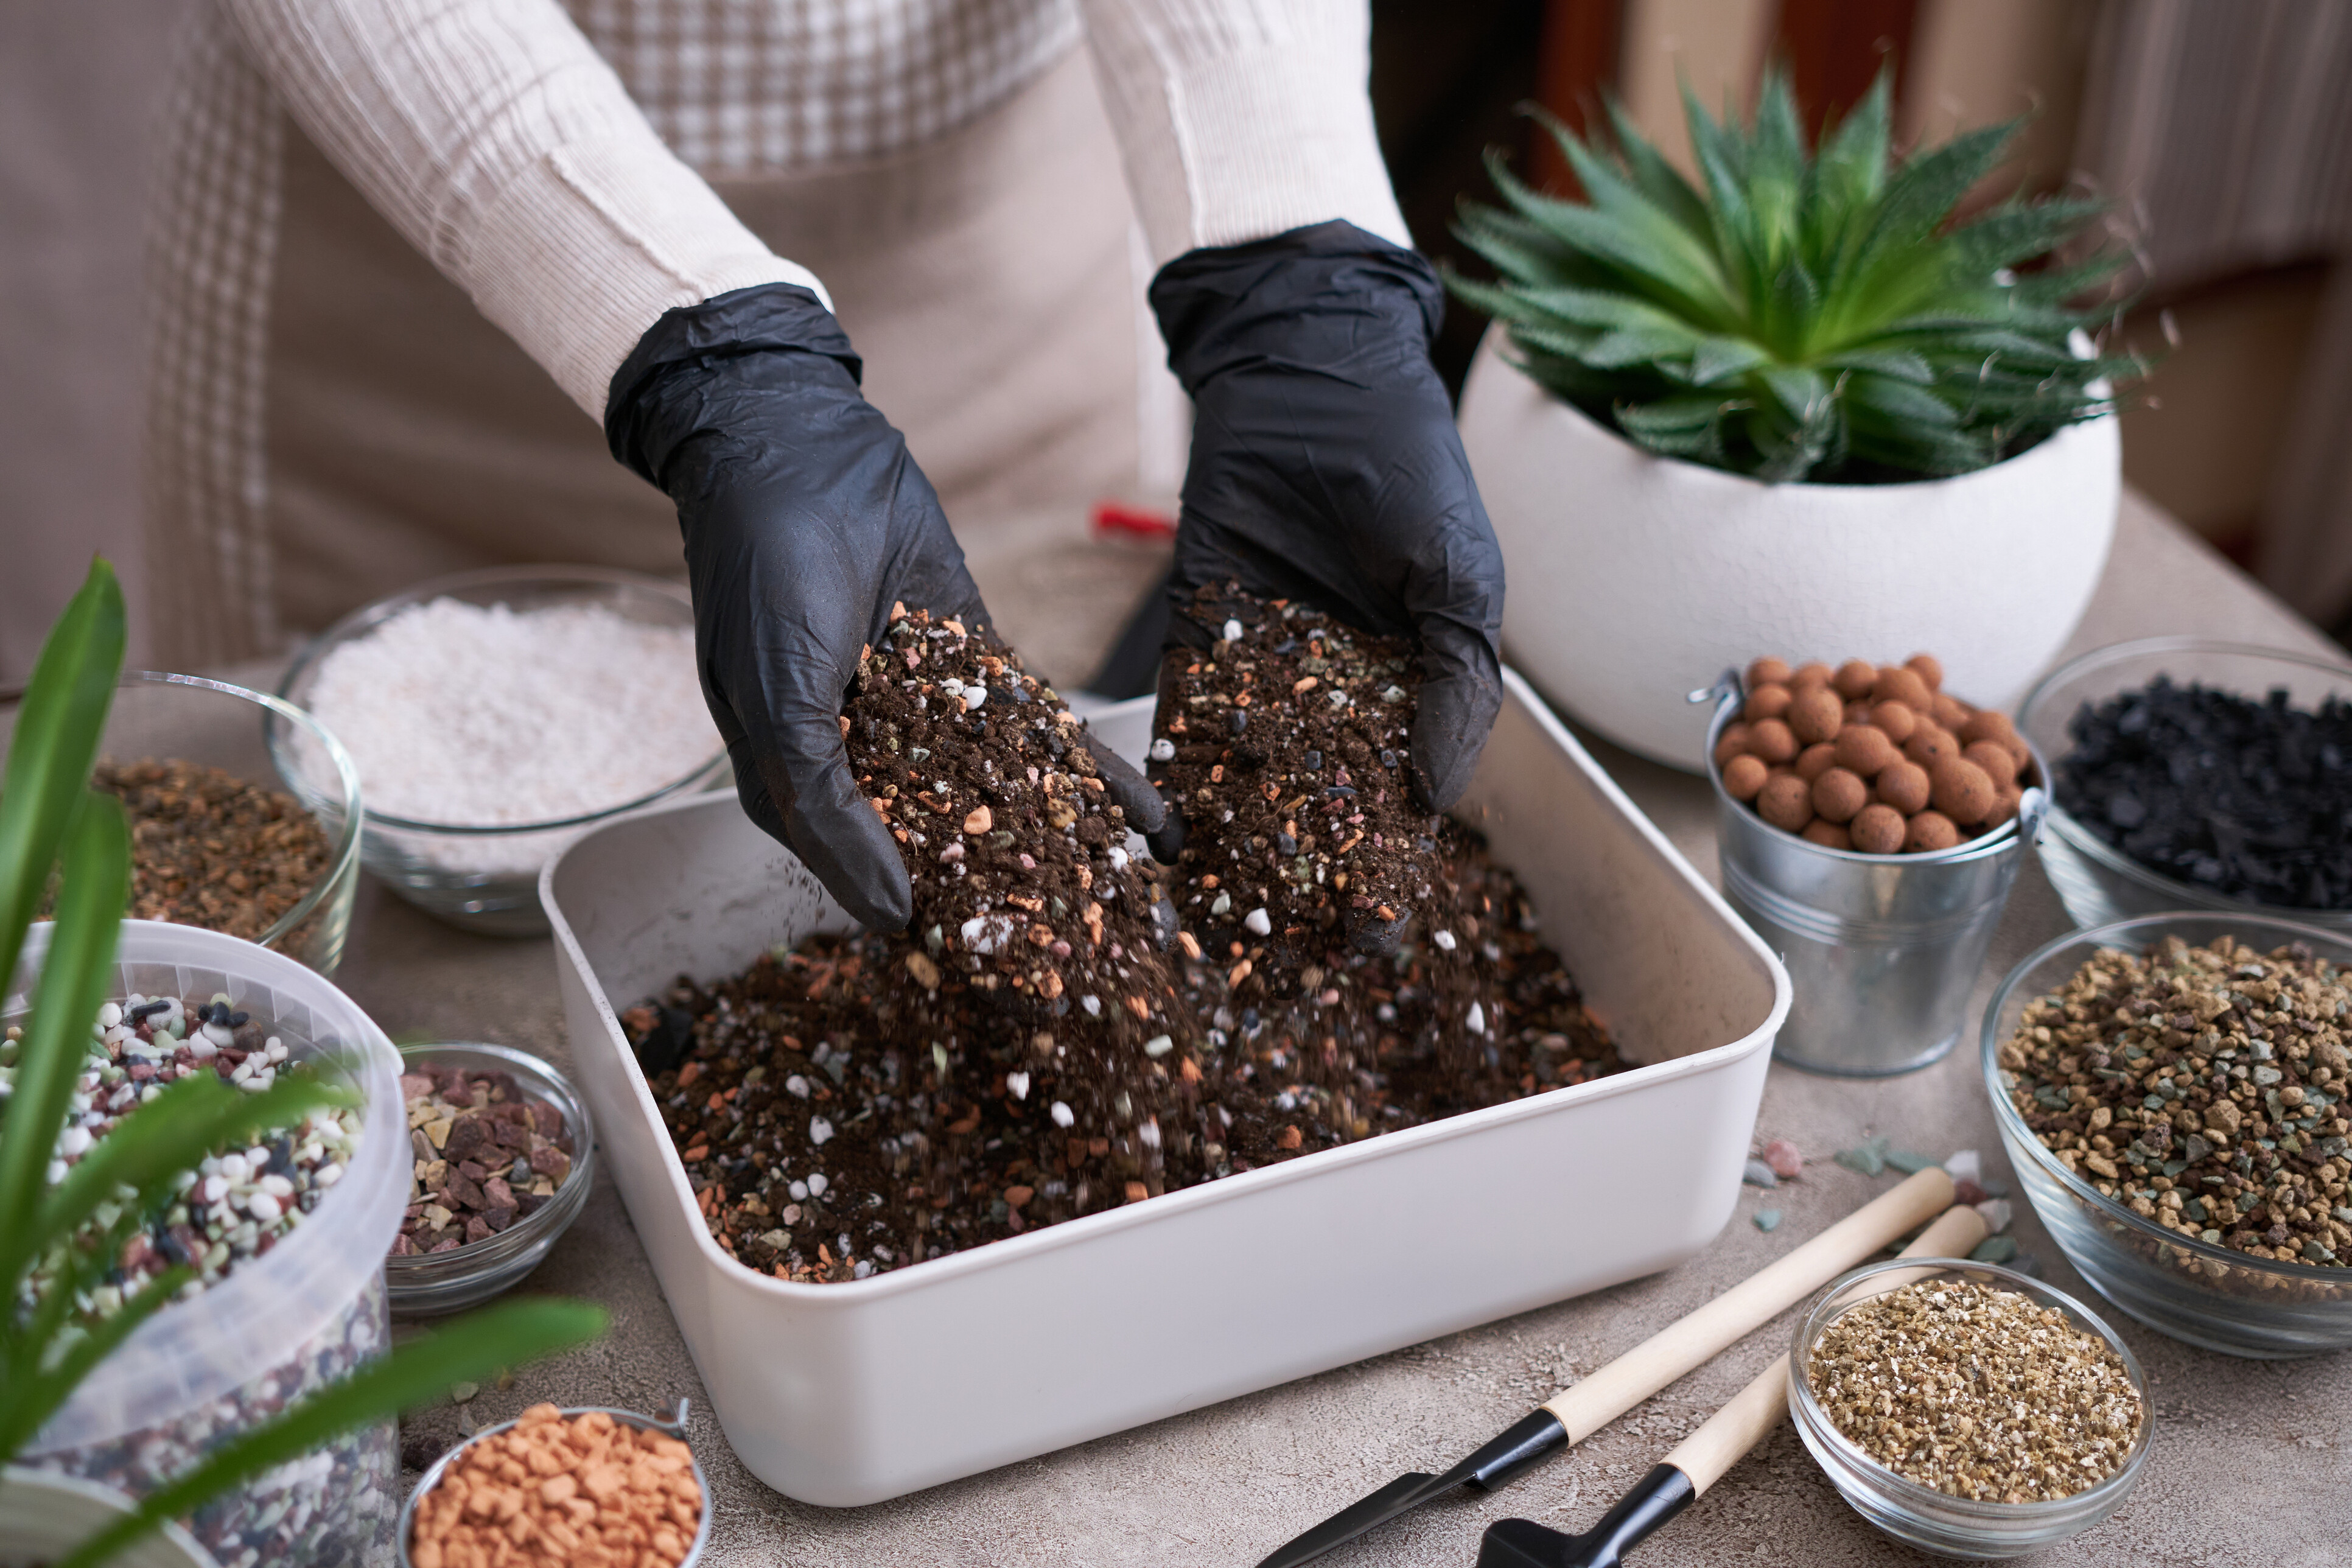
Growing medium (coconut fibre, vermiculite, perlite, hydroton, or any combination of these)
Cutting tools (craft knife or drill with a hole saw)
Marker
Ruler or tape measure
Drill or screwdriver
Water and nutrient solution
Light fixture (optional)
How to set up the Wick system
Step 1. Prepare the water reservoir
Mix distilled water and the hydroponic nutrient solution in your container. You may need to fill the container almost to the brim, but be sure to follow the appropriate ratios the manufacturer prescribes. Set the container aside in an area away from direct sunlight; cover the container with a lid if it has one.
Step 2. Prepare the tray
Place a piece of wood, plastic, or styrofoam over the reservoir, ensuring it has a good fit. Measure the tray so you can have an evenly-spaced grid of seedlings that are all 15cm apart from each other.
Depending on the size of your tray, you can place 4 to 8 net pots or seedling trays. Avoid placing too many pots or trays; the 15cm distance is necessary to ensure every seed or seedling gets enough nutrients to grow.
Use a marker to mark the spots for the net pots or trays. Drill or cut out holes for each of them, and make sure they fit well.
Step 3. Place the seedlings
Fill each of your net pots or seedling trays with your chosen growing medium. Place a single seedling in each tray or pot.
Connect the wicks to each net pot or seedling tray. Make sure that the pots or trays dangle just above the water, and the wicks are long enough to dip into the solution. Make sure the wicks also make contact with the growing medium for each seedling. Through capillary action, the wicks should feed each net pot or seedling tray with the nutrient-rich solution.
Step 4. Add a light fixture
You can skip adding a light fixture if your hydroponic garden has access to natural light. If it’s in a dark area with no windows, set up an LED or fluorescent lamp above the tray at a distance of 15 to 30cm.
Step 5. Maintain the system
Change the nutrient solution every week until your plants are ready to harvest. You may have to do this more frequently in some cases, but that depends if your plants are more water- and nutrient-hungry. Depending on what you planted, you should have your first harvest in about 30 days.
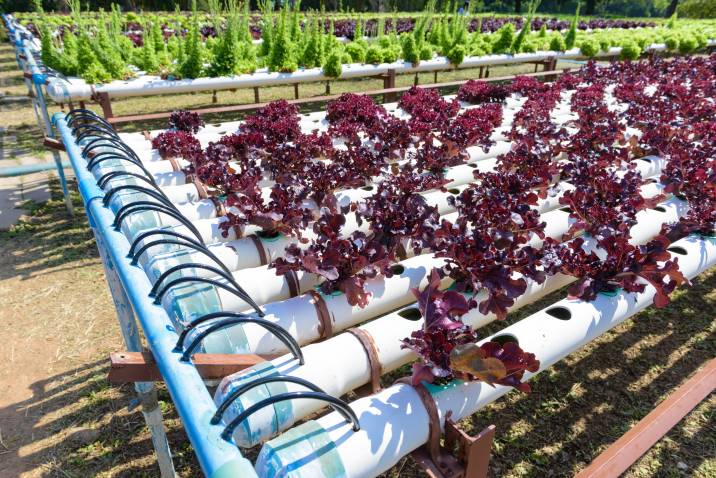
Deep Water Culture

Another simple hydroponic system is known as Deep Water Culture. Owing to its simplicity and effectiveness in growing lettuce, this method is also known as the Lettuce Raft System.
What you’ll need:
-
Large opaque plastic container
Styrofoam, wood, or plastic tray
Seedling trays or net pots
Growing medium (coconut fibre, vermiculite, perlite, hydroton, or any combination of these)
Cutting tools (craft knife or drill with hole saw)
Marker
Ruler or tape measure
Drill or screwdriver
Water and nutrient solution
LED lighting (optional)
How to set up the Deep Water Culture system
Step 1. Prepare the water reservoir
Mix distilled water and the hydroponic nutrient solution in your container. As the growing medium must make contact with the water, you may need to fill the container almost to the brim.
Make sure to mix the water and hydroponic nutrients in the right amounts. Set the container aside in an area away from direct sunlight and cover the container.
Step 2. Prepare the tray and net pots
Place a piece of wood, plastic, or styrofoam over the reservoir, making sure it fits well. If you’re using a plastic container with a lid, use the lid for a perfect fit.
Measure the tray such that you can have an evenly-spaced grid of plants that are 15 cm apart from each other. Never place a number of net pots that make it impossible for the 15 cm spacing; having too many plants too close to each other can make it difficult for them to get enough nutrients.
Use a marker to mark the spots for the net pots. Drill or cut out holes for each net pot, ensuring that they have a good fit.
Step 3. Place the air stone
In this system, the net pots and seedlings make contact with the water in the reservoir. It’s important that the water stays aerated to avoid drowning and killing the seedlings.
To do this, place an air stone connected to an air pump. You can buy these items at most aquarium supplies or pet stores. Make sure that the air pump always has enough power; the pump may have to run constantly to provide an optimum oxygen supply for the seedlings’ growth and survival.
Step 4. Place the seedlings
Now that the reservoir is filled and the water is aerated, prepare the seedlings. Fill each of your net pots with your chosen growing medium and a single seedling. Place the tray over the reservoir, but make sure that the net pots are in contact with (but not submerged in) the water.
Step 5. Maintain the system
Maintain this hydroponic system by changing the water every week. Check that the air pump is working and trim any dead leaves when necessary.
Step 6. Use lighting
Install a light fixture only if your hydroponic garden doesn’t get enough sunlight. You can use LED lighting or fluorescent bulbs. If using LED lighting, position them at a distance of 15cm from your plants; for fluorescent bulbs, make the distance 30cm.
More advanced hydroponic systems
If you want to try a hydroponic system that’s a bit more versatile, you can try either of the below types. Each system has its share of pros and cons, so consider the materials and maintenance required.
| You may also need to consult a hydroponics expert as to which system is best for growing a specific range or type of plant. |
Ebb and flow system

Also known as the Flood and Drain system, this is a slightly more sophisticated, closed hydroponic system. The system mimics the ebb and flow of the tide, flooding the growing medium with a water-nutrient solution, then draining and recycling it within the system.
What you’ll need:
-
1 large container, such as a basin or large plastic container for a water reservoir
1 large container, similarly shaped as the water reservoir to serve as a flood tray
2 long pieces of wood or metal for support
Fill tube
Drain tube
Submersible pump with timer
Drill with hole saw attachments
Hydroponic solution
Distilled water
Net pots
Seedlings
Growing medium
How to set up the Ebb and Flow system
Step 1. Set up the reservoir and flood tray
First, get a large plastic bin that has a capacity of anywhere between 60.5 to 75 litres. This will serve as your water reservoir. For the flood tray, use a container that’s large enough to cover the reservoir but not as deep. A bin or basin with a 28-litre capacity should suffice.
Step 2. Prepare the flood tray
Using a drill with a hole saw attachment, cut two holes on the flood tray for the drain tube and the fill tube of your submersible pump. Be sure to use hole saws of the appropriate diameters to give a good fit for the tubes. Place at least two pieces of wood or metal on top of the water reservoir to support the flood tray.
Step 3. Insert the pump
Fit the drain tube and fill tube to the flood tray, and attach these to your submersible pump, then link it to a timer. You can set the timer to flood and drain at 10 or 15-minute intervals, depending on how much watering the seedlings need. Connect the pump and timer to a nearby power source.
| You can hire an electrician to check the outlets or add new ones for your growing room or space. |
Step 4. Fill the reservoir and flood tray
Fill the reservoir with about two-thirds of its total capacity with water and the hydroponic solution. On the flood tray above it, fill it with your growing medium—you can fill the entire 28 litres. The growing medium must have a sufficient amount such that the top is dry to the touch.
Plant your seedlings in the growing medium, but space them about 15cm apart to ensure they get enough nutrients. Activate the pump.
Step 5. Maintain the system
Depending on your plants, you’ll have to change the water and nutrient solution each week until harvest. Monitor the plants for dried leaves and trim them as necessary.
Check that the water has the right pH levels, the ambient temperature and humidity are conducive for growth, and the plants get enough sunlight or light from other sources like LED growing lamps.
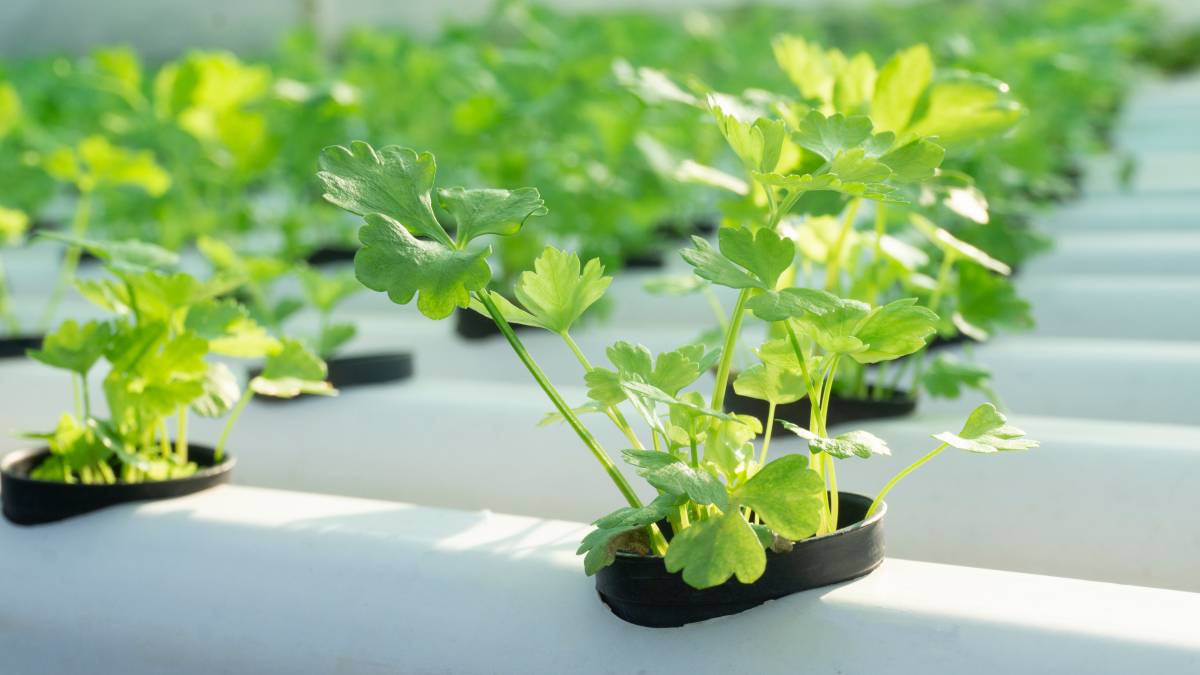
Nutrient film technique
The Nutrient Film Technique in hydroponics is similar to the Ebb and Flow system but is unique in that it doesn’t need a growing medium.
In this hydroponic system, the nutrient-water solution is aerated and is pumped continuously to course through and nourish plant roots that remain suspended in the flow tray. This works best with water-hungry, fast-growing, and shallow-rooted plants like spinach, lettuce, herbs, and radishes.
What you’ll need:
-
Large container for water reservoir
Large basin for flow tray
Water and nutrient solution
Drill with hole saw attachments
Wood or metal supports
PVC pipe (about 33.4mm in diameter)
Net pots
Seedlings
Submersible pump
Air stone and air pump
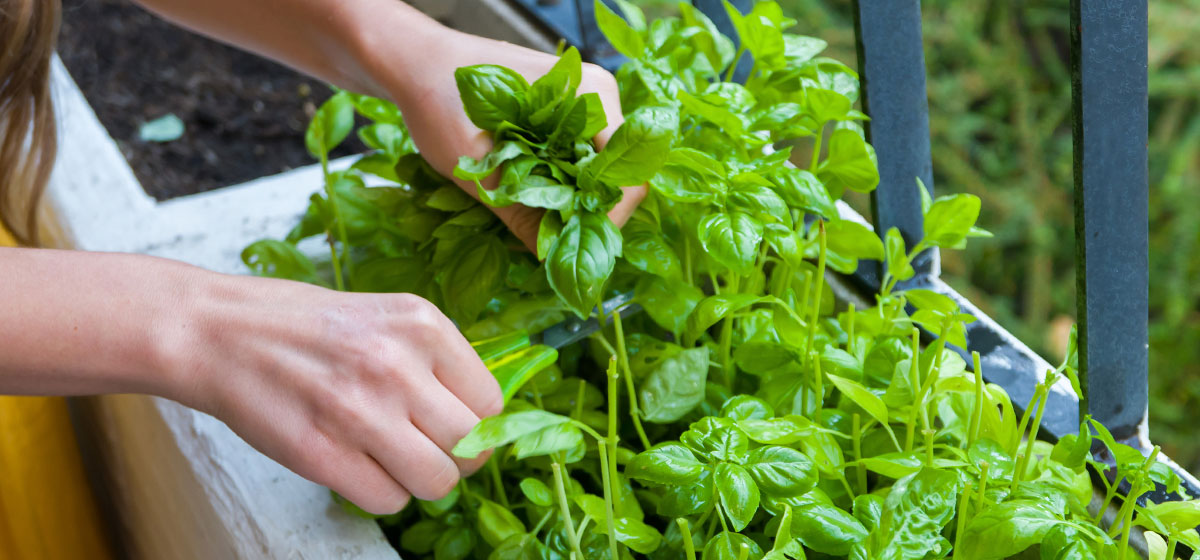
| You might also like: How to grow a herb garden on a balcony |
How to set up the Nutrient Film Technique
Step 1. Set up the reservoir
Prepare a large container to serve as your reservoir. A plastic bin with a 60 to 75-litre capacity should suffice. Mix the water and hydroponic solution in the appropriate amounts and set it aside in an area away from sunlight.
Step 2. Set up the aeration system
Your nutrient solution will need a constant supply of oxygen. Place the air stone in the solution and the air pump close to the reservoir. Make sure that the aeration equipment and your submersible pump get enough power to run around the clock.
Step 3. Prepare the flow tray
Get a tray that’s large enough to cover the reservoir. Use your drill with hole saw attachments to make two holes on opposite sides of the flow tray. Make sure each hole fits the drain tube and the fill tube of your submersible pump.
Place supports under the flow tray such that they sit at a slight angle on top of the reservoir. This way, gravity helps channel the nutrient solution down towards the drain tube. Attach the fill tube to the hole on the raised section of the flow tray and the drain tube to the opposite hole to create a closed, continuously-flowing system.
Step 4. Assemble the grow tubes
Place 3 standard PVC pipes measuring 33.4mm in diameter in the flow tray. Cut 3 to 4 holes into each PVC pipe and place a net pot with a seedling in each hole.
Step 5. Activate the pump
Once the nutrient solution, air stone, air pump, and flow tray are ready and the seedlings are in place, turn on the pump. Set the flow rate to about 1 litre per minute to ensure sufficient flow.
You can increase the flow rate as the plants grow bigger in the following weeks. Don’t forget to change the nutrient solution once a week until harvest time.
| You might also like: How to start a simple hydroponic garden at home |
Get your hydroponic system up and running
Hydroponics can sound intimidating in the beginning, but with the right tools and knowledge, it's definitely doable for almost anyone.
If you need help setting things up, you can always request help from Taskers on our platform. So go ahead, and post a task to get your hydroponic garden growing!
Related price guides
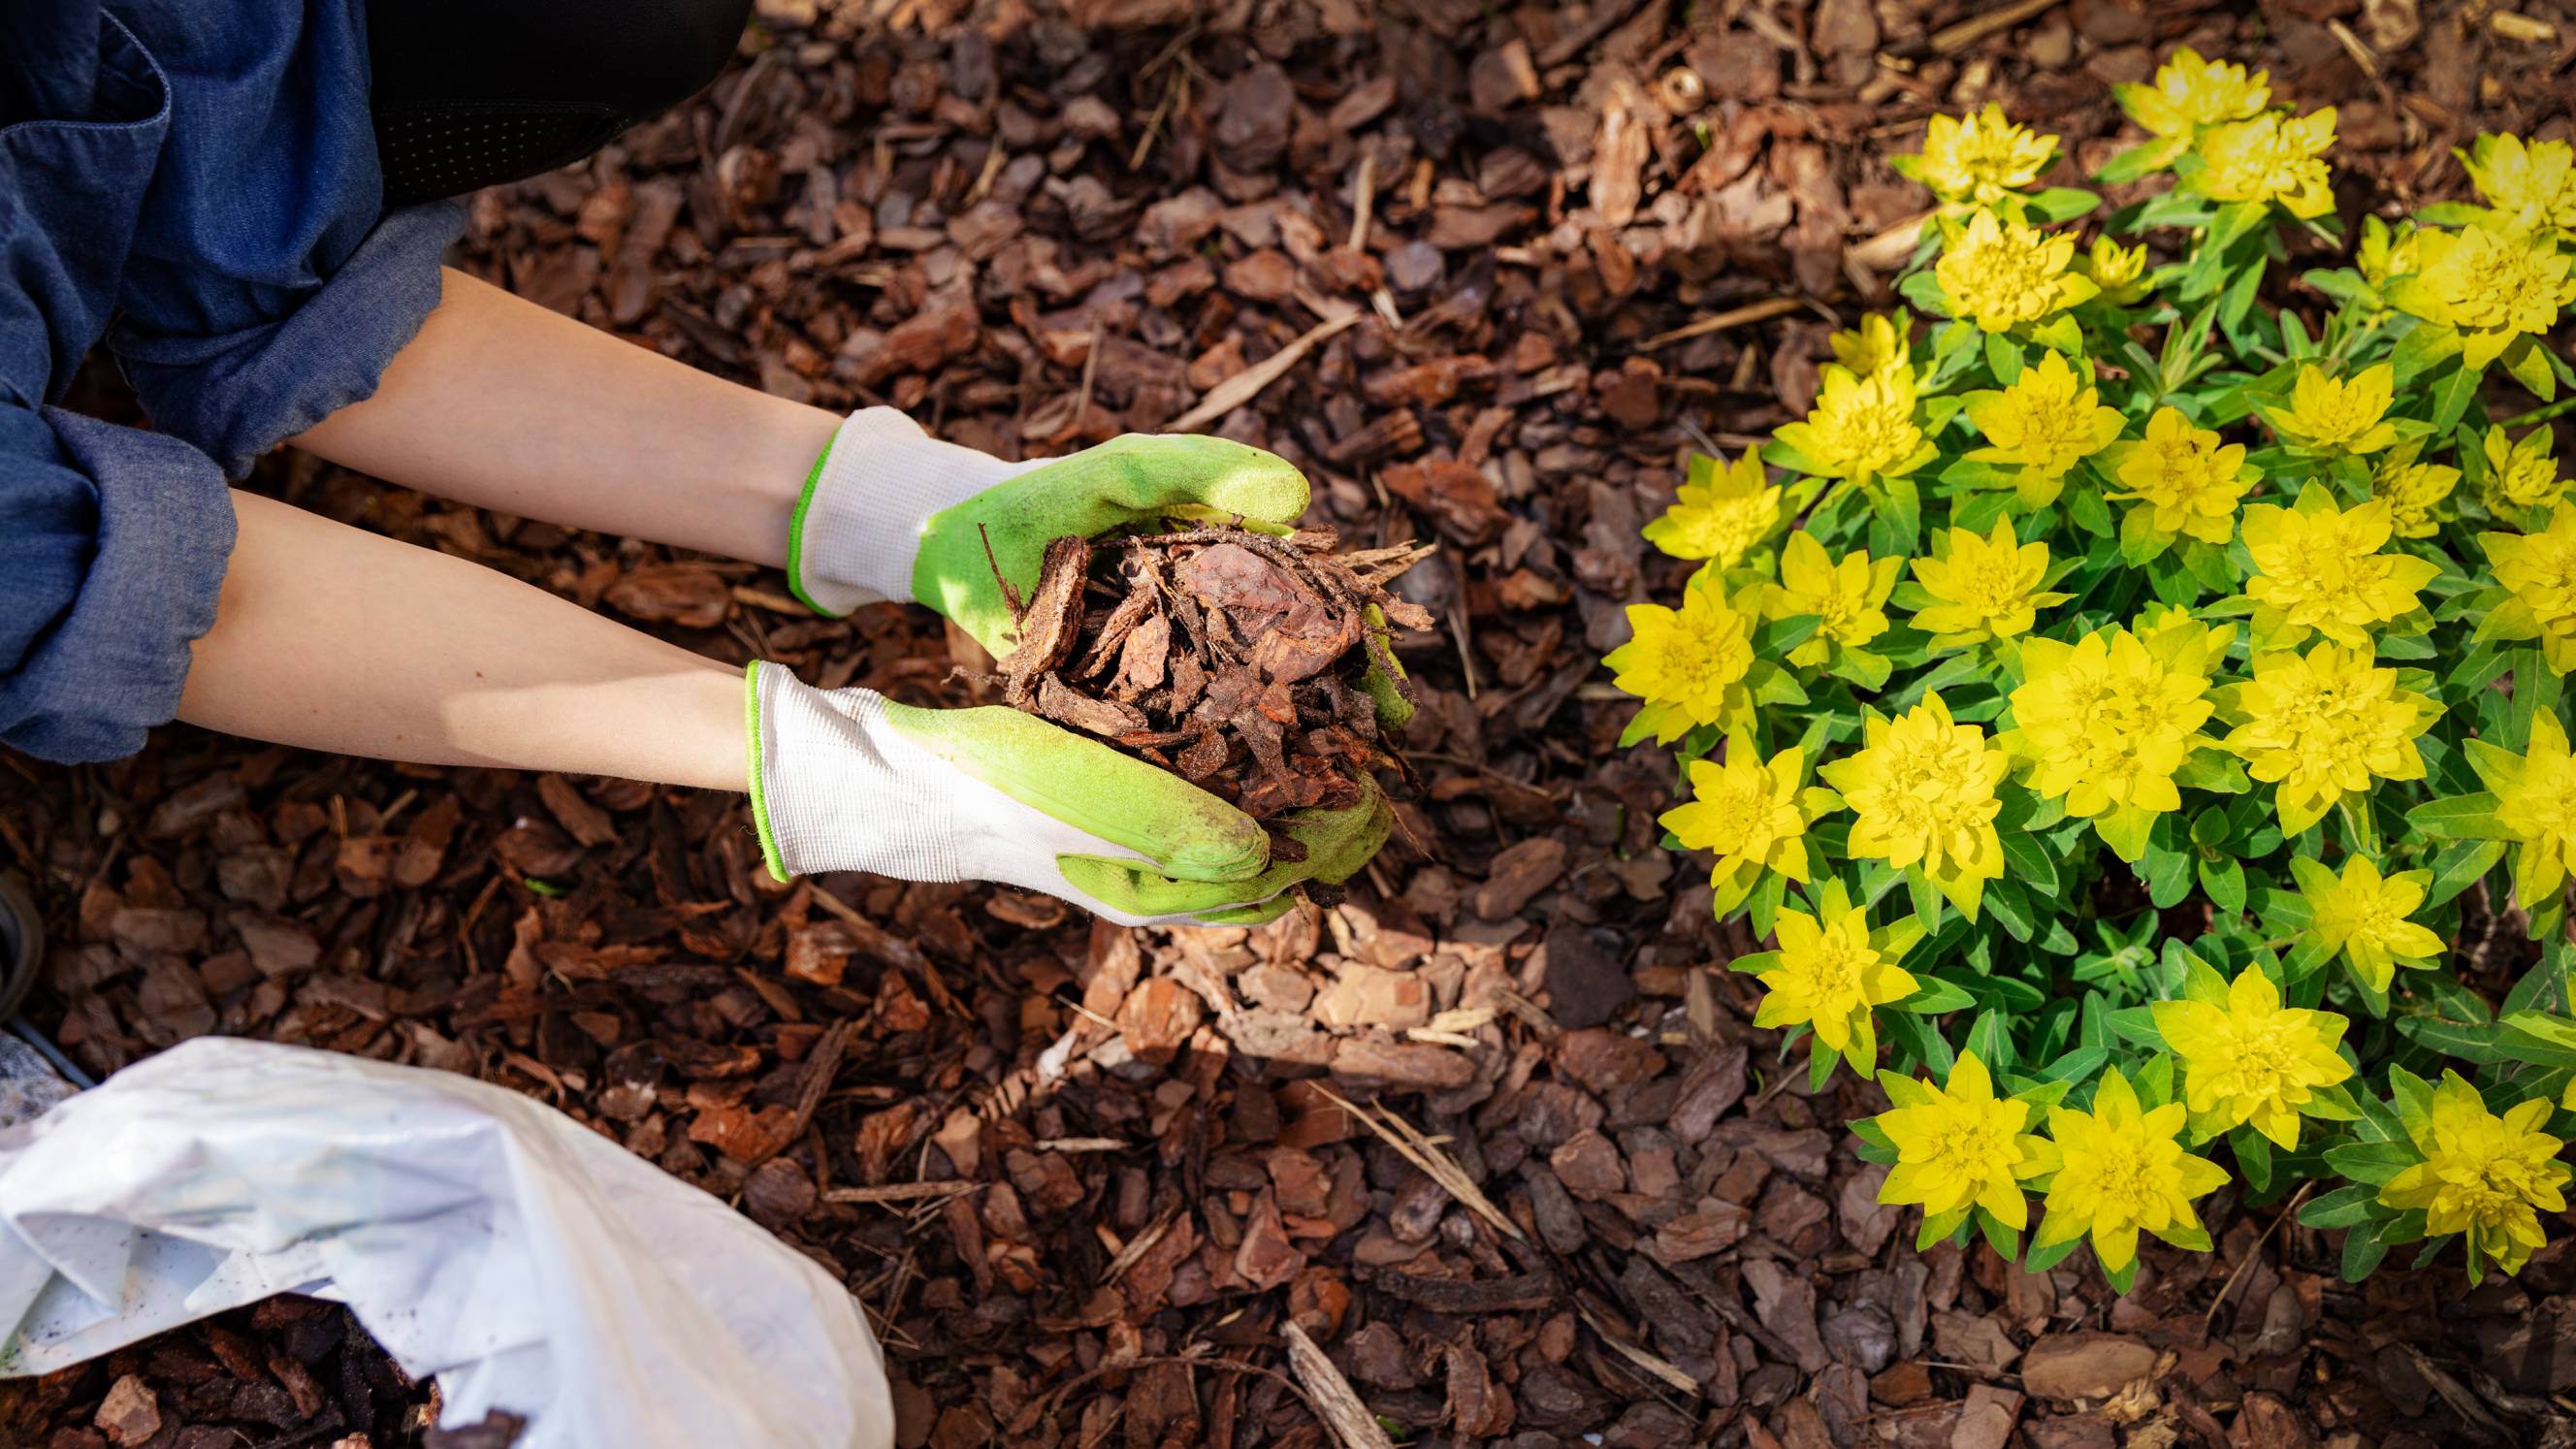
How much does mulch cost?
Read more
How much does garden clearance cost?
Read more
How much does weeding cost?
Read more
How much does hedge removal cost?
Read more
How much does a garden room cost?
Read more
Related articles
8 steps to build a DIY pond filter
Read more
How to prune roses the right way
Read more
How to trim bushes the right way
Read more
13 Best Spring Gardening Tips
Read more
How to clean garden stones
Read more
36 Quirky plant pot ideas you’ll love
Read more
Your garden maintenance checklist
Read more