- Home/
- Guides/
- Shrub & Bush Trimming/
- How to Trim Bushes
How to trim bushes the right way
Your step-by-step guide to lusher foliage and healthier bushes
Last Updated on
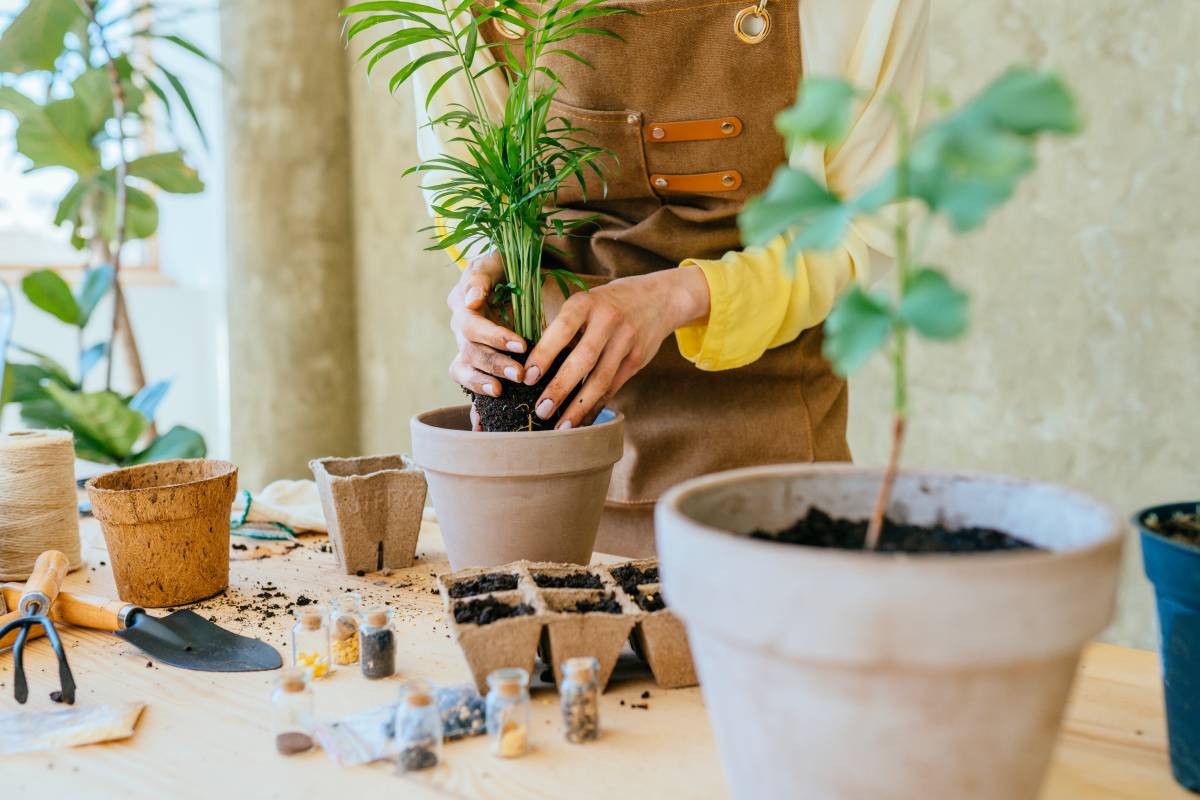
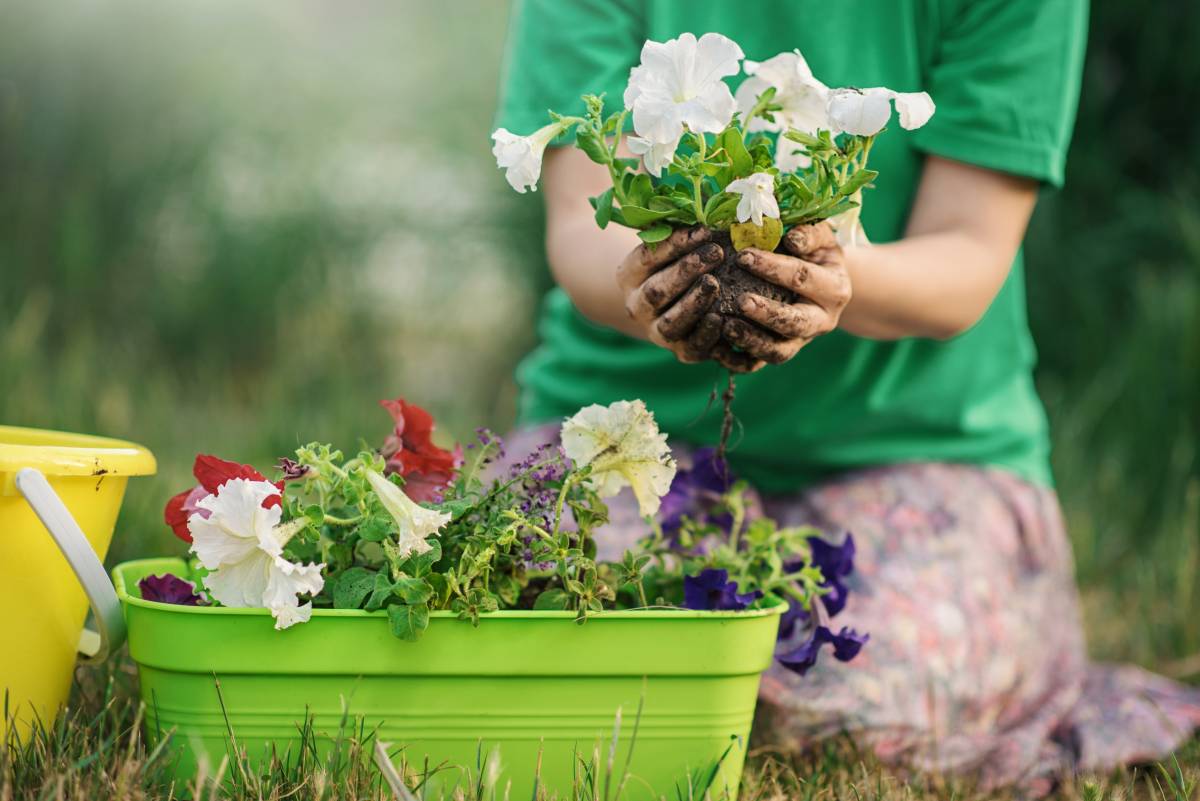
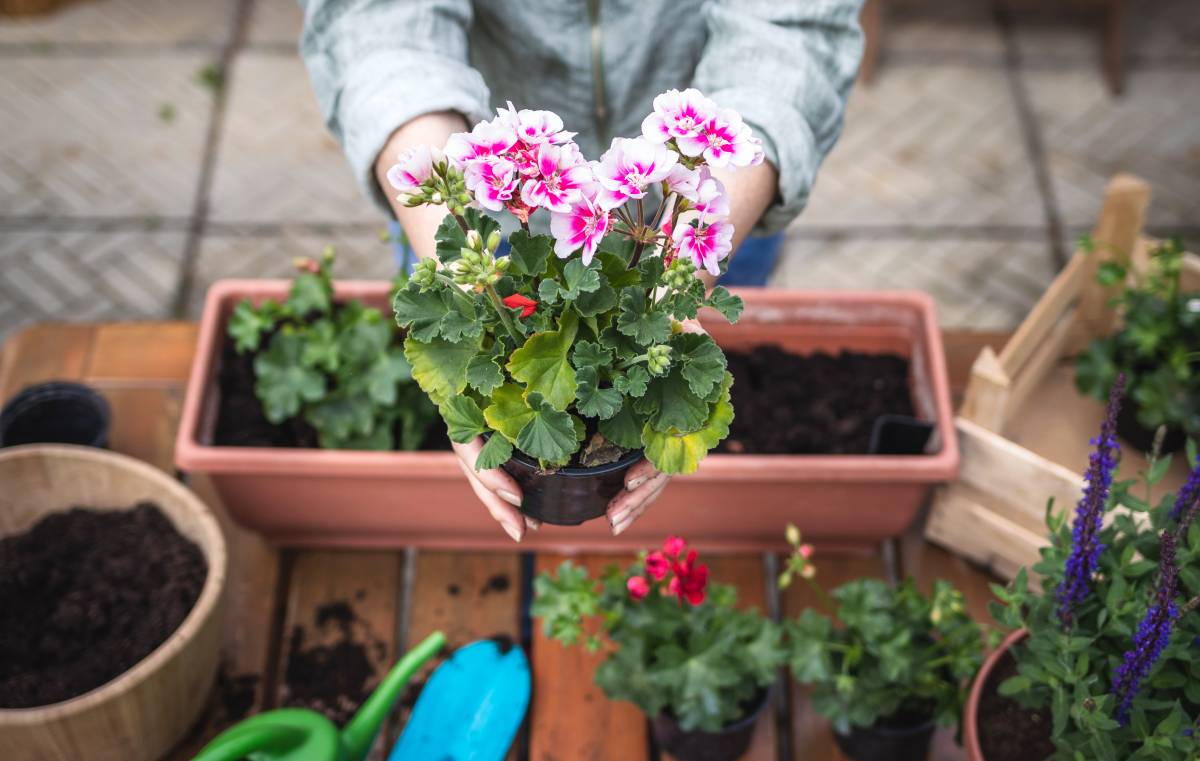
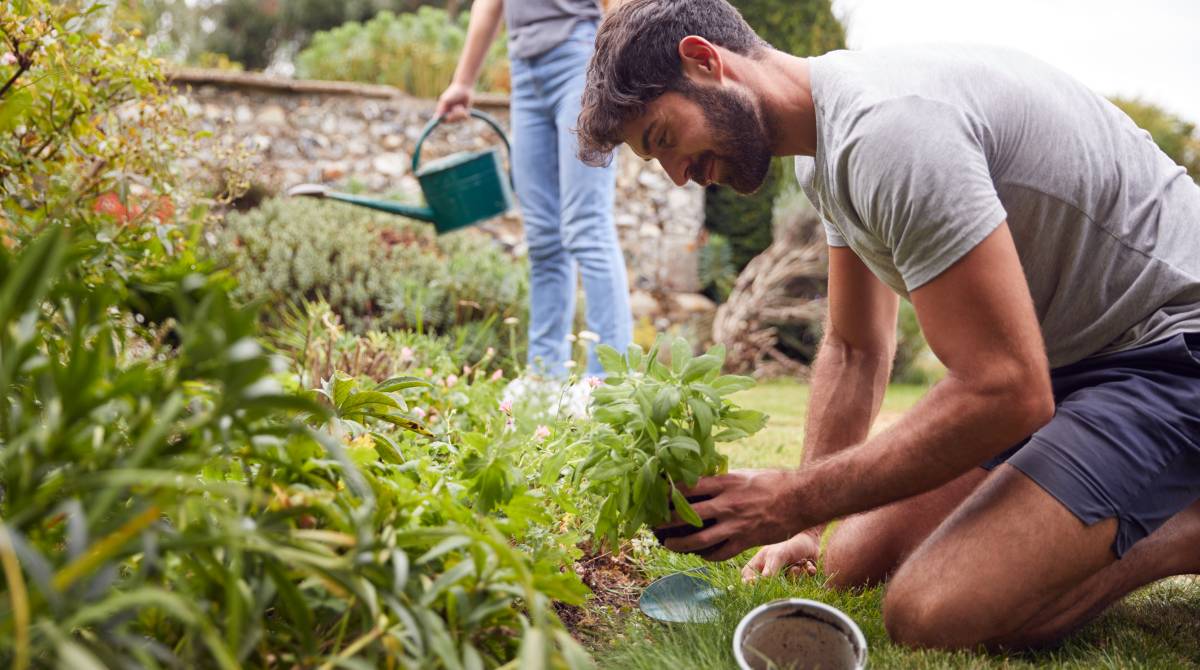
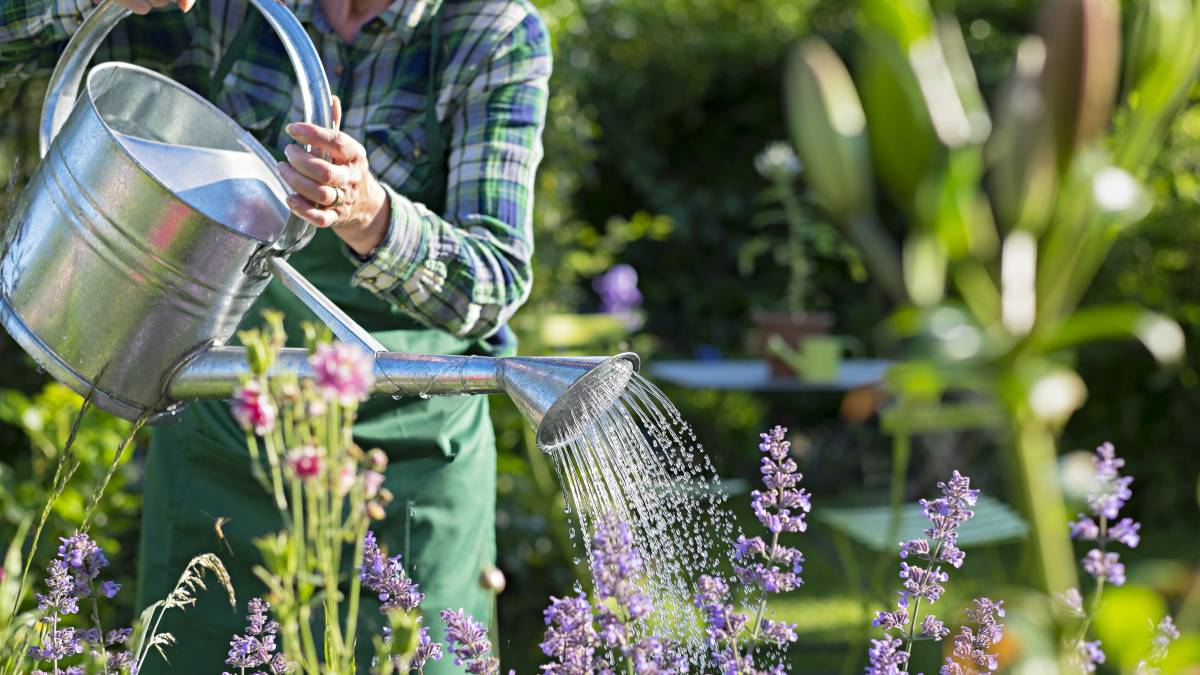
Planting bushes isn’t a one-and-done process. Bushes and shrubs need proper and consistent maintenance to thrive. If you’re new to gardening or exploring this new skill, you’re probably wondering how to trim bushes the right way.
Here’s a complete guide on trimming bushes and shrubs to achieve lush foliage.
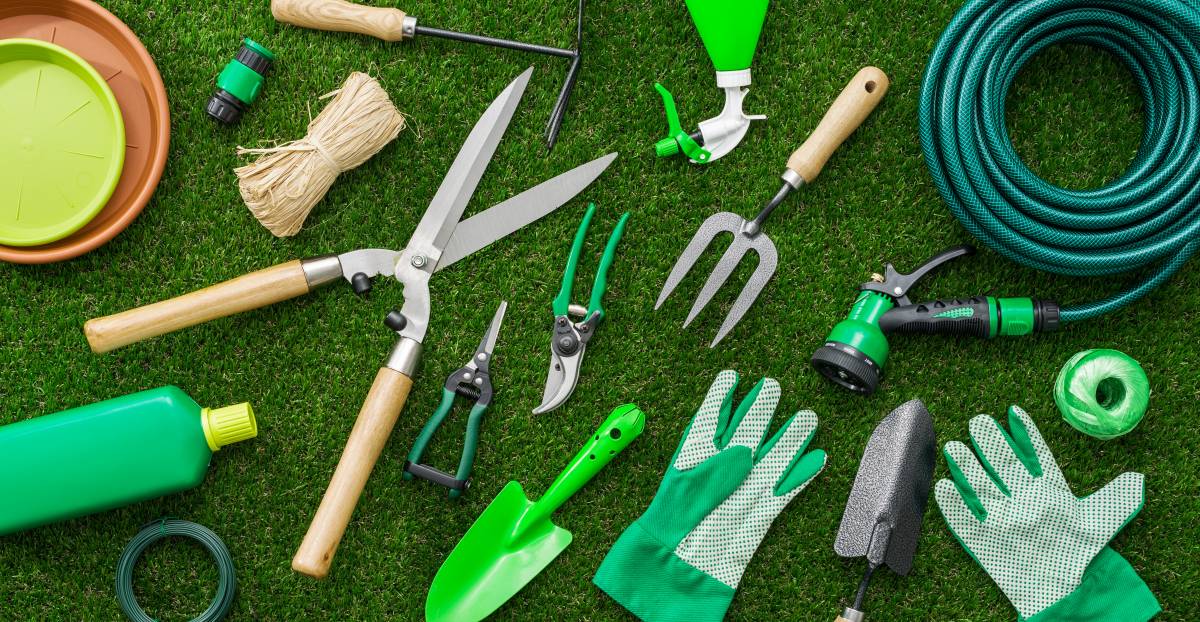
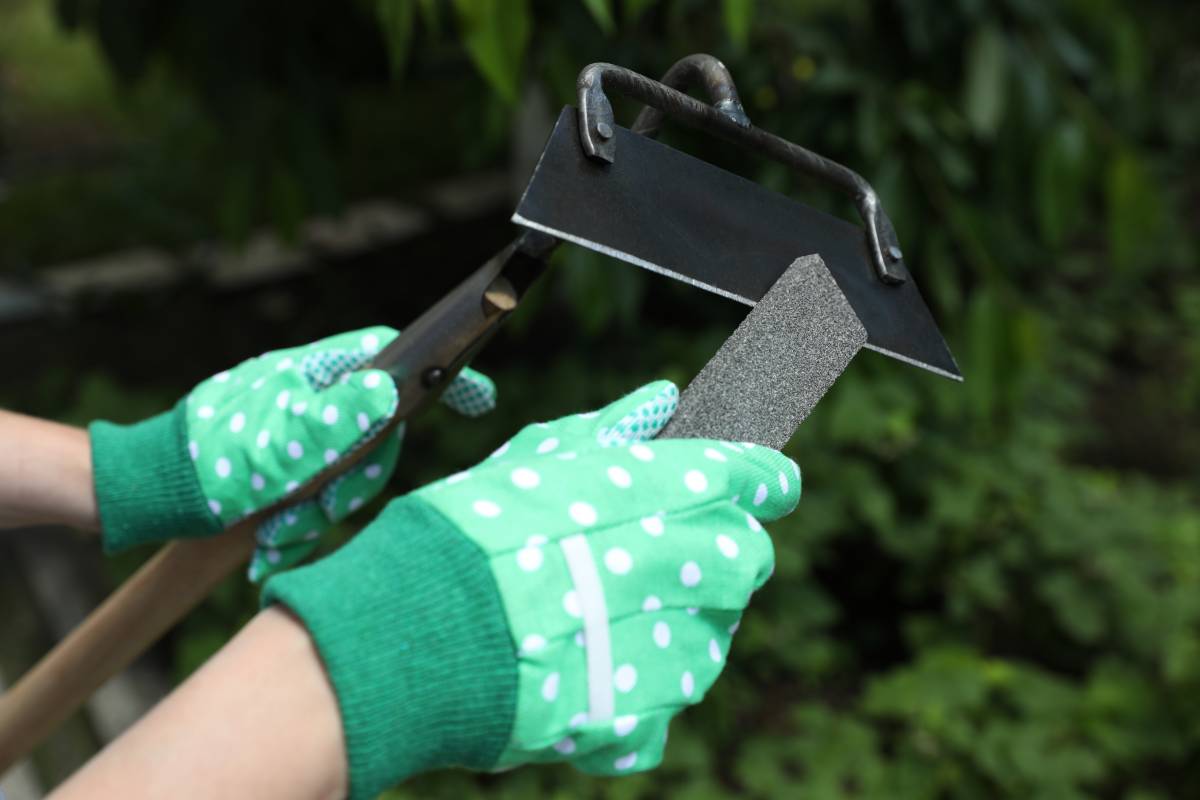
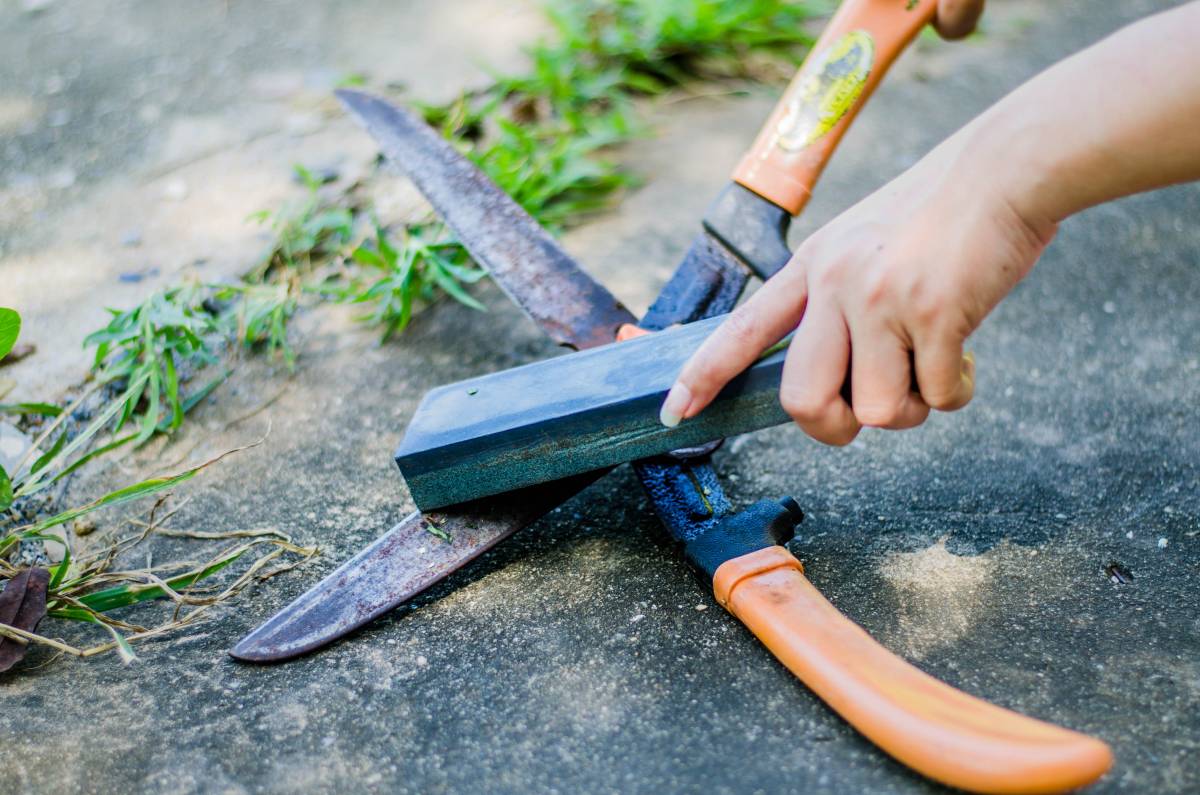
Tools you need for trimming bushes
The right tools are essential so you don’t handle sharp thorns and twigs with your bare hands or less efficient tools. Make sure to have these handy tools to tame your “home jungle.”
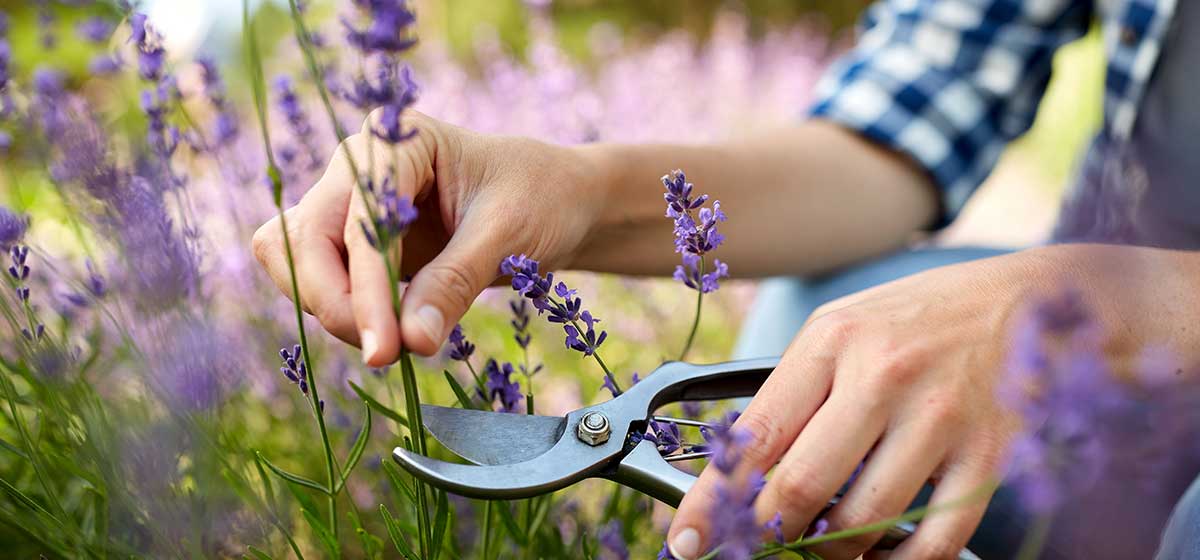
- Basic pruning shears - For removing small branches
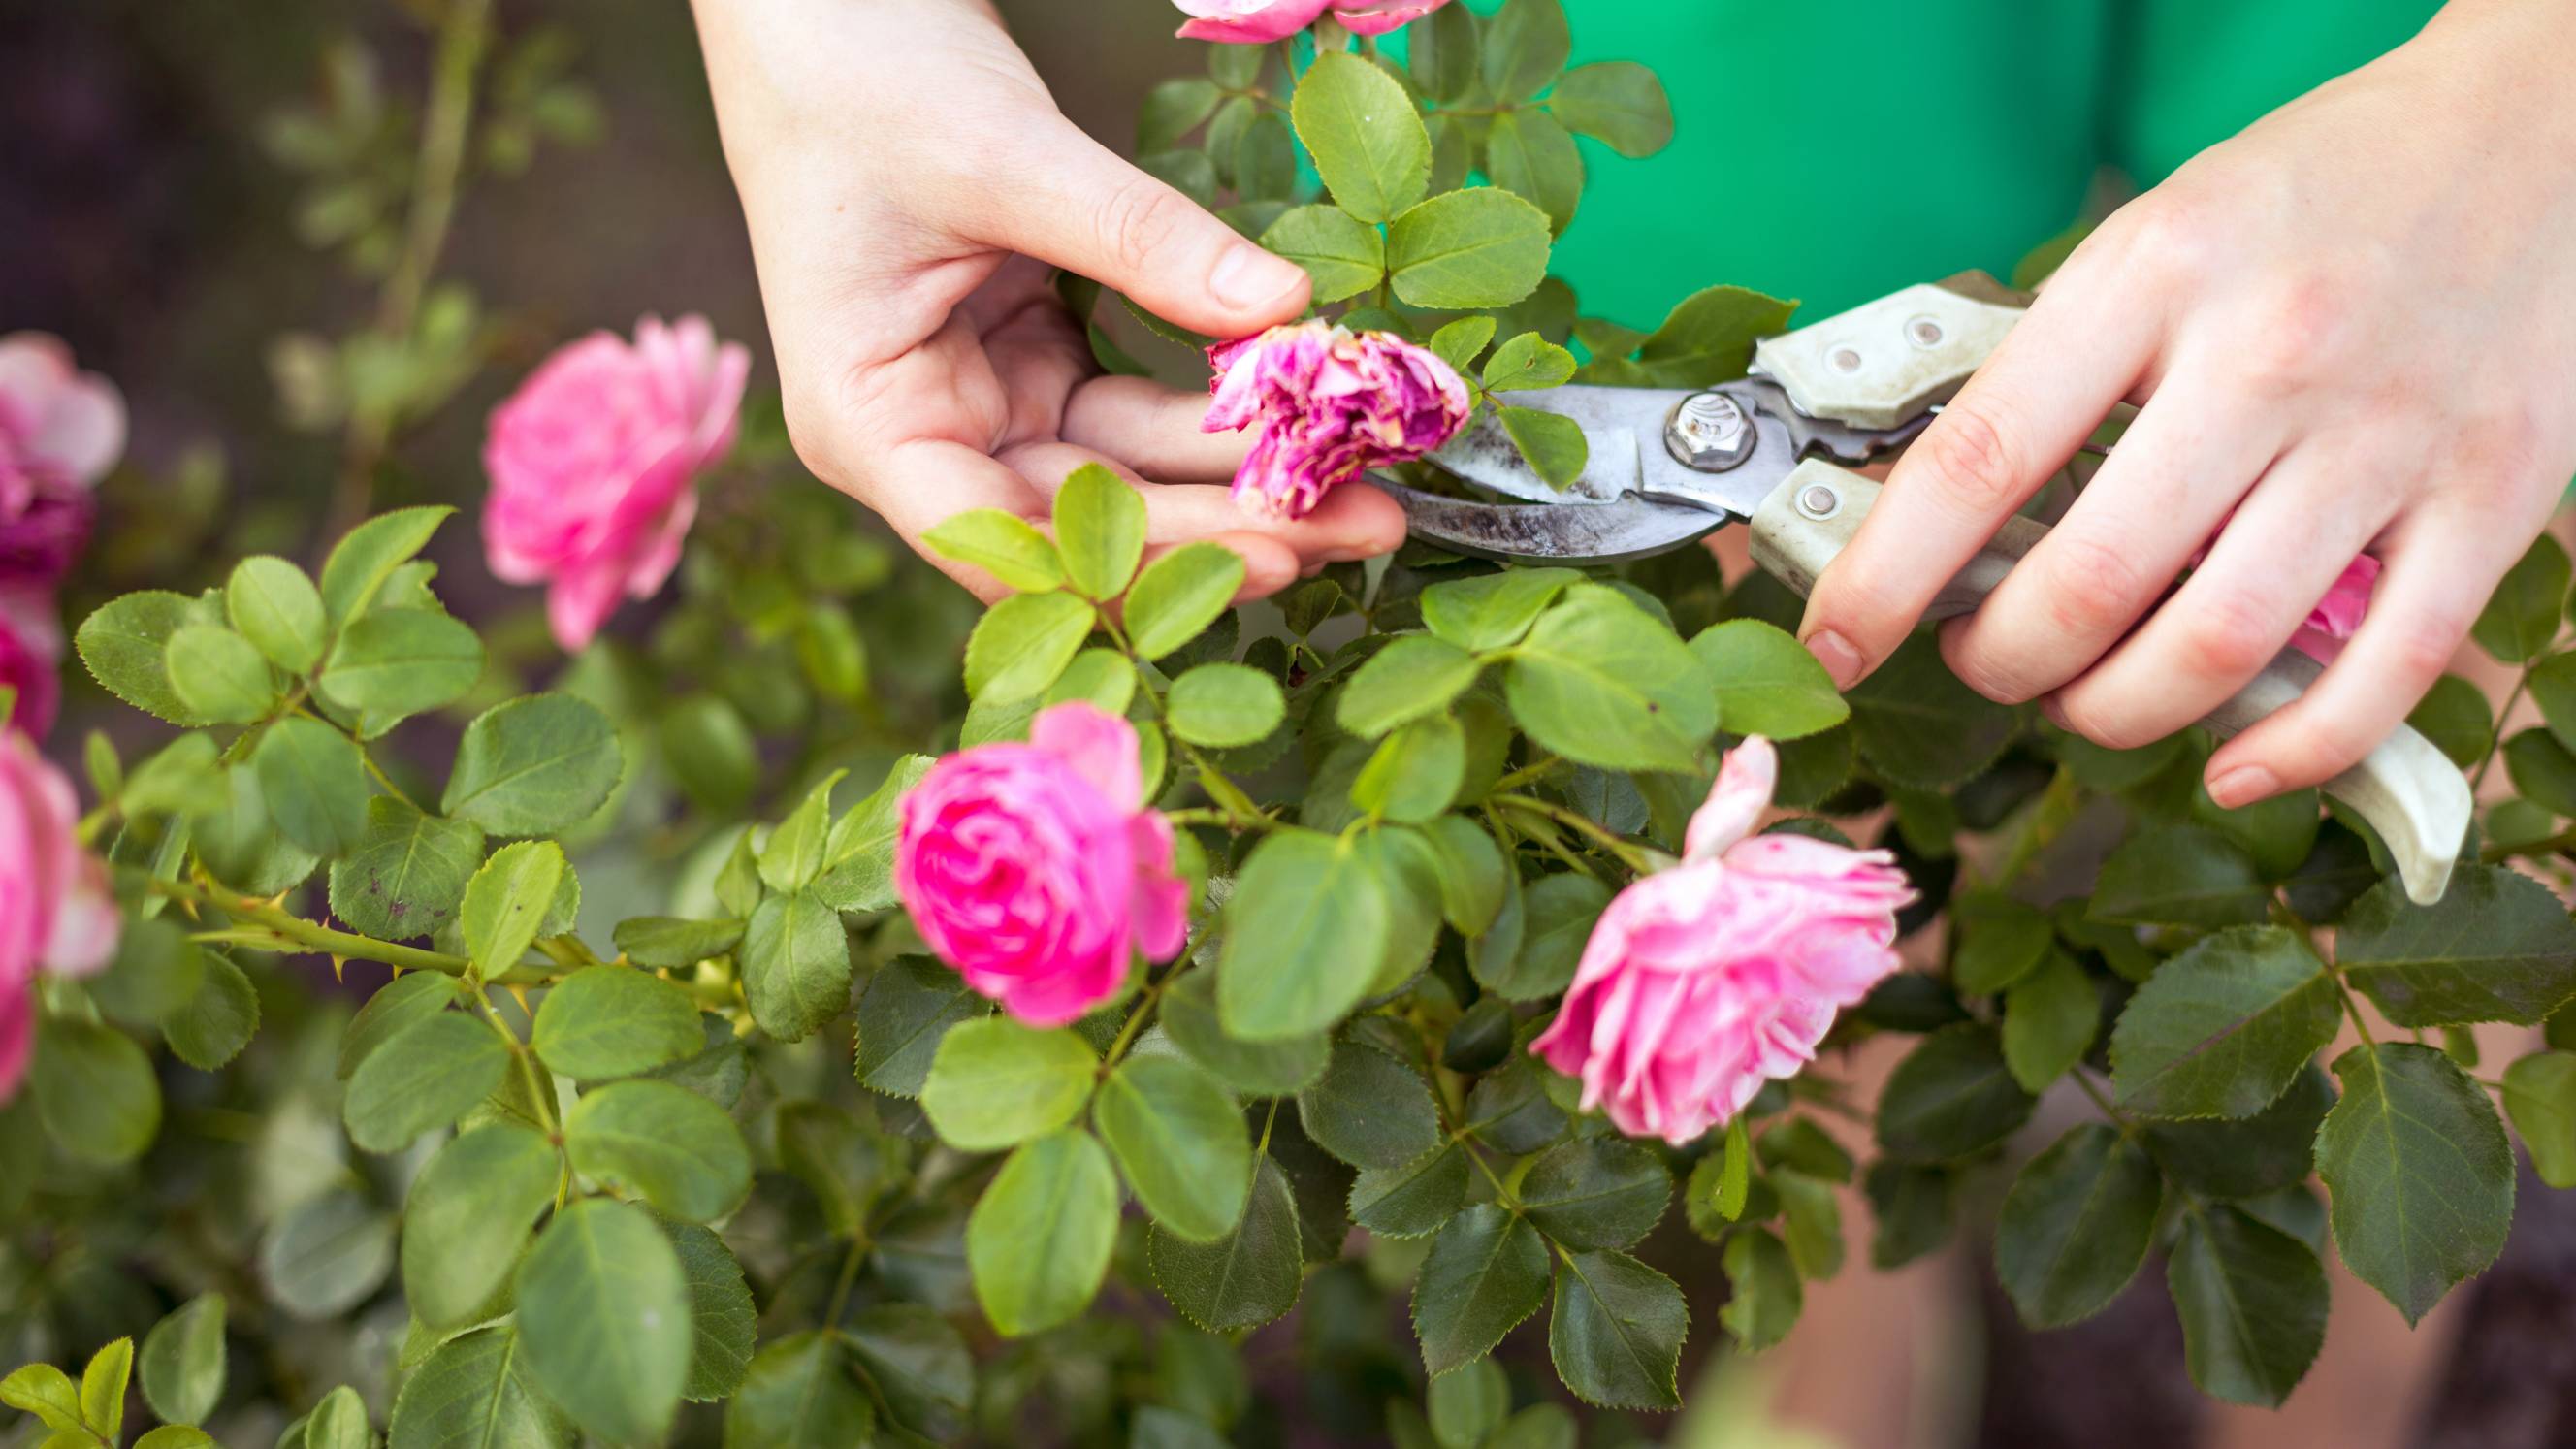
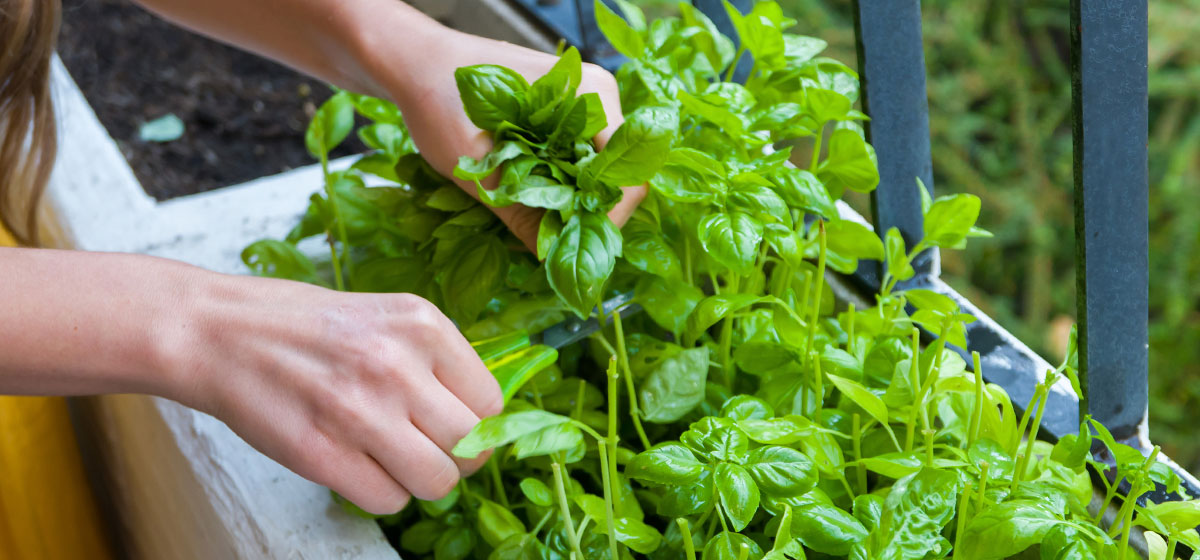
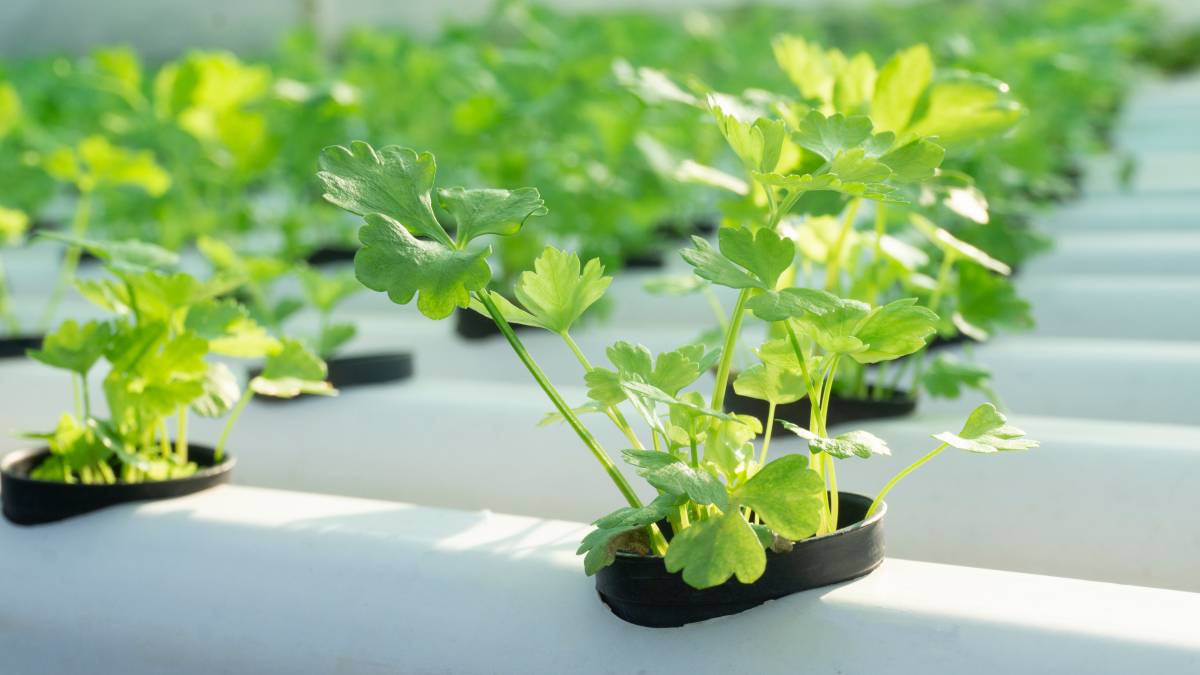
- Bypass snips - Excellent for cutting herbs and flowers
- Bypass lopper - A lopper’s extended arms allow you to reach further inside a bush, shrub, or tree. Use this tool for jobs that are too large for shears but not big enough for a saw.
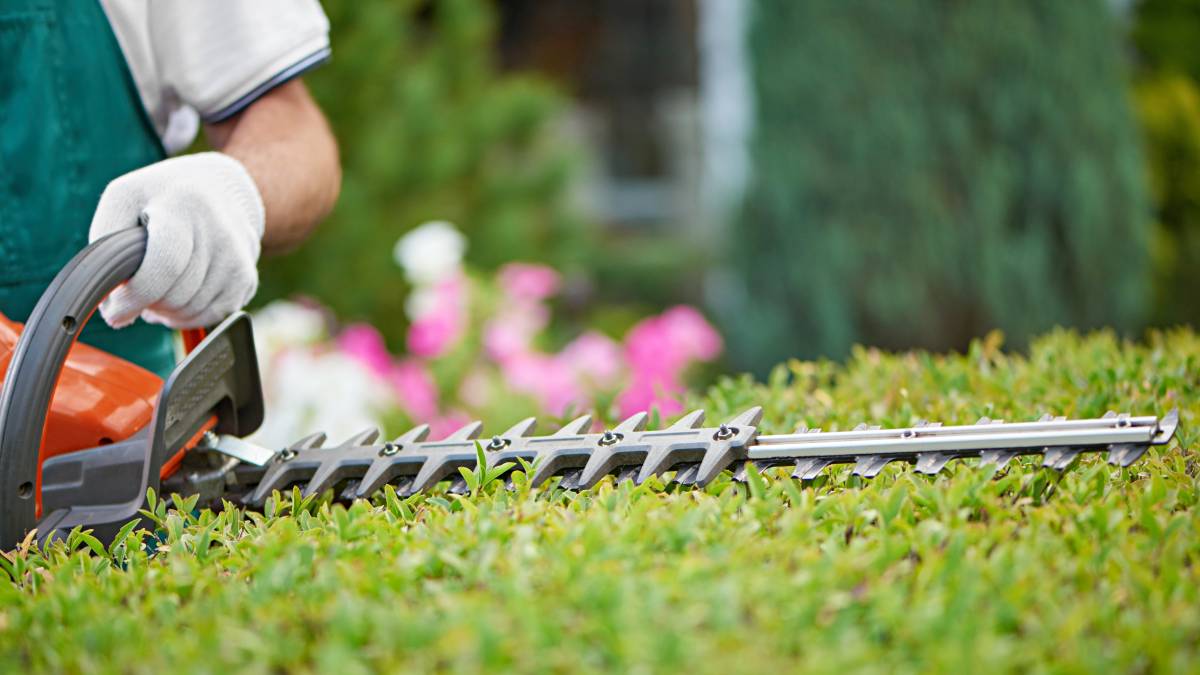
- Electric hedge trimmer - For cutting the tips off of uneven bushes and shrubs. Best used sparingly as electric cuts are not the best for a plant’s long-term health
- Safety glasses - To protect your eyes from sharply cut branches
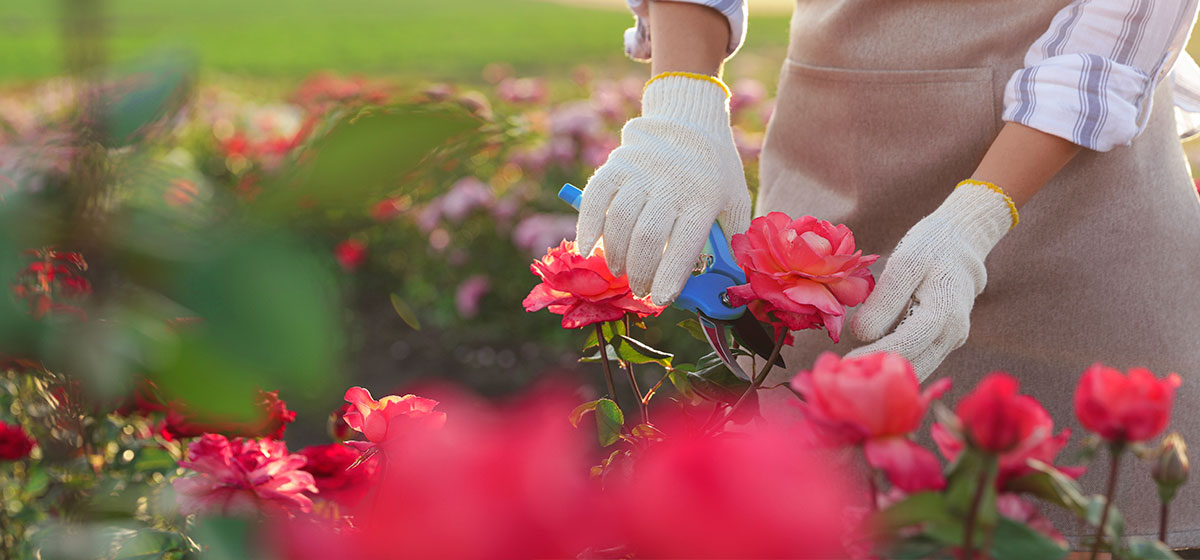
- Garden gloves - To prevent you from cutting or nicking yourself
-
Protective footwear - To comfortably maintain your garden while protecting your feet from any heavy tools or debris
☞ Also read:
- Essential gardening tools for your home garden
- Pruning and trimming: What’s the difference?
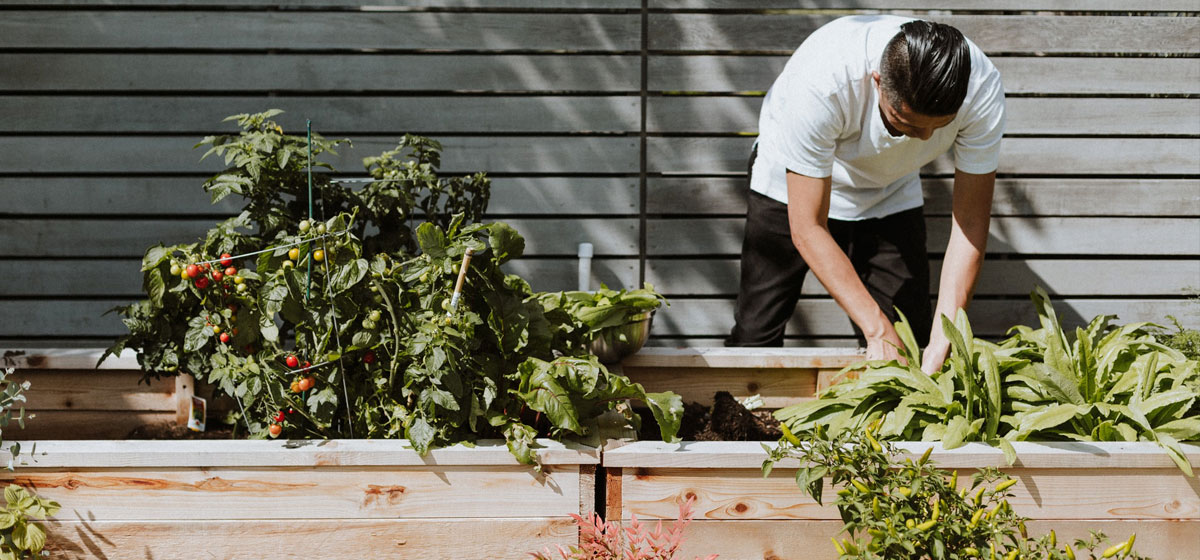
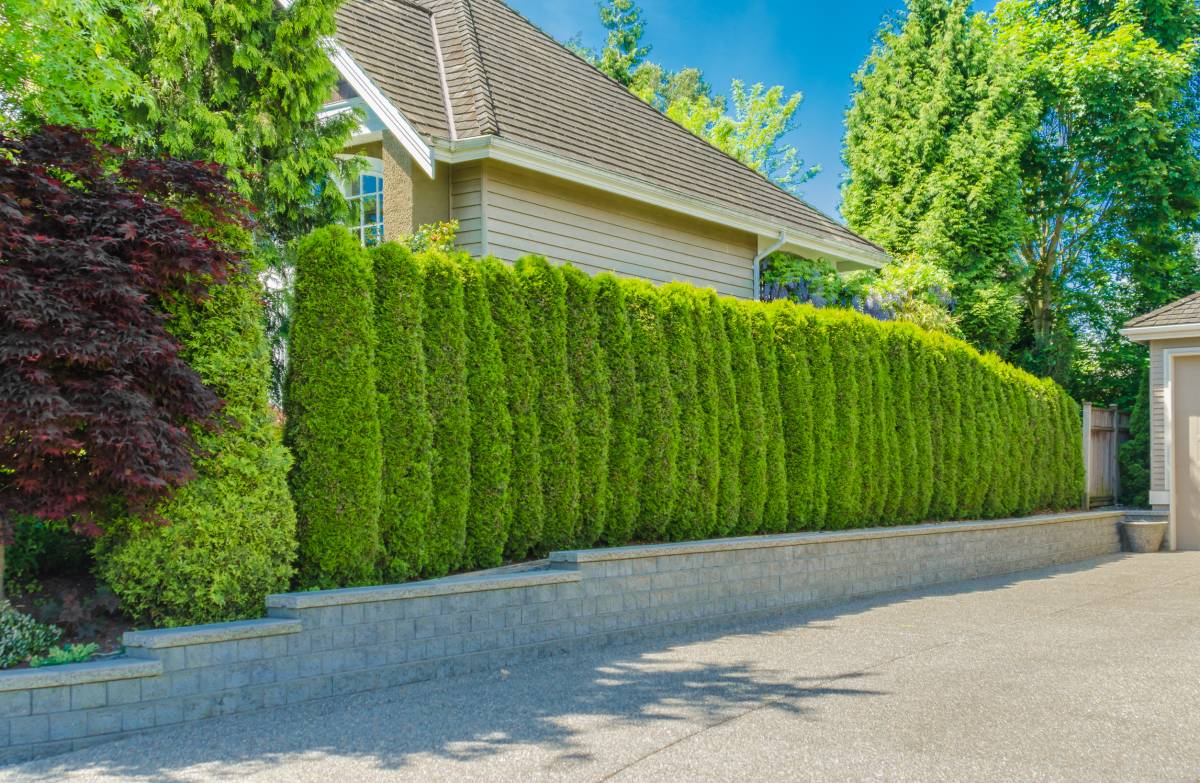
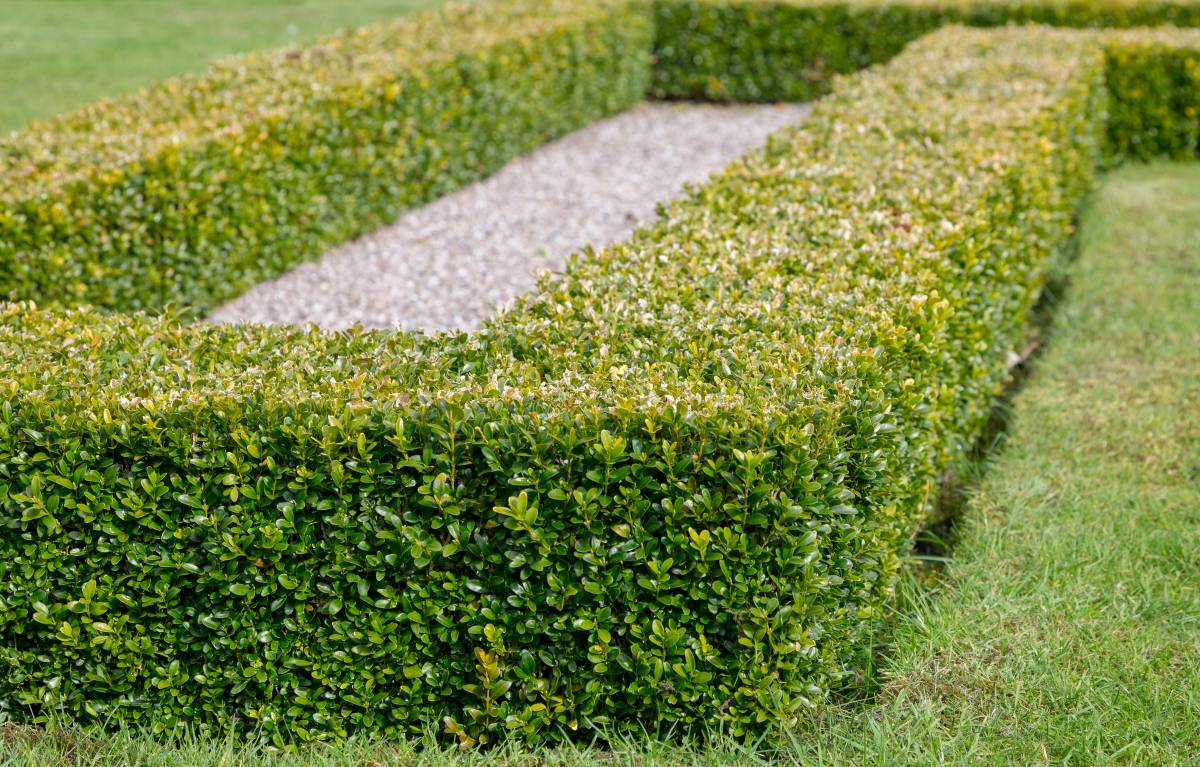
How to trim your overgrown bushes
Overgrown bushes look unruly, and the leaves and branches stick out at odds and ends. These bushes also no longer have a uniform shape or height.
Here’s a step-by-step guide to trimming your overgrown bushes.
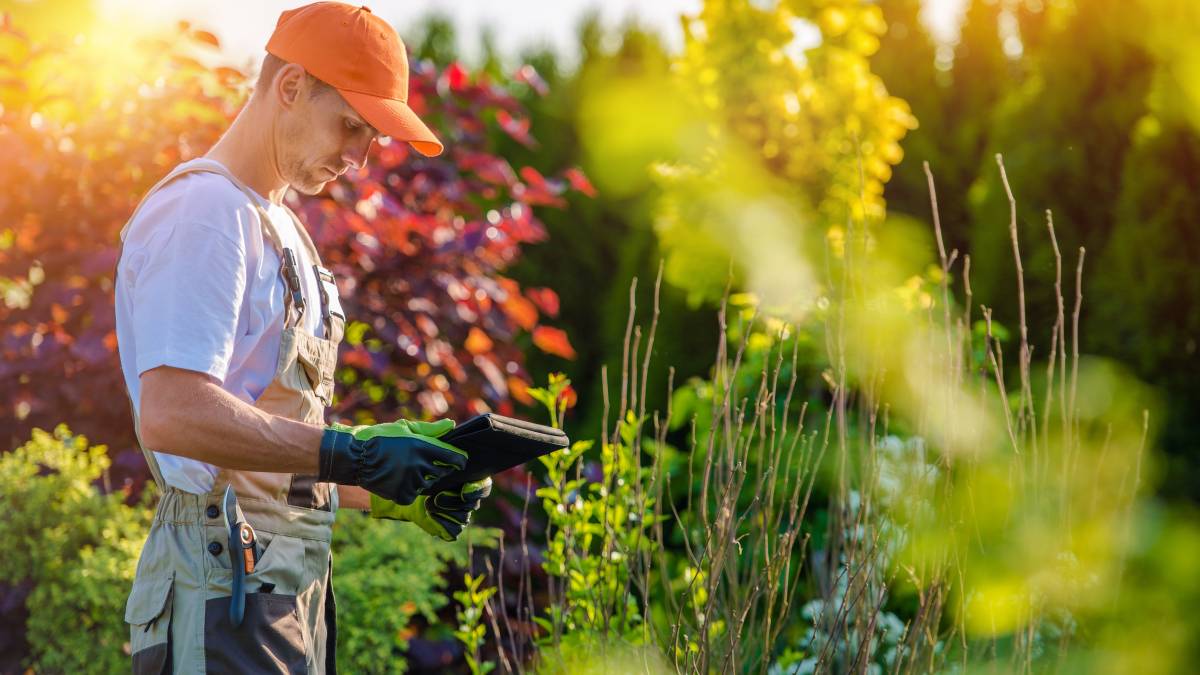
Step 1: Assess if it’s the right time to trim your bushes
Look through your bushes and shrubs, and inspect the leaves, branches, and corners. Doing so will help you decide if it’s the right time to give your bushes a makeover.
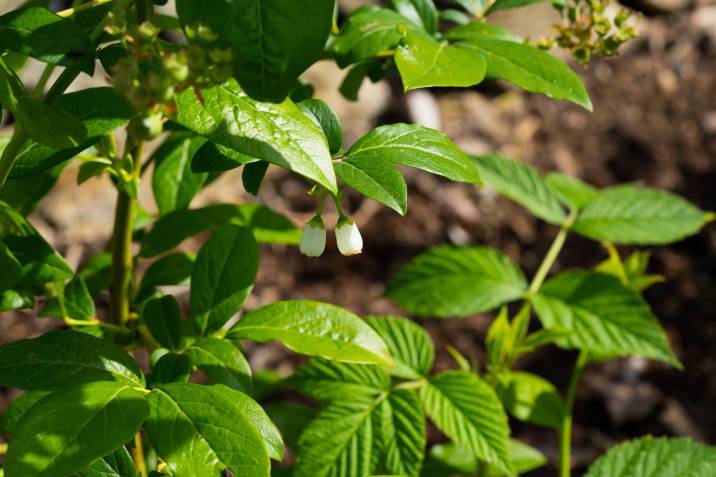
For flowers that are in mid-bloom: Trim your bushes in the wintertime when the flowers are dormant, so you don’t stunt their growth.
For evergreen bushes (i.e., foliage that remains green for more than one season): Trim these bushes at any time.
Step 2: Lay a tarp under the bushes
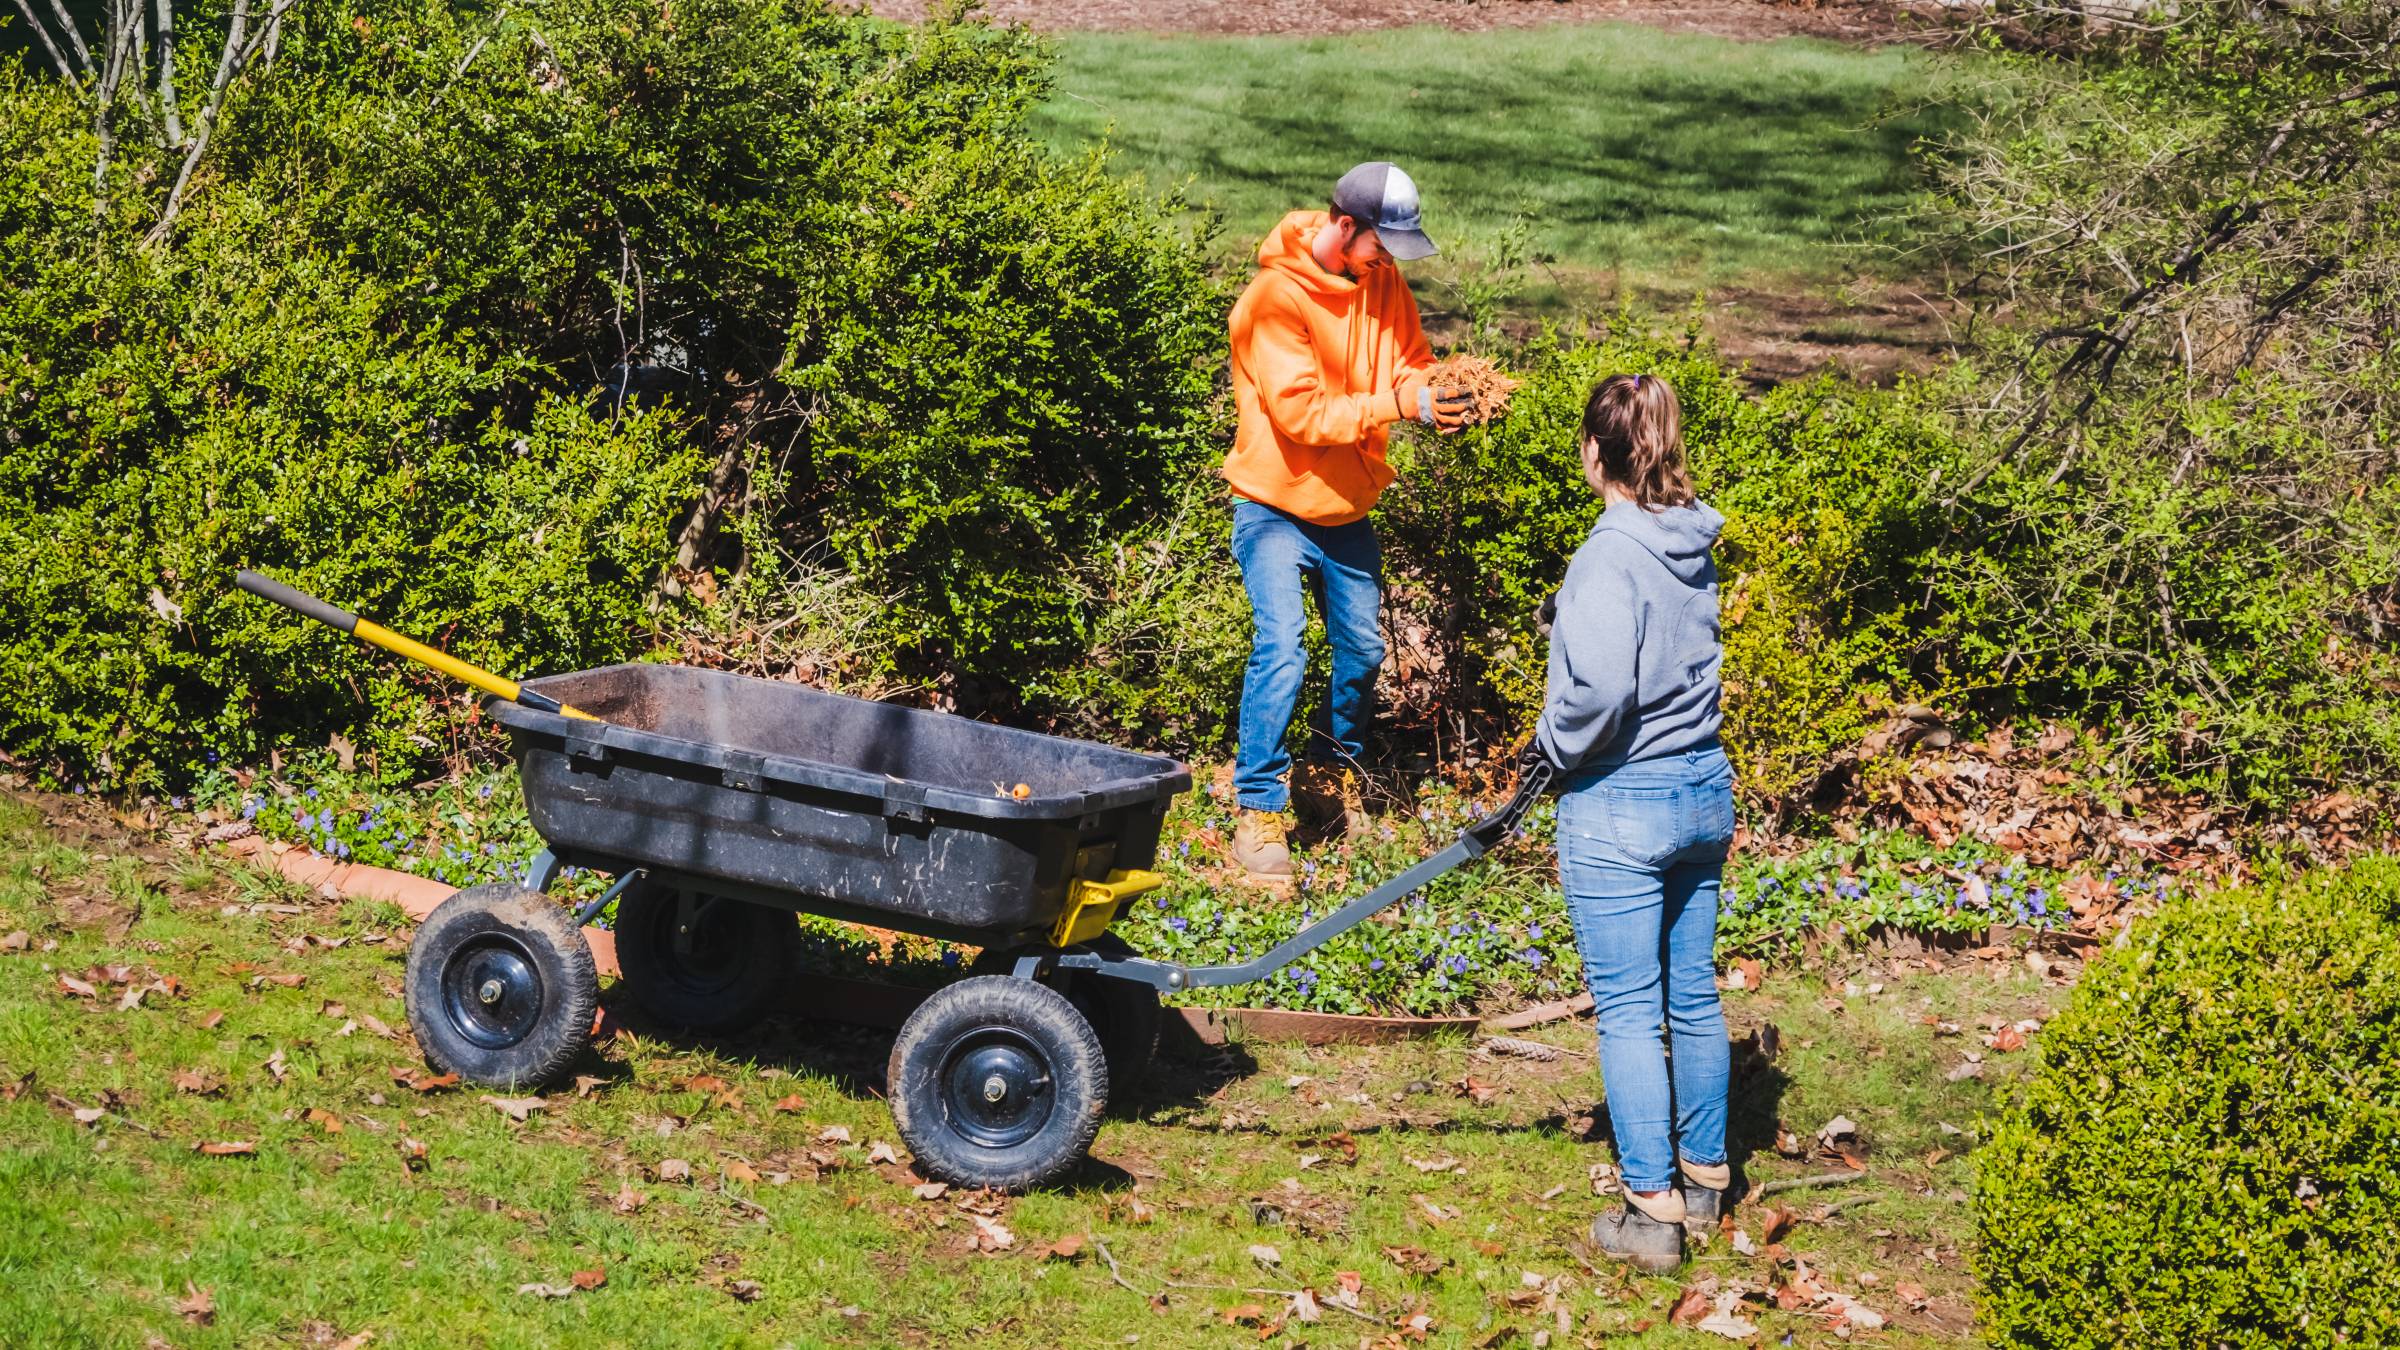
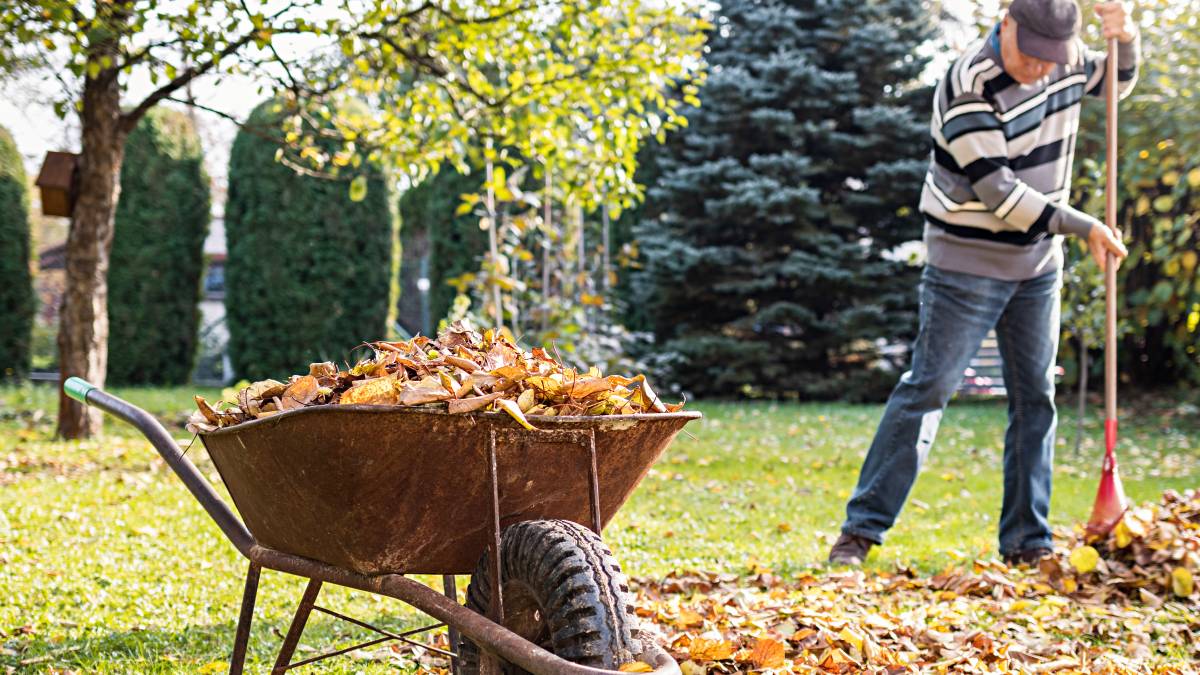
Place a large tarp under the bushes or shrubs for easier cleanup. This will help catch branches and leaves that fall off while you trim the bushes. If you trim several bushes and shrubs, put the debris you’ve accumulated in a bucket or container and move on to the next area.
| Hire a garden clearance service to collect your garden waste after you trim the bushes. |
Step 3: Place stakes on each side of the shrub
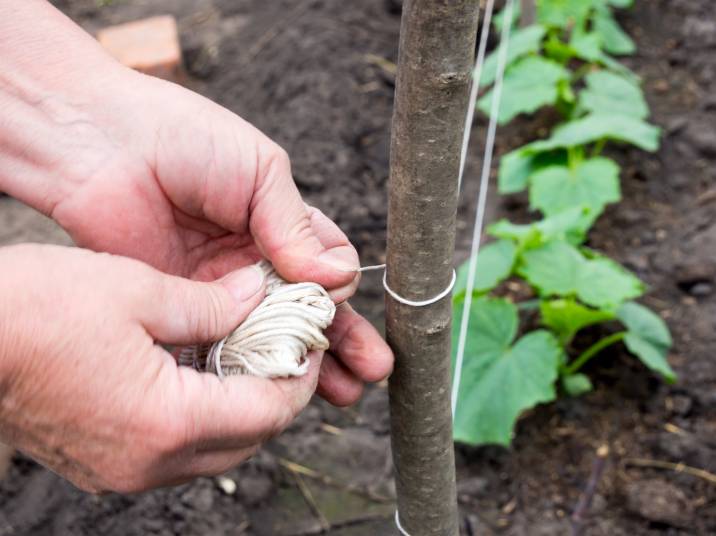
Place stakes on the sides of your bush and tie a string between them. Make sure the string is taut. You’ll use this as the reference height when trimming your bushes. If your bushes are near your home’s patio or a wall, you can also use that as a guide.
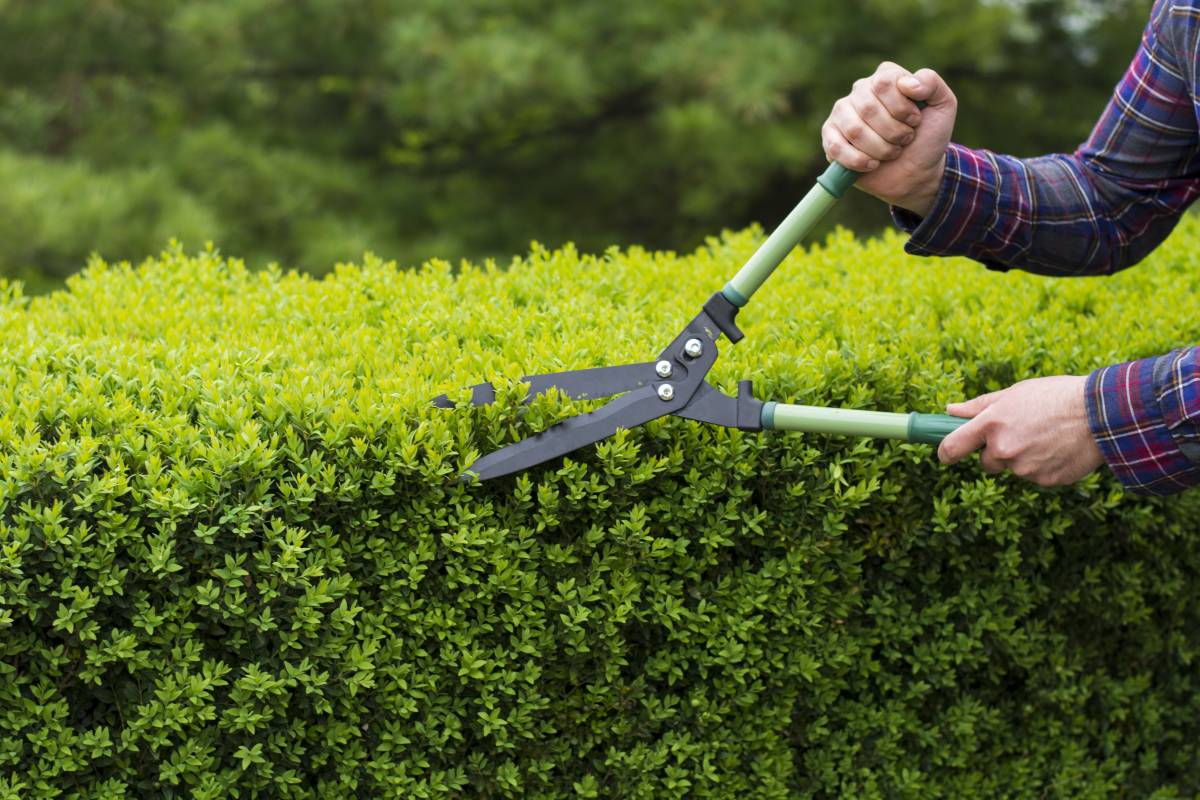
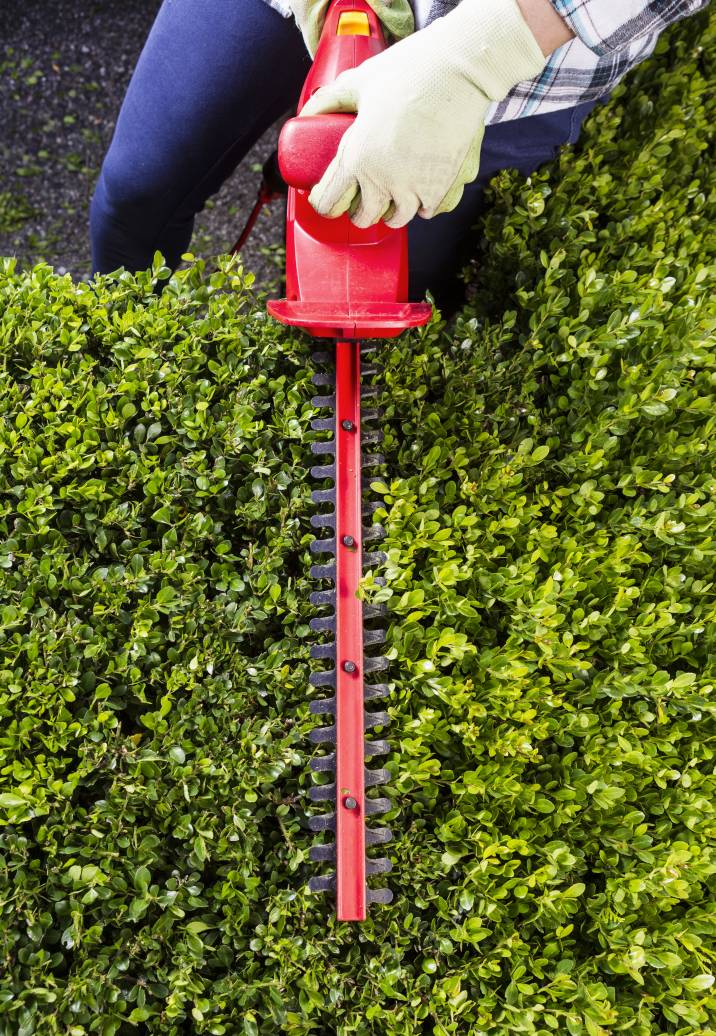
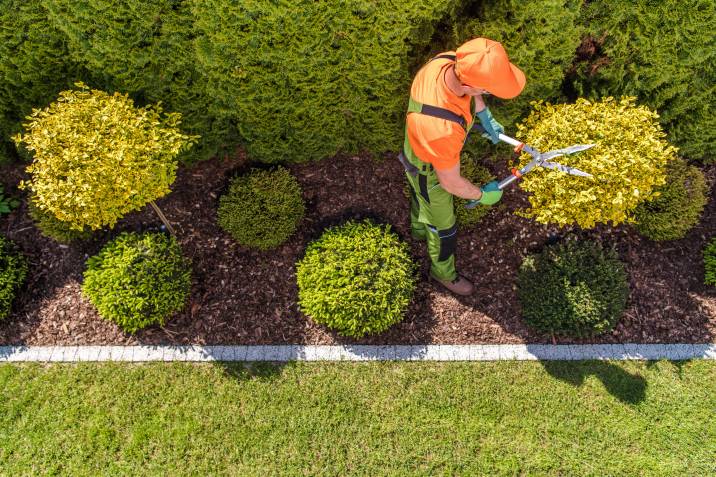
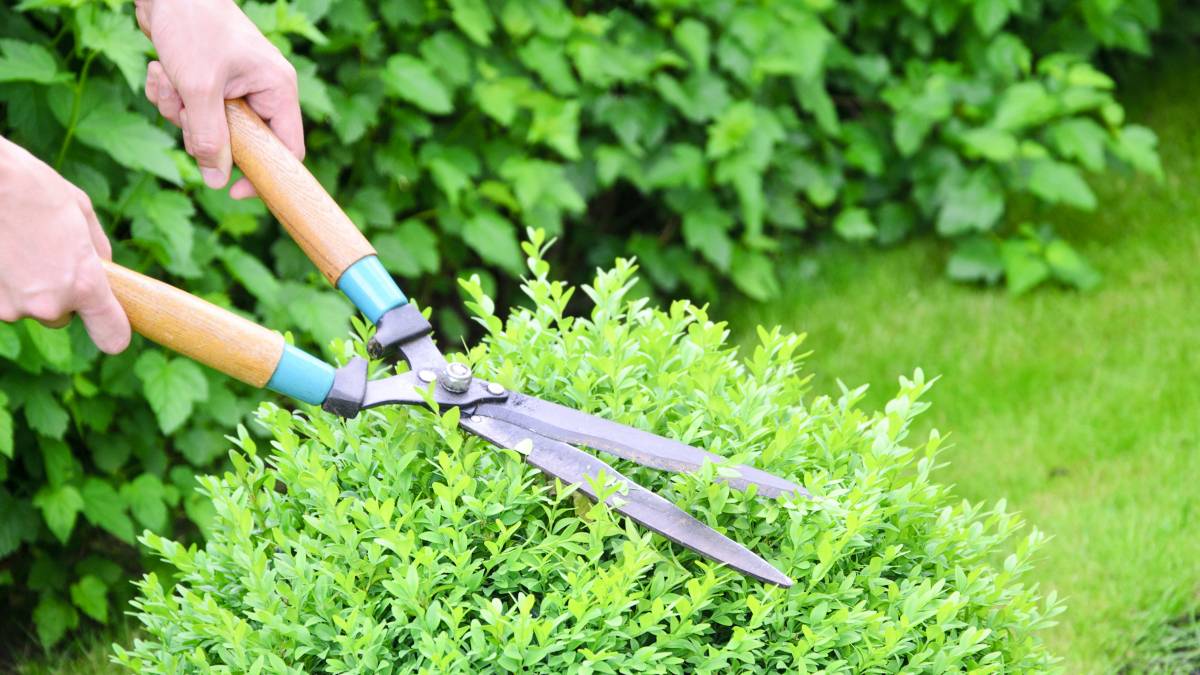
Step 4: Trim the top of the bushes
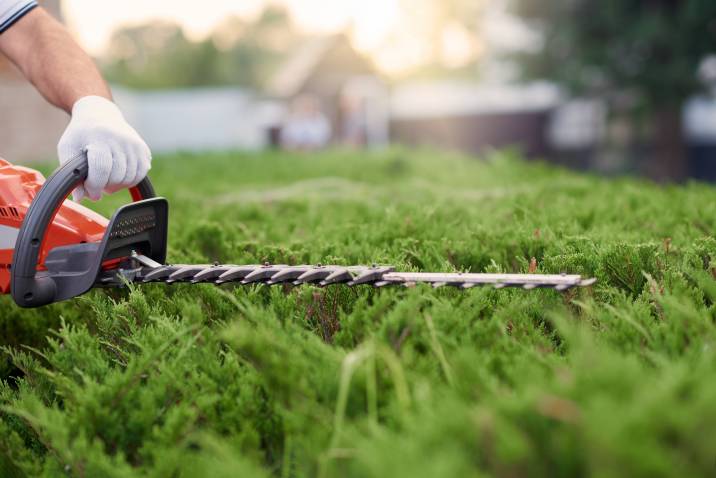
With an electric trimmer, start cutting your bushes and shrubs no lower than the string to keep the top looking even. An electric trimmer will help you get a smoother finish. But if you prefer using shears, go ahead.
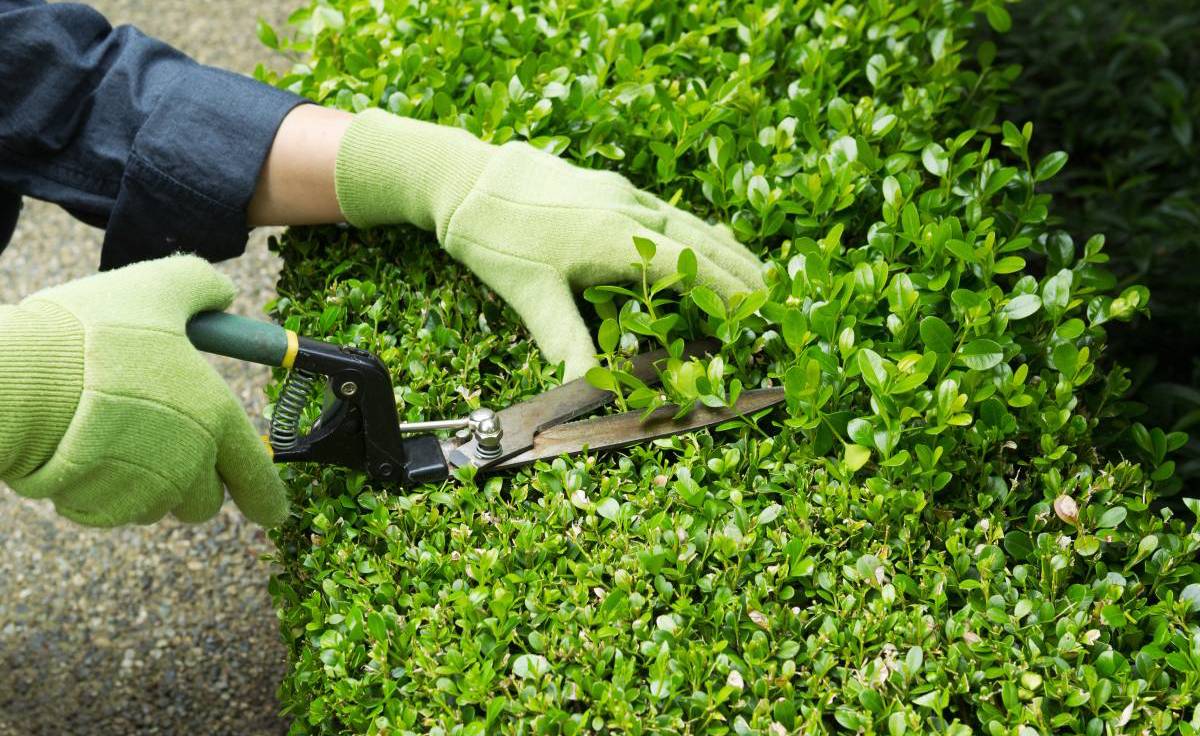
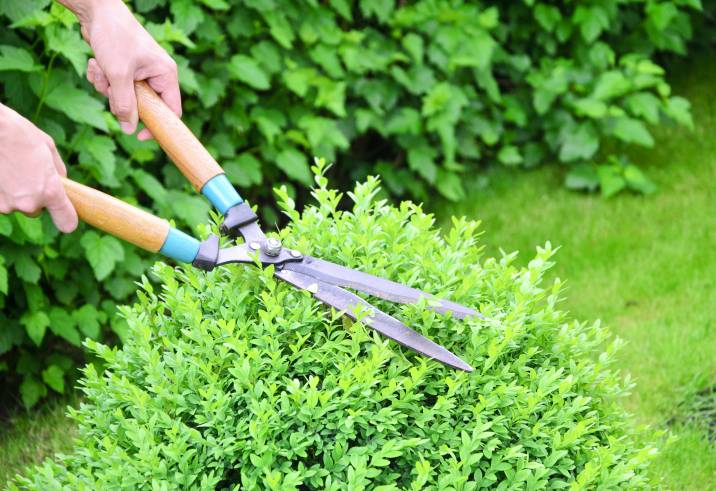
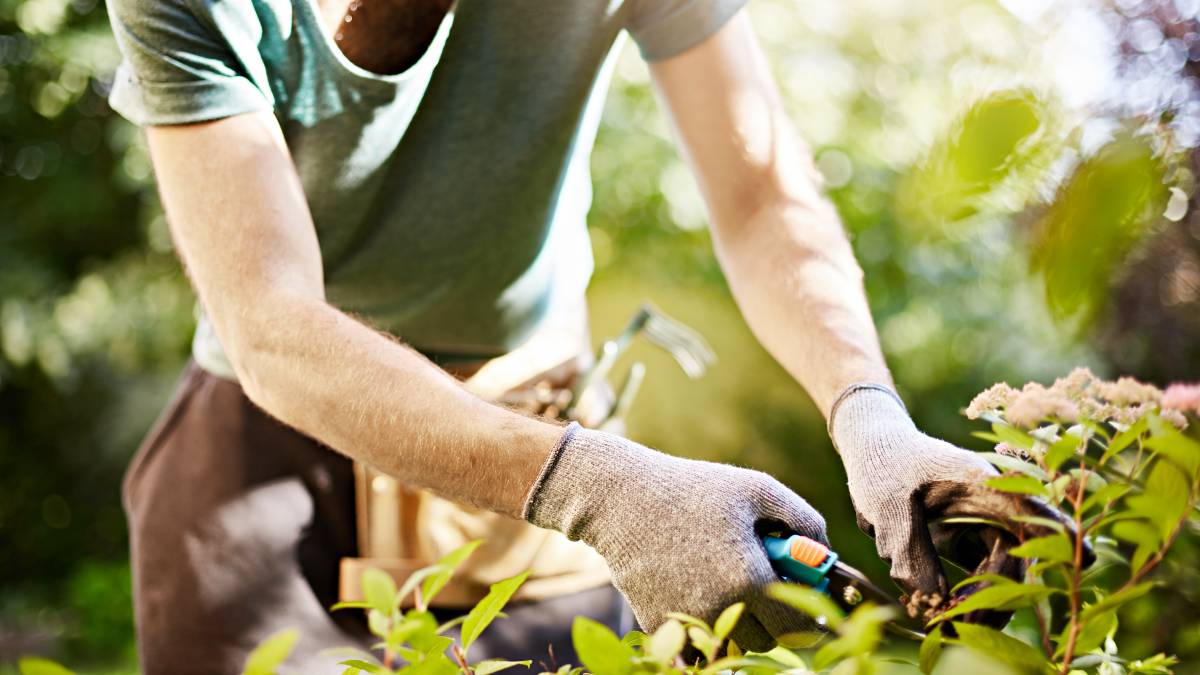
Step 5: Work through the rest of the shrub from the bottom up
With your pruning shears, cut the bottom of your shrub in smooth, even strokes. Remove 2 to 8 centimetres (1 to 3 inches) at a time to avoid cutting off too much of the shrub.
Work your way upwards, making sure the shrub’s base is the widest, and the top is the narrowest. This technique promotes good foliage cover and density as the bush will attempt to grow top-heavy to cover the base.
Follow the “narrow at the top, wide at the bottom” rule: Cut the front and sides at an inclined angle for optimal growth and health. Trimming bushes this way will allow sunlight to reach the bottom leaves and maintain their healthy, green colour.
Step 6: Assess the shape of the shrub
Take a step back and look at the bush’s shape after you cut and snip from the bottom to the top. Is the form too straight? Is it leaning too much towards the left or right? Checking your shrub’s shape will let you know if you’re cutting too much or too little. This will allow you to make the necessary adjustments when trimming your bushes.
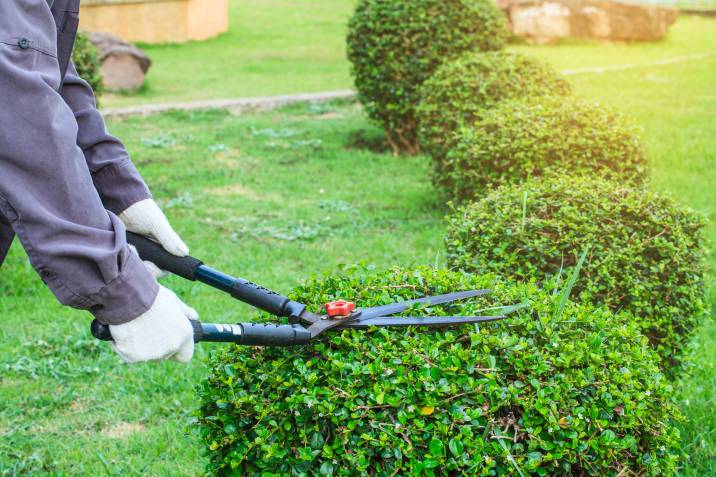
Step 7: Check for uneven sides
Narrow top? Check. Wide bottom? Check. No flowers cut mid-bloom? Check.
Now, go over all the sides of your bushes to ensure the shape is even and no extra leaves are sticking out. You can do a few more snips with your shears if the bush’s body looks uneven. Alternatively, you can use an electric timer to reshape the bushes.
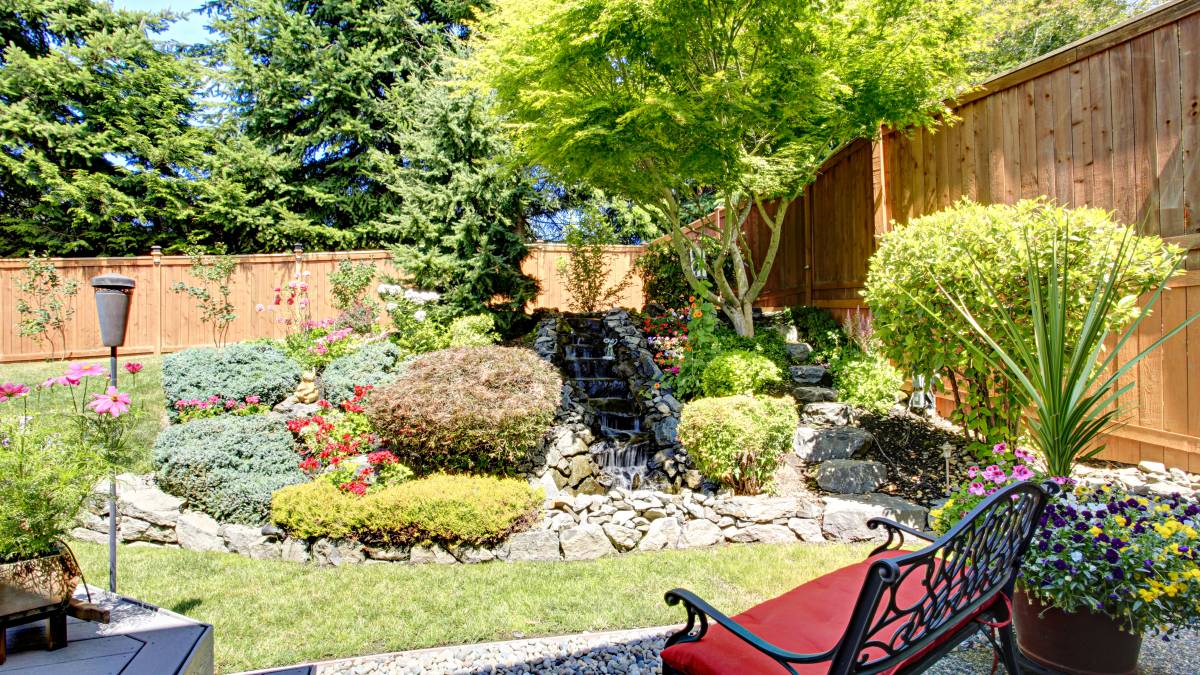
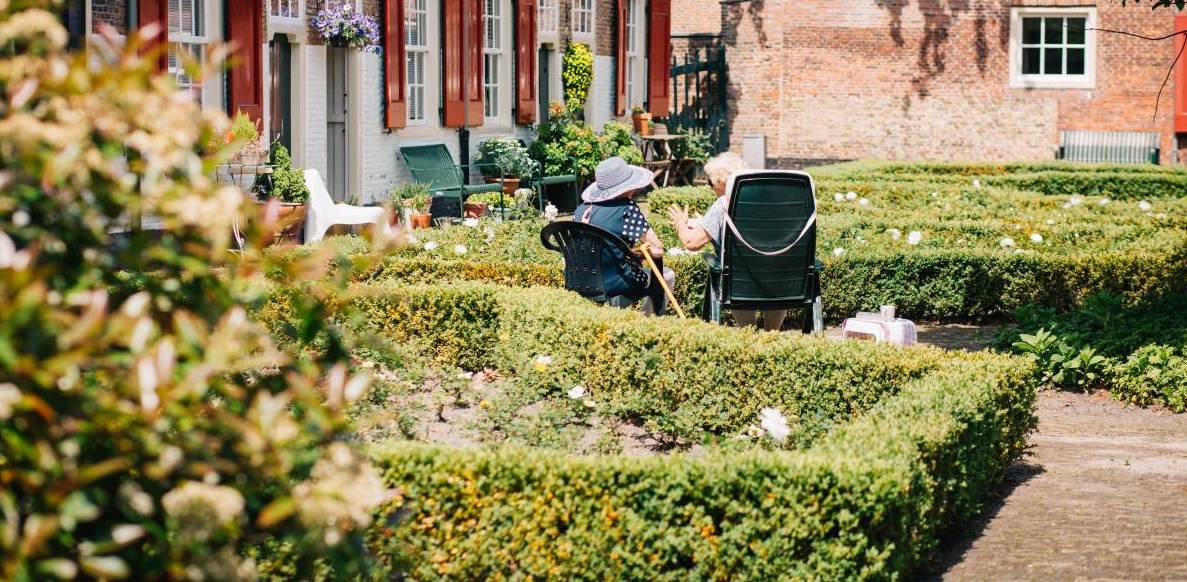
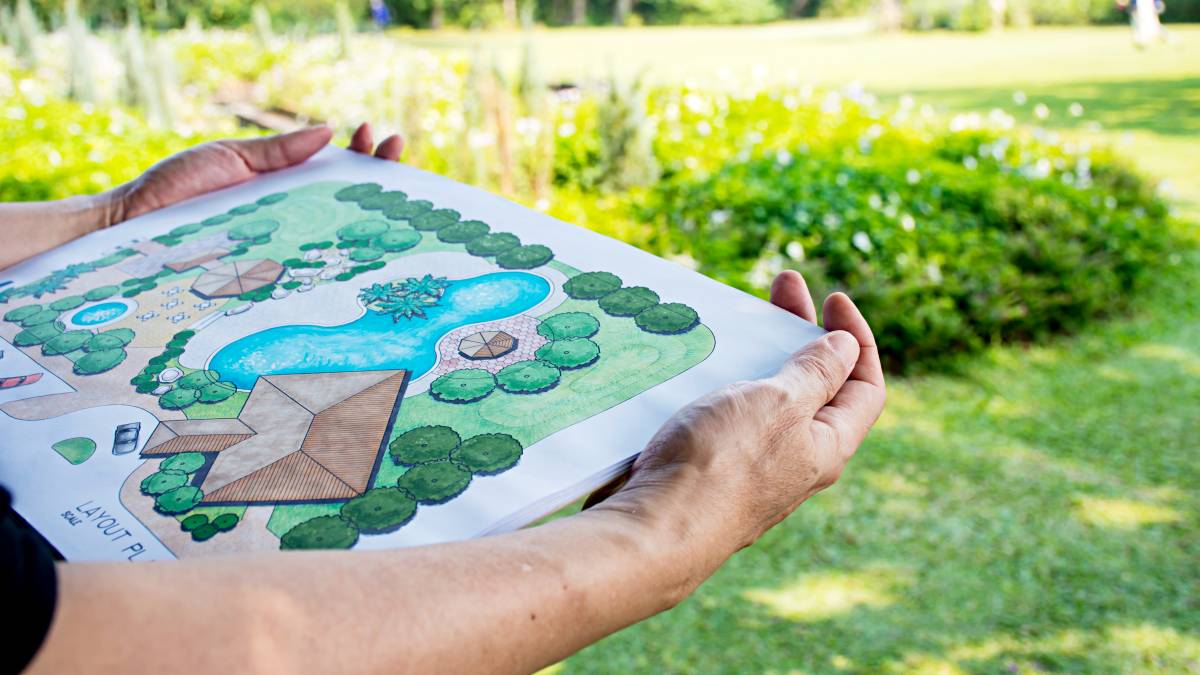
Hire a gardener when you need a professional touch
With the right tools and know-how, you can have lush and neat-looking bushes in no time. But if you’re overwhelmed and unsure of the best way to trim your bushes or shrubs, you can always hire a shrub trimming specialist. A professional will have the proper tools and skills to trim bushes and even take on large landscaping projects.
FAQs on trimming bushes
When to cut back bushes depends on the type of plant. Winter is usually the best time to trim bushes, as this is when they lose their leaves and become dormant. This is when you can easily spot unruly branches. However, spring-flowering shrubs like lilac and camellias are best trimmed right after the flowers have bloomed. Pruning these types of shrubs during winter risks cutting off the flower buds and preventing new flowers from blooming in the next season. Dead stems or water sprouts may also tell you it’s time to trim your bushes.
Most evergreen bushes, like yews, junipers, and boxwoods, can be pruned during early spring before they start growing again. If your evergreen shrubs are still short during spring, trim your bushes in the mid-summer as growth slows down from hot weather.
Don’t worry if your bushes look dense on top but thin and lifeless in the centre. Open up your plant with thinning cuts. A thinning cut involves removing the whole branch down to the base or until the main stem. This technique removes the thicker, older stems. Moreover, this method allows light and air to reach the plant’s core and encourage thicker and healthier growth.
If your bush looks short on one side and dense and long on the other, try doing heading cuts to stimulate growth. A heading cut shortens a stem down to the bud to encourage it to branch out. Position your shears on the stem area you want to remove, ensuring the area is on top of the bud you want to grow in a specific direction.
Find shrub & bush trimming experts, fast
Find a Shrub & Bush Trimming specialist
Related price guides
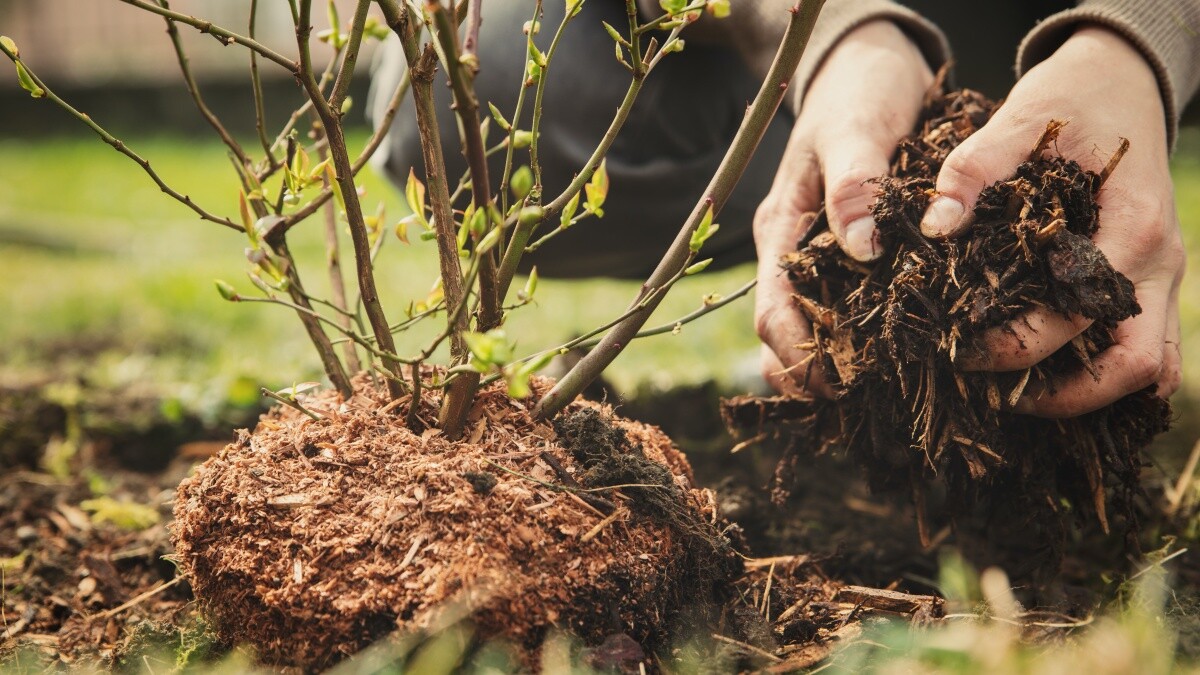
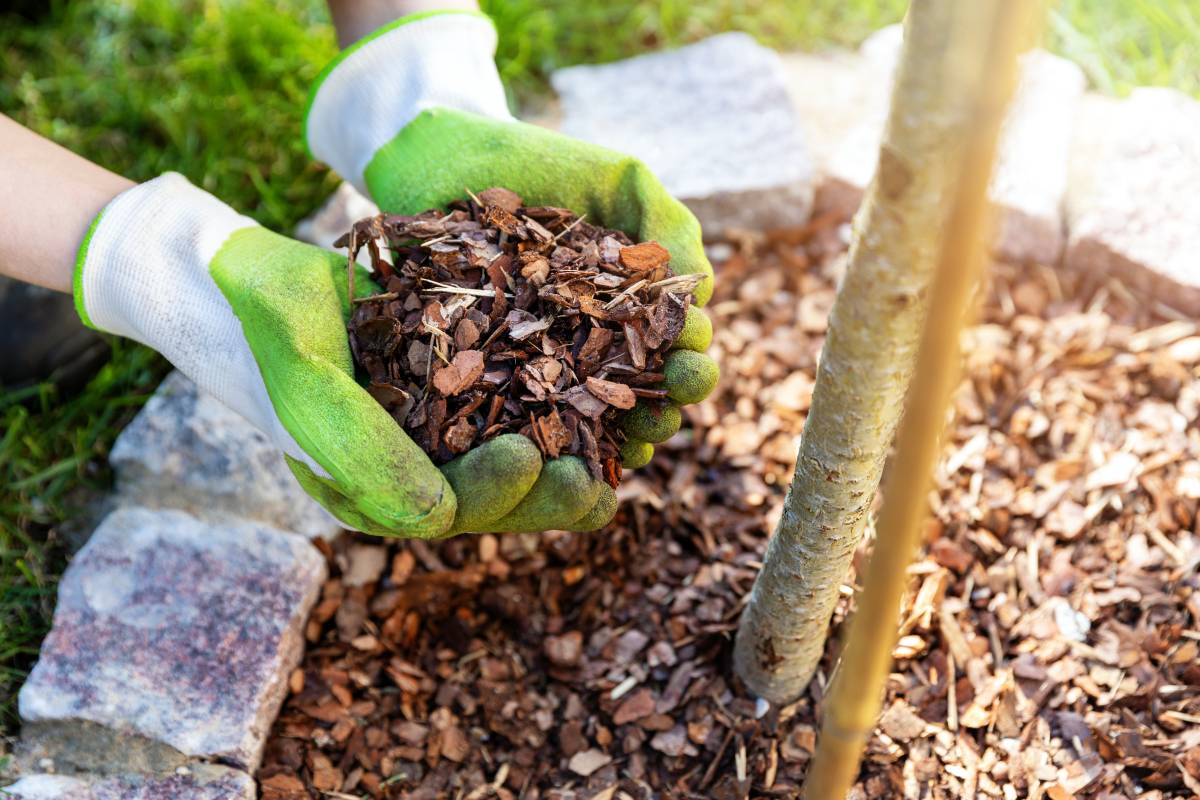
How much does mulch cost?
Read more
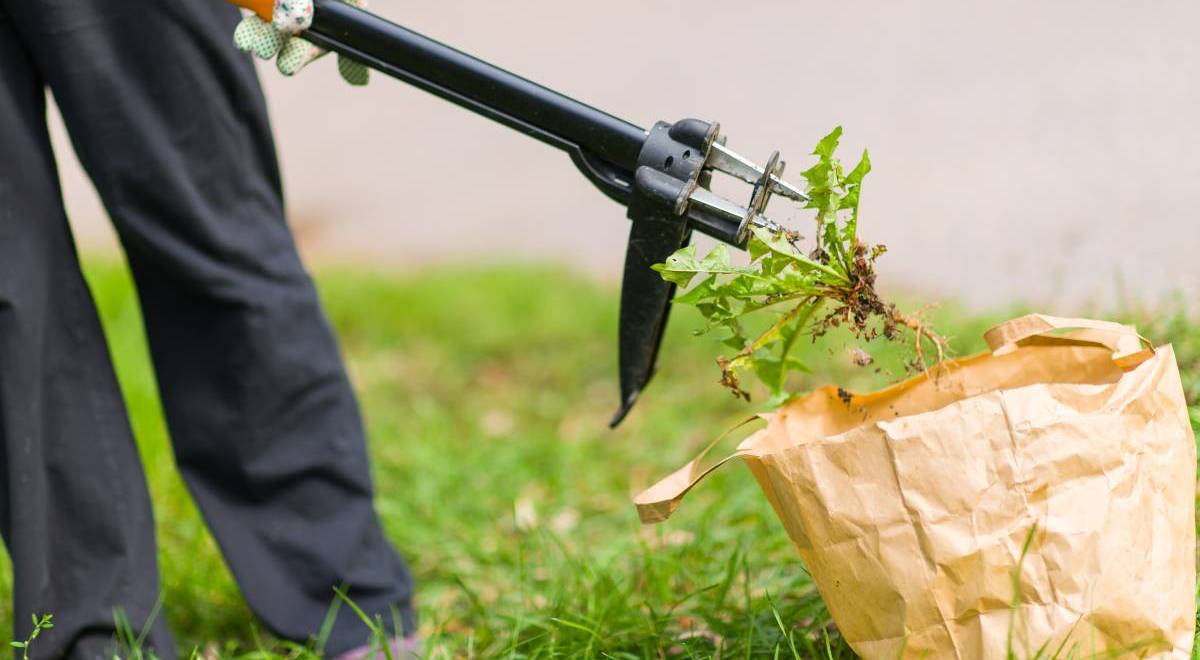
How much does garden clearance cost?
Read more
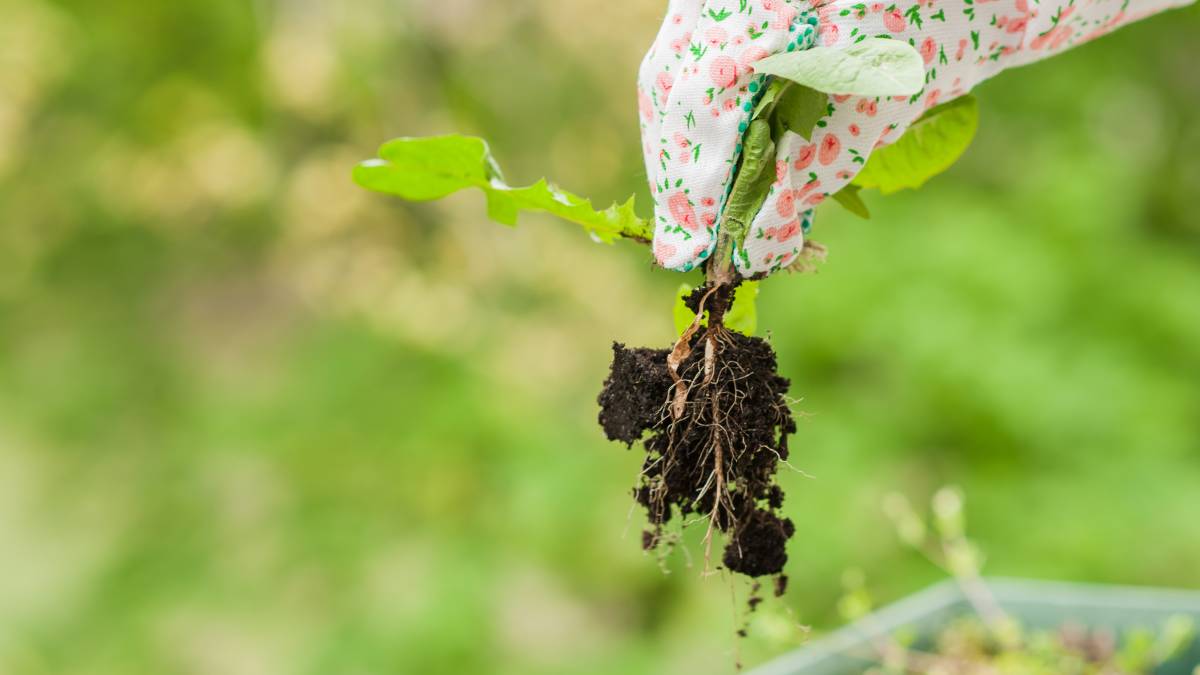
How much does weeding cost?
Read more
How much does hedge removal cost?
Read more

How much does a garden room cost?
Read more
Related articles

8 steps to build a DIY pond filter
Read more
How to prune roses the right way
Read more

13 Best Spring Gardening Tips
Read more
36 Quirky plant pot ideas you’ll love
Read more
Your garden maintenance checklist
Read more
How to clean garden stones
Read more