- Home/
- Guides/
- Garden Pond Maintenance/
- How to Make a DIY Pond Filter
8 steps to build a DIY pond filter
There’s no need to spend too much on pond filters. You can build a homemade one or ask a Tasker to help you.
Last Updated on
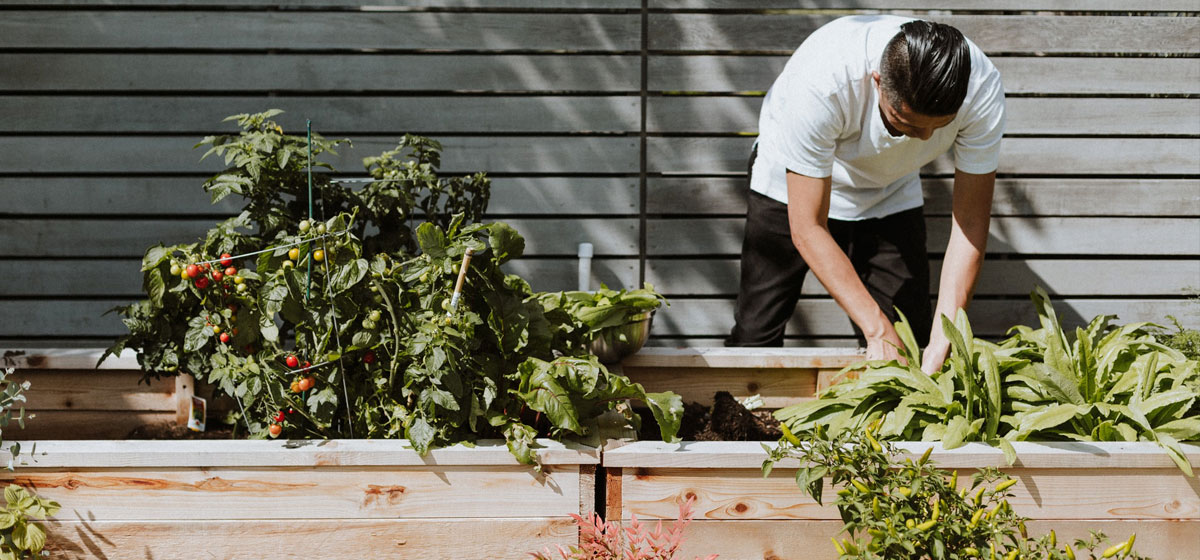
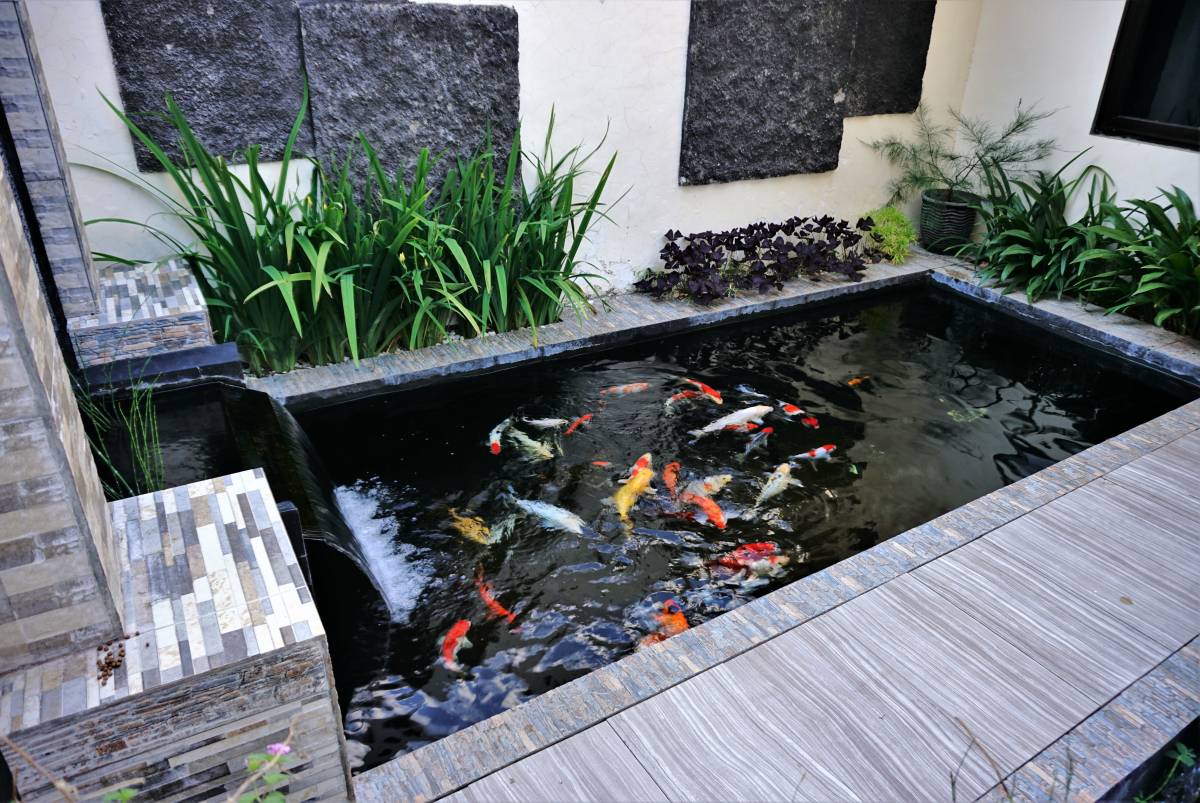
Ponds are a wonderful addition to any home and garden. They instantly add a touch of nature – the kind that soothes one’s senses and induces feelings of calm.
But, as beautiful as they can be, maintaining them is an entirely different conversion. Pond water can be annoying to clean, especially if you have a large pond or a bunch of pond fish swimming in it.
Thankfully, pond filters can help. They keep the water circulating while filtering debris and unwanted particles. Keep reading to learn how to make a DIY pond filter that does exactly what you need!
DIY pond filter materials
You have flexibility in choosing your materials. For instance, you may choose a hose to connect the pump and the external filter (ideal for small ponds) or you can choose the sturdier option: PVC pipes.
The following sections assume that you’ll use PVC pipes. Here’s everything you’ll need:
- Water pump
- Container with a lid (multiple containers are also okay)
- PVC pipe (take some measurements before buying)
- PVC cutter
- PVC cement
- Tape measure
- Bulkhead fittings or Uniseal to make a watertight seal
- A drill with different-sized drill bits
- A valve, plumbing elbows, PVC connectors, caps, and various fittings (will vary based on your project)
- Different-sized rocks (lava rocks or scoria)
- Cheap sponges
- Polyfill (optional)
- Anything that can create a void at the bottom of the filter (a large slotted pipe, old pots, etc.)
- A large bucket, basket, or terracotta pot for your pump to stand on underwater (very important!)
You don’t need to buy a new pond pump if you already have one at home. If you do need to buy, make sure to check for quality and safety. Some pumps also have a “feed” mode that allows you to pause the filtering process during fish feeding times – perfect for a DIY koi pond filter! Also, if your pond has fish and water plants, check if your filter materials are safe for them.
Lastly, make sure to use a trustworthy container. The container will contain the lava rocks and other filter media, and you don’t want it to burst or leak. You can ask the nearest local hardware store for recommendations, but here are a couple of things to keep in mind:
- Use a container or multiple containers that can hold 10% of the overall pond volume (e.g., a 1000L pond will need a 100L container)
- The more and the larger pond fish you have (hence more fish waste), the more extensive filtration system is needed
| Not enough time or materials for a DIY pond filter? Consider hiring a pond maintenance expert instead. You could even ask them to bring the equipment and materials! |
Steps to make a DIY pond filter
1. Position the water pump and filter container in their ideal spots
Start by planning the filter system layout. Submerge your chosen water pump container or stand (a basket, a terracotta pot, and a plastic tub with holes on the lid would be good options) in the water, then place the submersible pump on it. This is a protective feature so that in case the filter container breaks and the water goes somewhere else other than back to the pond, the pump will stop drawing in water once the water level goes below its position’s height.
This will leave some water on your pond and keep your fish alive even when you don’t immediately see the damaged filter. Placing the pump inside a container (ideally, one that fits the aesthetic you like) would also make for a neater look.
After positioning the pump, set the filter container close to the pond – ideally in a shaded area. Make sure it stands on a level and sturdy surface. It doesn’t have to be right beside the pond, as long as you have enough pipes to run the distance between the pump and the filter.
2. Drill holes in the container
At least two holes are necessary. One is on the lid where the pumped water will go in, and another is close to the bottom where the filtered water will flow out. You could also drill two or more holes for the outlet pipes.
Make sure the holes have the same diameter as (or just slightly bigger than) your chosen pipes.
3. Take the measurements
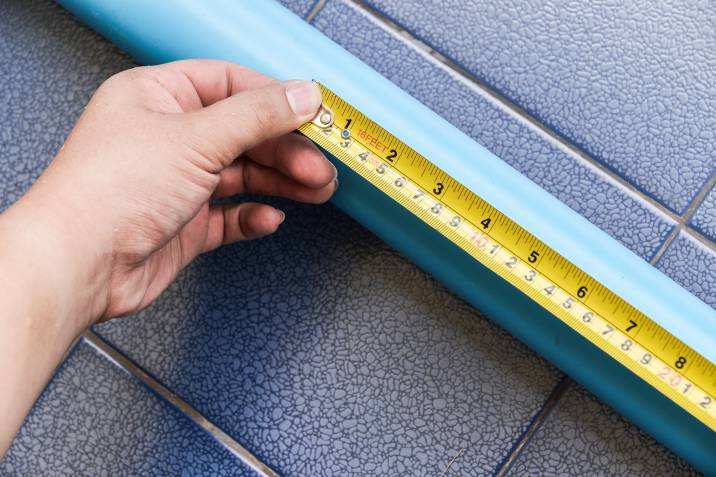
Use a tape measure to determine how many PVC pipes you’ll need to (a) connect the pump to your filter container and (b) create water outlet/s. This process should also give you an idea of what PVC connectors you’ll need and how many.
If you have a big pond, you’ll need a larger container or multiple average-sized containers for the filter. If you do use multiple containers, you’ll need a corresponding number of pipes to link each container to the main inlet pipe connected to the water pump. Consider all these as you prepare your materials.
4. Assemble the filter media
Get the container (or containers) and take off the lid. Inside the container, gather the filter materials while carefully leaving as much air space at the bottom as possible for the filtered water to flow out smoothly.
You can start by placing some slotted pipes into the container (to create voids and air space) and then the lava rocks. Be careful not to block the holes for the water outlet (you can already position the outlet pipes with Uniseal to help with this). On top of the rocks, lay the sponges followed by layers of polyfill. You could also use laundry bags and a metal screen as alternative or additional filters. Put the lid back once you’re done.
| Pro-tip: The rocks also provide surfaces for beneficial bacteria to thrive on. These bacteria will help break down ammonia and nitrite, which are toxic to fish. |
5. Install the pipes
Time to connect everything! Position the PVC pipes in their appropriate places, then connect them using plumbing elbows or other fittings. Don’t seal them yet – do that later after doing a test run!
For the pipe that goes into the container lid, it’s a good idea to connect it to another horizontal pipe (which should rest above the filter media and under the container lid) with multiple holes for the water to go through. This will distribute water evenly and prevent the water from going through the filter too strongly. It also helps slow down the water flow and allow it to have contact with the beneficial bacteria on the lava rocks.
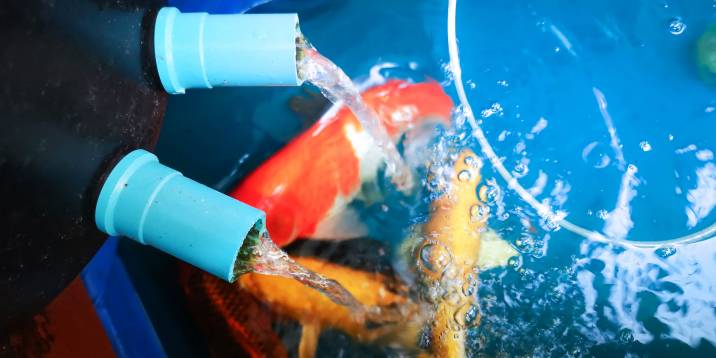
6. Do a test run
Connect the pump to a power source and test if your DIY project works! You’d want to see water leakage from some of the pipe connections (a good sign that the water is flowing through) and water flowing out of the container and back into the pond.
If water doesn’t come out of the container, check if there’s enough void between the filter elements or if the outlet pipes are blocked. Fix until the water circulation is right.
7. Seal the pipes
Once you’re sure the filter system works fine, cut the power off and start sealing the pipes using PVC cement or any fish-friendly sealant. Remember not to cement the pipe on the filter container’s lid – the lid should stay removable so you can clean and replace the filter materials as needed.
Give the PVC cement at least 2 hours to dry, or however long the manufacturer prescribes.
8. Turn the power on and watch your DIY pond filter do its job!
Finally! You can now have peace of mind that your pond will stay clean for longer
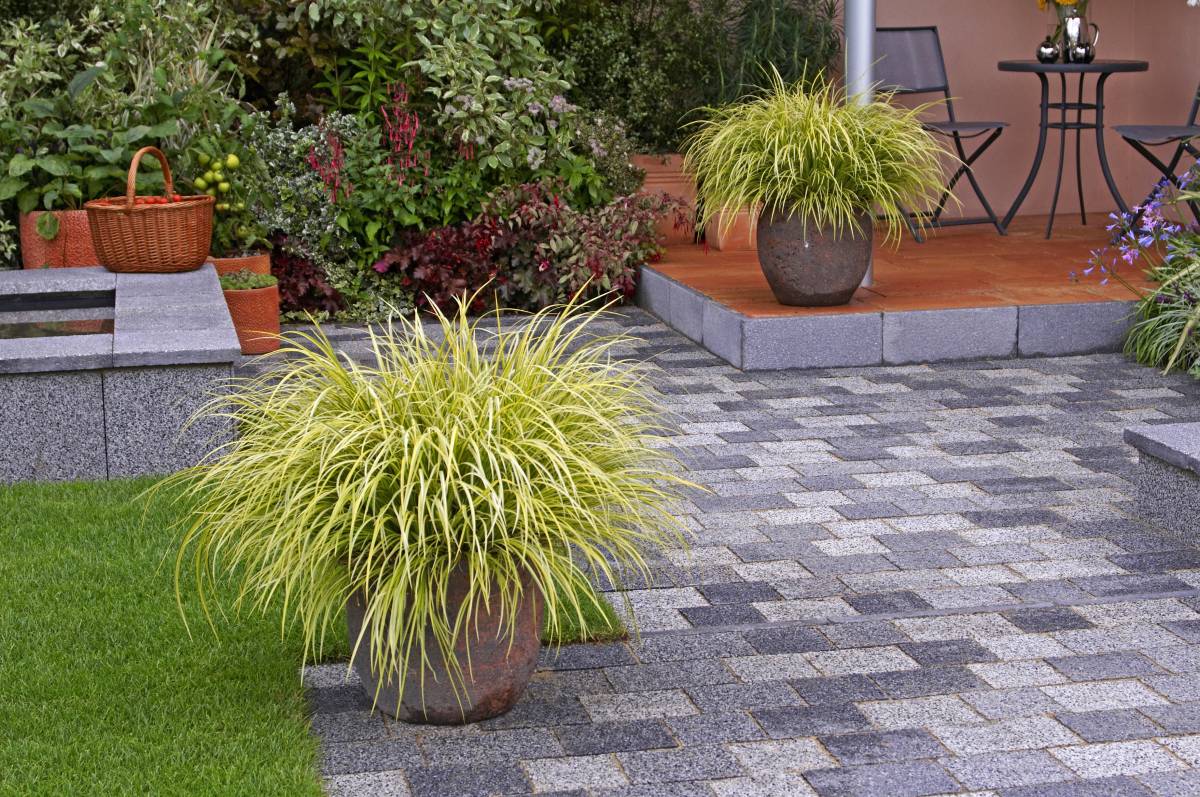
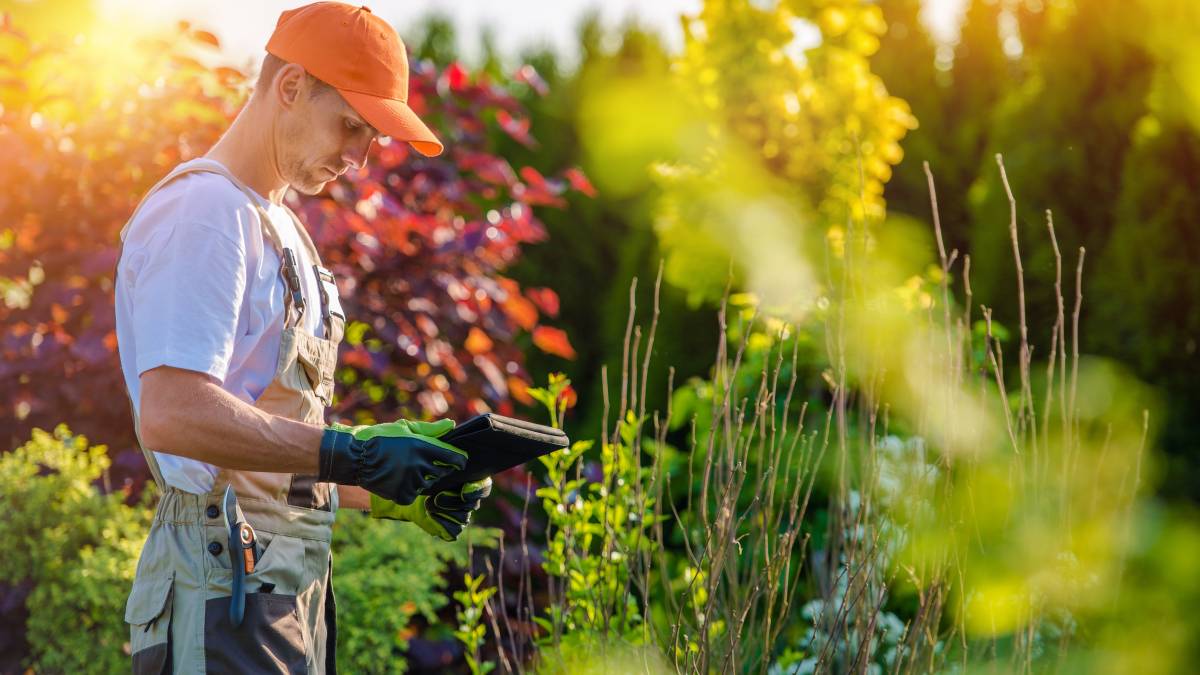
With the pond filter working smoothly, you can also consider disguising or beautifying how it looks as part of your overall pond landscape. Having a mini-rockery garden around the filter system might be a good idea. You could consult a gardener or a garden designer if you like.
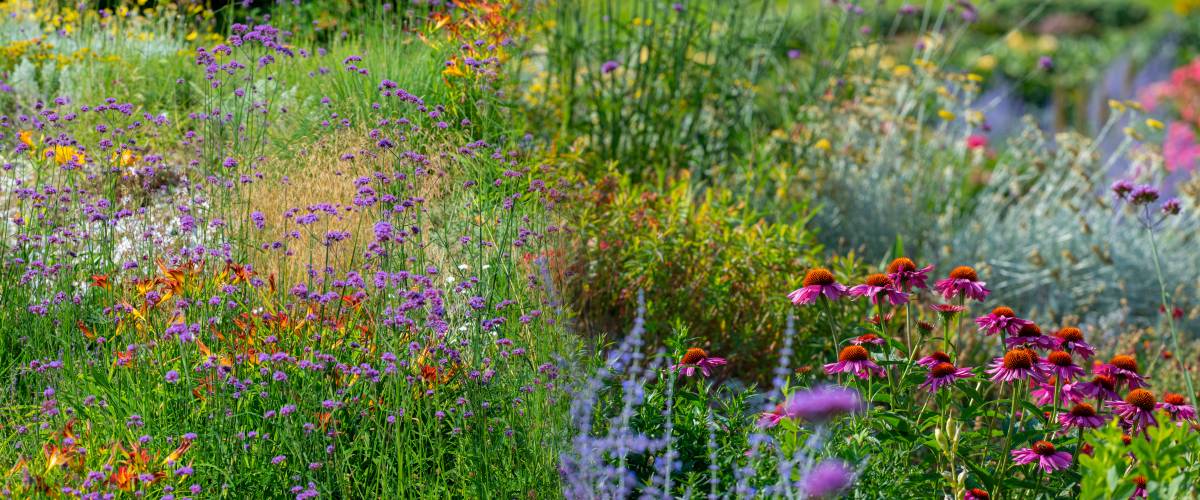
Aquatic plants and marginal pond plants would be great, too. Plants like Louisiana irises, canna lilies, and rushes are best to create a ledge. Just try to avoid plants with roots that penetrate the area where solids accumulate.
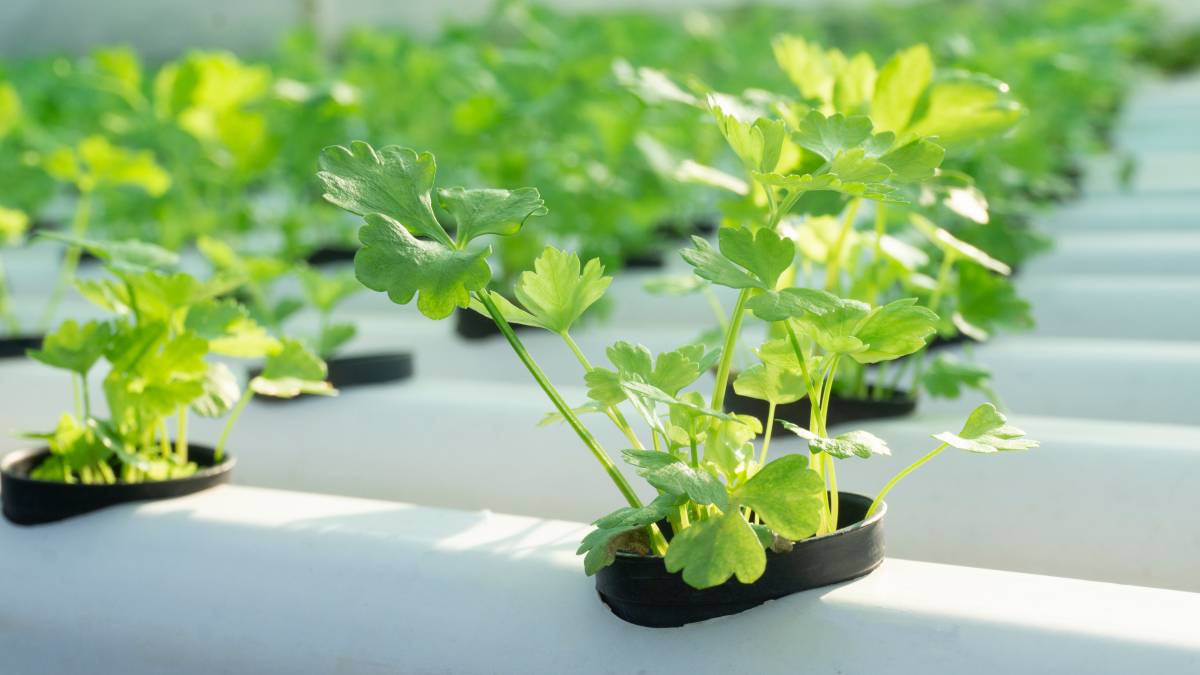
A small pond filter system can be an excellent spot for lettuce, mint, strawberries, or anything else where roots can be constantly wet.
Related read: 26 beautiful backyard pond ideas |
Lavish in the beauty of your outdoor fish pond

With a filtration system set up, you can worry less about your pond’s water quality and the health of your pond fish and plants. If a DIY approach isn’t a great option for you right now, don’t worry, you can ask a Tasker to do it for you instead. You could also request them to clean your pond before installing a filter!
Of course, pond maintenance doesn’t stop at having a pond filter. Be sure to also maintain the filter box by hosing down the filter media at least once every two weeks or as needed, and replace anything that no longer does its job. Now that’s pond maintenance like a pro!
Pond filter FAQs
Having pond plants is the best way. They filter sunlight, break down nitrate and phosphate, and take in other excess nutrients.
Sponges, filter foams, polyfill fiber, and filter wool are good options.
You can disguise pond filters using artificial sand, rocks, and even plants. You could design your pond’s surrounding environment however you like or ask a gardener for help.
Yes, as long as the pond is not overcrowded and the fish aren’t overfed. You should also change the water regularly (which is usually more time-consuming than setting up a filter and maintaining the filter media). If you have large koi fish, install a filter a.s.a.p. to keep them alive.
Find garden pond maintenance experts, fast
Find a garden pond maintenance expert
Related price guides
How much does garden clearance cost?
Read more
How much does weeding cost?
Read more
How much does hedge removal cost?
Read more
How much does a garden room cost?
Read more
How much does mulch cost?
Read more
Related articles
How to prune roses the right way
Read more
How to clean garden stones
Read more
Your garden maintenance checklist
Read more

13 Best Spring Gardening Tips
Read more
How to trim bushes the right way
Read more
36 Quirky plant pot ideas you’ll love
Read more