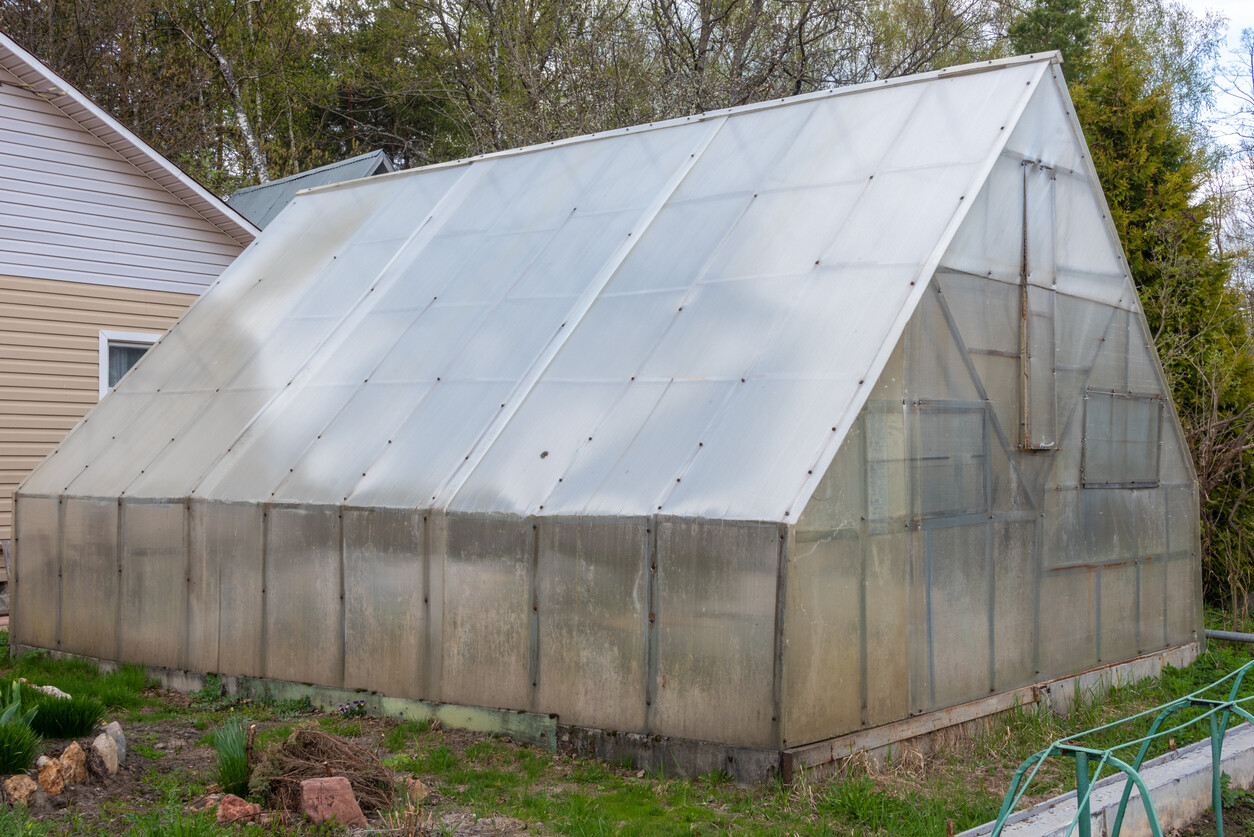
How to build a greenhouse: A step-by-step guide
Build a greenhouse and enjoy fresh produce year-round!
Last Updated on
Key Steps
Choose a sunny, well-drained spot for your greenhouse.
Decide on your greenhouse design and materials.
Construct a sturdy, level frame and enclose it with glazing material.
Install a door for easy access and a ventilation system for proper airflow.
Start your gardening journey!
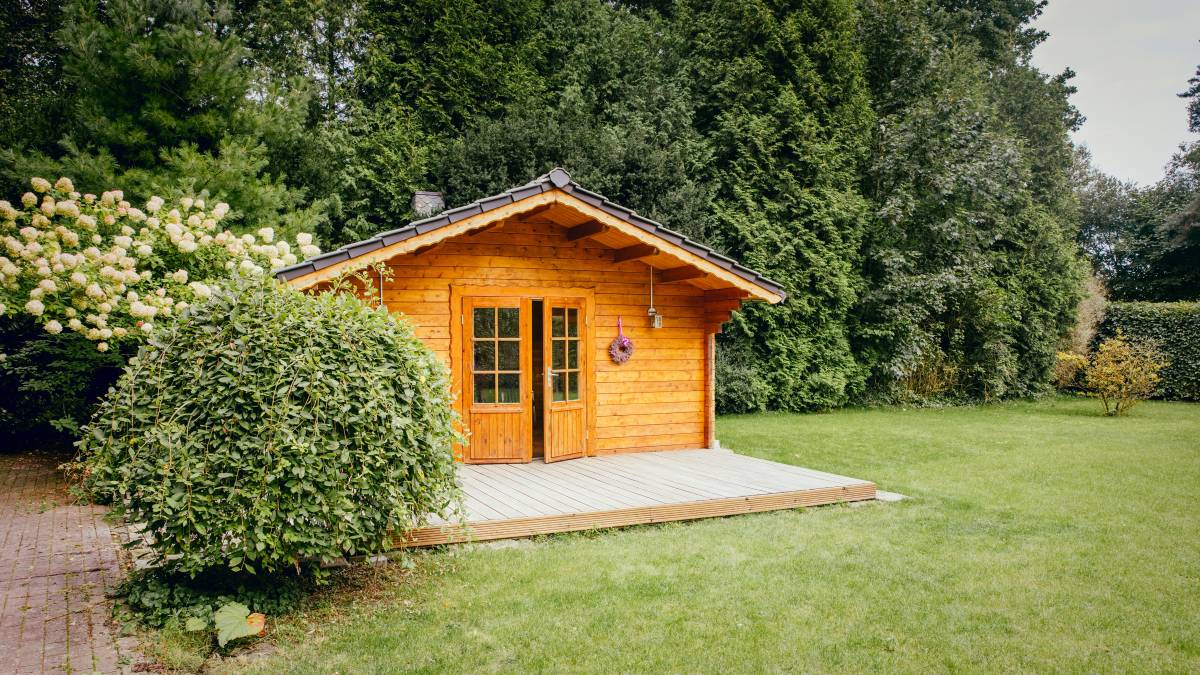
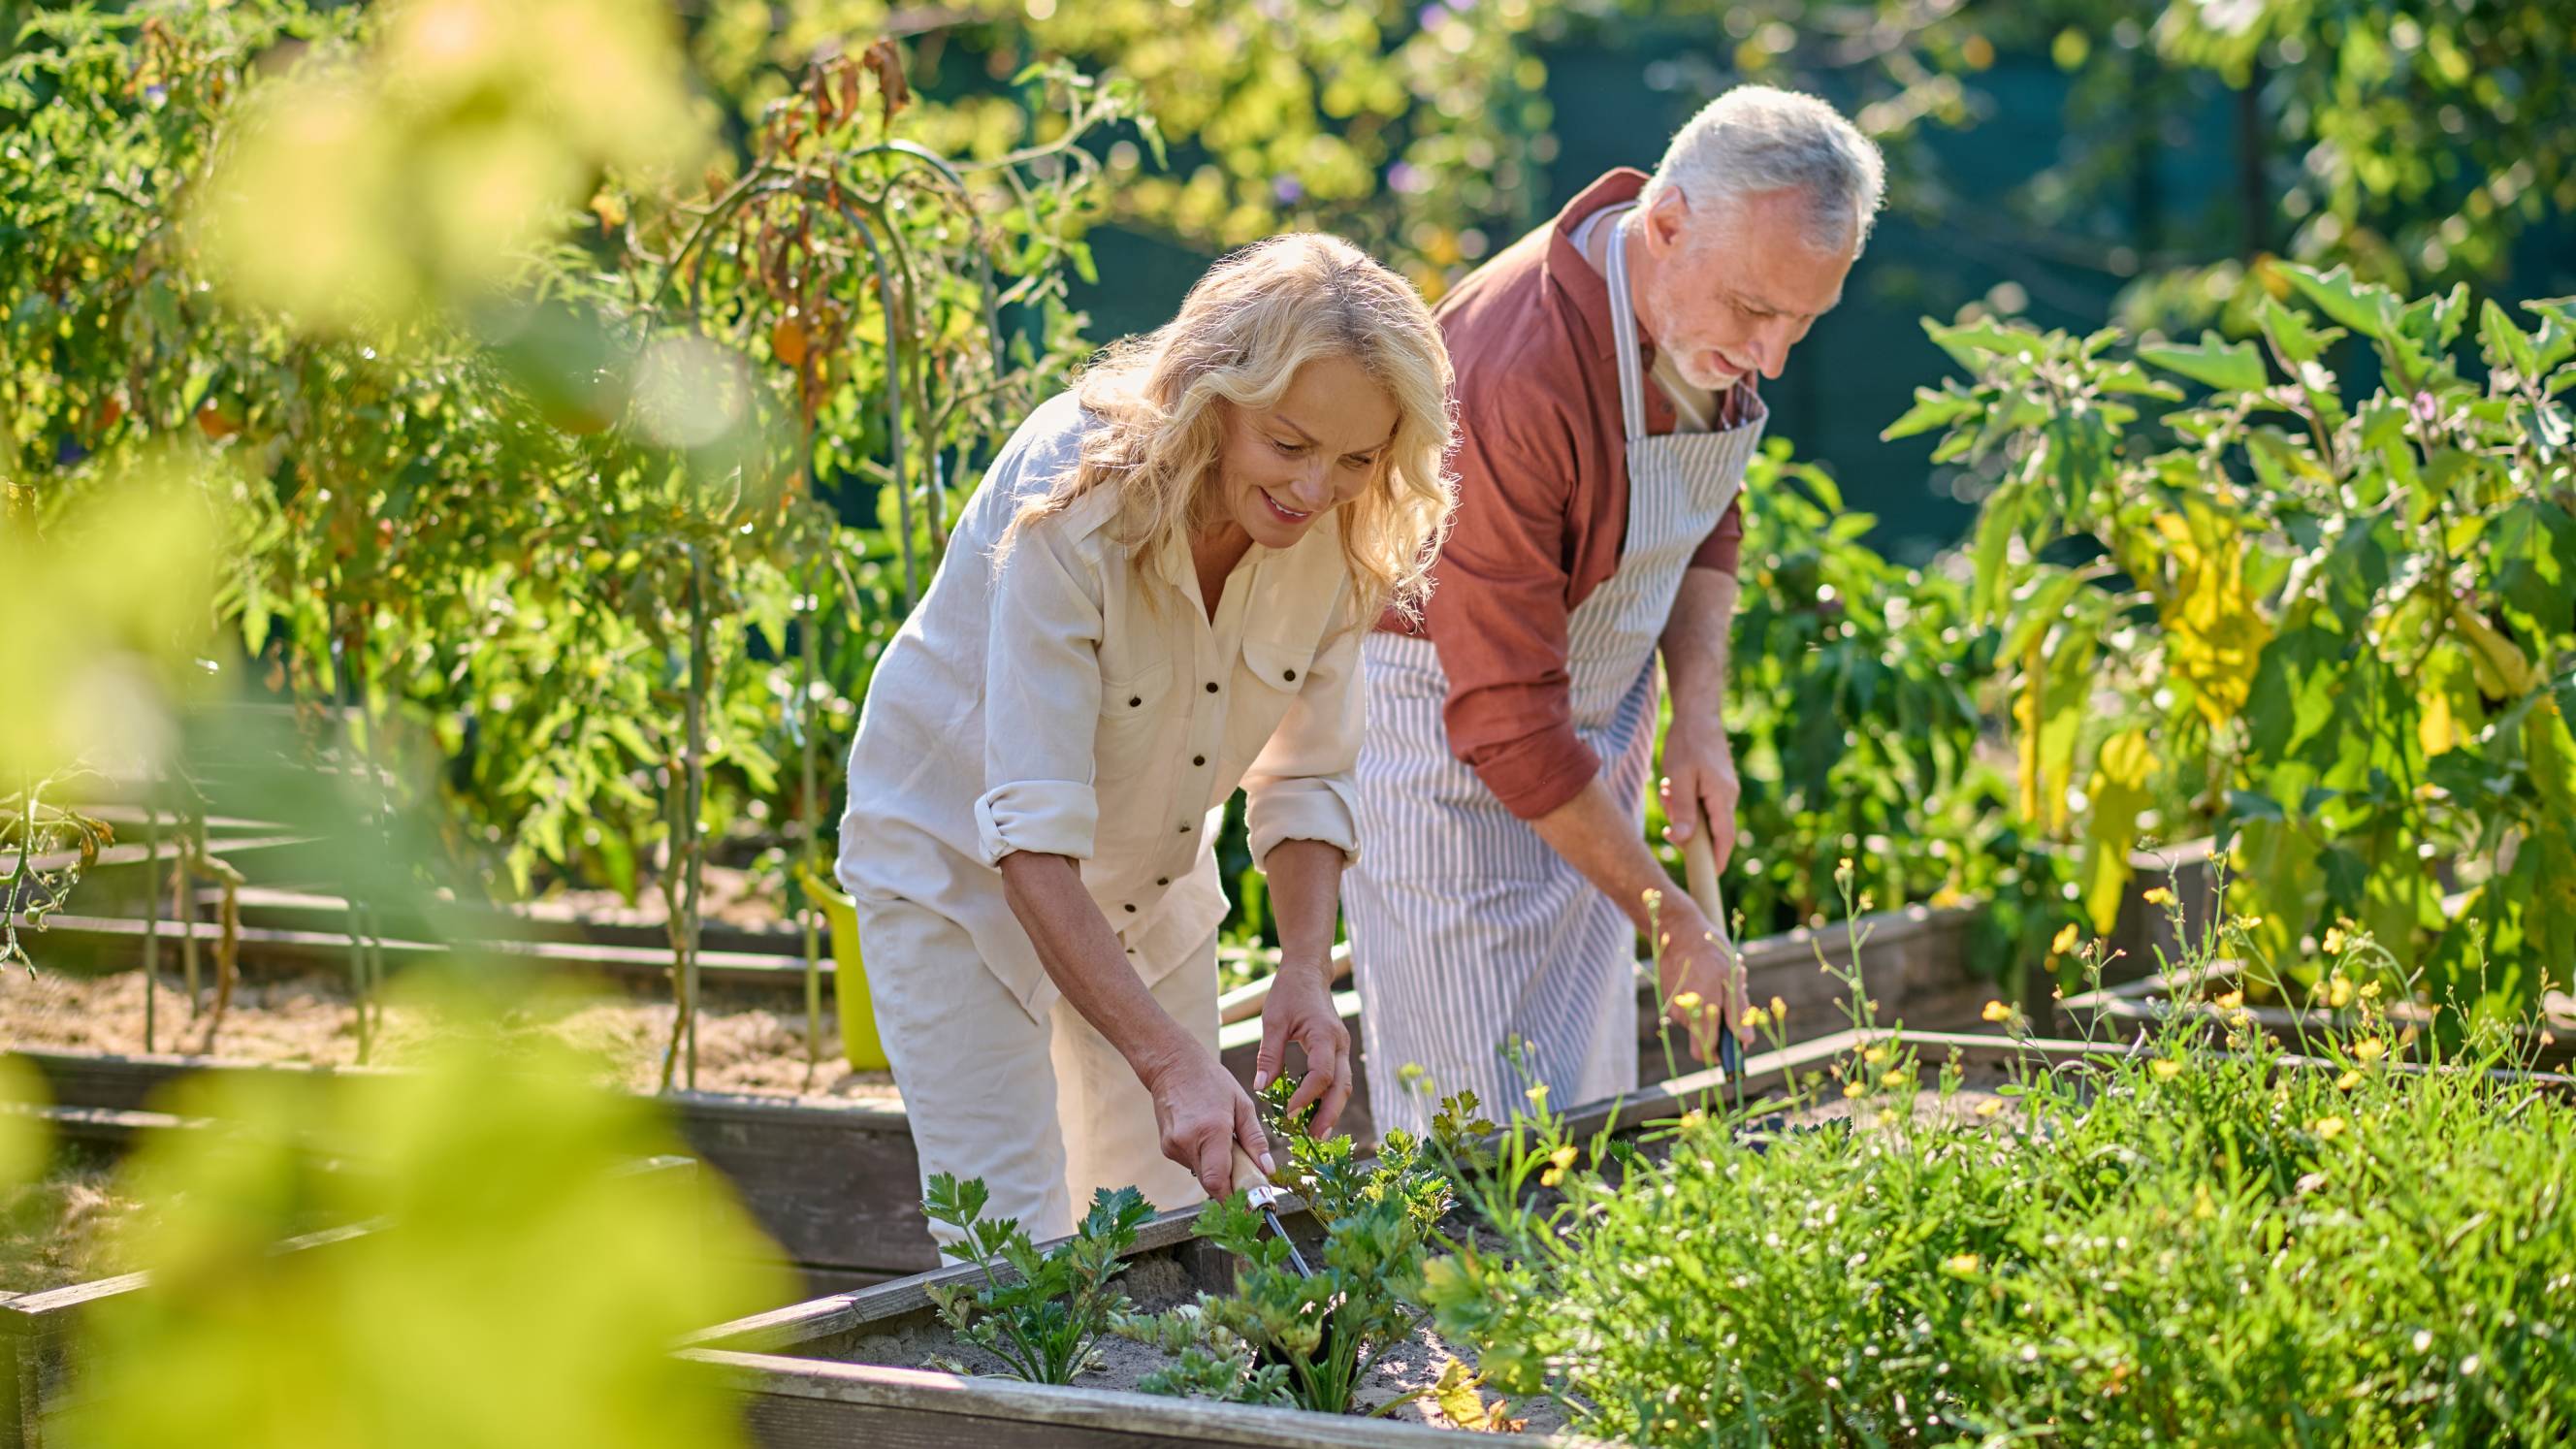
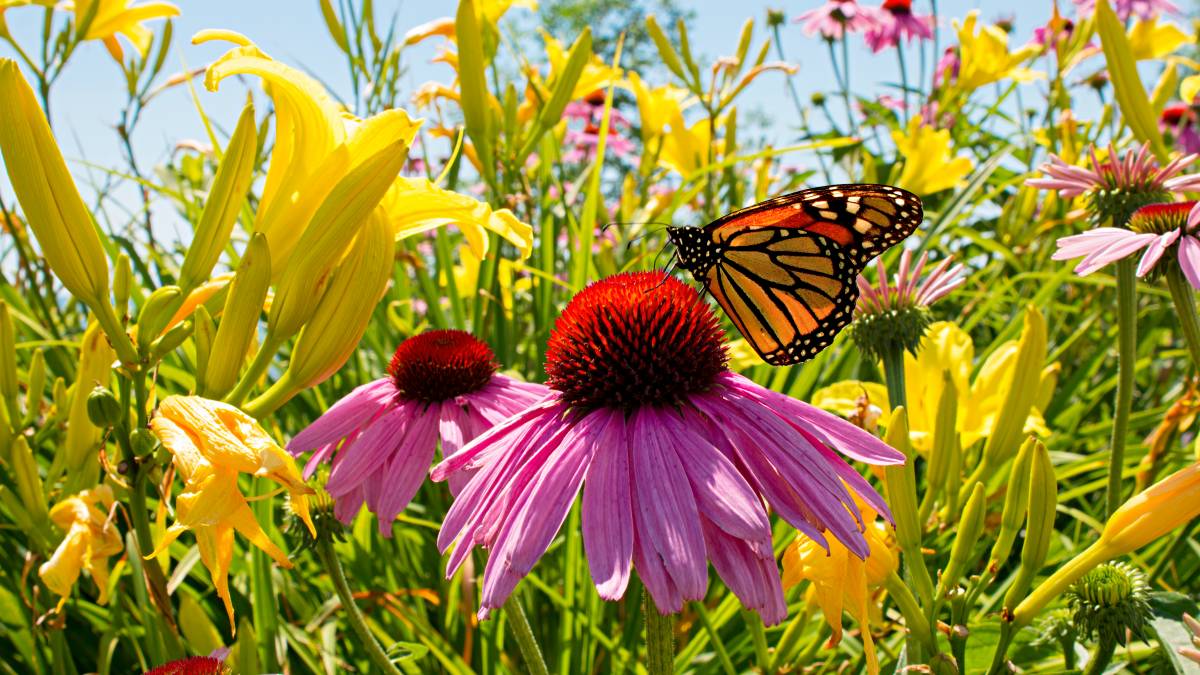
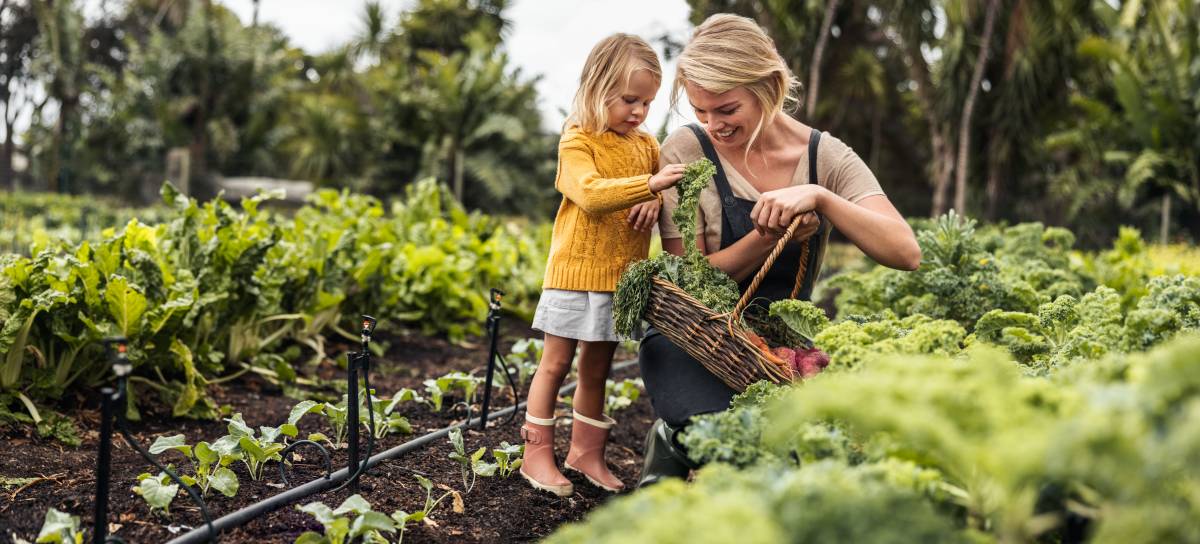
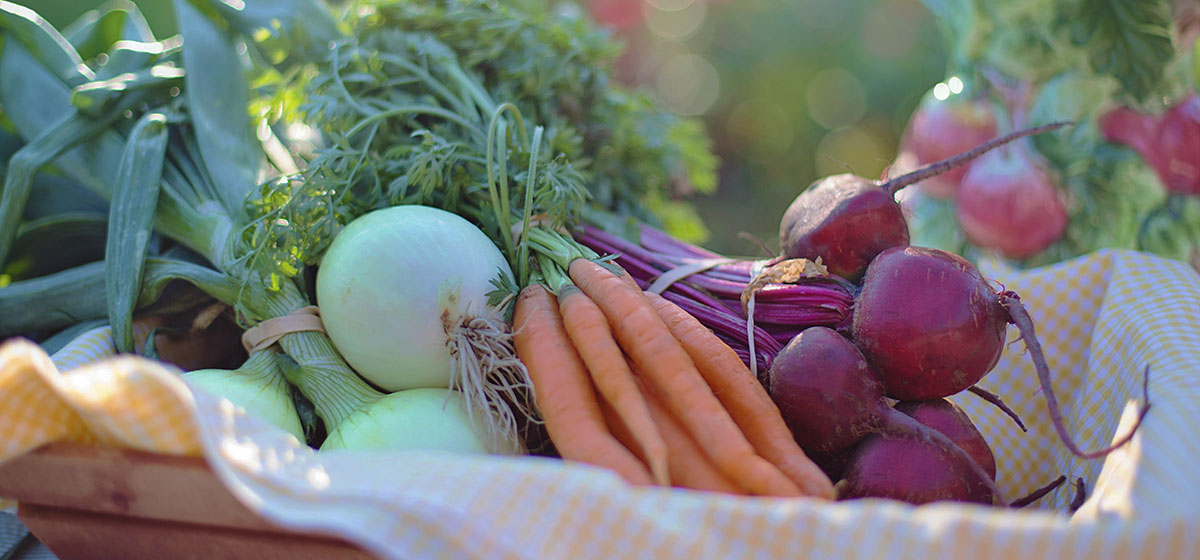
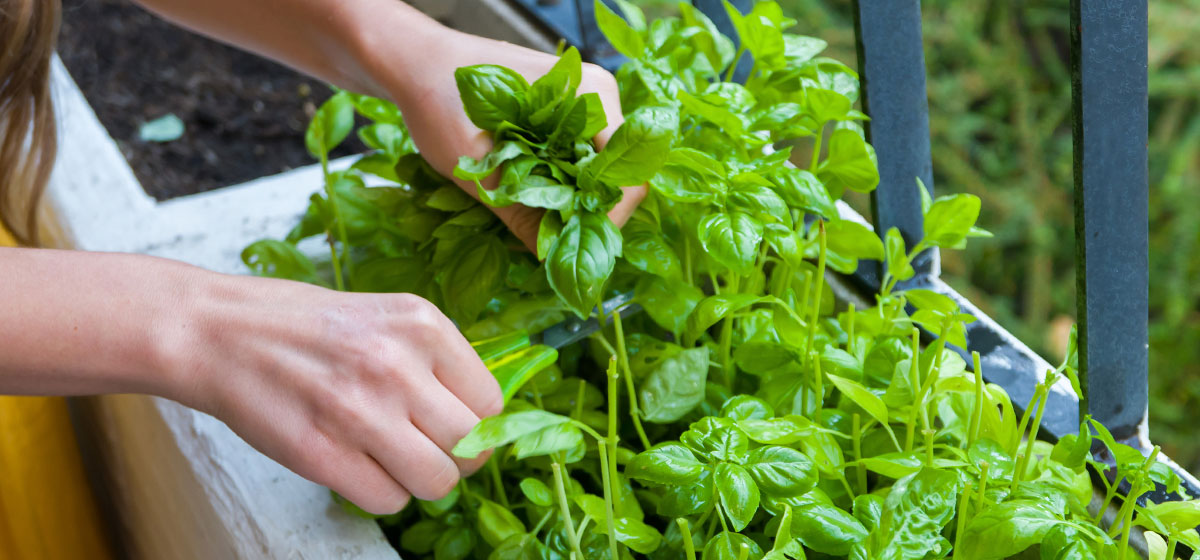
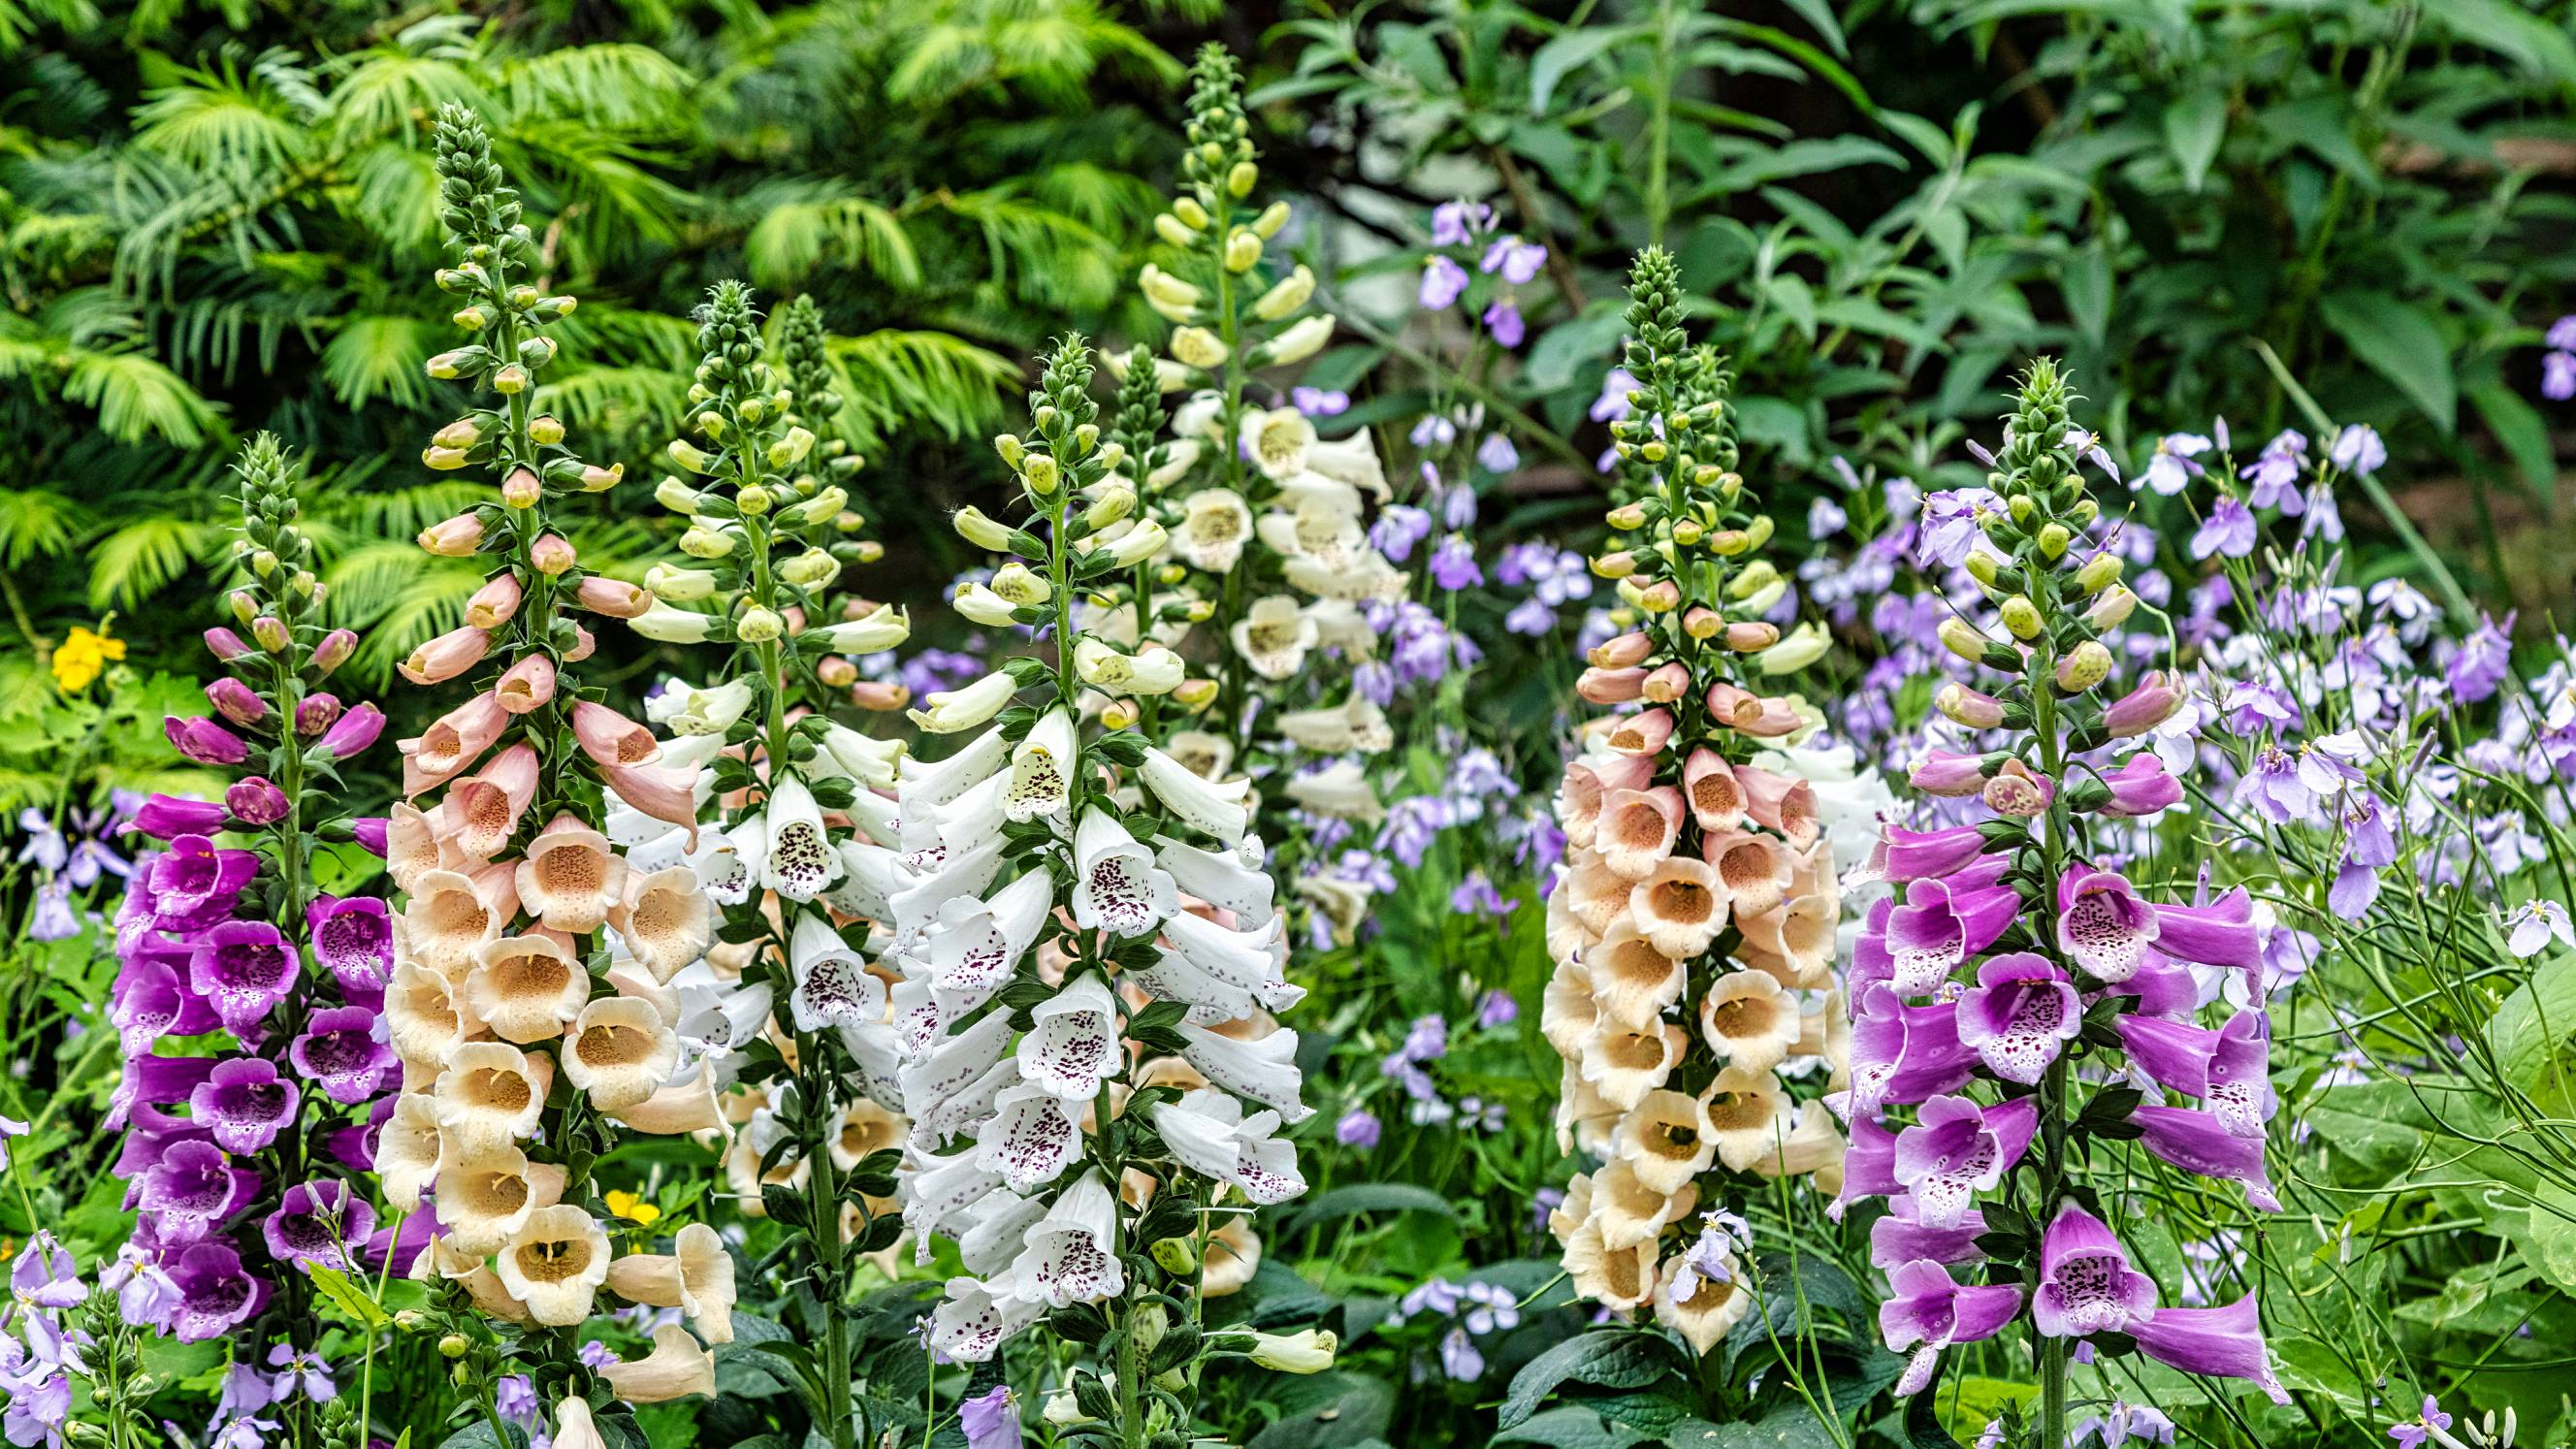
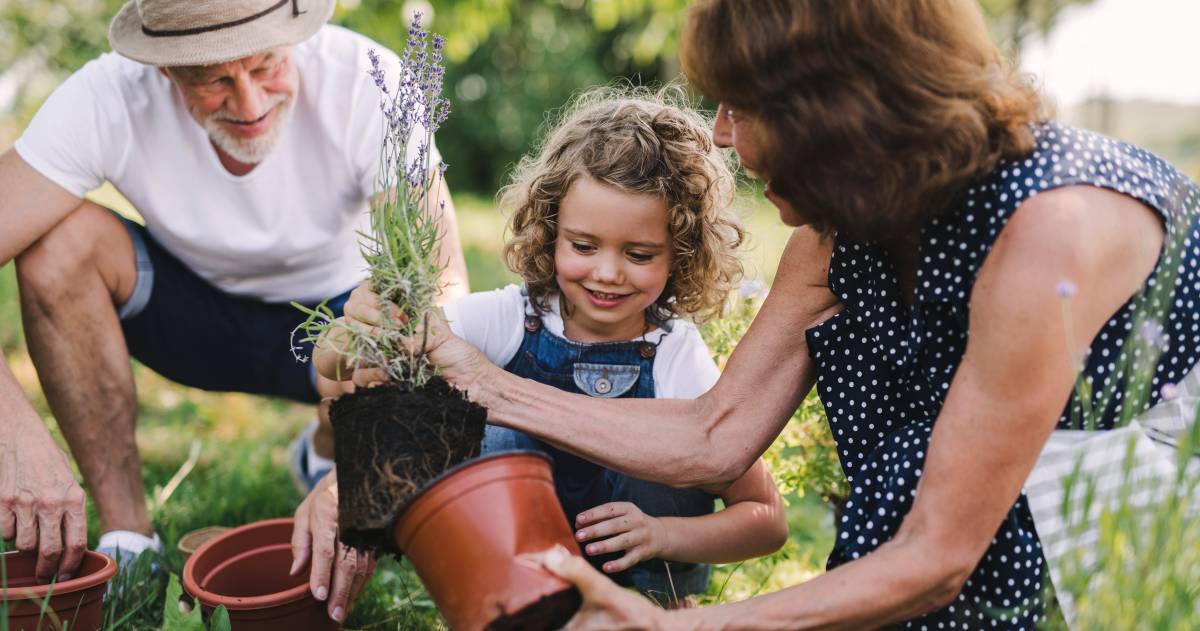
Are you a gardening enthusiast or a pro plantsman? Either way, having your greenhouse is the perfect way to express your interest in plants. A greenhouse elevates your gardening experience by letting you experiment and get creative. Add colour to your greenhouse with vibrant flowers or grow herbs and vegetables you can harvest and use for homecooked meals.
Also, a greenhouse protects your plants from harsh weather conditions and pests, making them likely to thrive year-long. You no longer have to worry about seasonal plants because they’ll have a safe ecosystem hub. Your greenhouse serves as a sanctuary for your botanical goals.
So, are you ready to know how to build a greenhouse? Read on for the step-by-step instructions!
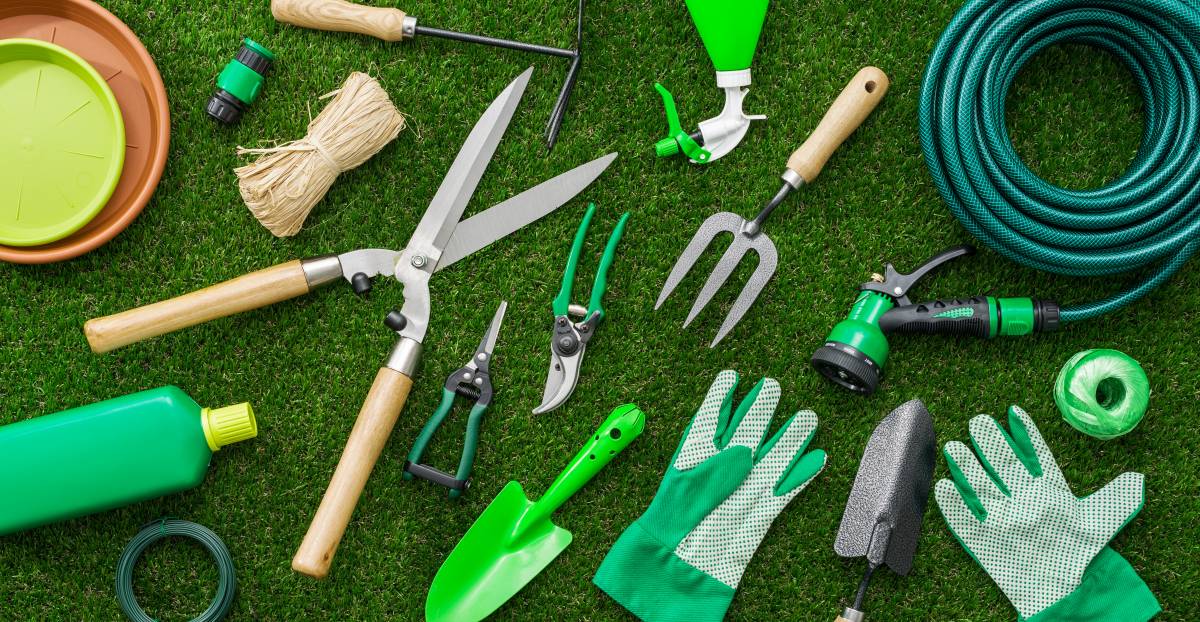
Things you’ll need
The materials list will depend on the size and design of your greenhouse. You can even use greenhouse kits conveniently ready for assembly. But common materials and tools include the following:
Frame structure - Wood, aluminium, steel, or PVC pipes.
Glazing material (side and roof panels).
Floor - Concrete footings, cinder blocks, or pressure-treated lumber.
Fasteners - Nails, screws, bolts, and nuts.
Doors and windows - Hinges, handles, and latches.
Roof and side vents - Automatic or manual vent openers.
Shelving and benches (optional).
Cooling or heating system - Heater, fans, shade cloth, or venting systems.
Irrigation system - Drip hoses or a watering system.
Tools - Saw, drill, measuring tape, and level.
Safety gear - Gloves, safety glasses, and protective clothing.
Plants - Vegetables, herbs, seedlings, etc.
Time of completion
How fast you complete your DIY greenhouse project depends on several factors, such as your chosen design, the size of your greenhouse, your proficiency in construction, and the availability of materials.
Building a small, straightforward greenhouse may take a few days to a week to construct. In contrast, a larger, more complex design might extend over several weeks or even months to finish.
7 Steps to build a greenhouse
Step 1: Choose a location
Many plants require sun, so choose a spot with at least six hours of sunlight daily. Install a greenhouse on a level, well-drained site to provide a stable foundation for your structure.
Steer clear of low-lying areas, as these are susceptible to flooding, which could adversely affect your greenhouse and its contents.
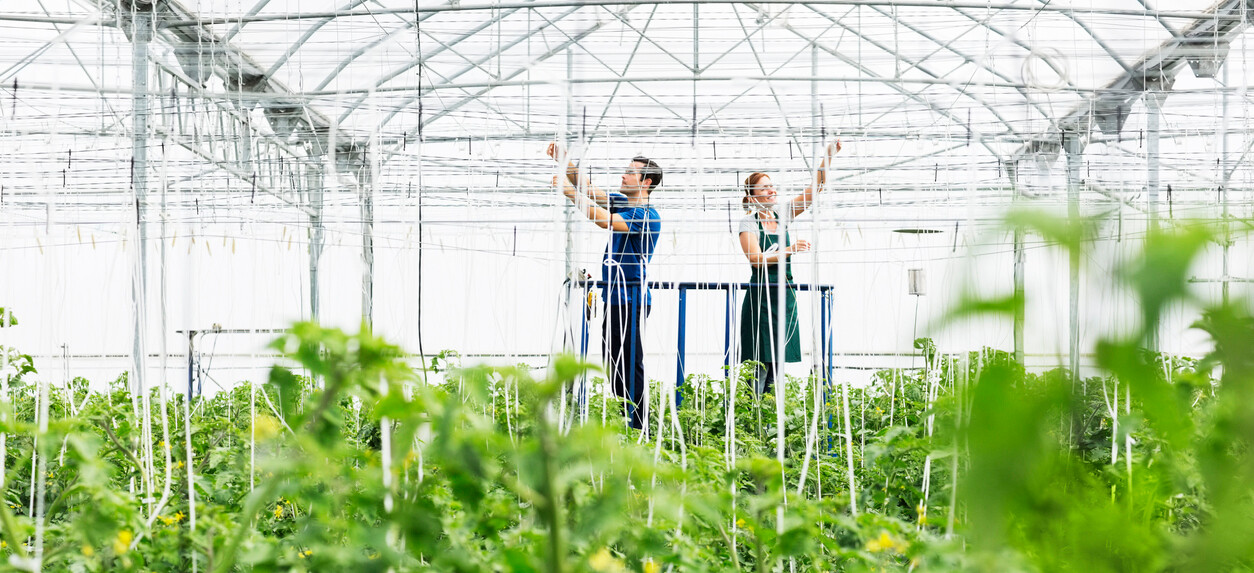
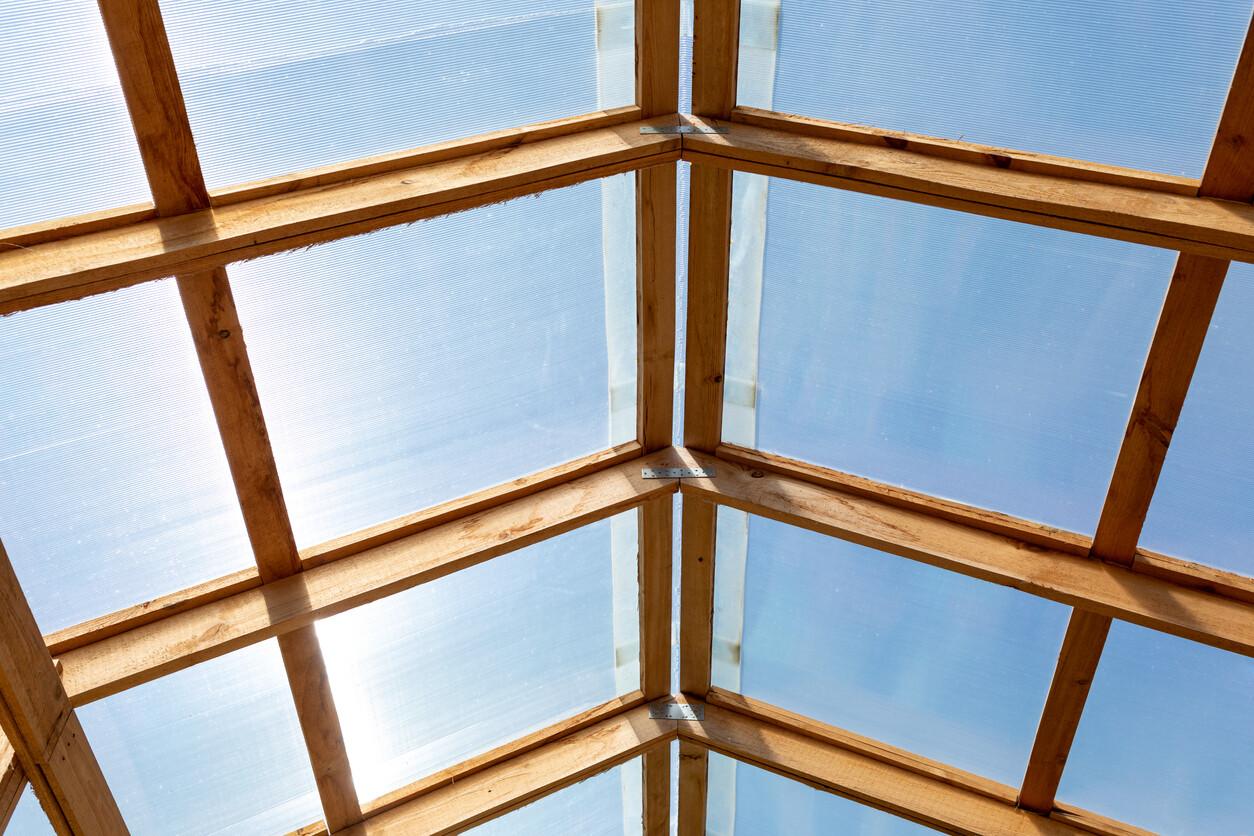
Step 2: Build the frame
The frame is the fundamental structure or support of your greenhouse. Hence, durability and construction quality are paramount. If you’re using wood, select pressure-treated framing lumber, which enhances its resistance against rot and decay over time. A timber greenhouse is perfect for a traditional and classic look.
Conversely, if you opt for metal, galvanise it to effectively ward off rust and extend the life of your greenhouse frame.
Step 3: Install the glazing
The glazing envelops the frame, allowing light into the greenhouse. Transparent walls and roof panels should be your goal, especially if you’re growing tropical plants in your greenhouse. You have several options for glazing materials, including glass, plastic, and polycarbonate. While glass is durable, it costs much more.
If you’re looking for budget-friendly choices, plastic and polycarbonate are alternatives. However, they may not match glass in terms of long-term durability. Your choice of glazing material should align with your greenhouse project’s needs and budget.
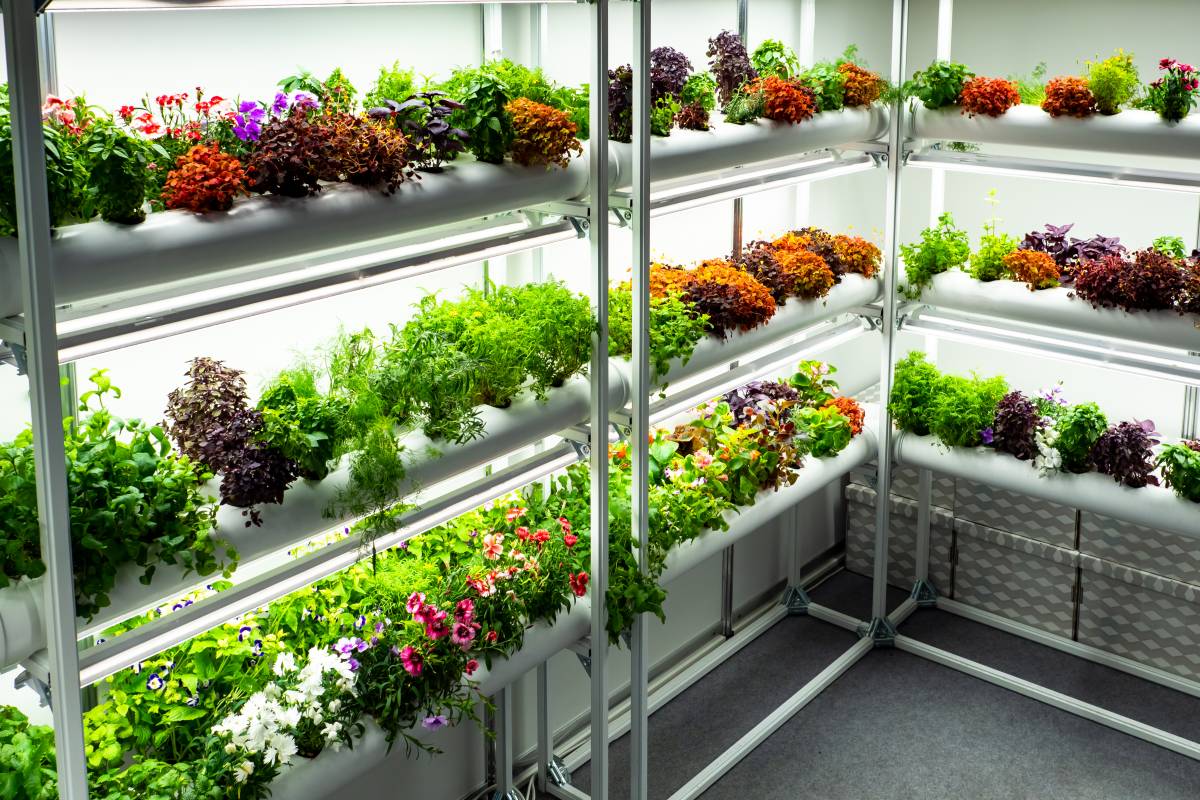
Step 4: Add ventilation
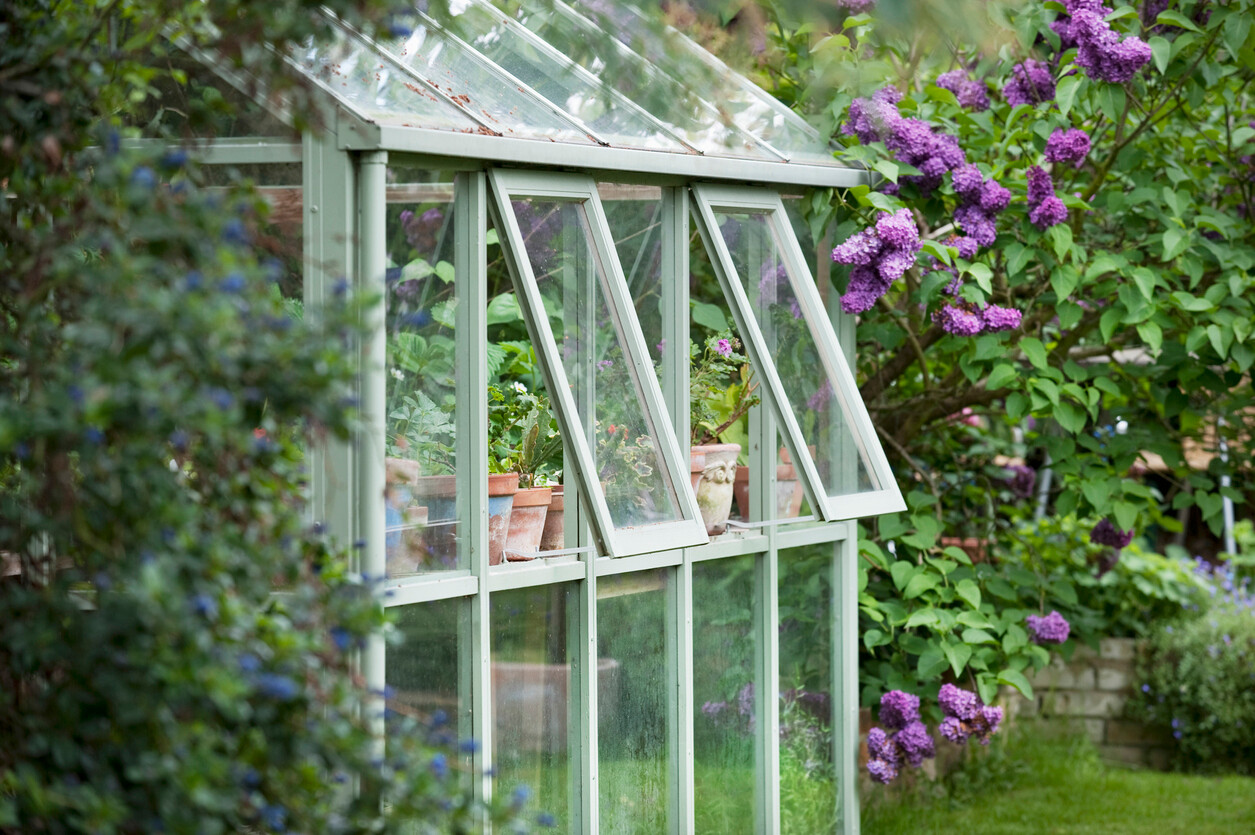
Proper ventilation in your greenhouse is vital for regulating temperature and humidity levels. Adding roof and wall vents within the greenhouse structure can give you control over airflow. Consider installing fans to enhance air circulation and promote plant health. Ventilation is pivotal in creating optimal growing conditions, ensuring your plants thrive year-round.
If you live in areas with extreme conditions like frost and high winds, have a heating or cooling system. The correct temperature is essential for your greens’ optimal growth.
Step 5: Install a door
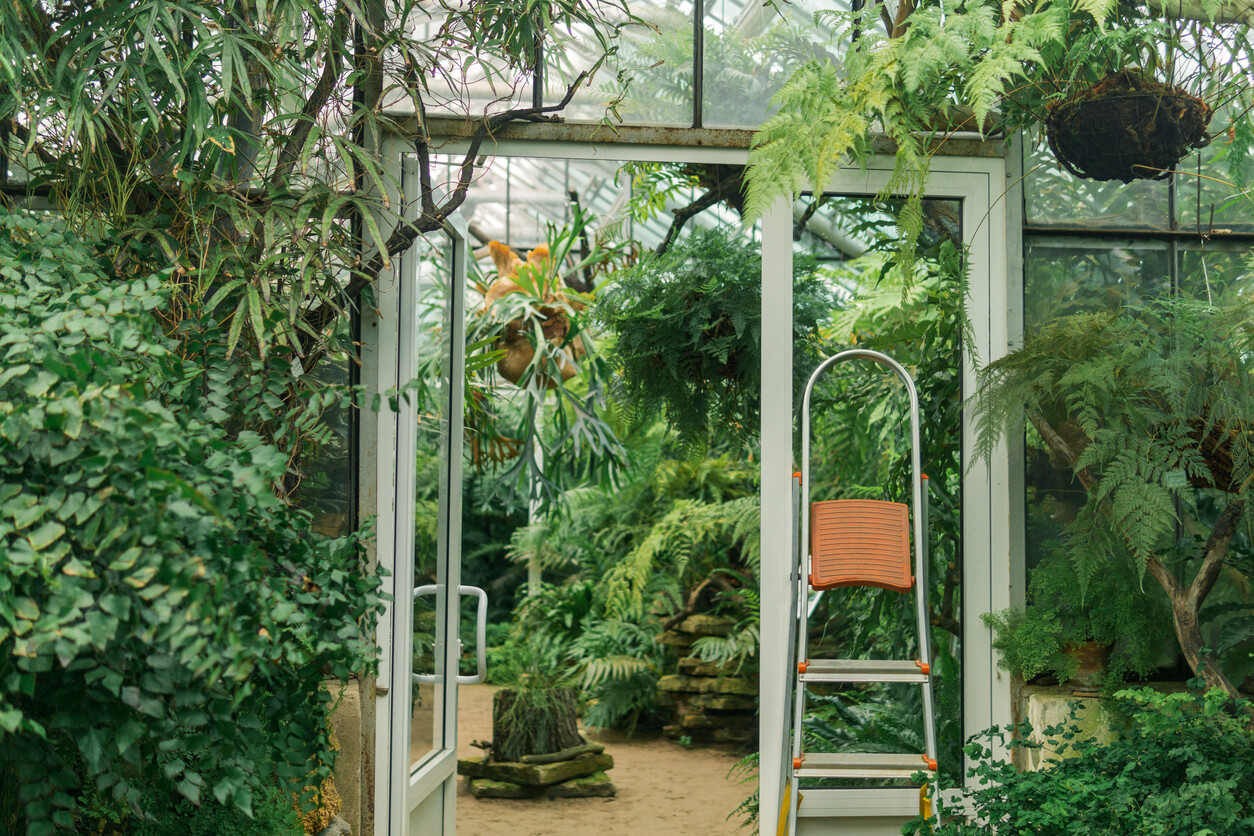
A door gives you access to your greenhouse’s interior space. Remember to consider its dimensions. Ensure your door offers adequate size and clearance to easily move plants and equipment in and out of the greenhouse.
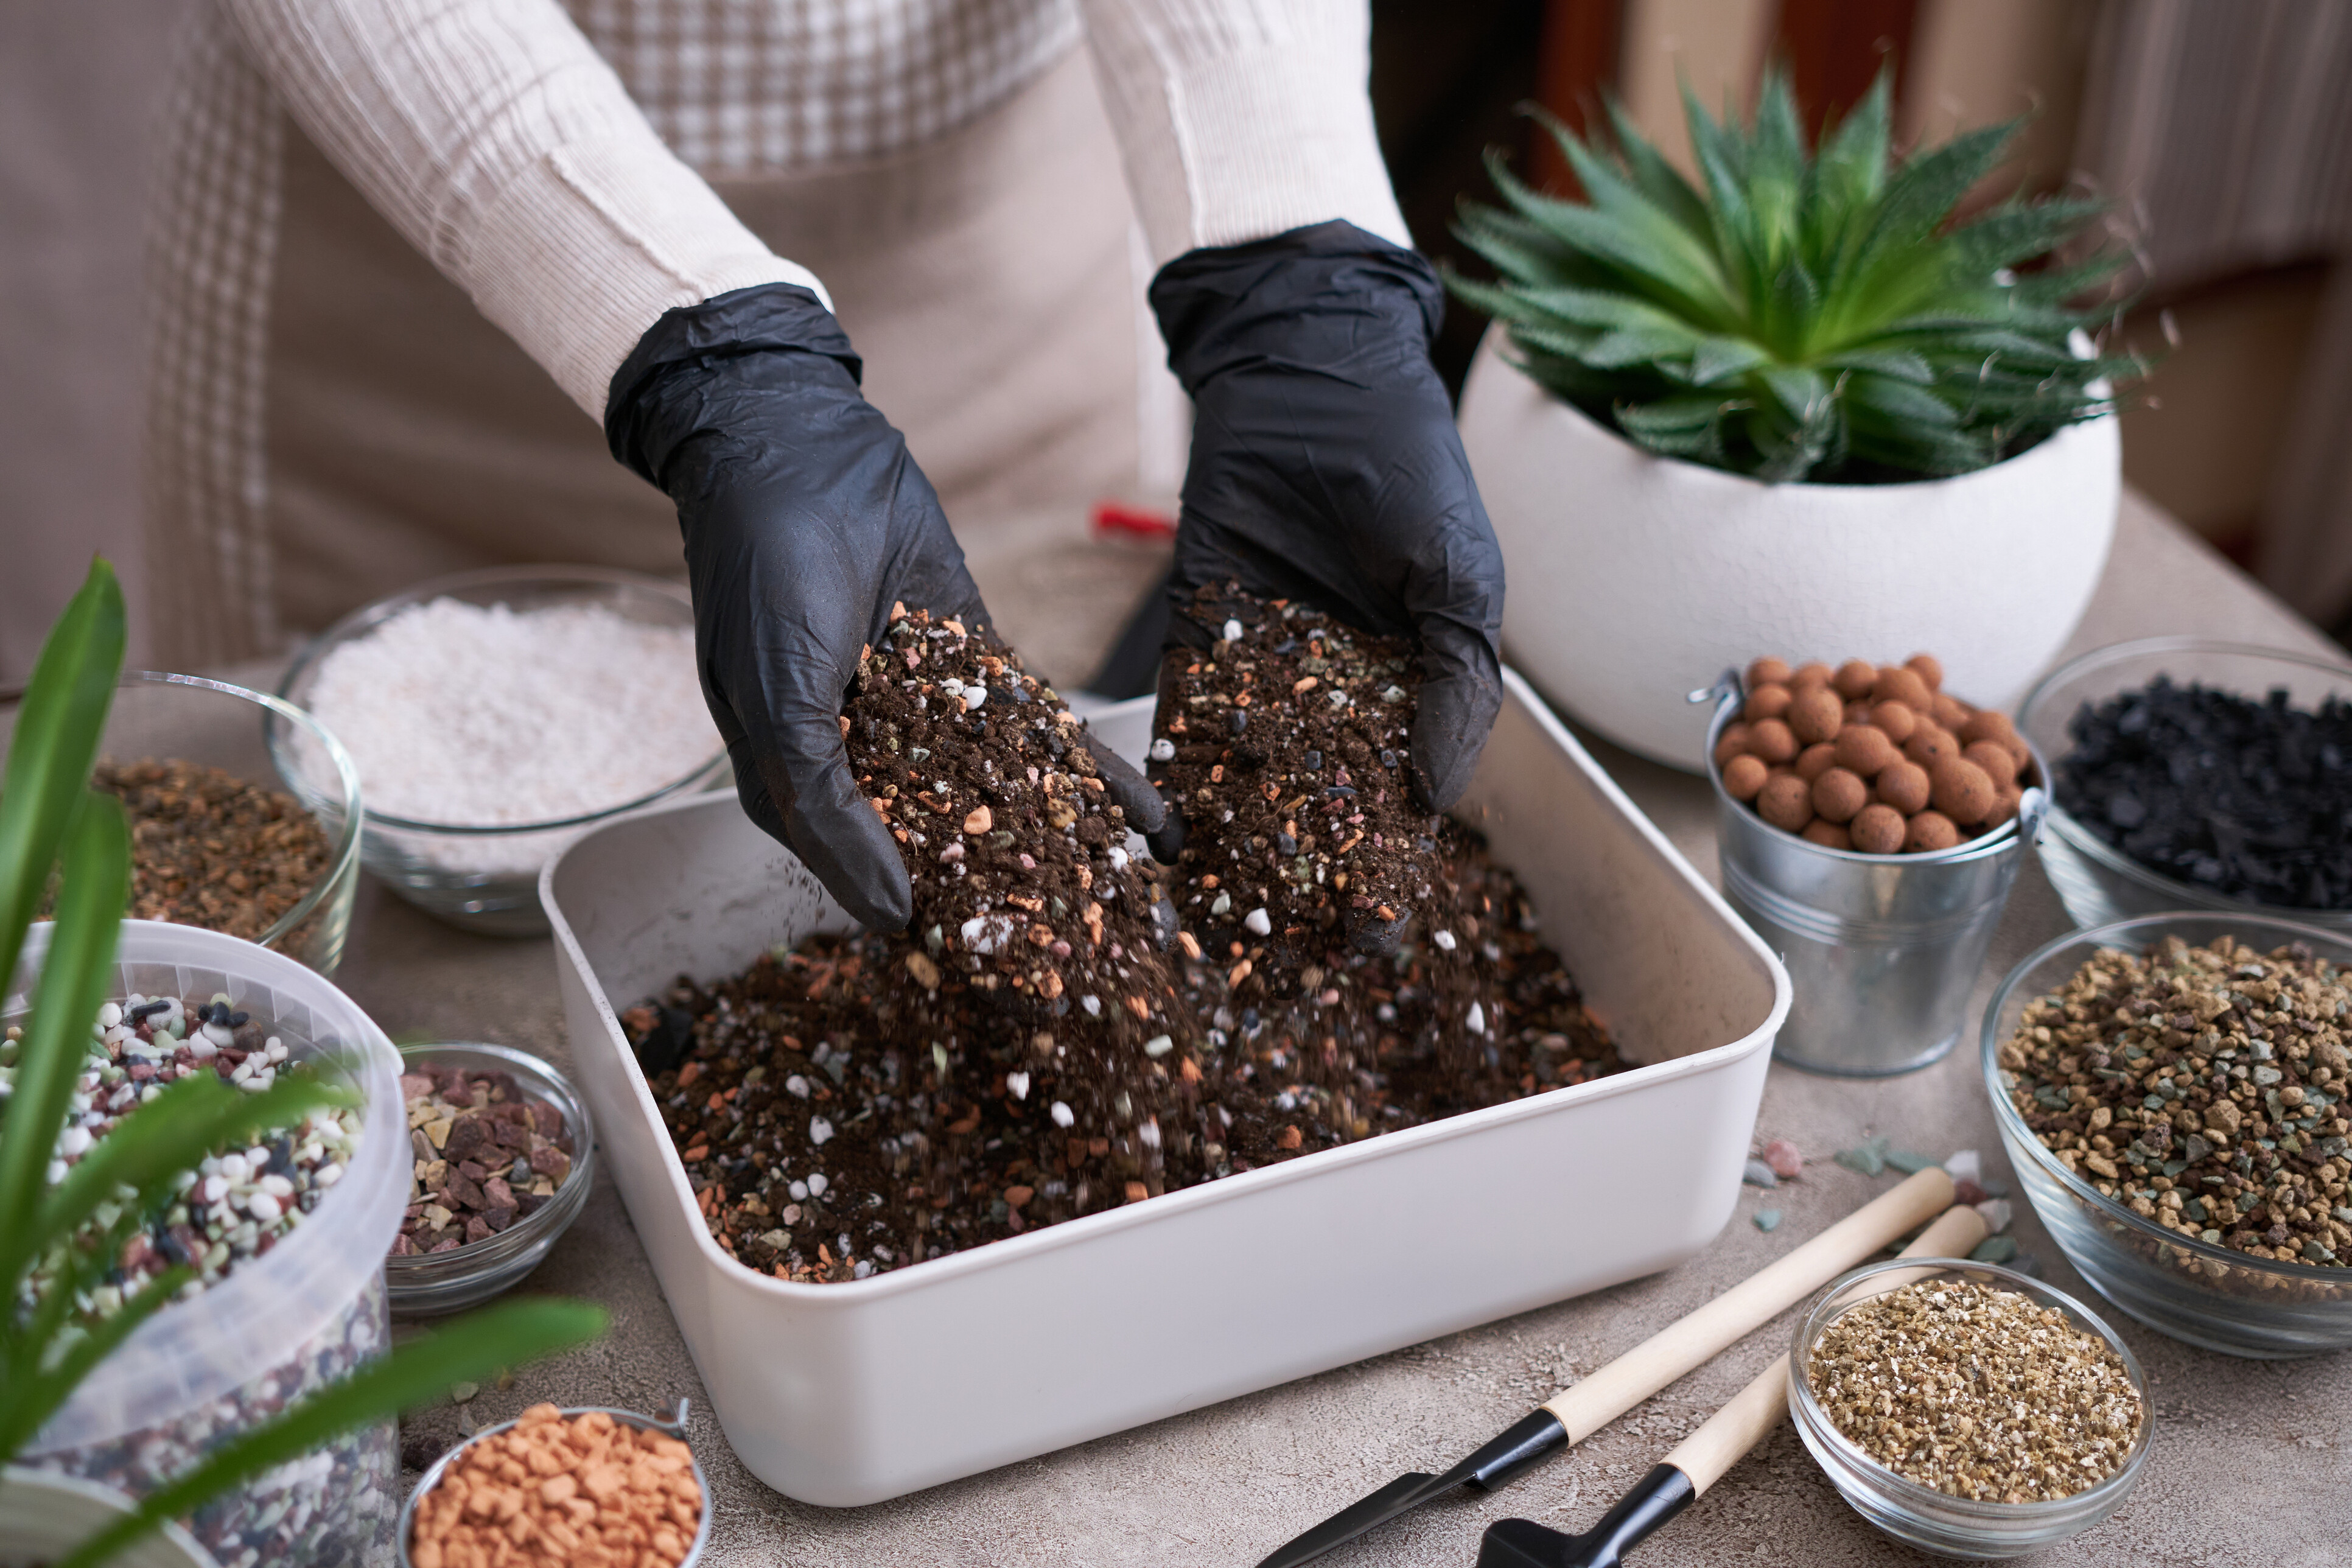
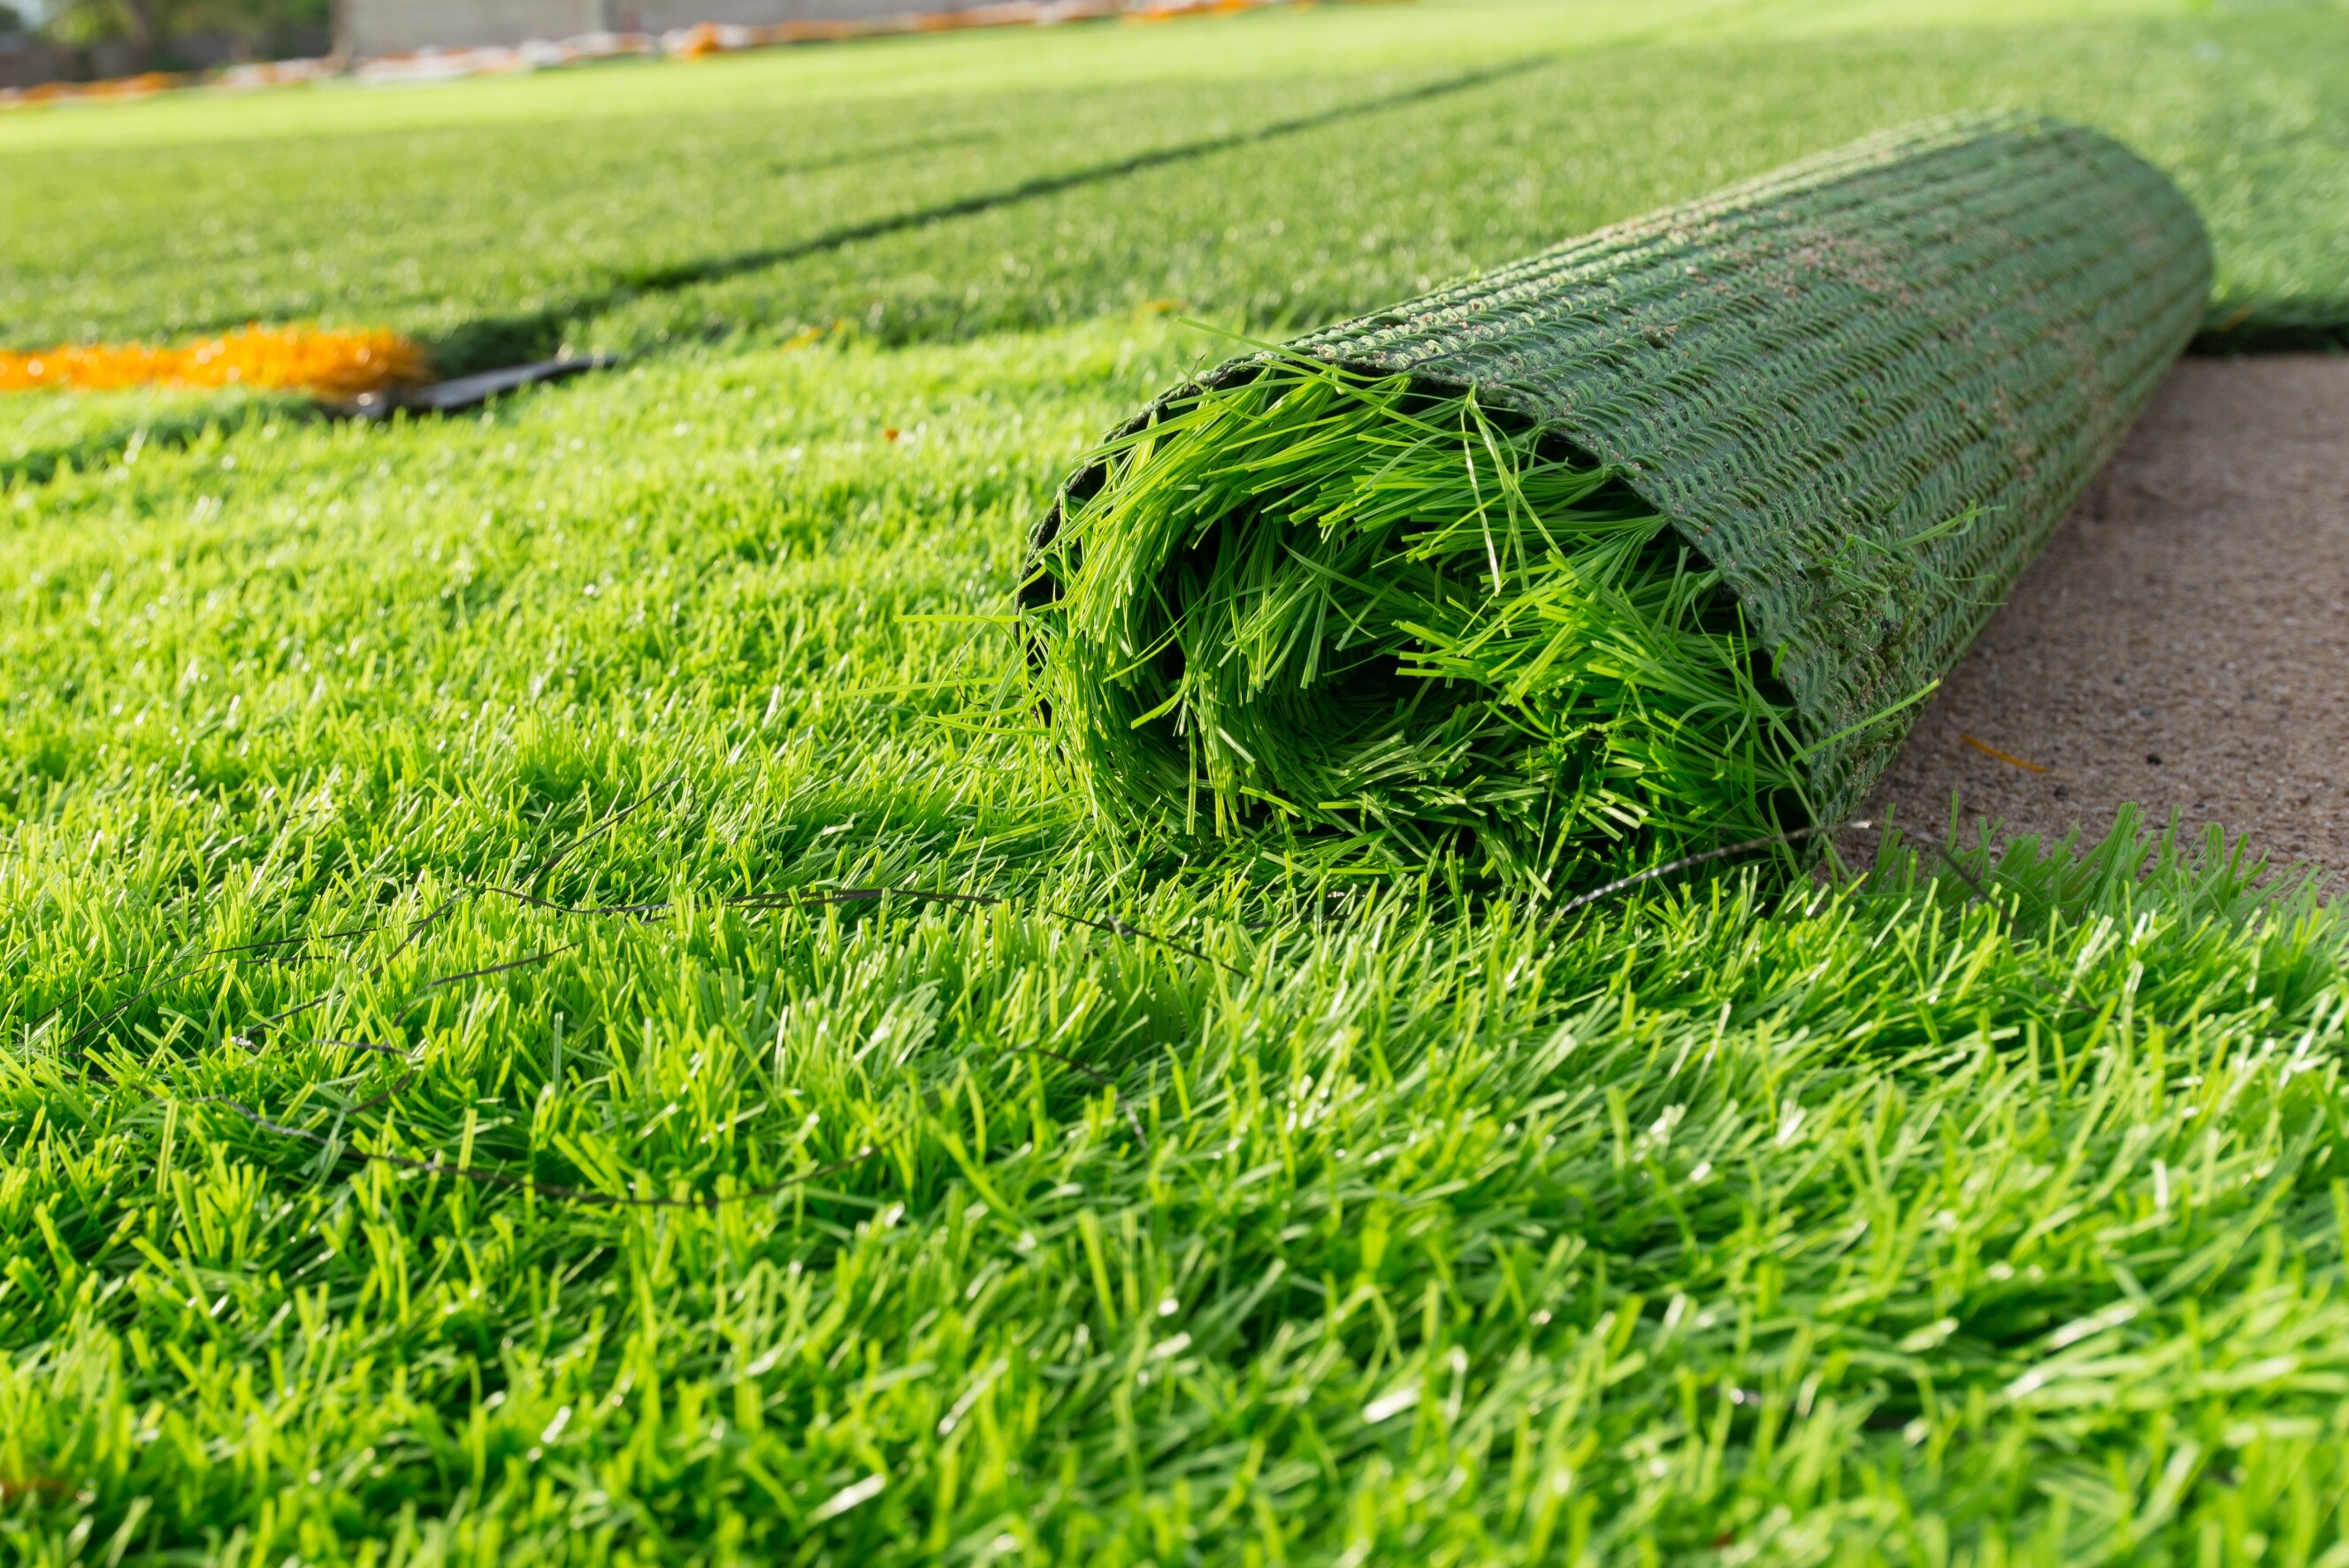
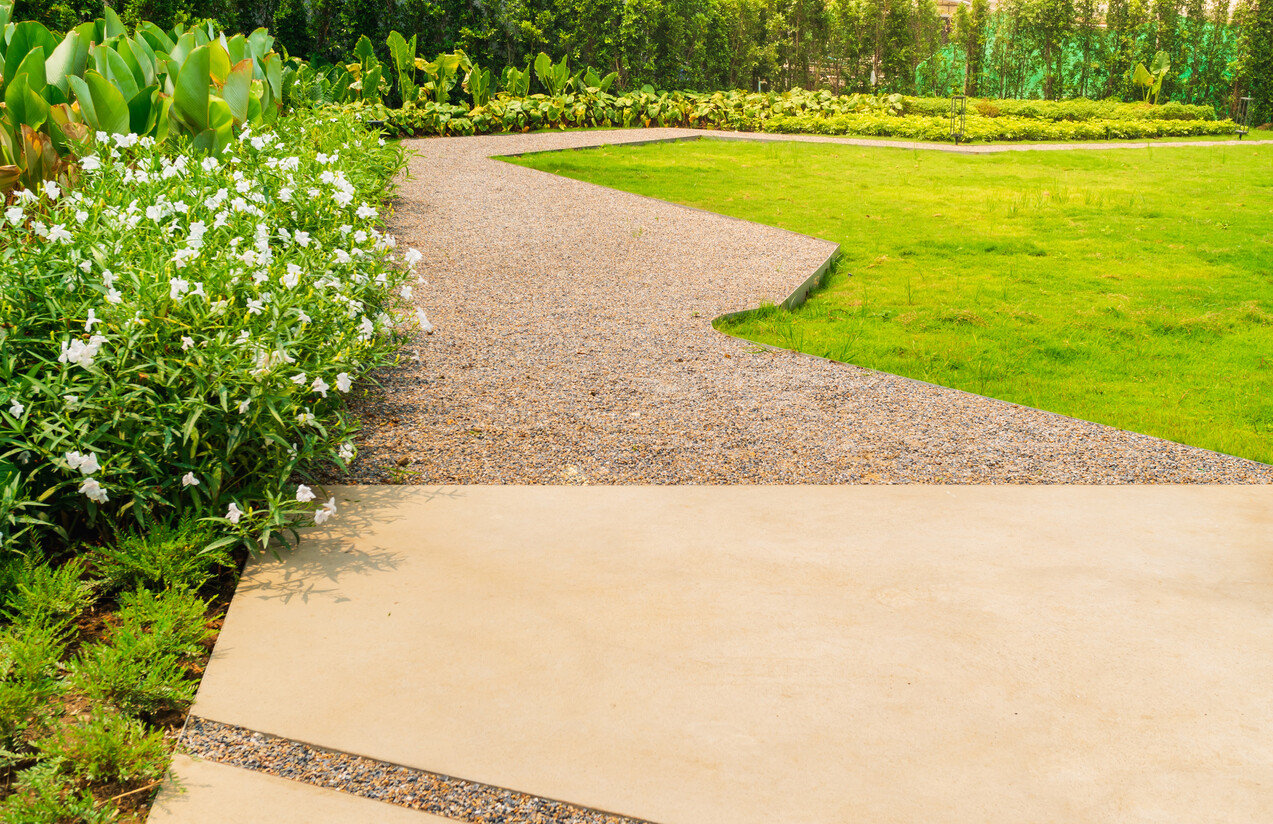
Step 6: Secure flooring
While not mandatory, adding a floor to your greenhouse can enhance the usability of the space. Your working environment becomes more comfortable, and your plants have extra protection from the ground, which may have pests and diseases. Greenhouse flooring materials include wood, concrete, or gravel. Each option has unique benefits, depending on your preferences.
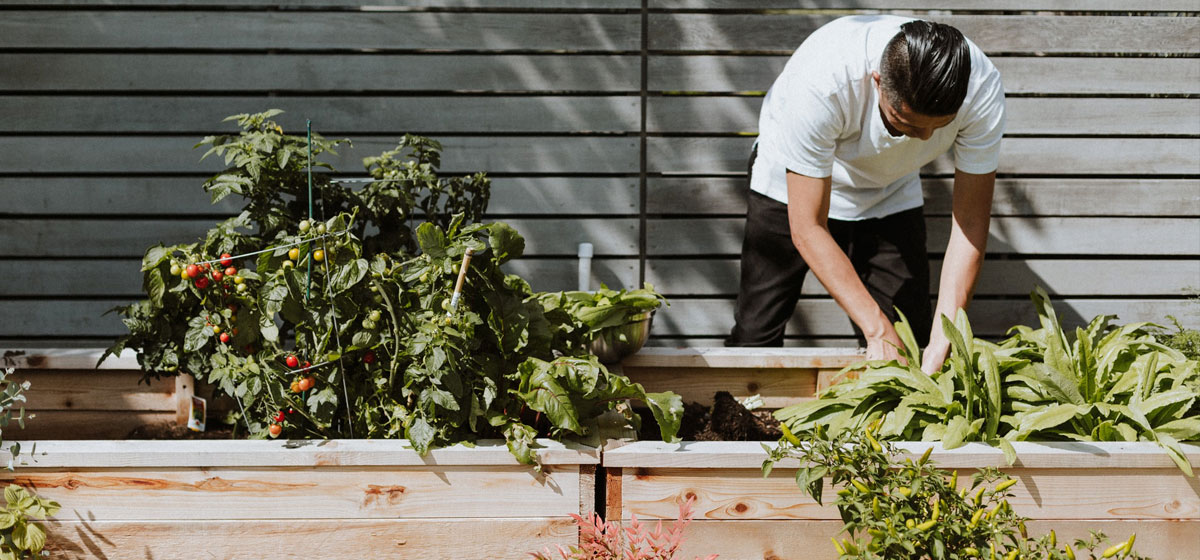
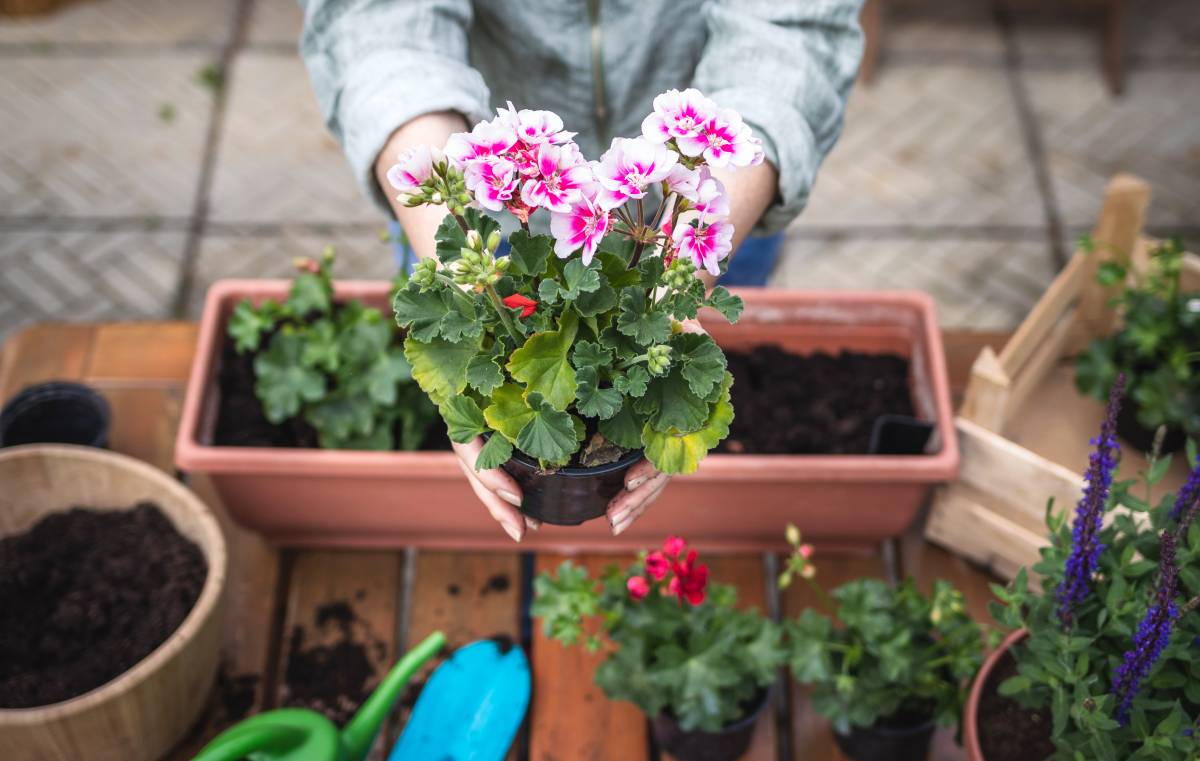
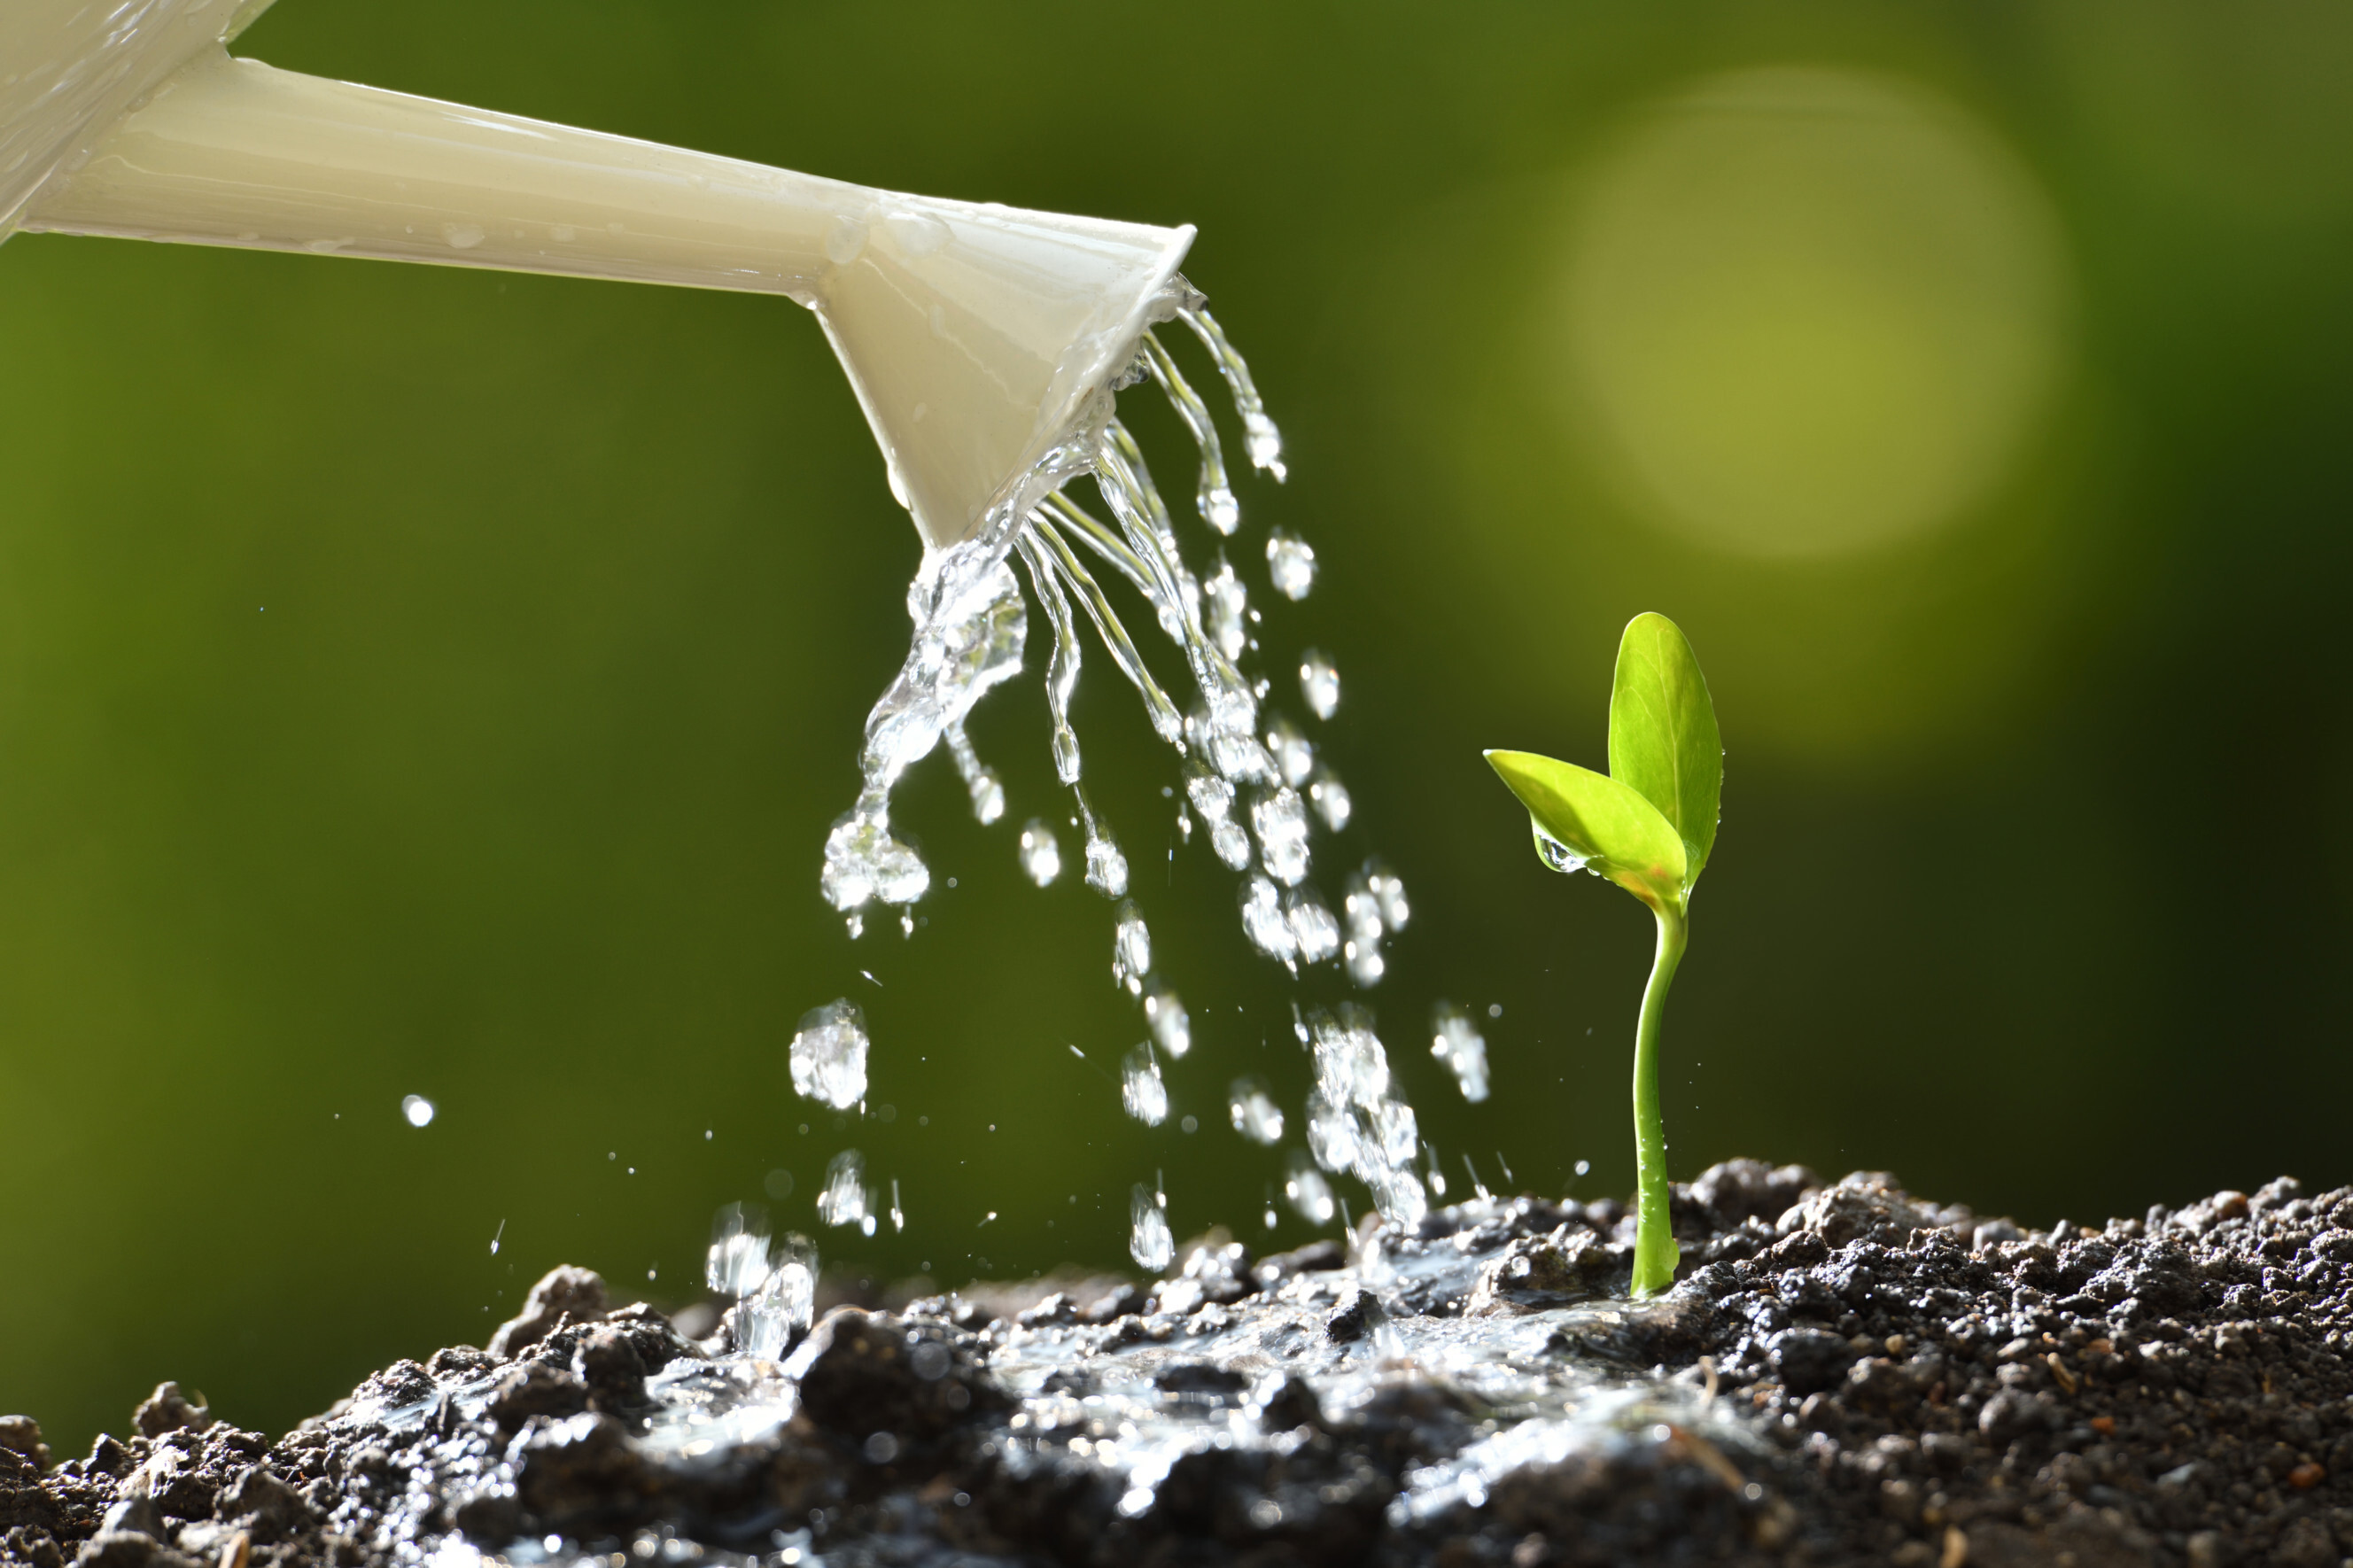
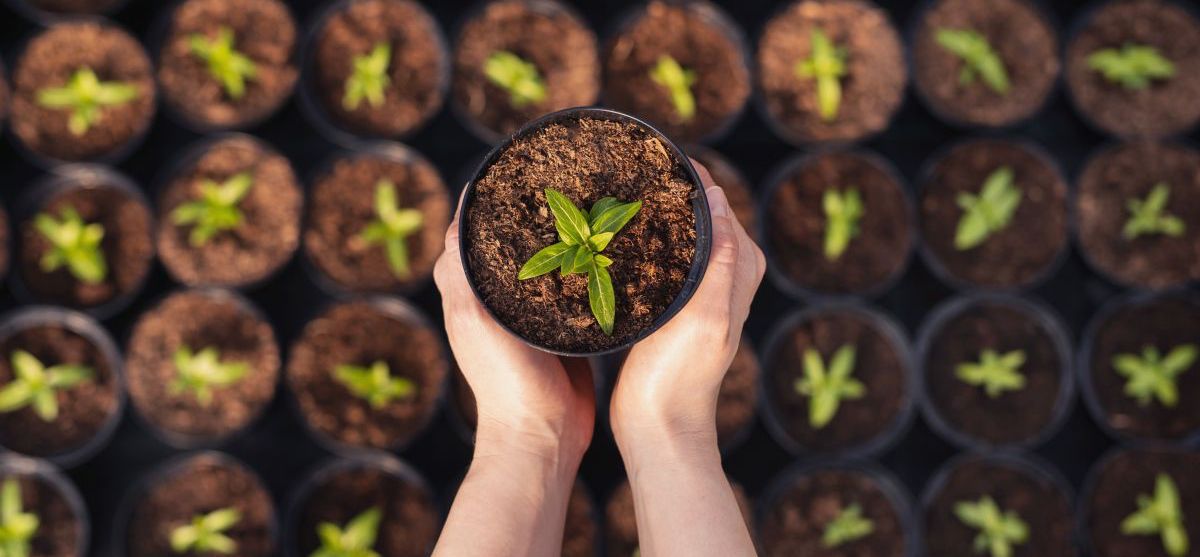
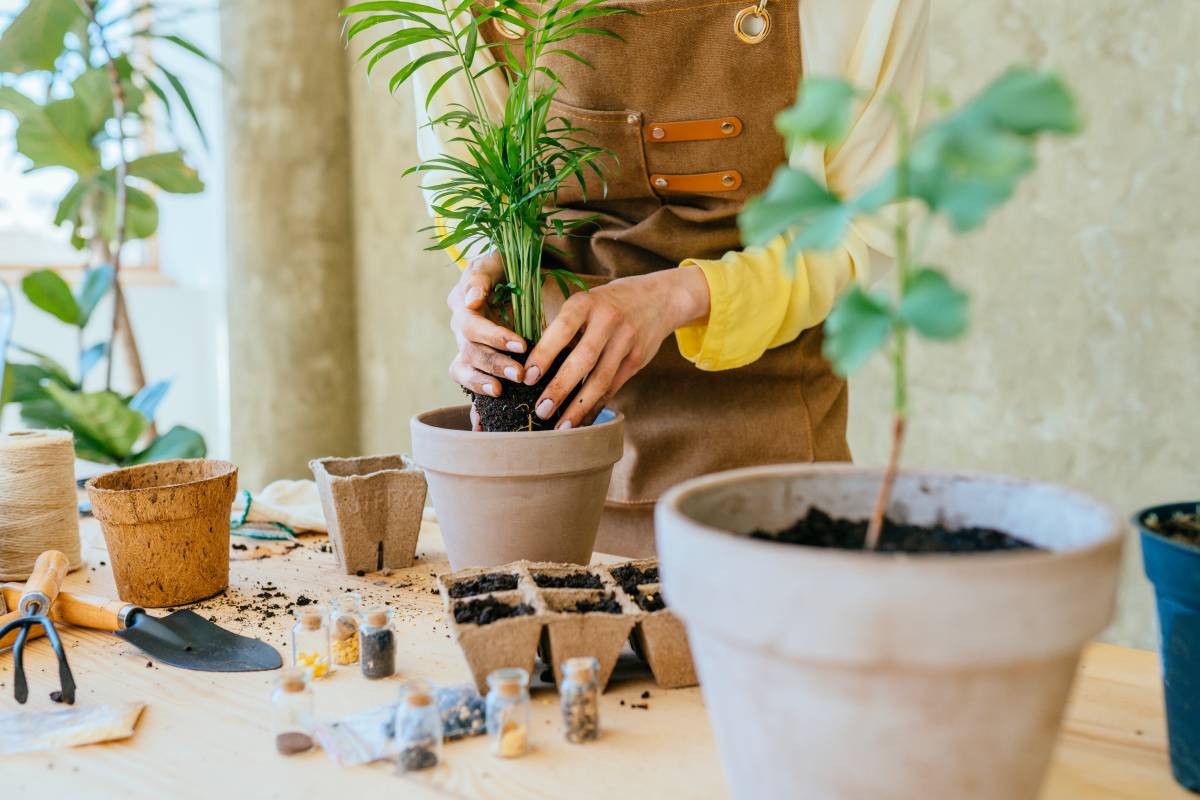
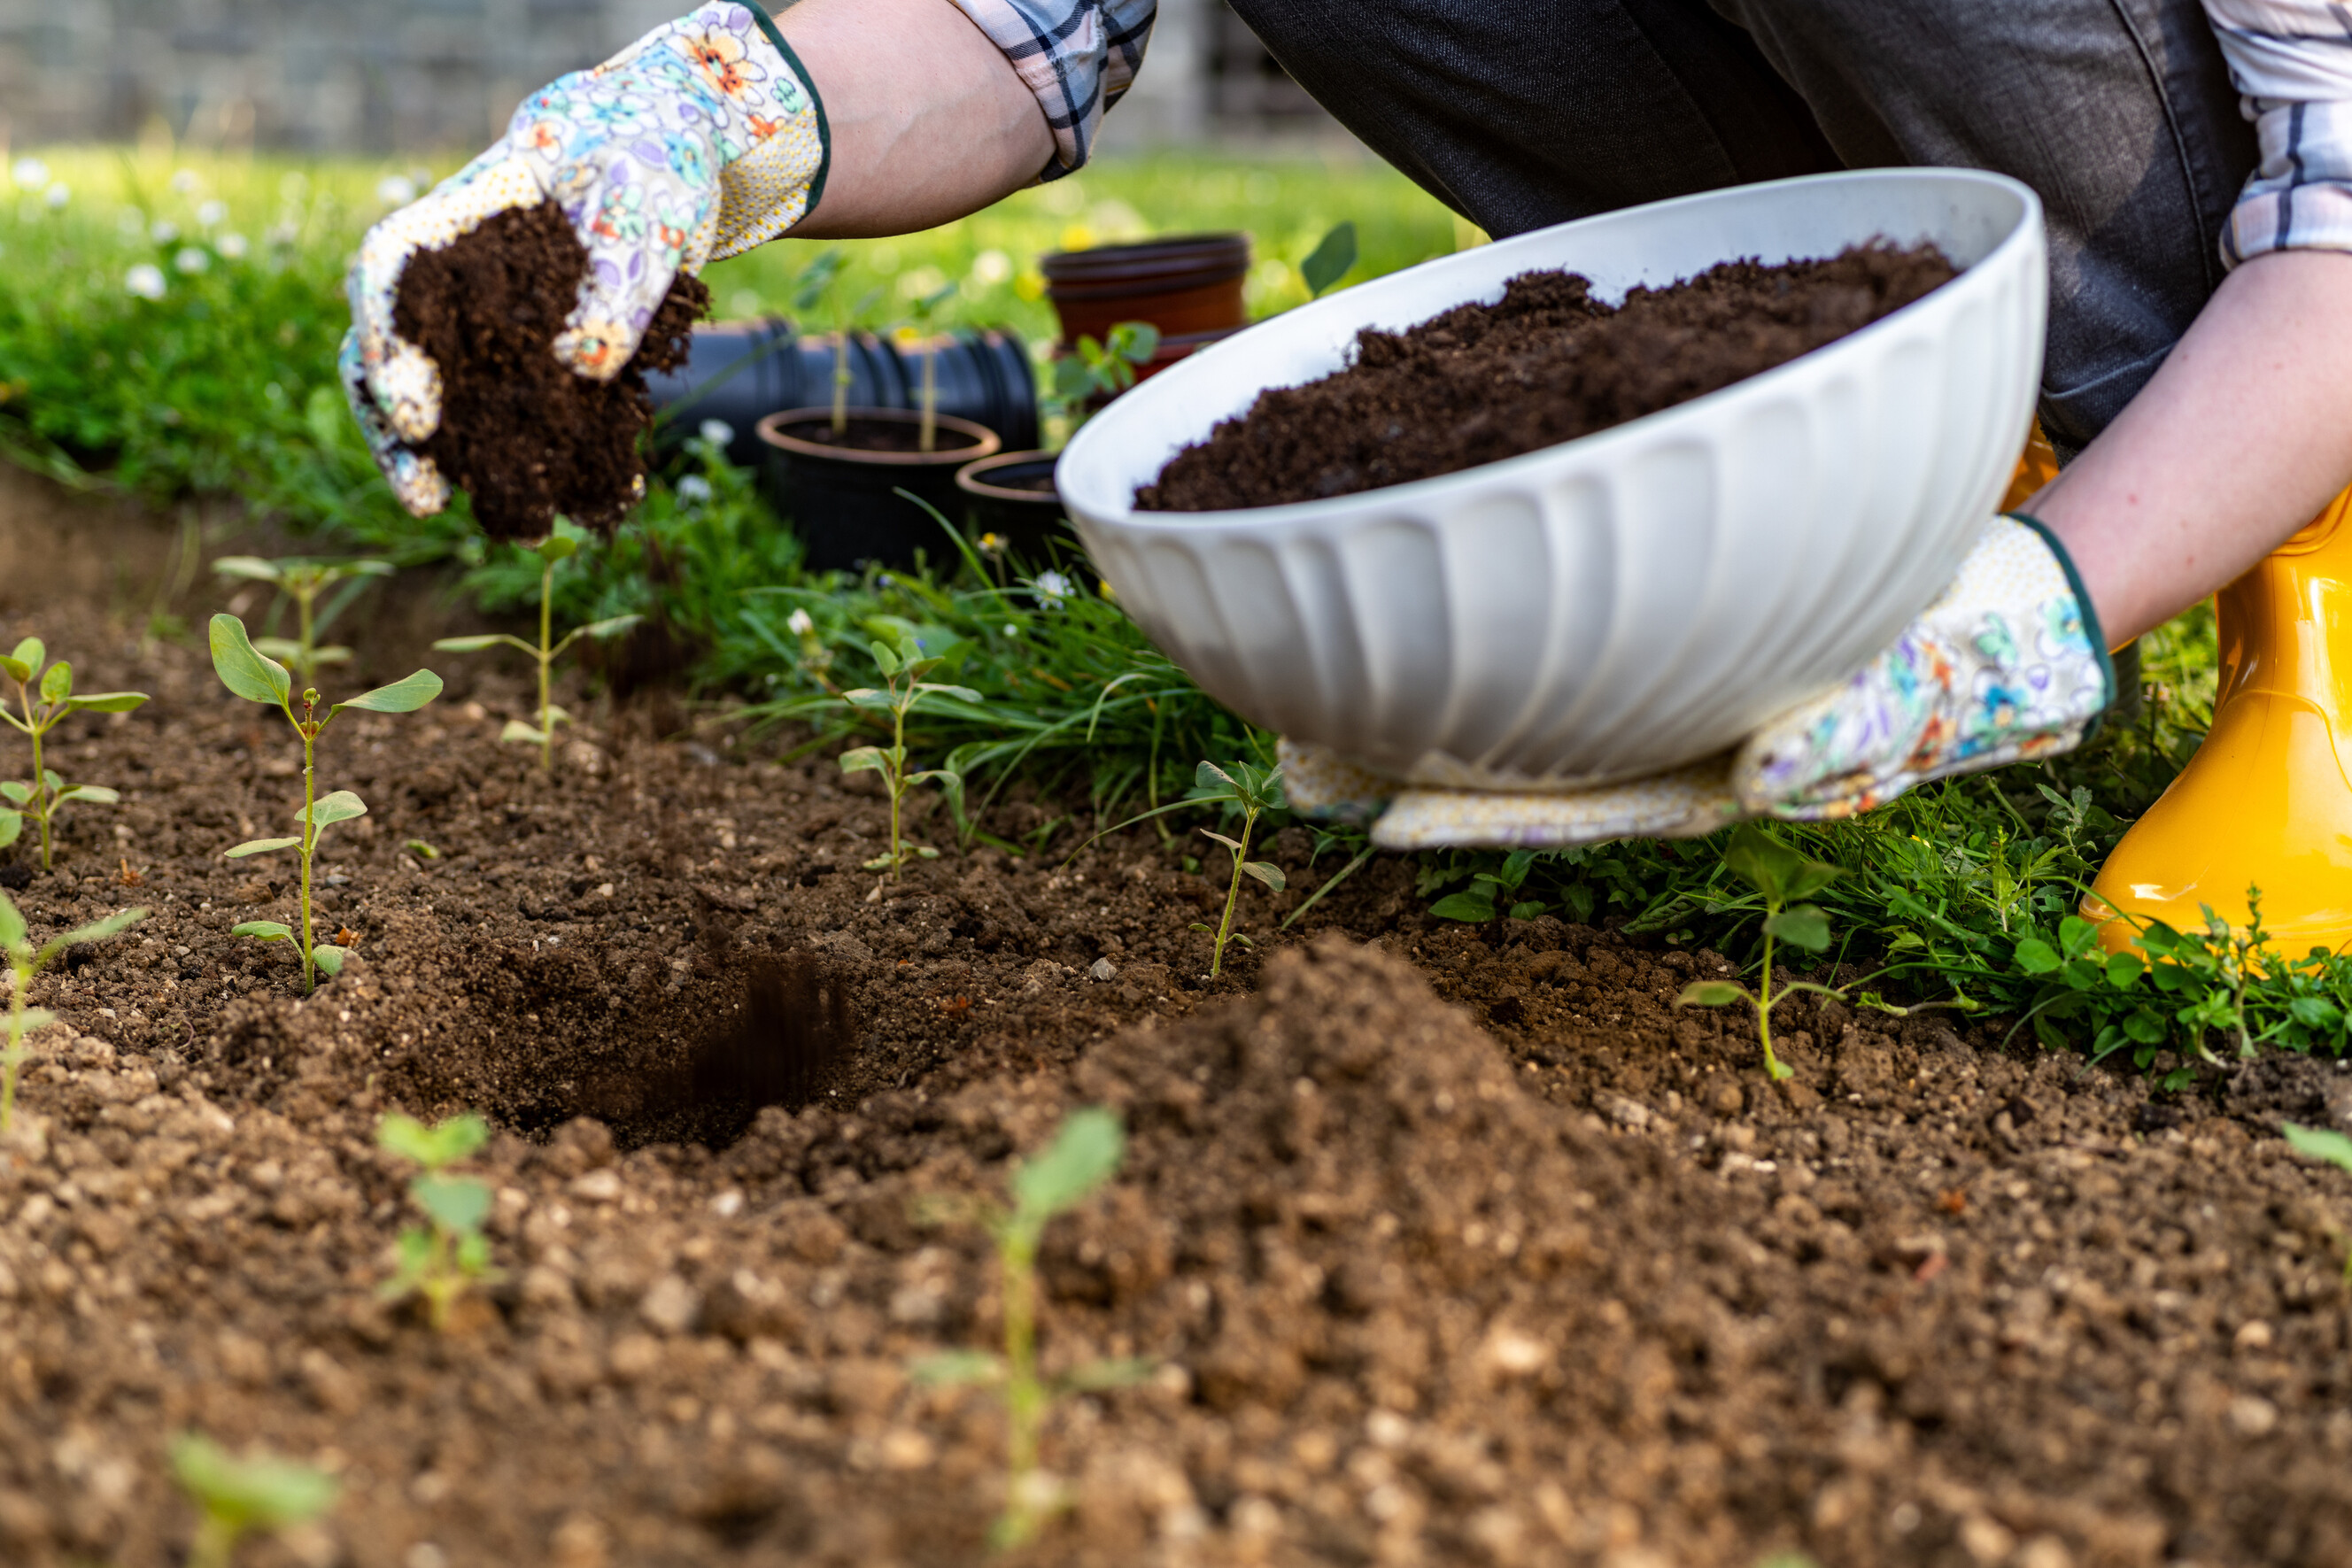
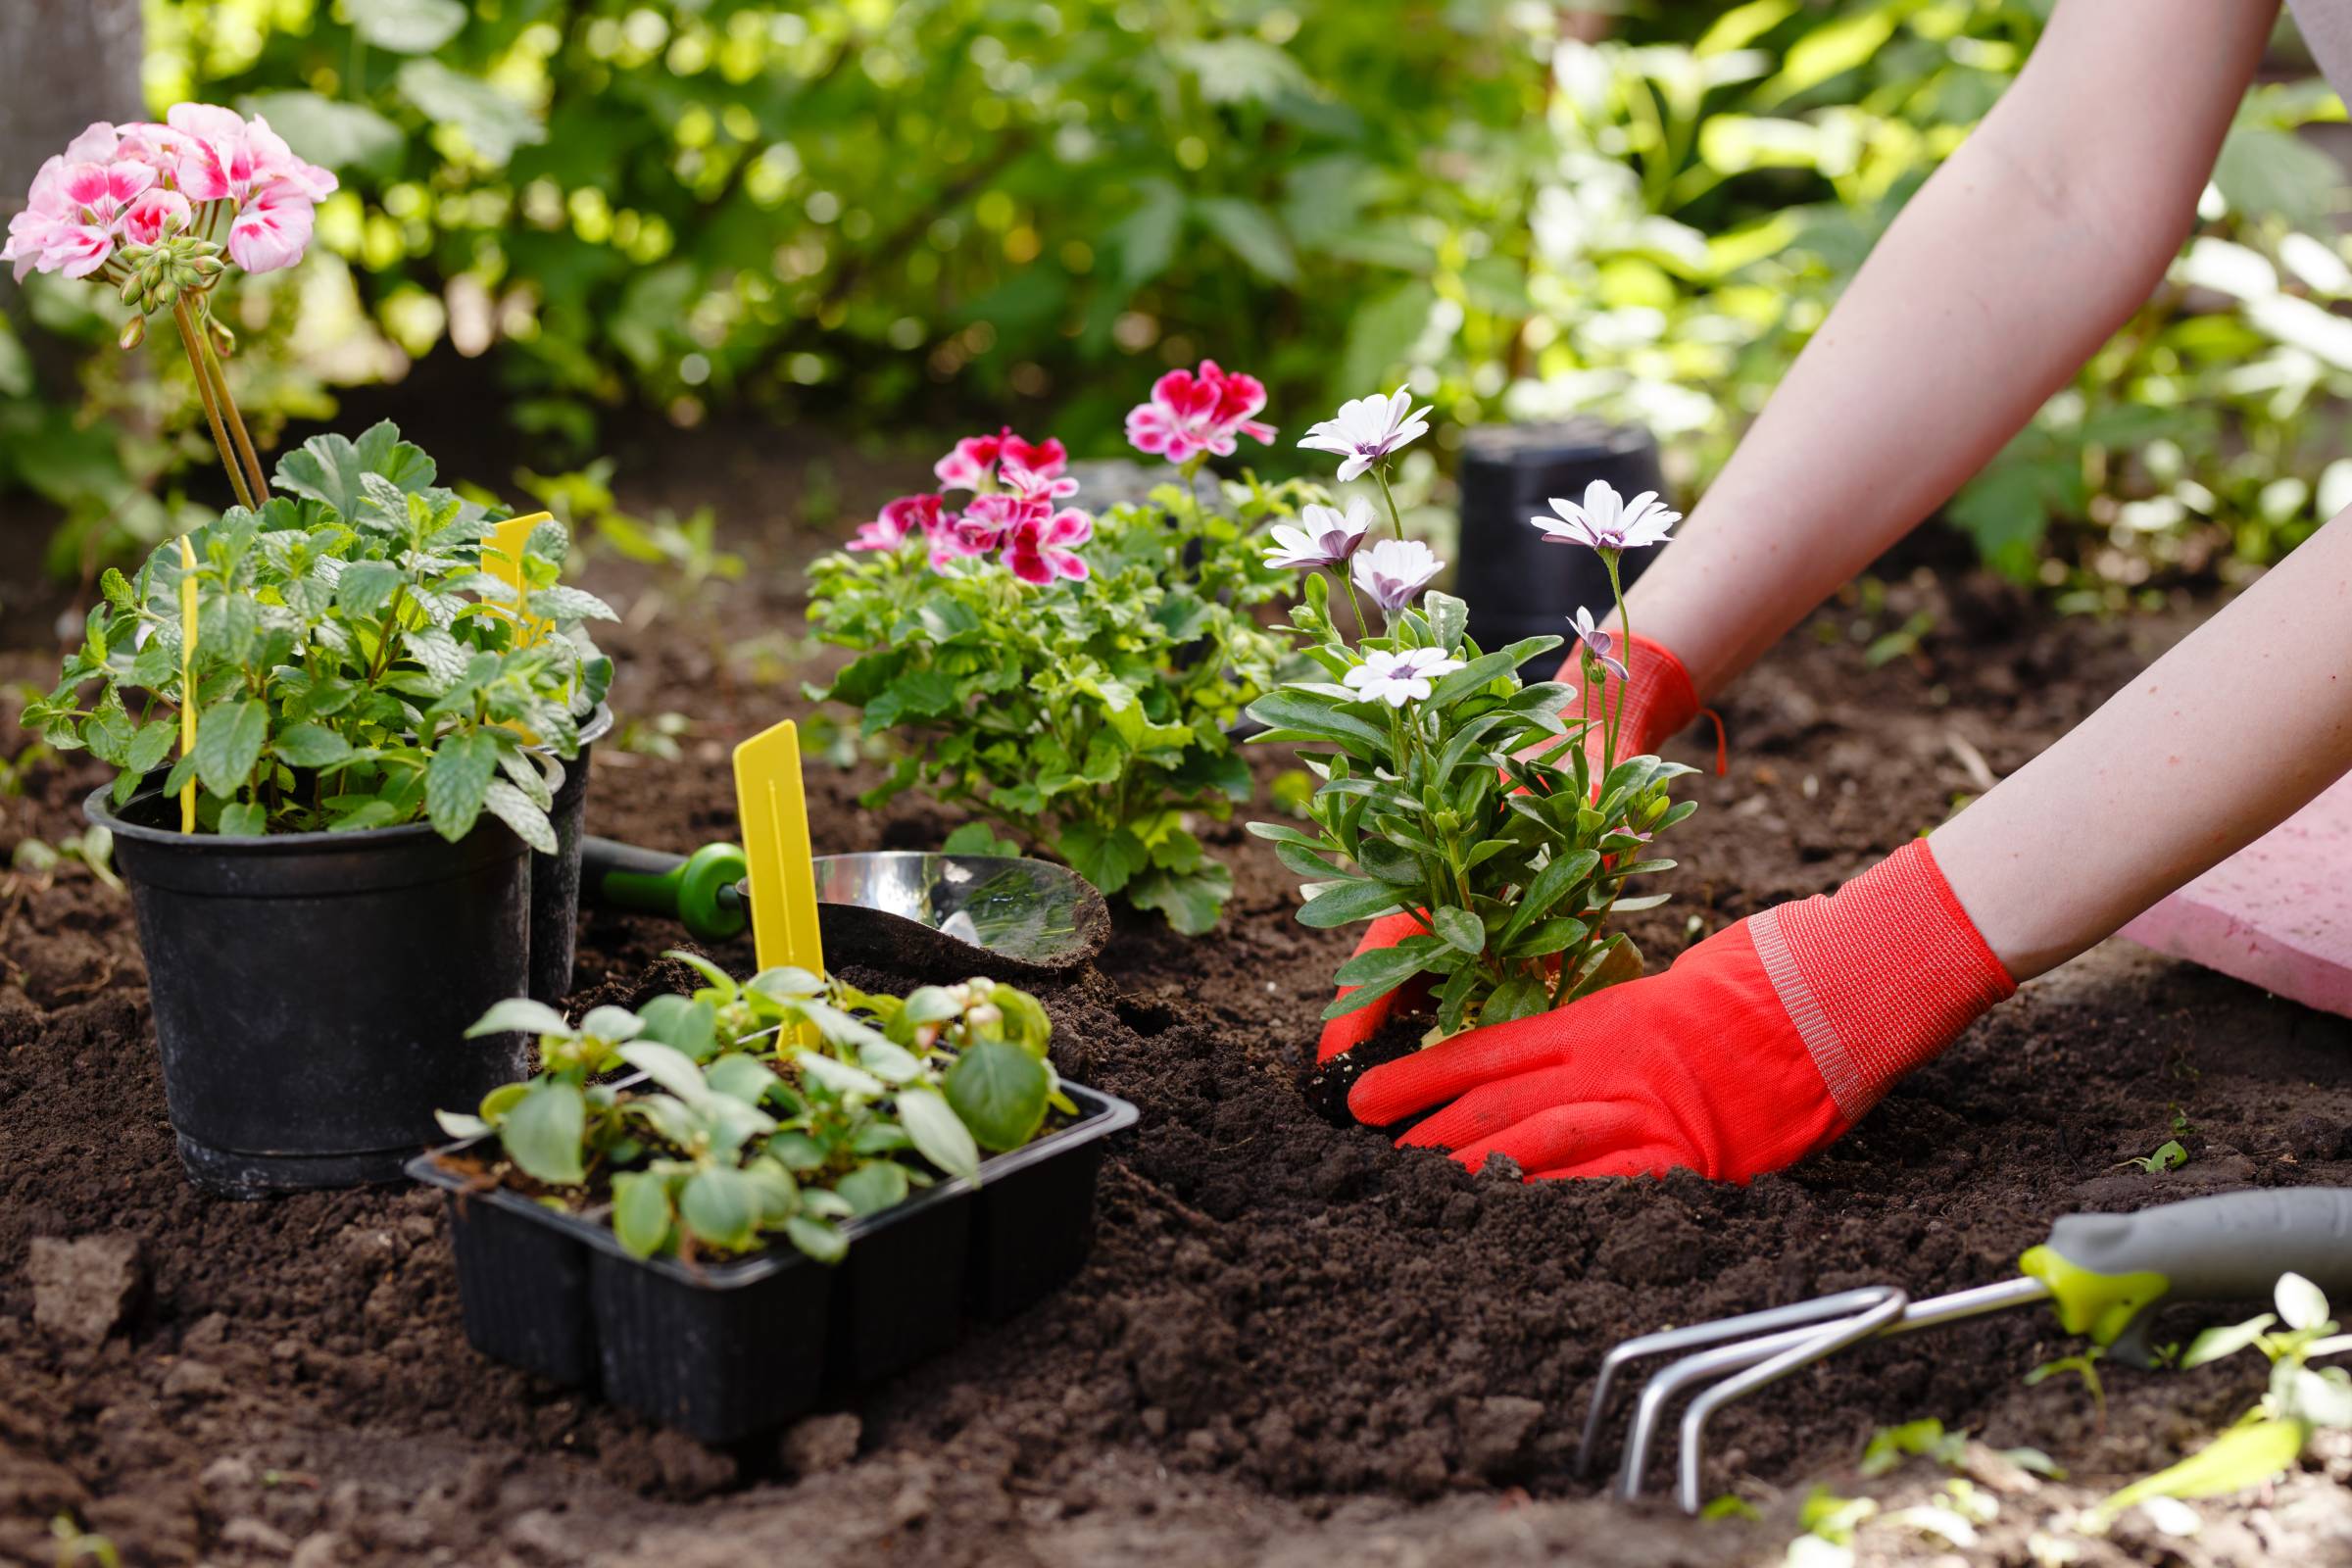
Step 7: Bring in the plants
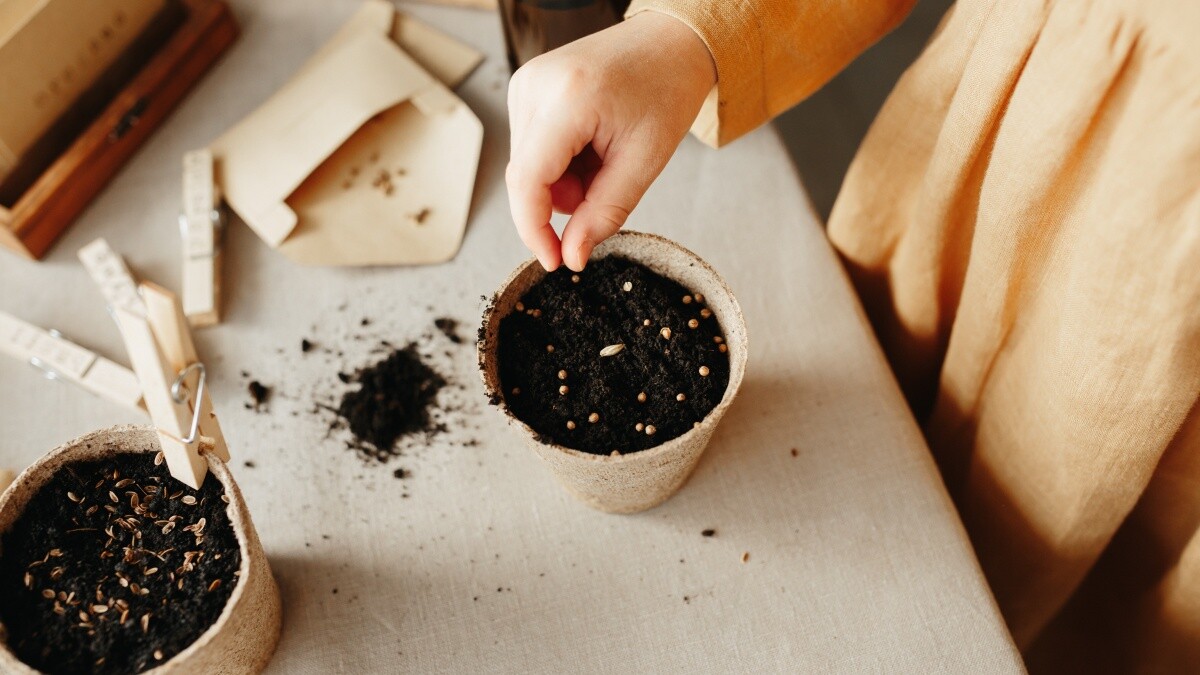
The final and most exciting step is bringing plants into your greenhouse. Select plants suitable to the climate conditions of your region. If planting seeds or seedlings, maintain a consistent watering schedule, nurturing them properly.
Extra pointers
Greenhouses for backyards or any area require thorough preparation, planning, and time. If you find the job too hard, consider hiring a dependable handyman to get things done correctly. Know that some regions have local building codes that you need to observe while constructing a greenhouse.
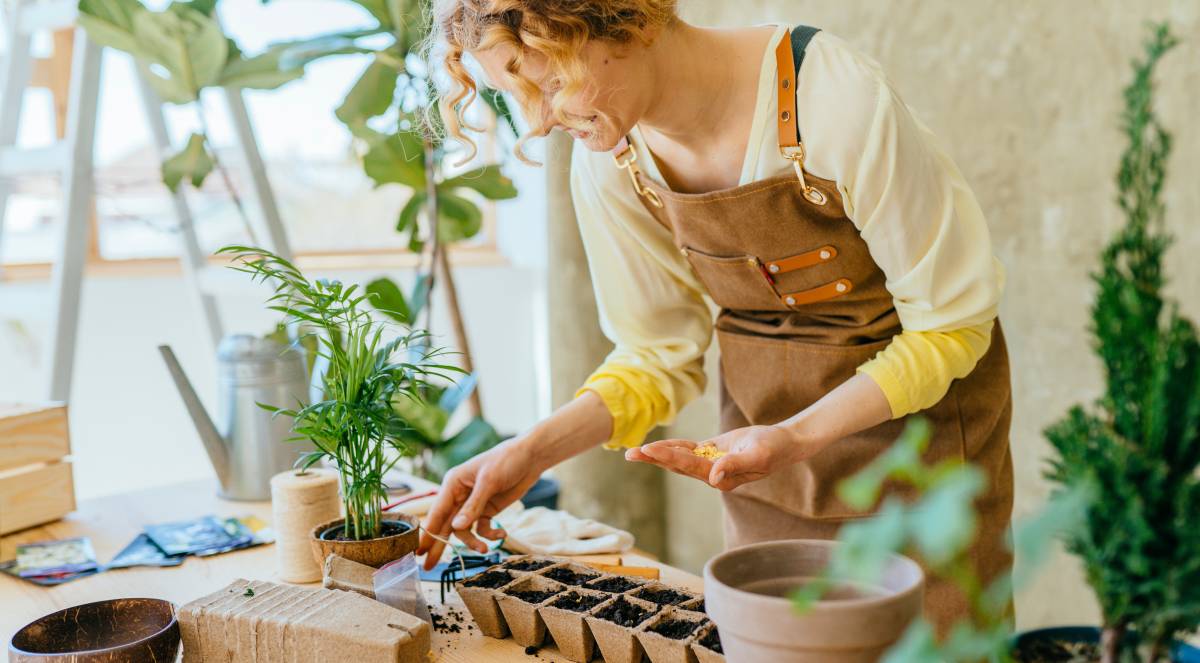
Also, a budget-friendly pro tip is to go for recycled materials. You can build a greenhouse using a repurposed clear plastic tarp, old windows, and other items. Don’t be afraid to get crafty, too. Use empty jars, bottles, and cans to make creative planters when planting seeds.
Another takeaway, especially for beginners, is to start with a few plants only. These living things demand some form of TLC, so take small steps first.
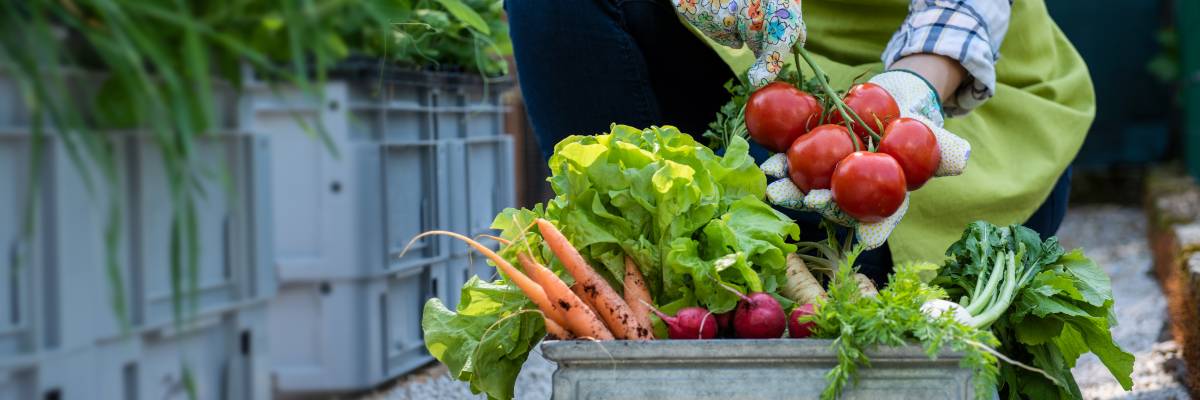
All set for green and bountiful rewards
Whether you’re an expert like a farmer or a novice plant grower, witnessing the fruit of your labour is such a fulfilling experience. If you’re ready to level up your gardening opportunities and give your plants all year to thrive, it’s time to build your greenhouse. A gardener can guide you through every step, bringing your green haven to life. Post a task on Airtasker today!
FAQs on building a greenhouse
Begin by defining the greenhouse’s perimeter using stakes and string. Then, level the ground by excavating the high side and filling the area with gravel for proper drainage. Construct a stable support structure using concrete blocks, treated lumber, or a combination of both, ensuring it aligns with the perimeter outline.
You can assemble and install the greenhouse frame from there, proceeding with the abovementioned steps.
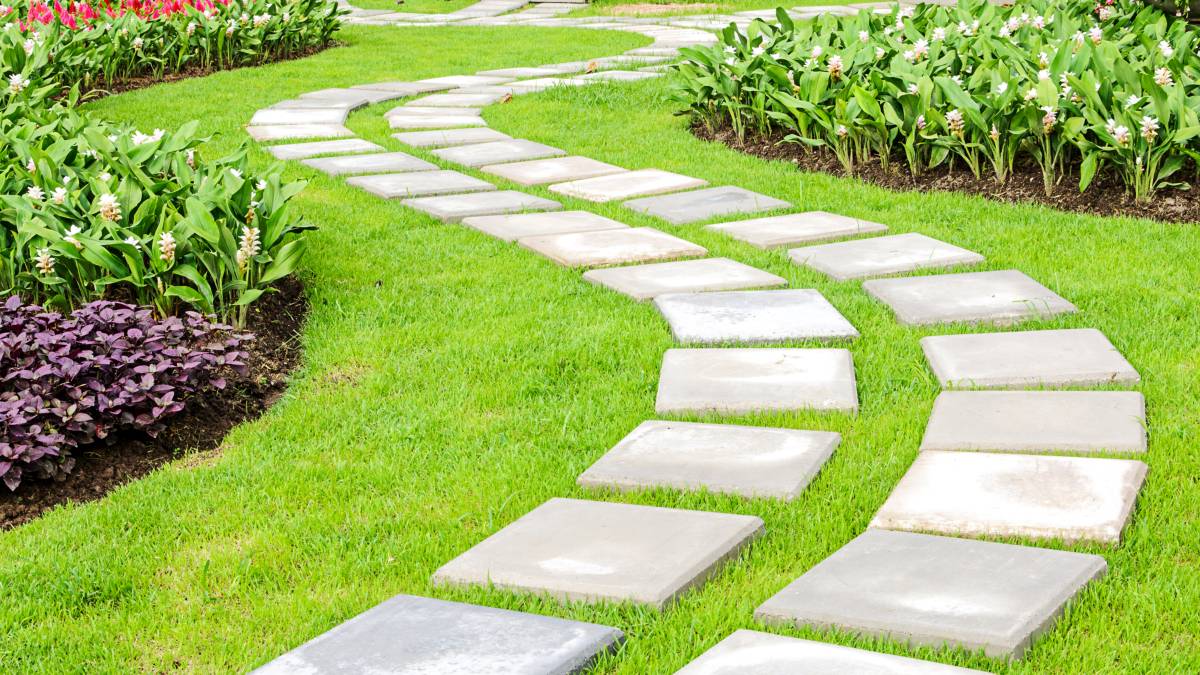
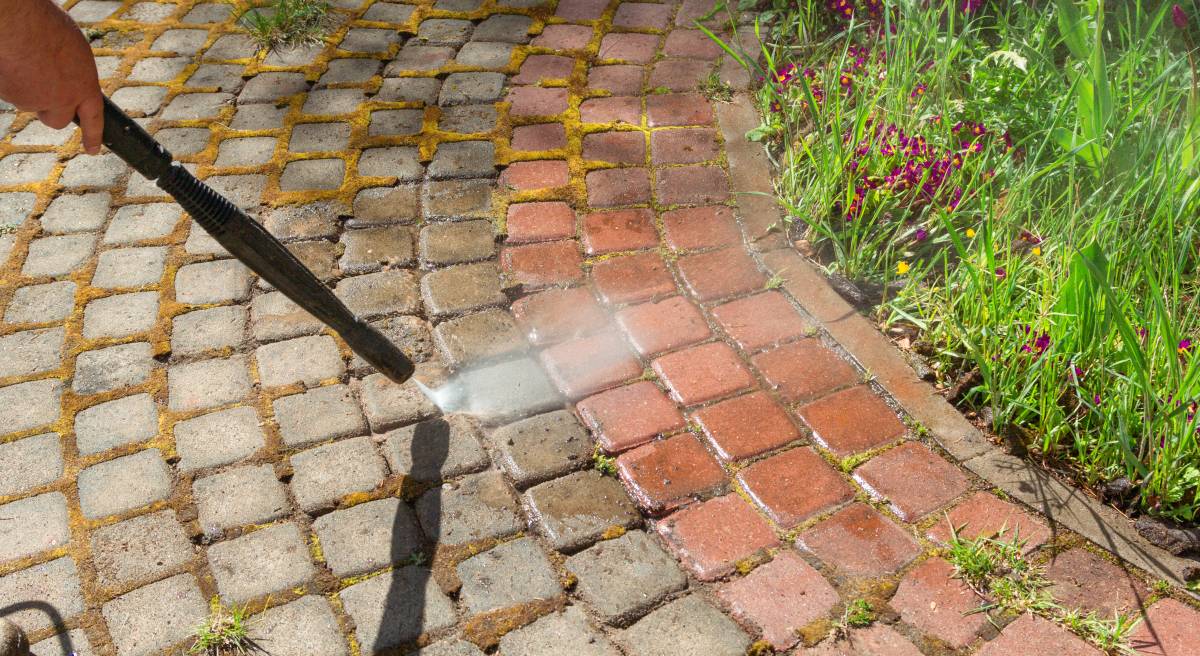
The key here is to prepare the foundation. Start by digging out your chosen area to accommodate the thickness of the paving slabs. Add extra space, then place a layer of compacted hardcore or gravel. Level it to create a solid, even surface.
Then, position and align the paving slabs on top of the hardcore or stone, ensuring they are flat and evenly spaced. Use a level to double-check the evenness of the slabs. Finally, secure the greenhouse frame to the paving slab base, and you’ll have a stable and well-leveled foundation for your greenhouse.
Using recycled materials is the cheapest way to build a greenhouse. Skip buying new items and tap into your creative side. Repurpose old, empty jars, cans, and bottles. Refurbish wooden pieces and turn them into shelving for your greenhouse.
Find gardening services, fast
Find a gardener
Related price guides
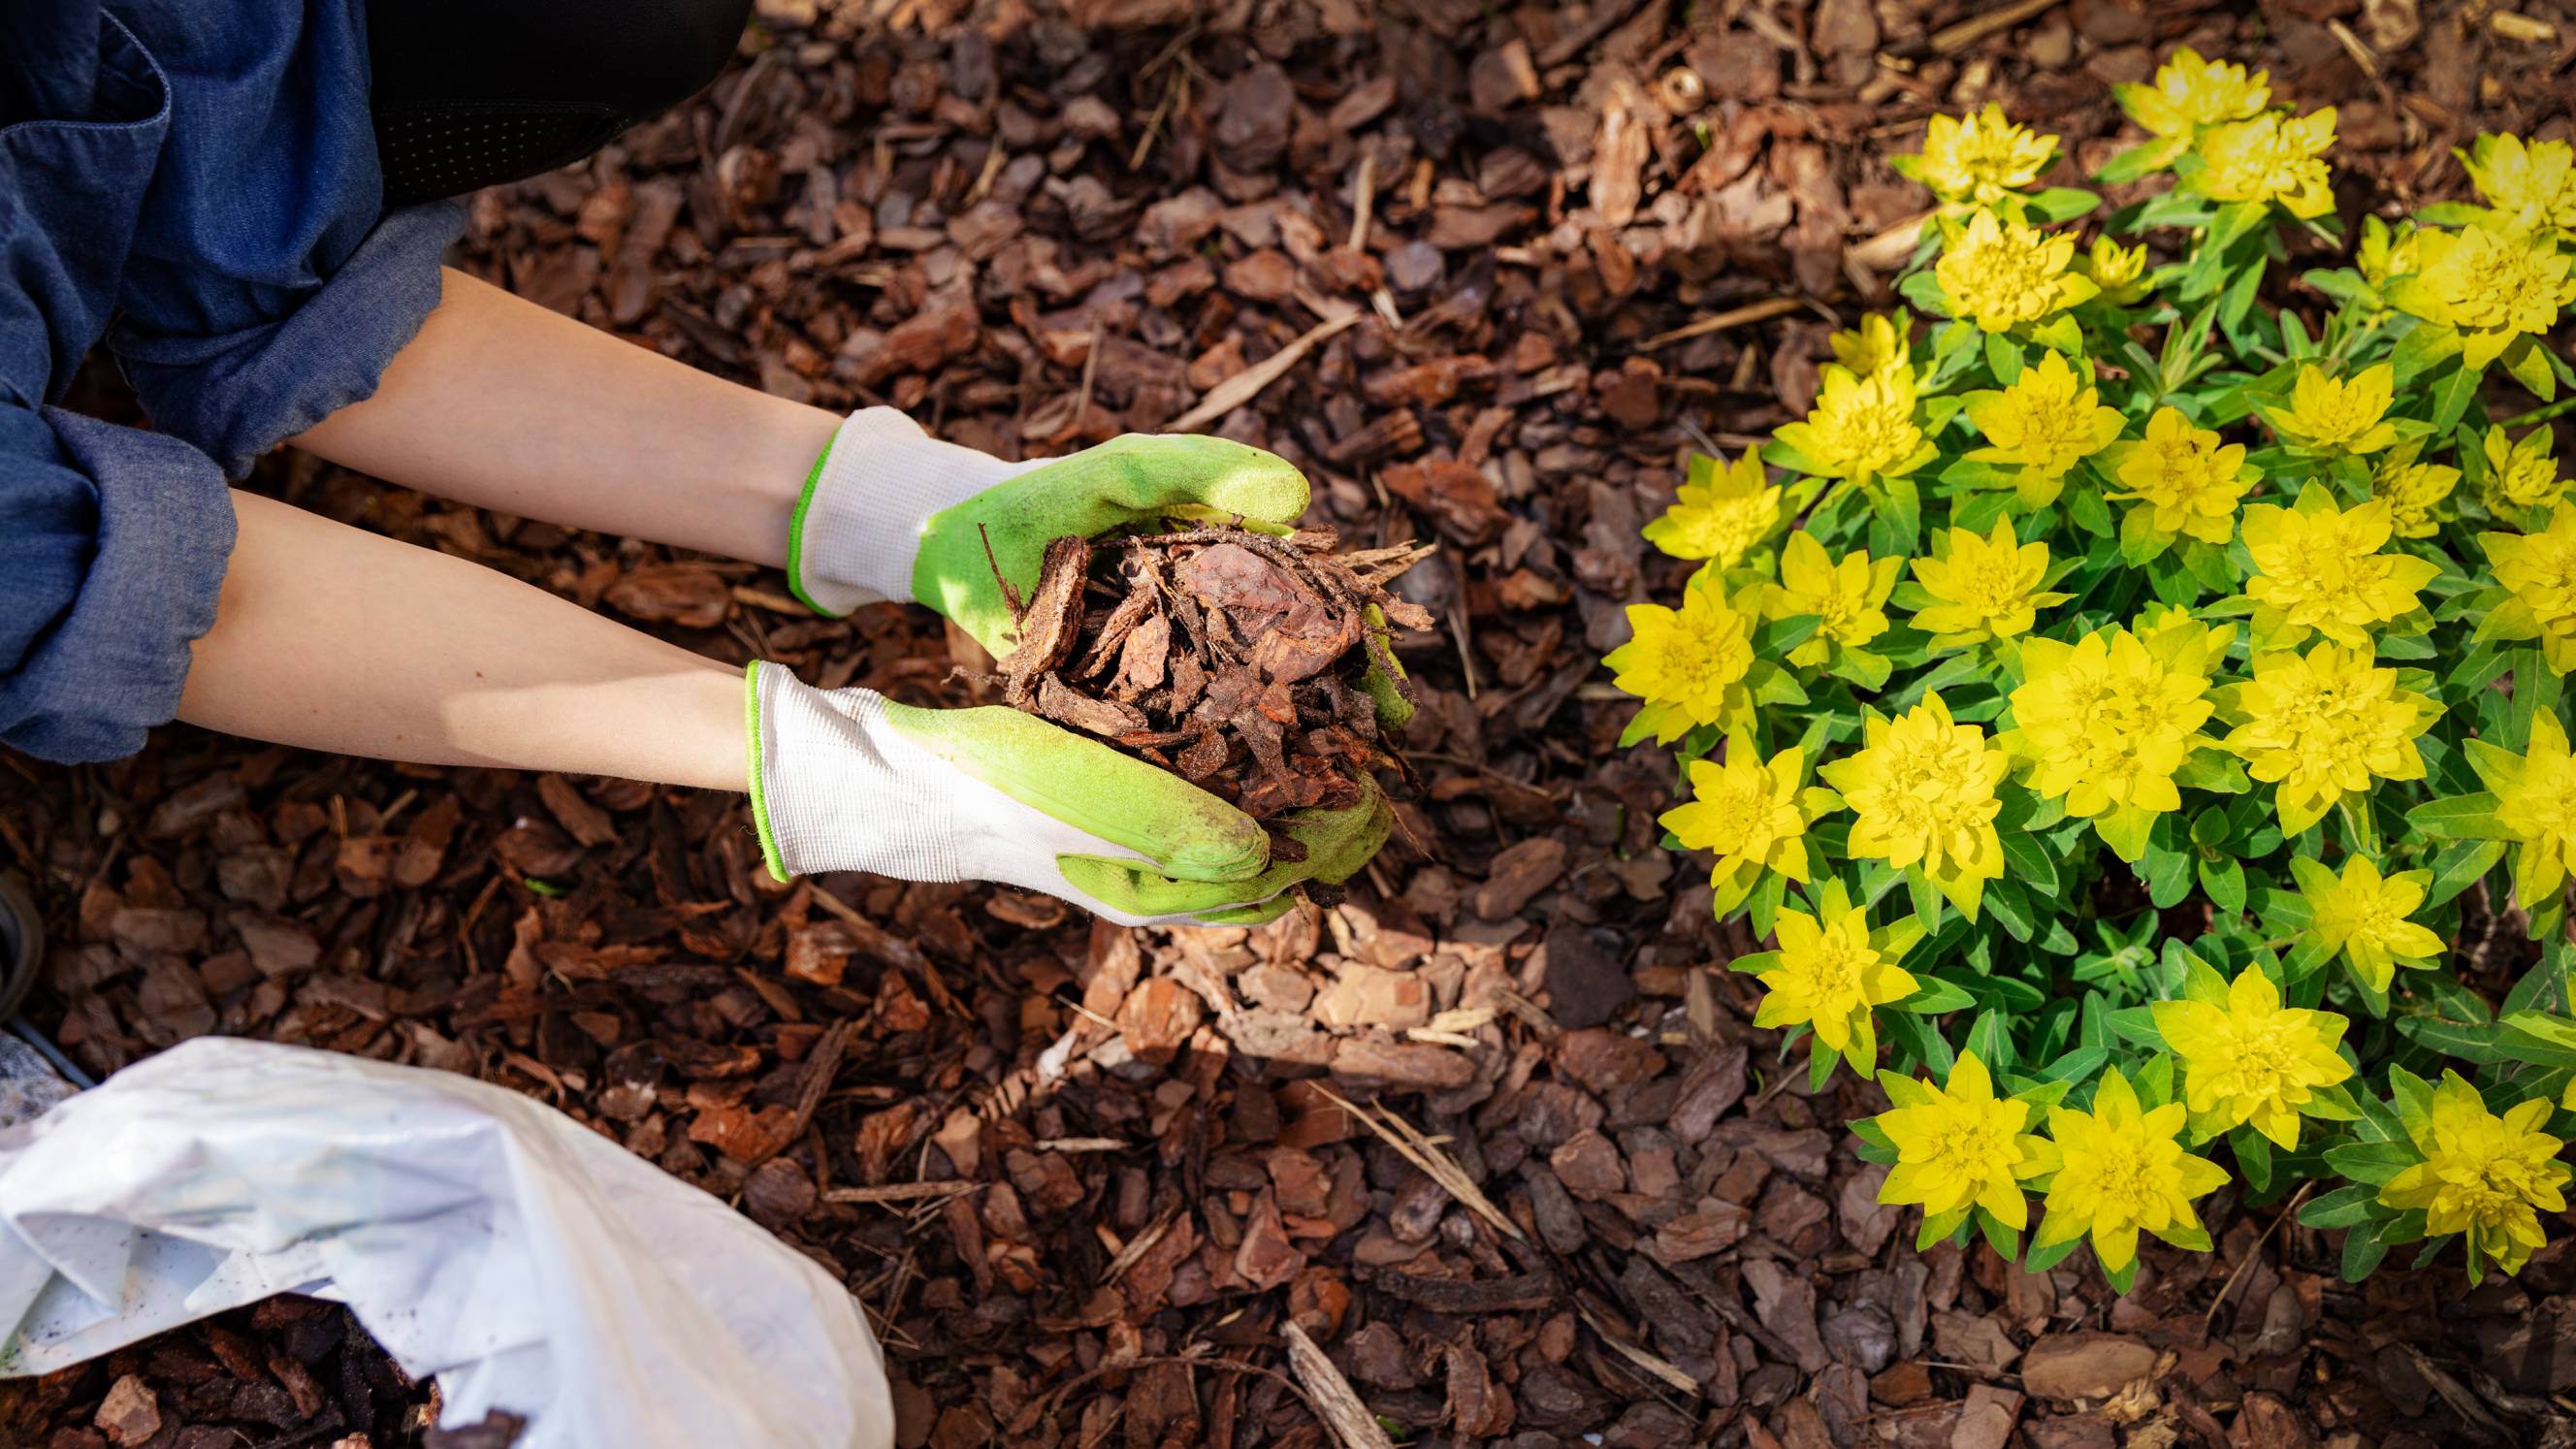
How much does mulch cost?
Read more
How much does garden clearance cost?
Read more
How much does weeding cost?
Read more
How much does hedge removal cost?
Read more

How much does a garden room cost?
Read more
Related articles
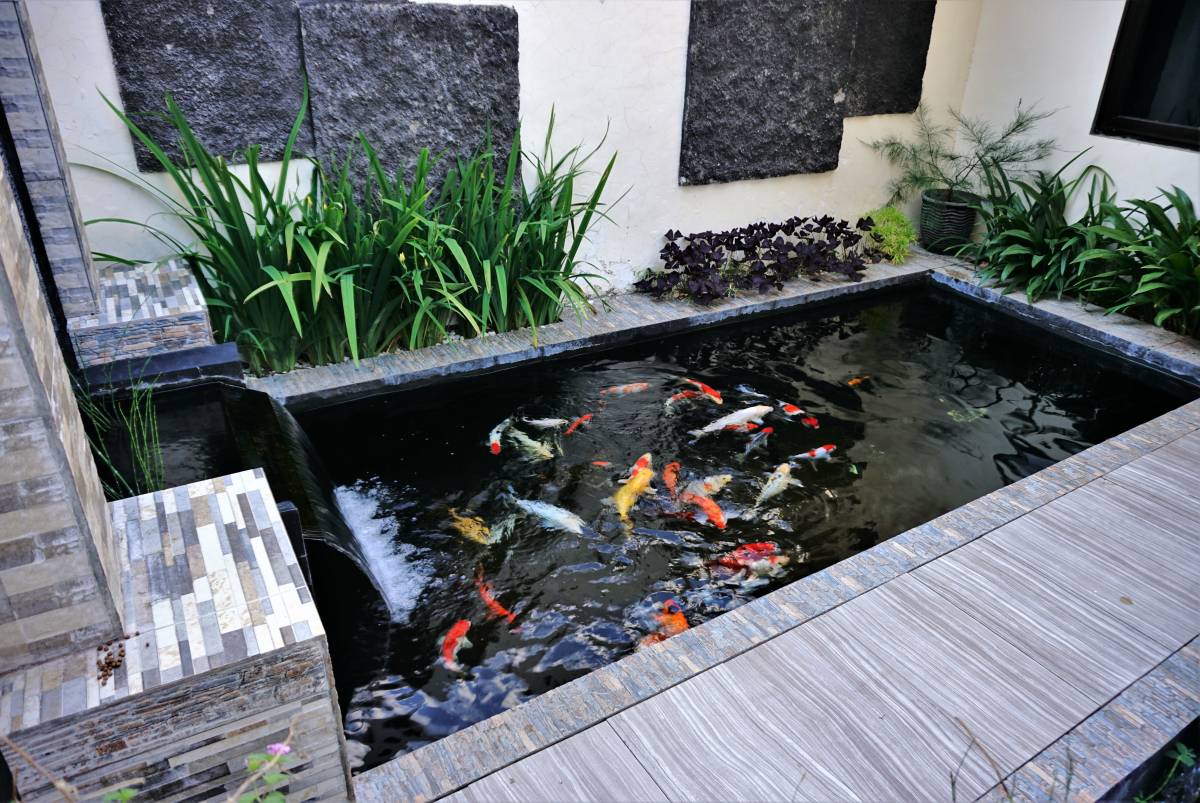
8 steps to build a DIY pond filter
Read more
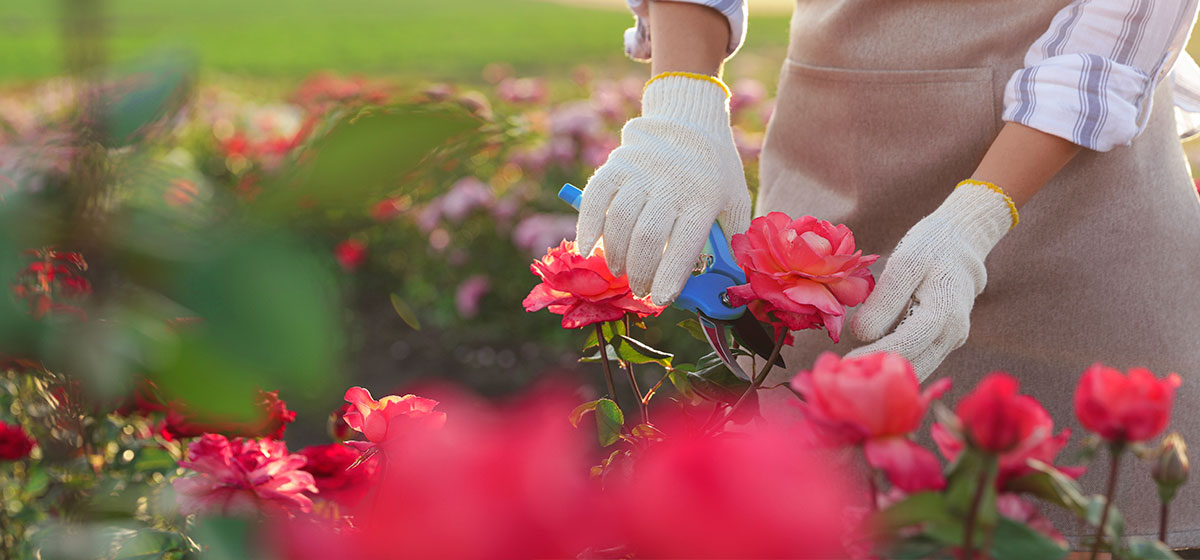
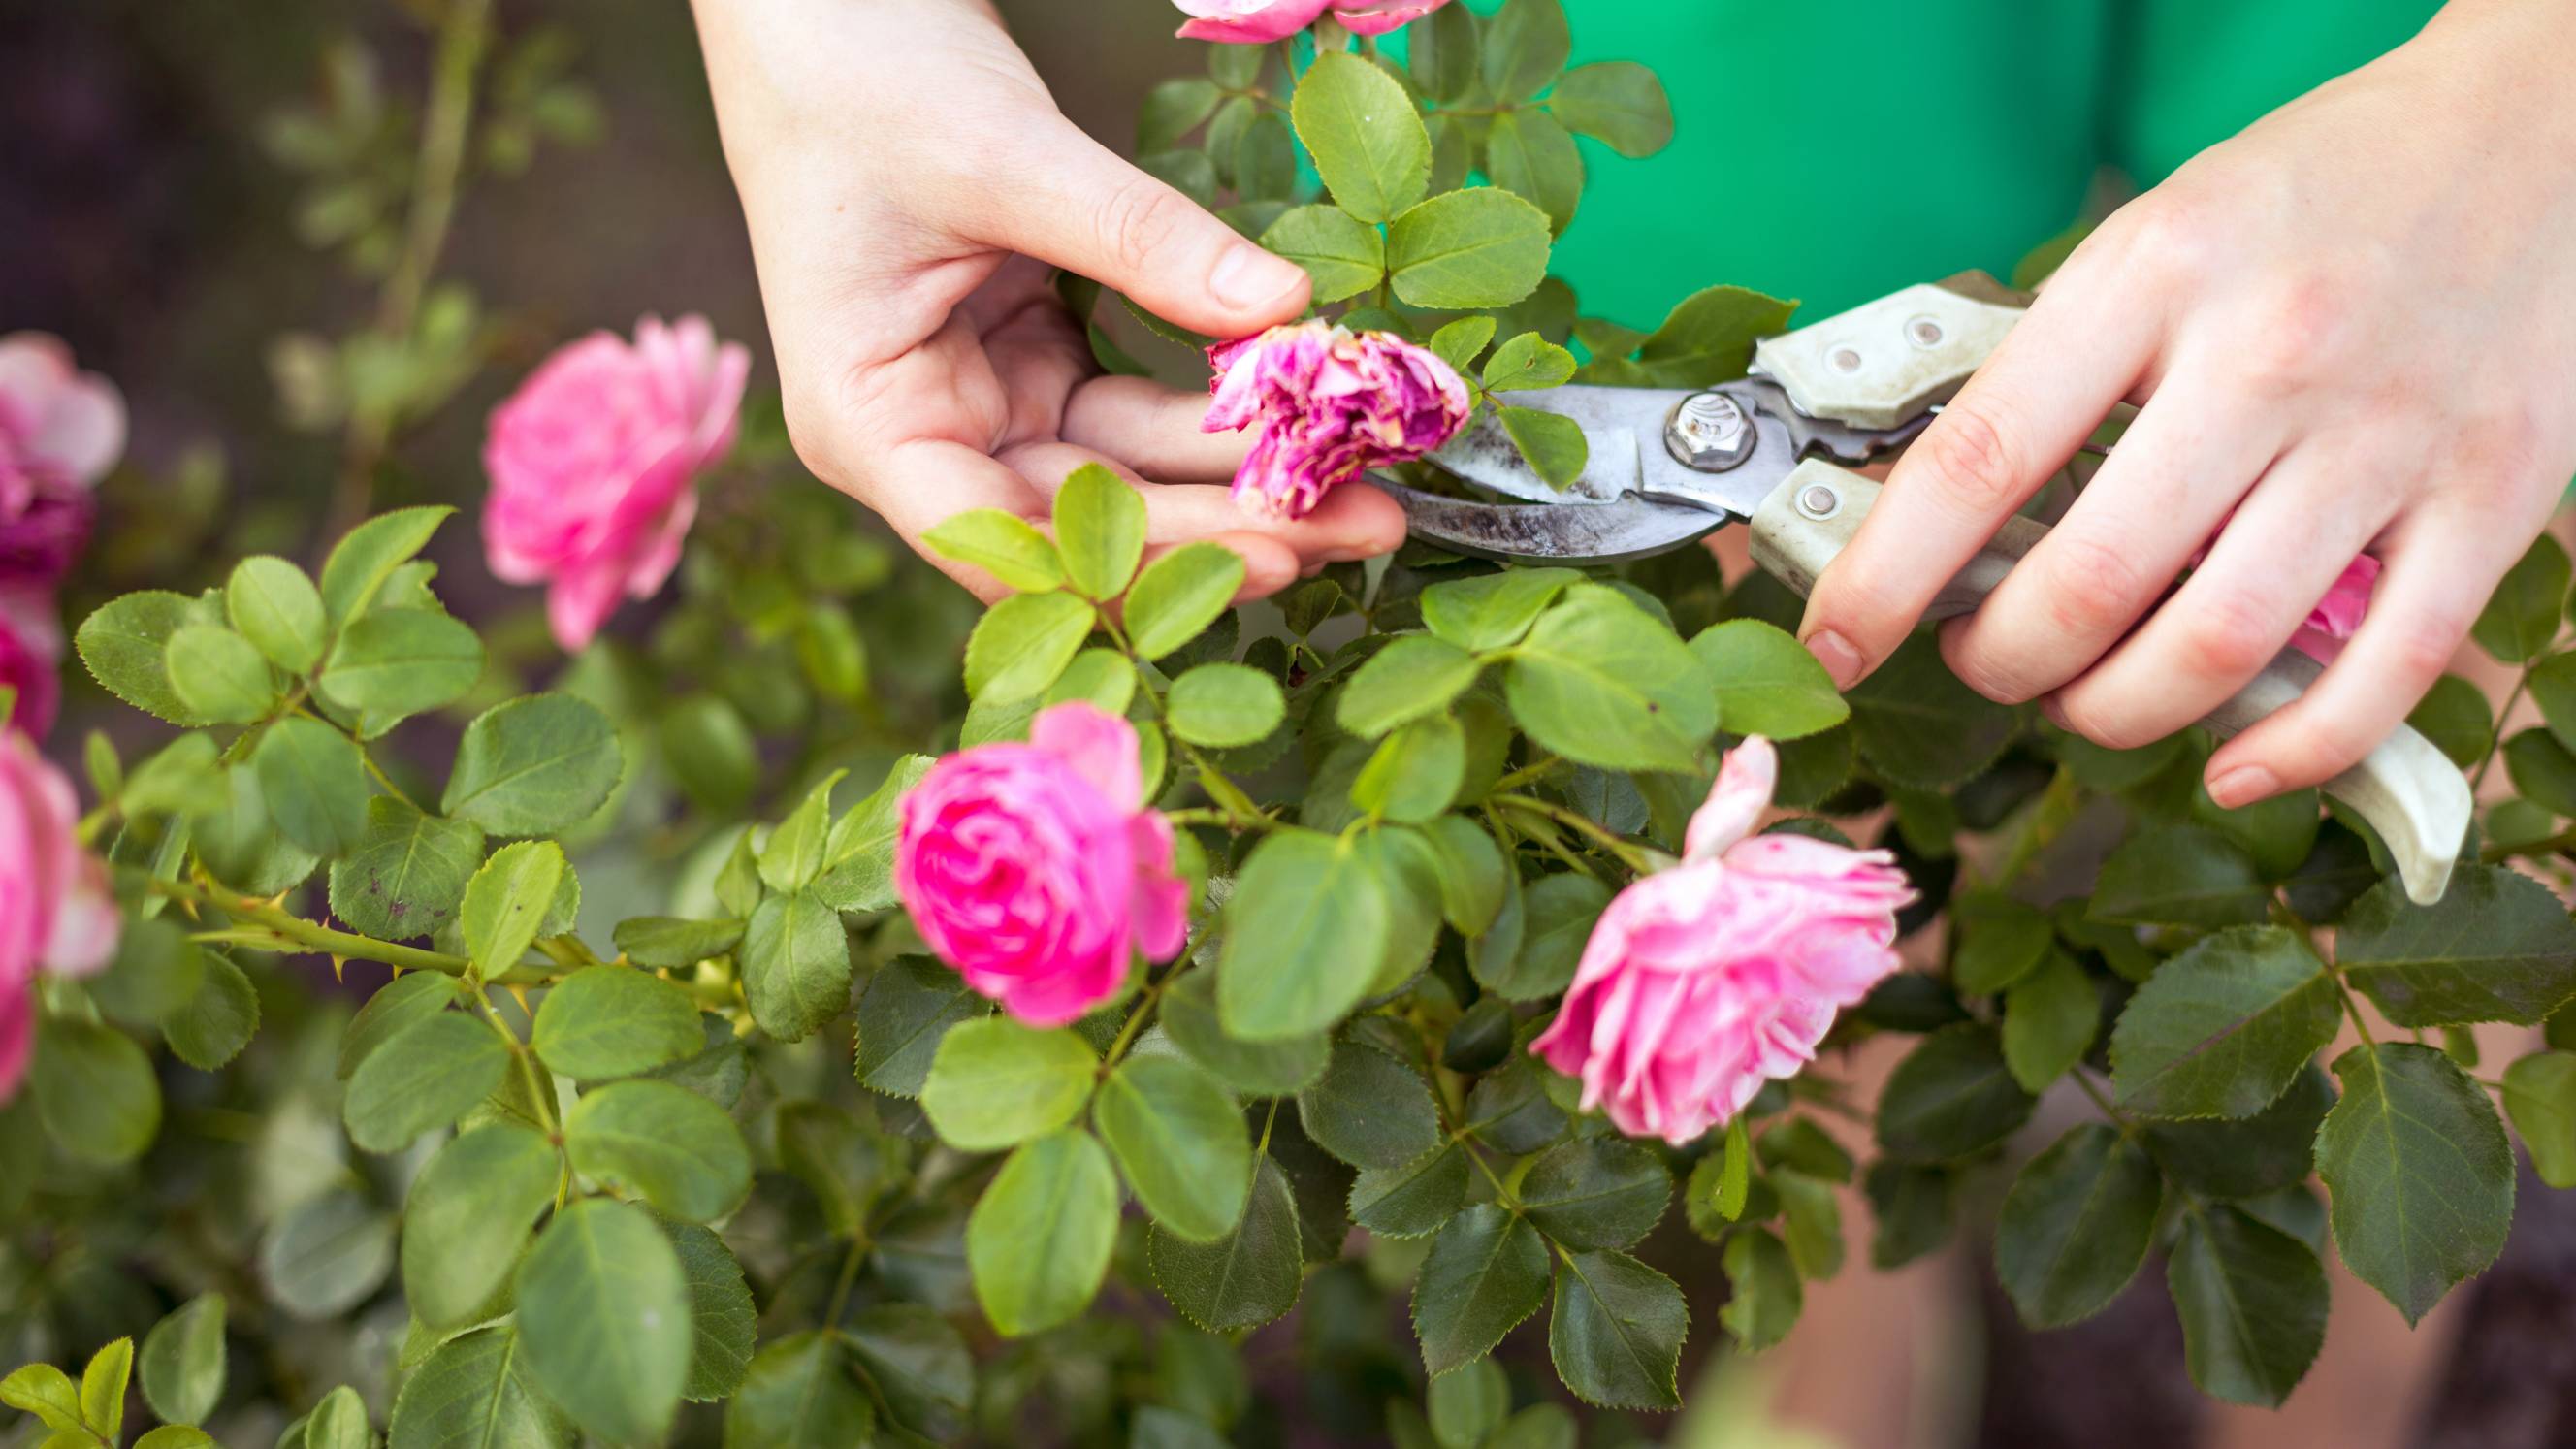
How to prune roses the right way
Read more
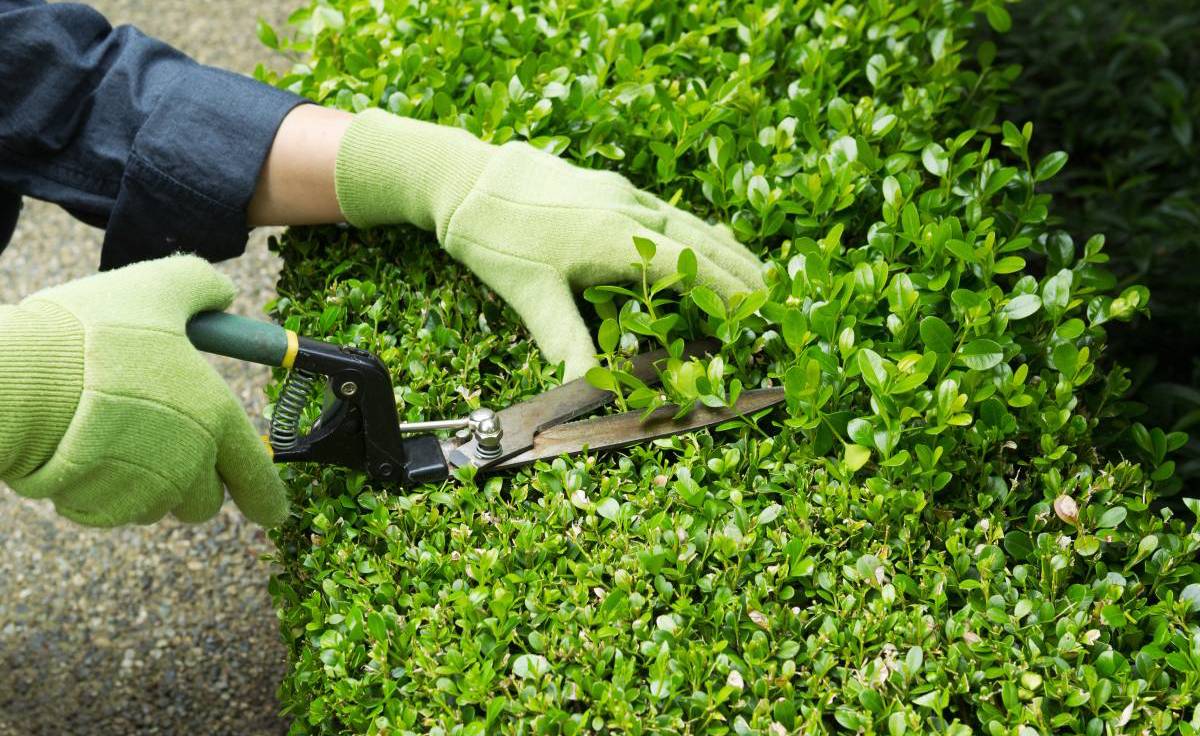
How to trim bushes the right way
Read more
13 Best Spring Gardening Tips
Read more
How to clean garden stones
Read more
36 Quirky plant pot ideas you’ll love
Read more
Your garden maintenance checklist
Read more