- Home/
- Guides/
- Garden Tool Sharpening/
- How to Clean and Sharpen Garden Tools
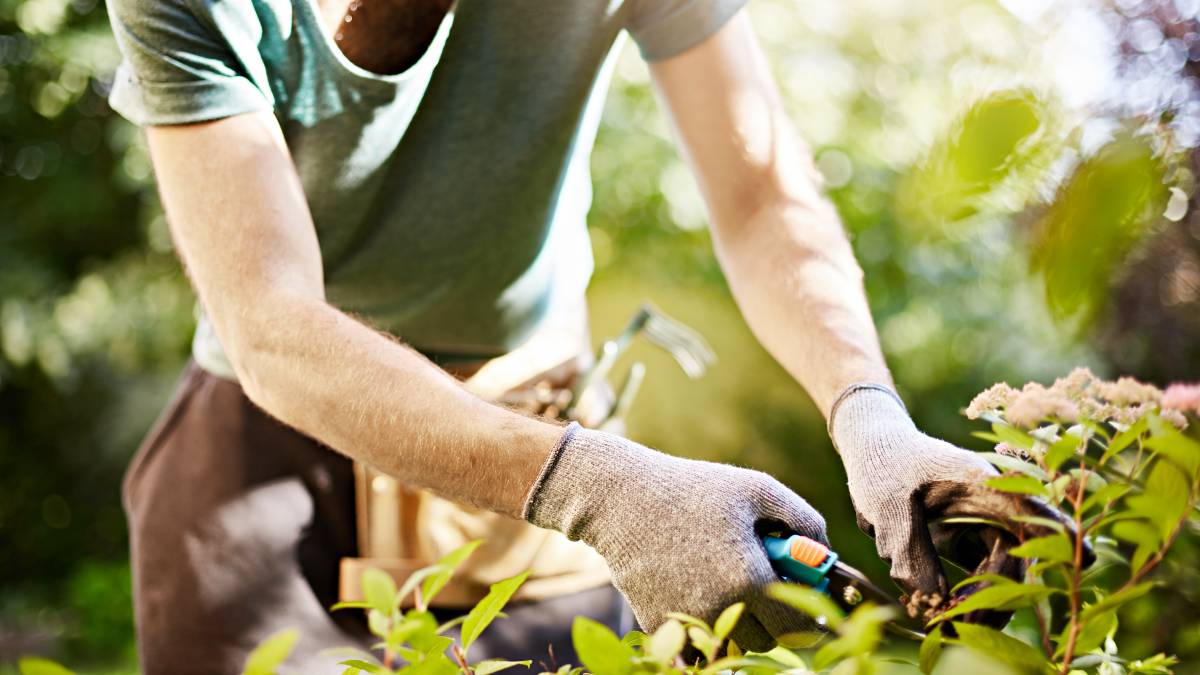
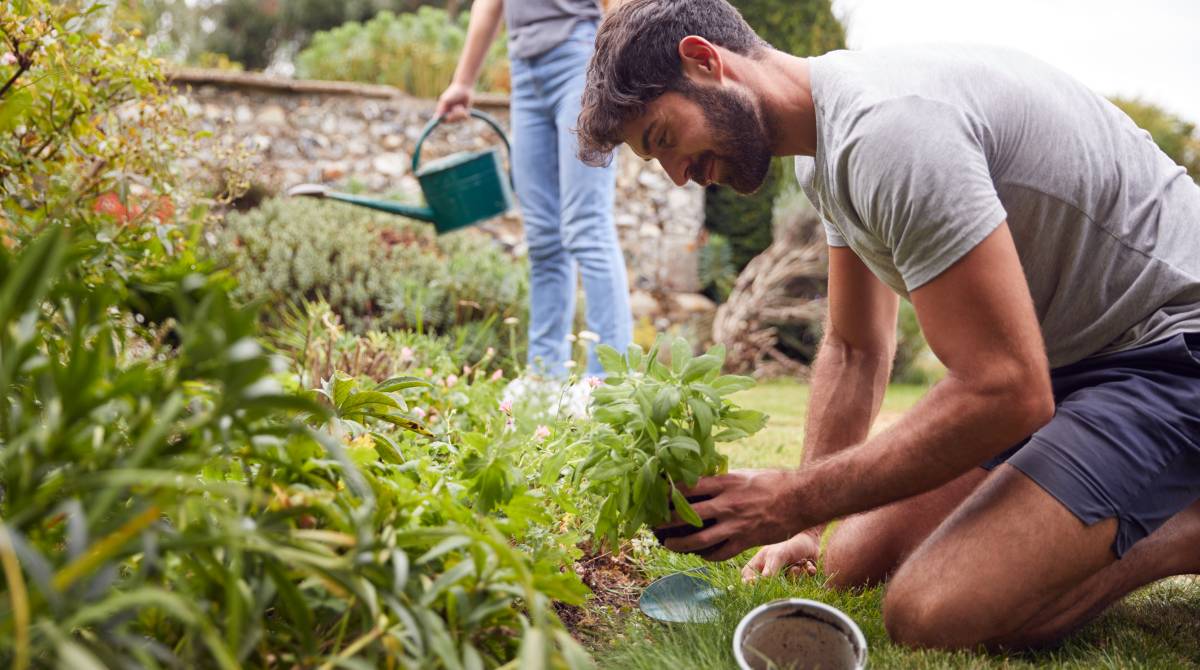
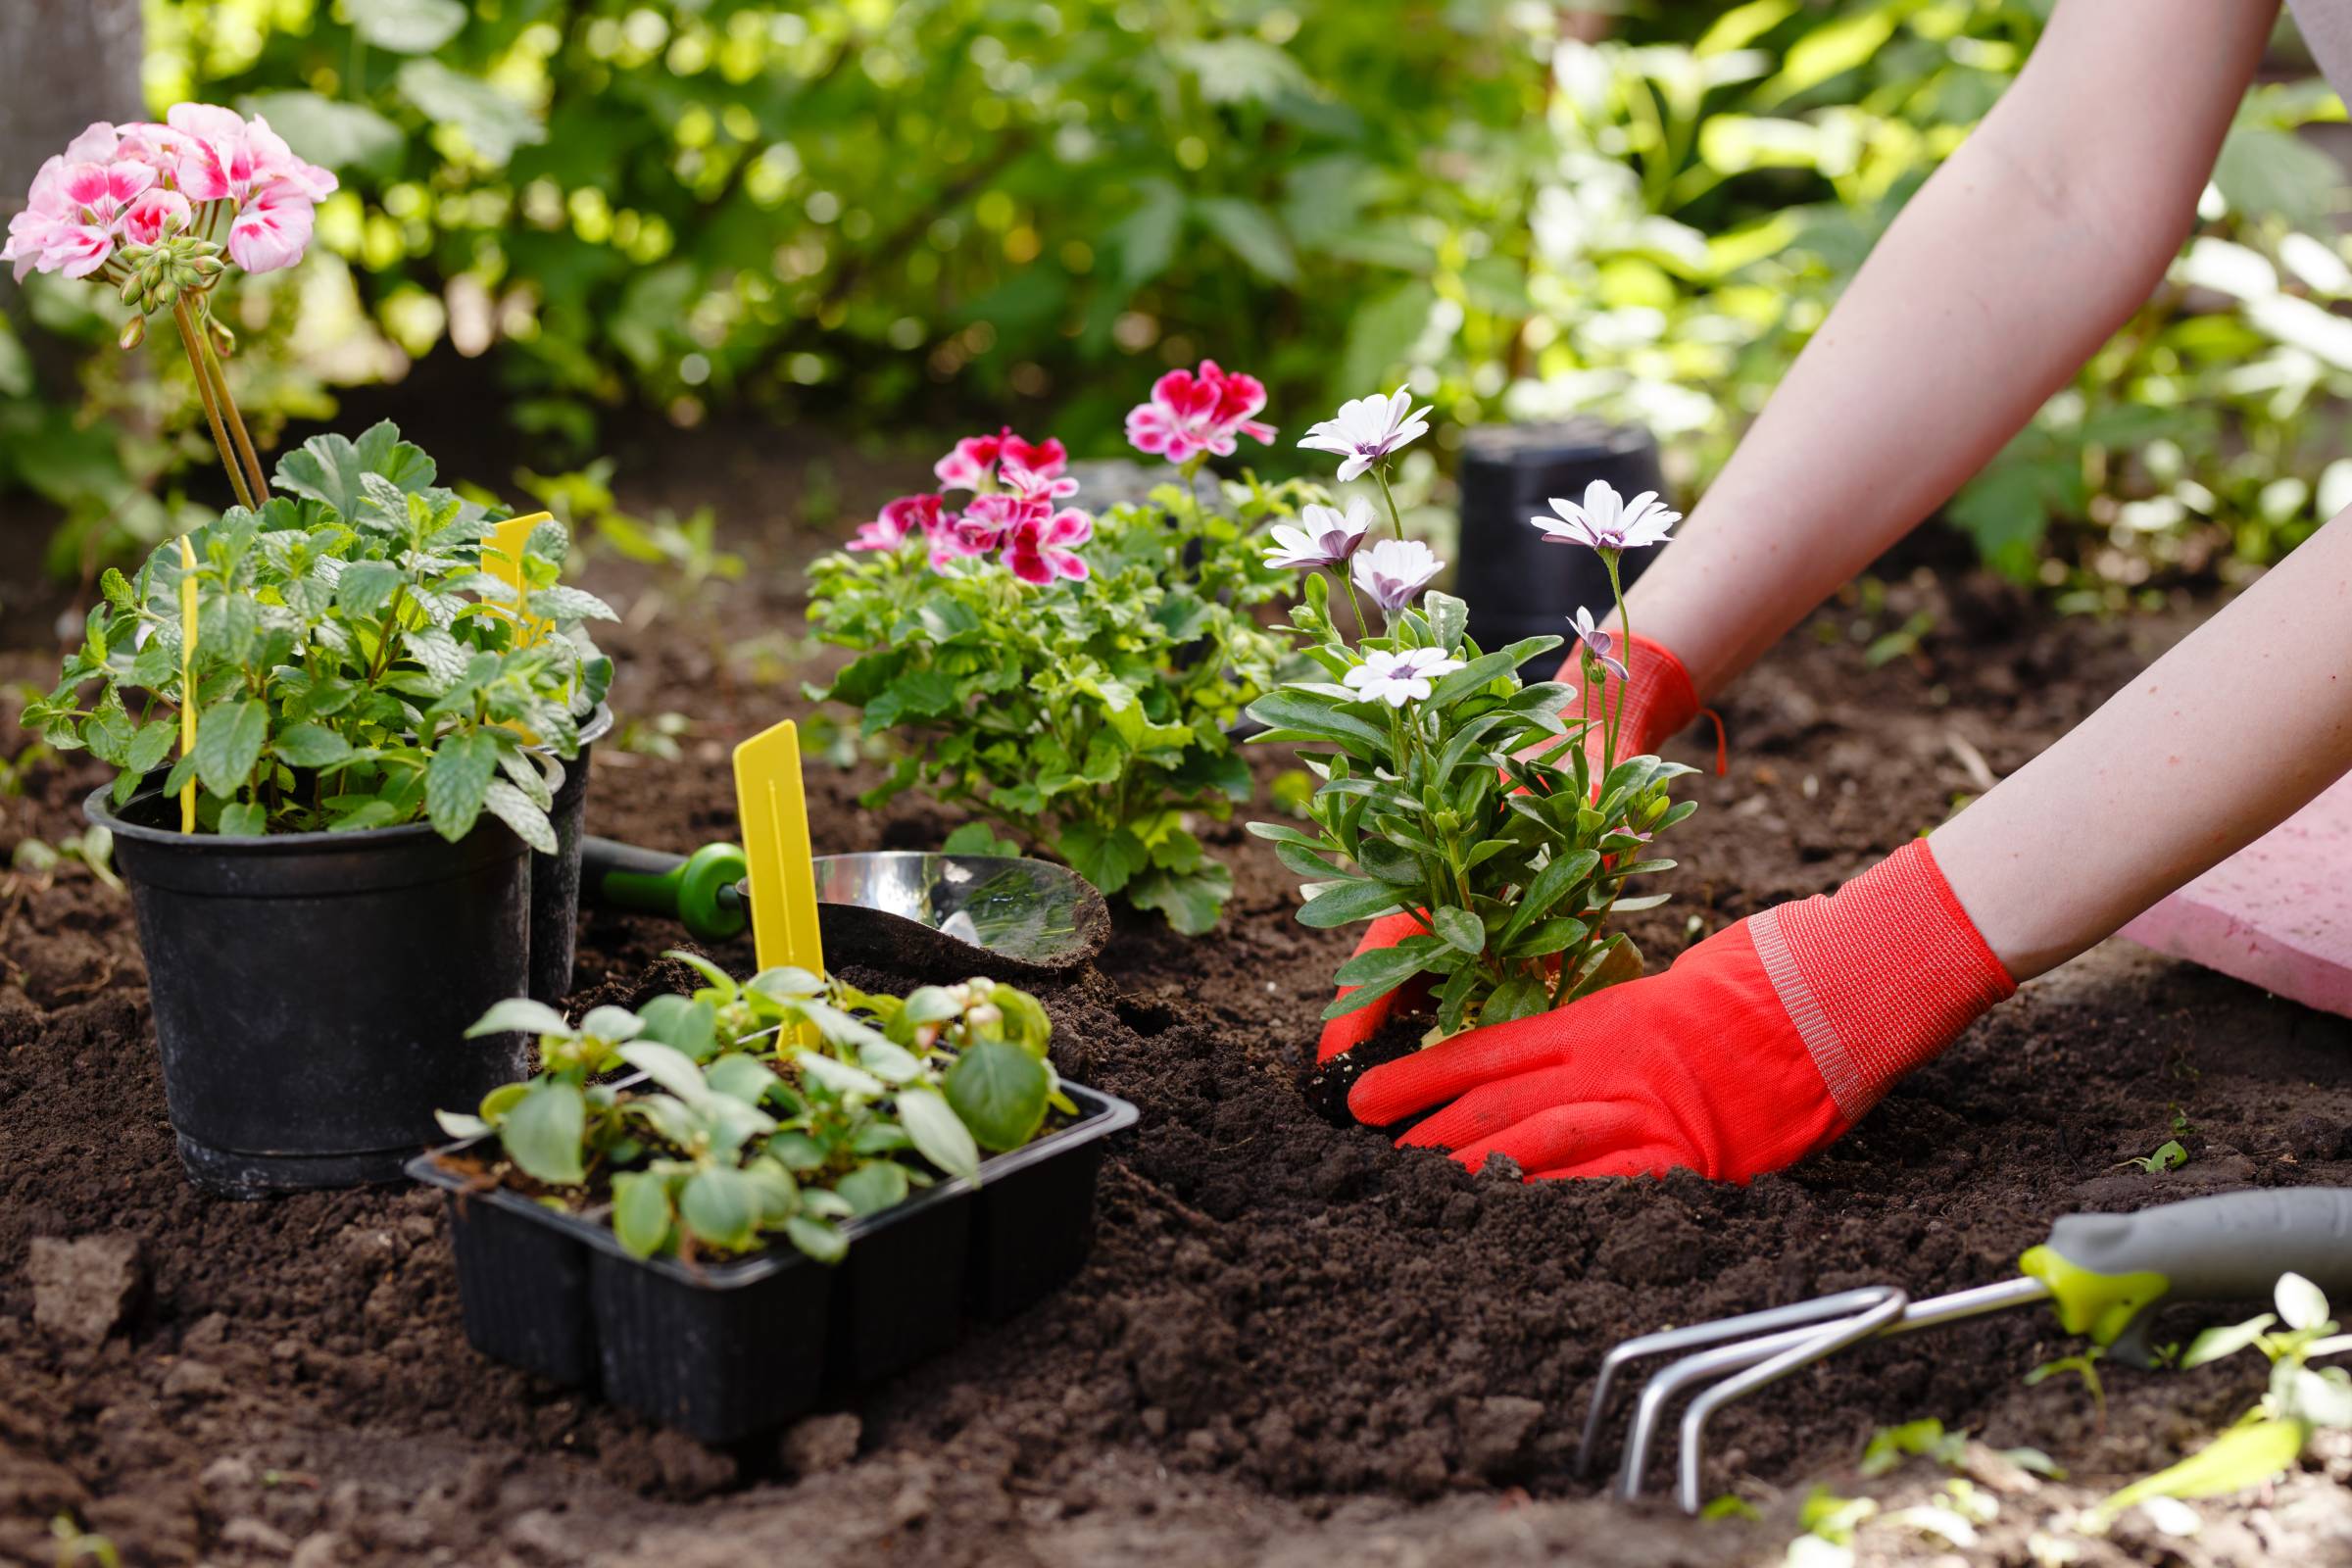
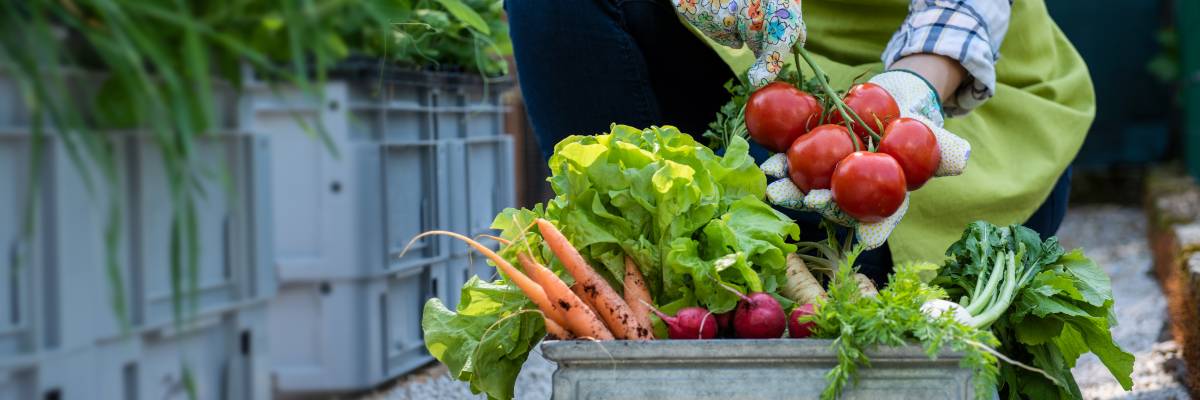
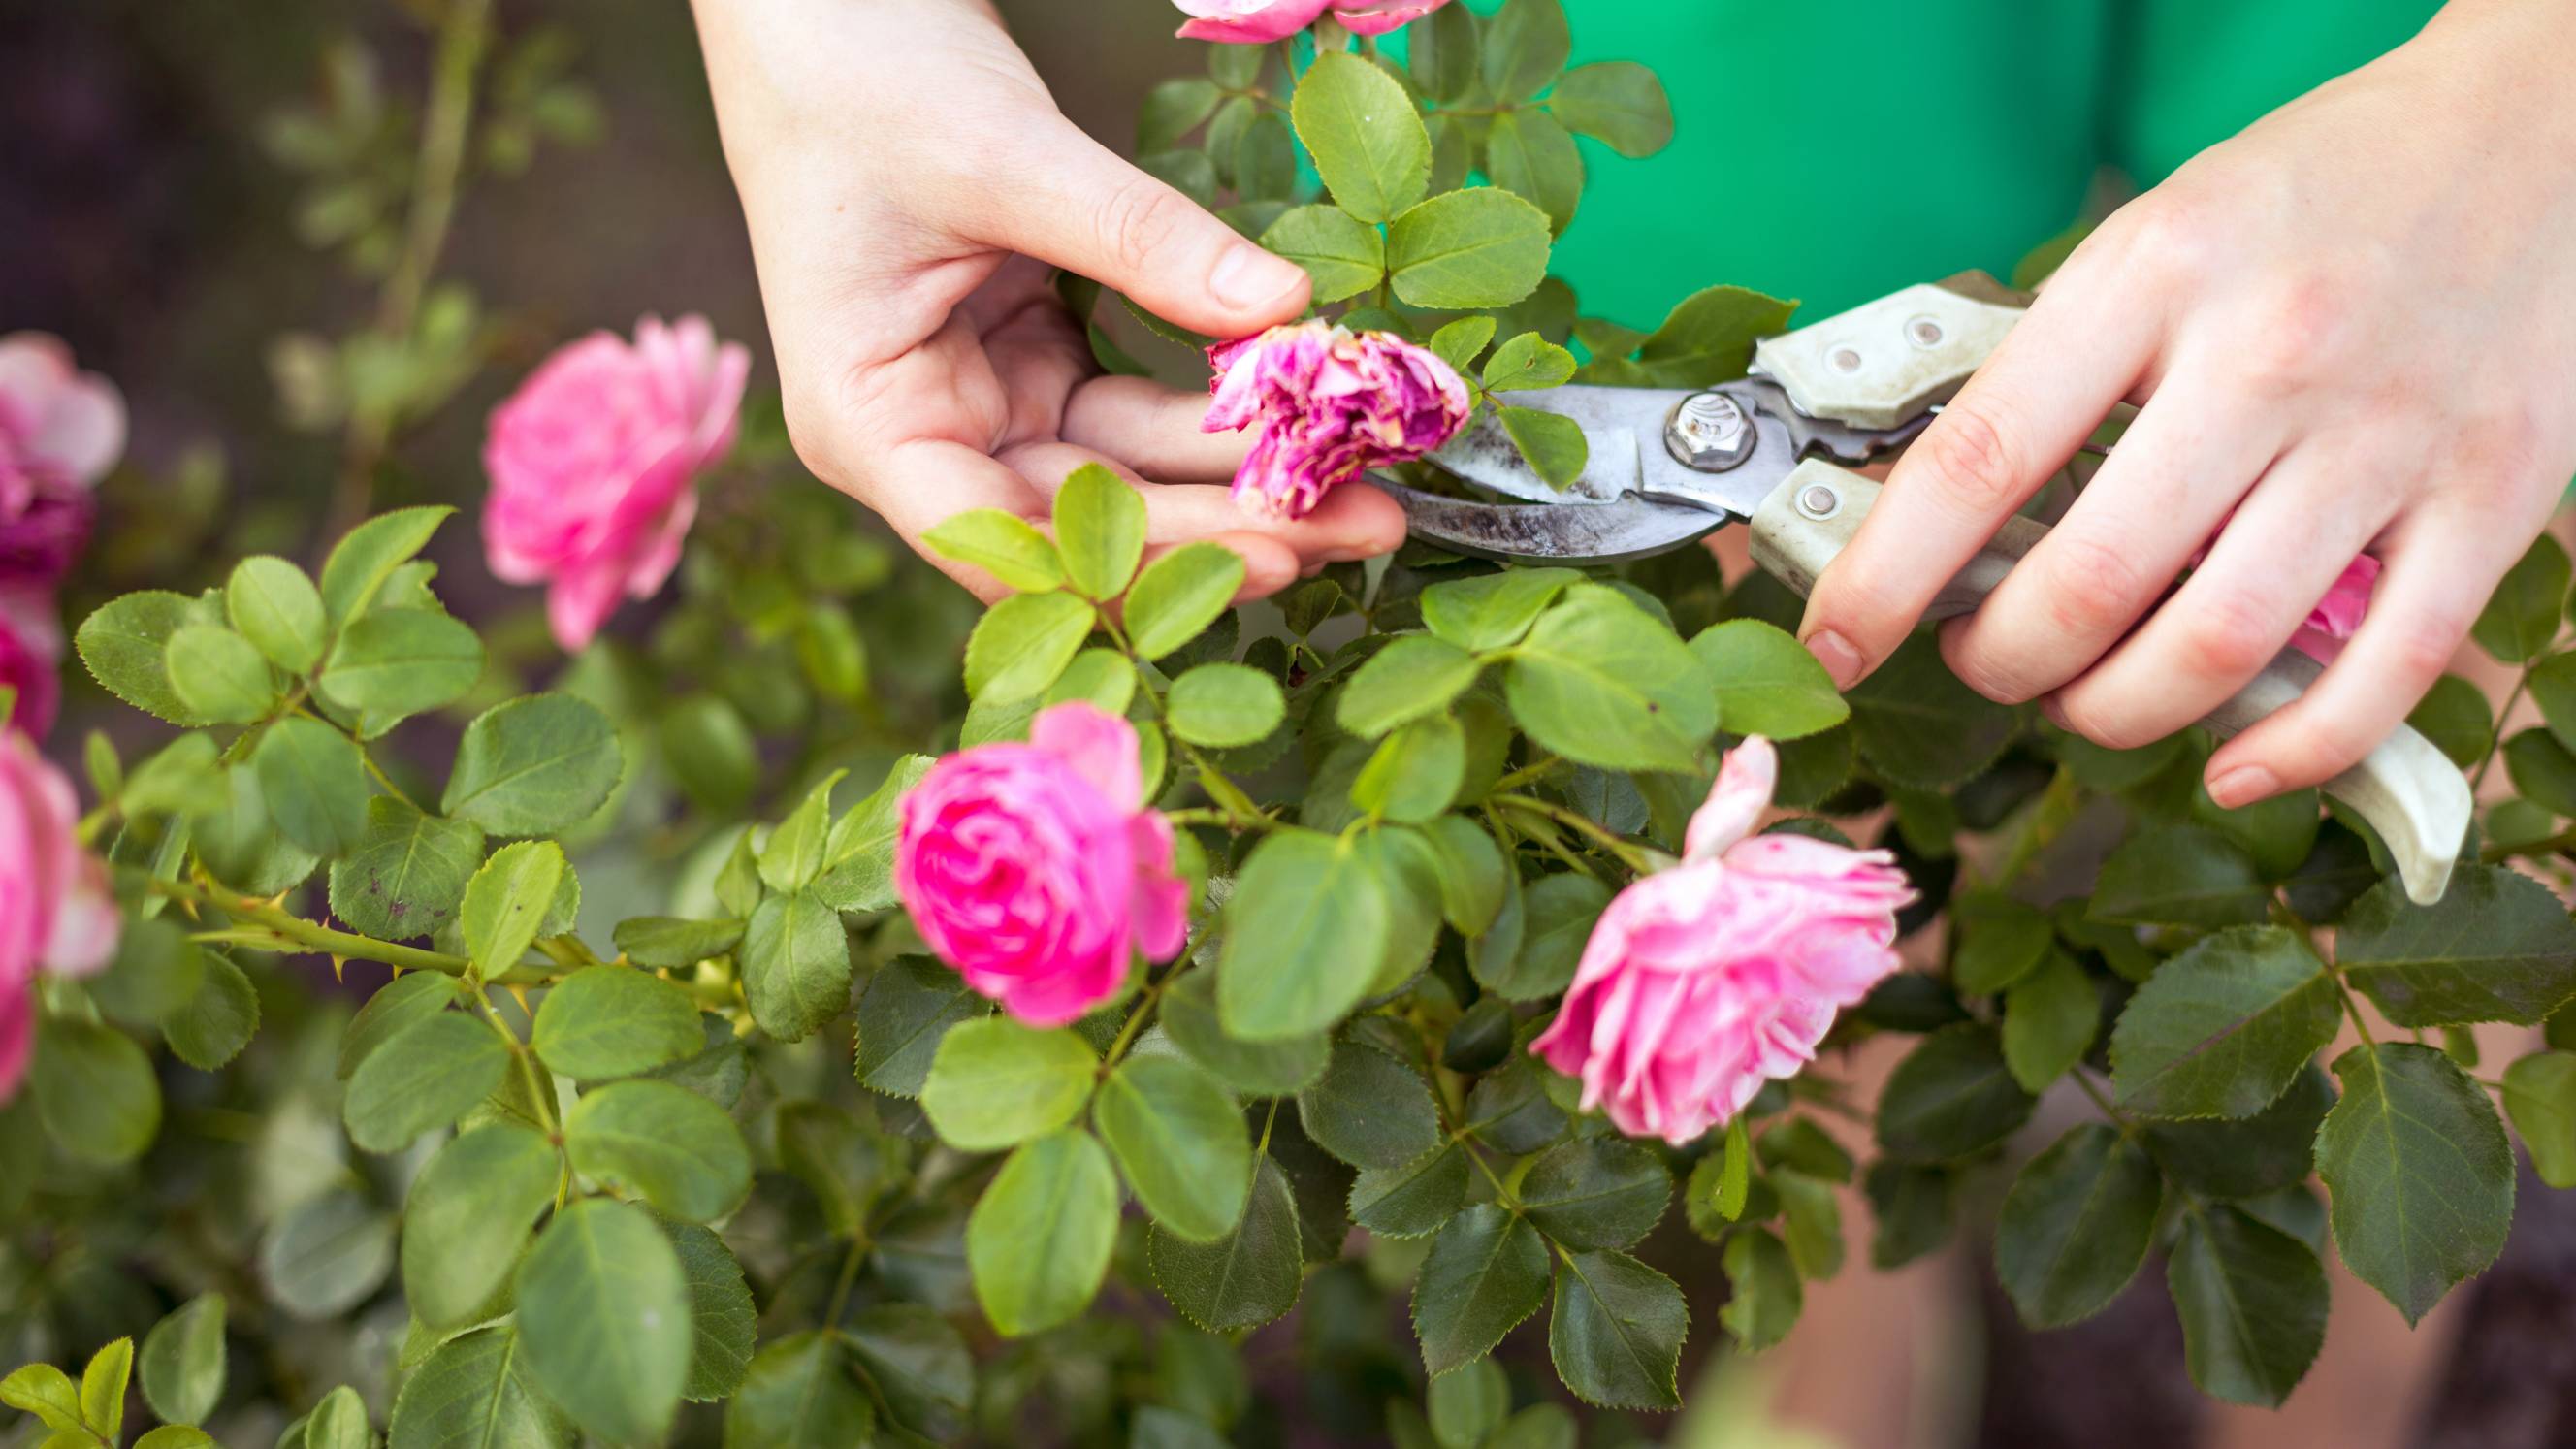
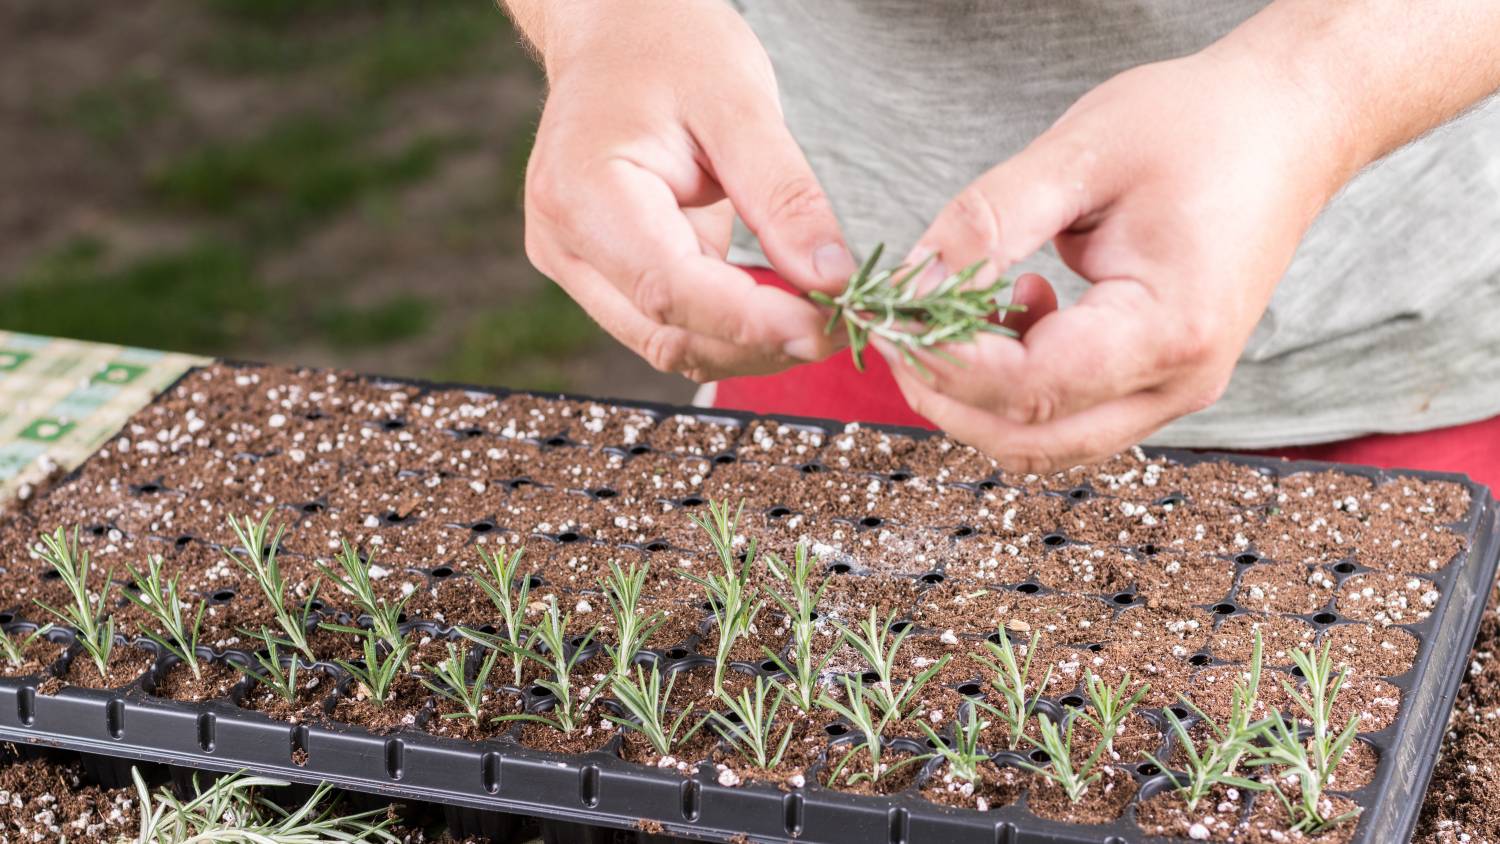
How to clean and sharpen your garden tools
Proper tool maintenance is essential to efficient gardening.
Get help sharpening garden toolsLast Updated on
An easy way to maintain or raise the value of your property is to ensure your garden or landscaping is in tip-top shape. You can achieve this with proper and well-maintained garden tools.
In this guide, you’ll learn proper garden tool maintenance, including how to clean and sharpen your garden tools, how to remove rust, and how to restore your tools’ edges. Read on to see how to get it done sharpish!
What can I use to clean my gardening tools?
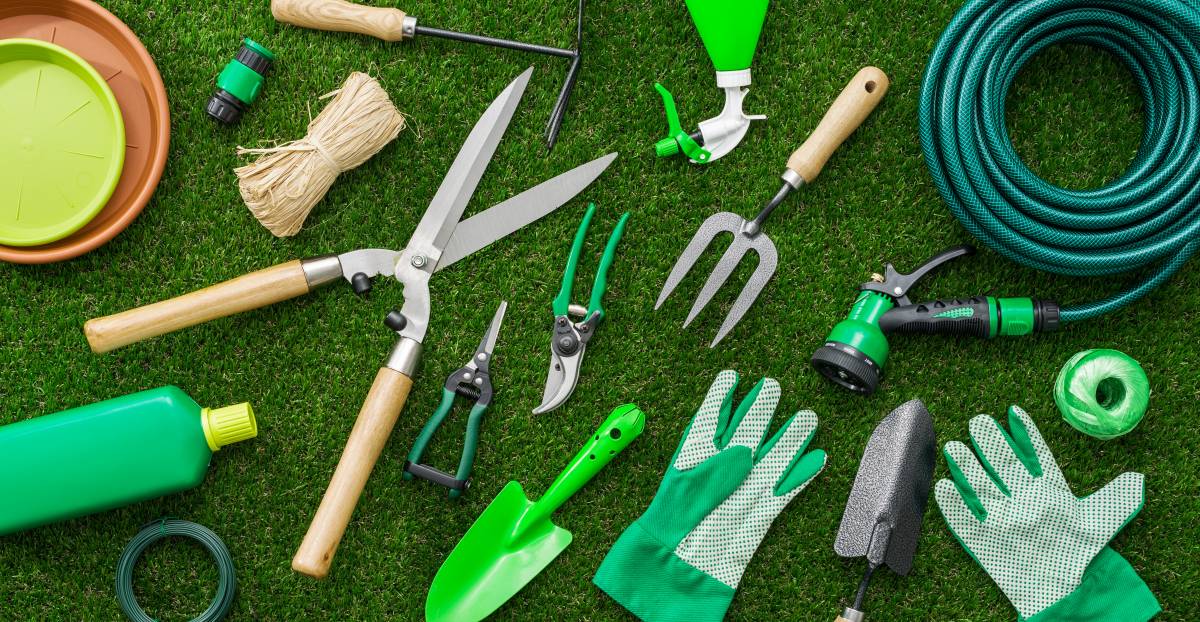
Before you start cleaning your tools, prepare the necessary cleaning equipment and lubricating oils. Note that you can find these items at most DIY centres or your favourite supermarket:
Safety gloves
-
Tools
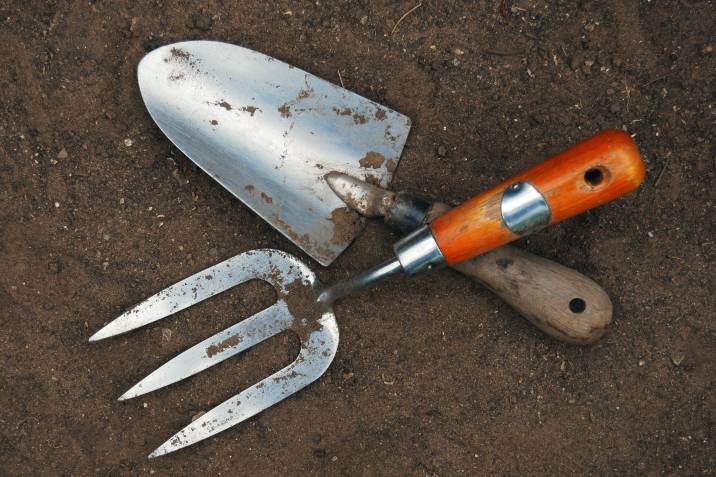
Putty knife or trowel
Garden hose
Screwdriver, spanner or other appropriate disassembly tools
Wire wool or wire brush
Sand block or sandpaper
-
Cleaning materials
Dish soap or detergent
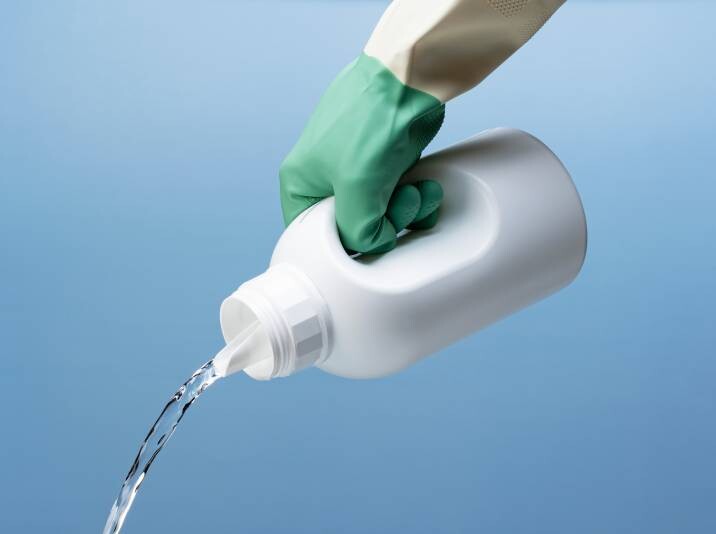
Rubbing alcohol or diluted bleach
Linseed oil
Machine oil
Old towel or rag
Bucket for cleaning
-
Storage materials
Bucket for storage
Sand
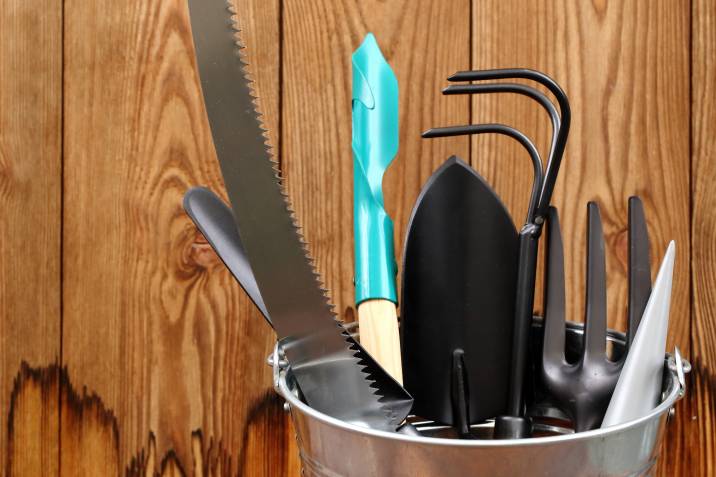
How do I clean my garden tools?
This guide shows you how to clean your garden tools or even clean your old garden tools if you haven’t done so yet.
If you do light gardening work and your garden tools don’t collect much debris, you may skip some steps. Cleaning methods vary depending on how much dirt or debris is on your tools. Don’t forget to wear safety gloves while you work!
Step 1: Remove soil and debris
Follow these steps to remove debris from your tools:
Use a putty knife or trowel to scrape off heavy layers of dirt. Scrape off as much of this as possible.
You may use a sharp (pun not intended) blast from your garden hose to loosen stubborn dirt.
Alternate between these two methods to remove all the soil and debris from your garden tools.
For stubborn dirt, mix dish soap or a strong detergent with a bucket of water and give your tools a good scrub.
Wipe the cleaned tools dry with an old towel or rag; Don’t leave your tools to air-dry as this can cause rust.
Step 2: Remove the sap
Your tools may have plant sap and insect residue on their working surfaces after a day of working on your garden. Plant sap can have bacteria, so always disinfect your garden tools’ blades or tines to avoid spreading bacteria or plant diseases to healthy plants.
Once you’ve removed soil and debris from your garden tool, spray on a generous amount of rubbing alcohol or diluted bleach on its working surfaces, pivot areas, and handles. Leave the disinfectant to partially evaporate, then wipe the tool dry with a rag or old towel.
Step 3: Do a partial disassembly
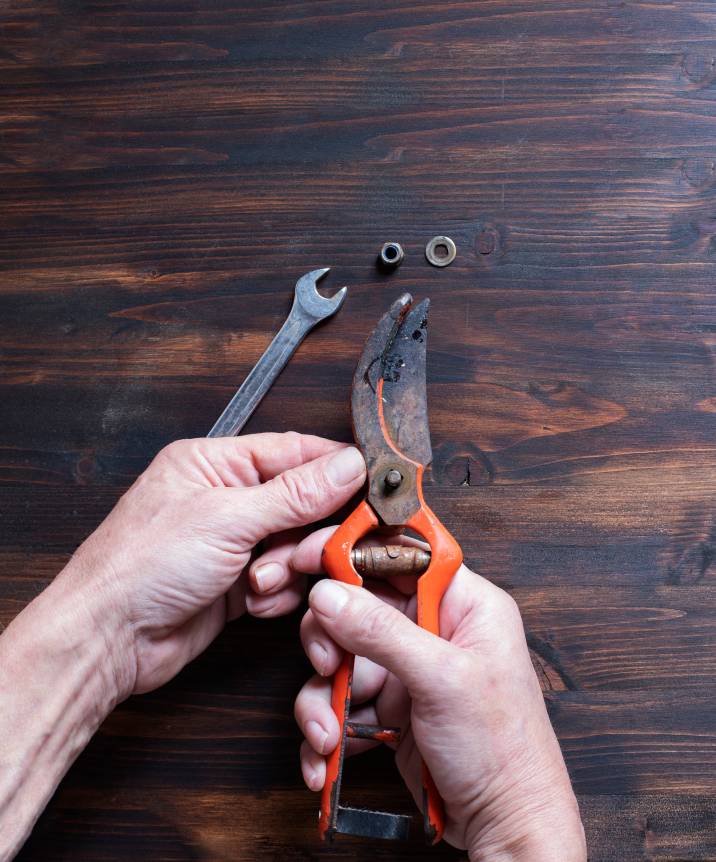
This step is necessary to remove dirt or rust in hidden spots.
Refer to the manufacturer’s instructions on how to disassemble your garden tools with a screwdriver, spanner or hex tool; Don’t use your bare hands as you risk misaligning the parts and damaging the bolt threads.
Apply a spot of machine oil or lubricant on the pivots of your garden tools if rust makes disassembly difficult.
If you don’t see any rust after disassembling and inspecting the parts, simply apply a bit of machine oil and rub all the surfaces down with an old towel or rag. Then, put the pieces back together. In this case, you can skip the next step and proceed with step 5.
Step 4: Remove rust
Now that your garden tool is partially disassembled, remove surface rust with a wire brush or wire wool. You may have to run the wire brush several times over all the surfaces. Apply firm pressure and never do this without wearing safety gloves. Remember: You’re running your hand over sharp edges!
Note: If your garden tool is encrusted with a thick layer of rust, don’t consign it to the rubbish bin! Instead, prepare the following materials to remove rust:
Shallow pan or bucket
Baking soda
Water
White vinegar
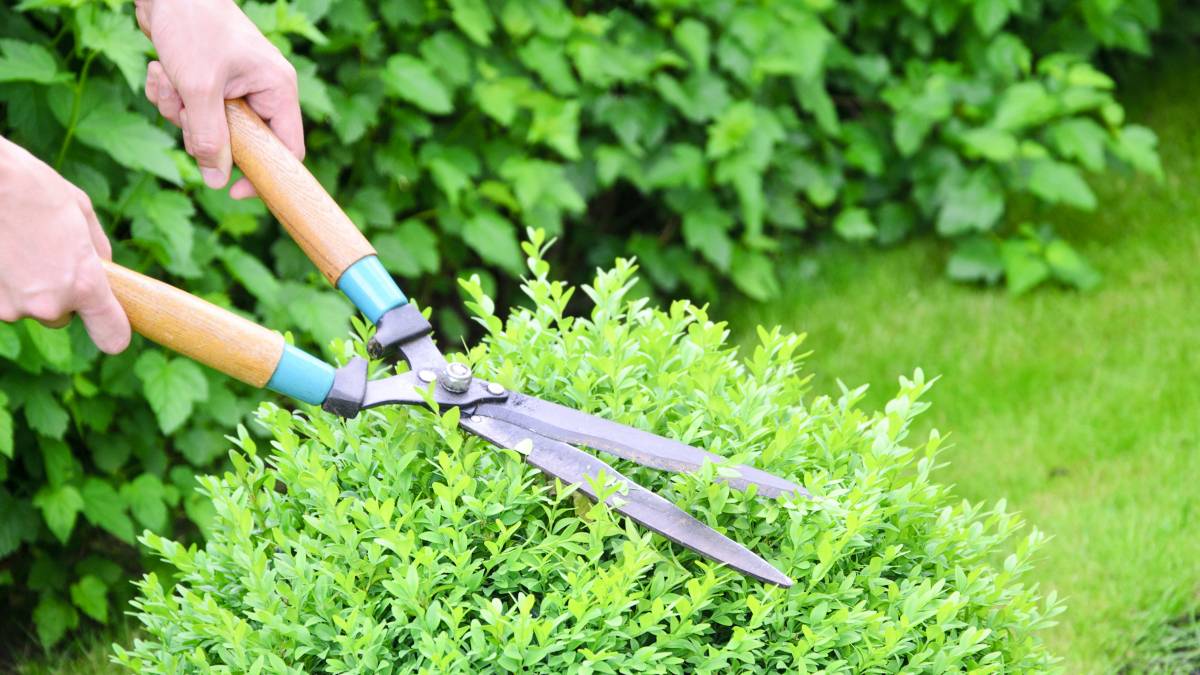
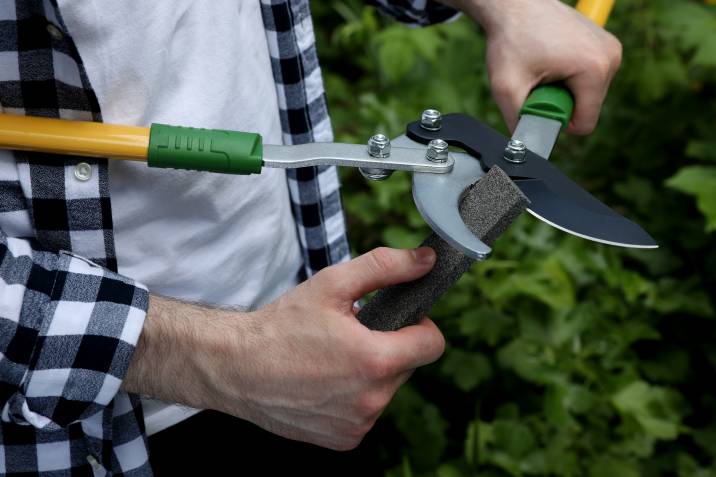
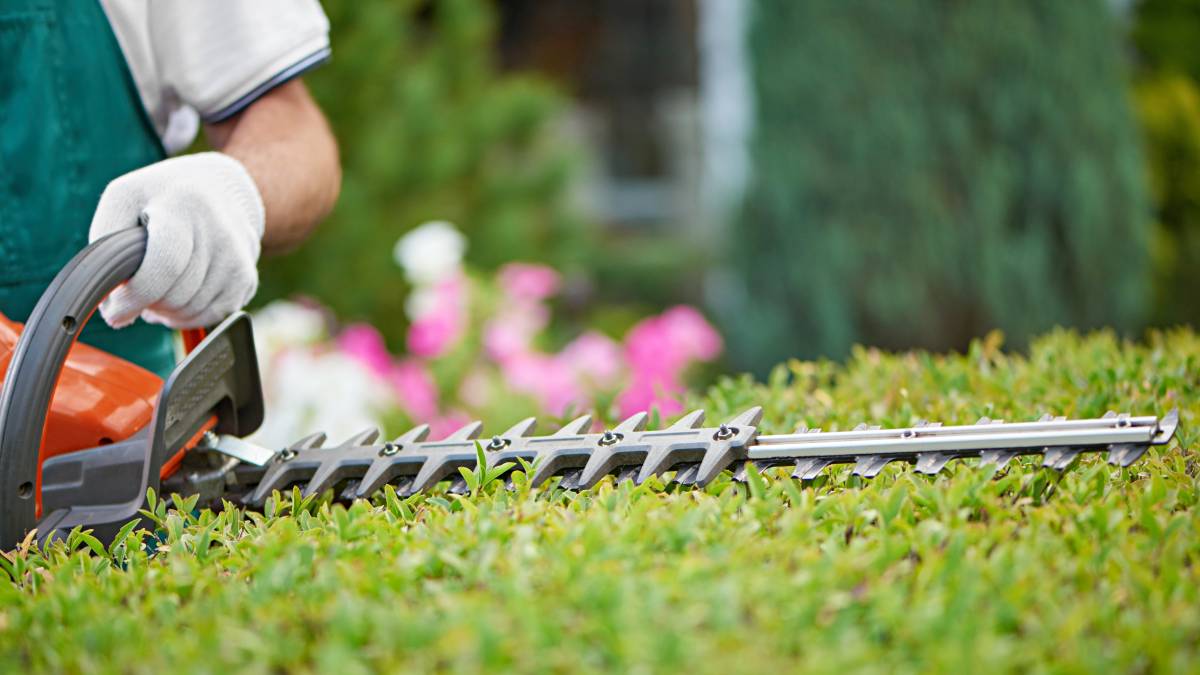
This process is effective for cleaning most handheld, unpowered tools. What’s more, this guide is useful for knowing how to clean rusty hedge clippers. Follow these steps to clean heavy rust from your garden tools:
Fill a small pan or bucket with about 4 tablespoons of vinegar mixed with 2 litres of water.
Immerse the rusty tool in the mixture and leave it for at least 12 hours.
Retrieve the tool and use a wire brush to scrape away the layer of rust, which should come off easily.
After removing the rust, prepare another 2 litres of water with 5 tablespoons of baking soda.
The baking soda should form a paste. Rub some paste on the rusty surfaces, and leave the tool immersed in the water for at least an hour.
Retrieve the tool and scrape off any residue with the wire brush, wipe it dry and reassemble the tool.
Your garden tool should come out looking like it was newly purchased!
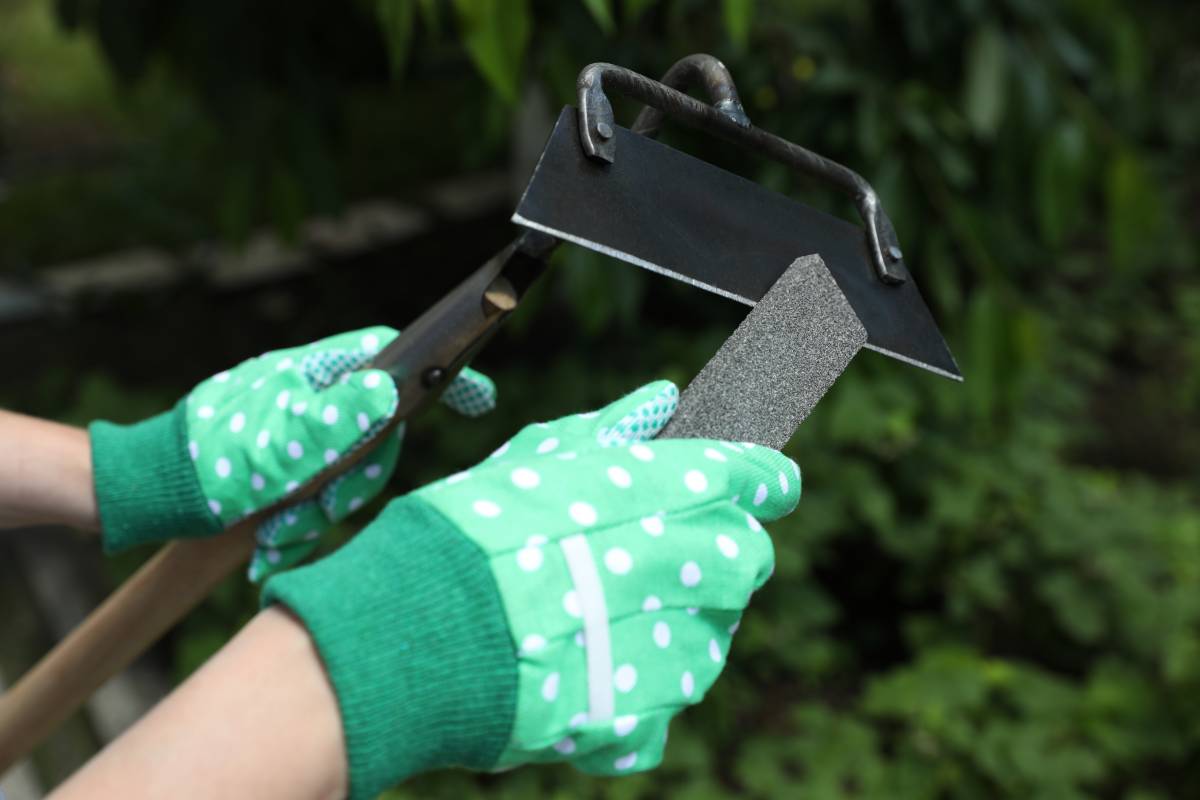
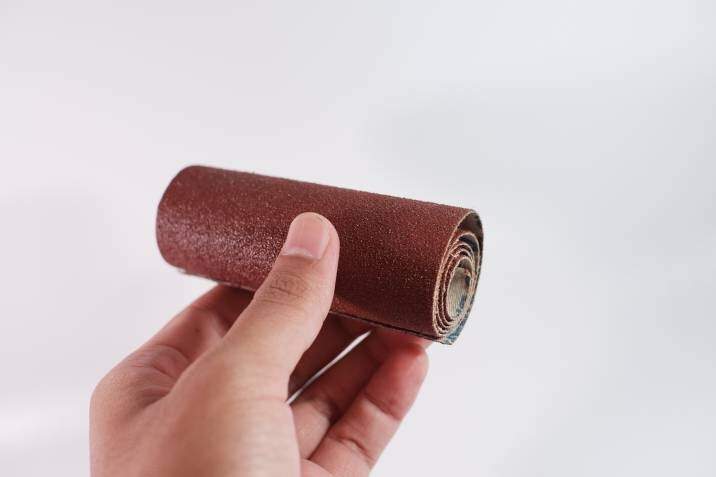
Step 5: Sanding and protecting the handles
Note: You can skip this step if the tool handles are made of plastic or other synthetic material.
Now that your garden tool is clean and dry, use a medium-grit sandpaper or sand block (you can find them at DIY centres) to sand your garden tool’s handles. After sanding the handles, apply a spot of linseed oil to provide a protective layer to repel water and moisture. Leave the oil to set for a few minutes, then wipe off the excess.
Step 6: Store tools properly
Having a shed for your garden tools is ideal, but you’ll still need a proper container for them.
Prepare a bucket filled almost to the top with sand; This can be fine or coarse plastering sand.
Apply a spot of machine oil on the pivot points and sharp edges of each garden tool. You may also pour some machine oil or lubricant onto the sand until it reaches a damp consistency.
Store small garden tools with their tines and working edges in the sand.
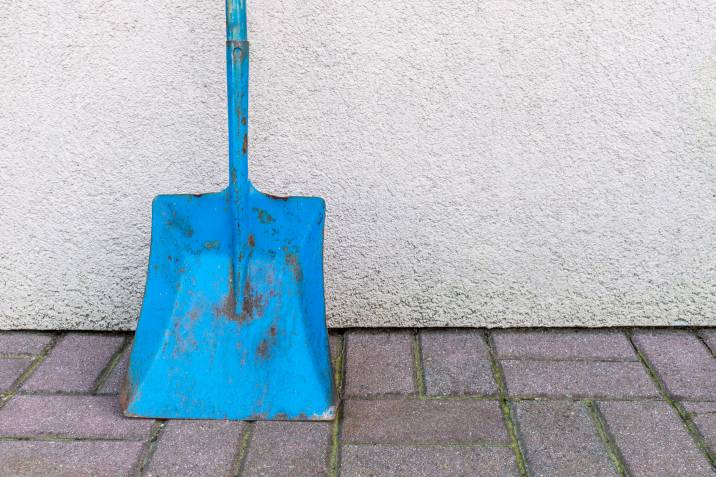
Make it a habit to jab your tools into the sand bucket after using and cleaning your garden tools to prevent rust. For larger tools like shovels, hang them on a rack in your garden shed.
Note that you can hire someone to install a garden shed if you don’t have one.
How do I sharpen garden tools?
Part of proper garden tool maintenance is knowing how to sharpen garden tools. Note that this is a general guide for sharpening most hand-operated and non-powered garden tools.
To sharpen your garden tools, prepare these items:
Lubricant or oil
Bench vice
Whetstone or sharpening stone for garden tools (coarse and fine-grade)
Twin diamond file
Wire brush or wire wool
Water
Old rag or towel
Here’s how to sharpen garden tools.
Step 1: Clean the garden tool
Prepare your garden tool for sharpening by removing rust and debris from its working surfaces. Then, remove sap by running a wire brush or wire wool on the working edges. Feel for any stickiness on the blades; If you don’t feel anything sticky, the residue is gone.
Step 2. Secure your garden tool
Secure your garden tool on a bench vice with its blades facing upwards. When sharpening a hoe or shovel, position the tool with the bevelled side facing you. You can also use your hands, but make sure they’re dry to ensure a firm grip.
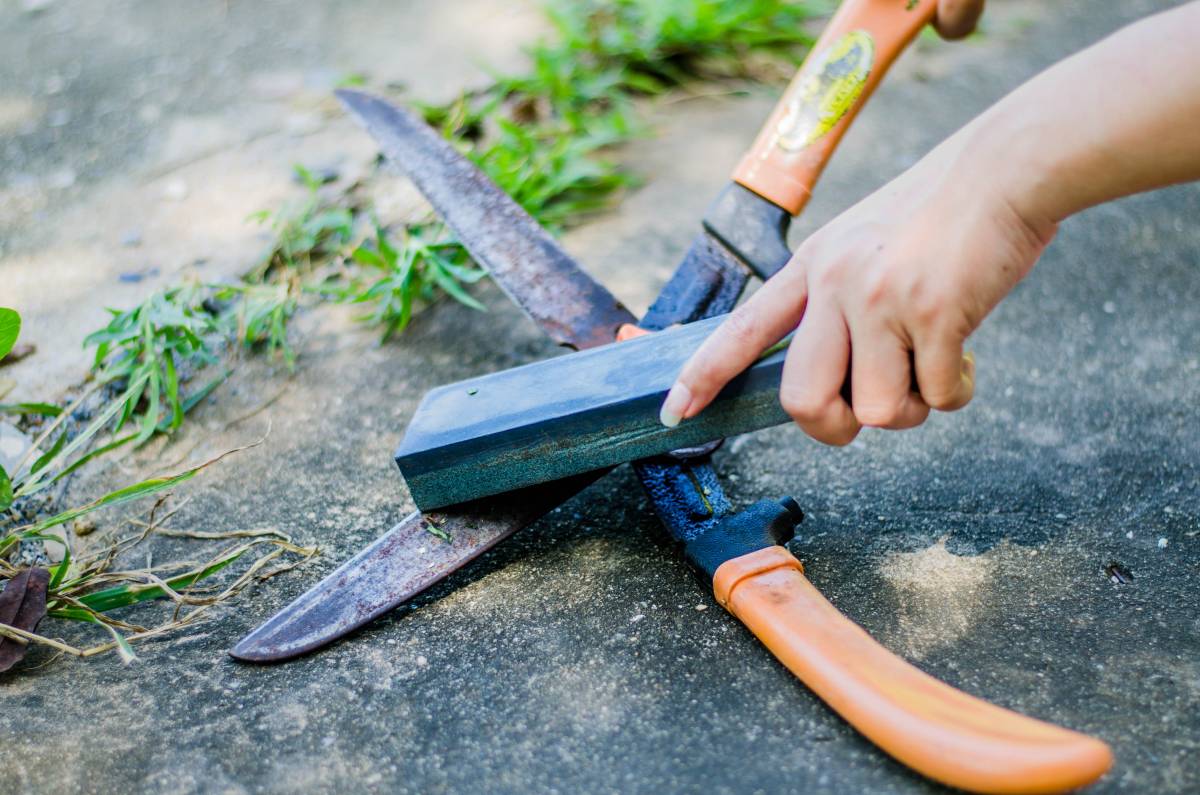
Step 3: Sharpen the blade
Wet your coarse whetstone and sharpen the blade with light and slow strokes. You can also use an electric garden tool sharpener.
Make sure to hold the sharpening tool at the same angle as the tool’s sharp edge, usually 20 to 30 degrees.
Make several strokes on the tool’s blade with the coarse whetstone, then switch to the finer grade.
When using a whetstone, apply a few drops of water on the blade in-between grinding.
Step 4. Repeat the process until the blade looks sharp
With light pressure, run the opposite side of the tool’s blade on the whetstone to remove burrs.
Continue sharpening until the tool passes the “paper test:”
Test the sharpness of your blade by cutting a piece of paper; Be careful not to run your fingers on the blade! You’ll know the blade is sharp enough if the cuts on the paper are consistently clean and have no jagged edges.
Then, carefully wipe the tool’s blade dry with an old towel or rag as needed, then apply a spot of oil or lubricant before storage.
|
Note: You will have to use the diamond file to grind on a new edge for tools that have nicks or lost their sharp edge.
|
Maintain your garden tools with the help of an expert
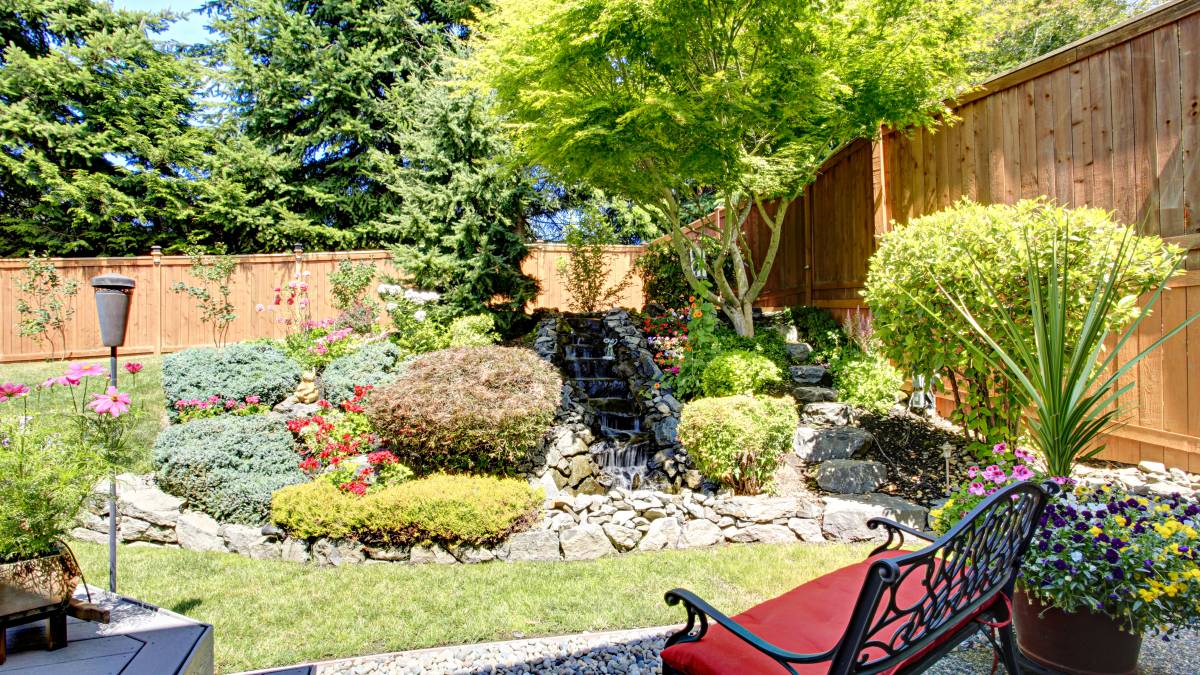
With the right tools, patience, and some elbow grease, you can keep your garden lush and healthy. What’s more, you can reduce the upkeep costs of your landscaping. Properly cleaning and sharpening your garden tools is key. With the information and tips in this guide, you can keep your garden tools in working order.
But suppose you find it tedious or don’t have the time to maintain your garden tools. In that case, you can always book a garden tool sharpening service on Airtasker. You can also find someone who can help you with many other gardening-related tasks. Put up a task and get help from a specialist via Airtasker today!
FAQs on cleaning and sharpening garden tools
Immerse your garden tools in a bleach solution to disinfect your tools. You can also use rubbing alcohol; Spray it on the tool, then wipe it off with a rag or towel. Note that even if your garden tools look clean, they may harbour a number of plant viruses, bacteria, or fungi. These organisms can infect and kill your healthy plants. To avoid such a disaster, use a plant-safe disinfectant like diluted bleach after using your garden tools.
Diluted household bleach is one option for a plant-safe disinfectant. Pure bleach is highly toxic to plants; The chemical can burn the leaves and kill the plant. A solution of hydrogen dioxide, diluted white vinegar, some household chemicals, and even diluted mouthwash are good alternatives. You can ask the staff at a DIY centre for more advice.
Yes, especially when your garden tools are covered in soil, debris, and rust. Debris and rust can prevent your whetstone from sharpening affected areas and leave dull spots on your garden tool. An inconsistently sharp tool requires more effort and can result in messy pruning or trimming work. If you think you need expert sharpening for your garden tools, hire a specialist.
Yes! Disposing of garden tools - even those heavily encrusted with rust - can be wasteful and impractical. Avoid throwing away your rusty garden tools unless their surfaces have rusted away and are unusable. With the right equipment, effort, and patience, most rusty garden tools can be restored to proper working order; Some tools may even come out looking like new!
Find garden tool sharpening technicians, fast
Find a Garden Tool Sharpening Technician
Related guides
How to build garden steps
Read more
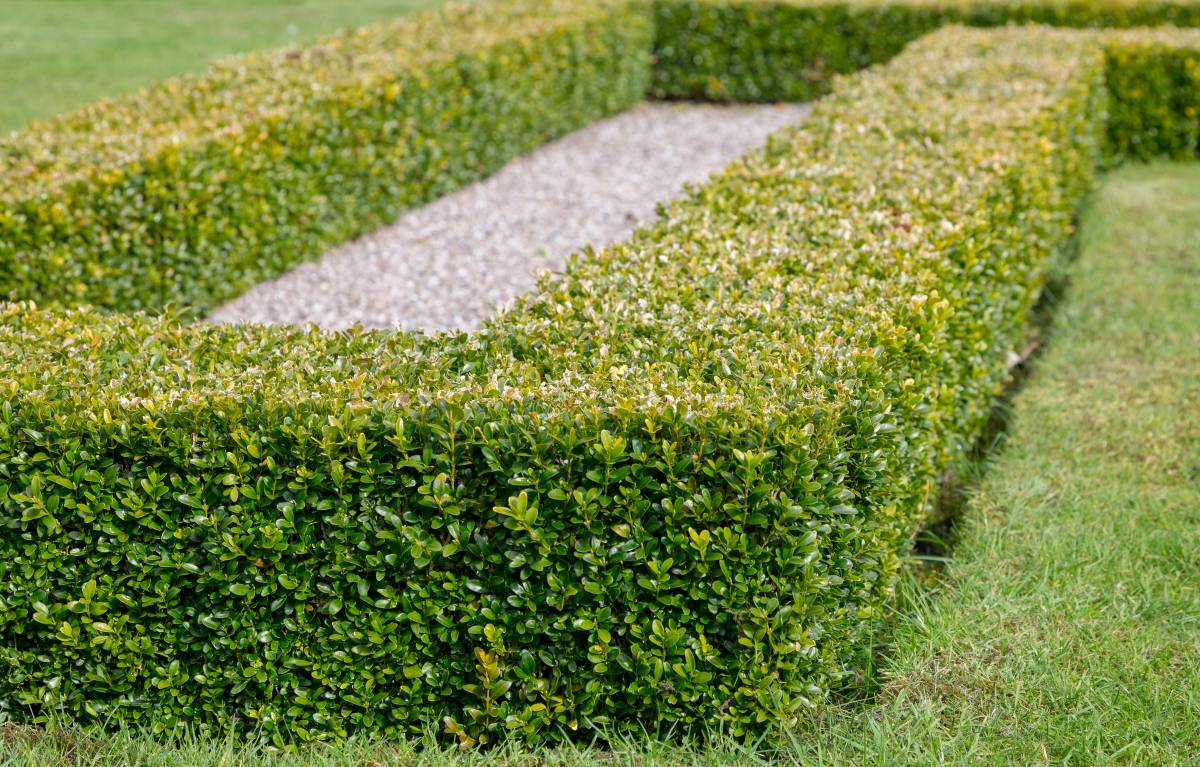
How to trim bushes the right way
Read more

13 Best Spring Gardening Tips
Read more
How to clean garden stones
Read more
36 Quirky plant pot ideas you’ll love
Read more
Your garden maintenance checklist
Read more
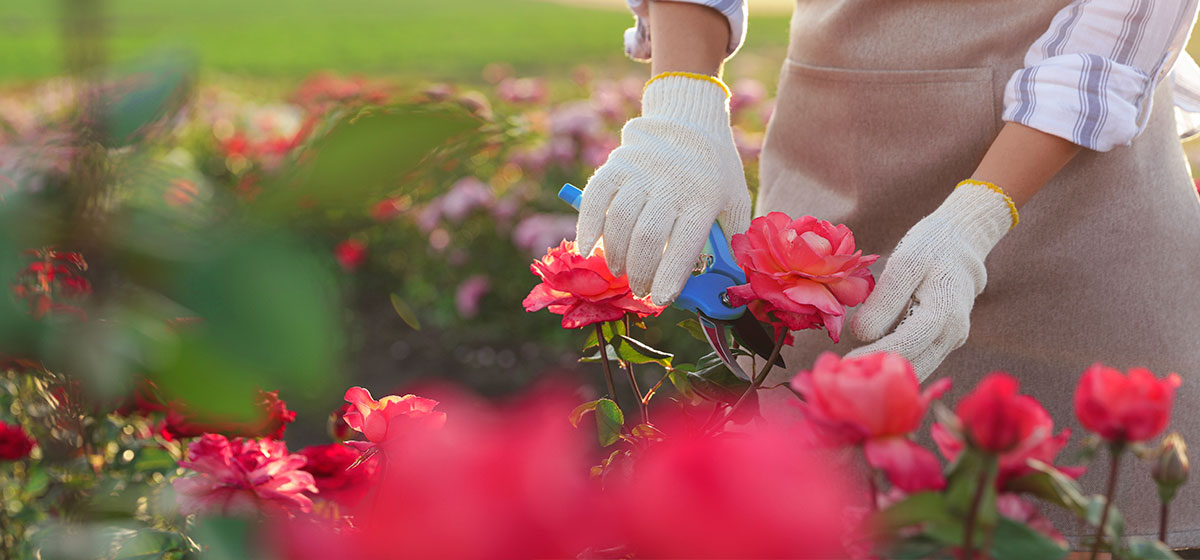
How to prune roses the right way
Read more
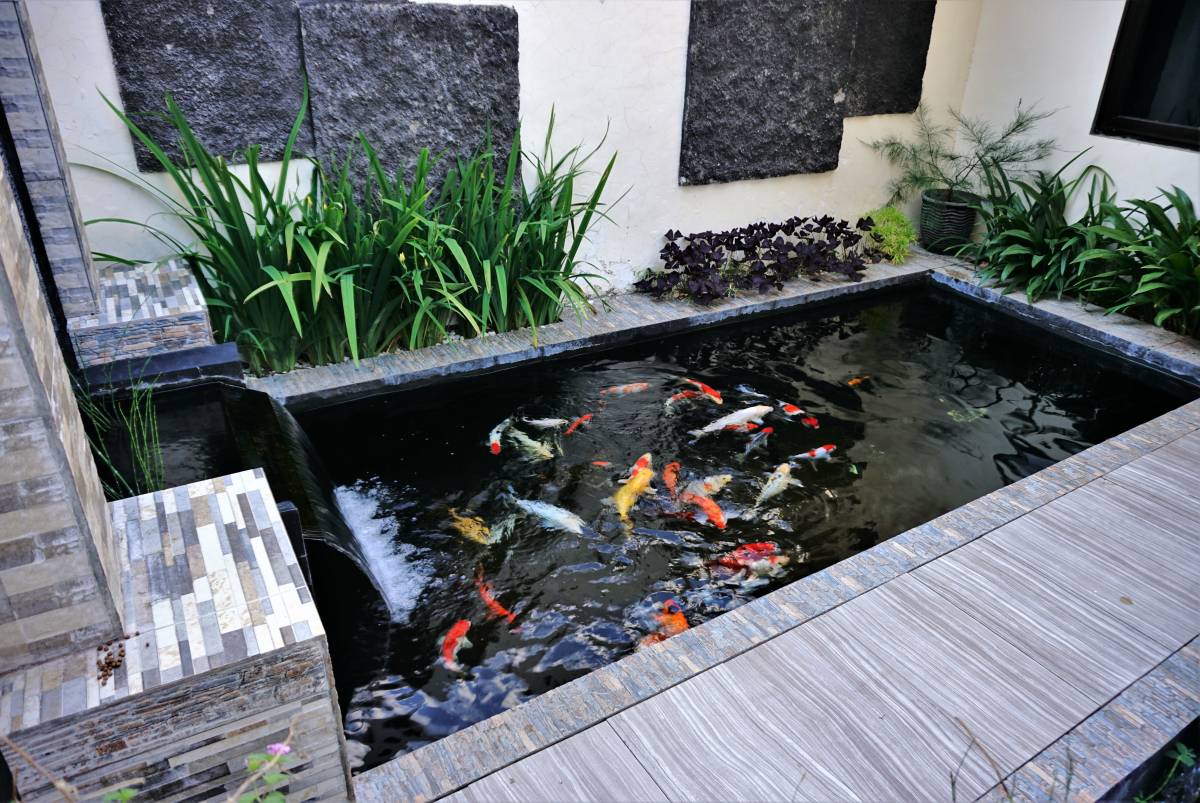
8 steps to build a DIY pond filter
Read more


Related price guides
How much does hedge removal cost?
Read more

How much does a garden room cost?
Read more
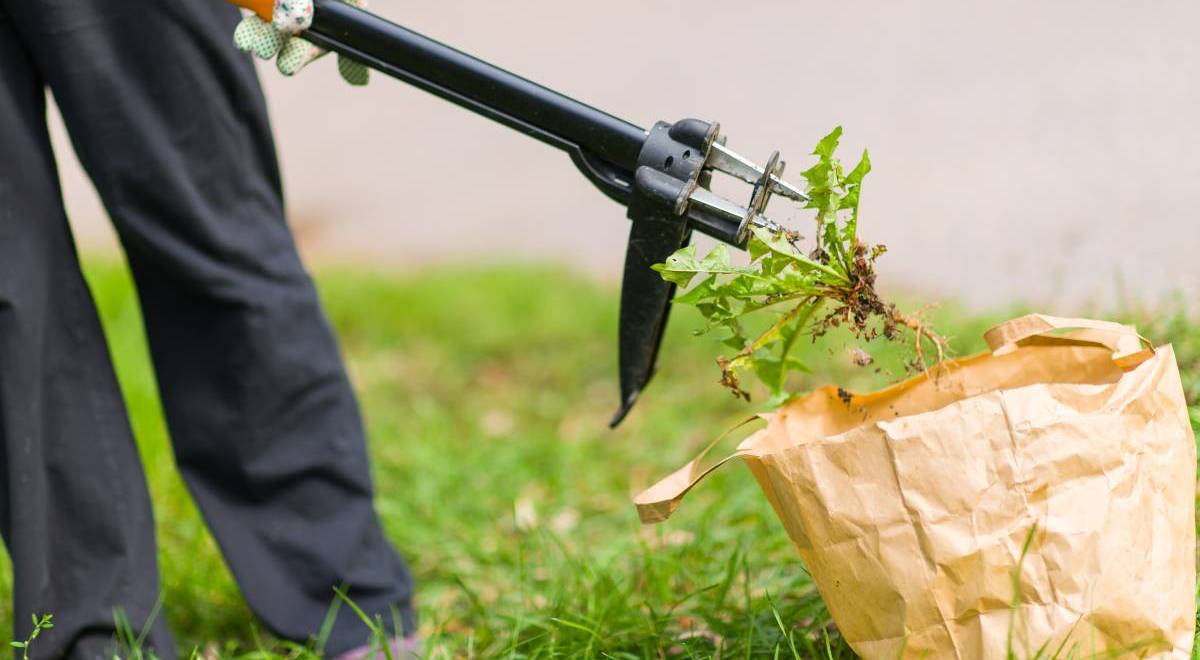
How much does weeding cost?
Read more
How much does mulch cost?
Read more
How much does garden clearance cost?
Read more