- Home/
- Guides/
- Appliance Removals/
- How to Move a Freezer
Avoid back pain: Here’s how to move a freezer
Moving a chest freezer can be a real pain in the back, but it doesn't have to be! Learn how to move your chest freezer like a pro.
Last Updated on

Written by Cielo B.
Staff Writer

Reviewed by Shah I.
Removals Expert
Read more about our contributors
Key Facts
Always prepare at least a day before moving by defrosting, cleaning and drying the freezer completely
Use a dolly, moving blankets and straps to move the freezer safely and avoid personal injury
Keep the freezer upright at all times during the move to protect the compressor and cooling system
Moving a freezer is no easy feat and can often leave you with a sore back. These bulky and heavy appliances require proper planning and technique to move safely without risking injury.
But don’t worry, we’ve got your back! Whether you’re moving a freezer from one room to another or across the country, our comprehensive guide will take you through the steps on how to move a freezer, with helpful tips and tricks to ensure a smooth transition into your new home.
What you’ll need
Prepare these materials before moving the freezer:
Moving blankets or towels
Appliance sliders
Packing tape
Moving straps
Moving dolly or appliance dolly
Some things to consider before you move your freezer
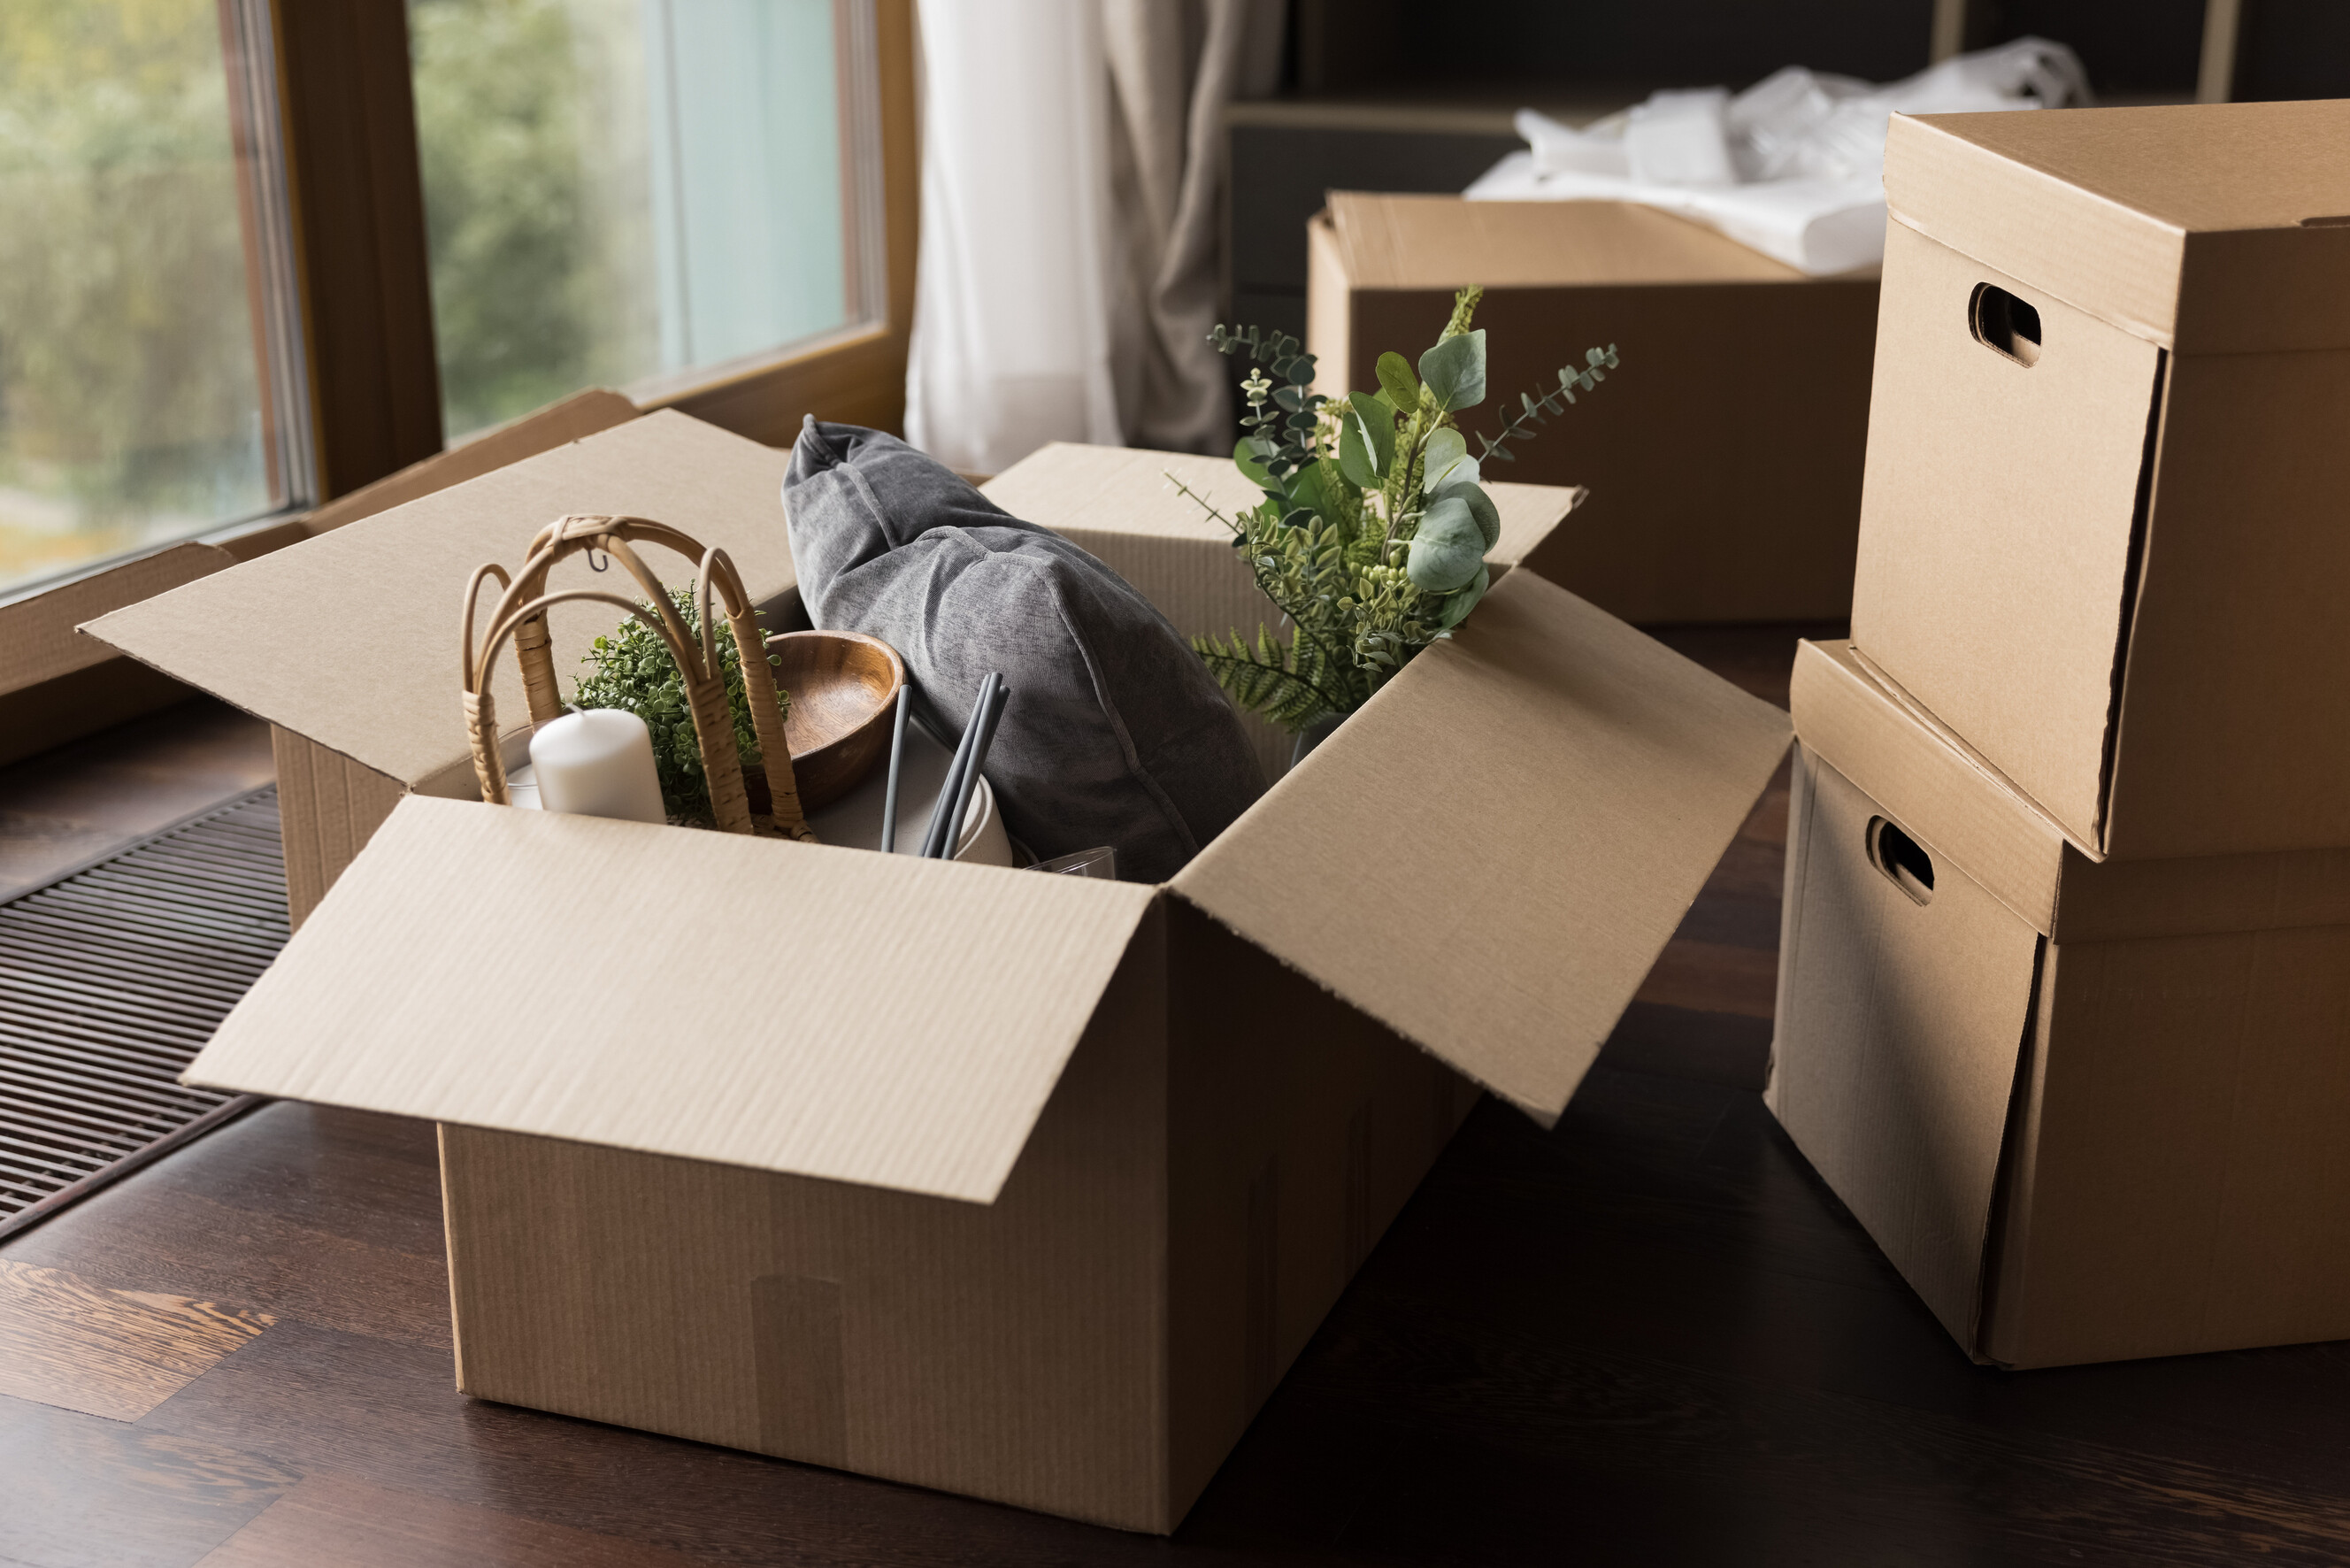
 Preparing a chest freezer for transport by clearing out frozen items. (Source: iStock)
Make sure to prepare properly by completing the following steps no later than a day before transporting a freezer:
Enlist help. Don’t attempt to move a freezer alone. Having friends to help is important, as moving it by yourself can result in injury or damage to your home and the appliance. If no one’s available, feel free to hire appliance removalists.
Read the product’s manual. The manufacturer may have specific instructions for moving the equipment.
Measure your freezer. Check if the pathway is spacious enough. Make sure that doors and halls are wide enough to fit the appliance.
Empty your freezer. Leaving food items inside will increase the freezer’s weight, making it harder to move; and any deep-frozen food items will begin to defrost as soon as the freezer is disconnected from power. Removing all food items to make the freezer lighter and prevent spoilage is best.
Disconnect the ice maker. Refer to the manual to disconnect the ice-making device from the water supply. If unsure, call a professional removalist.
Defrost your freezer. Unplug the freezer, leave the door open for several hours, or use the defrost function if available. Defrosting can take at least 24 hours, so allow enough time for this process. Collect any non-drained water in containers and drain it in the sink to reduce the weight of the freezer.
Deep-clean your freezer. Use a soft non-abrasive sponge to clean the appliance. Remove shelves and drawers and wash them with soapy water. If there are any stubborn stains, use a wet sponge with baking soda to act as a gentle abrasive.
Dry your freezer up. This is to prevent mould and mildew during transport. Use a soft dry cloth to dry the interior and leave the door slightly open for air circulation until packing for the move. If any unpleasant odours persist, place a saucer with baking soda inside the freezer to neutralize them.
A guide on how to move a freezer like a pro
Now that you and your freezer are ready for moving day, here’s a step-by-step guide process on how to move chest freezers properly and safely:
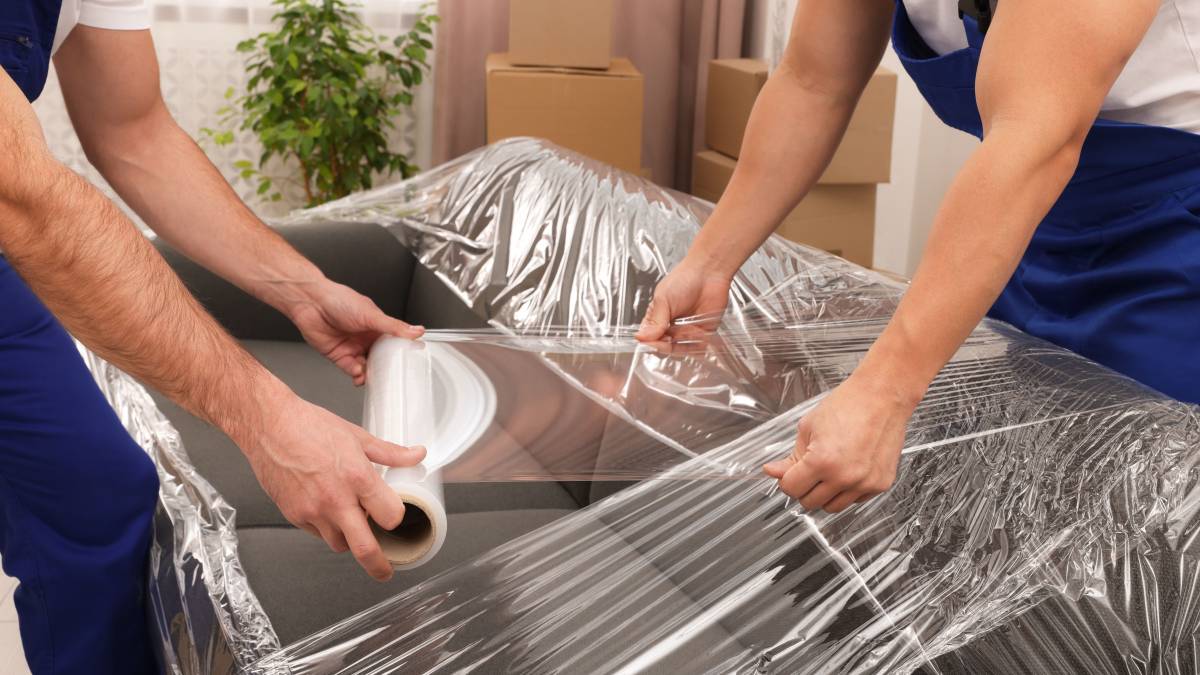
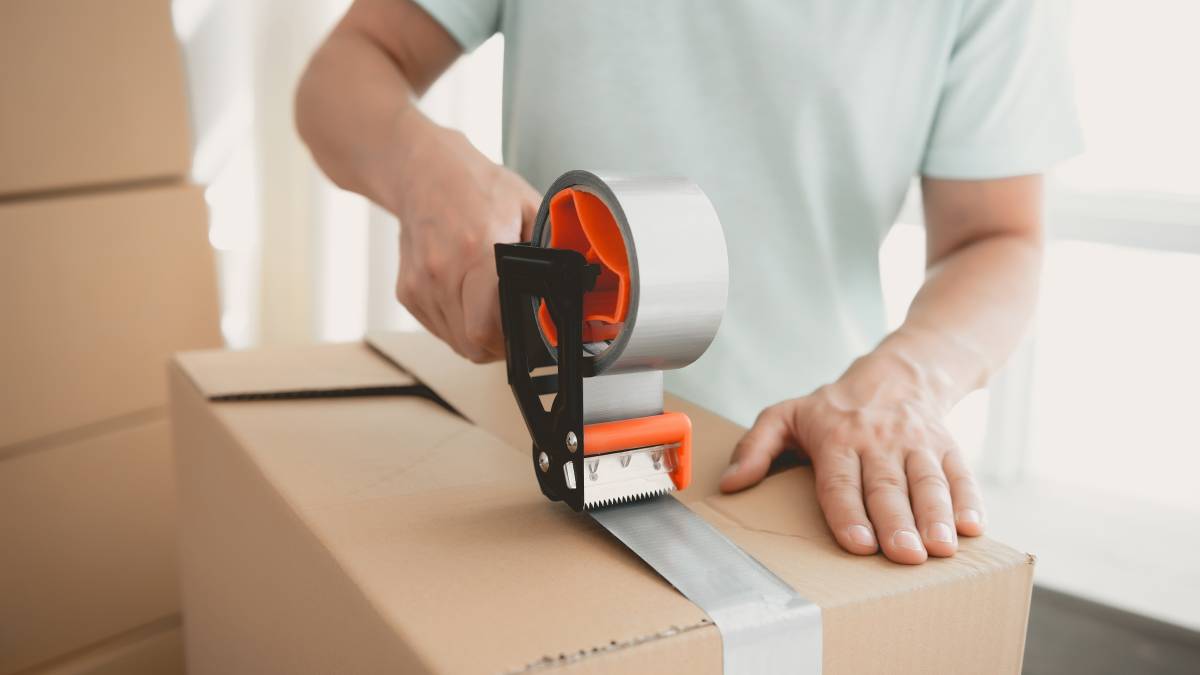
Step 1: Prepare and protect it with moving blankets
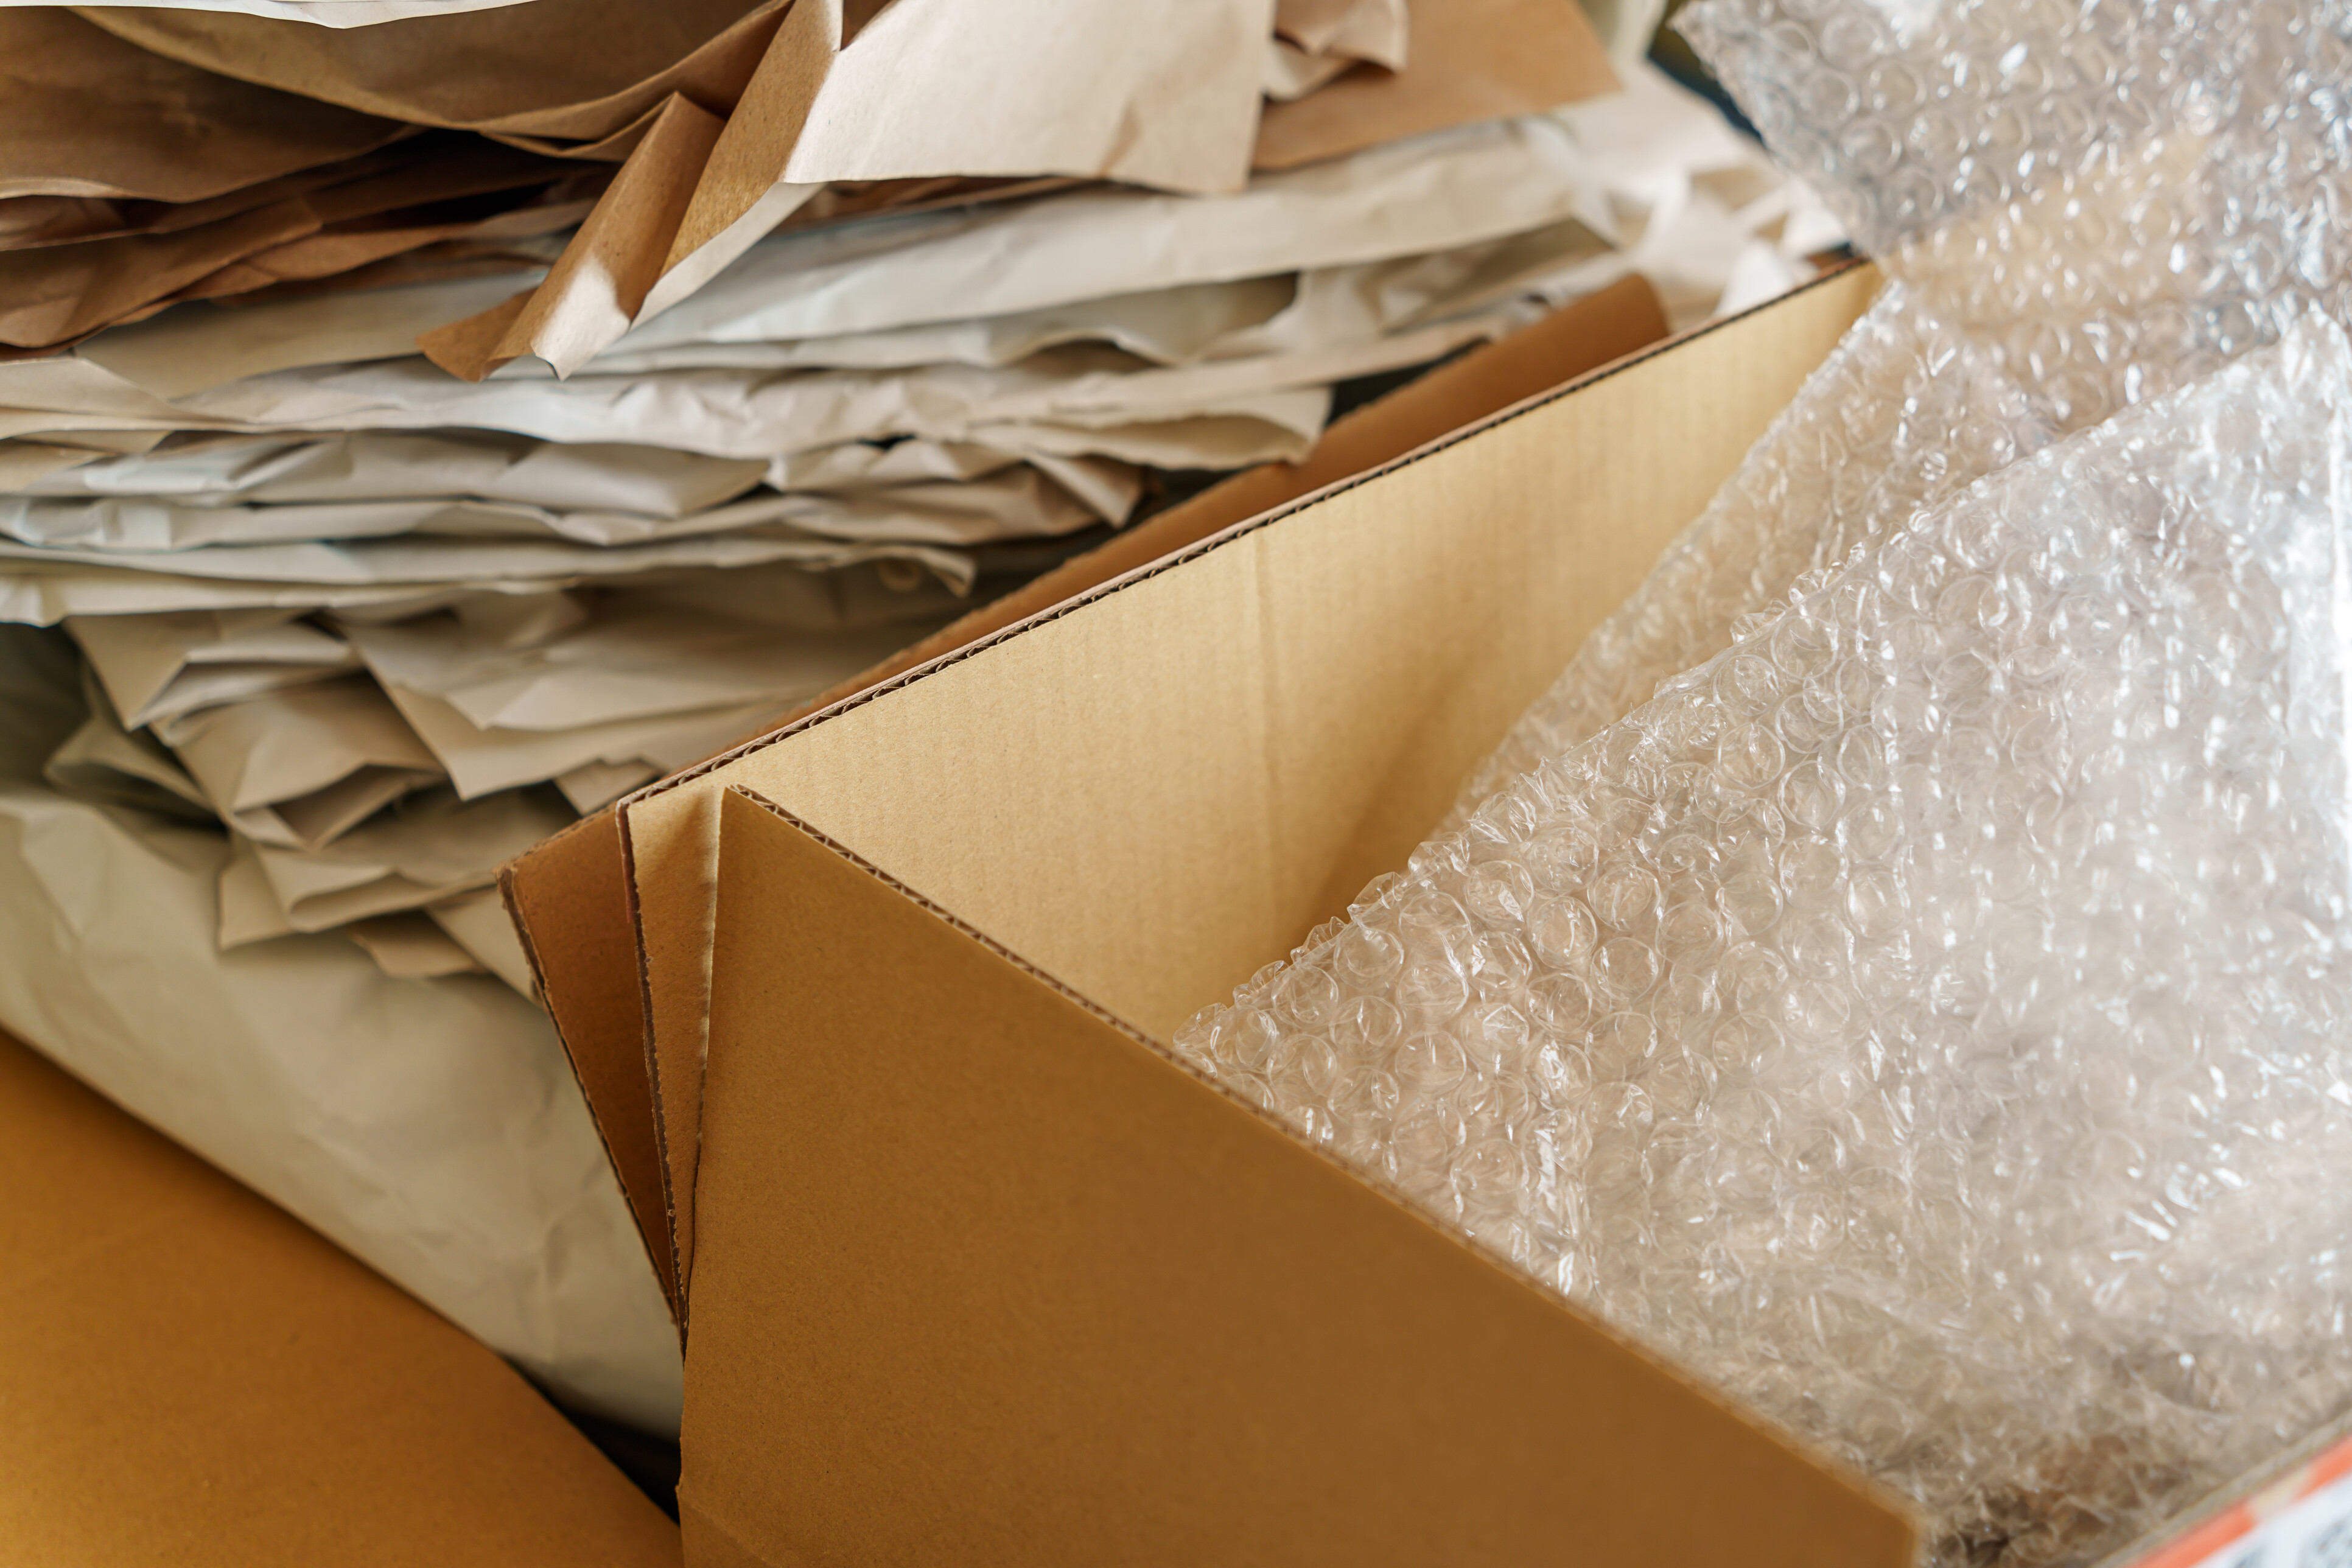
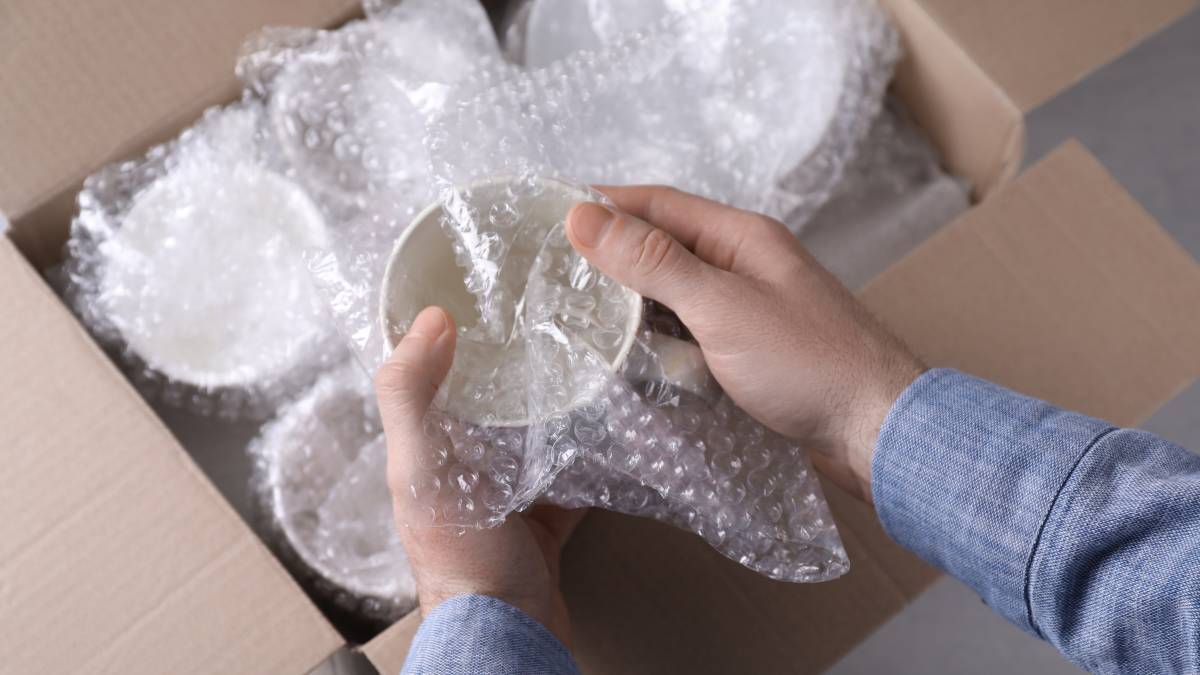
Before wrapping your freezer, empty out all glass shelves, drawers, dividers, and cages (in chest freezers). These components are fragile and could break during transport if left inside. Store them separately, wrapped in bubble wrap or packing paper.
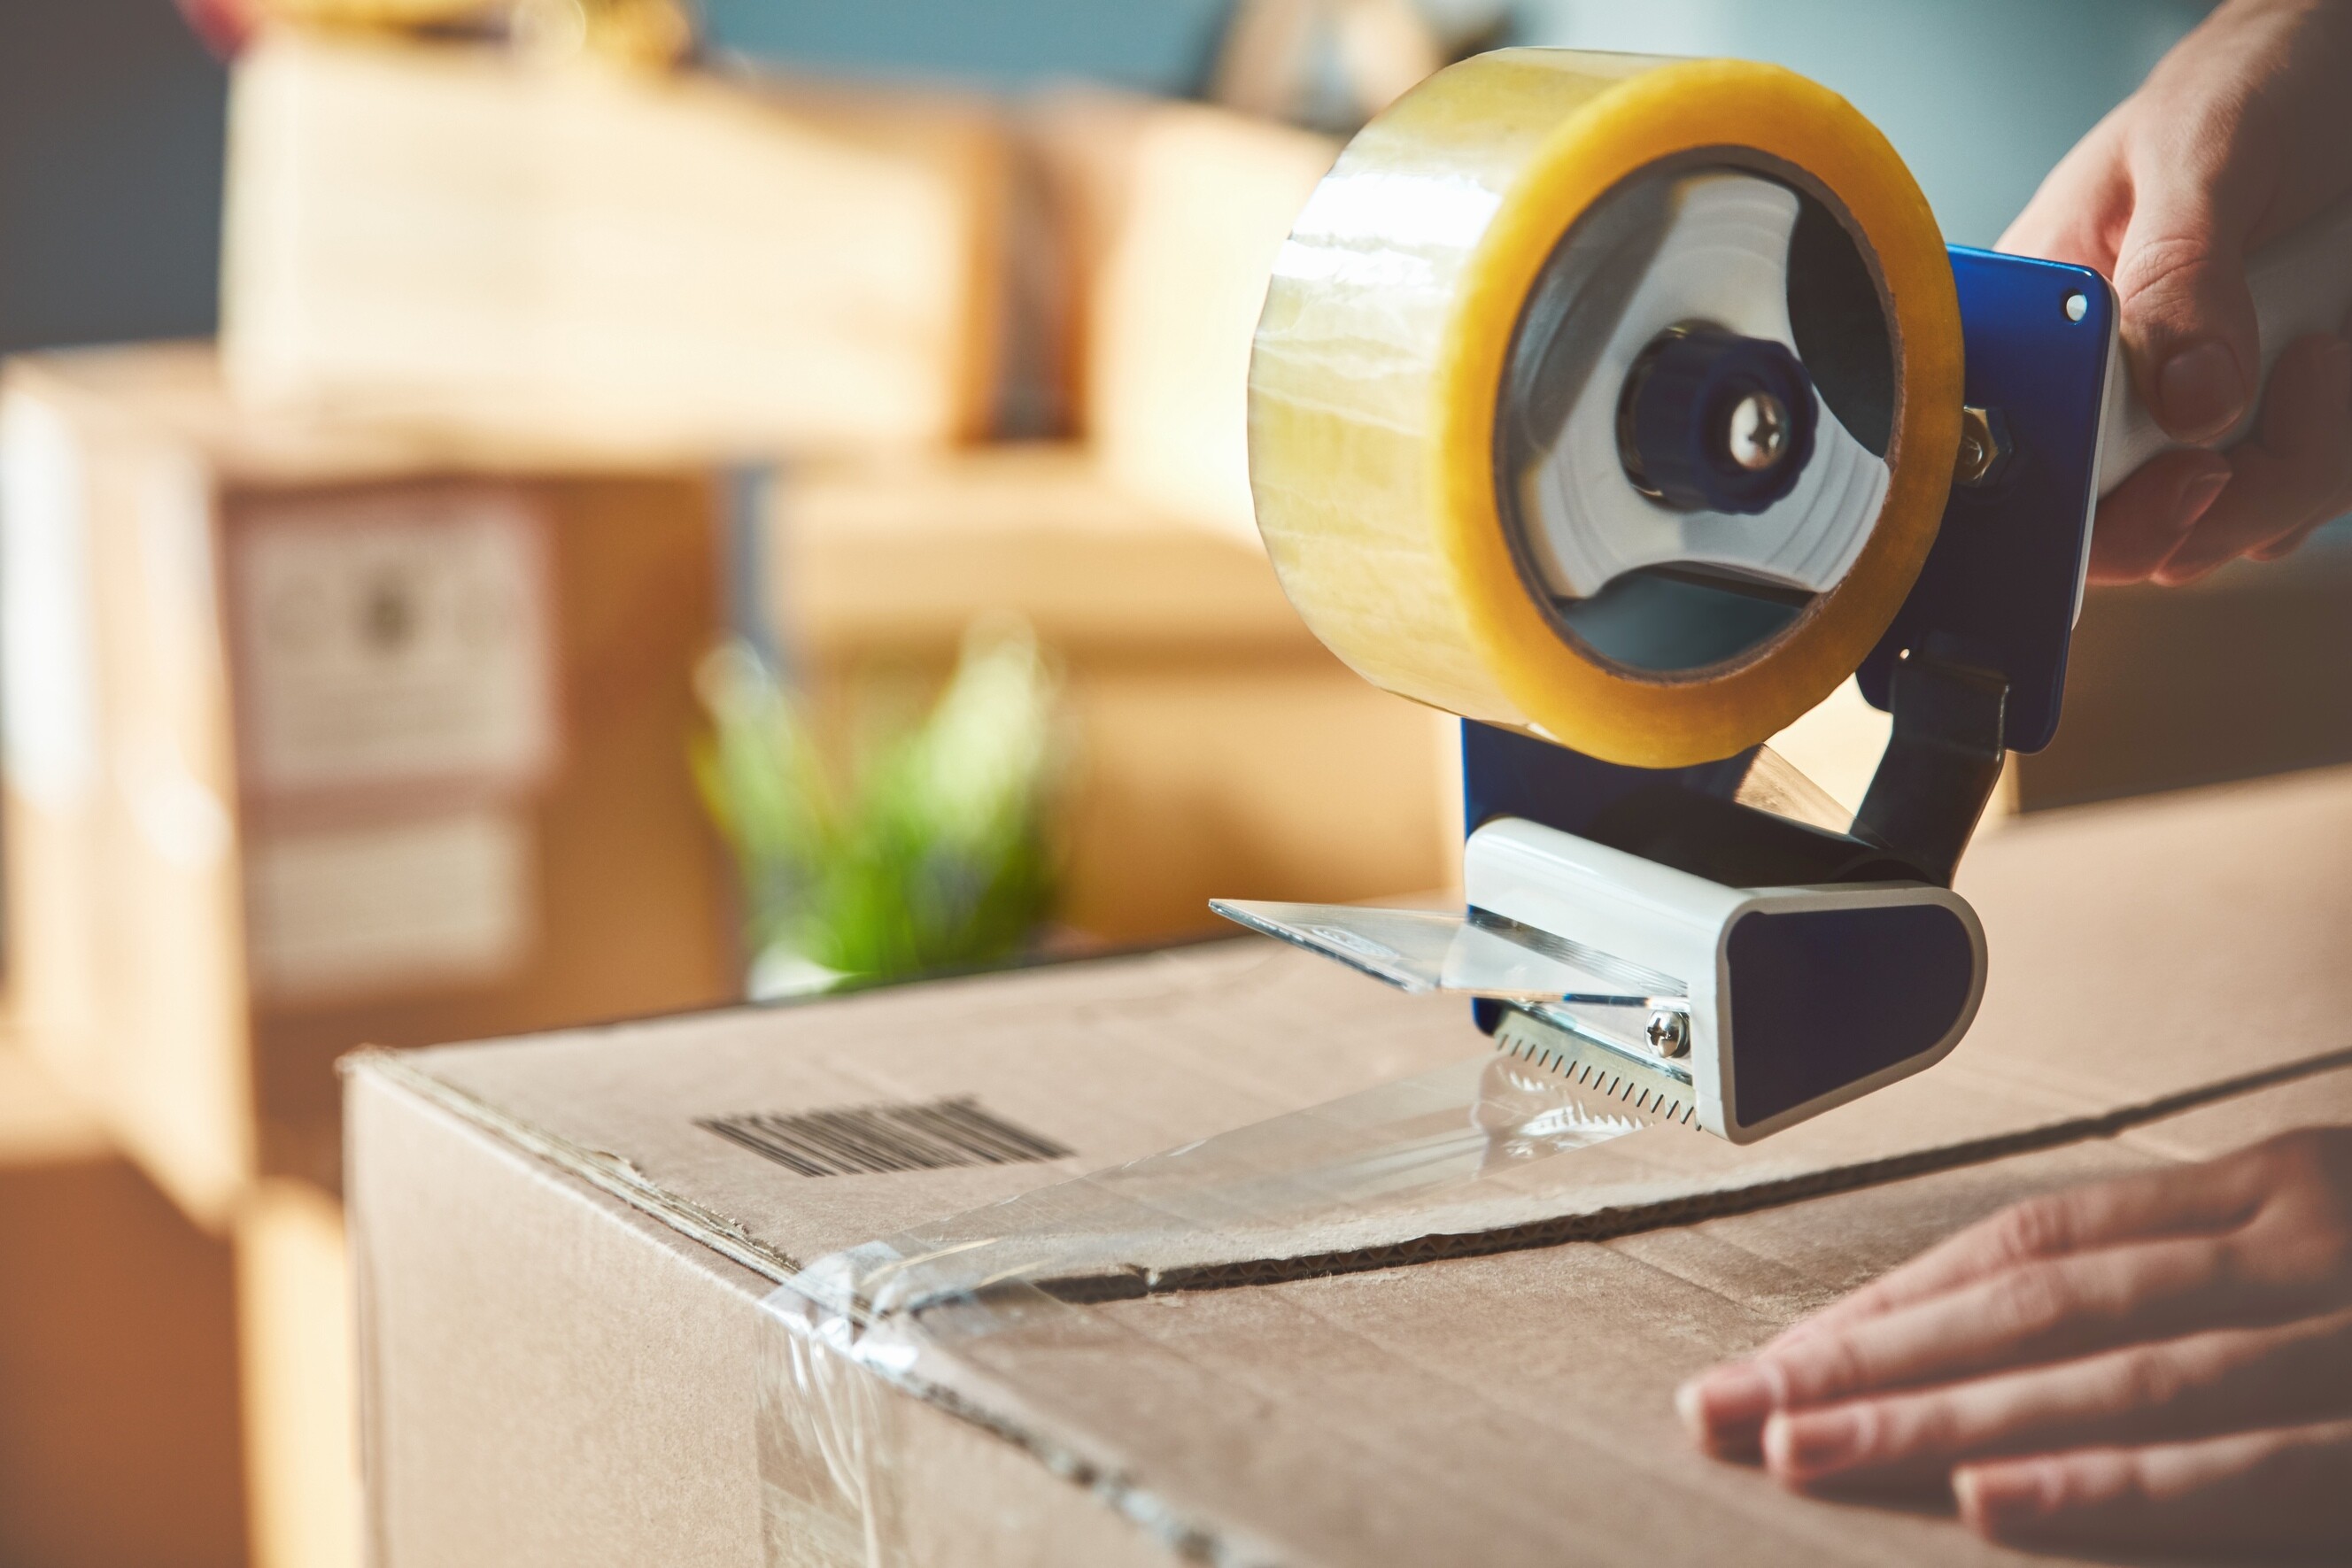
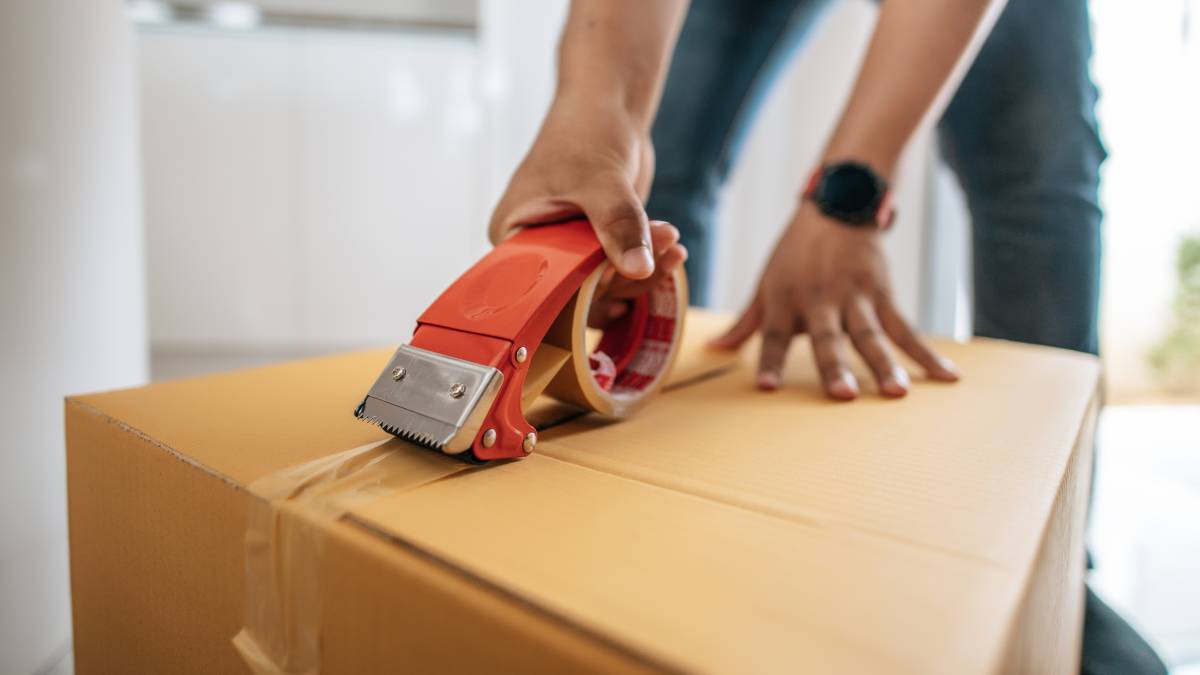
Next, move the freezer away from the wall and put a furniture or appliance slider under each leg. Tape the power cord to the back and cover the door edges with masking tape. Then, use moving blankets to wrap the freezer and secure it in place with tape. It’s important to ensure the entire appliance is well-padded and no vulnerable areas are exposed
Step 2: Secure it
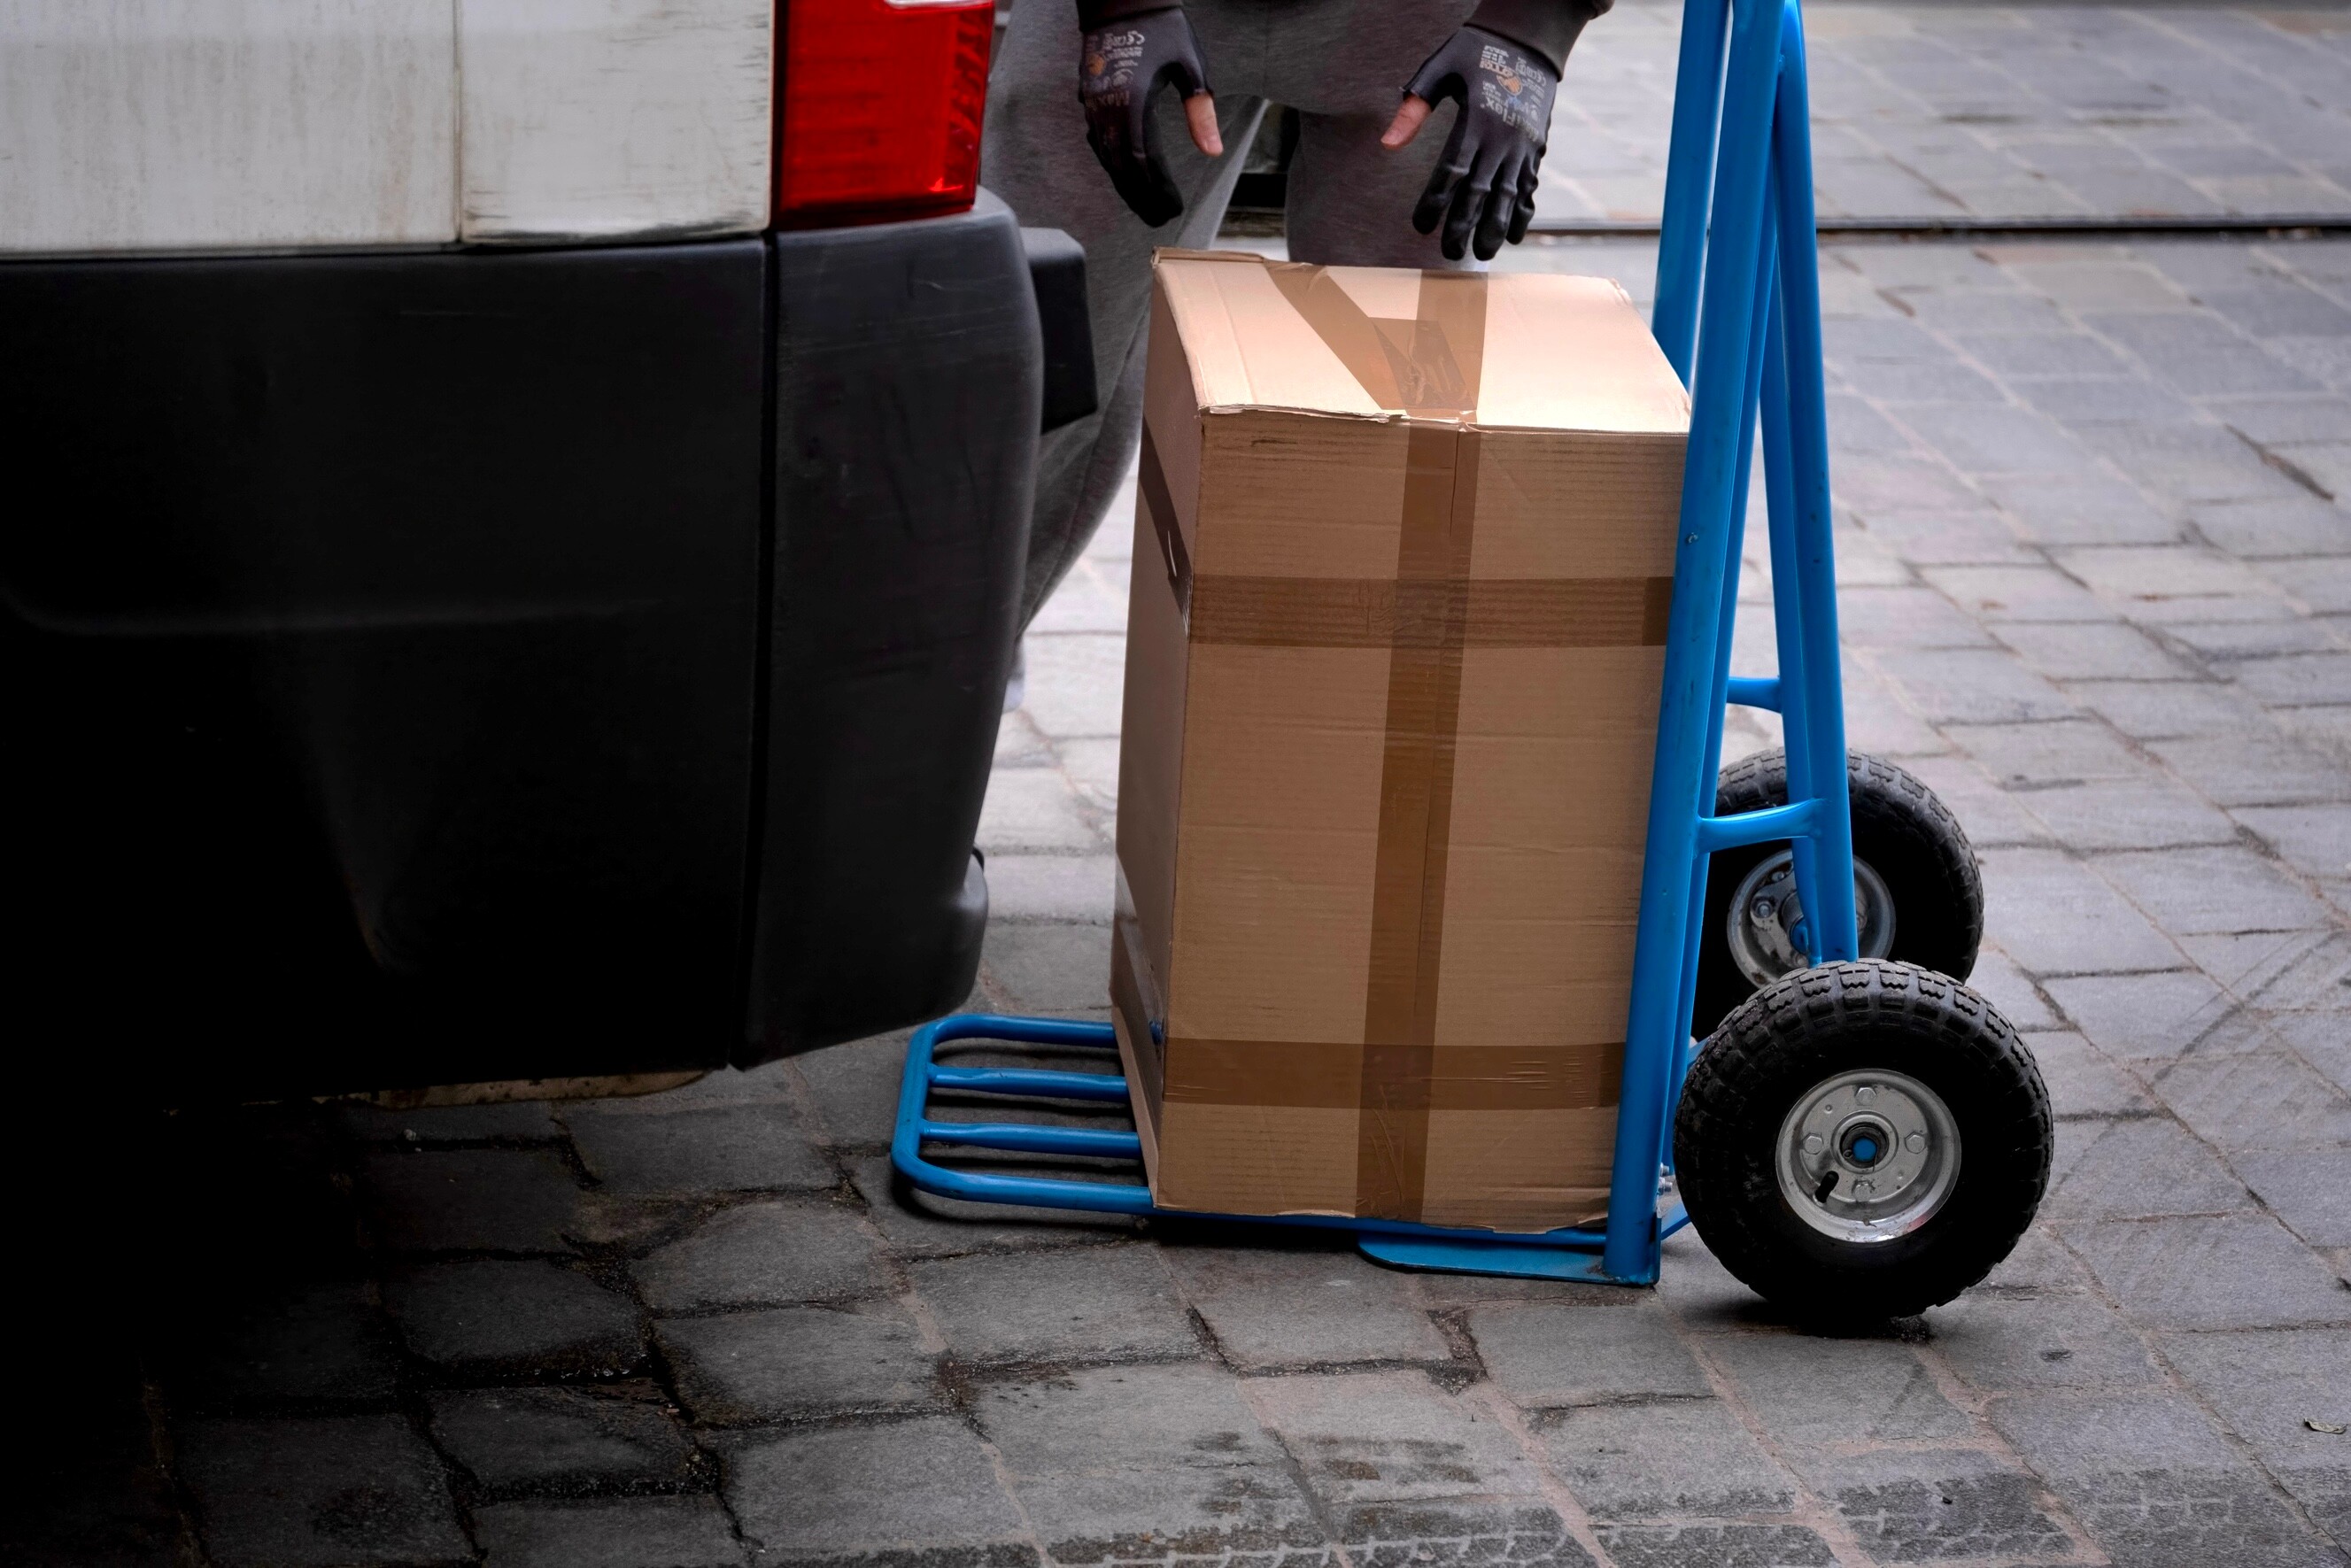
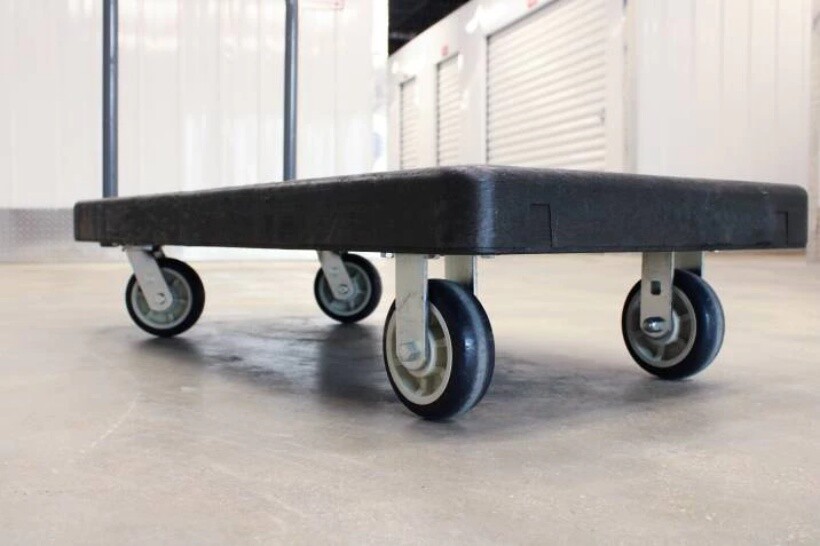 A dolly cart is essential for safely moving a large chest freezer. (Source: iStock)
Move a freezer unit using an appliance roller or furniture slider. If you're strong enough, you could also use moving straps to carry chest freezers. Tilt the freezer to one side, put the dolly underneath, and centre the load onto the four-wheel platform. Secure the freezer with straps or rope underneath the dolly and over the appliance. Be cautious and plan each step carefully with your helper. It also helps to clear your path before you start with the move.
Dragging can damage the compressor, scratch your floors, and bend the freezer's base or legs. Always use a dolly, furniture sliders, or lift with helpers to move it safely.
Step 3: Wheel it out
After securing the freezer on the dolly, it’s time to take it outside and load it onto the vehicle. Keep it upright throughout the entire move, as laying it on its side or back could cause refrigerant to leak inside the evaporative coils.
If you must, you can transport a freezer on its side, but do it for as little time as possible, and only on the compressor side of the unit. Wheel the loaded freezer towards the front door, balancing it with helpers. Note that furniture dollies are not suitable for stairs.
Always transport your freezer in an upright position. Tilting it on its side or back can cause the refrigerant oil to flow into the cooling lines, which may damage the compressor when you plug it back in.
However, if you do have to transport it lying down, make sure to leave it upright for 24 hours or a similar amount of time it was vertical before plugging it in.
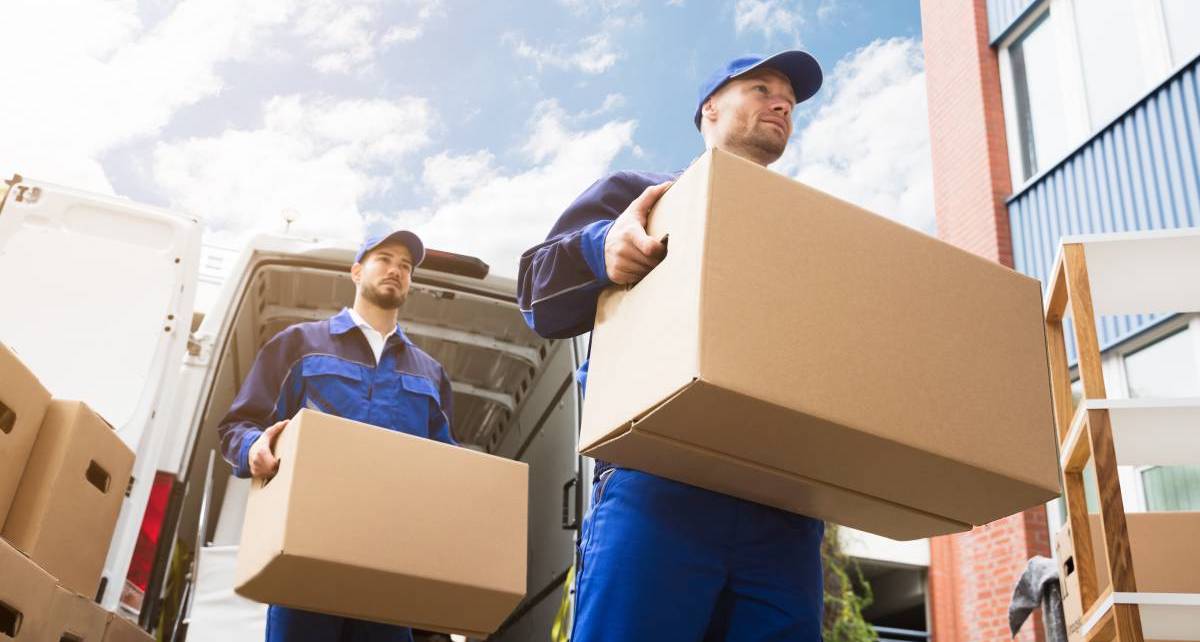
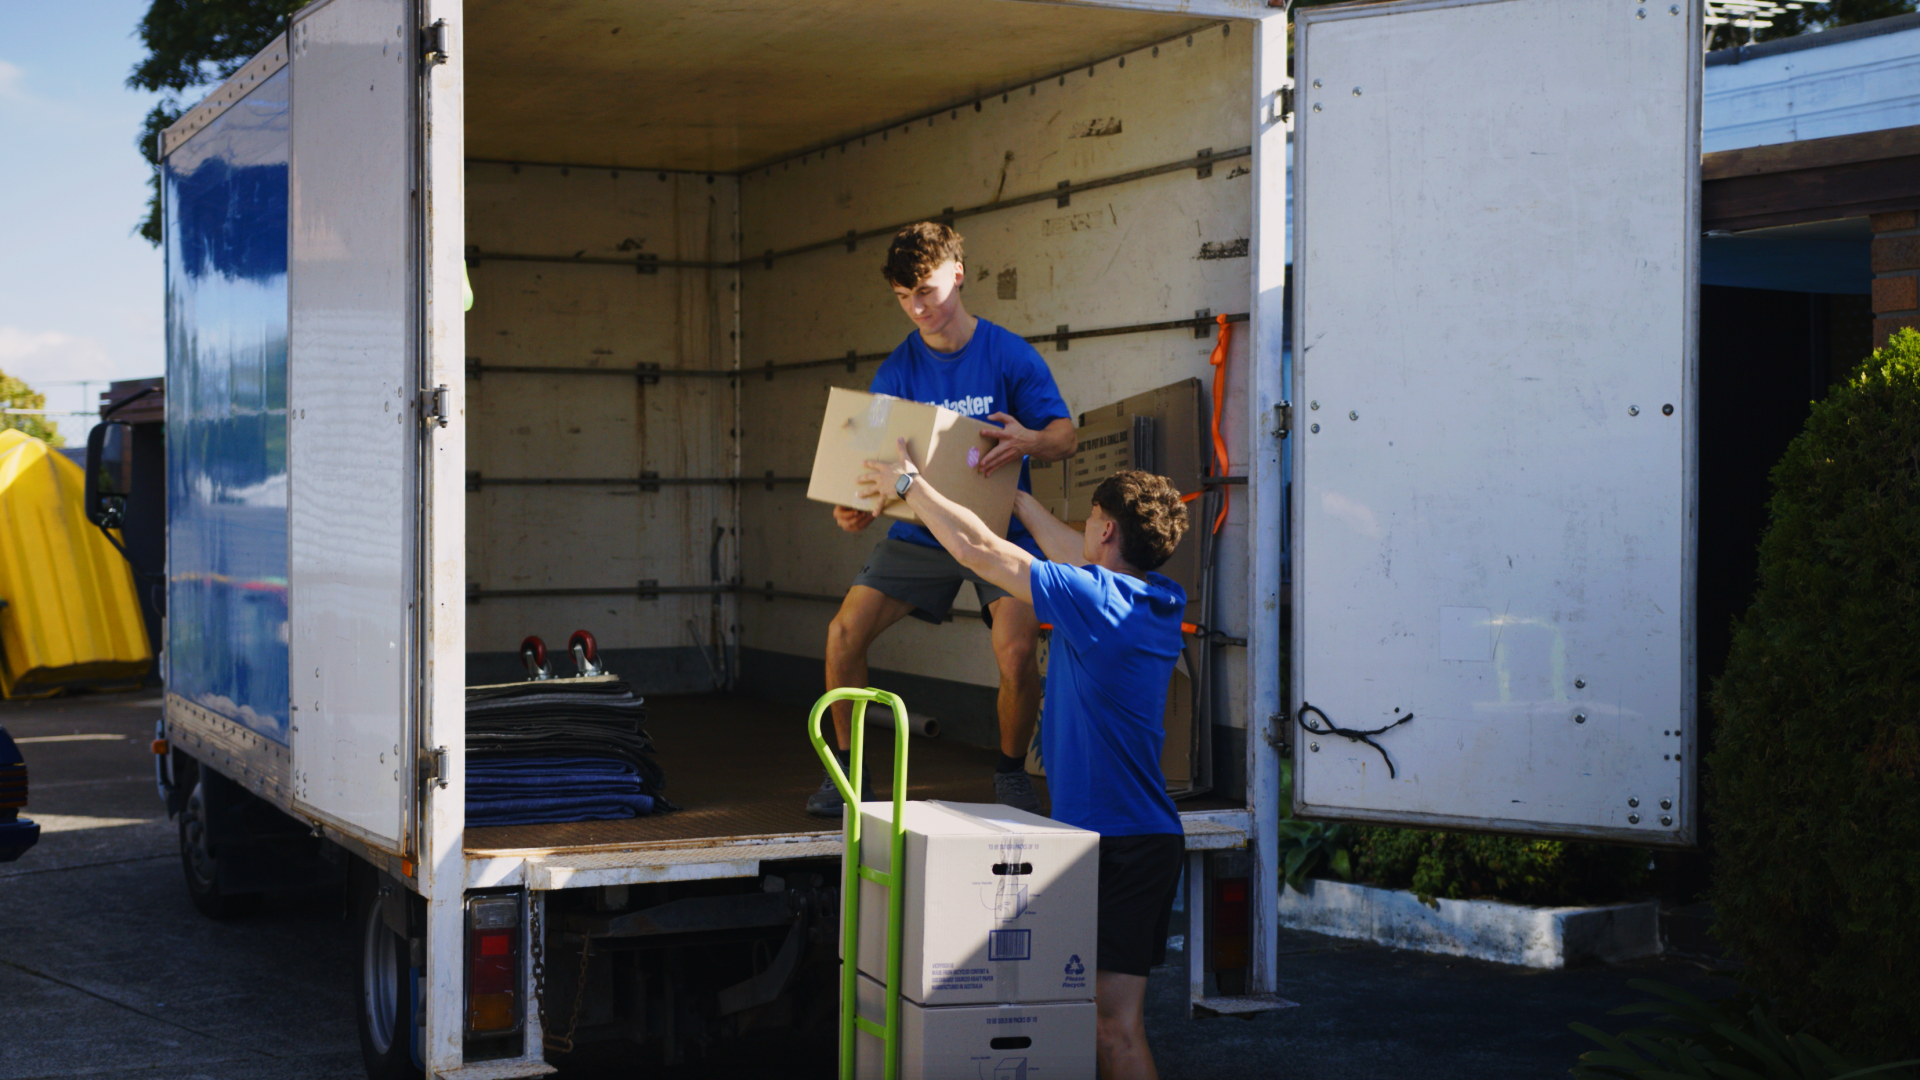
Step 4: Load it up
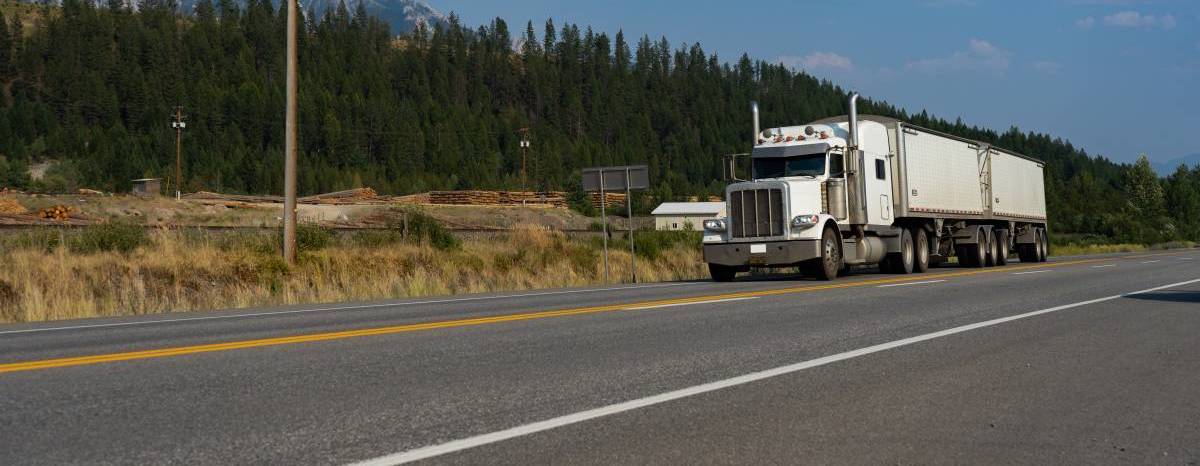
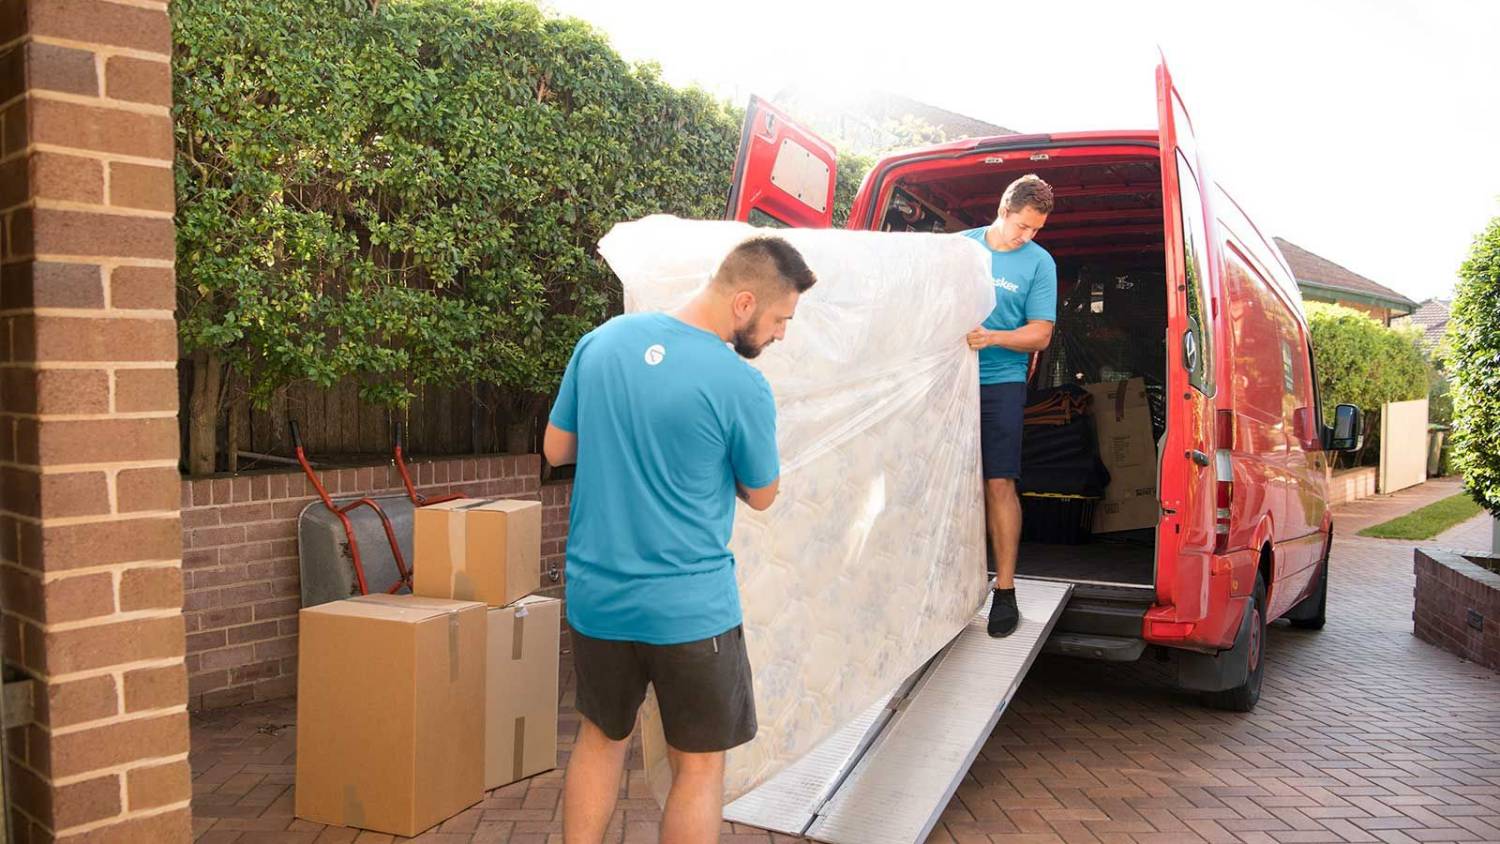
 A moving truck with a ramp is ideal for safely loading freezers. (Source: iStock)
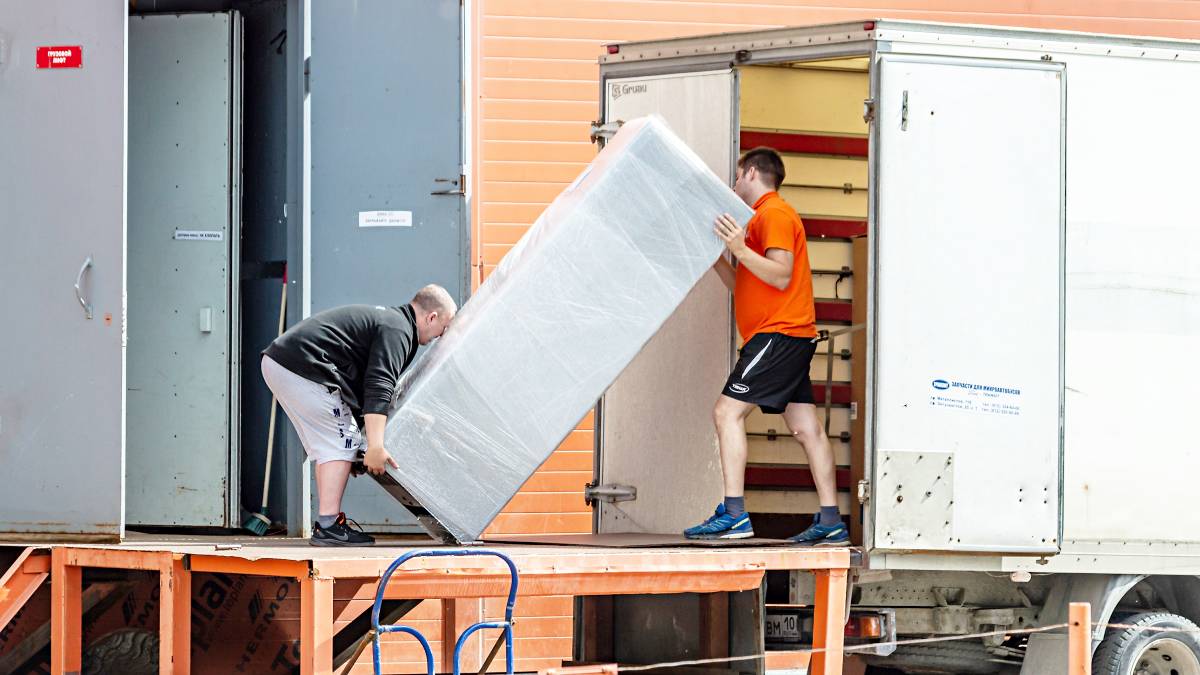
When it’s time to load the freezer into the moving truck, use the loading ramp and make sure to have enough people to help with the heavy lifting. To load a chest freezer, you pull it up the ramp while your helpers push from behind.
However, if you don't have a loading ramp, place the freezer near the van entrance with two people positioned on either side. Lift from the bottom using your legs (not your back), raise the freezer onto the van's edge lip, and then slide it inside carefully.
Remember to keep it upright to avoid damage to the cooling system. Once it’s inside, secure the freezer to the side of the moving vehicle using ratchet straps or rope.
Step 5: Set it down
Upon arrival at the new home, wheel the freezer to its final location and set it upright. If the freezer was transported upright the whole time, you could plug it in immediately. However, if it was on its side or back during transport, wait the same amount of time it was in that position before plugging it in.
How long does a freezer have to sit after moving? It’s best to wait 24 hours to be safe and allow the oil to get back to the compressor unit. Remember that plugging in the freezer too early can damage the refrigerating system.
Don’t freeze up during the move!
Learning how to move a deep freezer can be daunting, but by following the steps outlined in this guide, you’ll be able to move your chest freezer safely and easily.
But if you're feeling unsure about the challenge ahead or dealing with a complicated setup, don't worry! Some freezers require doors to be removed to fit through narrow hallways or tight corners, and attempting this without proper knowledge could cause irreversible damage to the hinges or cooling system.
Don't let moving a freezer become a burden on your shoulders. Airtasker can connect you to experts who can handle the heavy lifting and give you a stress-free and safe moving experience.
Learn more about our contributors
Written by Cielo B.
Staff Writer
Cielo is an experienced content writer who has explored various industries throughout her career. Her expertise, founded on a degree in journalism, includes writing about automotive and home maintenance. Cielo also covers topics like dressmaking, tailoring, and photography since she is a passionate cosplayer who enjoys dressing up as her beloved anime characters.
Reviewed by Shah I.
Removals Expert
Shah is a seasoned removalist with years of experience moving freezers and heavy appliances across London. Having navigated countless tight hallways, tricky staircases, and busy city streets, he knows what it takes to safely and efficiently relocate appliances from apartments to homes.
The Reviewer Badge is awarded to individuals who are experts in their respective fields and evaluate the content to ensure its accuracy and relevance to the task at hand.
Related price guides
How much does it cost to move house?
Read more

How much does it cost to move house?
Read more
How much do packers cost?
Read more


Related articles

How to pack mirrors for moving
Read more
How to move gym equipment safely
Read more
Moving to Exeter from within the UK
Read more

A guide to becoming a removalist
Read more
Moving Checklist
Read more

Tips for moving house with kids
Read more

How to pack kitchen items for moving
Read more

How to pack books for moving
Read more

How to pack artwork for moving
Read more

How to move a pool table
Read more
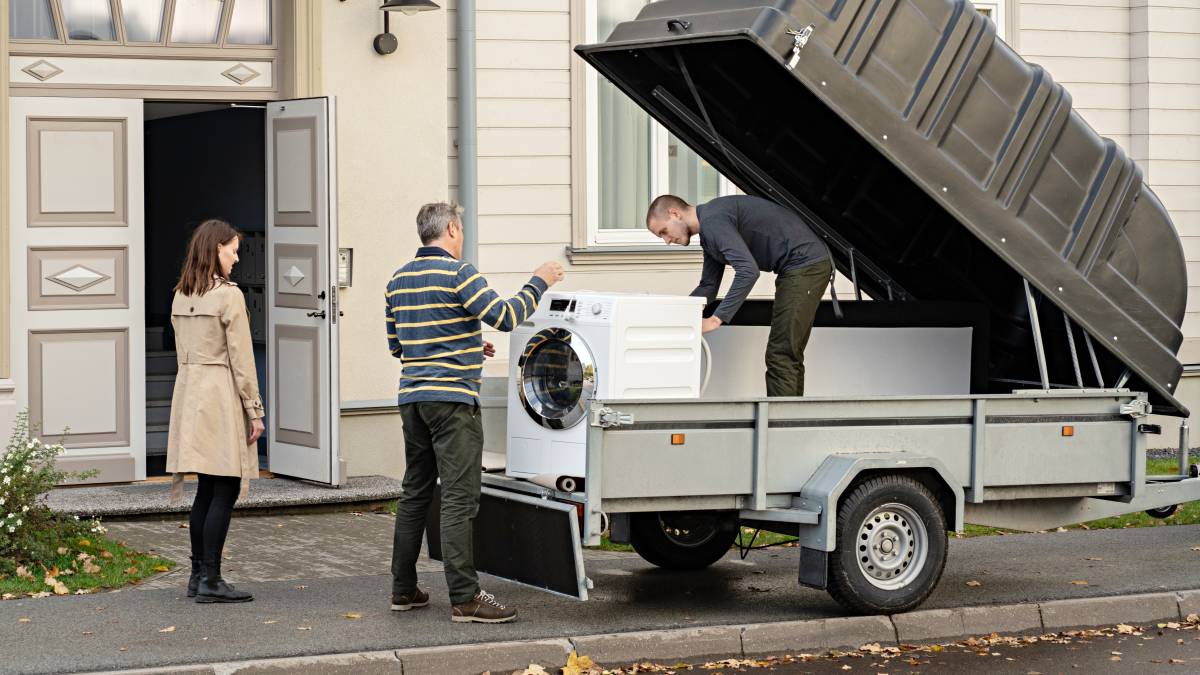
How to move a washing machine
Read more

How to move a shed
Read more
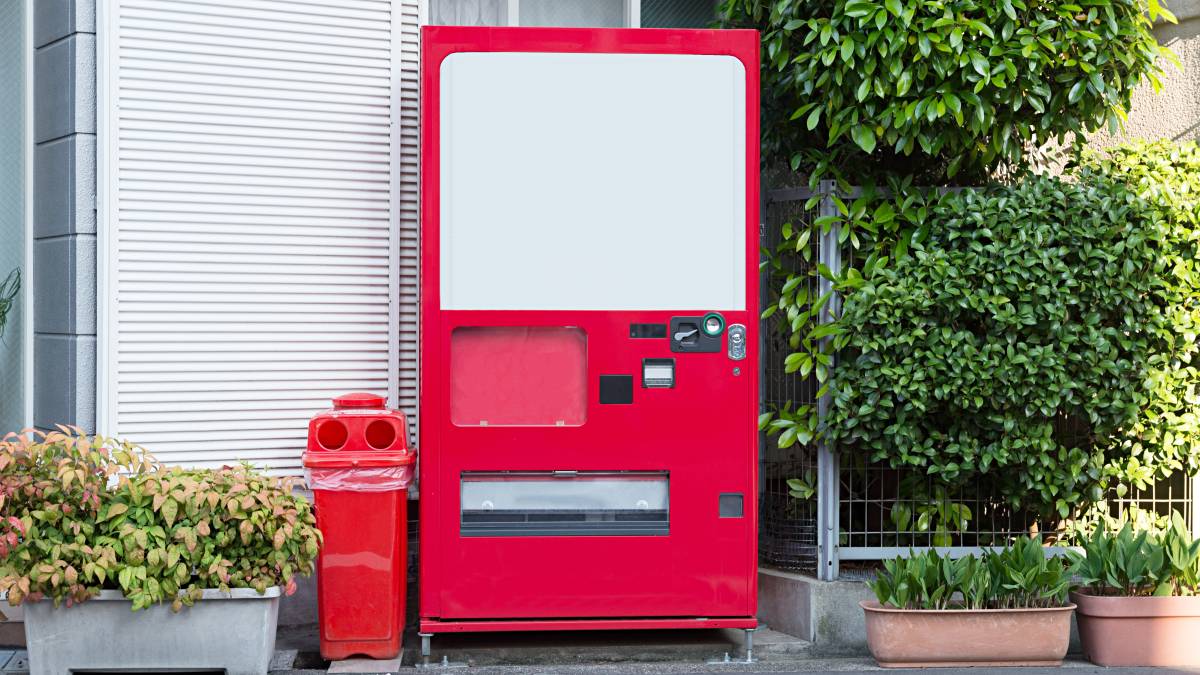
How to move a vending machine
Read more
Moving a fridge: How to do it right
Read more

How to move a pinball machine
Read more

How to wrap furniture for moving
Read more

What moving companies won’t move
Read more