- Home/
- Guides/
- House Removals/
- How to Pack Kitchen for Moving
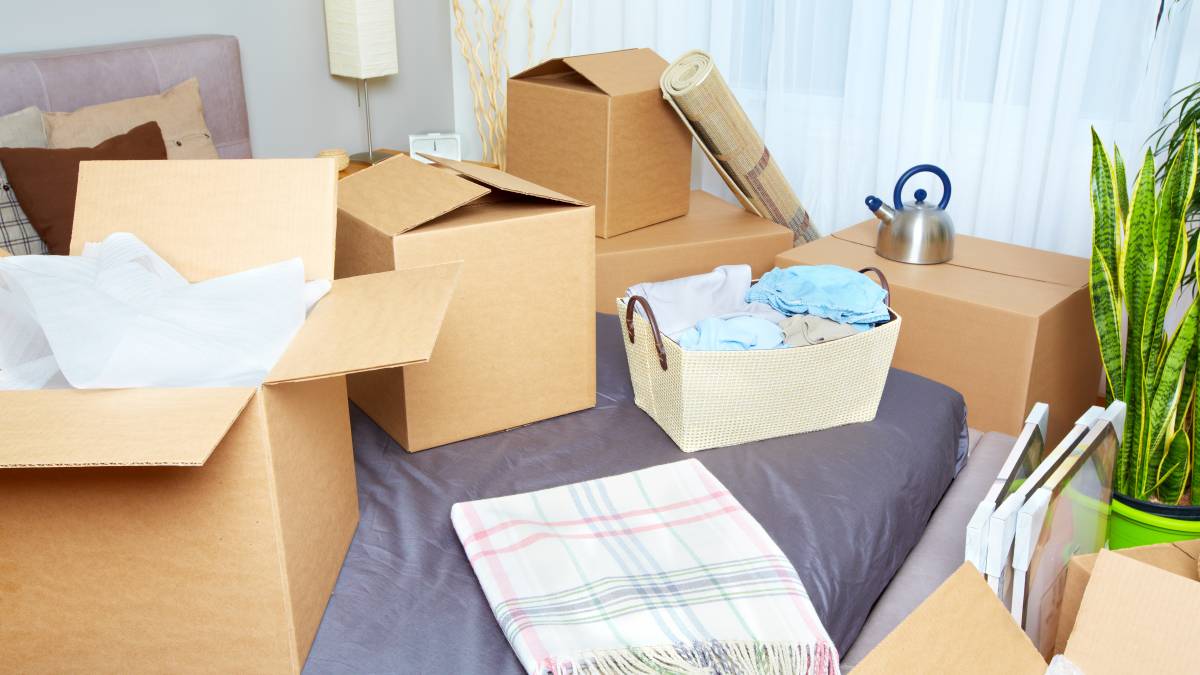
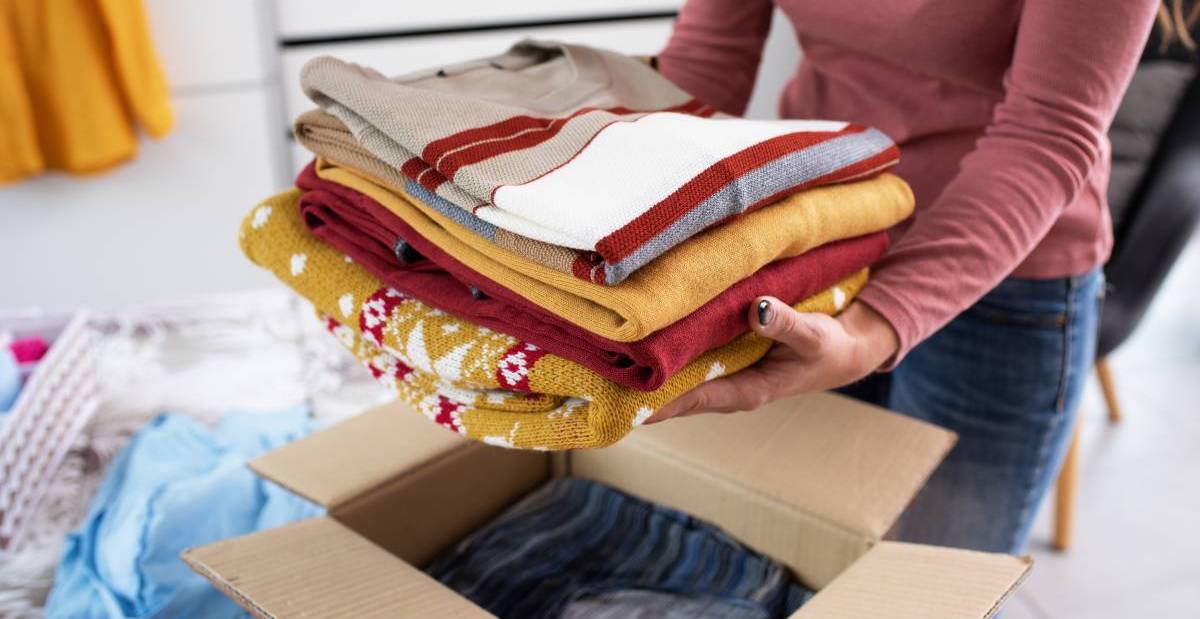
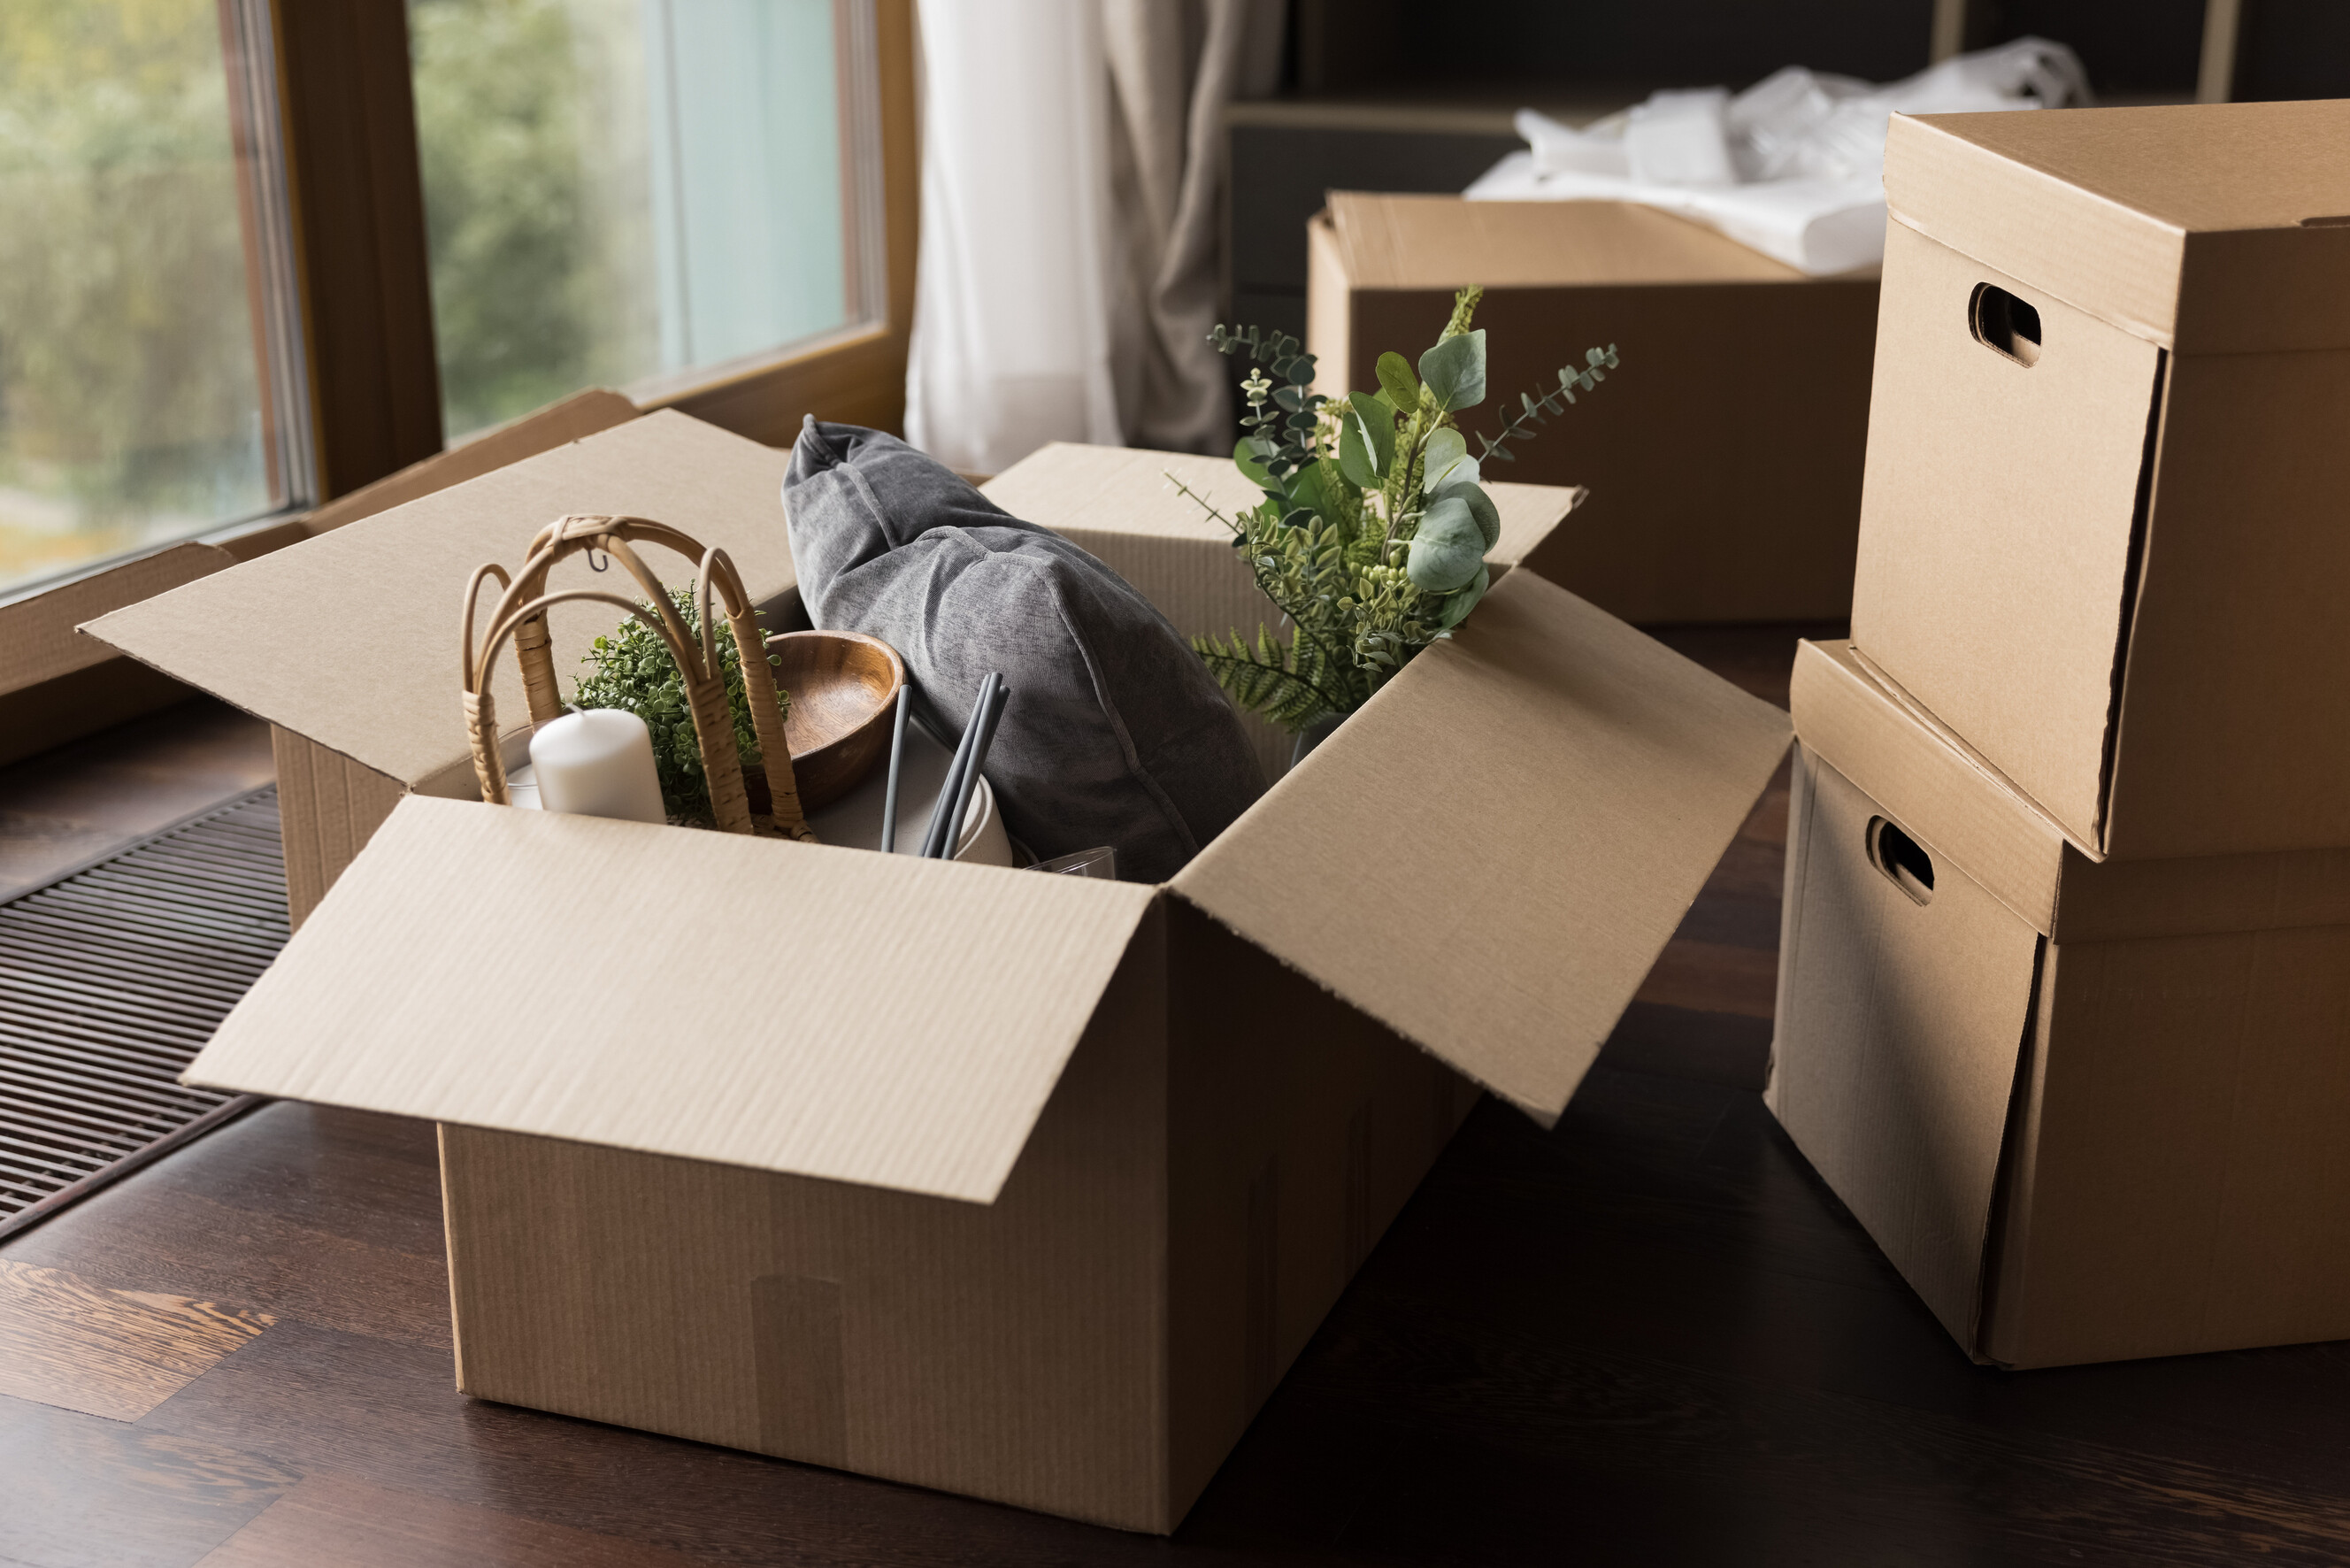
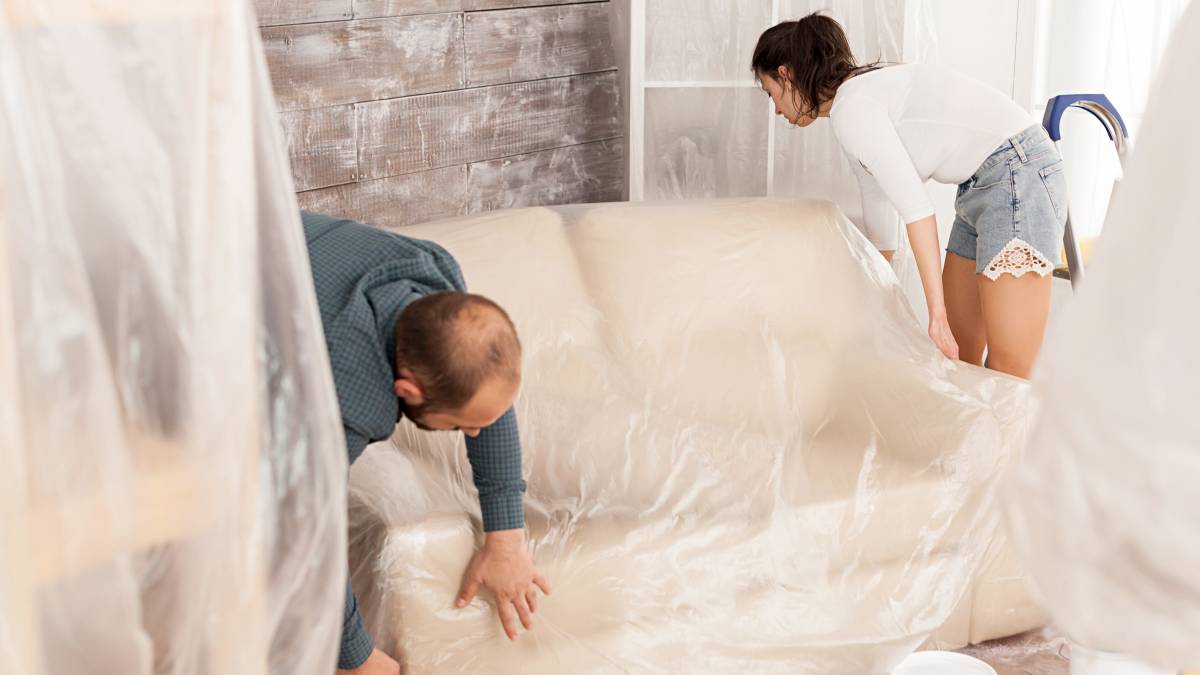
How to pack kitchen items for moving
Packing an entire kitchen doesn’t have to be as stressful as it sounds.
Published on
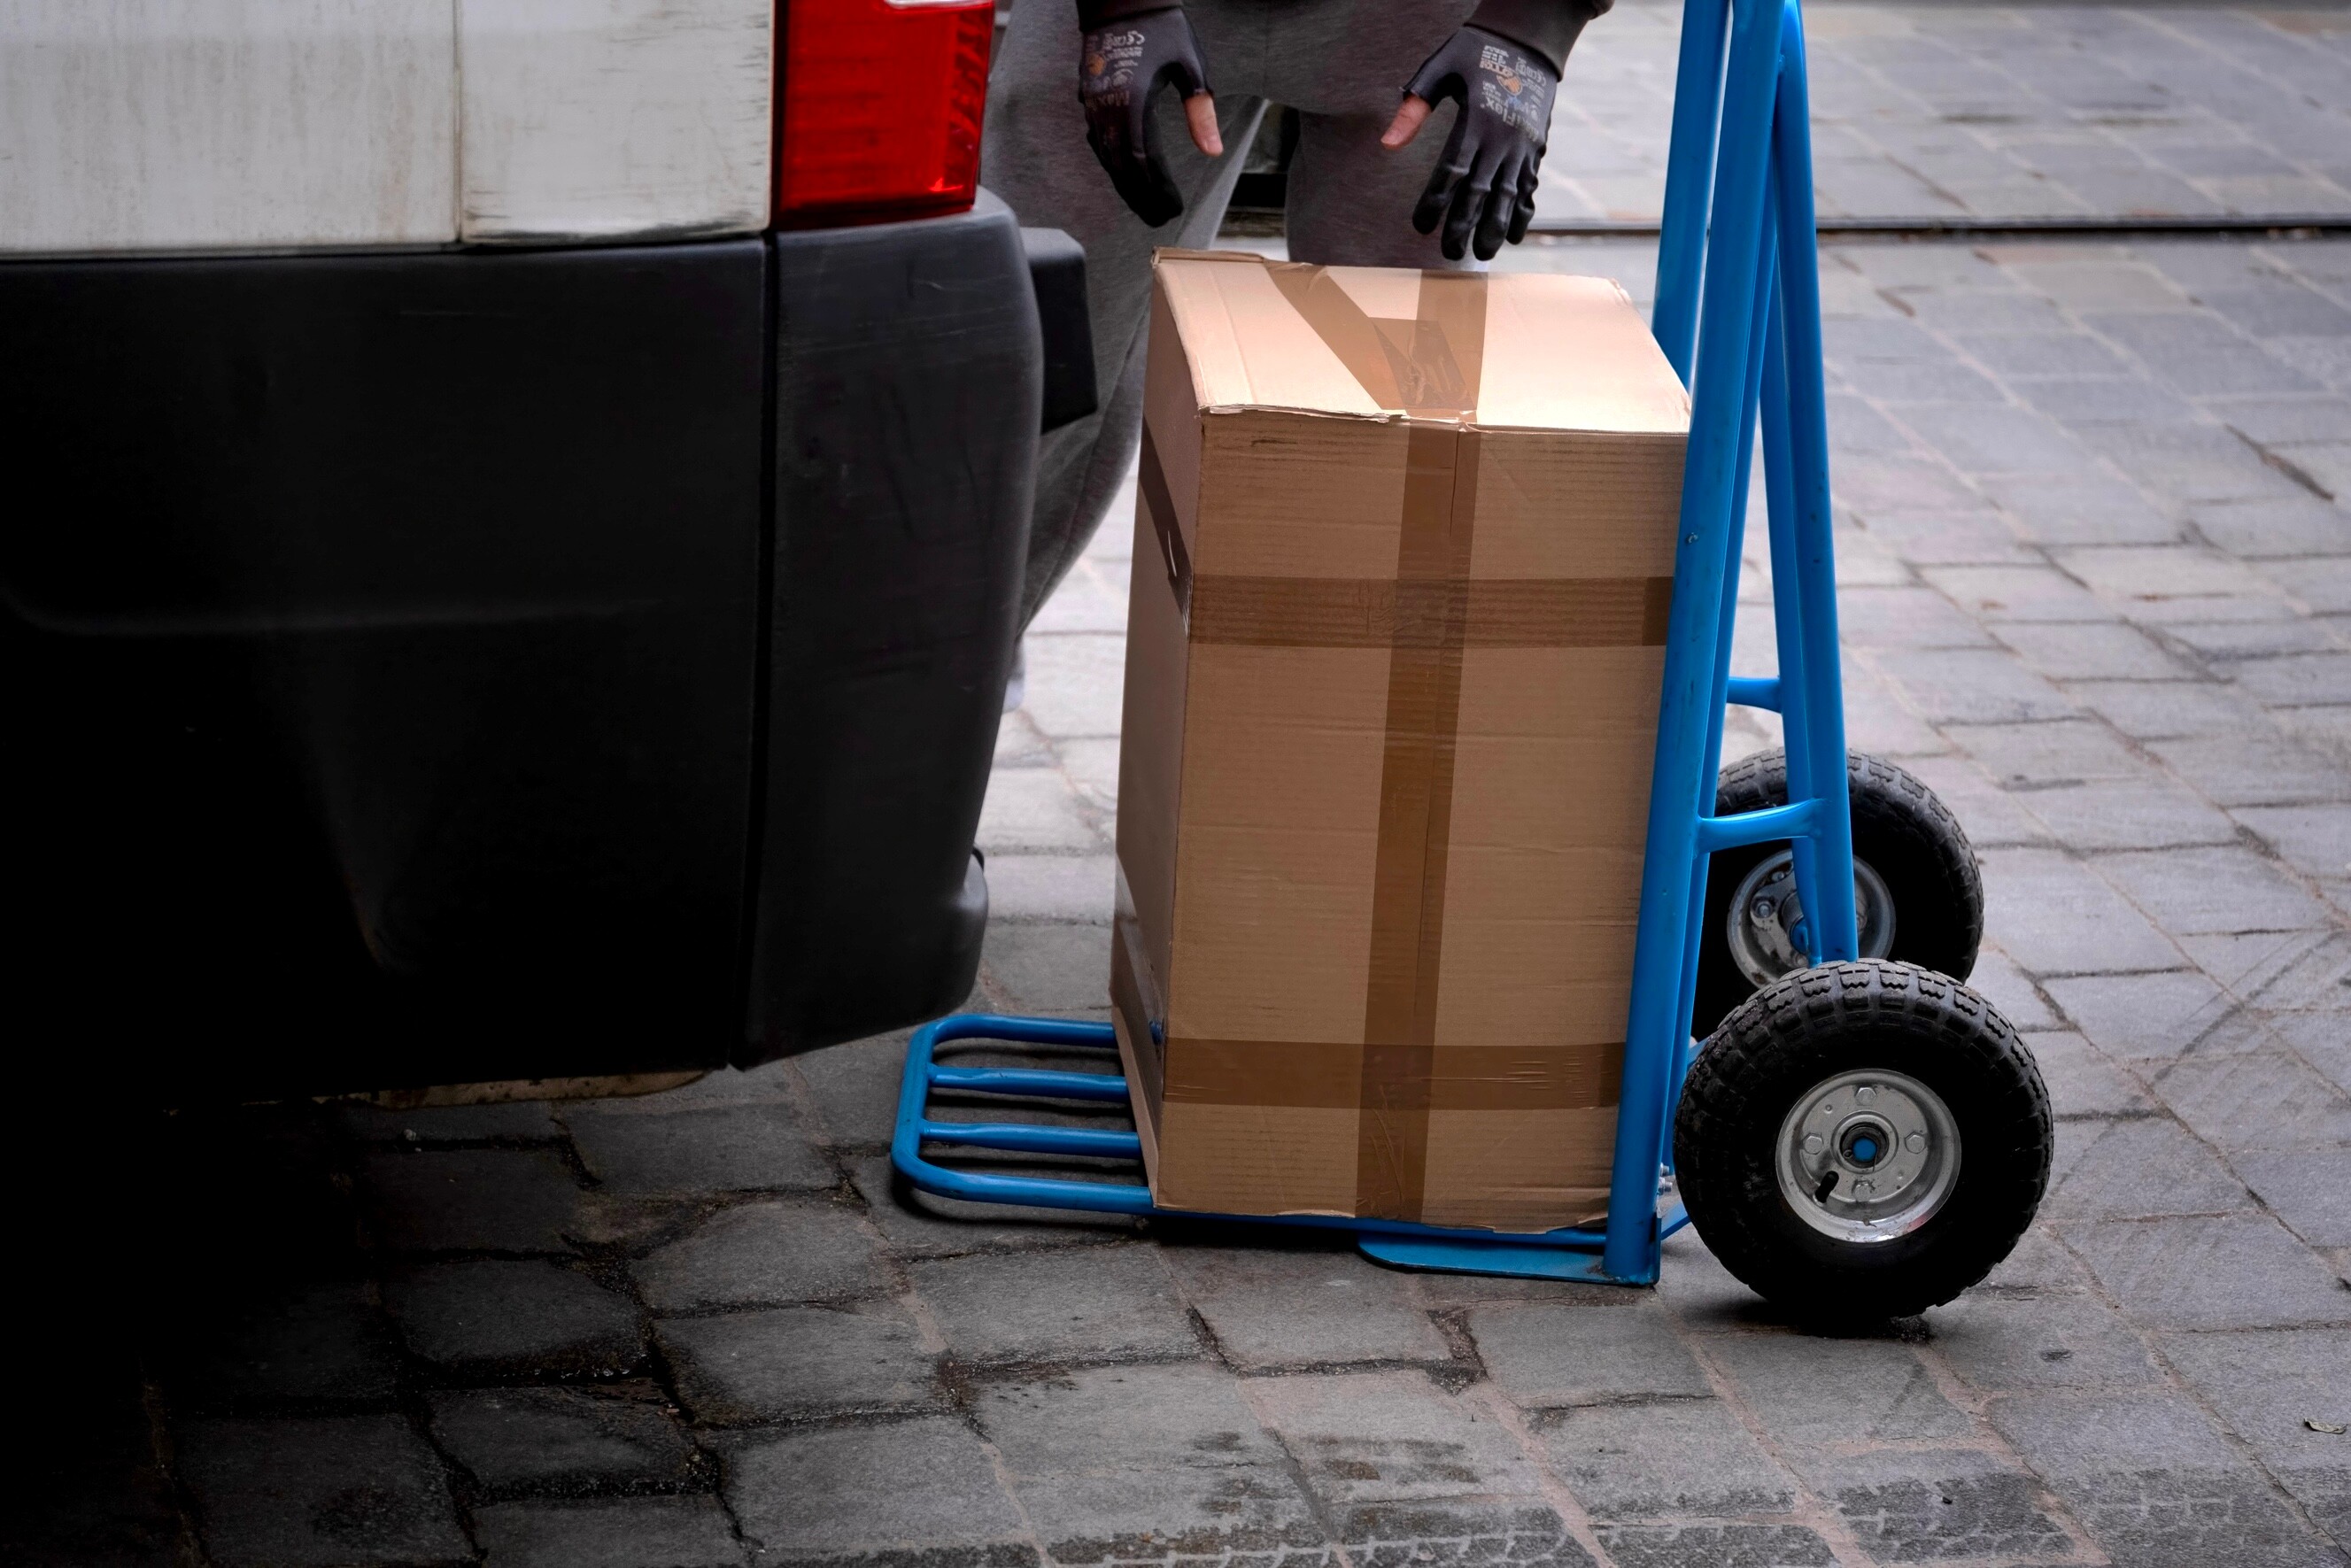
Relocating to a new home soon and not sure how to pack your kitchen for moving? That’s understandable, what with the wide array of kitchen items to secure, including breakable objects such as stemware.
You don’t have to worry too much, though. Just focus on doing things one step at a time, as this guide will show you. Follow along, and you’ll be done packing your kitchen before you know it!
How to pack a kitchen for moving
Step 1. Declutter as much as possible
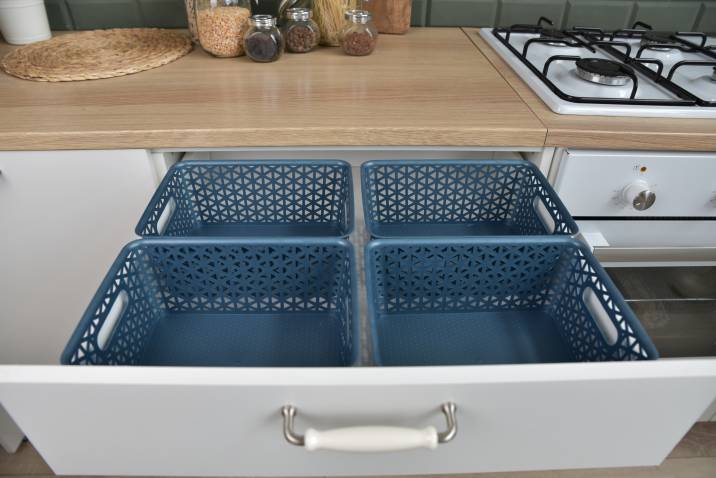
The best way to pack kitchen items for moving is to start by getting rid of any items you won’t be taking with you to your new home.
Separate those possessions into three categories: one for throwing away, one for donating, and the other for selling. Items for disposal could be:
Broken or unused appliances
Old furniture
Chipped or broken dishware
Food (especially those near their expiration date)
This way, you’ll have fewer items to pack into boxes and fewer items to unpack.
Step 2. Make a checklist
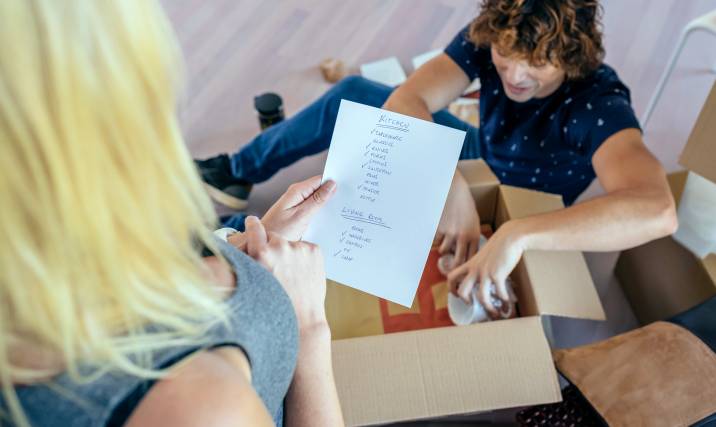
Imagine finally arriving at your new abode, only to realise that you left a set of dainty dishes in the cupboard of your old house. What a hassle! Especially if your destination is in another county.
Making a checklist prevents this from happening. Categorise your list into sections, and write down the kitchen items that belong to each. Now, you can cross out each kitchen item whenever you place them in a box.
☞ You might also like: Kitchen cleaning checklist
Step 3. Set aside essential kitchen items

One of the best kitchen packing hacks out there: In your checklist, make sure you include a section for the list of items you’ll be using during the first few days of your move.
This is because it’ll most likely take you a couple of days to unpack everything (unless you plan to hire a professional mover and packer to do the job for you.)
Prepare a specific box where you’ll place a couple of plates, cutlery, cups, your coffee maker, and so on.
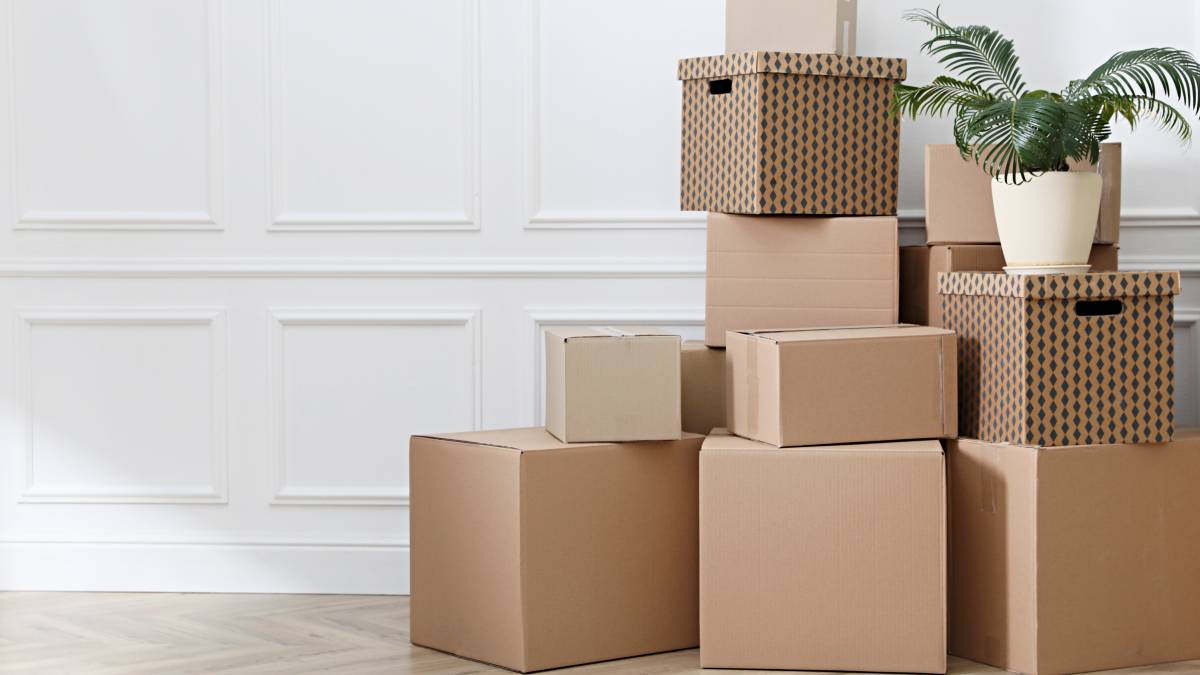
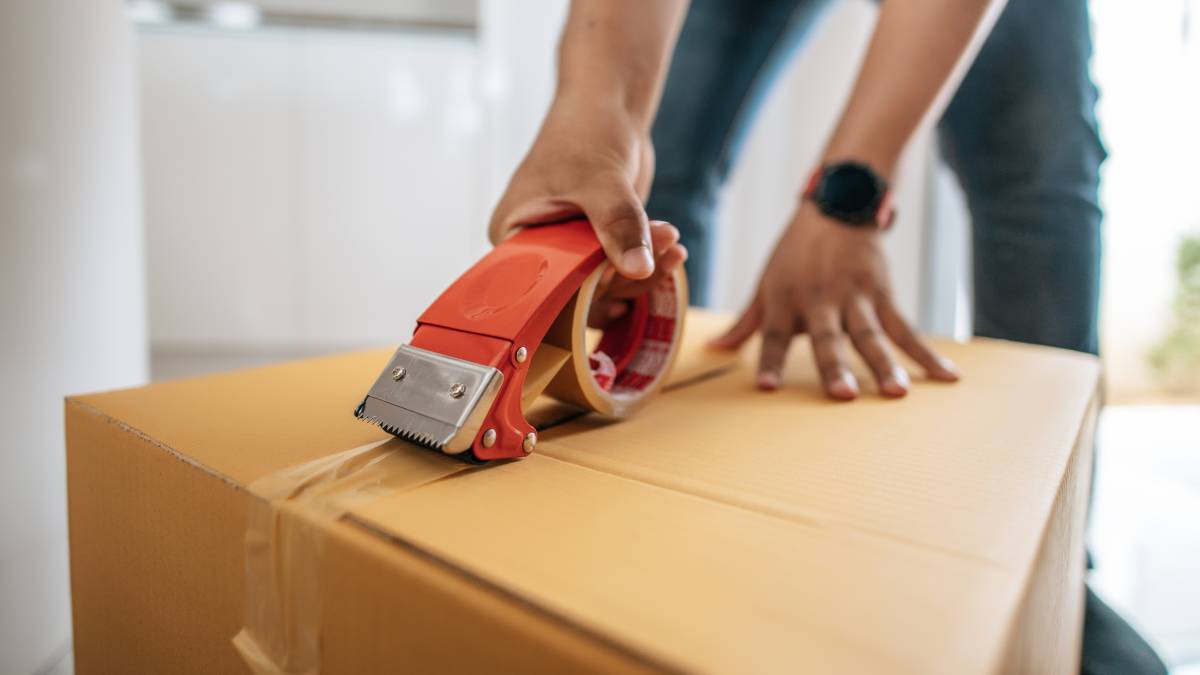
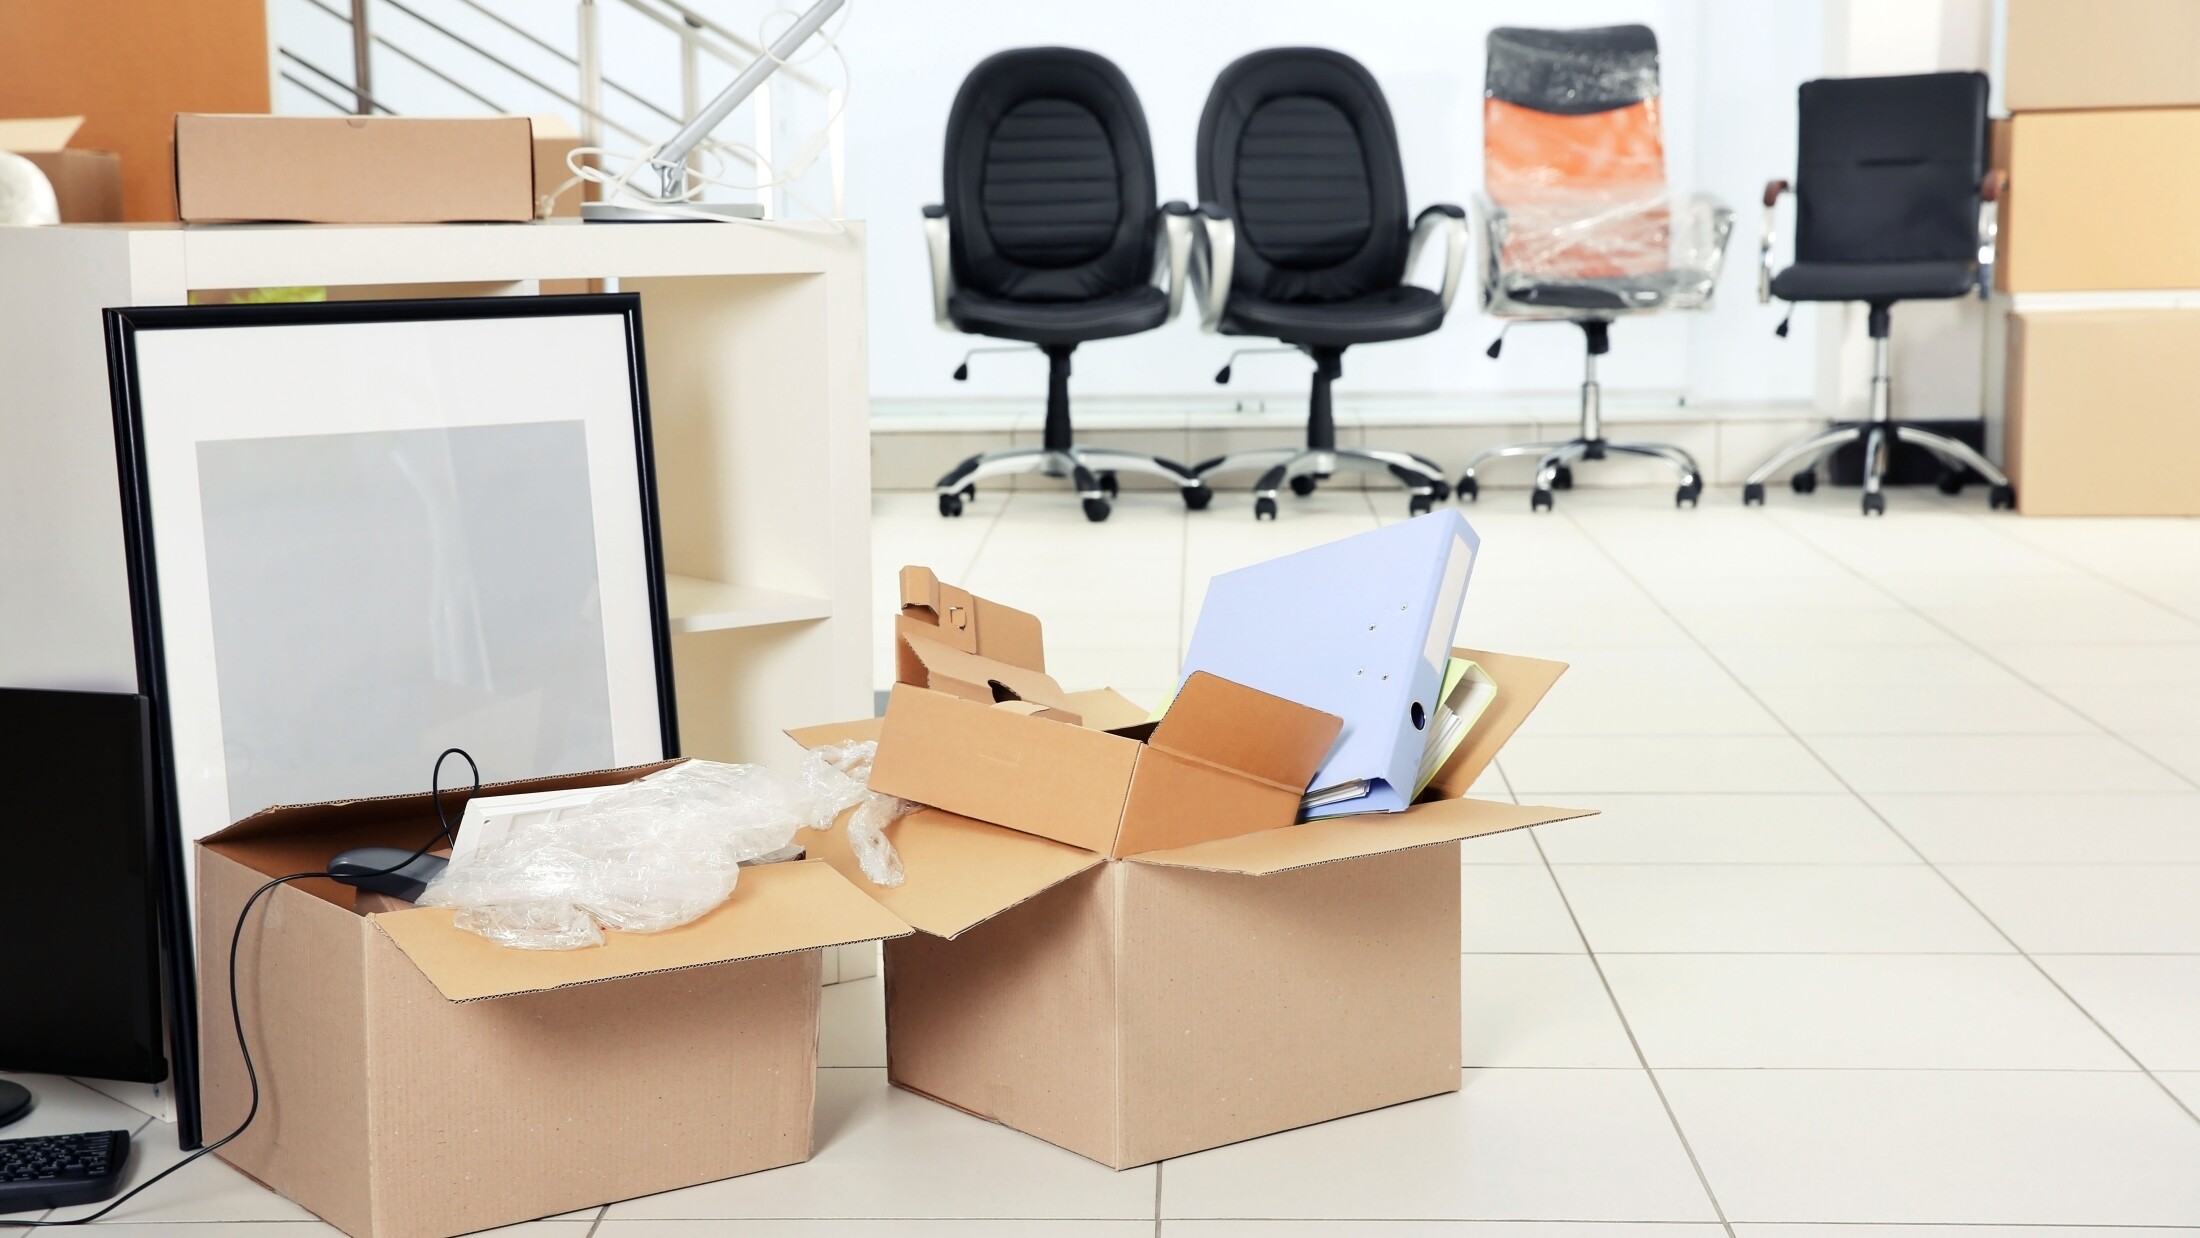
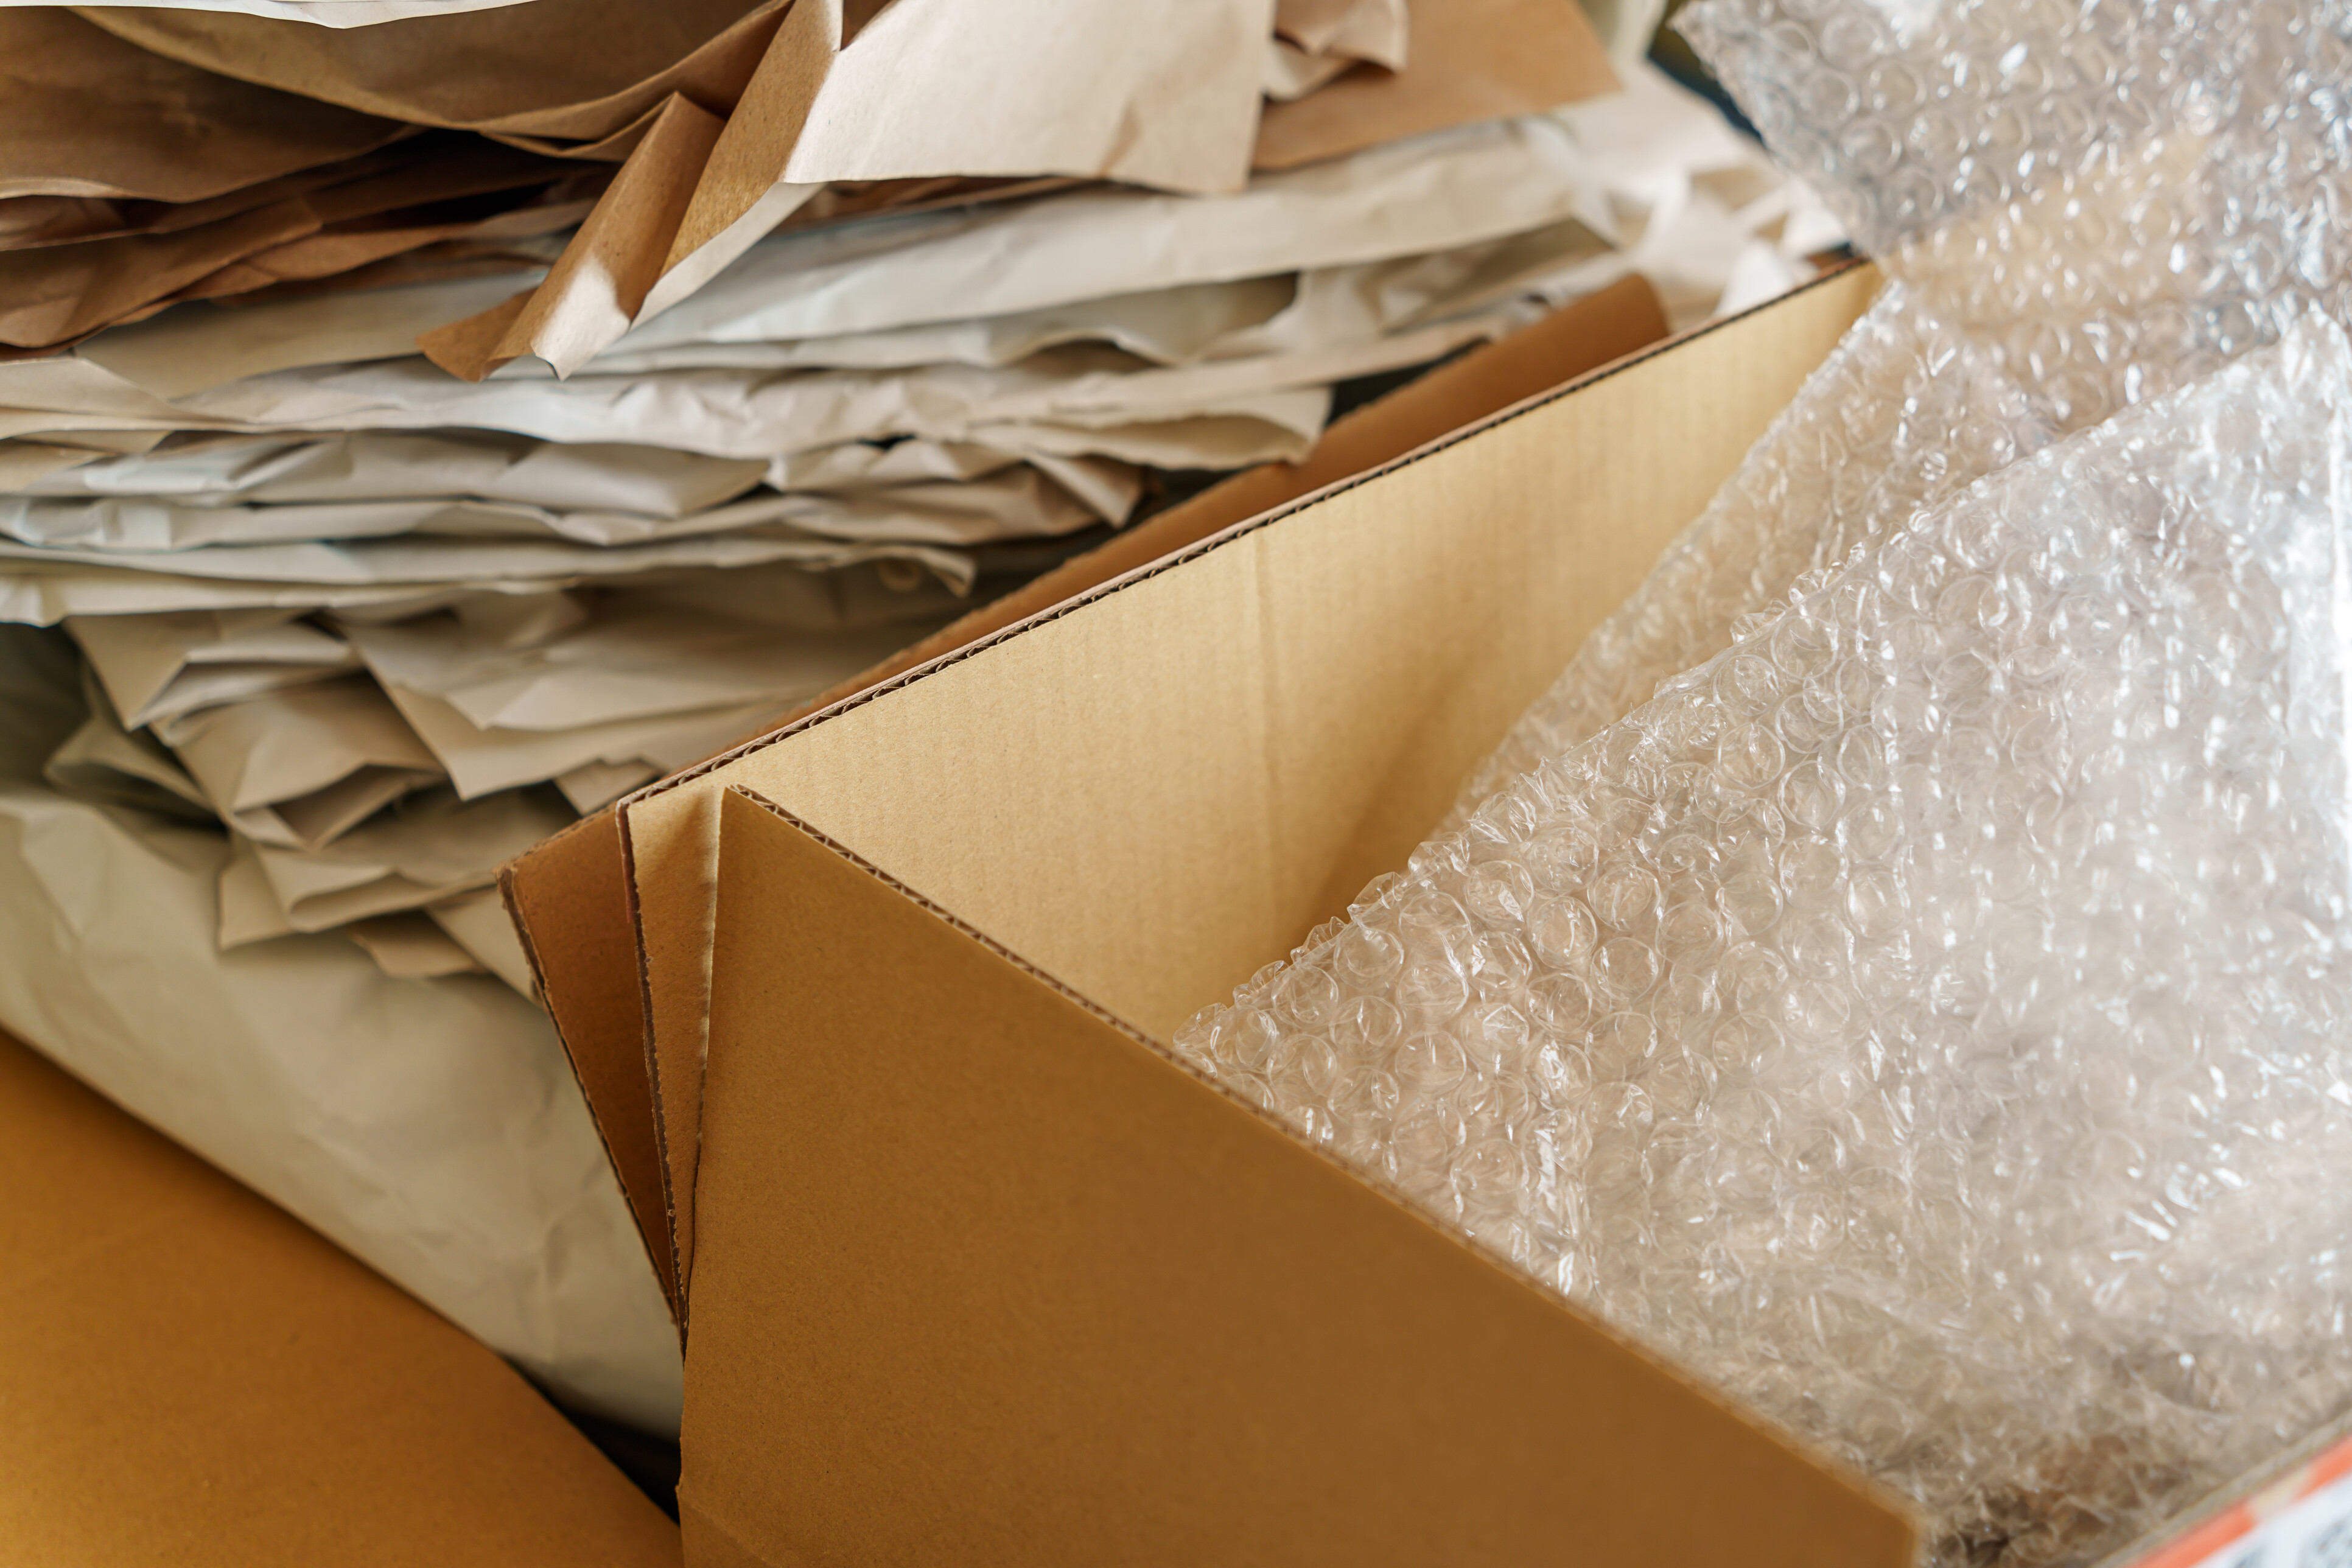
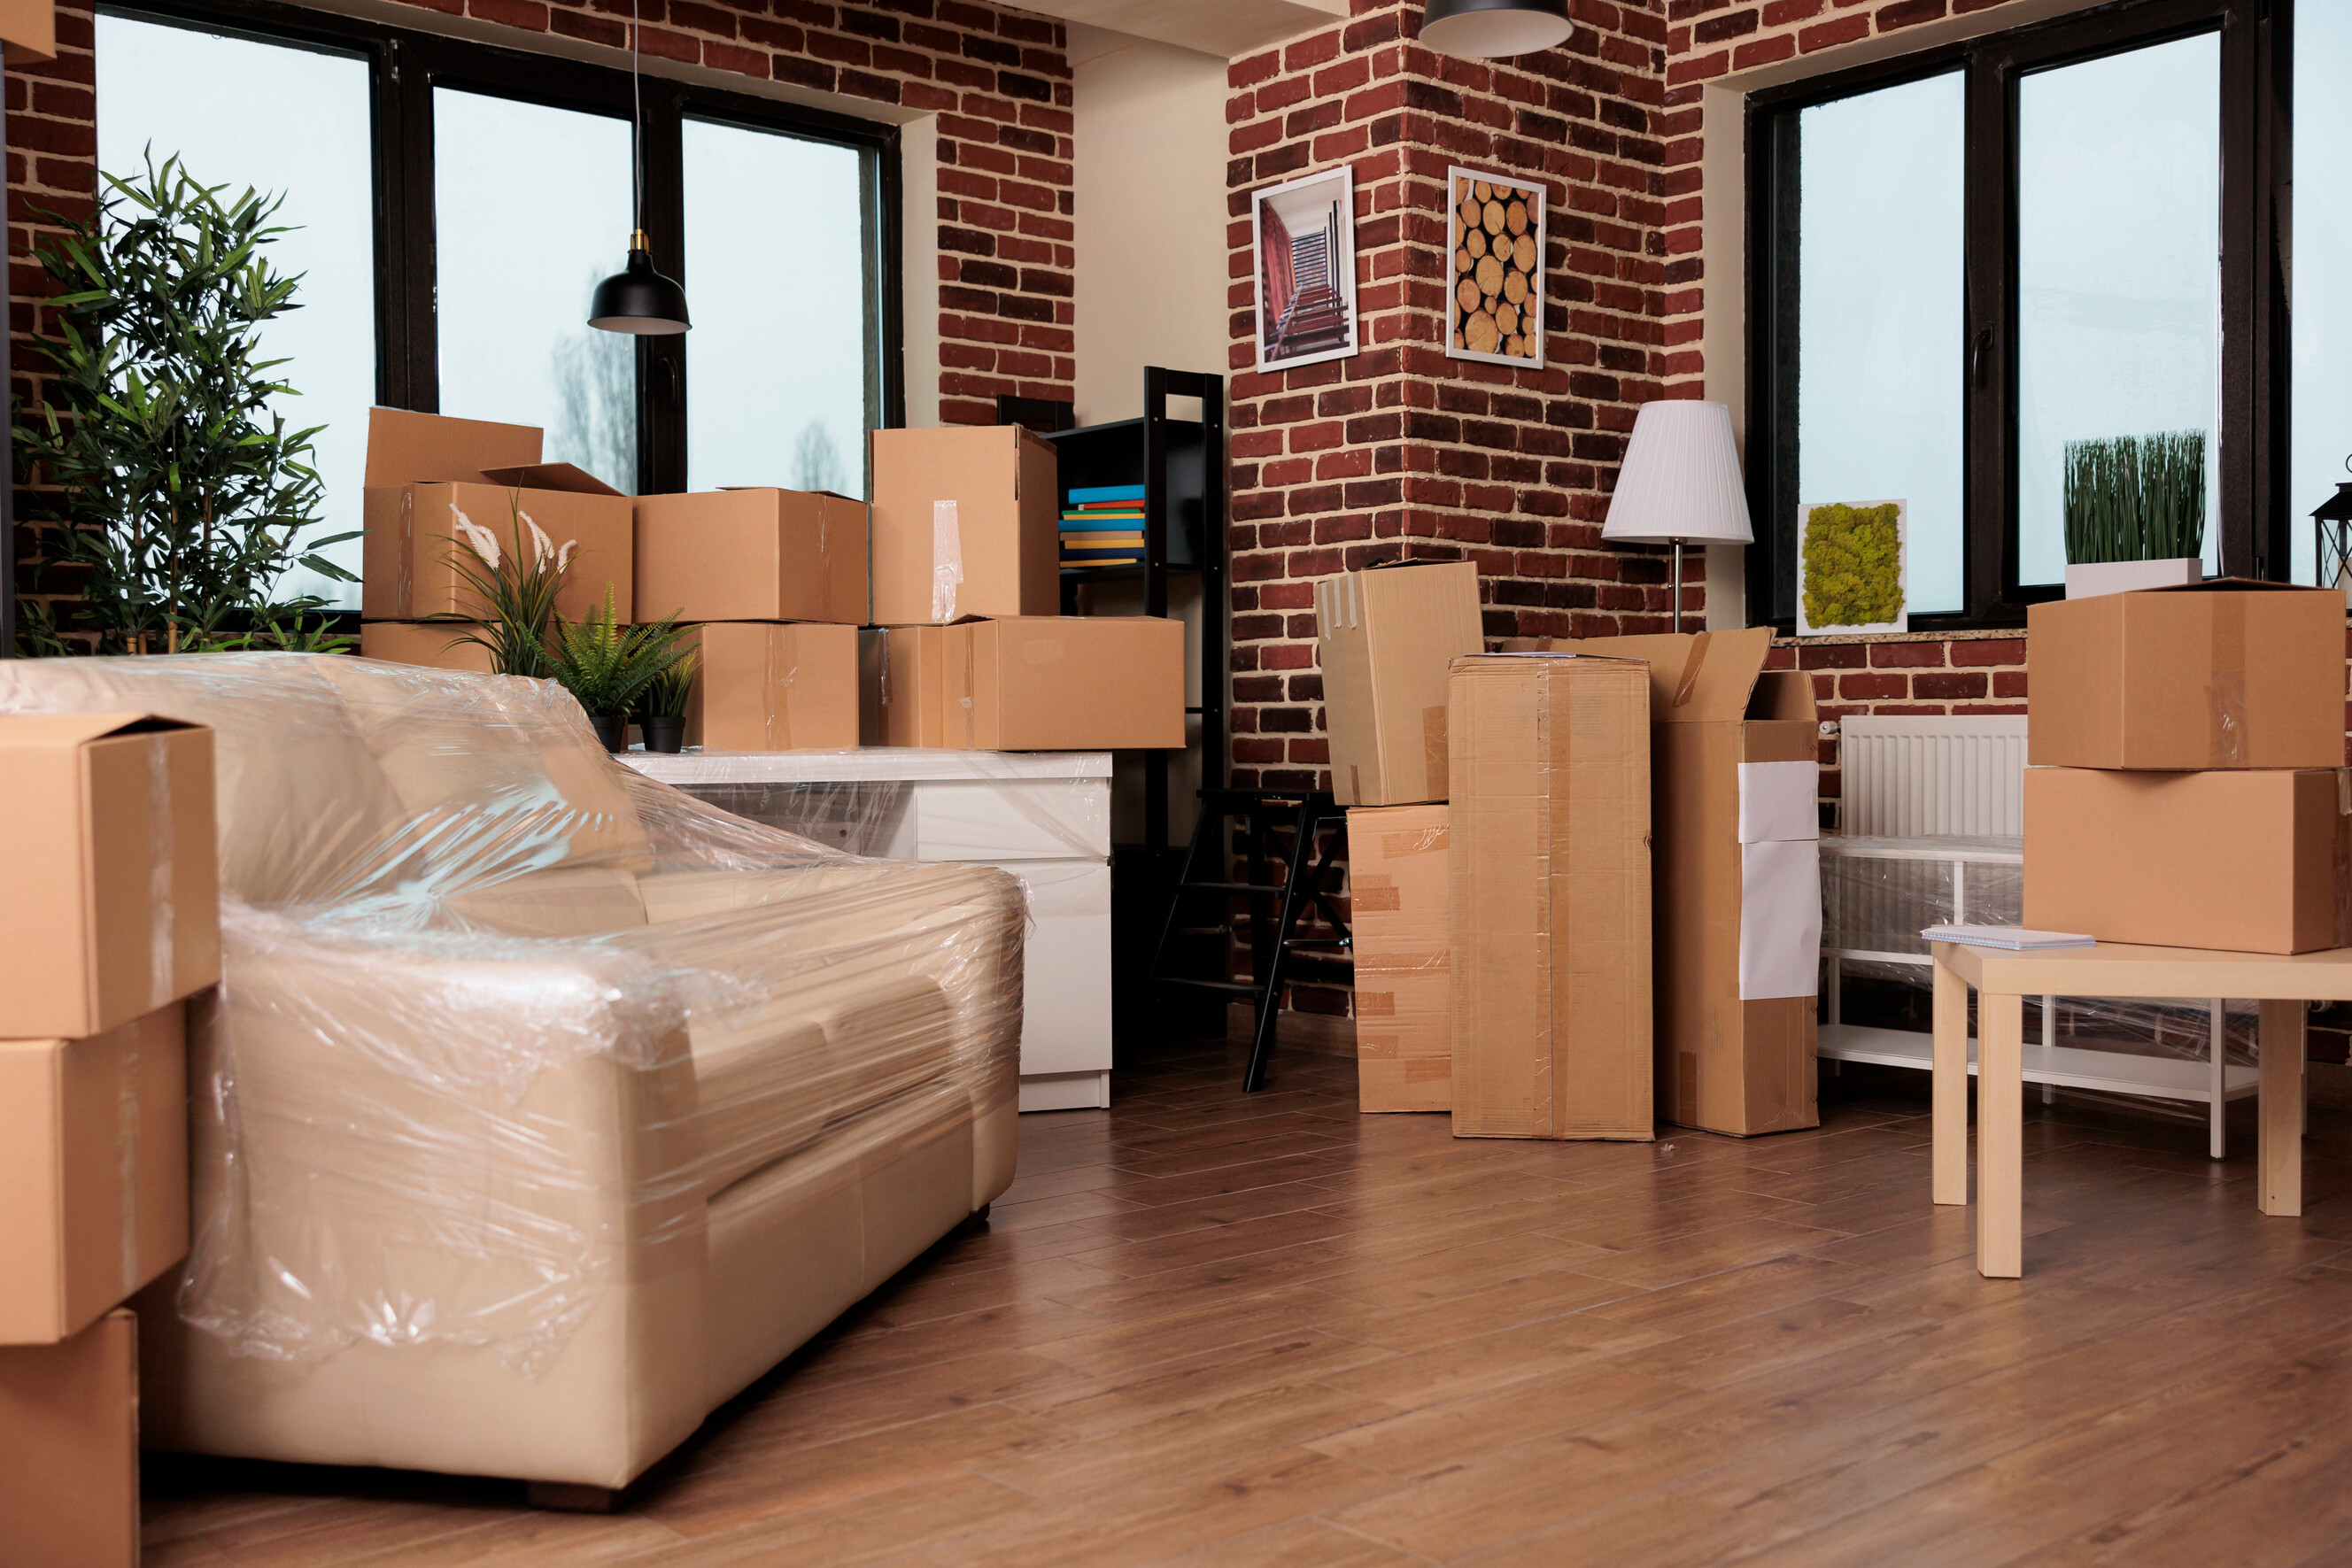
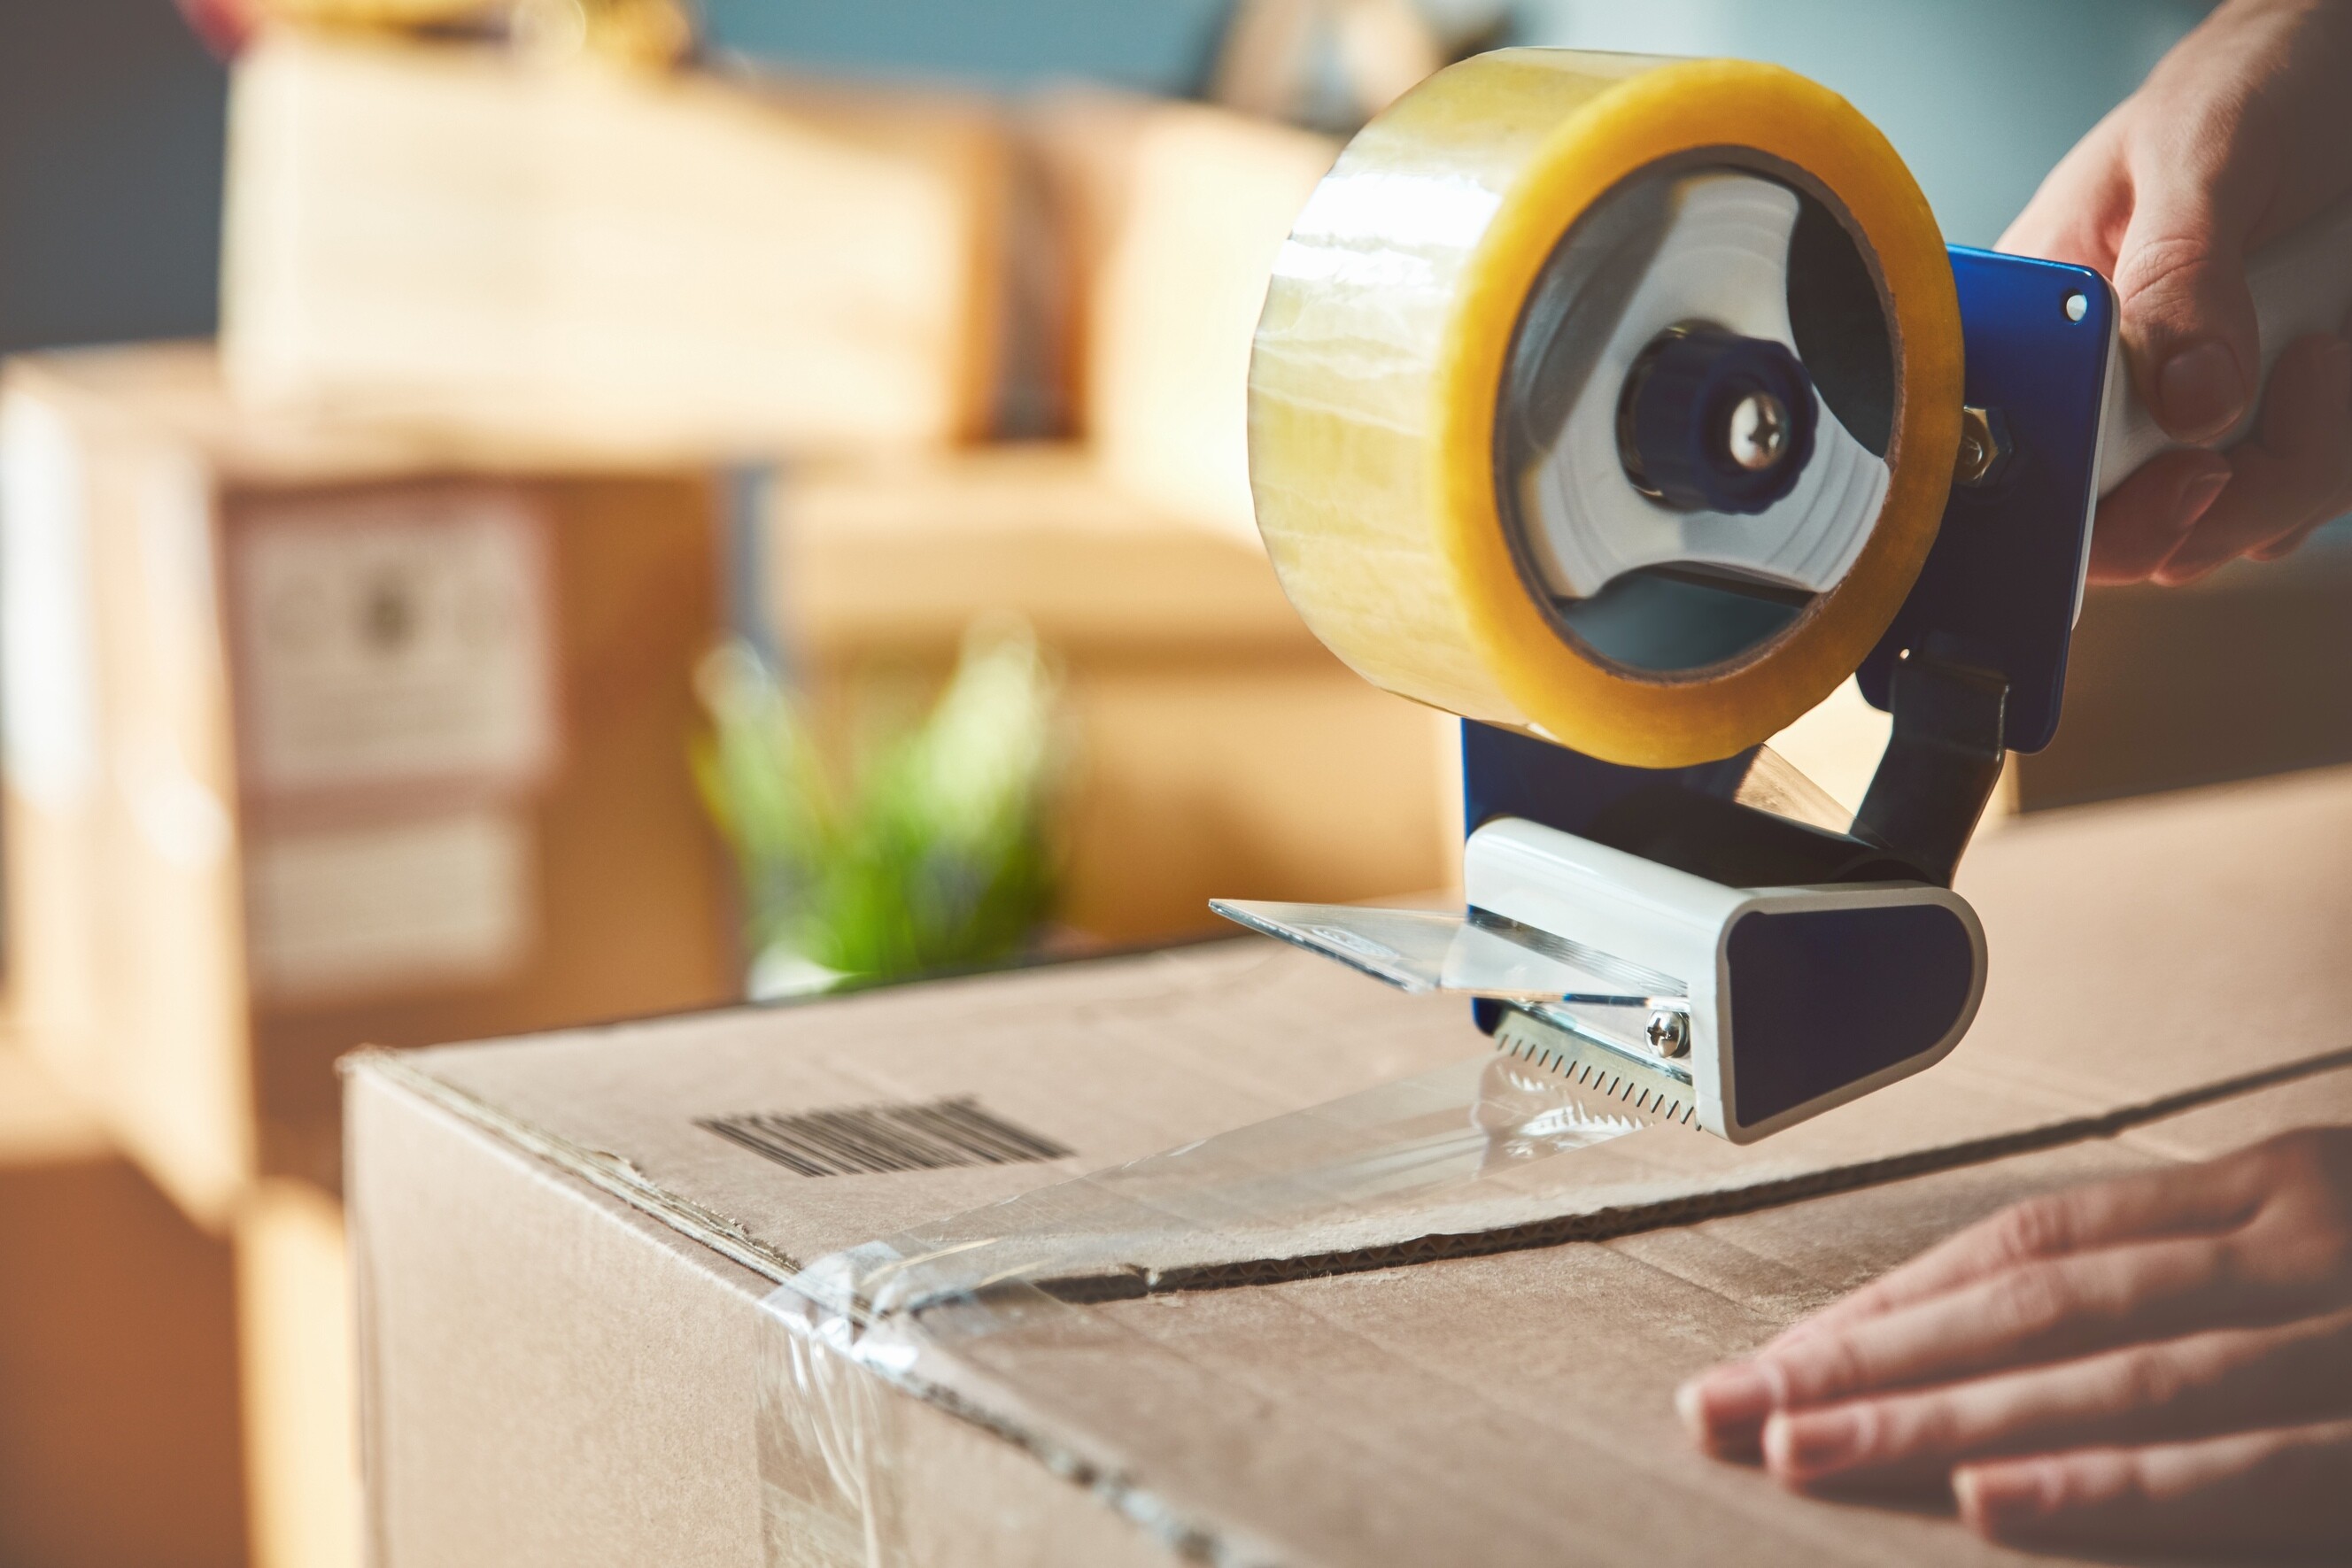
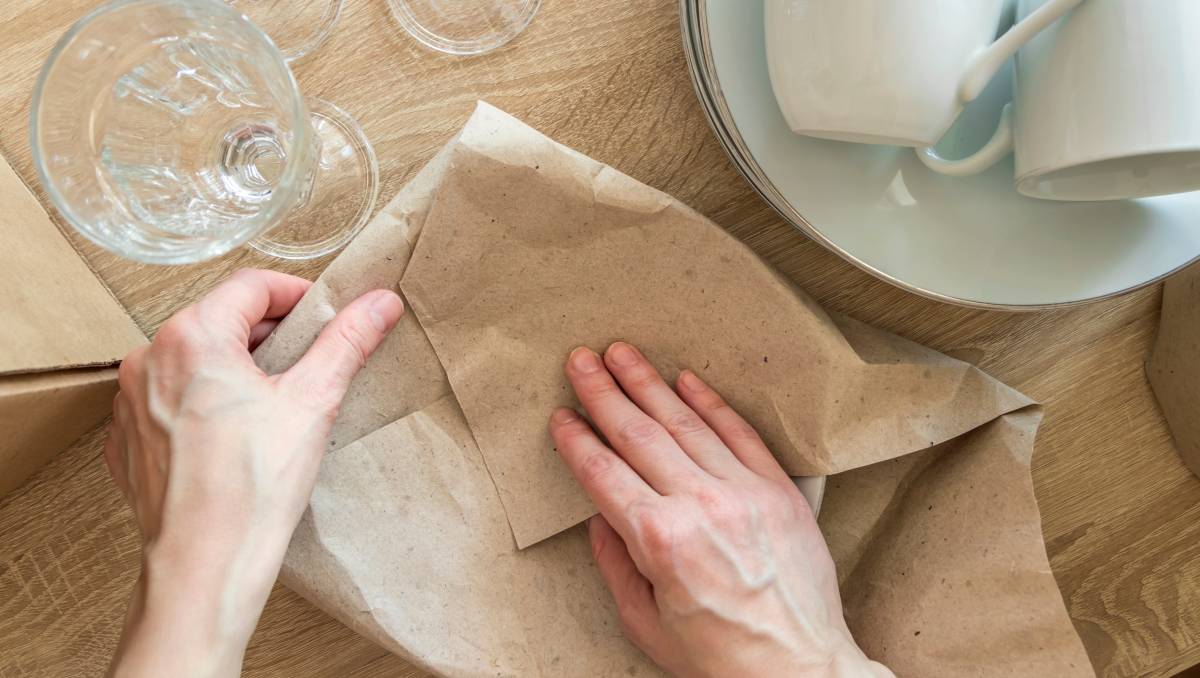
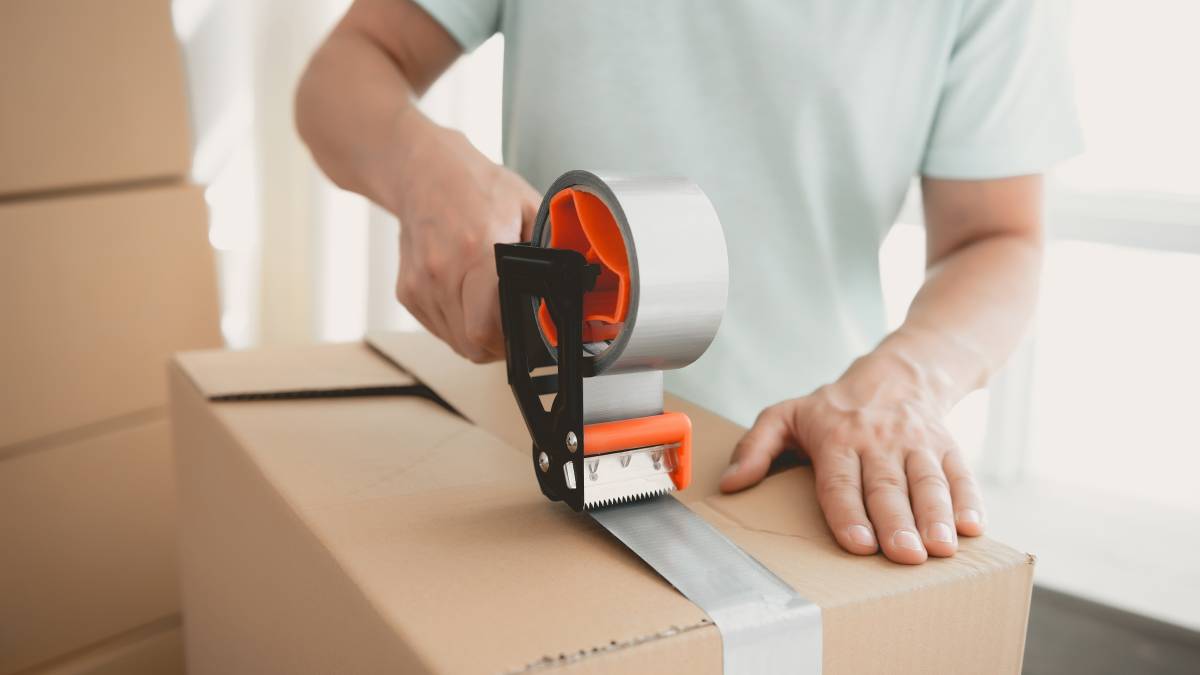
Step 4. Prepare packing materials
Now’s the time to gather your packing materials:
Boxes
Packaging tape (shipping and/or storage tape)
Markers
Dividers (for stemware)
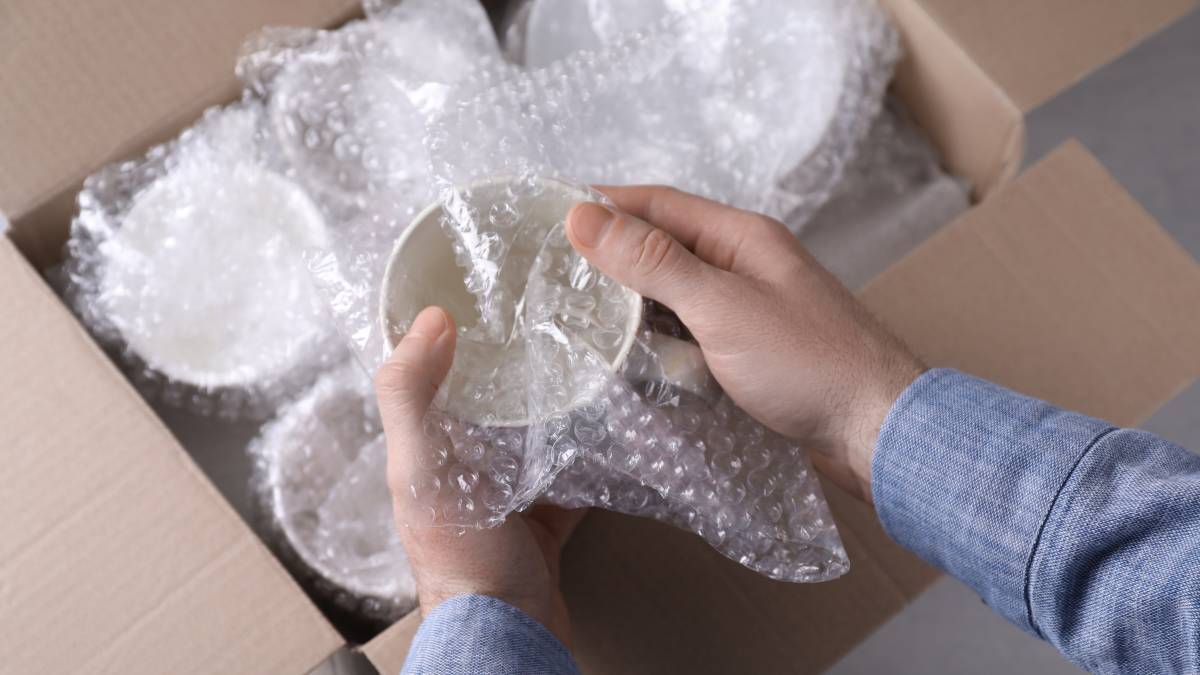
Bubble wrap (you can also use packing paper or clothing) to secure breakable items, etc.
Speaking of breakable items, you can refer to this guide on packing fragile items to ensure nothing gets broken during your move.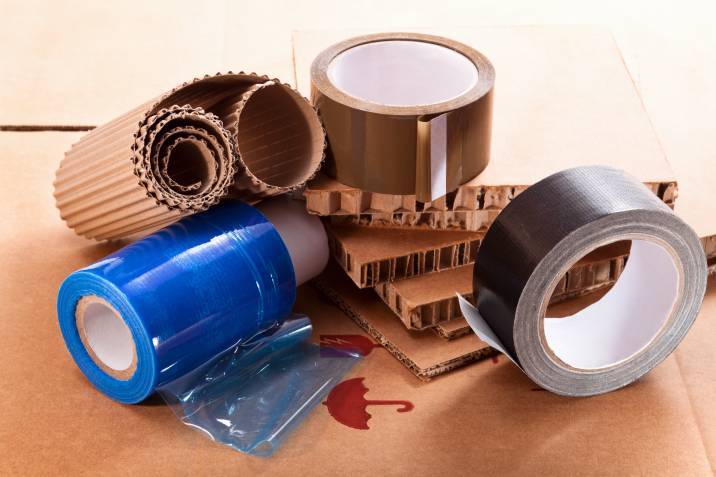
Wondering what boxes you’ll need to pack a kitchen? This will obviously depend on the number and type of kitchen possessions you have.
Always keep in mind that you’ll most probably need more boxes than you think. For your reference, a family-sized kitchen will likely need around 25 boxes (five small boxes, ten medium boxes, five large boxes, plus three to five extra large boxes).
Also, for your reference:
Large boxes - best for lightweight and odd-shaped items such as bakeware.
Medium boxes - best for packing pantry items and heavier items such as cookbooks, silverware, small appliances, etc.
Heavy-duty boxes - best for fragile kitchen items such as stemware, glassware, etc.
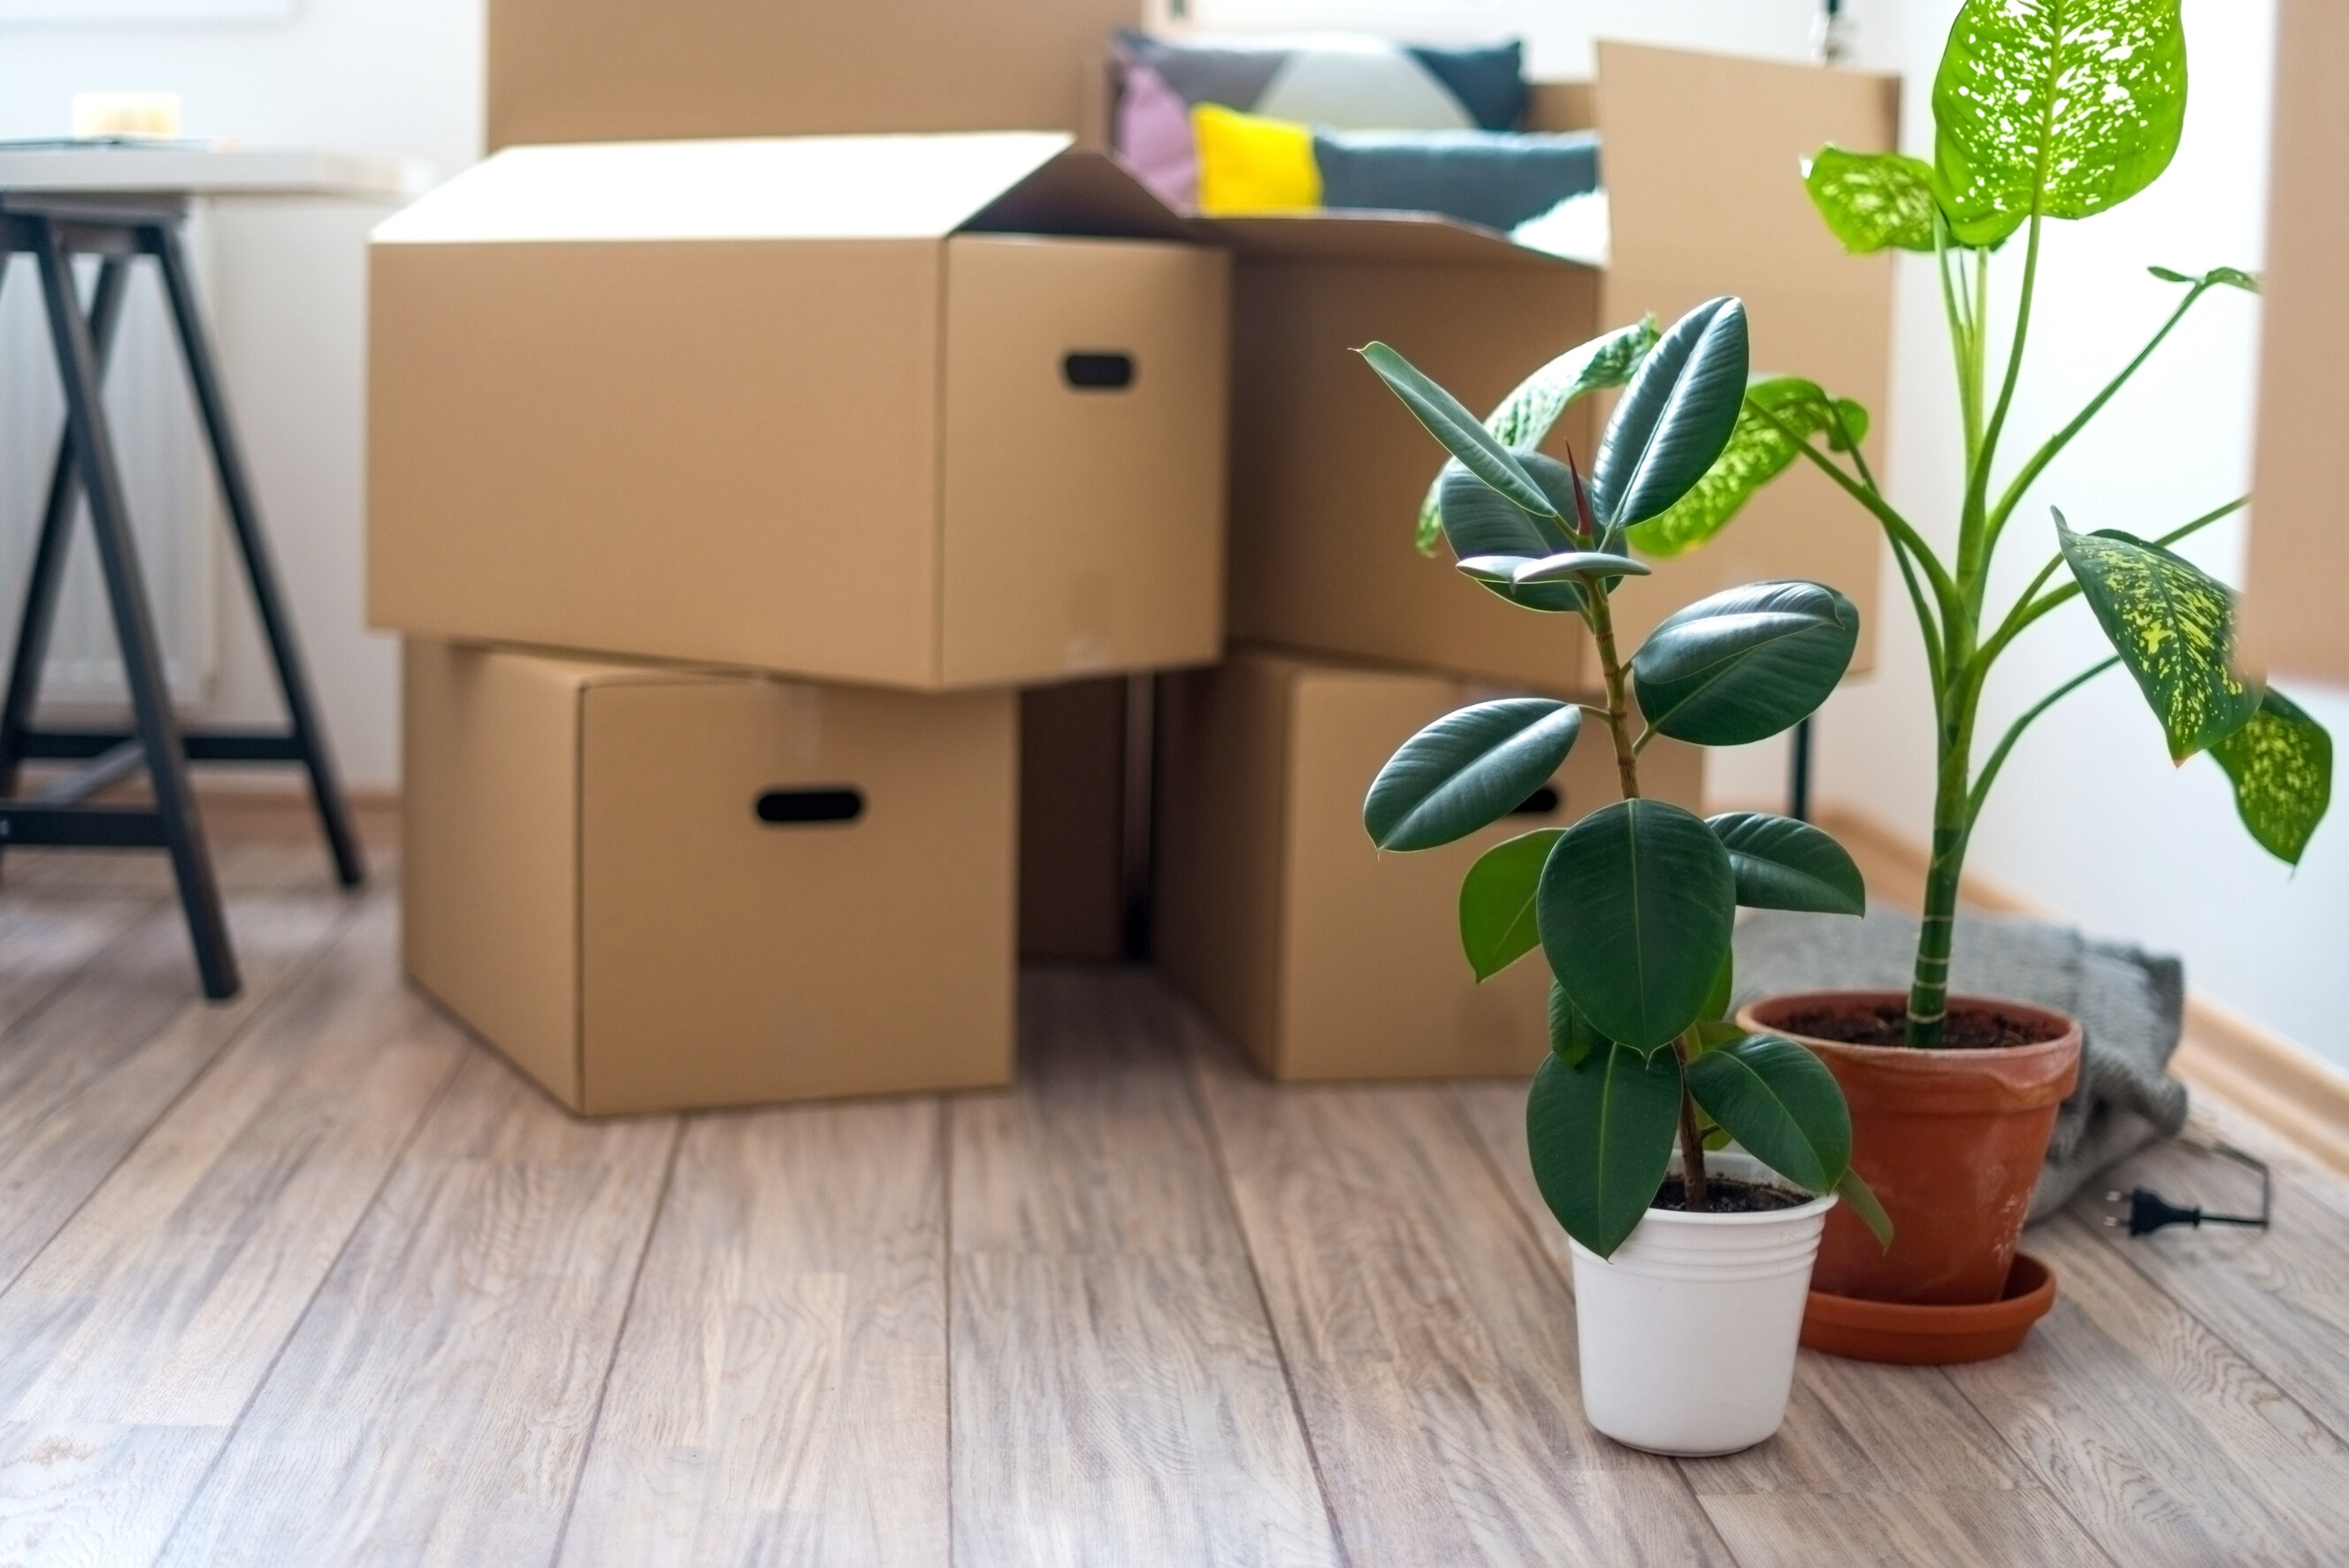
Step 5. Start packing!
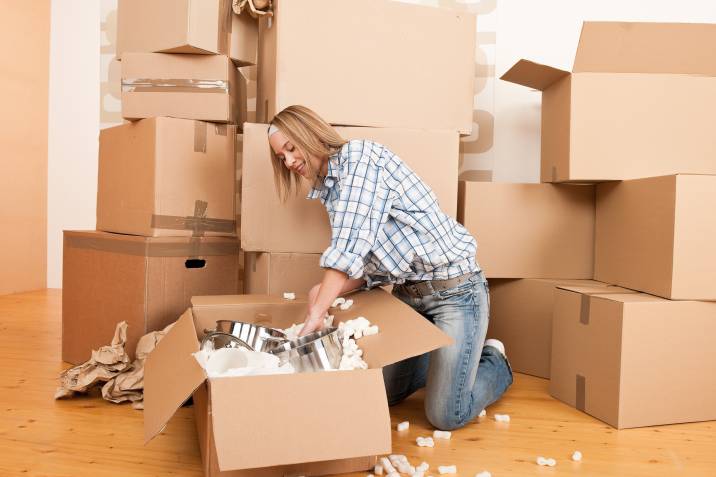
Begin by packing kitchen items you use the least, like that china dish set you only bring out for special occasions. Other things that usually fall under this category include:
Cookbooks
Vases, pictures, and other furniture
Wine glasses
Plastic food containers
Extra tea towels
Duplicate kitchen utensils
Speciality cookware (learn how to pack dishes in our in-depth guide)
Don’t forget to label each box properly every time you finish putting items inside.
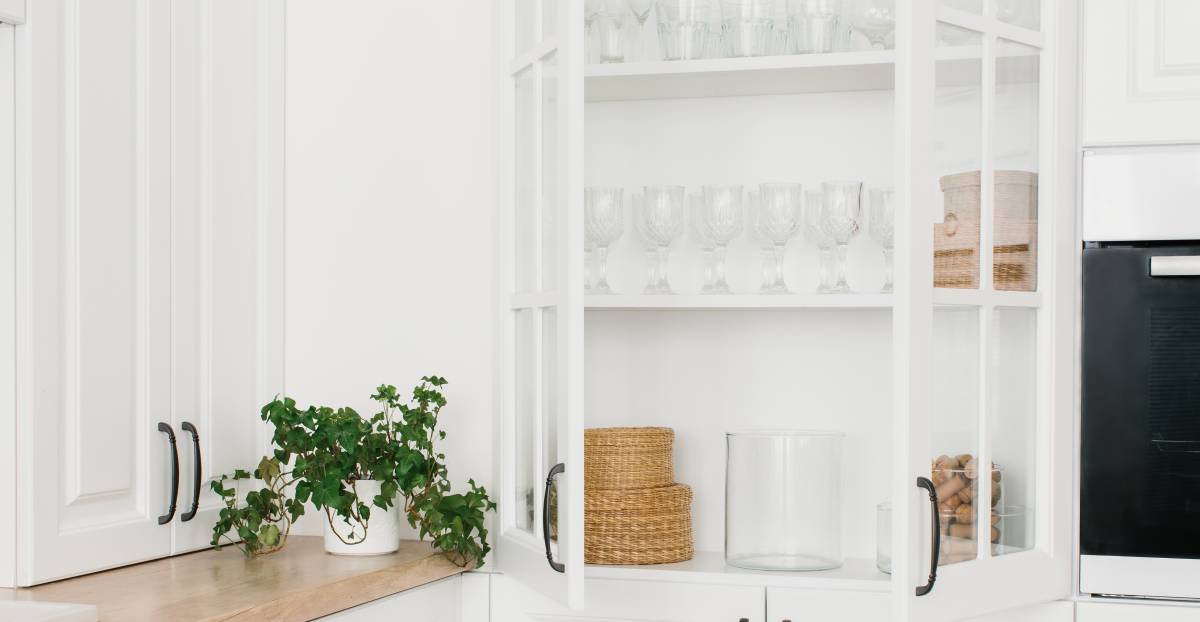
How to pack kitchen appliances for moving
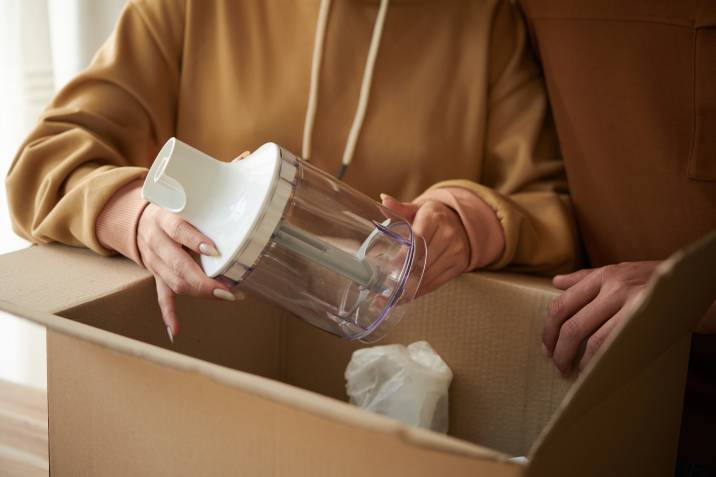
First, make sure to remove any food left inside the appliance (e.g., coffee grounds inside your coffee maker).
Disassemble any detachable parts, such as the power cord.
Place the appliance in a box closest to its size. Use bubble wrap or packing paper to fill in any gaps inside the box.
To move large appliances, you’ll need to take out any hoses and tape their doors. Not sure how much it’ll cost you to hire an appliance removal service to move them? You can check out this article to know the cost of moving a fridge to give you an idea.
How to pack kitchen pots and pans
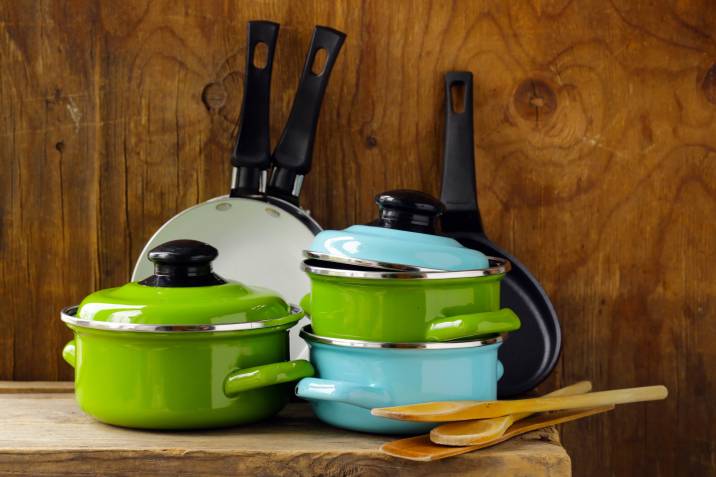
Stack smaller pots and pans inside bigger ones.
Use clothing, bubble wrap, or wadded packing paper to cushion the pots and pans inside the box.
Wrap packing paper around glass lids. Packing all the lids inside a separate box is also a good idea.
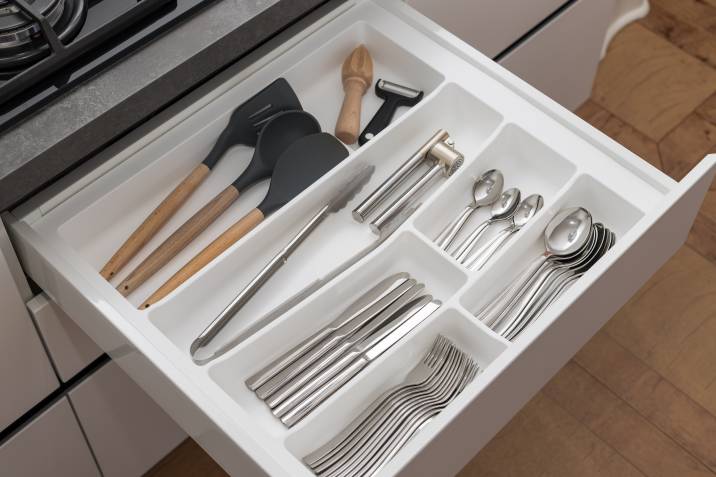
How to pack kitchen utensils
-
Gather your assortment of kitchen utensils into groups based on their size.
Spoons and forks
Spatulas
Whisks
Tongs
Ladles
Measuring spoons
Measuring cups, and so on
Once you have formed groups of kitchen utensils of similar sizes, store them inside resealable bags to keep them organised.
For larger utensils (e.g., spatulas, ladles, etc.), you can wrap them in cling wrap if you don’t have plastic storage bags that’ll fit them.
Place these bundles of kitchen utensils across the top of the boxes before you close them.
How to pack kitchen knives
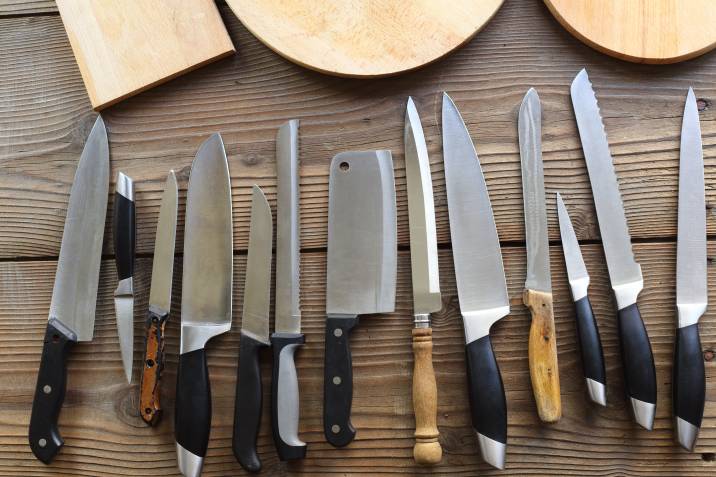
Cover all your knives with their respective knife covers (also known as knife sheaths) if you have them.
Lay out three to four knives in a towel or packing paper. Make sure their blades are pointing in the same direction. Roll the towel over the first knife until you reach the last one.
For extra protection, you can wrap your knife bundle into another towel.
Then, place your knives into a small box. Ensure the box is properly labelled, and you do not store other kitchen items inside it.
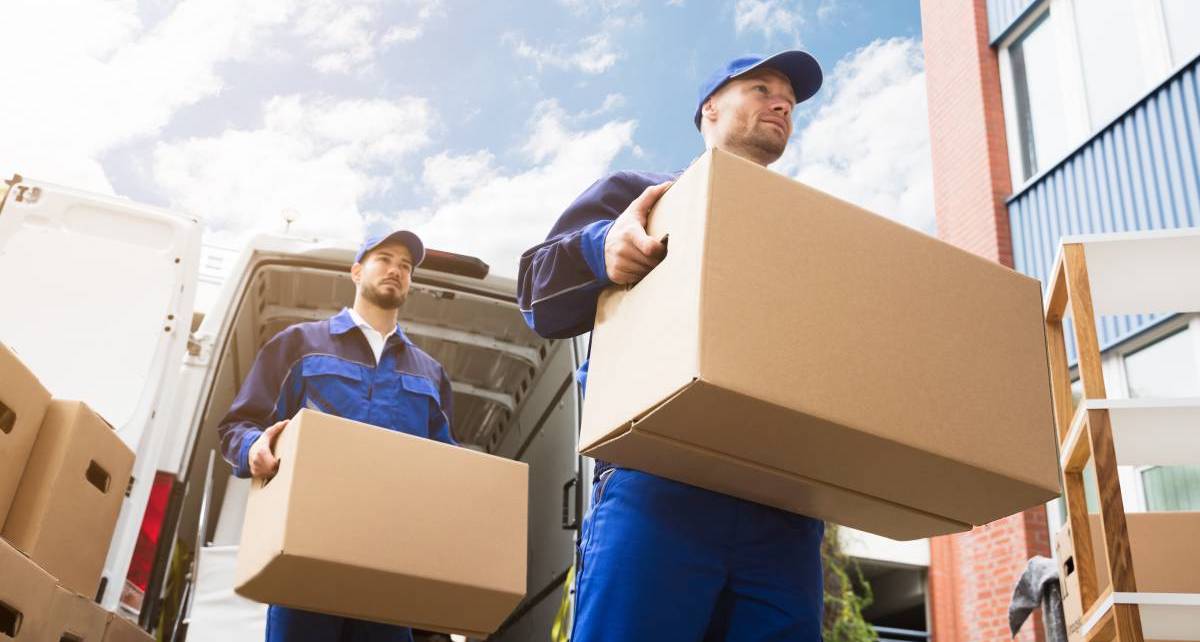
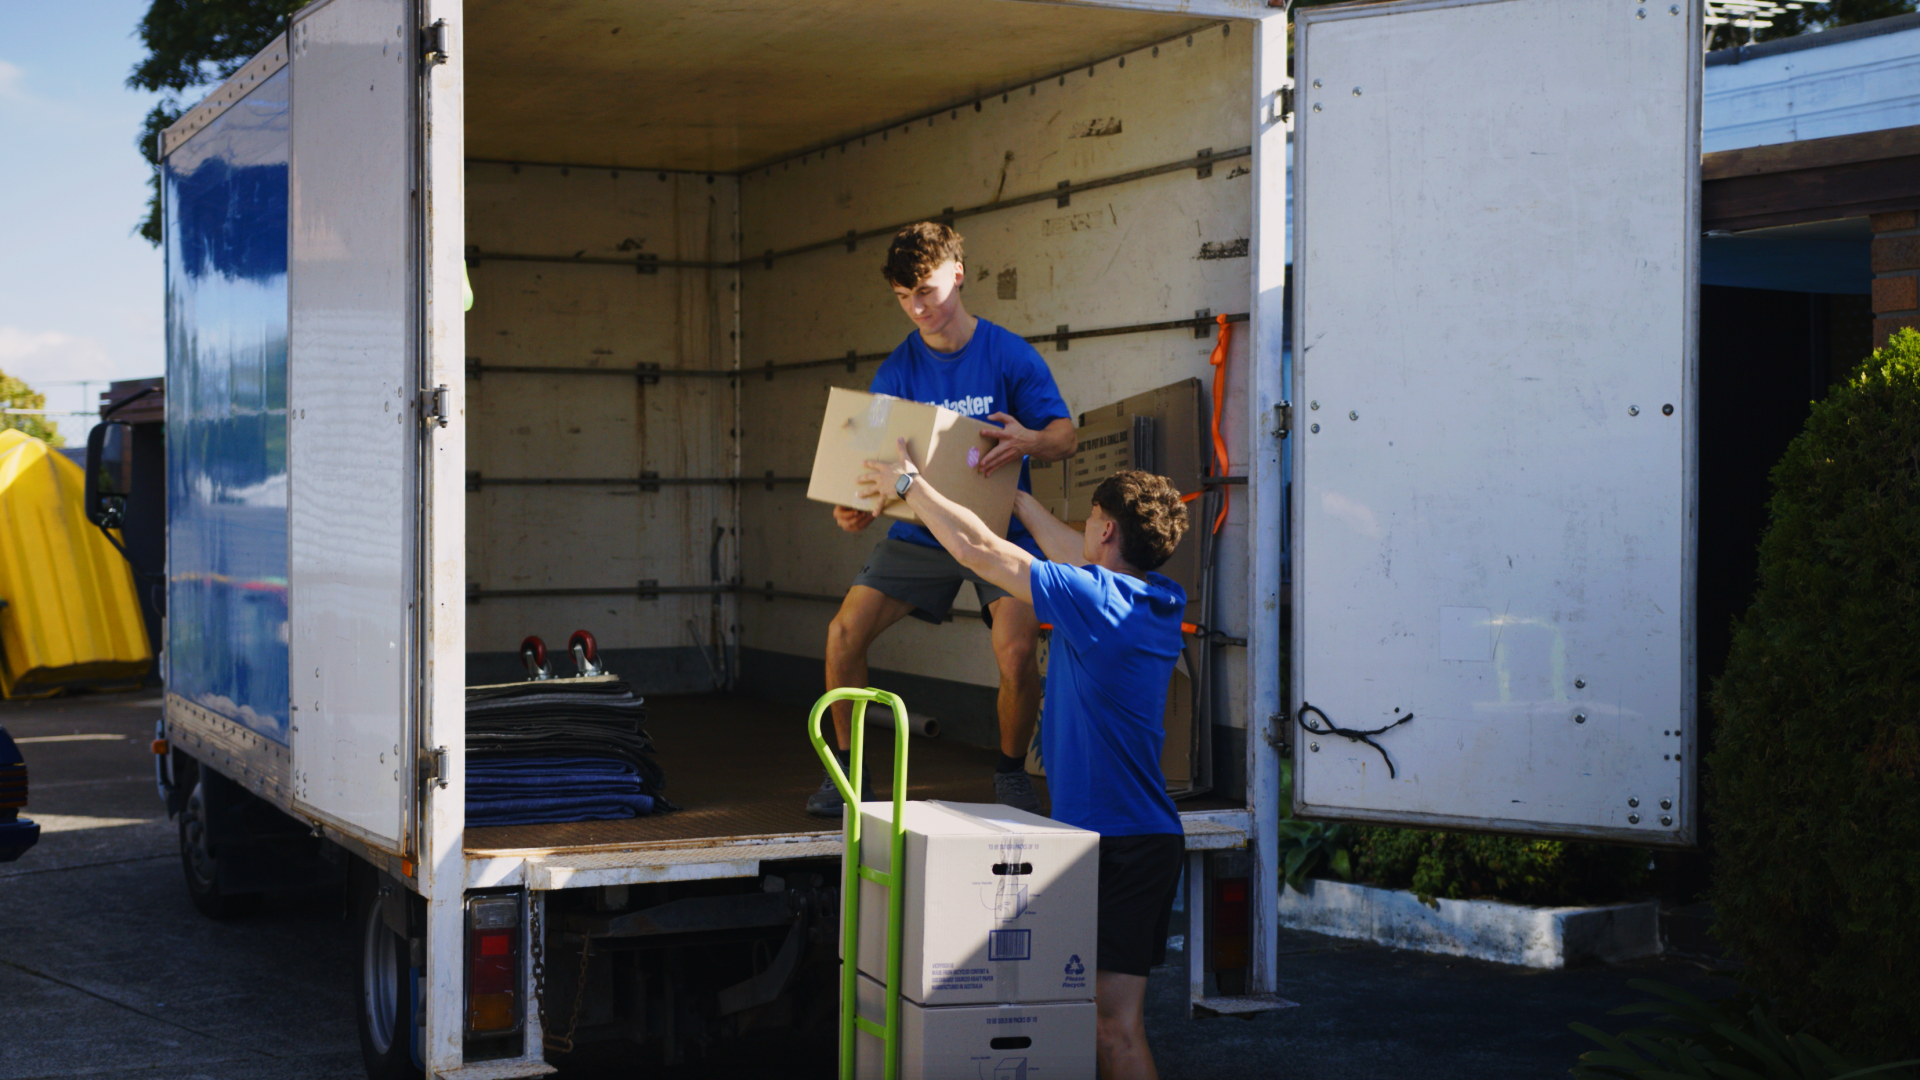
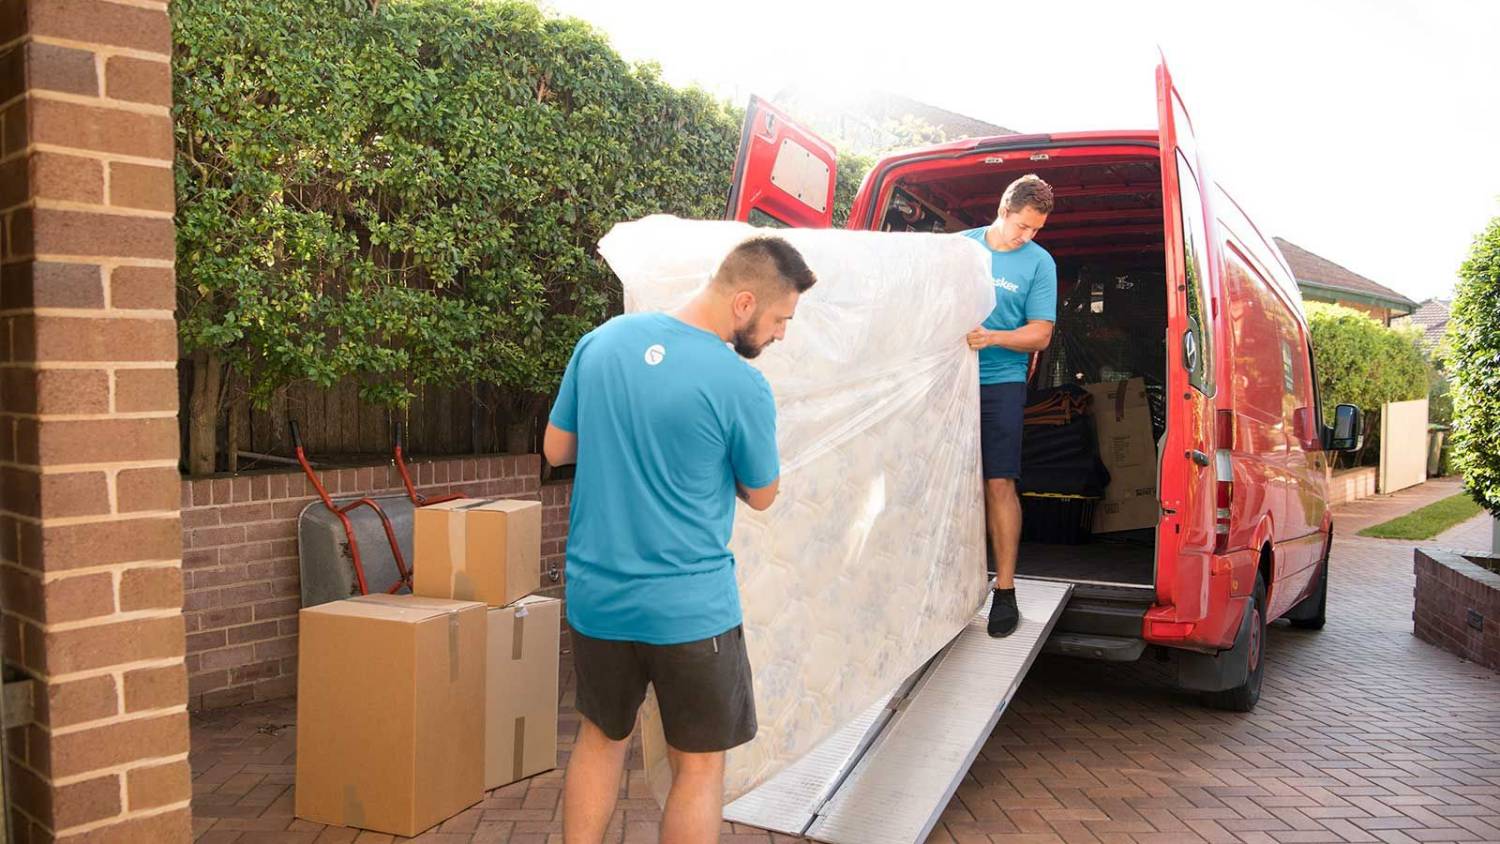
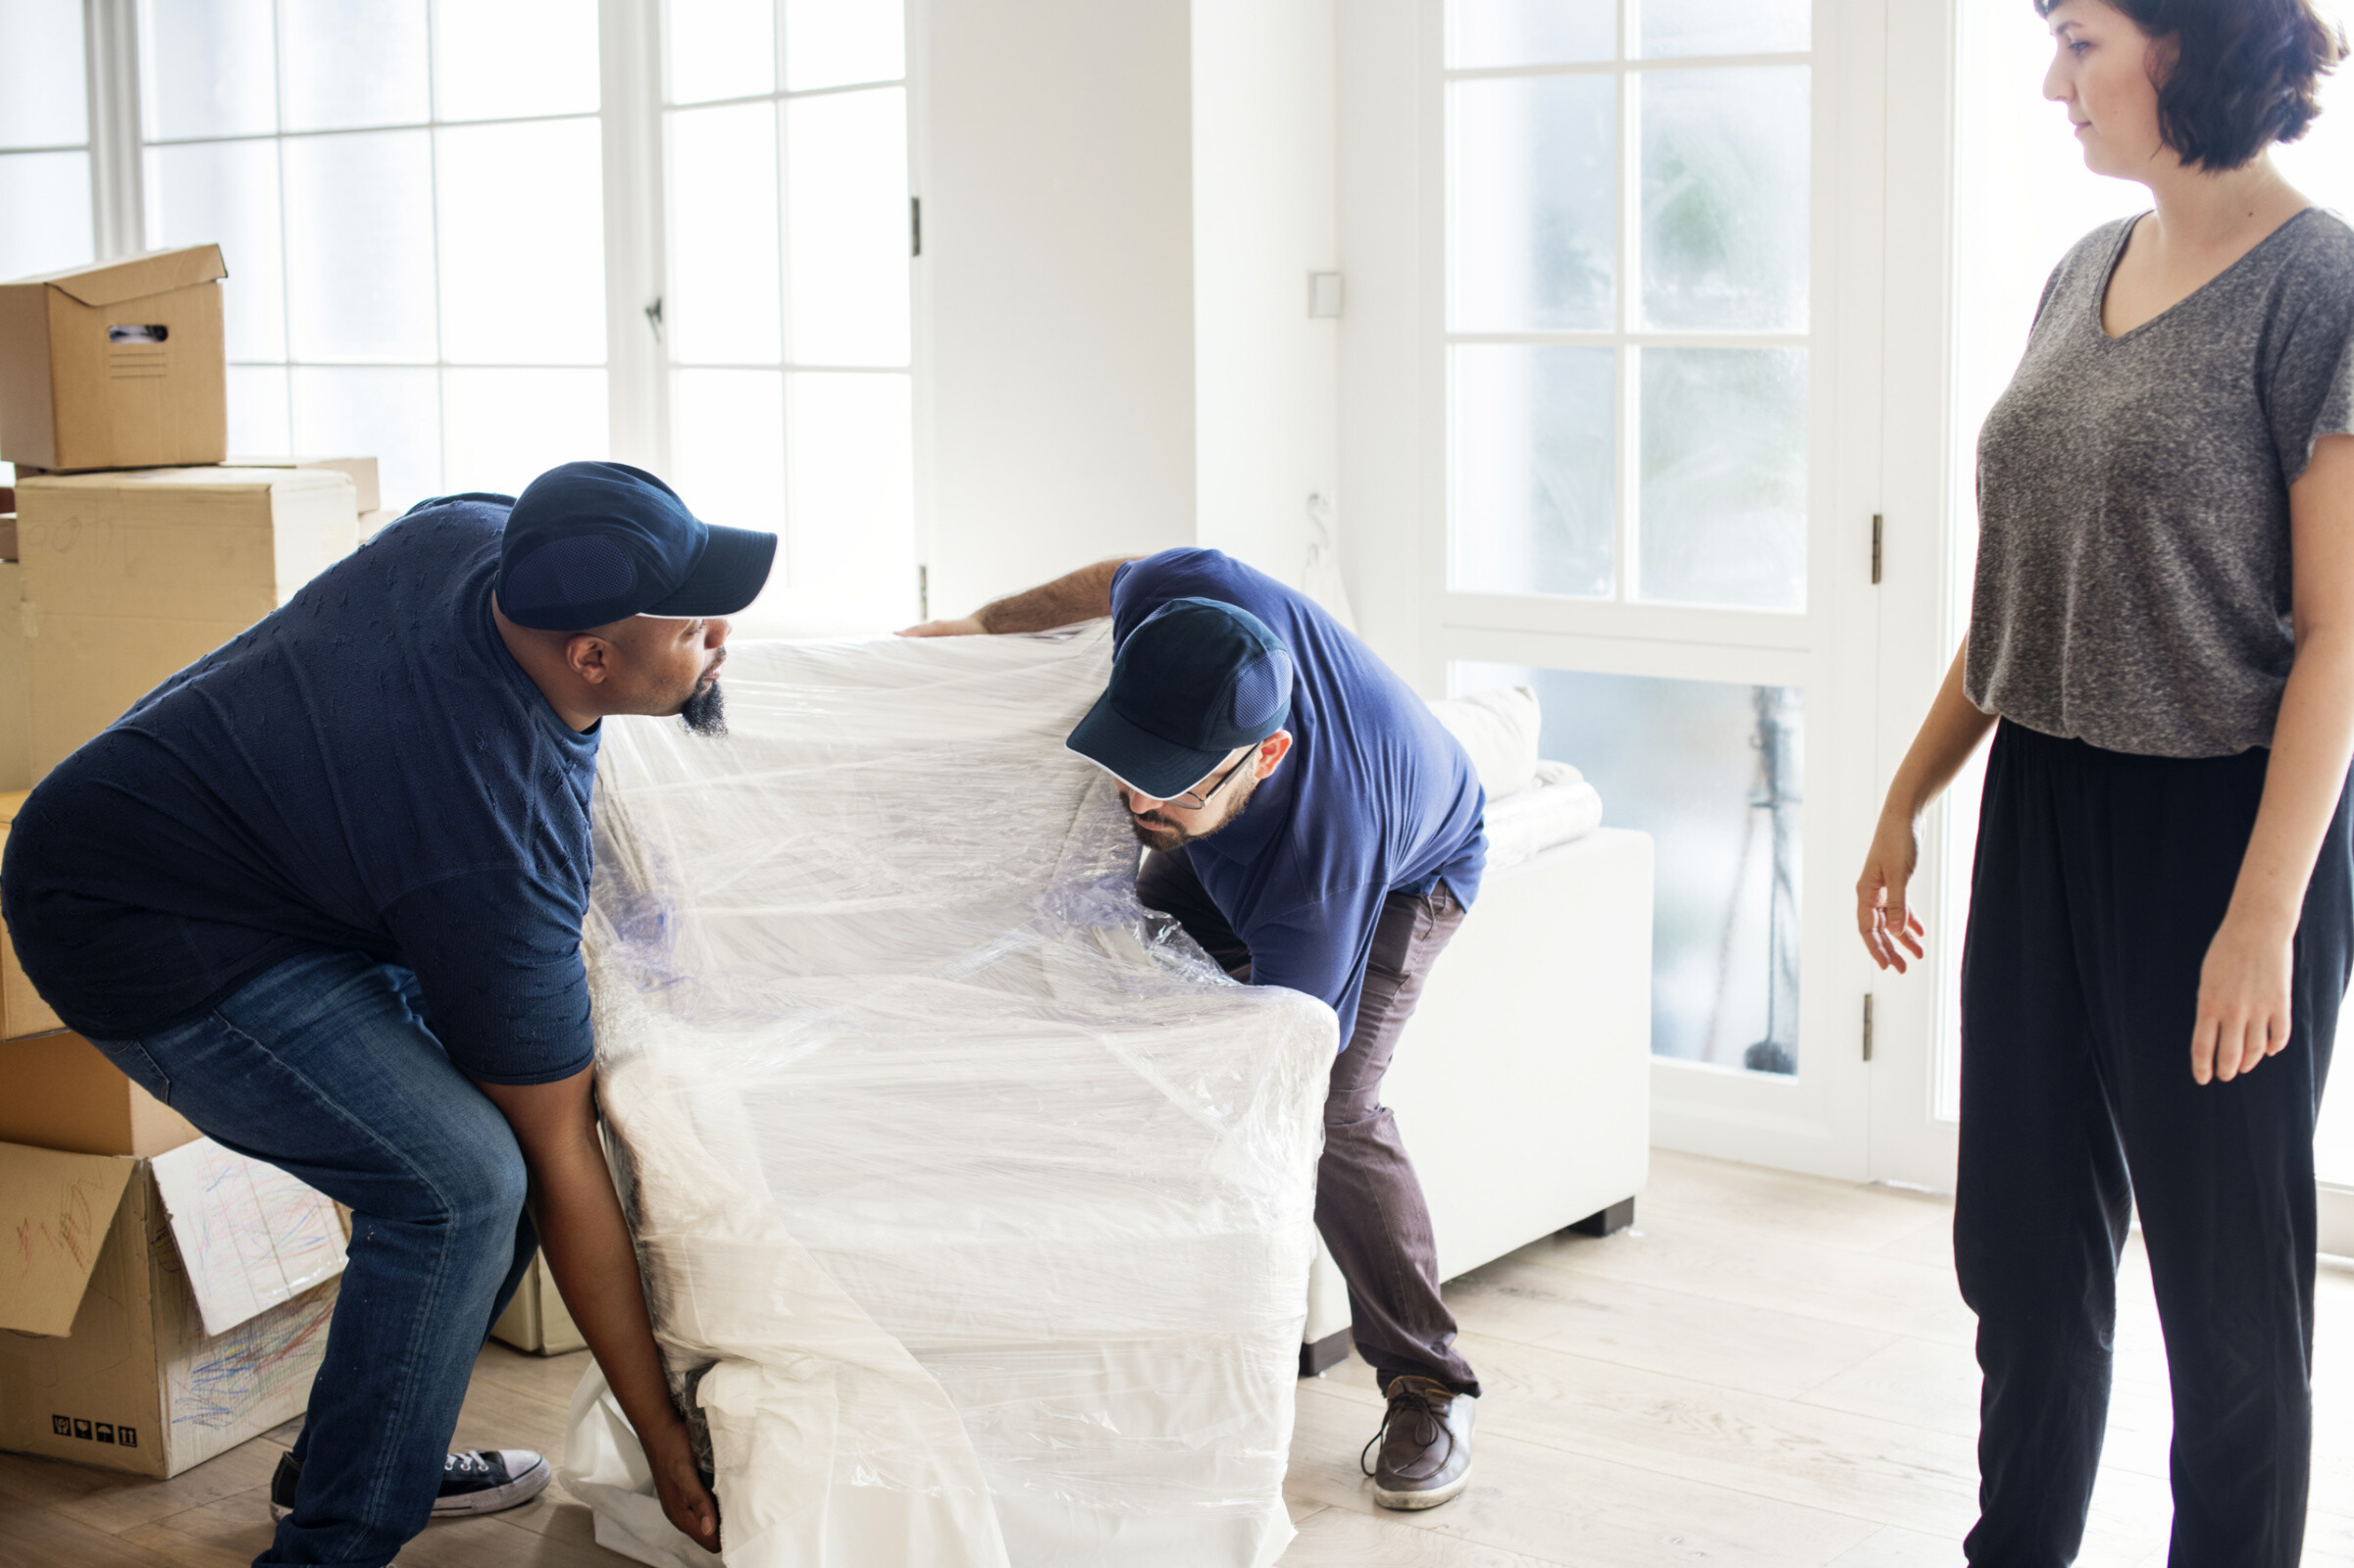
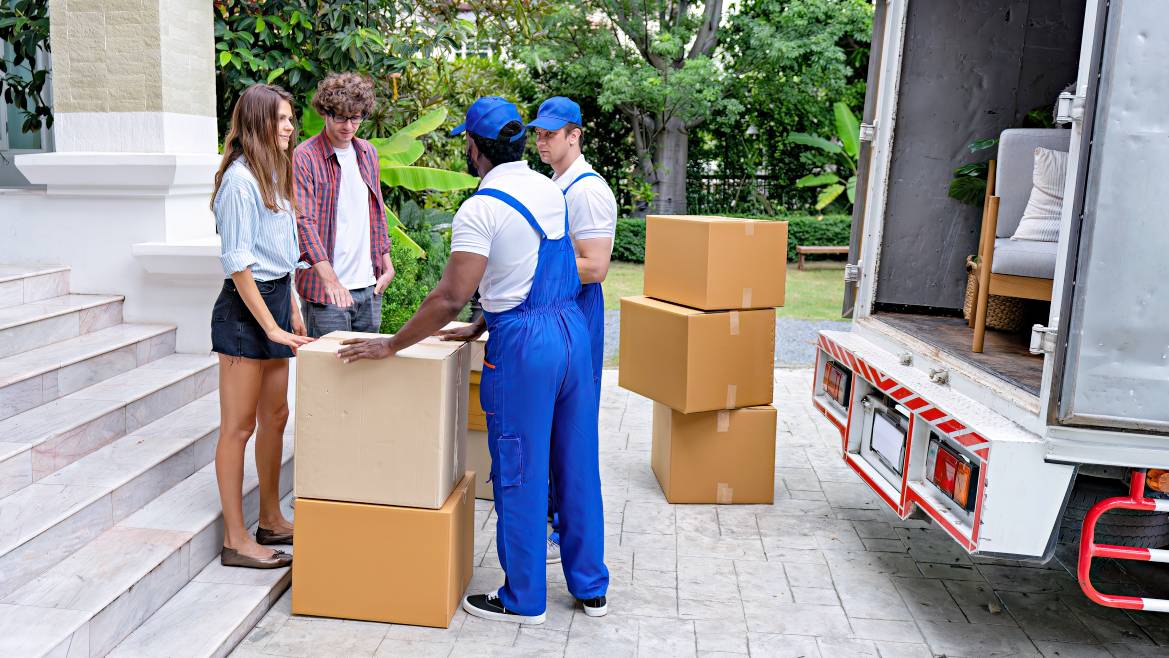
Get help with packing and moving
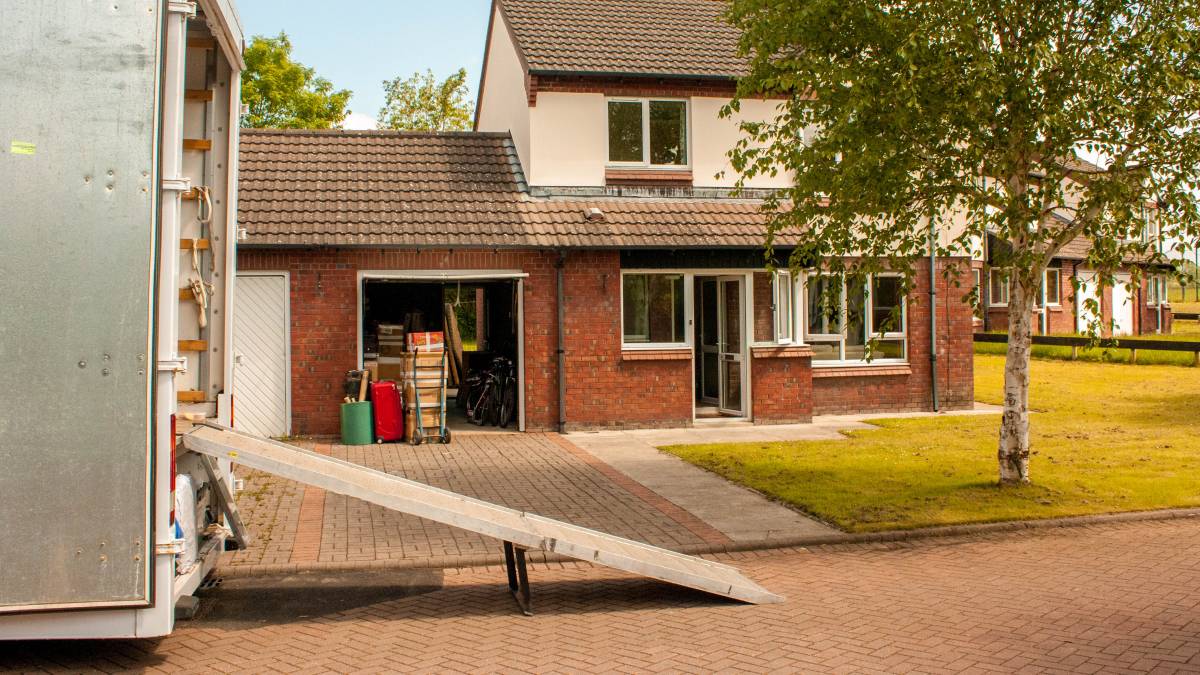
Packing all your kitchen items may be a challenge, but with the right information and materials, anyone can definitely get it done! However, hiring someone to do the job is certainly a good idea if you don’t have enough time to accomplish everything on schedule.
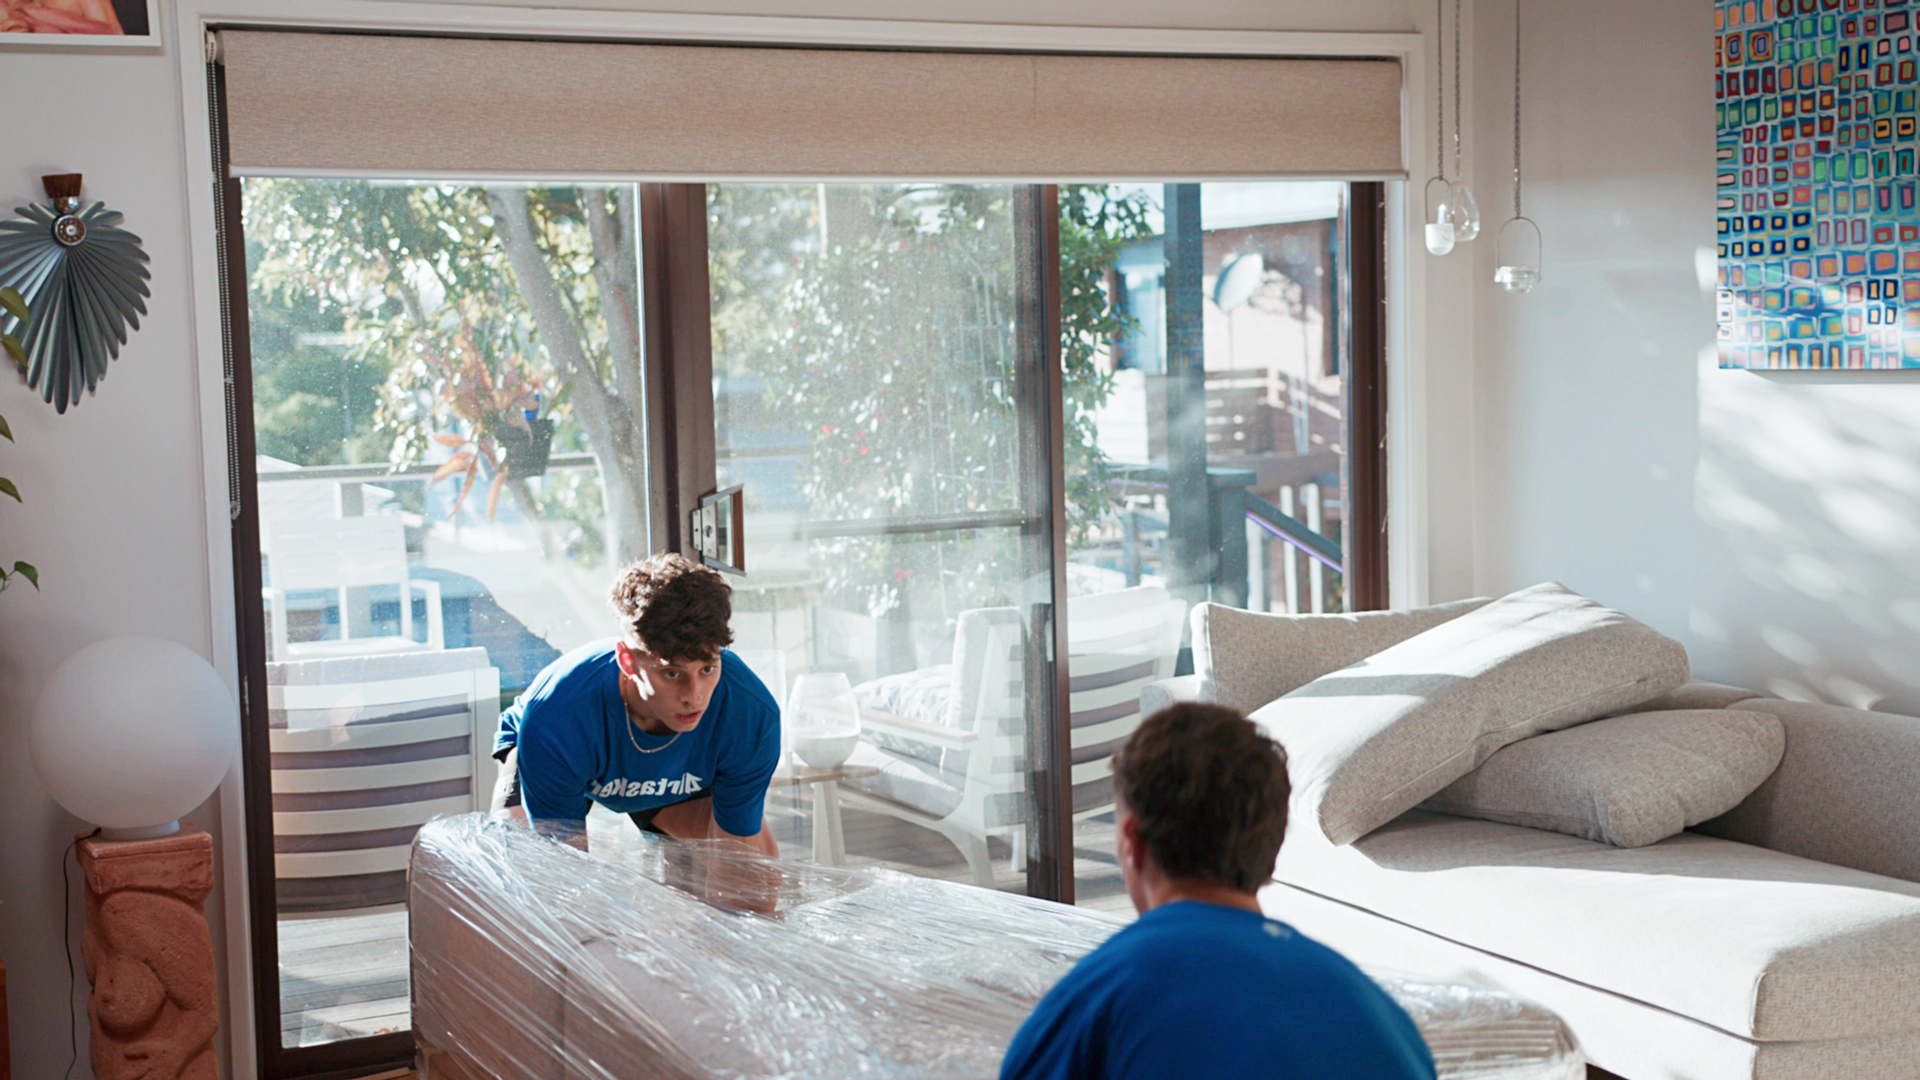
Here at Airtasker, you can find local removalists to help with your packing and moving needs. Simply post a task to connect with skilled professionals who can make your move a breeze.
FAQs on packing kitchen items
To pack kitchen items safely, you must have the right packing materials. For instance, instead of the usual cardboard box, use a heavy-duty box (one made with double walls) for fragile items such as glassware.
Make sure you have enough packing paper, bubble wrap, or clothing to cushion kitchen items inside gaps in boxes. Also, be mindful of the weight of the things you put inside a box. Don’t pack too much inside, even if there is still enough space.
If possible, start packing one week before you move. Start packing items you use the least. A day or two before you move, set aside an essentials box containing items you’ll use for the first few days after you arrive in your new home.
Seal your spice containers; screw their caps tightly, and tape any openings (e.g., salt shakers). Make sure to wrap glass containers with bubble wrap or packing paper. Place them upright in boxes, and ensure you label each box properly.
For family-sized kitchens, you will likely need 25 boxes, including a mix of small, medium, large, and extra-large boxes. Small kitchens can require a mix of 10-15 large and medium boxes.
However, these are just estimates, as each kitchen is unique in size and amount of items. Keep in mind that it’s better to have extra boxes and not use them than to run out and scramble to find more at the last minute!
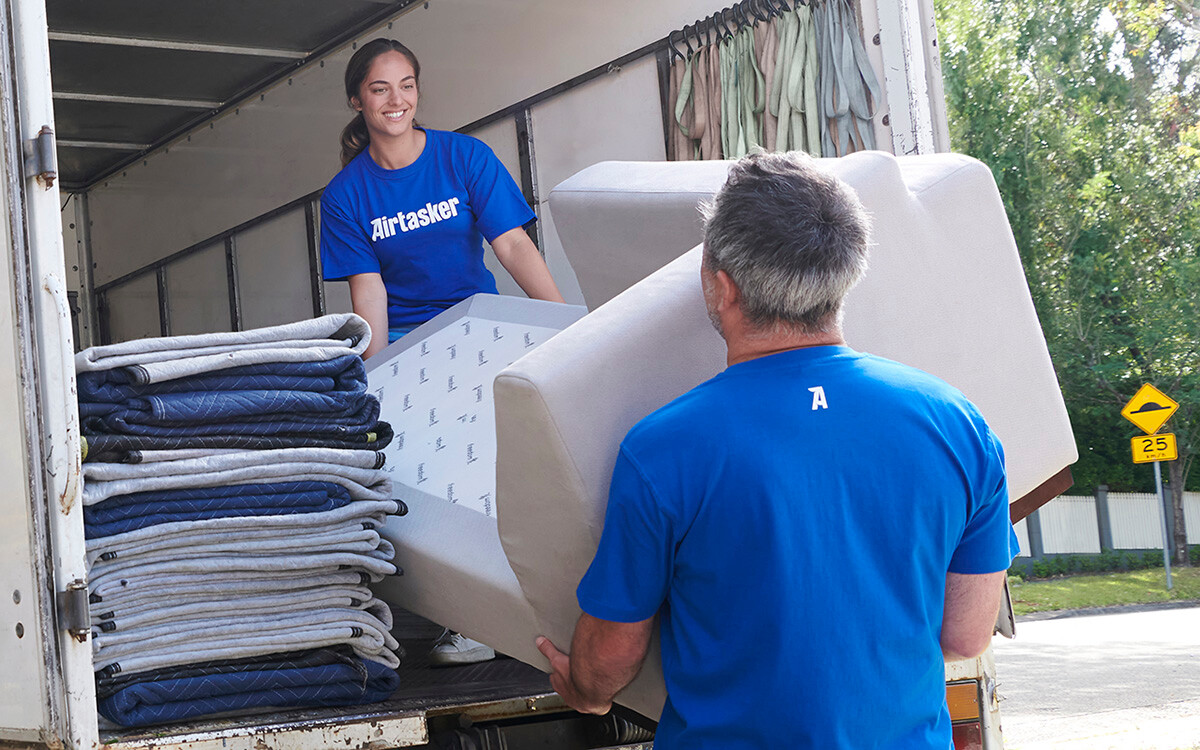
Find house removals expert, fast
Find a house removals expert
Related price guides
How much does it cost to move house?
Read more
How much does it cost to move house?
Read more
How much do packers cost?
Read more


Related articles

How to pack mirrors for moving
Read more
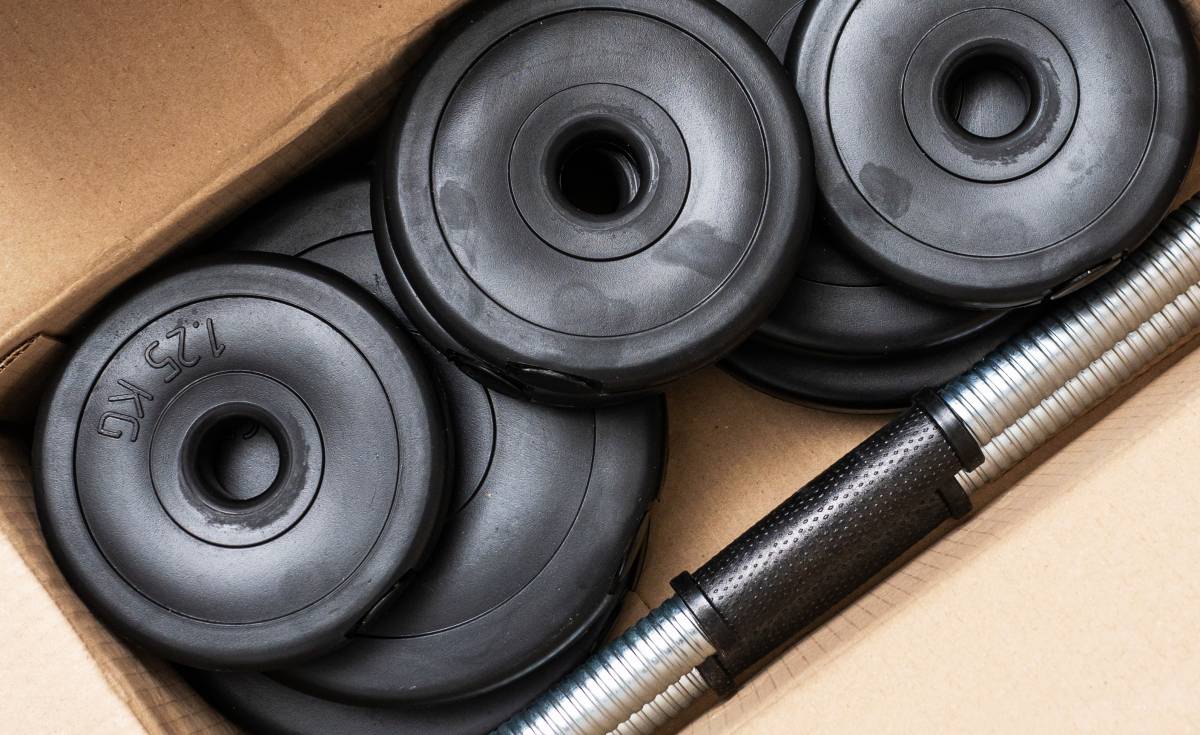
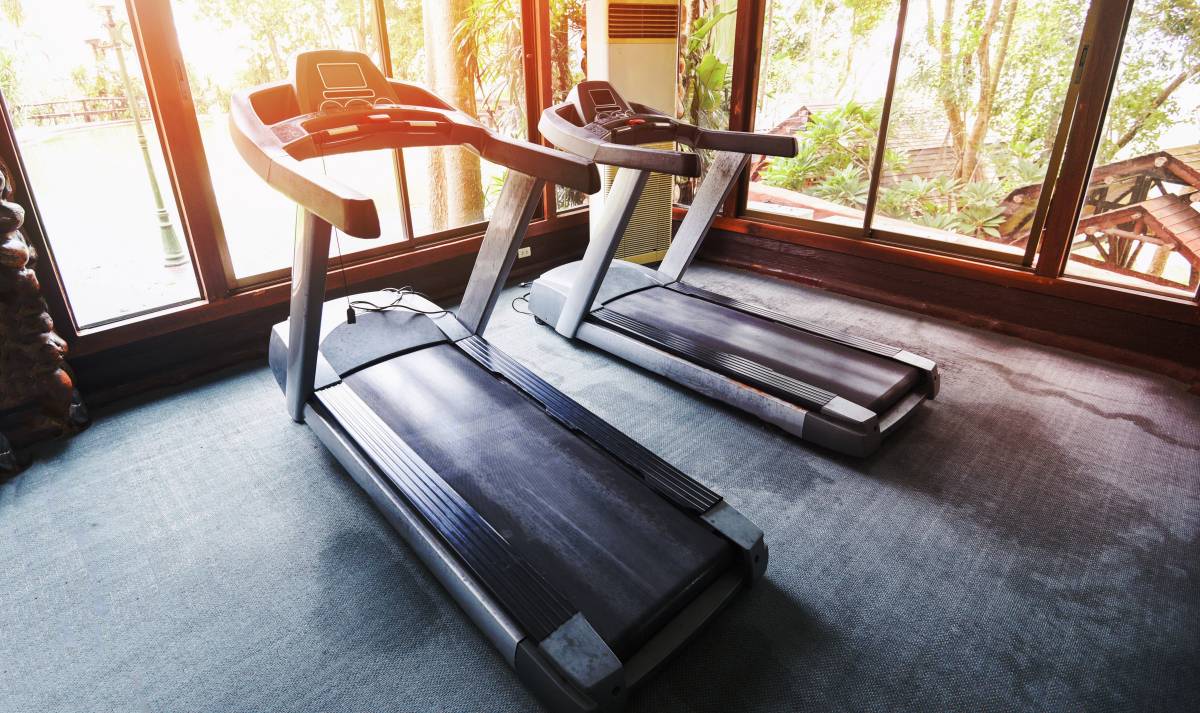
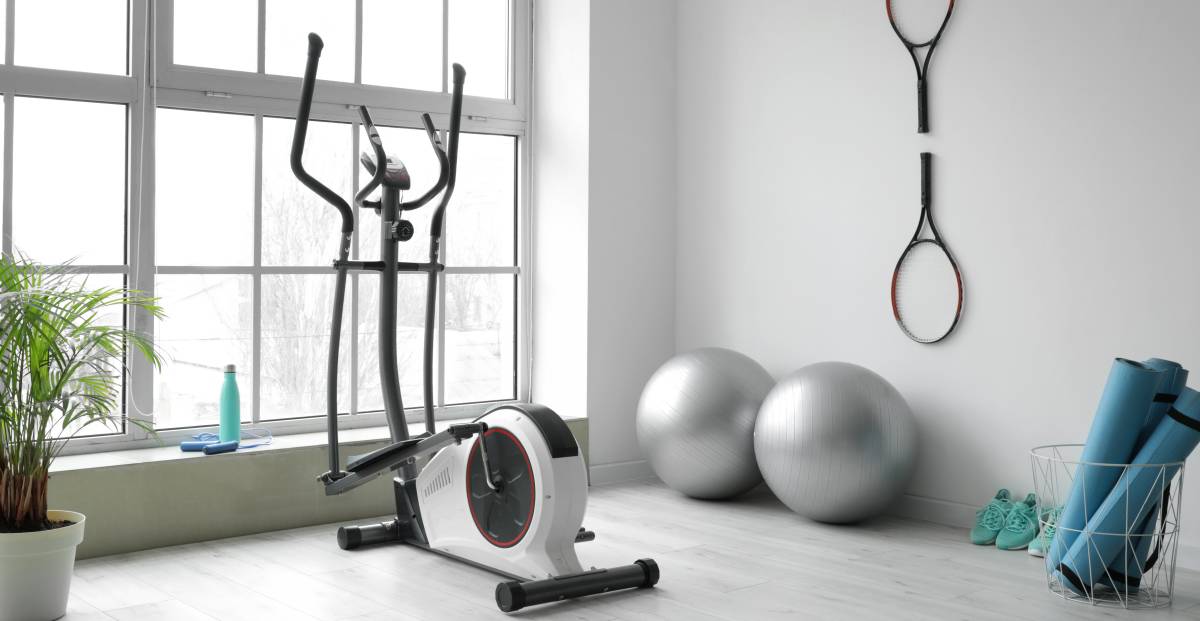
How to move gym equipment safely
Read more
Moving to Exeter from within the UK
Read more

A guide to becoming a removalist
Read more
Moving Checklist
Read more

How to pack books for moving
Read more
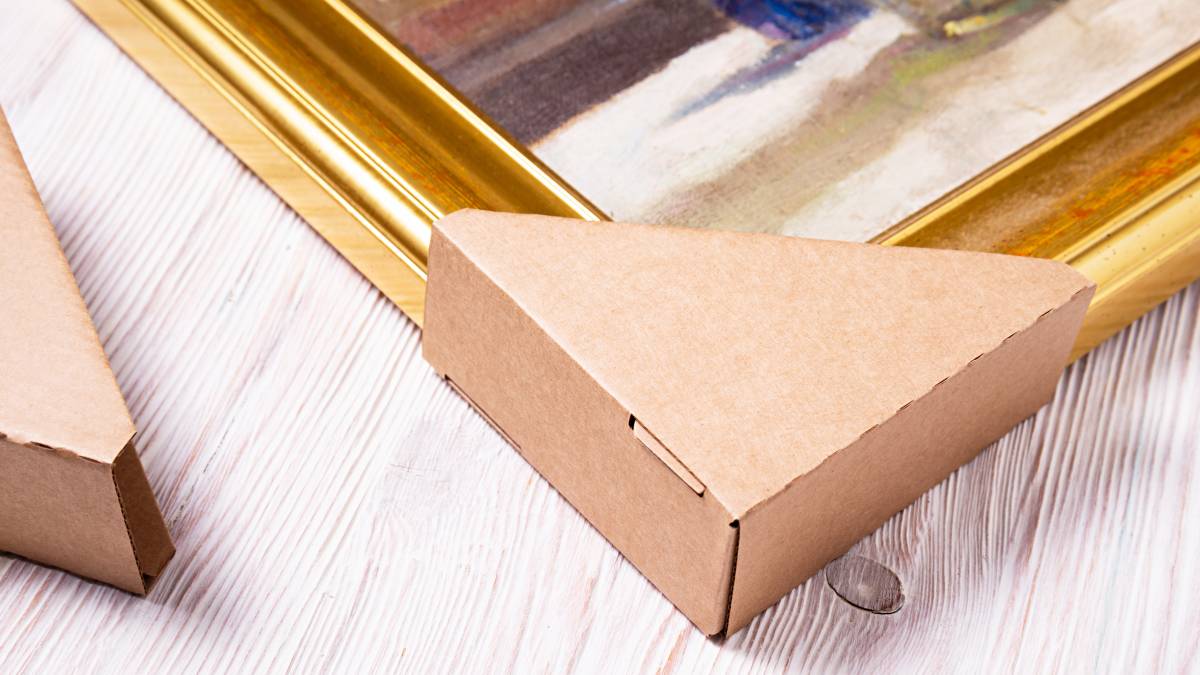
How to pack artwork for moving
Read more
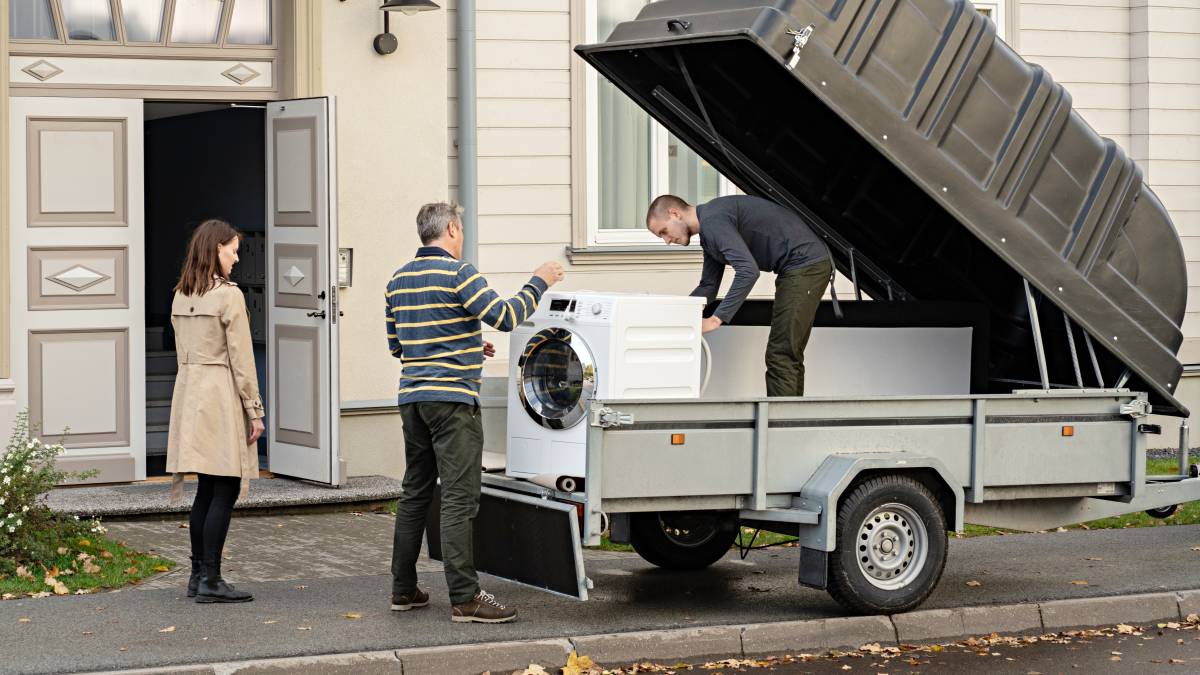
How to move a washing machine
Read more

How to move a pool table
Read more
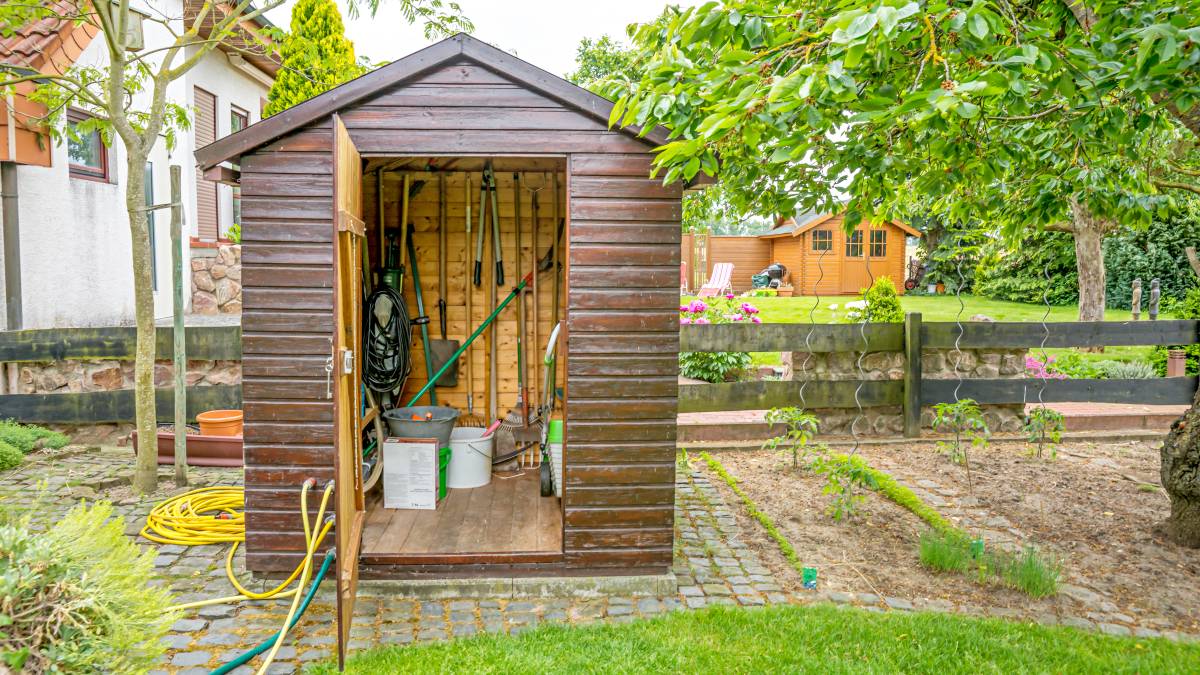
How to move a shed
Read more
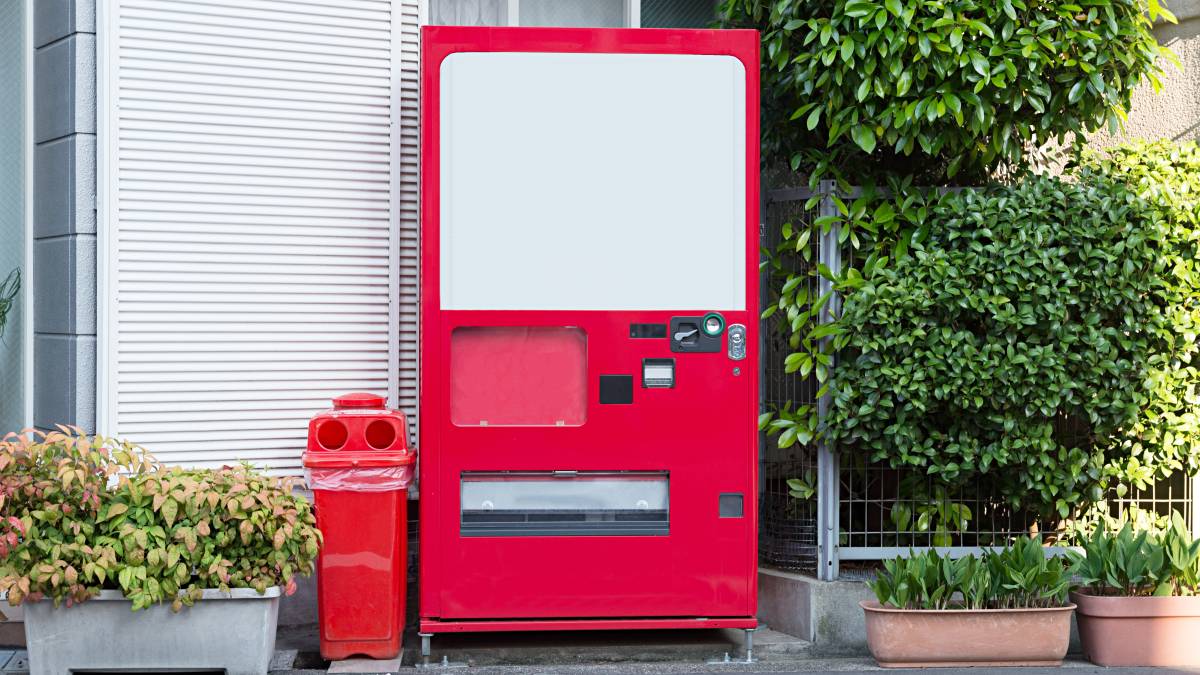
How to move a vending machine
Read more
Moving a fridge: How to do it right
Read more
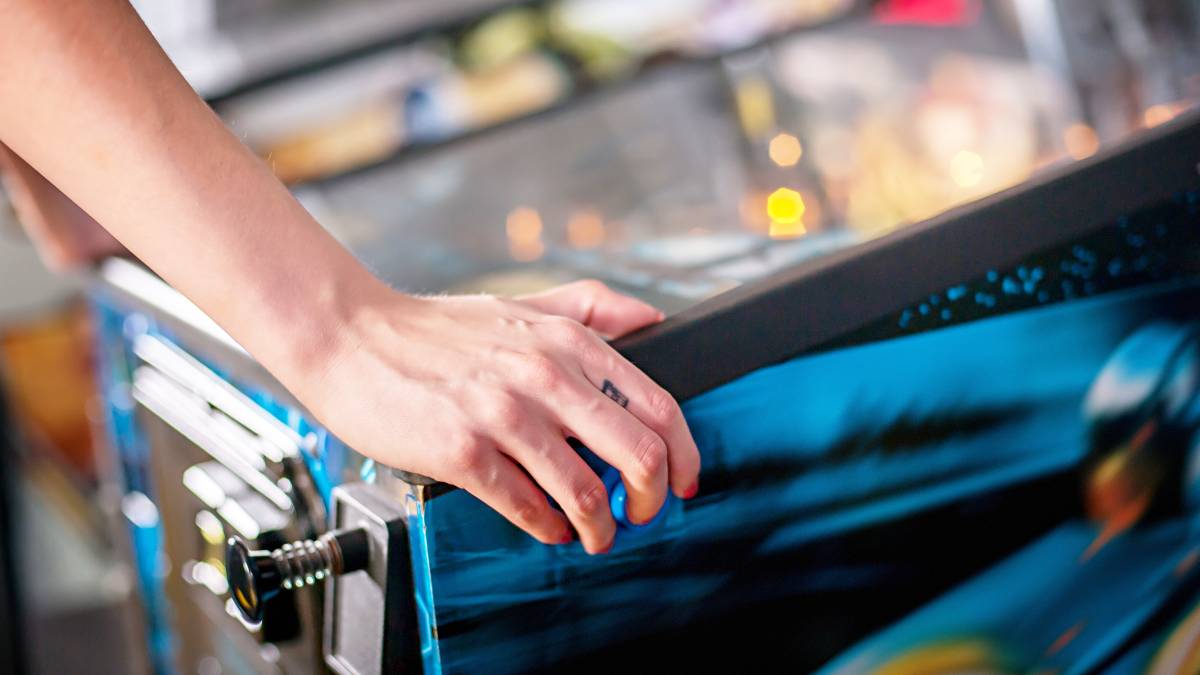
How to move a pinball machine
Read more

What moving companies won’t move
Read more
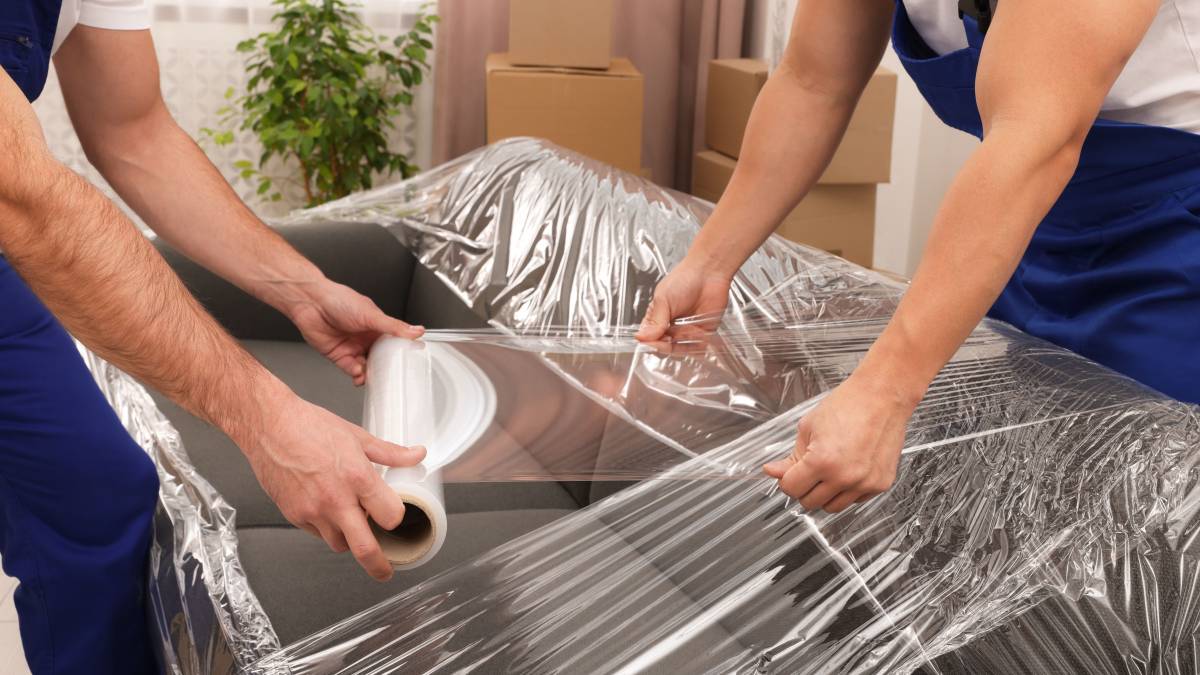
How to wrap furniture for moving
Read more

Tips for moving house with kids
Read more