- Home/
- Guides/
- Fence Painting/
- How to Paint Garden Fence
Painting your garden fence: Everything you need to know
Find a fence painterLast Updated on
Unpainted fences can fall apart from wood rot—something you’d never want to experience! So to protect them from decay, it’s important to paint them properly.
Painting your garden fence will take a lot of preparation and work, so we’ve put up this guide for you to get to know the essentials, like how to paint a garden fence, what tools you need, the best garden fence paint to use, and other useful tips for painting your garden fence. Let’s get started!
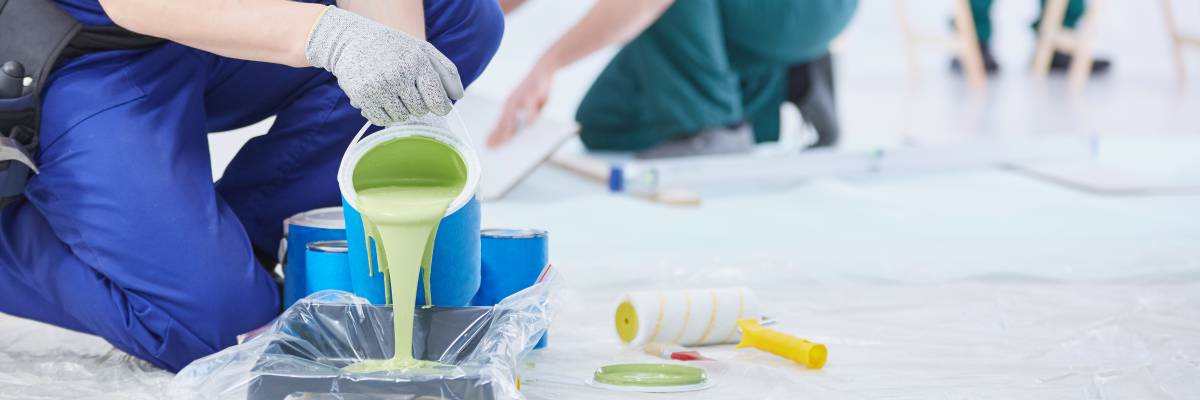
Materials to paint a garden fence
Detergent or bleach
Clean water
Pressure washer
Plant ties
Wood filler
White spirit
Stiff-bristled paintbrush (10 to 12cm) or 22cm paint roller
Small paintbrush (7.6cm) or small paint roller (10cm)
Wide-bladed paint scraper
Sandpaper
Dust sheets or plastic sheets
Masking tape
Wood paint primer
Wood paint
Exterior wood preservative
Paint kettle
Time of completion
Depending on the weather, the condition, and size of your garden fence, painting it can take a couple of days to a week to complete.
Note that an old, damaged fence needs repairs before painting, which can take an extra day or two. The fence’s surface must be clean, free of debris, and dry for the paint to bond properly with the wood.
As for new fences, you must also wait for at least six weeks before painting - most new fences are pressure-treated and have chemical preservatives that need this time to dry.
How to paint a garden fence
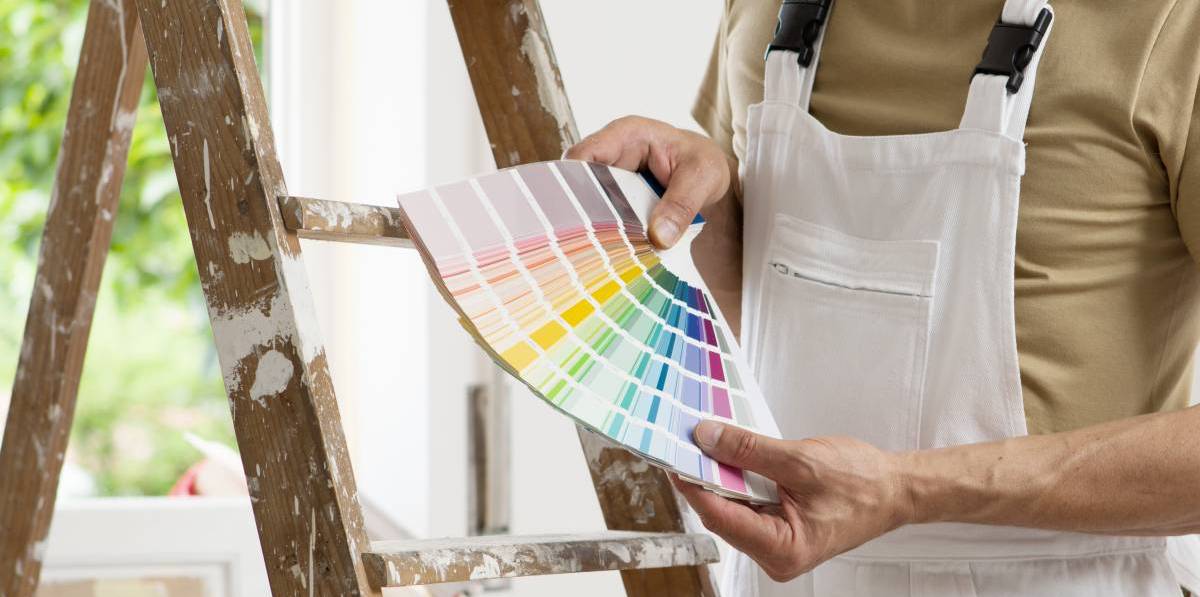
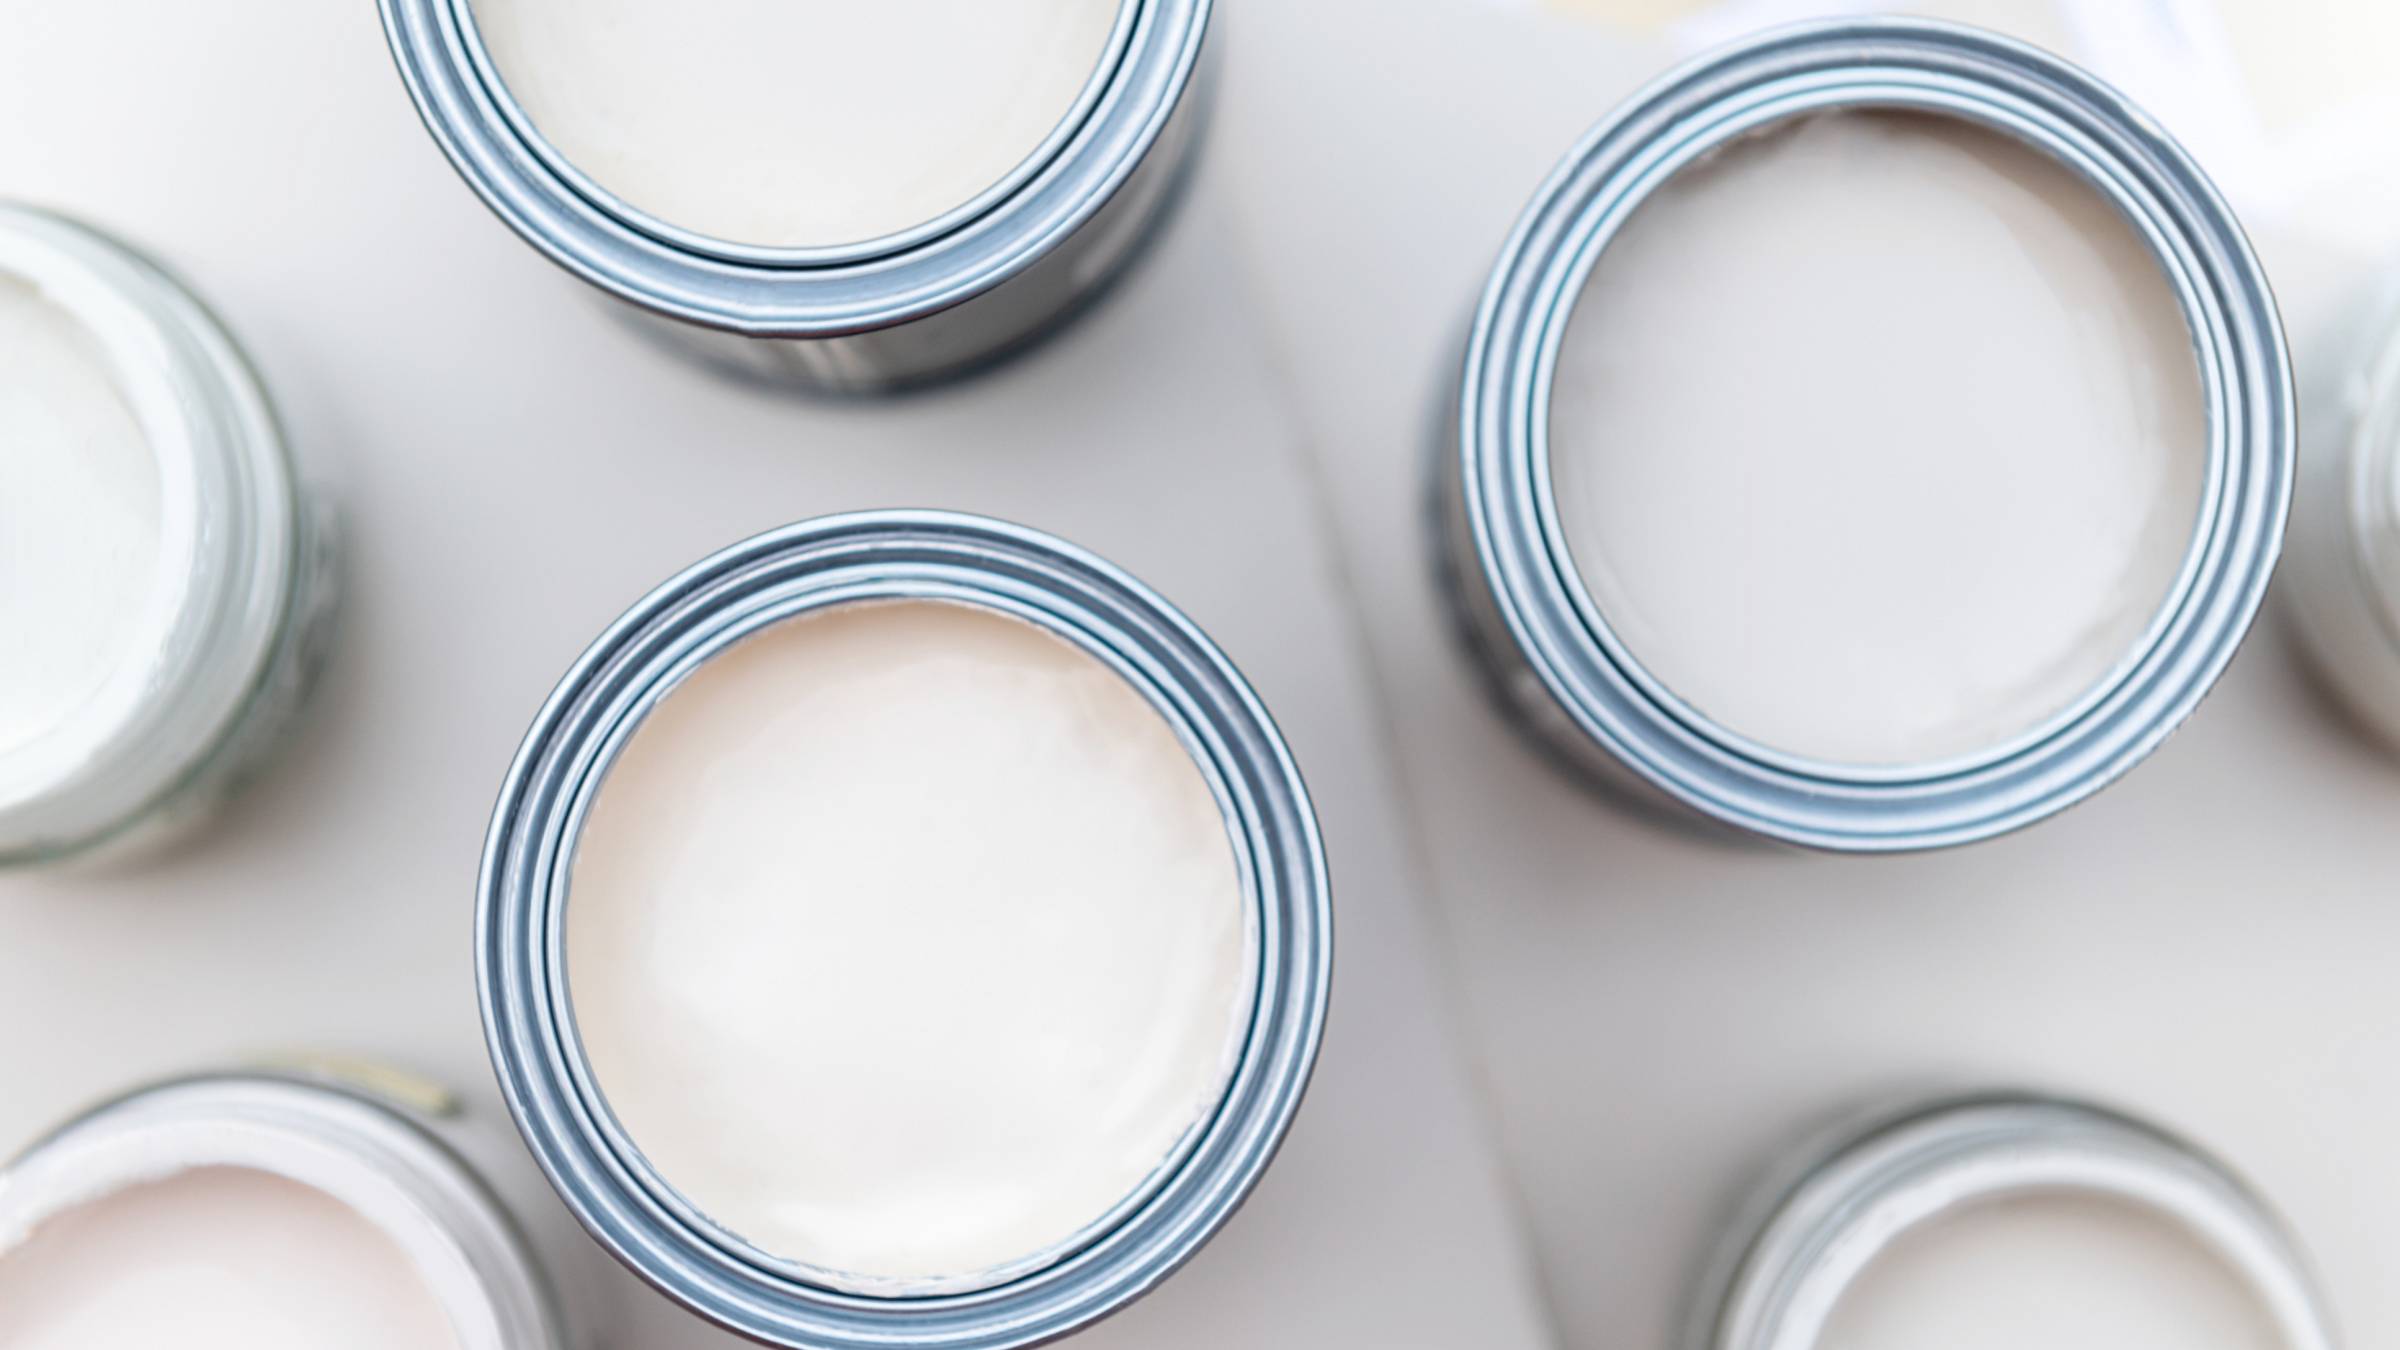
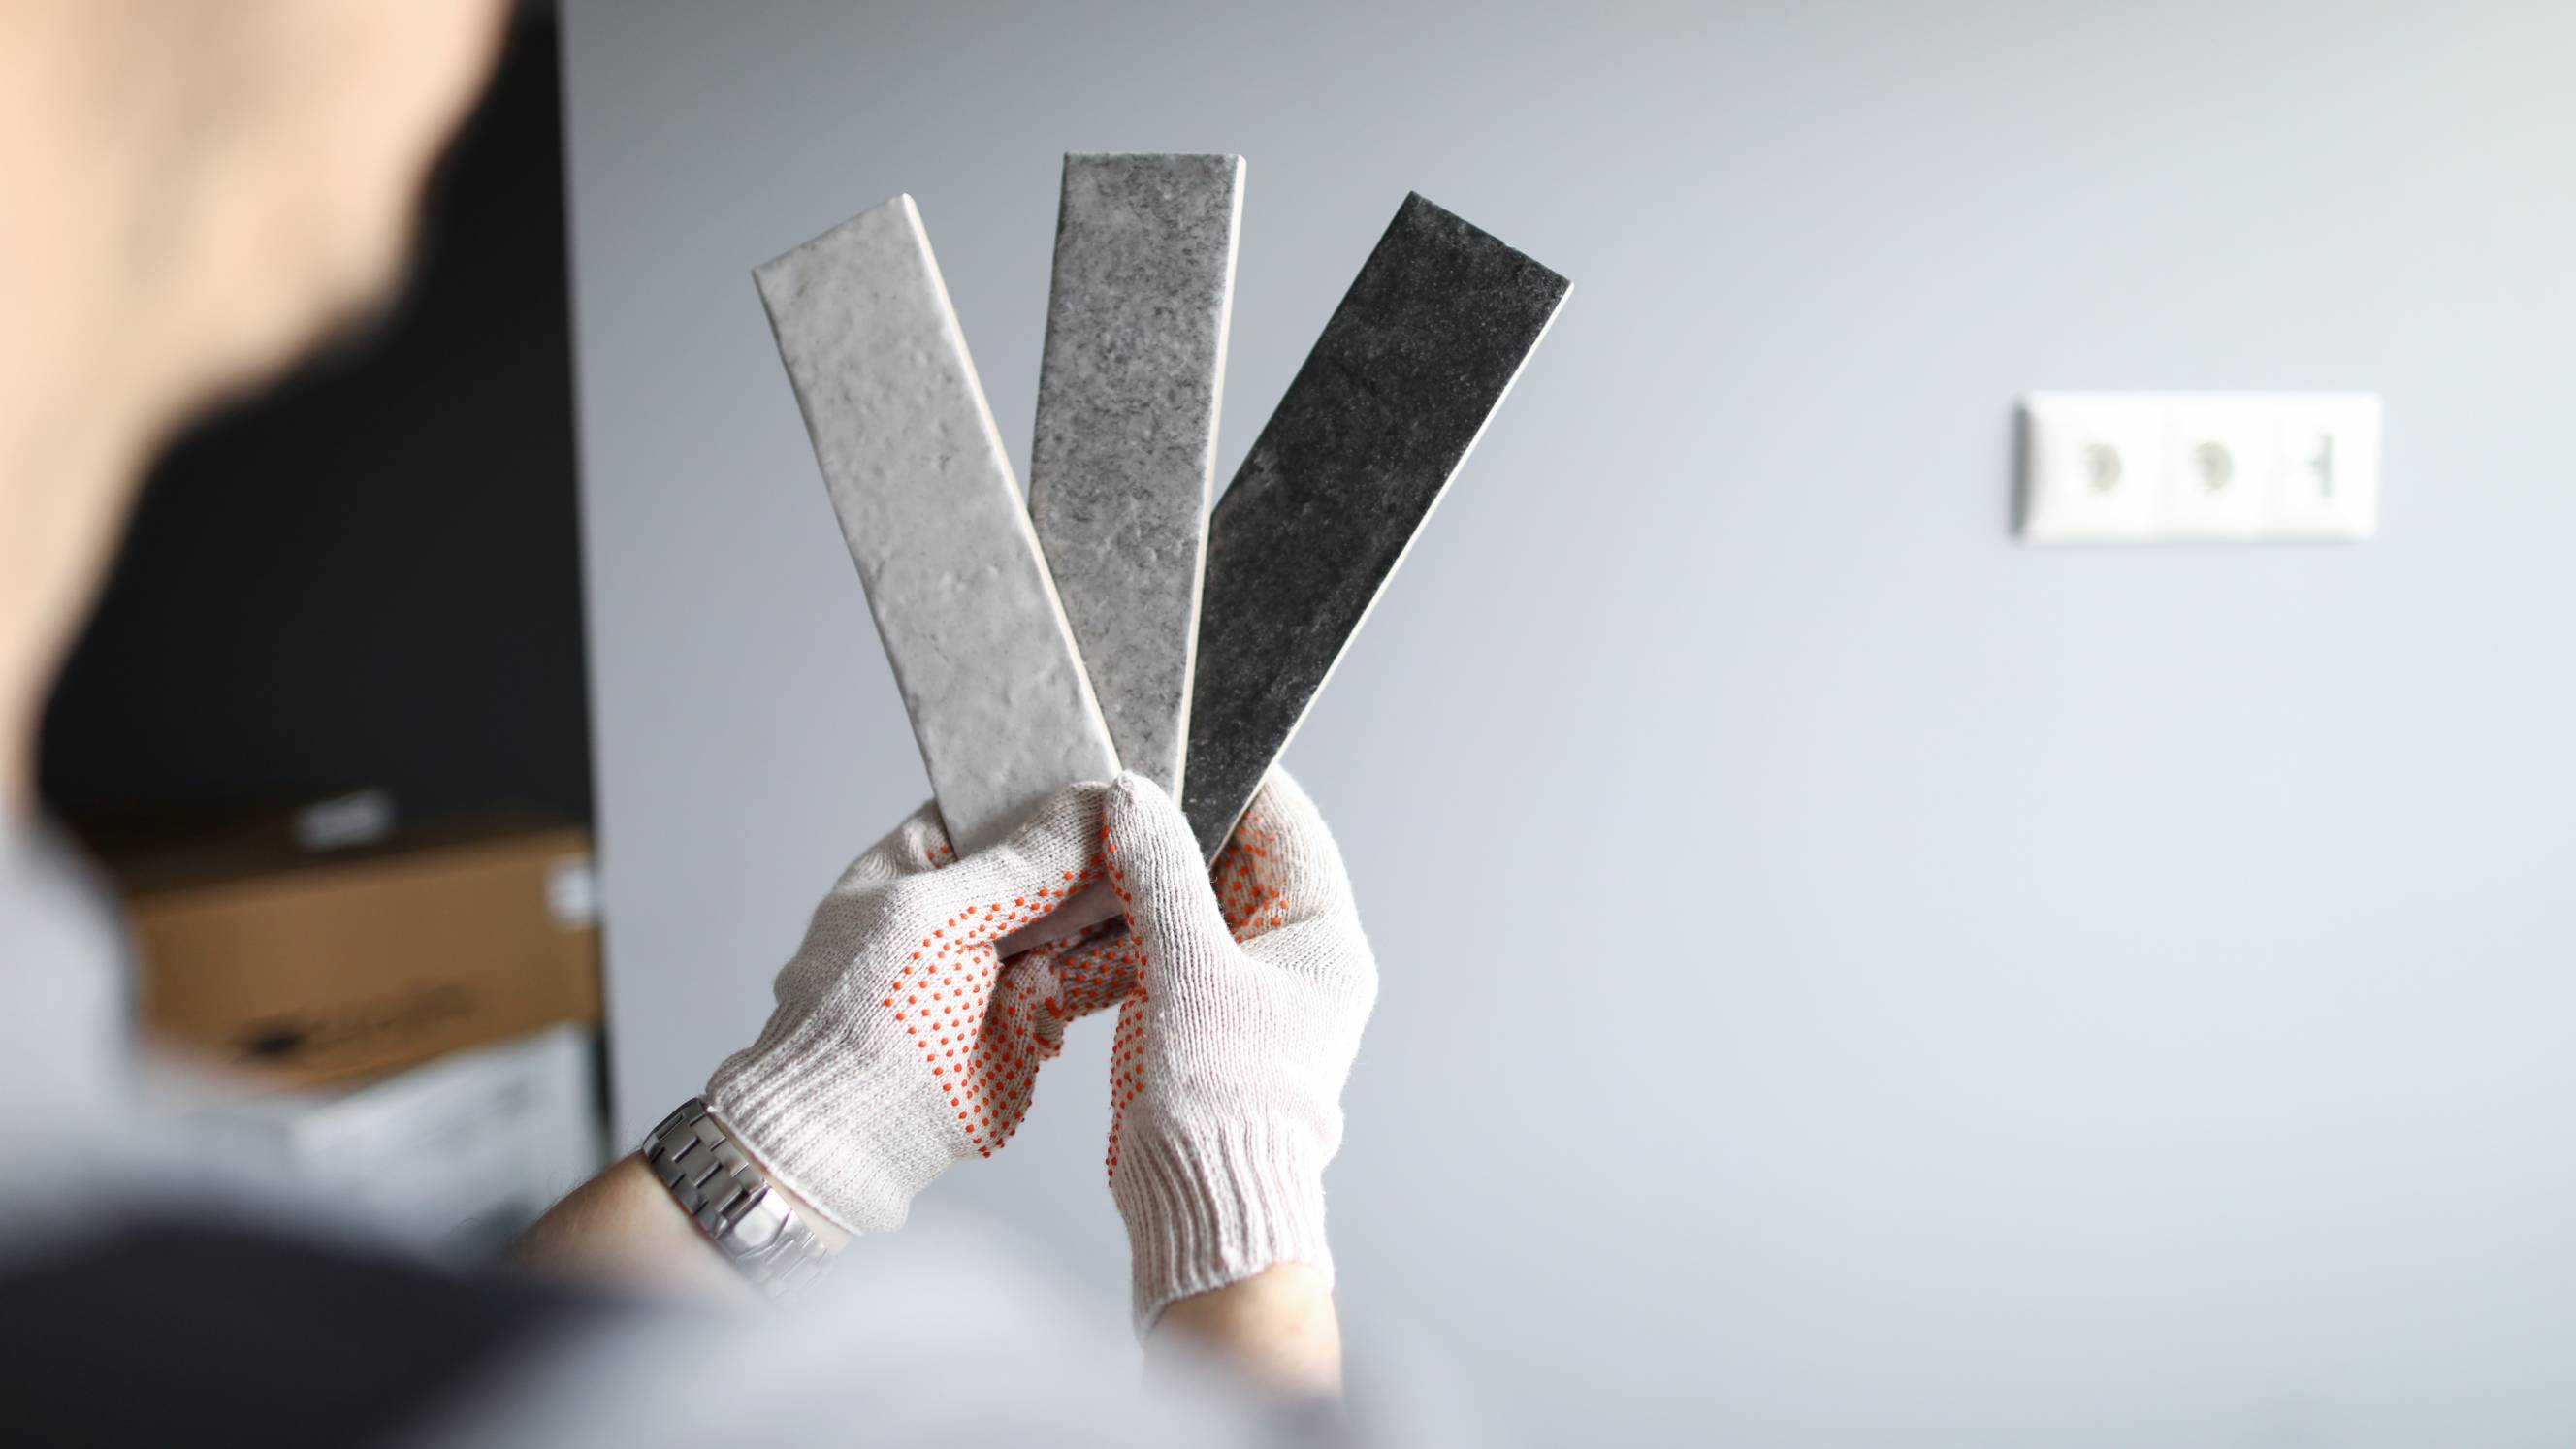
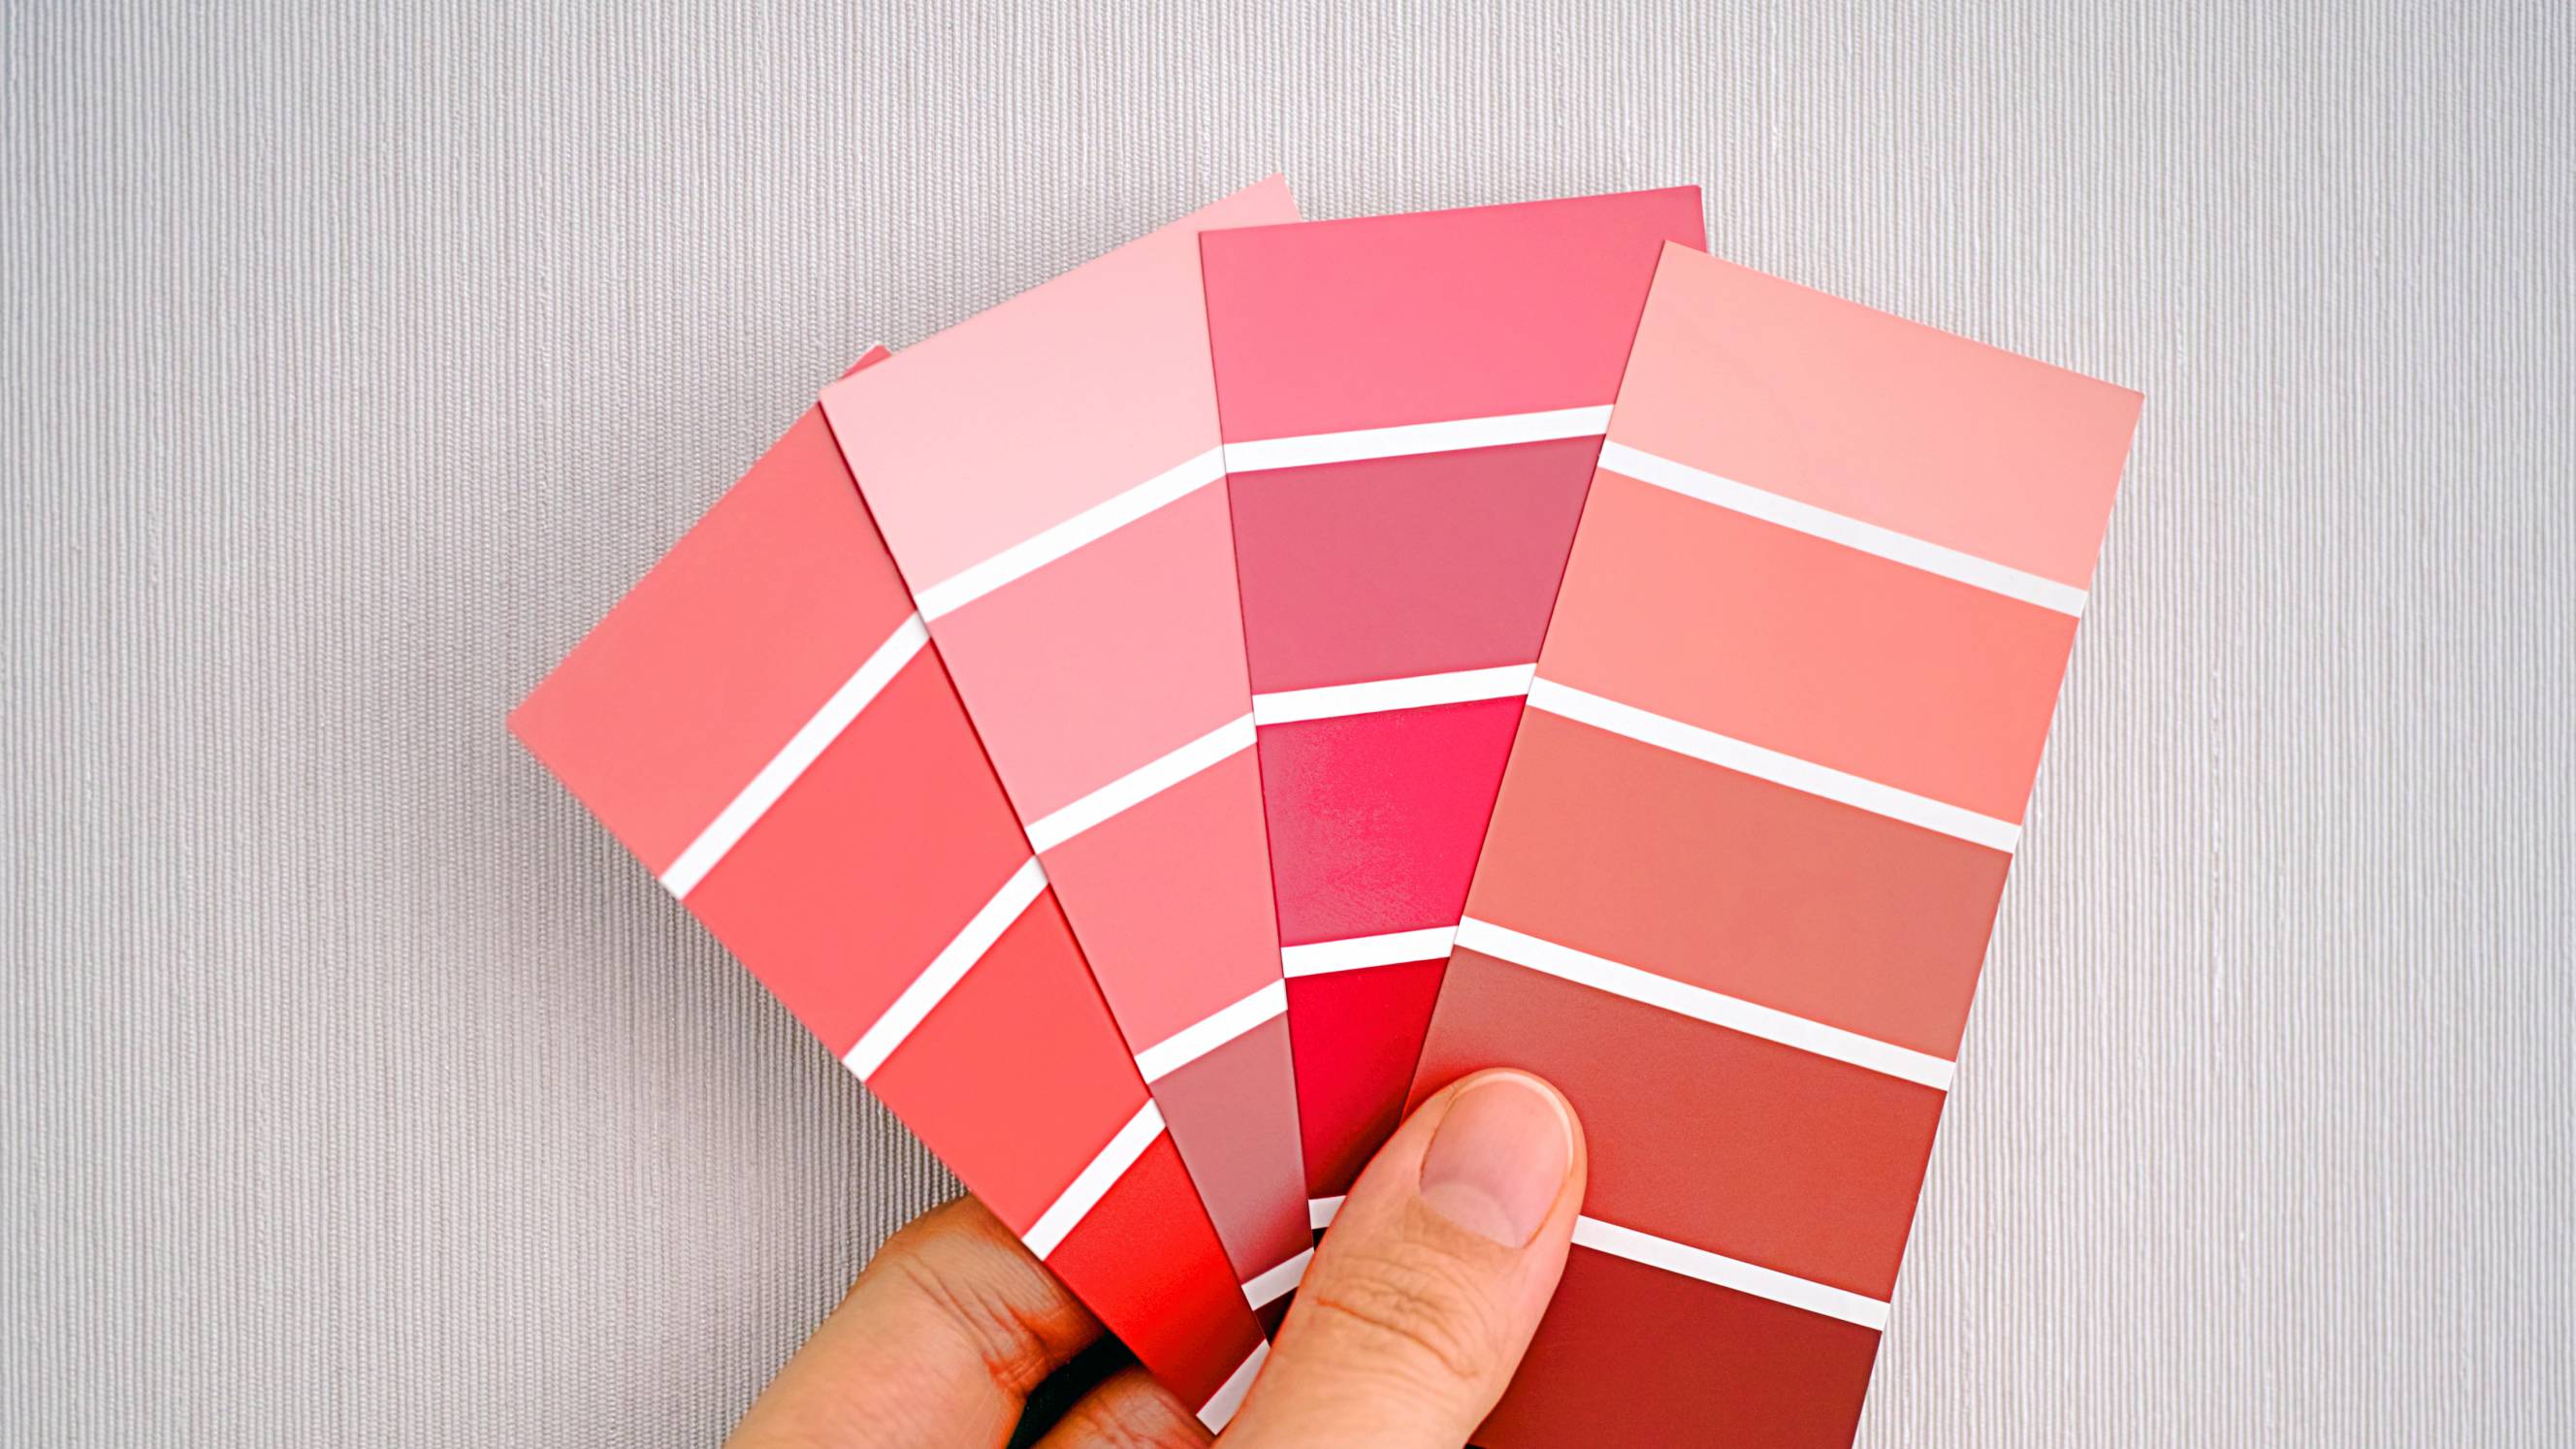
Step 1: Choose a colour
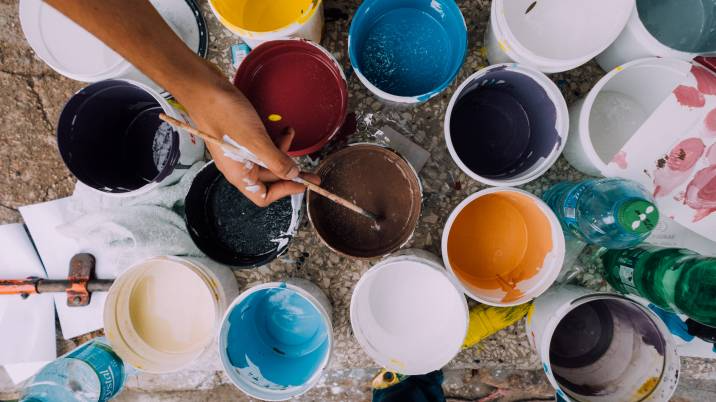
There’s a huge variety of garden fence paint colours to choose from, and you may find this overwhelming!
If you’re having trouble deciding on the right garden fence paint colour, note that you can hire a designer to assist. They can help you choose the colour that best suits your style and tastes, compliments the colour of your home’s exterior, and gives your garden the most curb appeal. Don’t forget to buy the appropriate paint primer as well.
A good designer can also help you choose from the many garden fence paint brands on the market. Don’t put off buying paint last minute as the store might run out, especially if it’s a popular choice among homeowners!
Step 2: Set a schedule
Check the weather forecasts and choose a day to paint your garden fence that’s not rainy or too hot. If the outdoor temperature is too hot, the paint could dry too quickly and fail to penetrate the wood.
Schedule your painting day when there’s no rain forecast, and the temperature ranges from 40 to 90 degrees Fahrenheit/ 4.4 to 32 degrees Celsius. The humidity should be low to moderate to allow for drying.
Step 3: Clear the area
On painting day, mow any grass that is close to the fence posts, gate, and bottom of the fence—don’t forget you can hire someone to assist with these tasks!
Move any shrubbery or plants close to the fence; use plant ties to tie down any plants you can’t trim or move. Sweep and dispose of any loose debris like dried leaves and grass cuttings.
Step 4: Prepare the fence
Remove any ornaments, hanging plants, or accessories on your garden fence. You can use one of your paintbrushes or a broom to brush away any surface dirt on the fence panels.
If you’re painting a new or old garden fence, note that you may need extra time to prepare them - they also require different preparation measures before applying your garden fence wood paint.
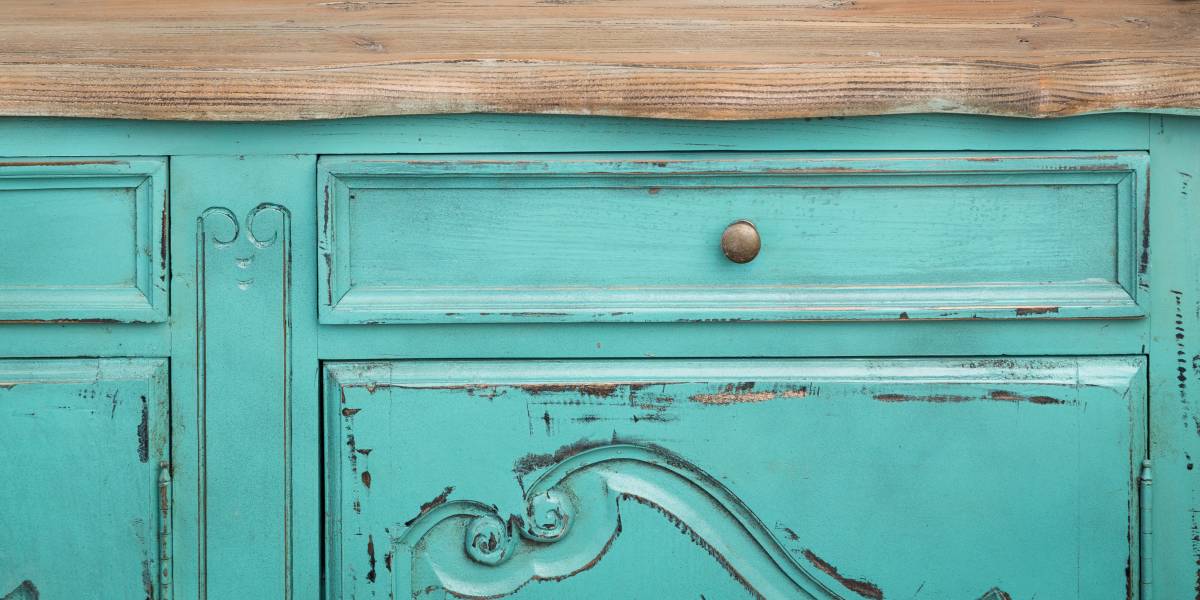
Preparing an old garden fence

If you have an old, weather-beaten fence, here’s how to prepare it before painting:
Use a paint scraper and sandpaper to remove all the old paint; the new coats of primer and paint need a smooth surface on which to bond.
Remove any mould or algae on the wood with a bleach or detergent solution, made with equal parts of clean water and either of these cleaners.
Clean the entire fence with a pressure washer - you can hire a service if you don’t have this kit.
Use wood filler to fill any holes.
Cut off any sections that have wood rot, then apply wood filler or hire someone to cut and attach new timber sections as appropriate.
After stripping off the old paint and cleaning the fence, apply some white spirit, then let it dry.
Preparing a new garden fence
New garden fences are usually pressure-treated and need time to dry. Don’t apply garden wall paint to your new fence right after installation, as the paint may not bond well with the wood. Here’s what you need to do:
Wait for at least six weeks to allow the fence to acclimate to the ambient temperatures and allow any chemical preservatives to dry.
After six weeks, lightly sand the surfaces to remove splinters and give the paint a smooth surface to adhere to.
Ensure that all the surfaces are clean and remove any shrubbery that can obstruct your fence.
Apply a layer of white spirit, then let the fence dry.
In some cases, like if your garden fence is made from cedar wood, a waiting period isn’t necessary. Refer to the manufacturer’s instructions or ask the staff at the DIY centre where you bought the fence to be sure. If your cedar fence doesn’t need any drying time, go ahead and sand the surfaces, use white spirit then apply your garden wall paint on a clear day.
Step 5: Preparing areas around the fence
Before you start applying primer and paint on your garden fence, you’ll have to protect surrounding areas from paint splatter. Use dust sheets or plastic sheets to cover any plants, paving, your deck, or any areas that may get paint on them. Cover your garden fence’s door handle with a plastic bag with the edges sealed with masking tape, or just use masking tape to protect it.
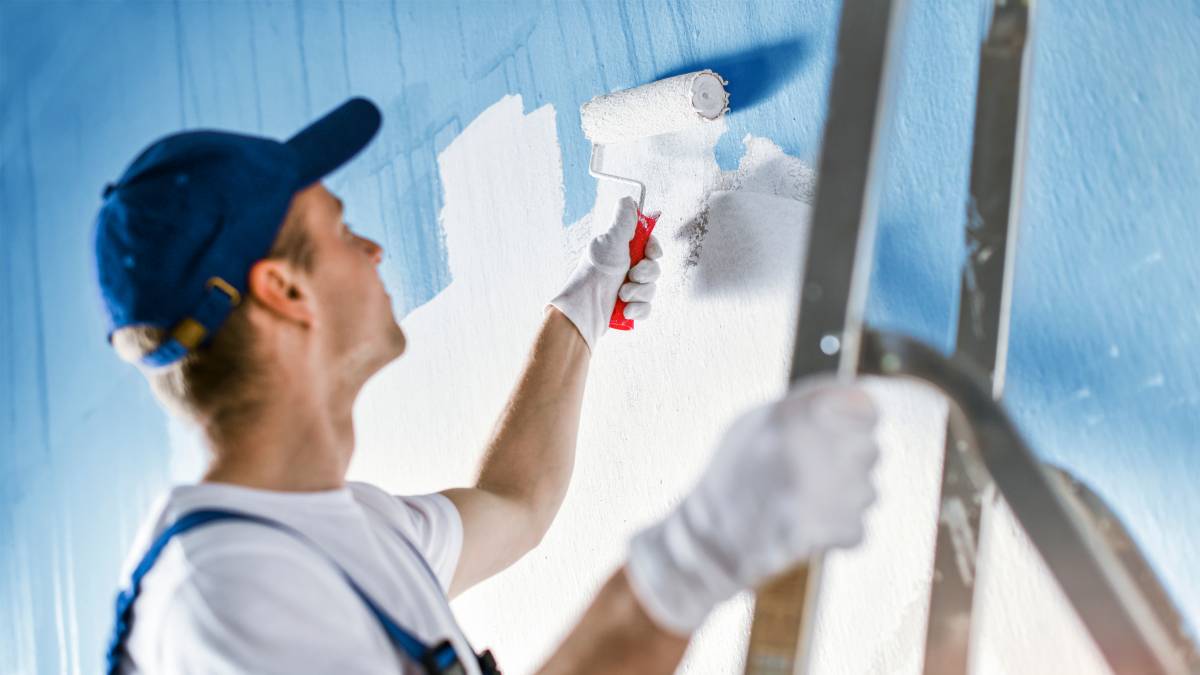
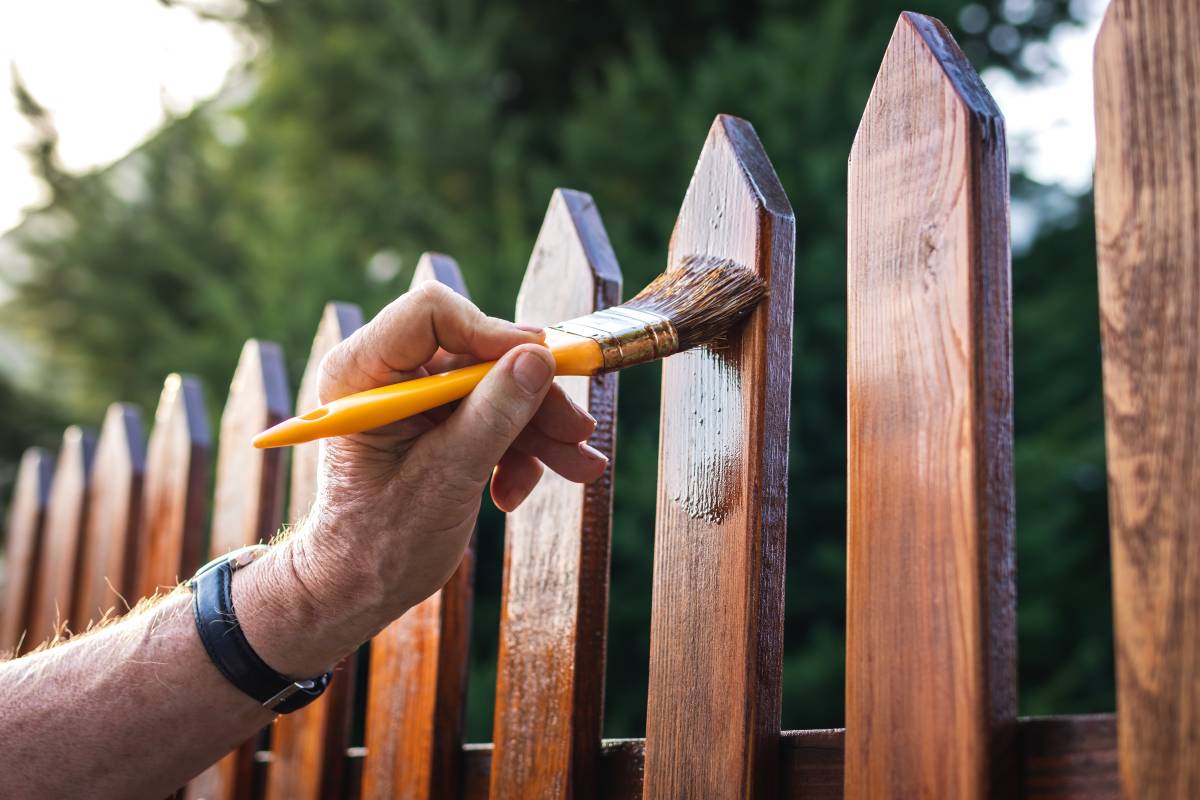
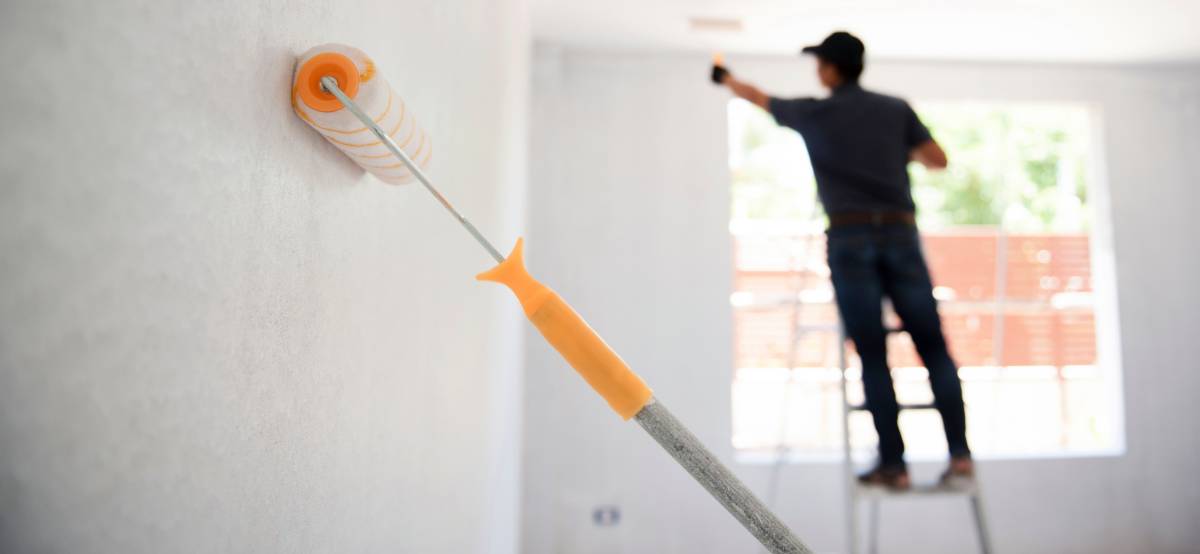
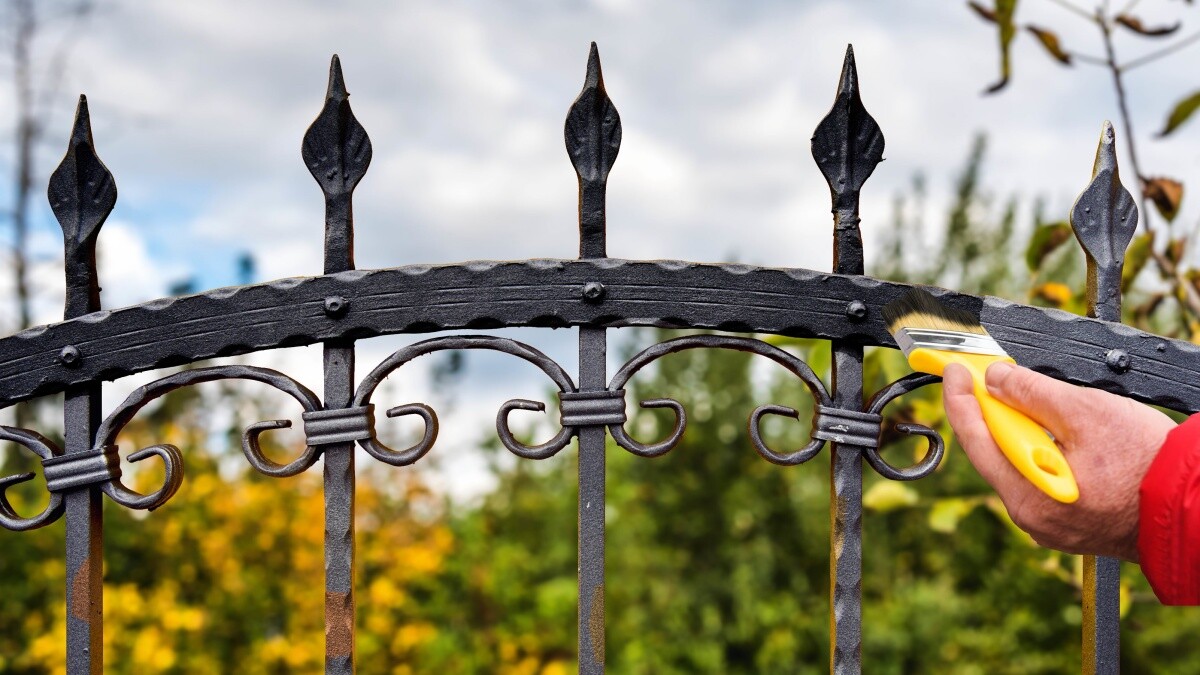
Step 6: Painting the fence
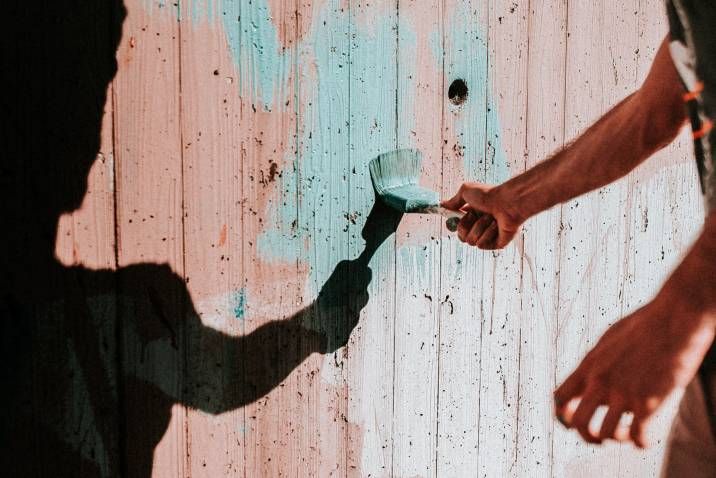
And now comes the fun part—painting your garden fence! After doing all the necessary preparations, apply the primer. You can use a paint sprayer, paintbrush or paint roller. After it dries, apply your paint. The primer is necessary to give your paint better surface adhesion, and some primers also prevent mould growth.
Using a paintbrush, paint roller, or paint sprayer offers different advantages and caveats:
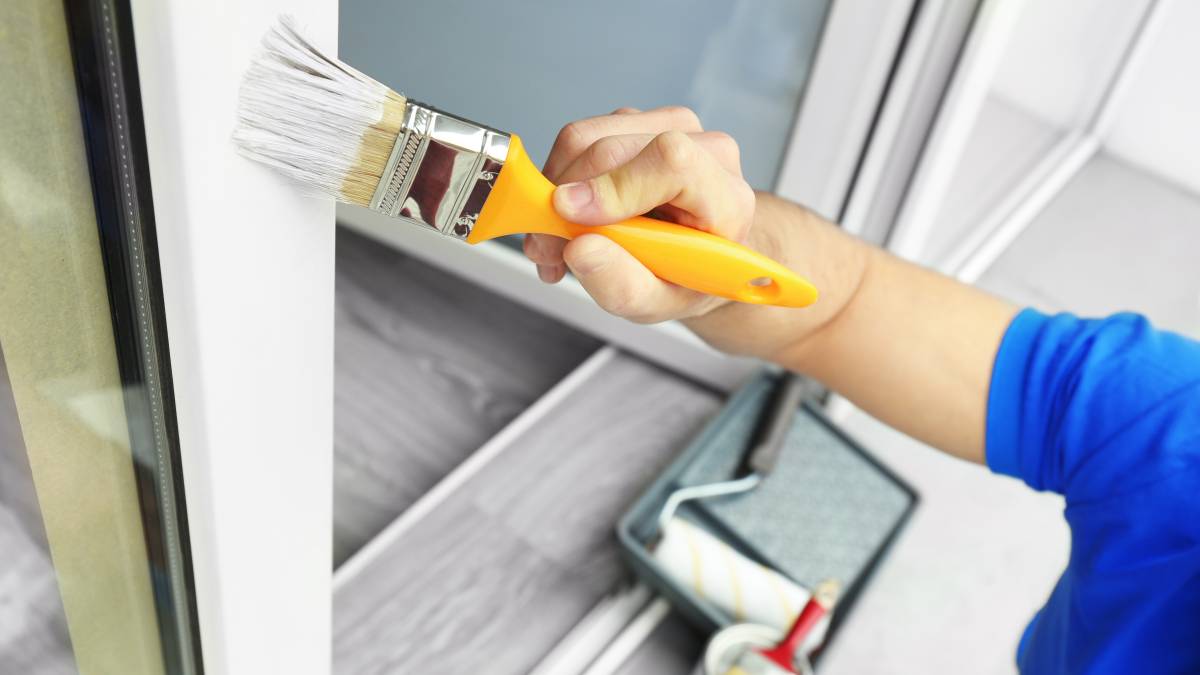
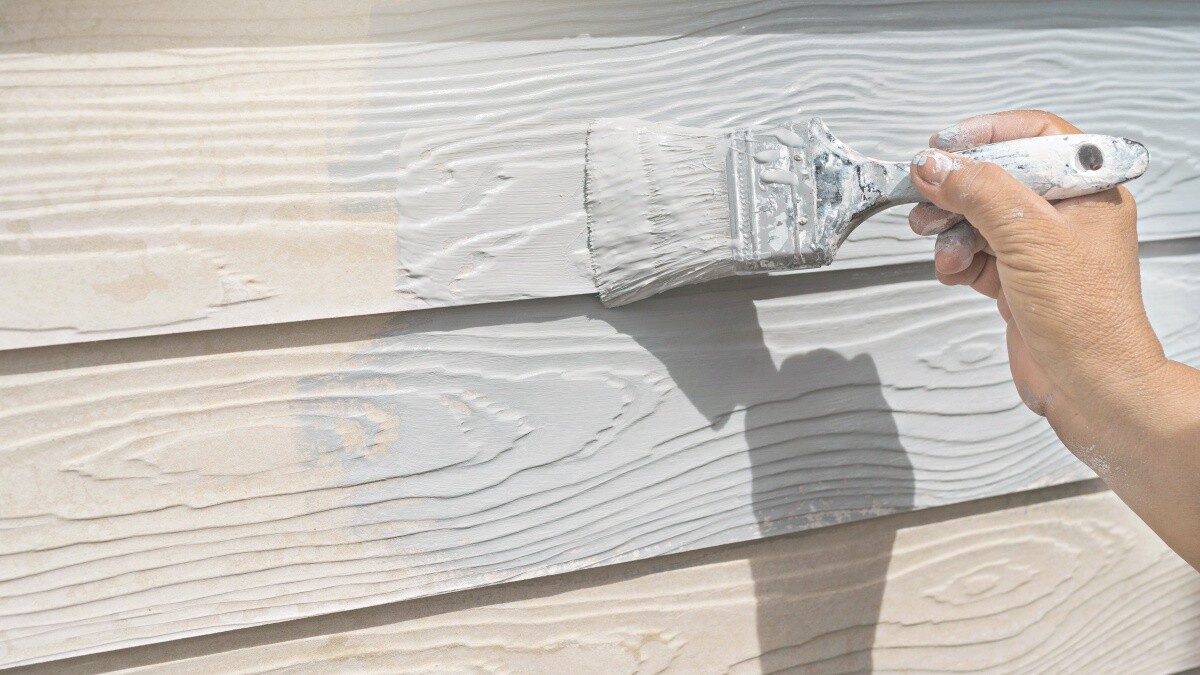
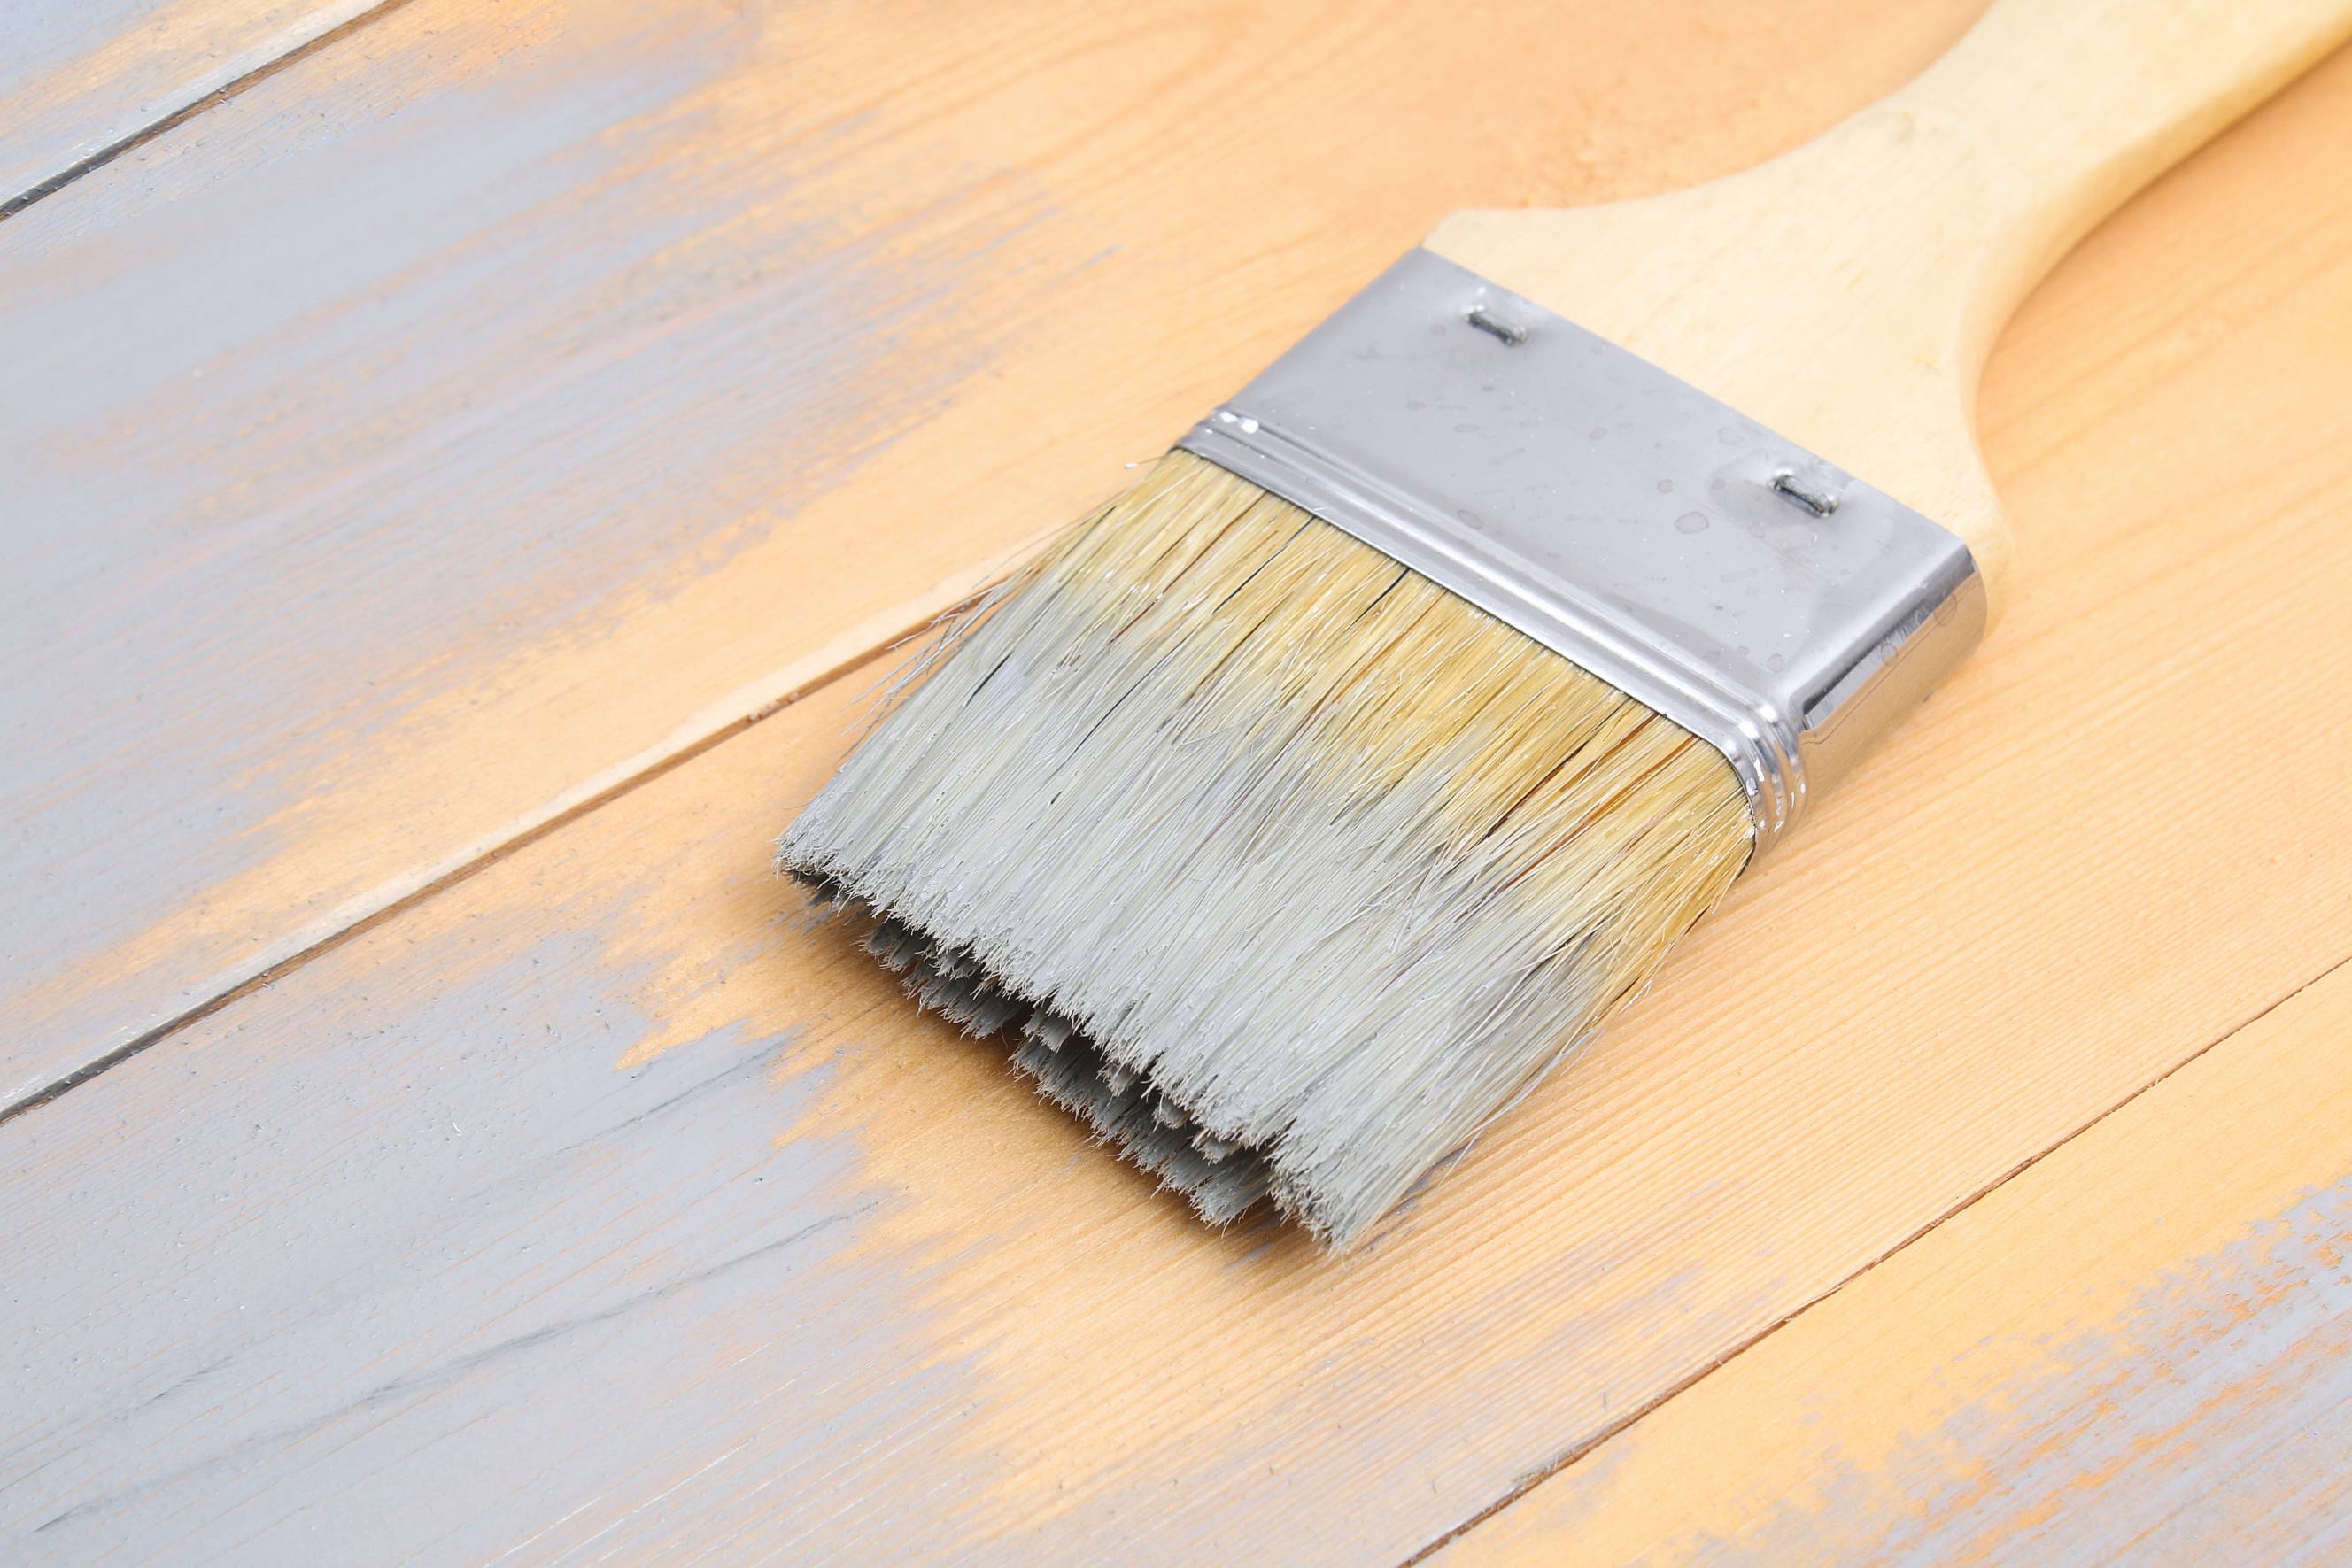
Paintbrushes need to be large enough to make even coats and cover a large area with a few strokes. Use a brush at least 10 to 12cm wide for efficient coverage.
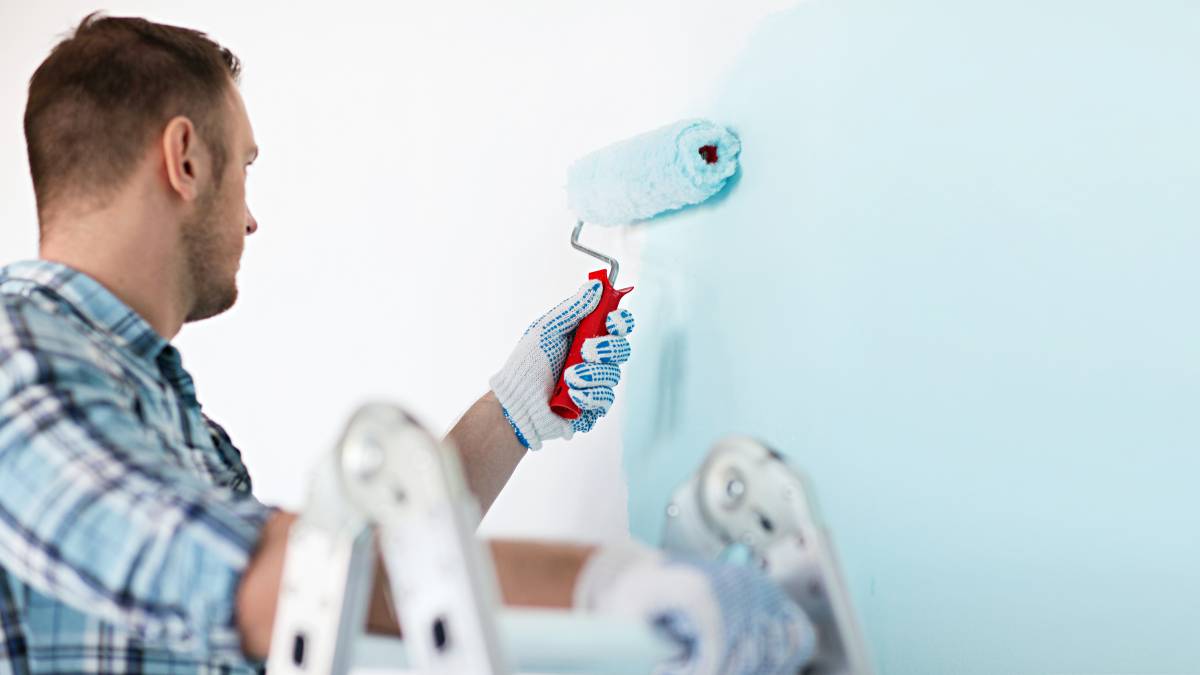
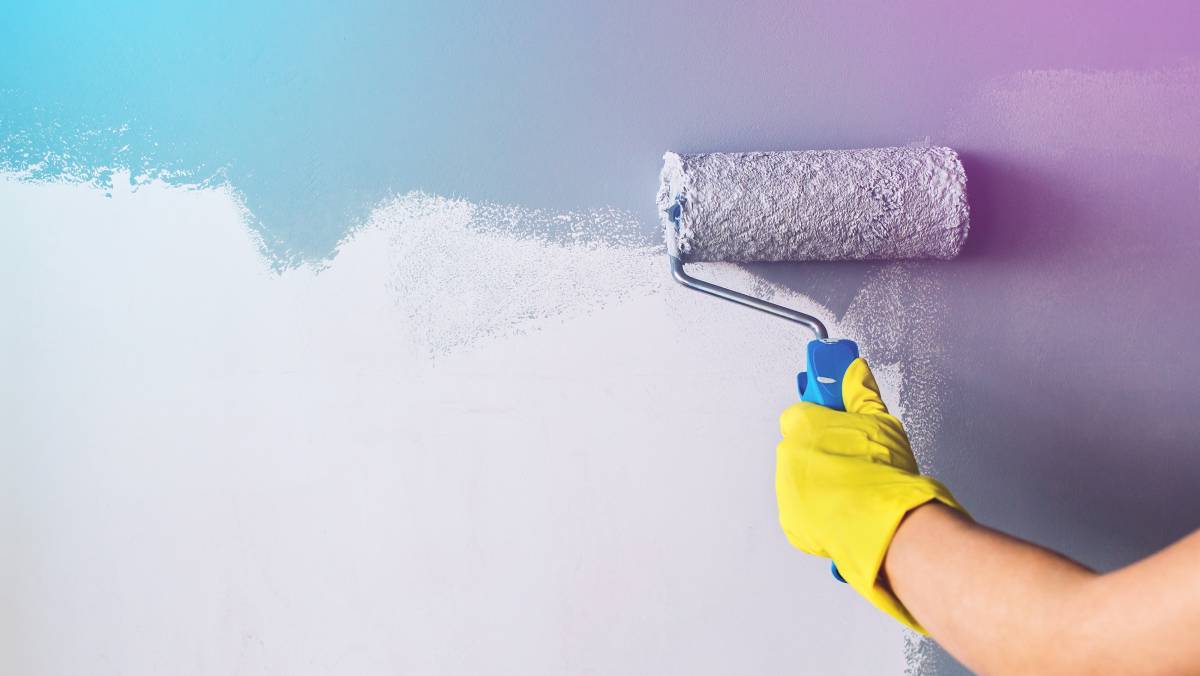
Paint rollers are relatively more efficient in applying even coats with less effort. Use a roller at least 10cm wide. Paint rollers can’t get into all the nooks and crannies of your garden fence, so check areas where your paint roller missed and use a paintbrush on them.
Paint sprayers are the quickest tool for painting your garden fence. But as with paint rollers, they can miss some nooks and crannies, and you’ll have to go over these areas with a paintbrush.
Whatever painting tool you use, give the paint at least a day to dry afterward. You can put up warning signs to prevent anyone from touching the wet paint. Keep your pets and very young children away from the fence!
Garden fence maintenance
In the weeks after your garden fence is painted, check for signs of dirt and mould. If you see any of these, prepare a bleach or detergent solution and apply it to affected areas with a sponge. Use a power washer or your garden hose to clean off the fence. Inspect your fence every month and clean it as necessary.
Paint your garden fence with an expert who’s always on-call
Painting your garden fence increases your home’s curb appeal and protects it from the elements. So go ahead and use this guide to transform your garden fence into one that will last for ages.
Remember that you can always hire an expert if you don’t have the time or the tools, so put up a post on Airtasker to get your garden fence painted today!
Frequently asked questions on garden fence painting
While a paint kettle isn’t necessary, it can be handy. A paint kettle lets you take a small amount of paint from your paint bucket, so you have a small supply of paint on hand, enough for applying a good first coat before refilling. It’s also helpful because you don’t have to carry the heavy paint bucket around and avoid spilling your paint.
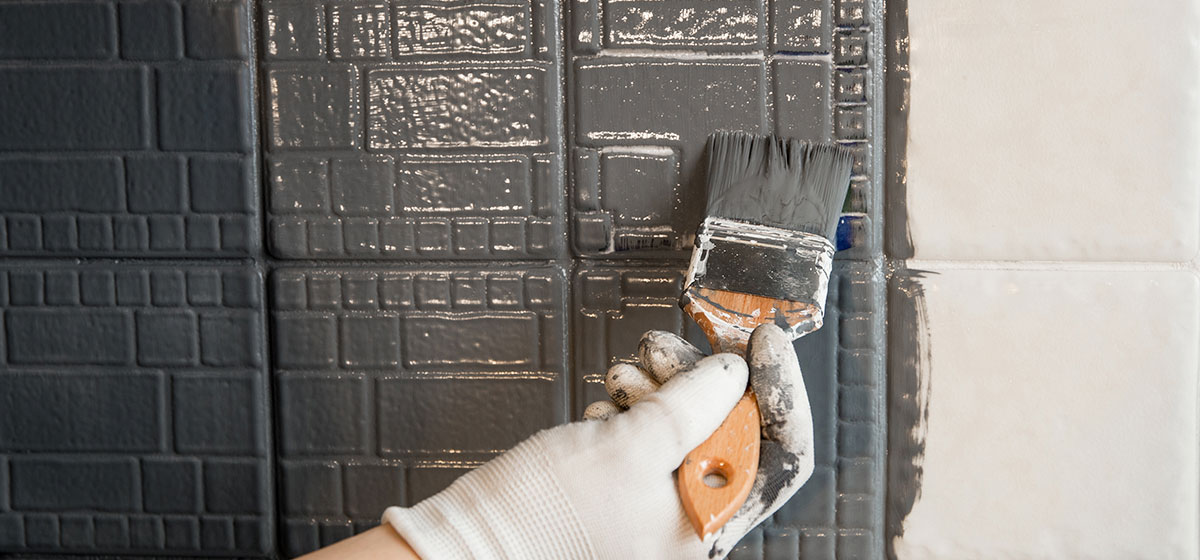
You can paint a brick garden wall, although it’s not necessary. Most brick walls aren’t meant to be painted. But if you decide to paint your brick garden wall to improve curb appeal or as part of your home renovation, you’ll have to use specialised brick paint and hire professional painters to do it right. Consult an expert for viable garden brick wall painting ideas and its application.
Find fence painters, fast
Find a fence painter
Related articles
How to estimate a paint job in 4 steps
Read more
How much do painters make?
Read more


Related price guides
How much does deck painting cost?
Read more
How much does fence painting cost?
Read more