- Home/
- Guides/
- Bathroom Painting/
- How to Paint Bathroom Tiles
How to paint bathroom tiles: A quick DIY guide
Update the look of your bathroom tiles with these tips
Last Updated on
One of the easiest ways to give your bathroom a makeover is by painting bathroom tiles. You can match the colours to suit the latest trends and redesign your bathroom as you see fit. That said, learning how to paint bathroom tiles is an important skill for any DIY enthusiast.
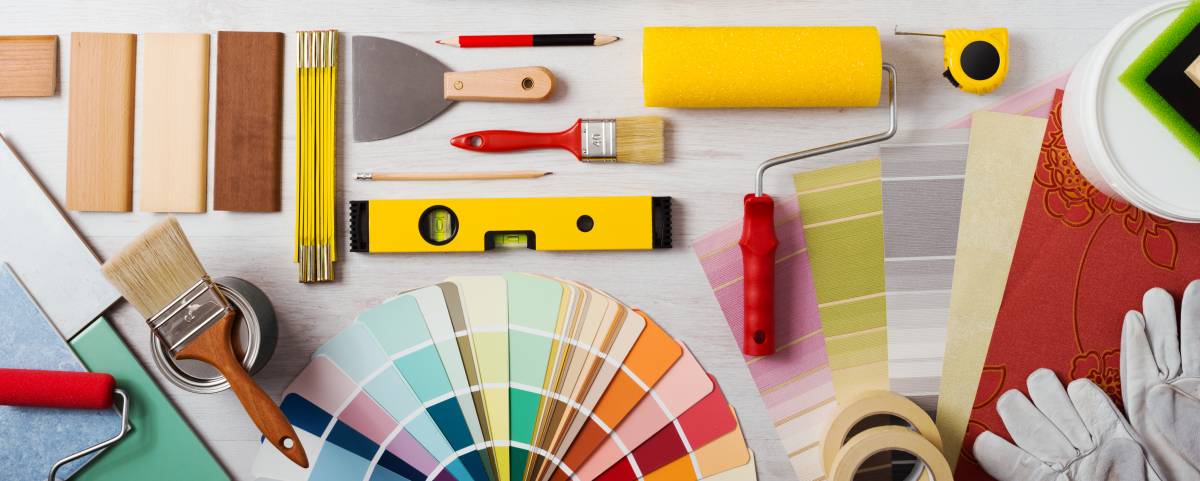
Part of knowing how to paint tiles in the bathroom is familiarising yourself with different elements and steps. Use this guide when choosing the right tile paint, prepping your bathroom, and doing the paint job, so you can have excellent results.
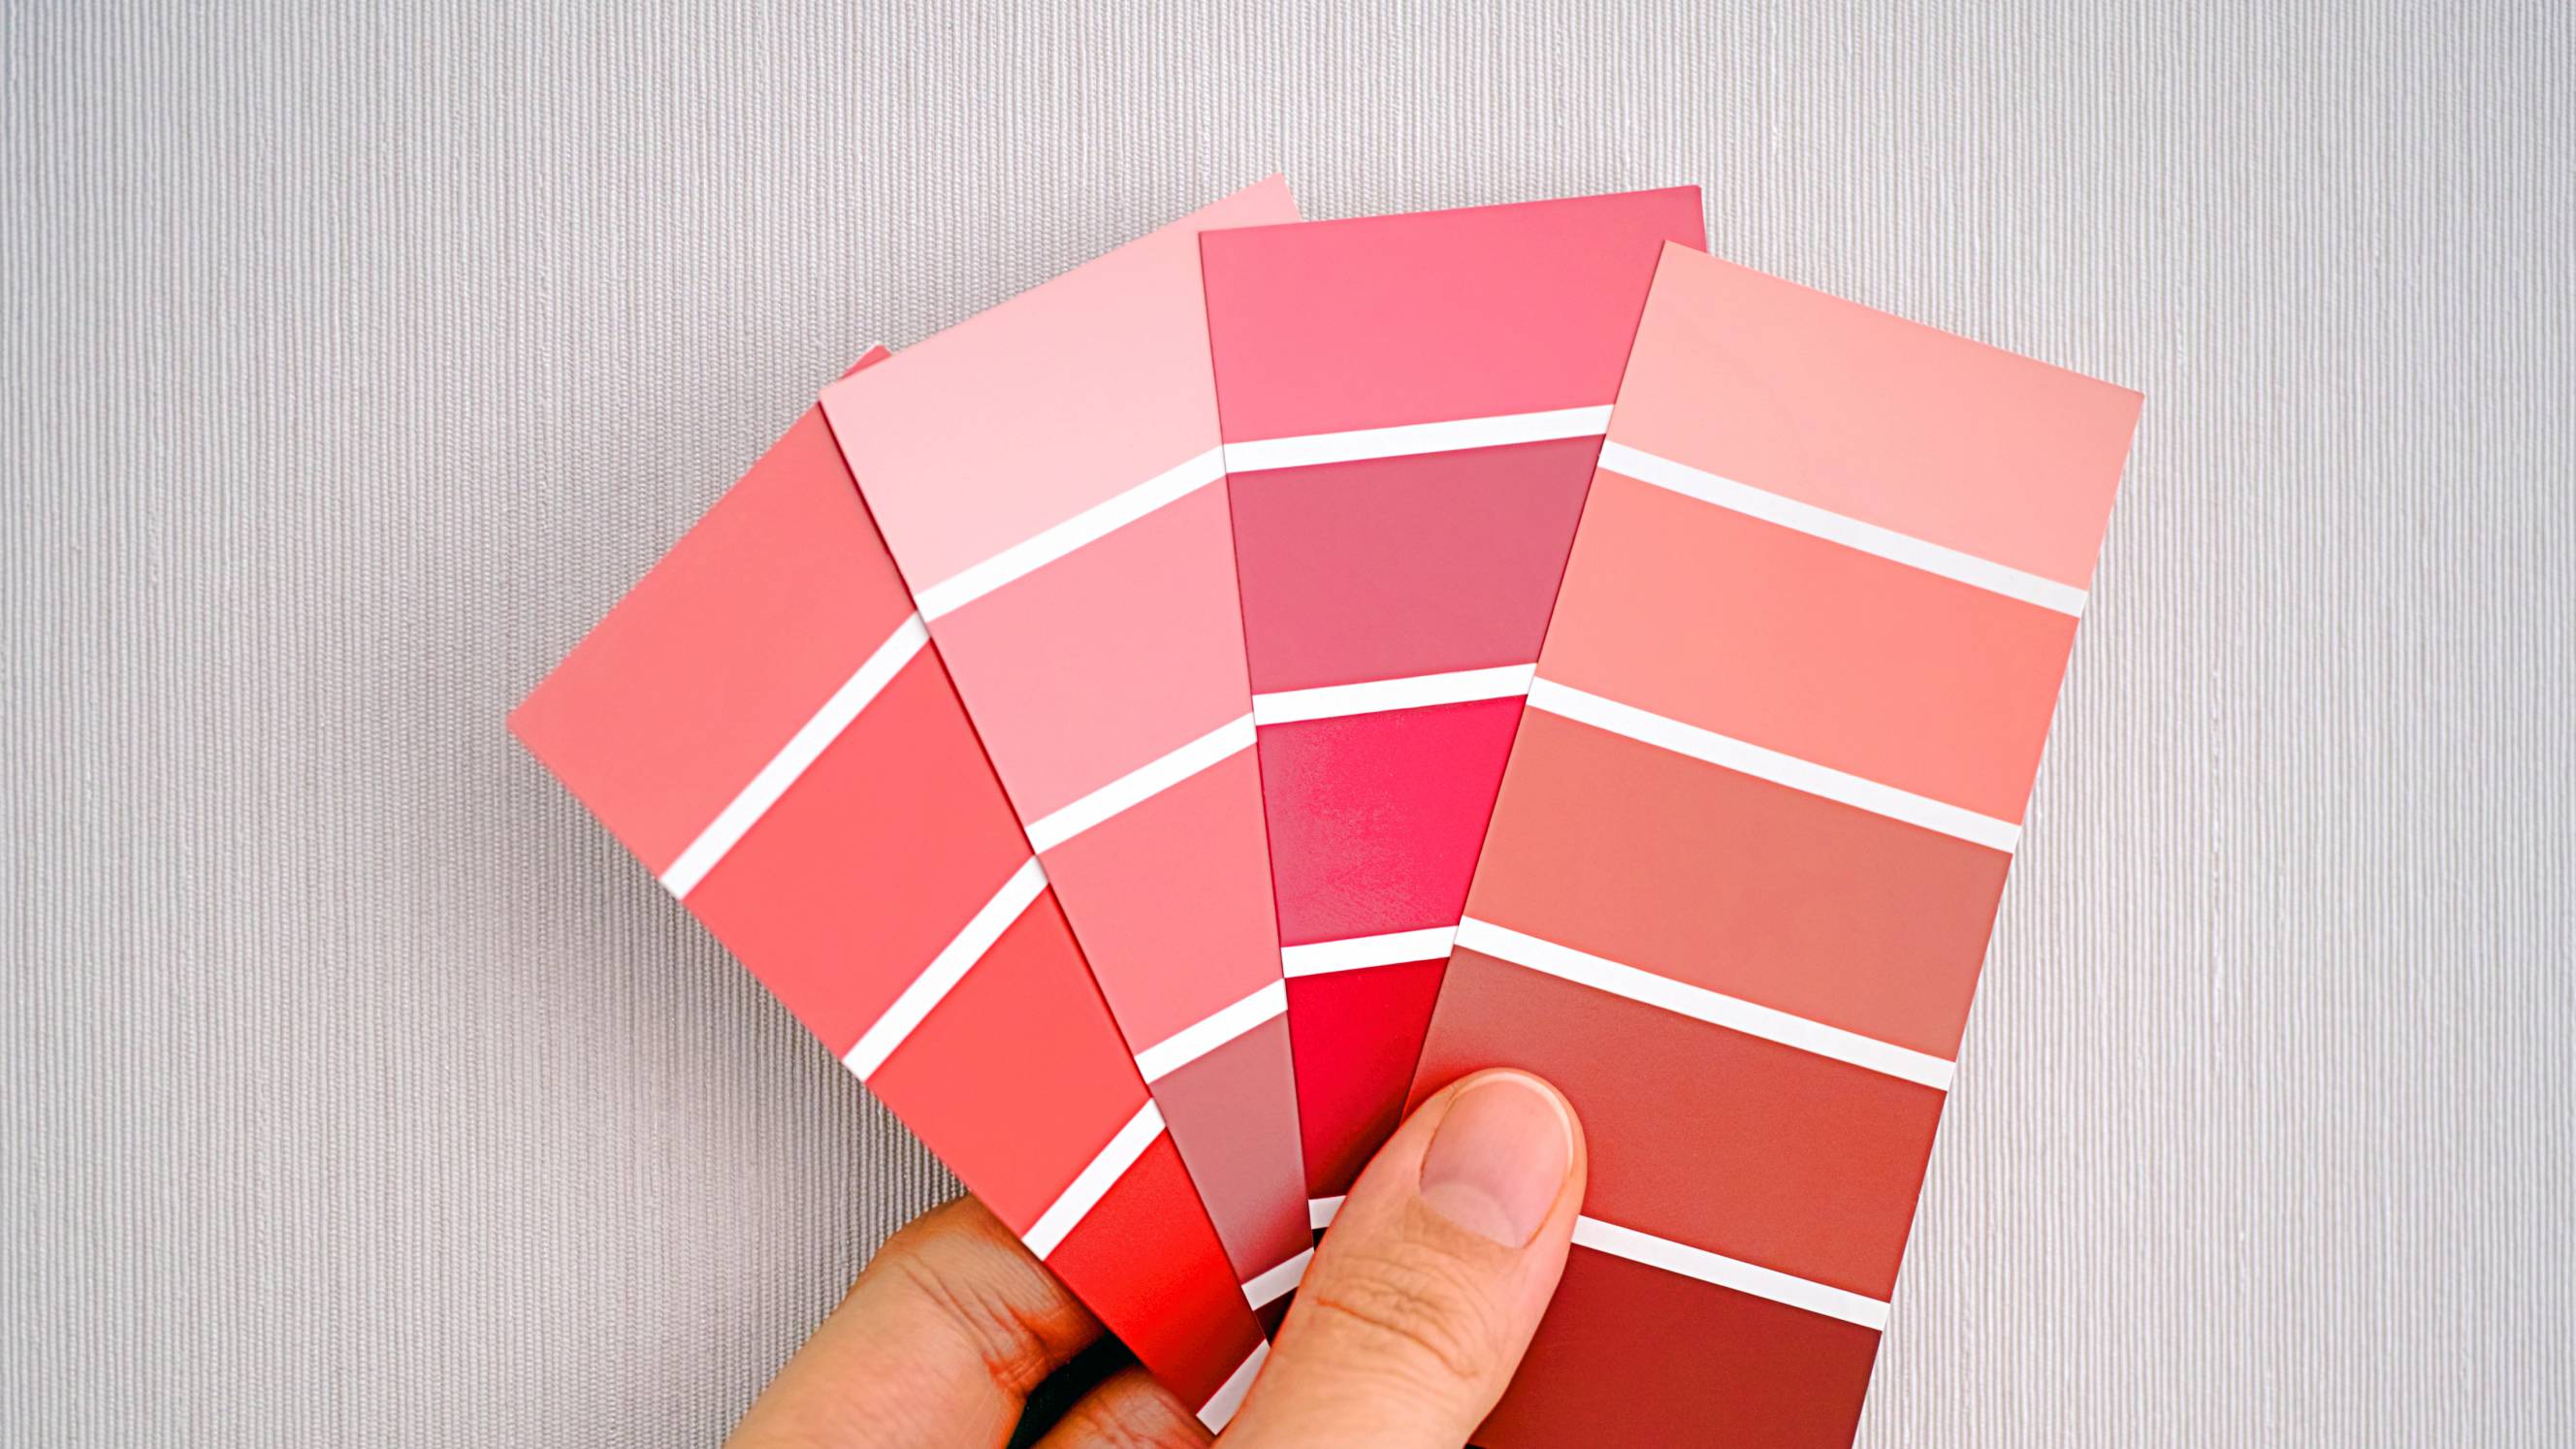
Deciding on your new look
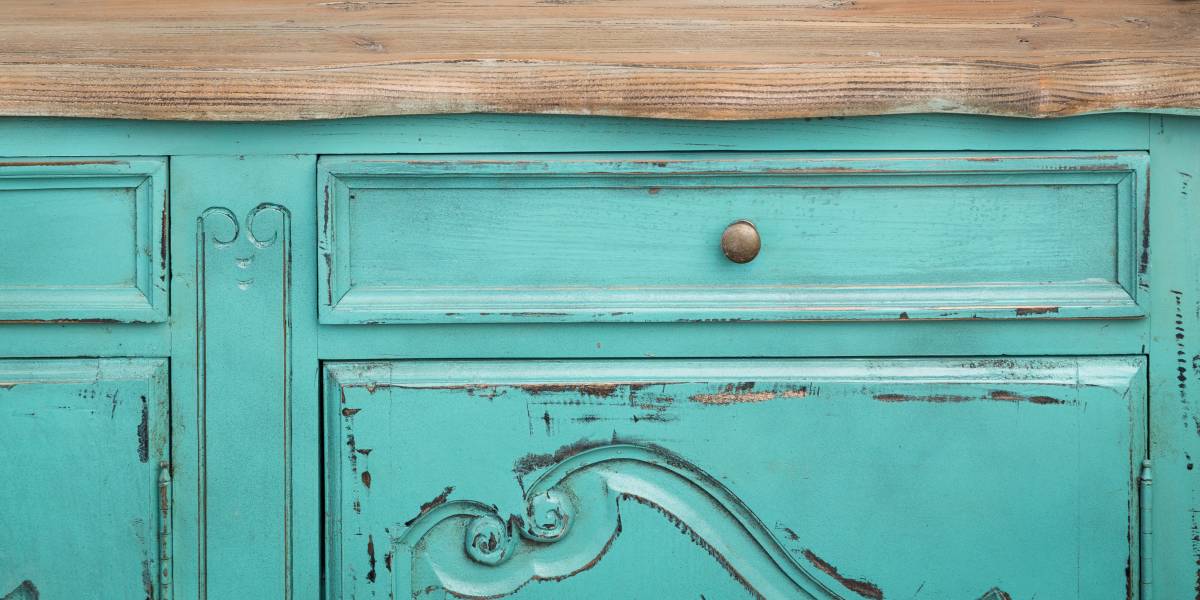
If your bathroom is starting to look outdated or damaged, painting bathroom tiles is a much cheaper option than replacing them. The most popular tile materials are often ceramic, porcelain, natural stones, or quarry tiles, often sold in various solid colours or patterns.
If you want something that differs from this to take control of your bathroom design or update your space to suit newer fashions, paint is key. You can lighten the look, darken it, or apply a pattern to fit any bathroom aesthetic. Best of all, once you know how to paint bathroom wall and floor tiles, you can easily repaint as your tastes change.
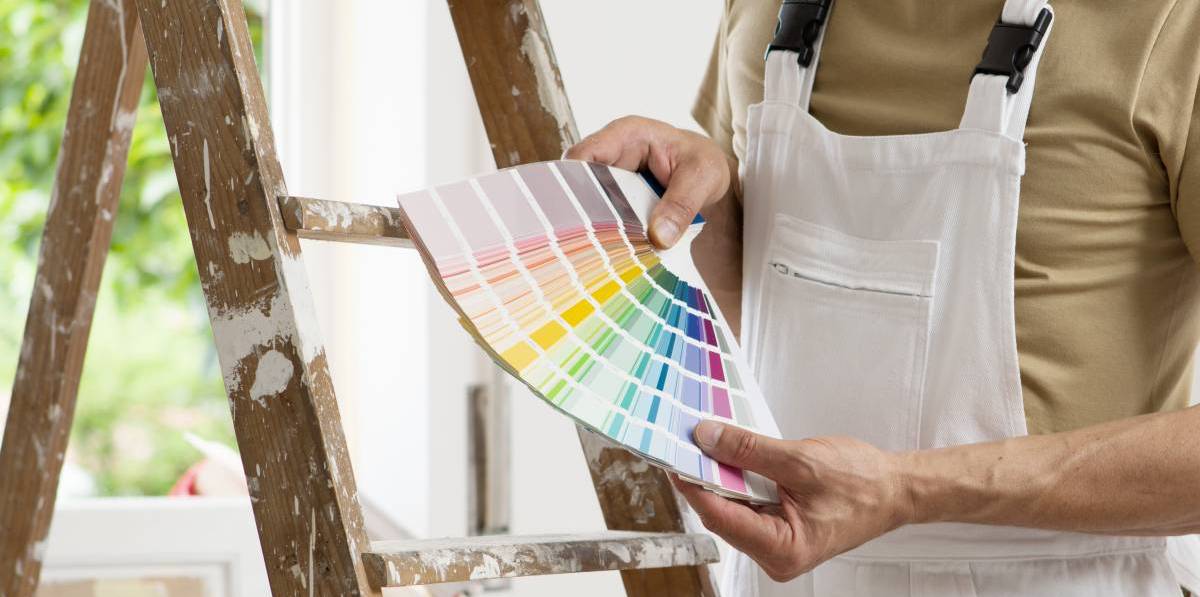
Consider the interior design of your bathroom. When choosing your new colour, it is important to remember that brighter paint colours suit space-limited bathrooms the best. Darker paint is well-suited to larger spaces, as it absorbs light and can make a small bathroom look more contracted.
Bathroom surfaces that shouldn't be painted
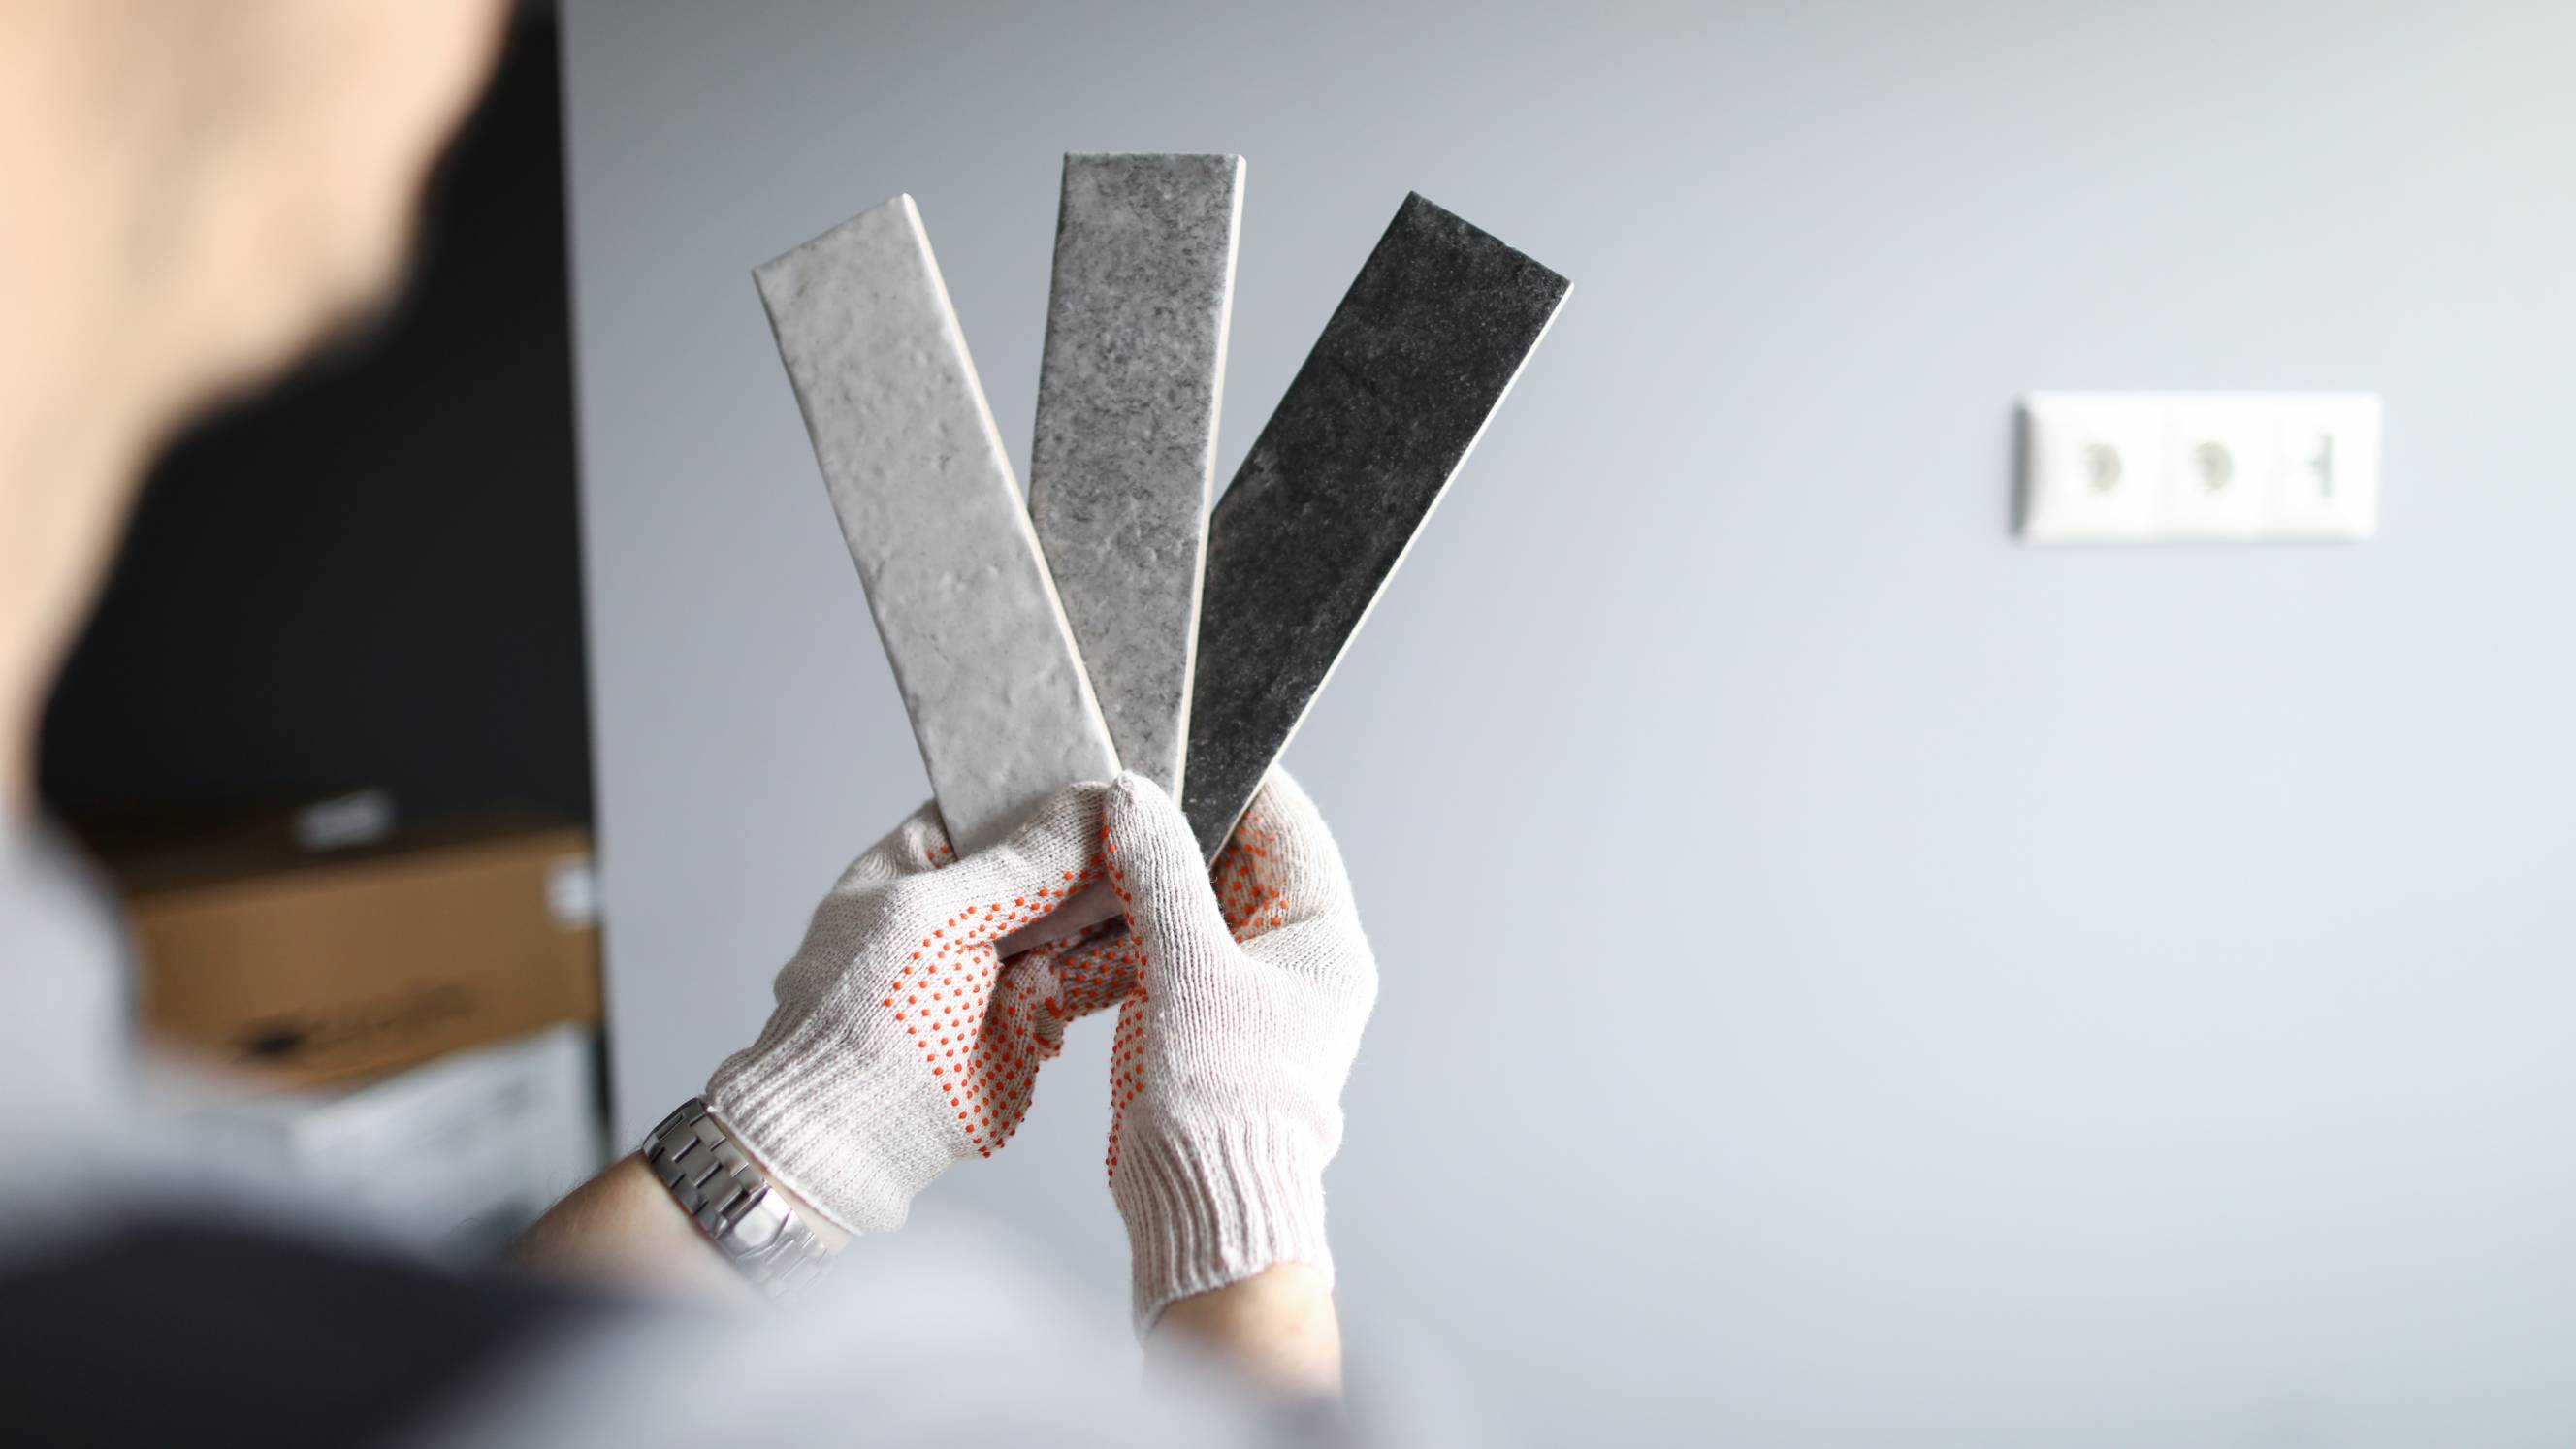
Can you paint bathroom tiles? Definitely. You can paint the following types of tiles:
Ceramic
Porcelain
Most natural stone
Unglazed quarry tile
You should not paint glazed quarry tile, as it does not bond well with the paint. Your new paint job will last the longest on surfaces with low exposure to moisture (which is hard in a bathroom), but the flooring, walls, and splashbacks are all suitable.
The less suitable spaces can be tiled countertops, tub surrounds, or wall tiles surrounding the shower area, as they are in contact with a lot of water. This may cause paint to prematurely fade, peel, or blister. If this does occur, it’s not the end of the world. You can just touch up or re-apply it with a fresh coat to give it a smooth surface.
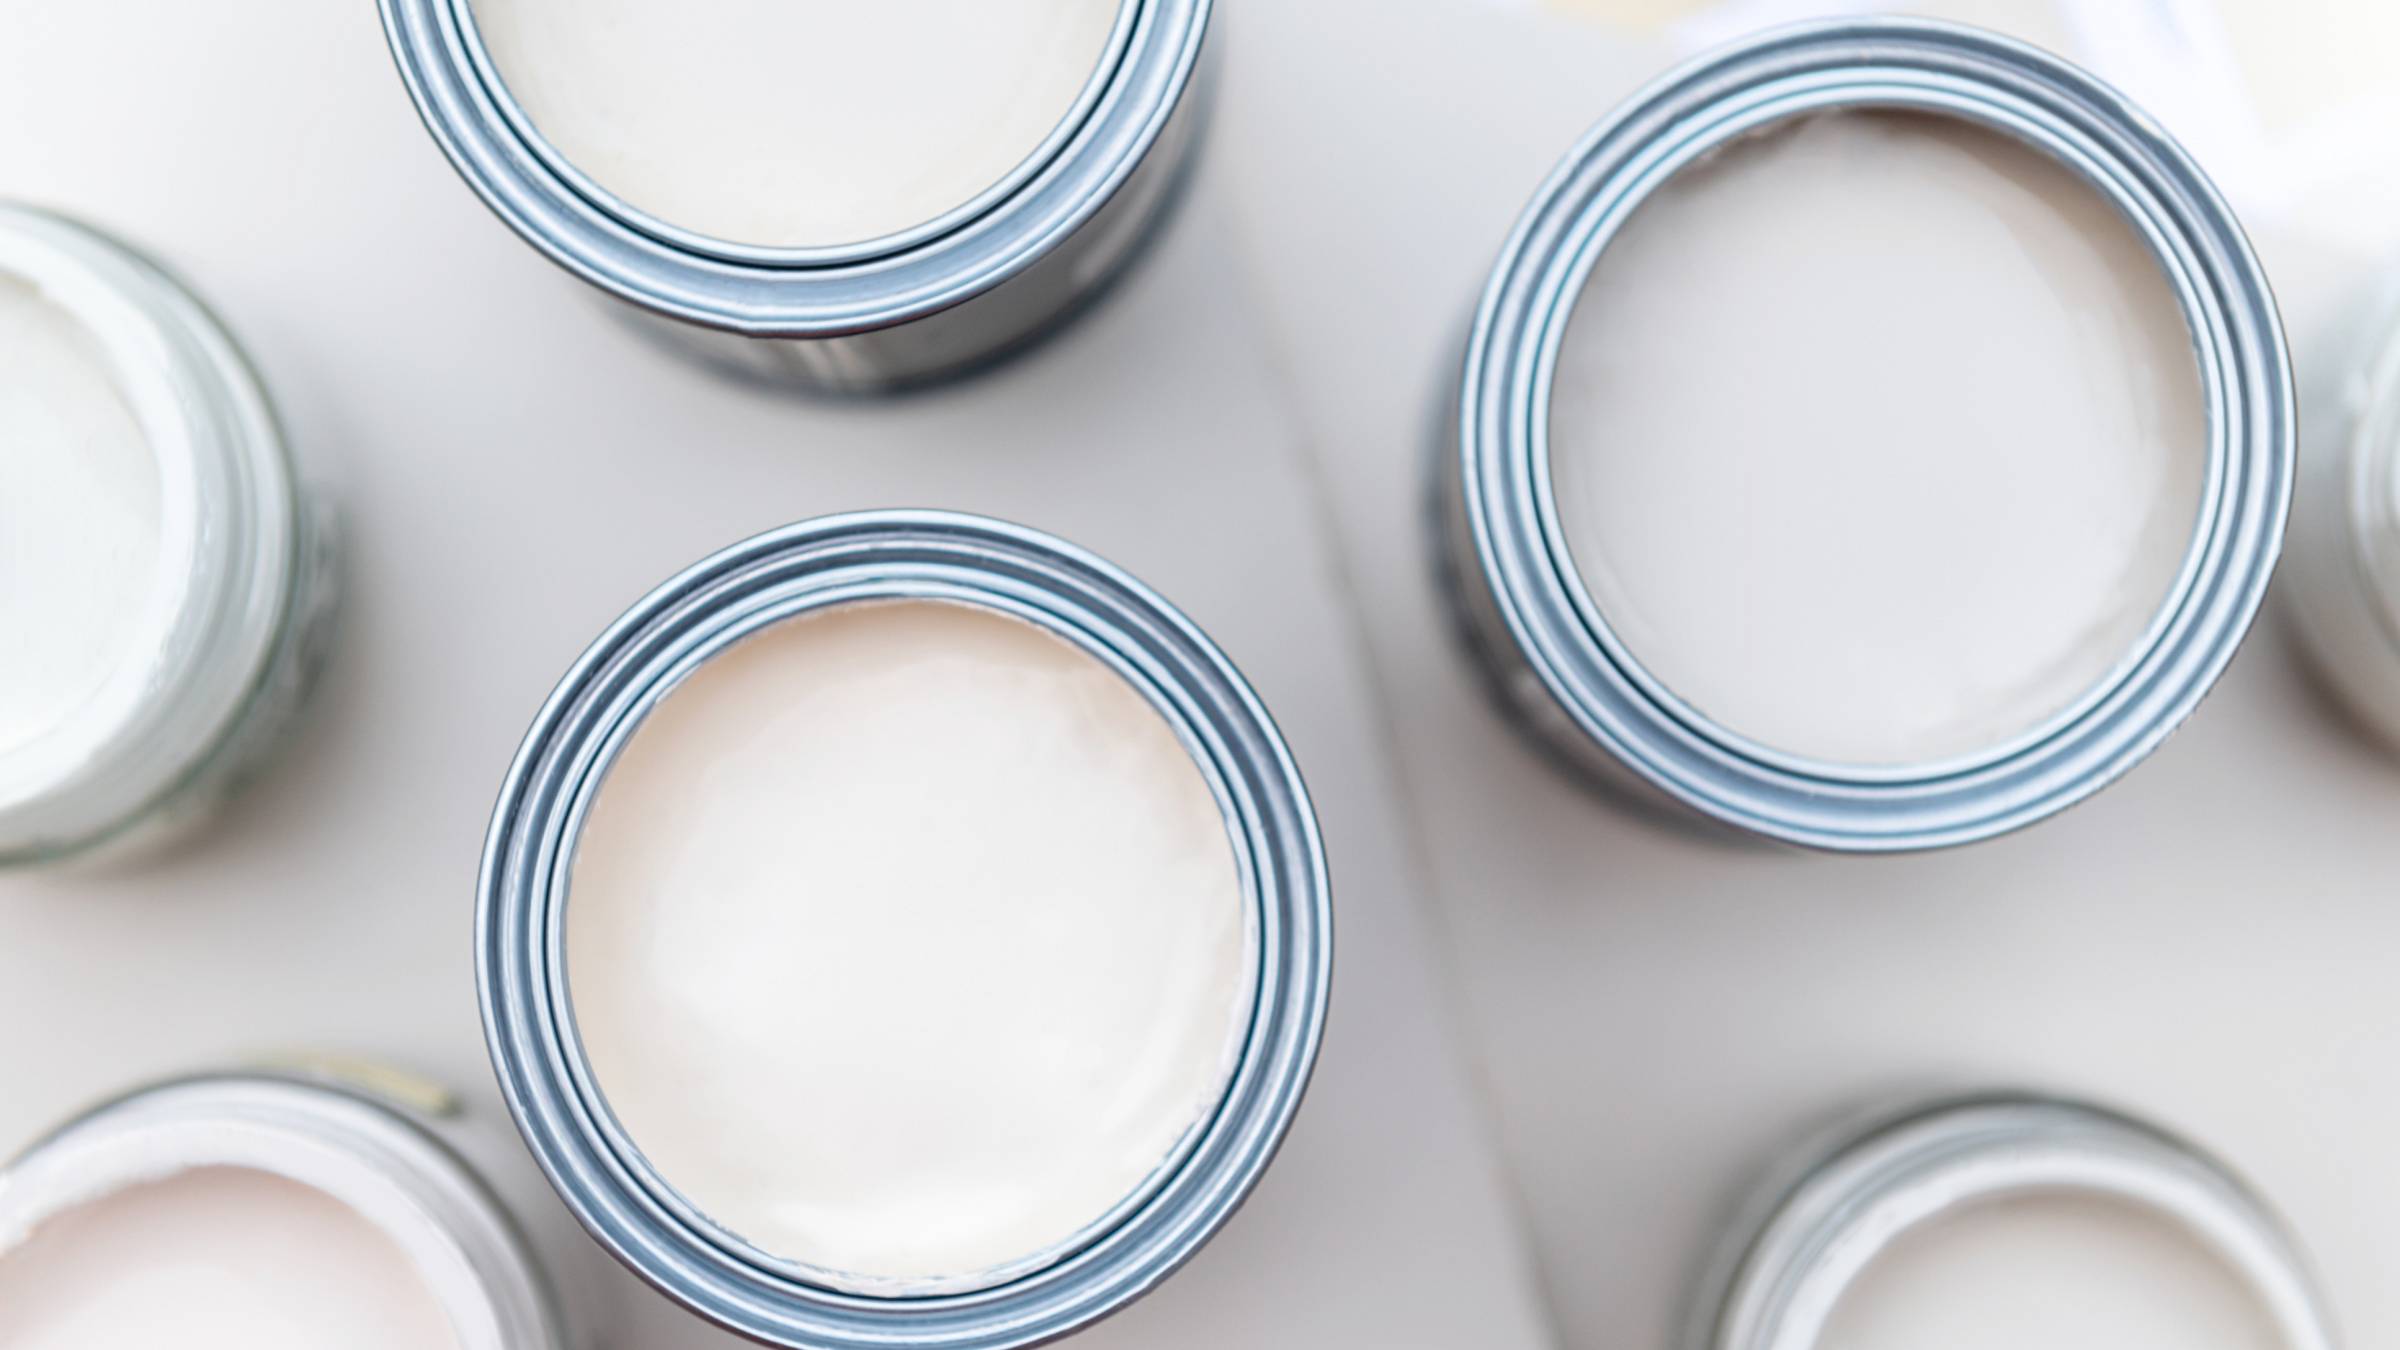
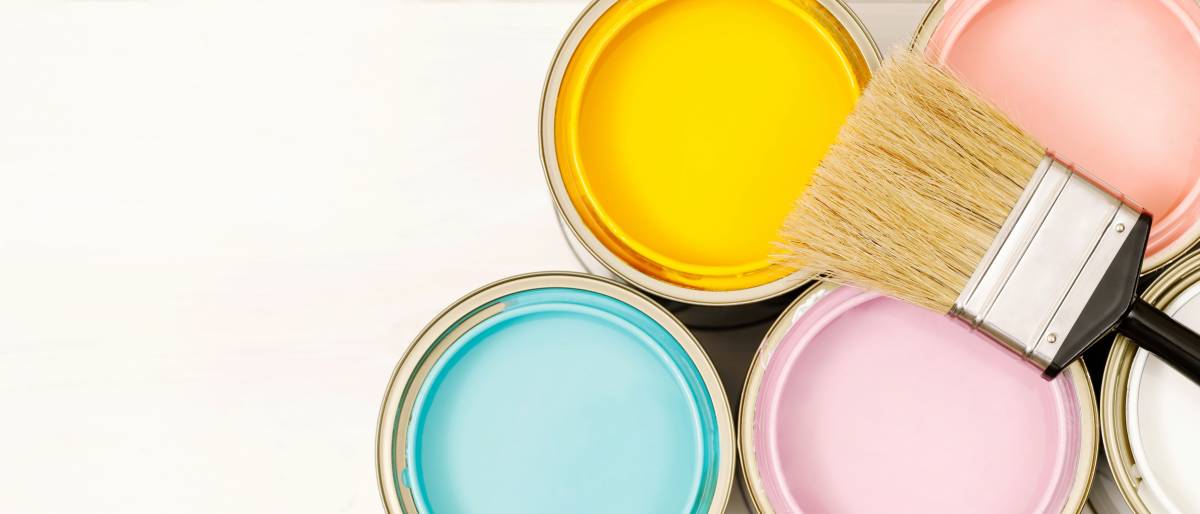
Matching the paint to the tile material and surface
Choosing the right paint is important. If you paint ceramic, porcelain, or unglazed quarry tile, your best bet is either latex or epoxy paint in the pre-mixed or ready-to-mix varieties. Latex paint is generally less toxic and does not have as intense a smell. You can also spend a little bit more money on a mildew-proof variety, which negates the effects of heavy moisture exposure.
Opt for epoxy paint if you paint wetter areas like splashbacks, countertops, tub surroundings, and shower surfaces. Epoxy cures into a harder coat that is more durable and resistant to moisture and everyday wear and tear. You can even find an epoxy specifically designed for tubs and tiles.
When painting natural stone tiles, acrylic latex paint specially formulated for interior masonry or stucco is the best play. You will be able to find this paint in a variety of sheens, from flat to high-gloss. Just keep in mind that the glossier the finish, the more slippery the tile. Flat and matte sheens provide the most traction, while semi-gloss and high-gloss can create a slip-prone surface, so avoid them on shower floors for safety.
Planning to give your bathroom a paint makeover? Find out how much bathroom painting costs to set the right budget for the project! |
How to paint bathroom tile
There are four or five stages to consider when learning how to paint bathroom tile:
Surface preparation
Priming
Painting
Pattern application (if applicable)
Sealing
When planning, consider how long your bathroom will be out of commission, so you can determine the dry time of the primers, paints, and sealers. All of these will vary depending on the types used. If you are painting a pattern, its complexity will also determine your project’s duration.
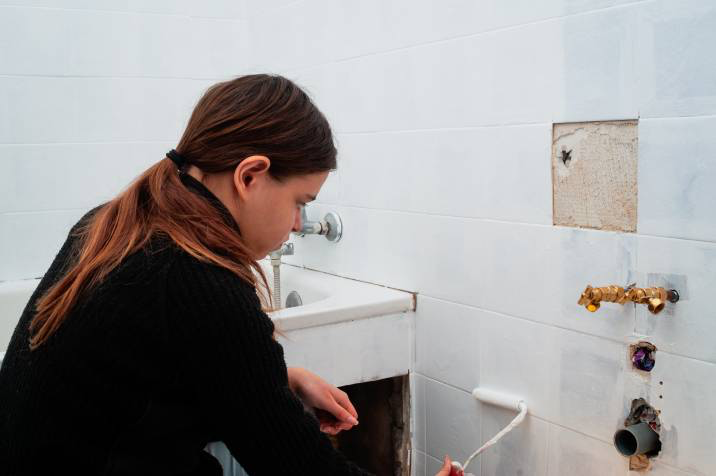
Step 1: Surface preparation
Sand, vacuum, and scrub the old tile and grout lines to prepare them for the new paint job. This action will remove dirt and grime, giving you a clean canvas. Be sure the surface is completely dry before starting. You might also need to cover some of the fixtures on areas where you'll be painting.
Step 2: Priming
This step is essential to ensure your tile is receptive to the paint. It will be best to use epoxy or urethane primer for porcelain or ceramic tiles or a masonry primer for natural stone or unglazed quarry tiles.
Follow the specific primer’s application instructions and pay careful attention to its dry time. Painting over sticky primer leads to disaster.
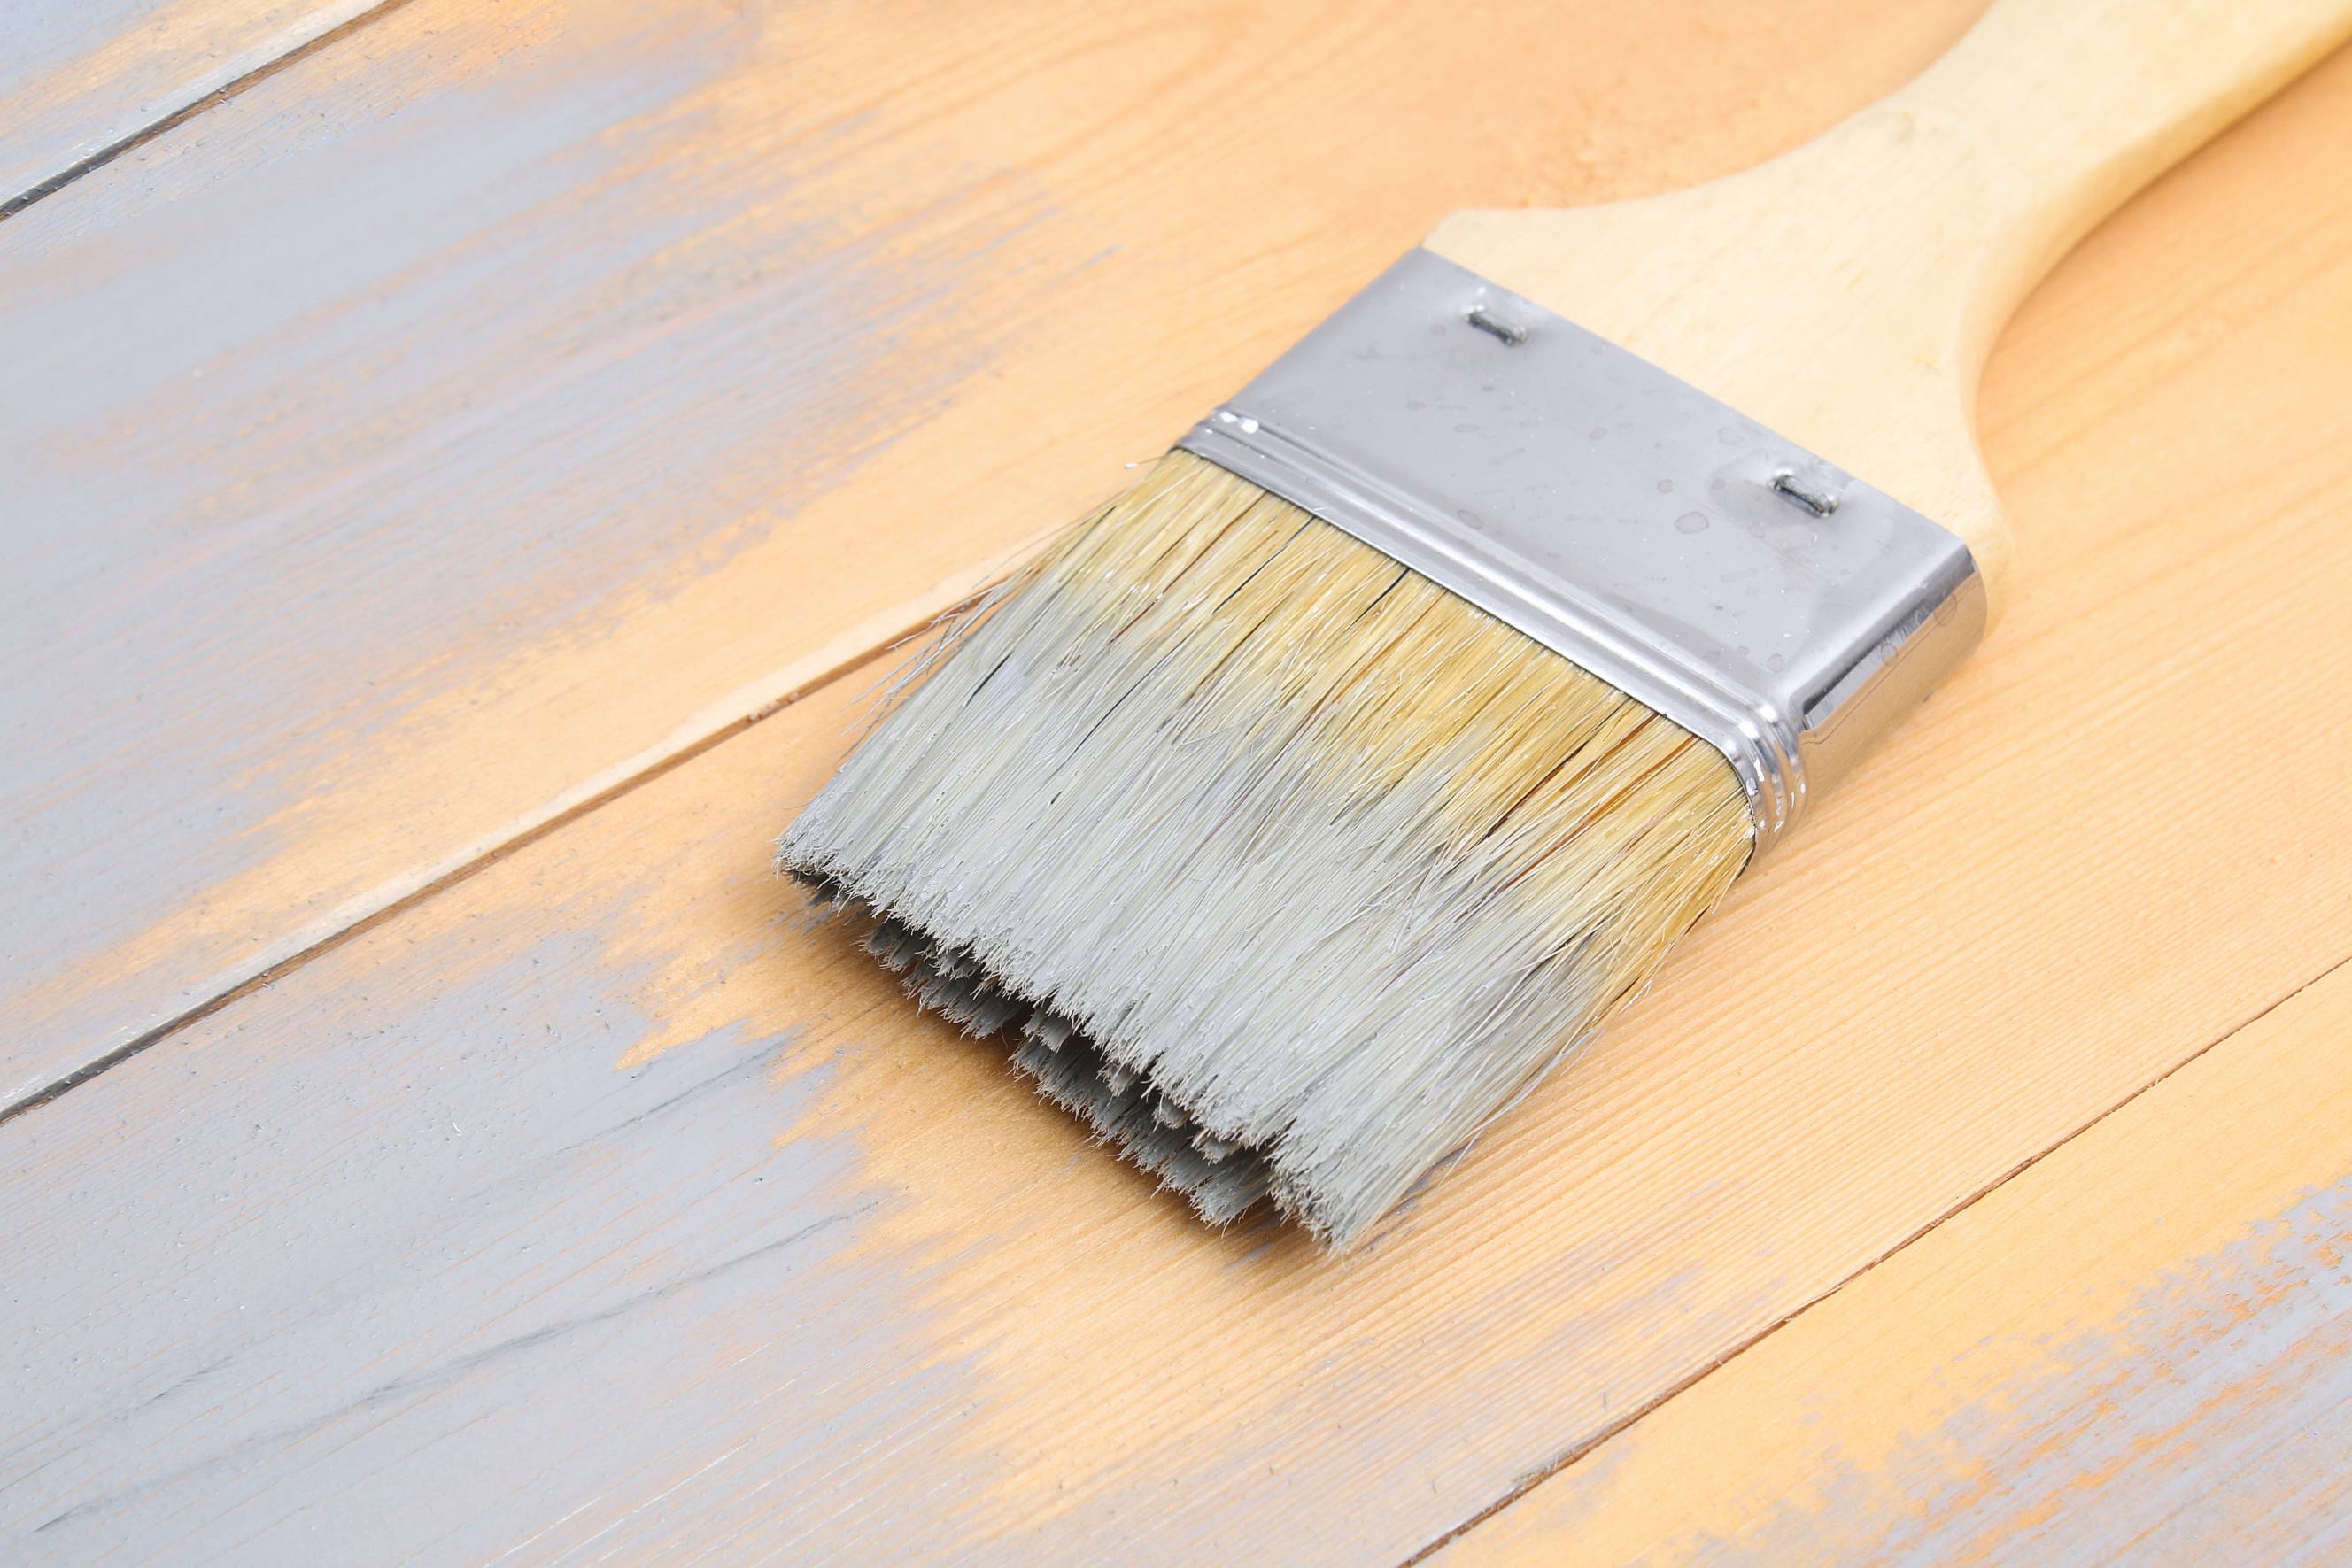
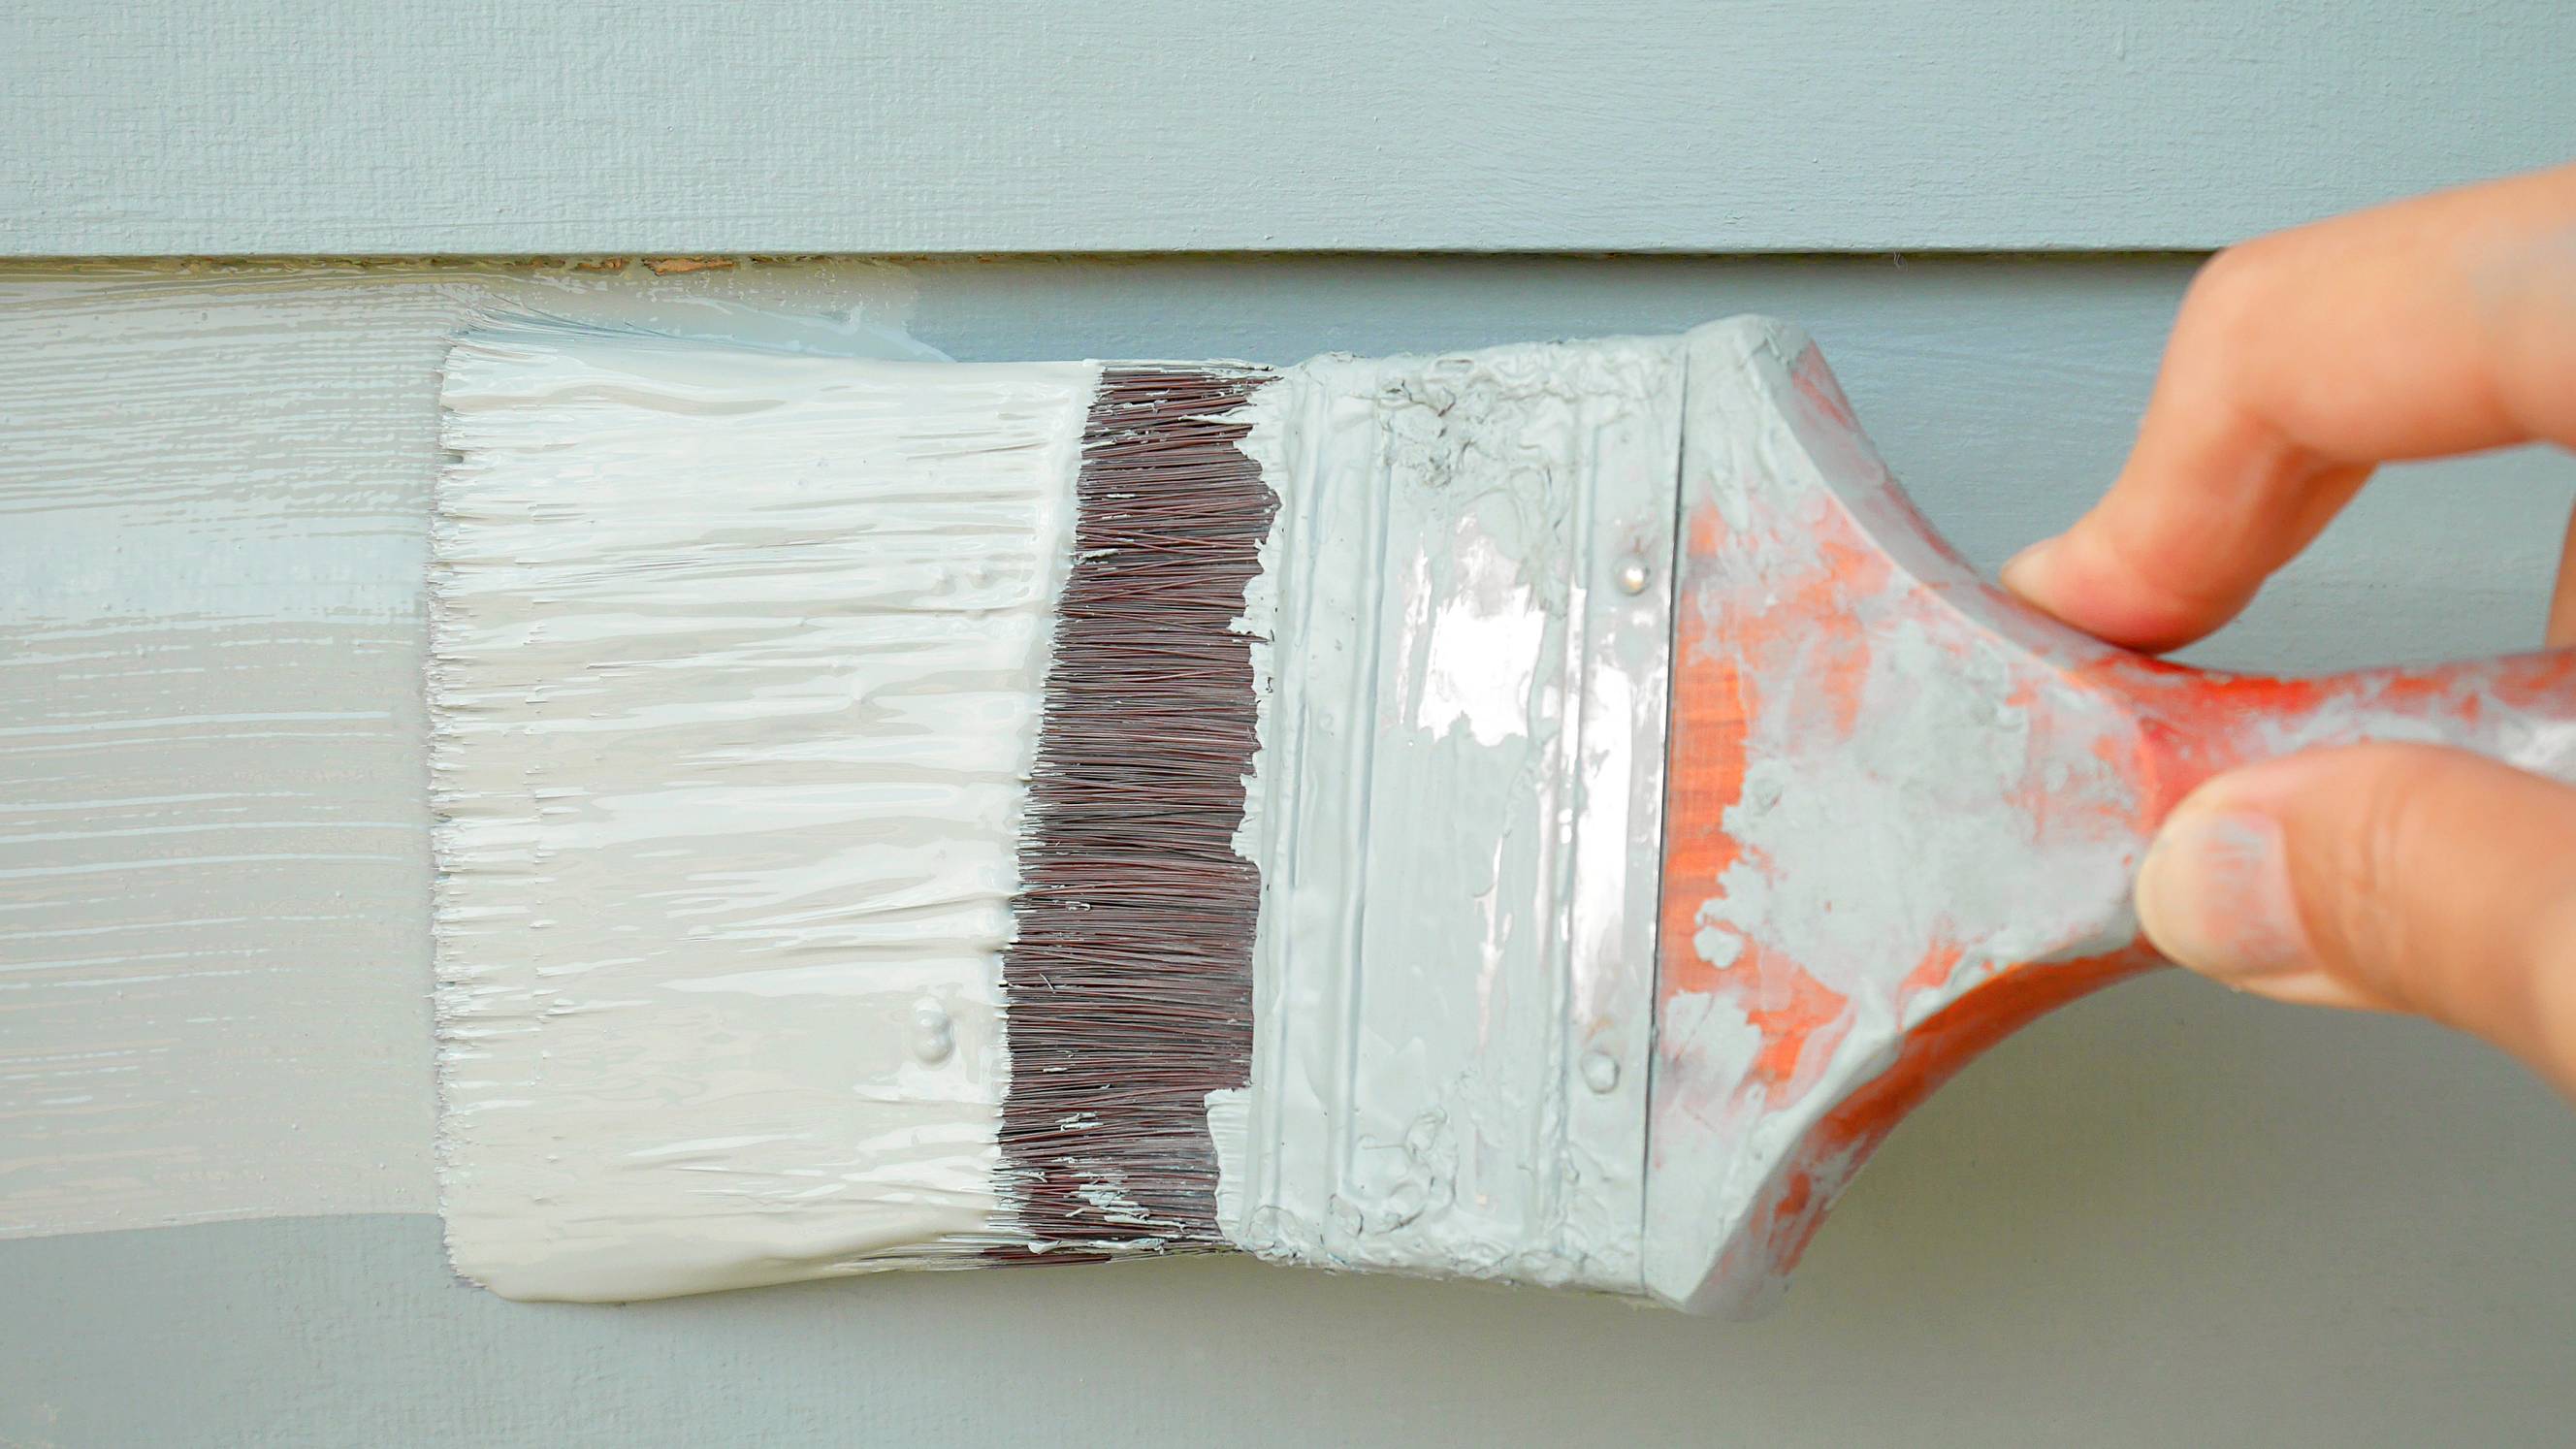
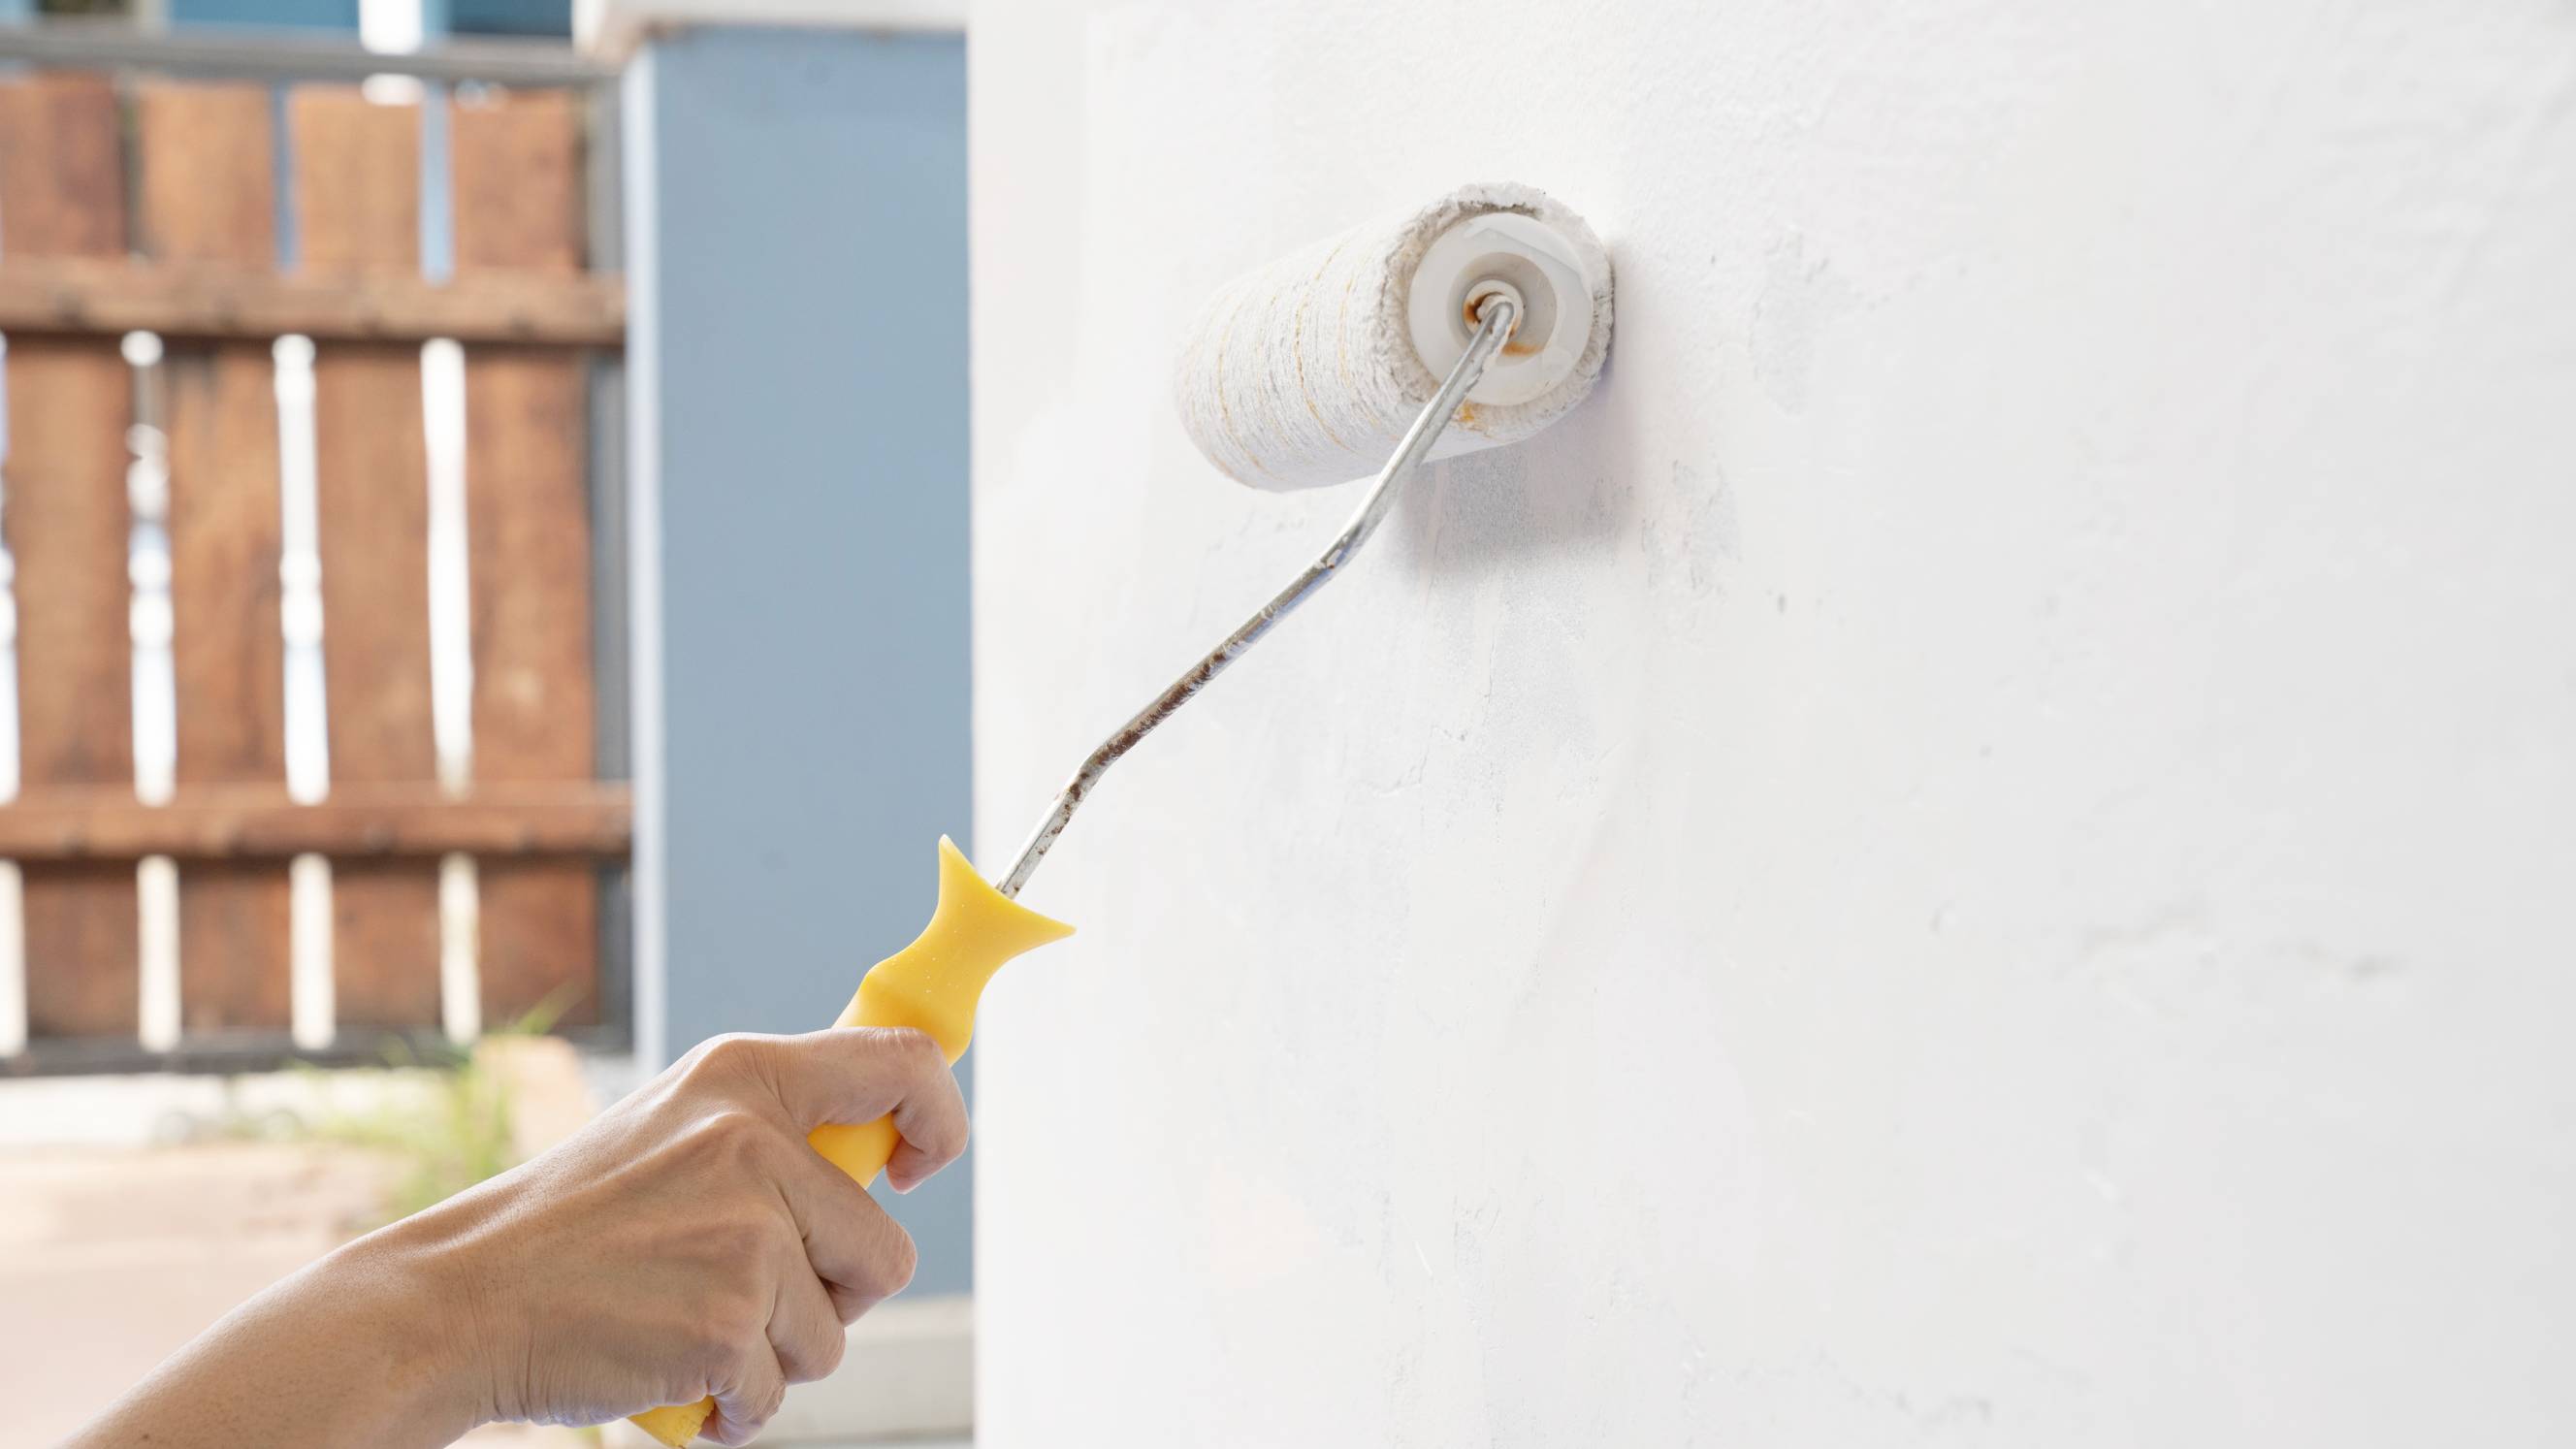
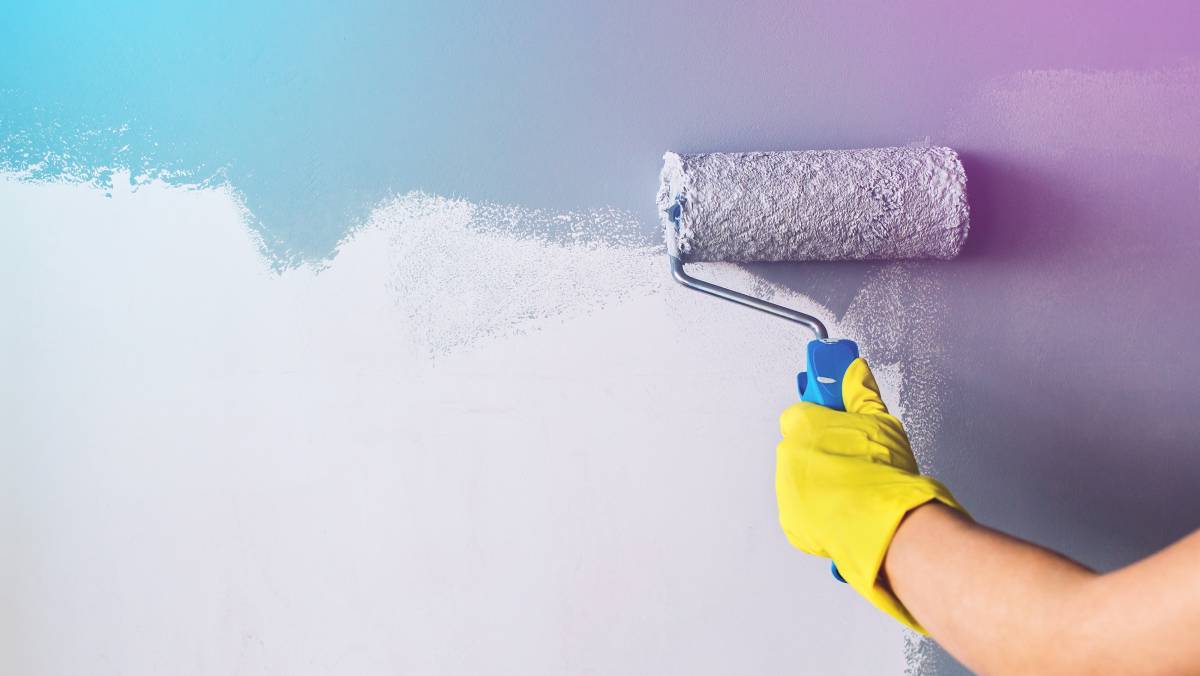
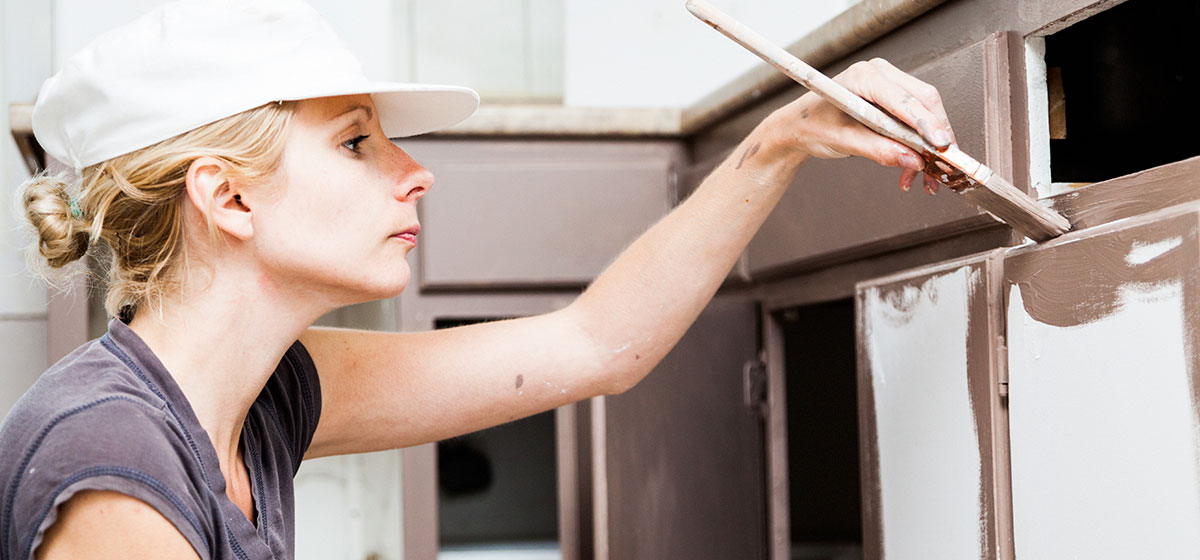
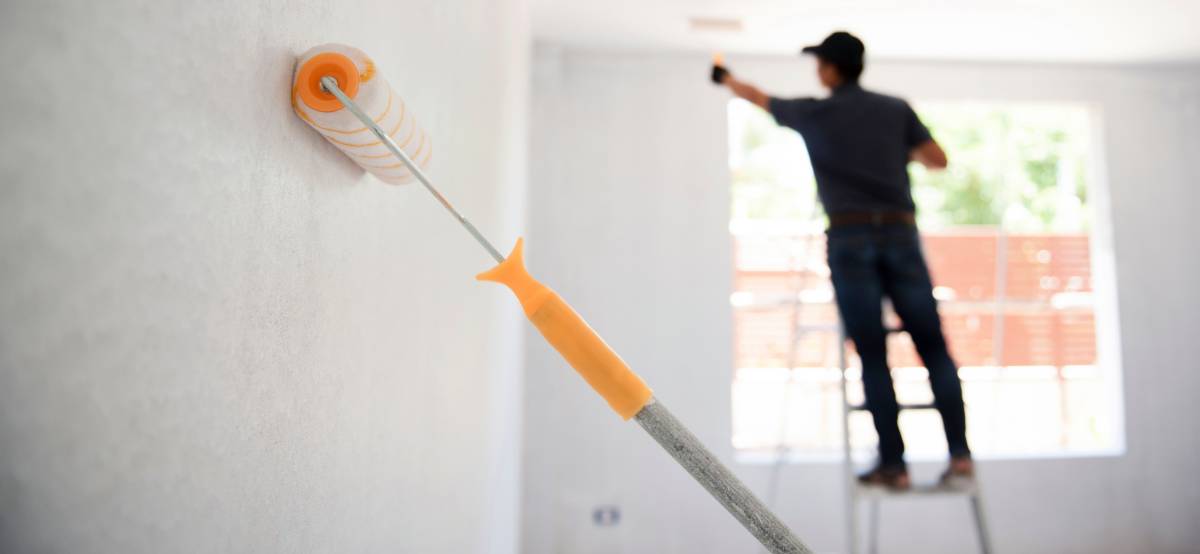
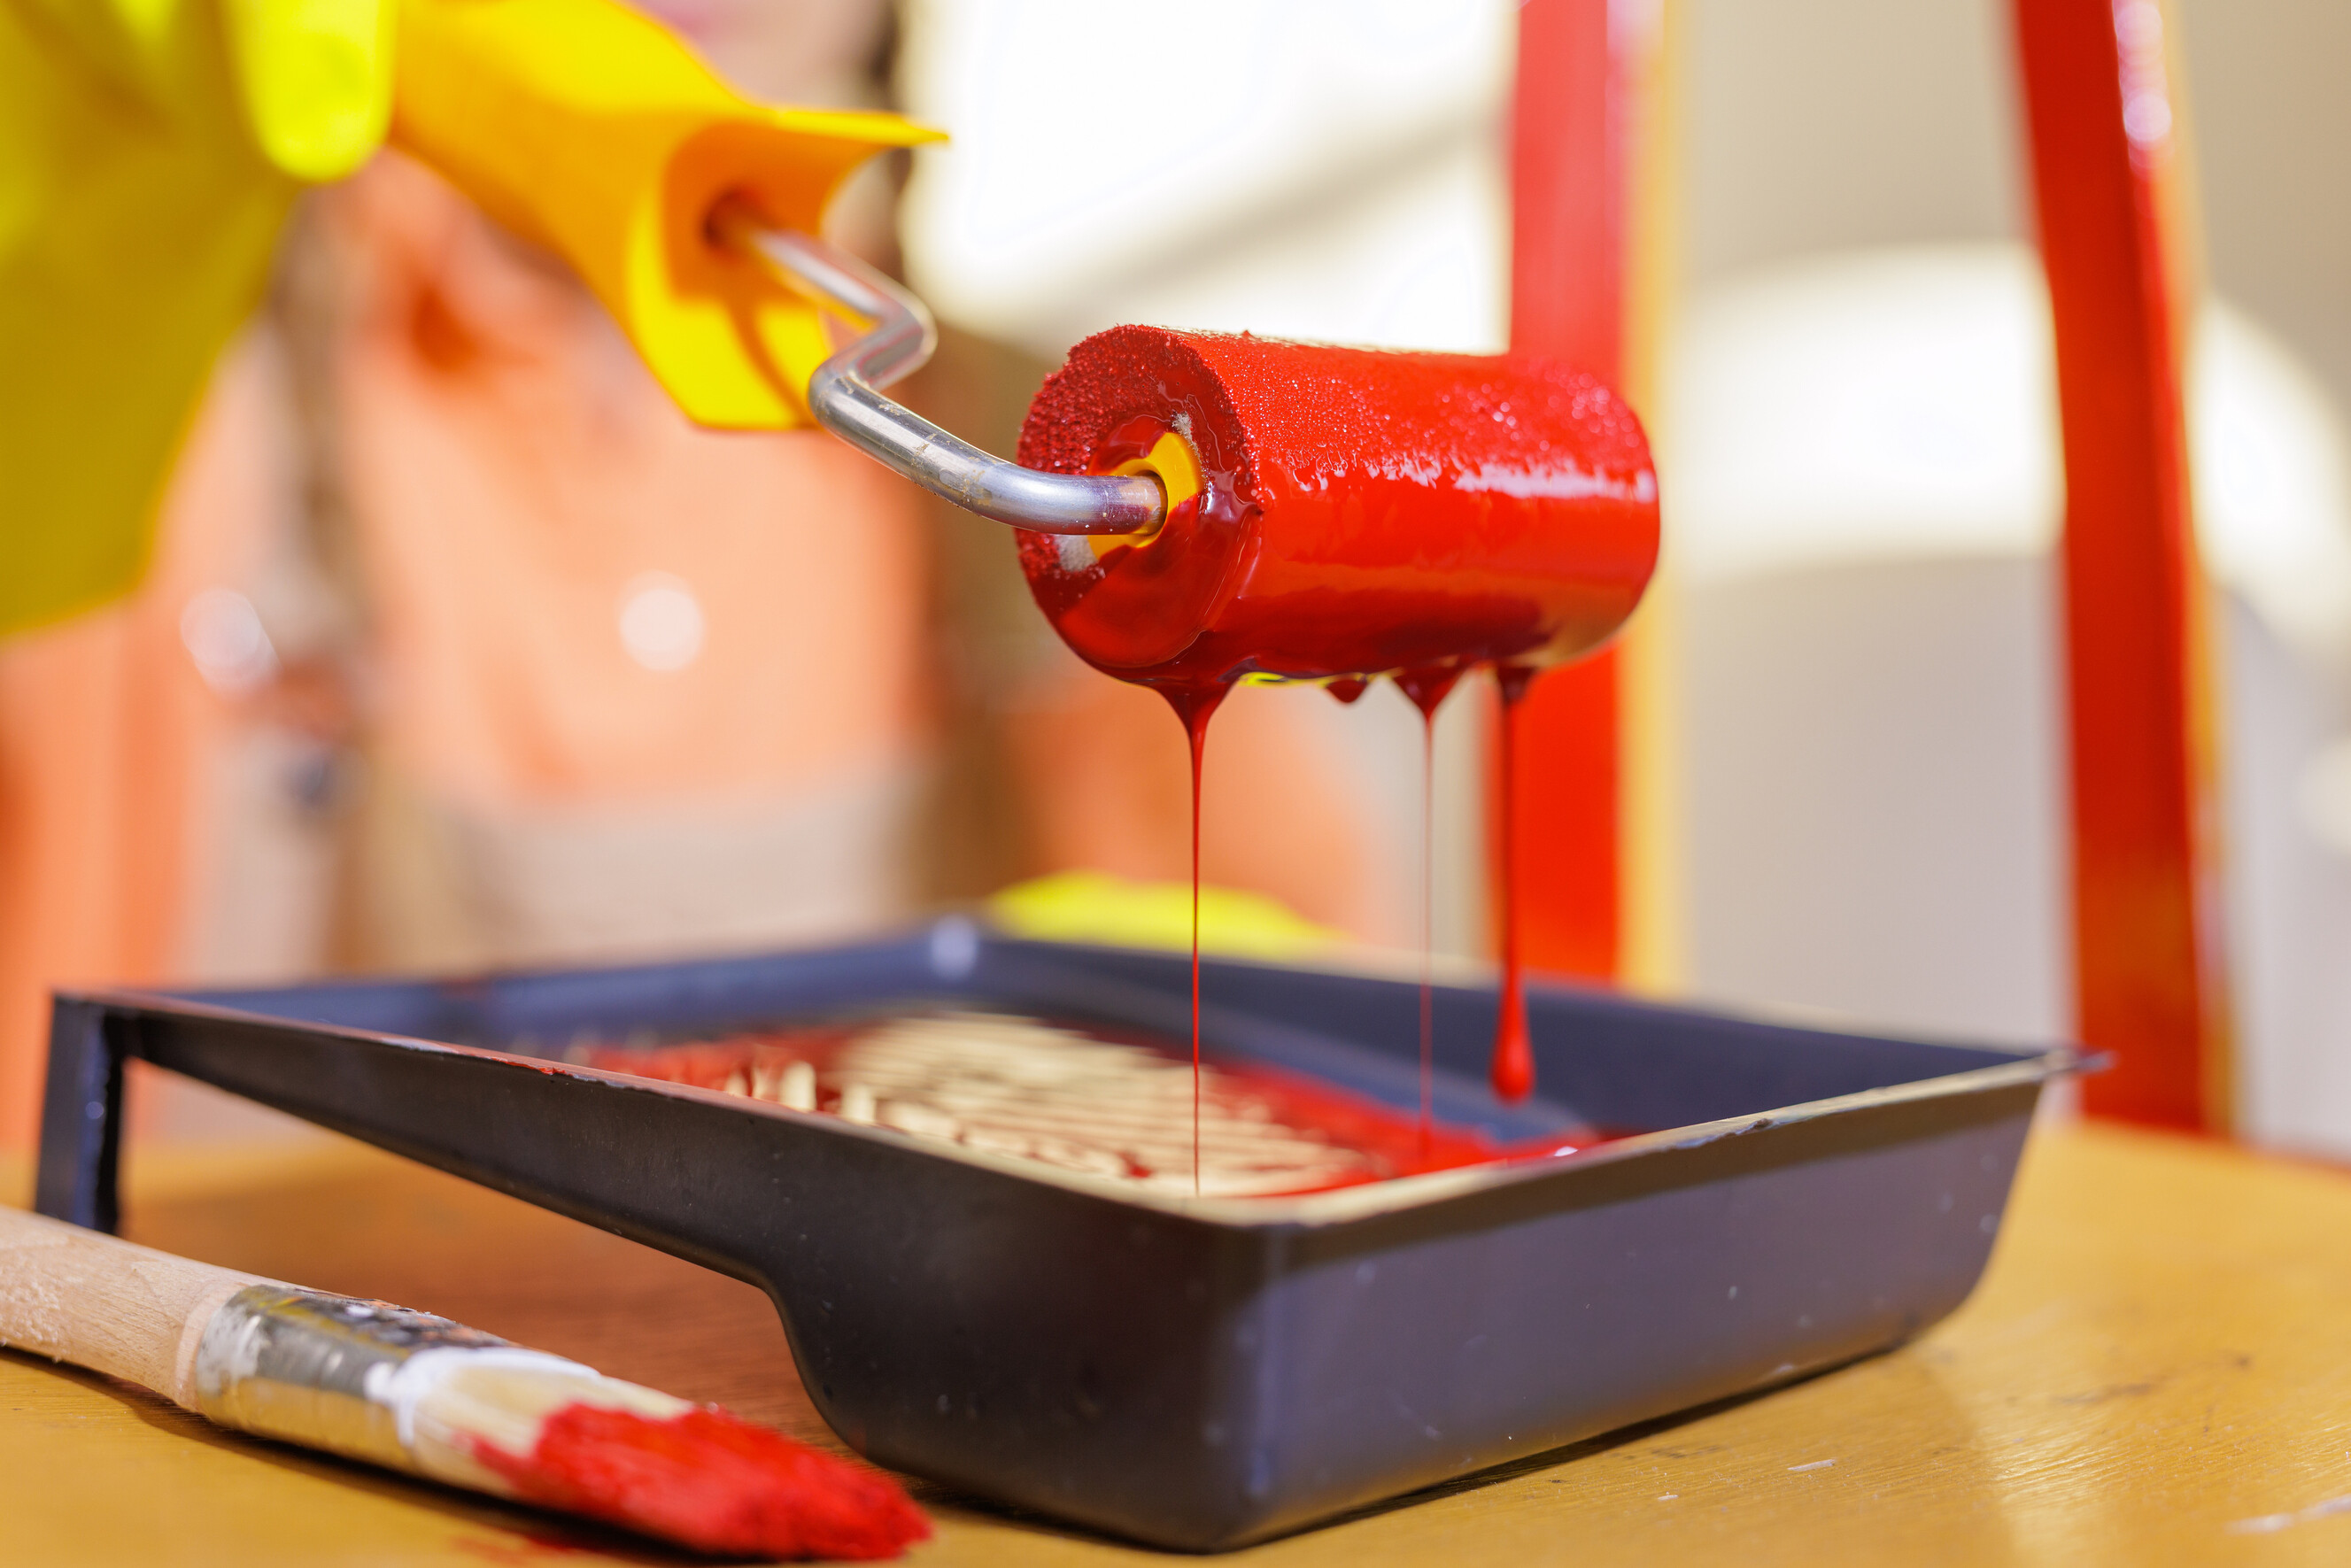
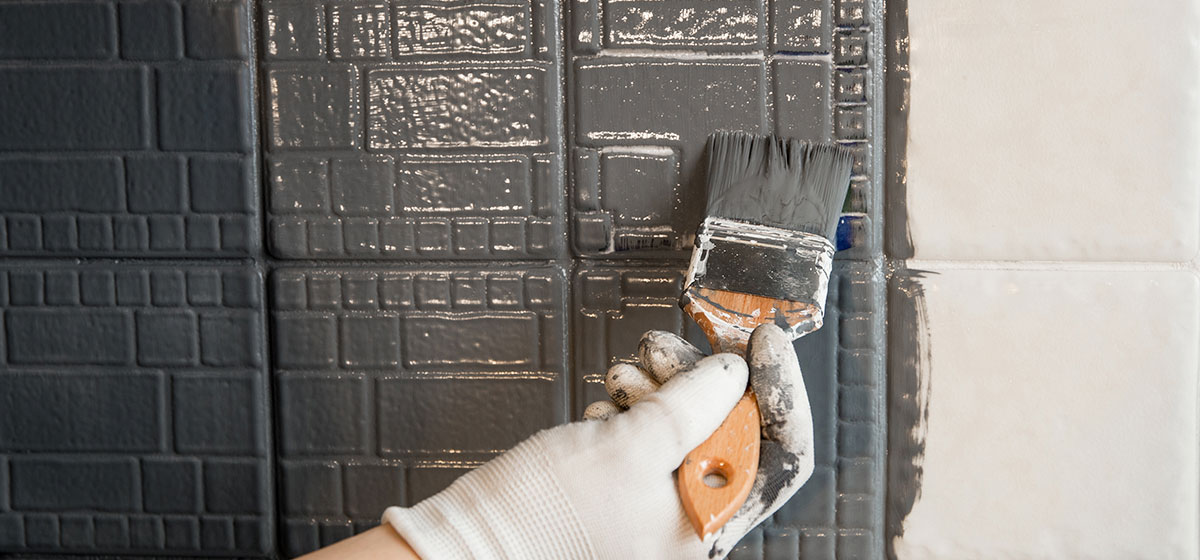
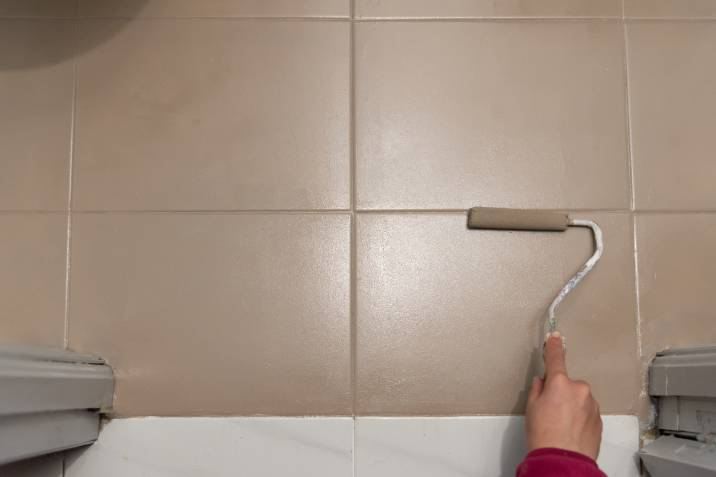
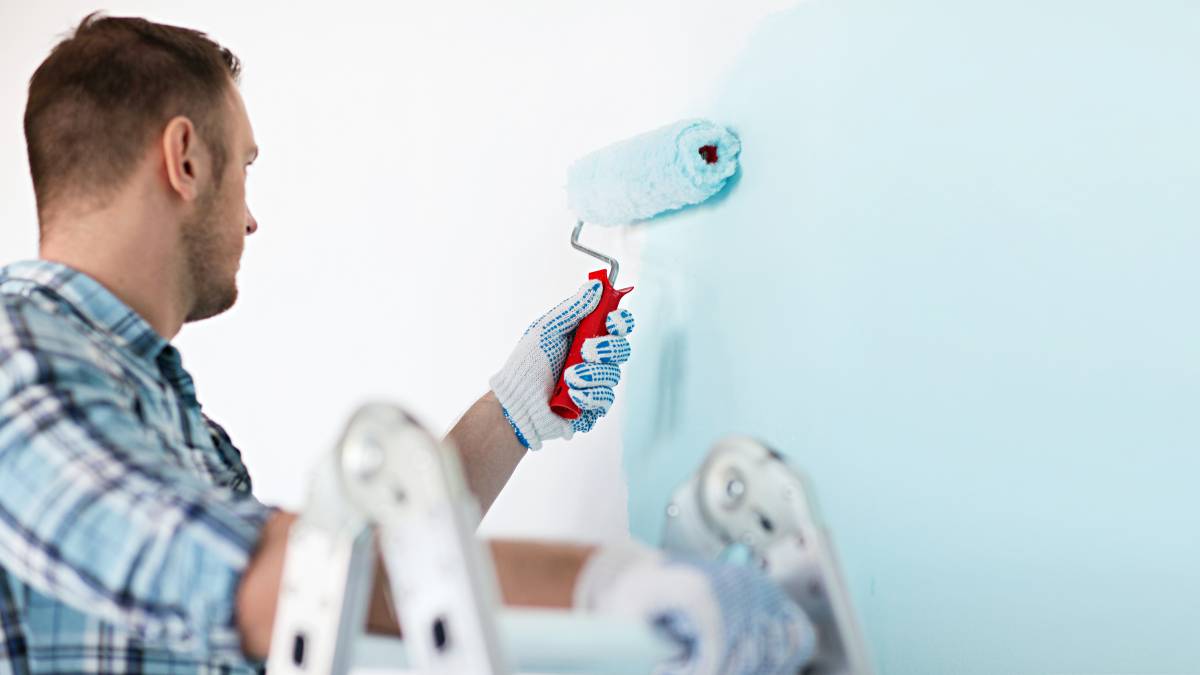
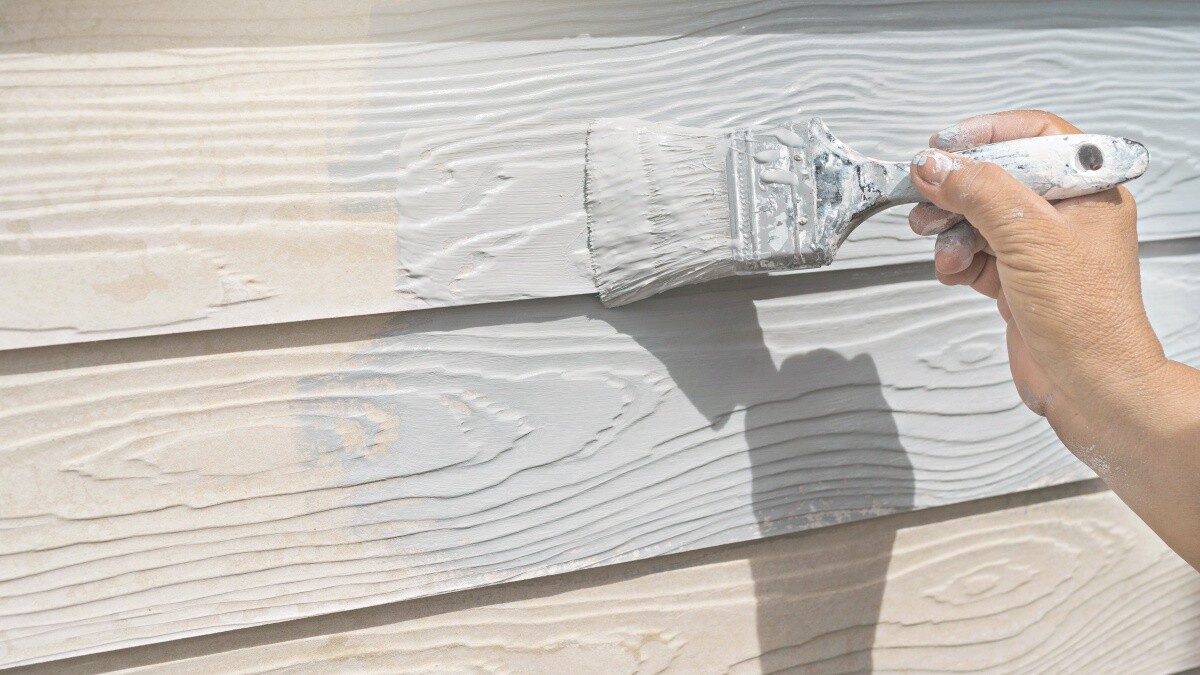
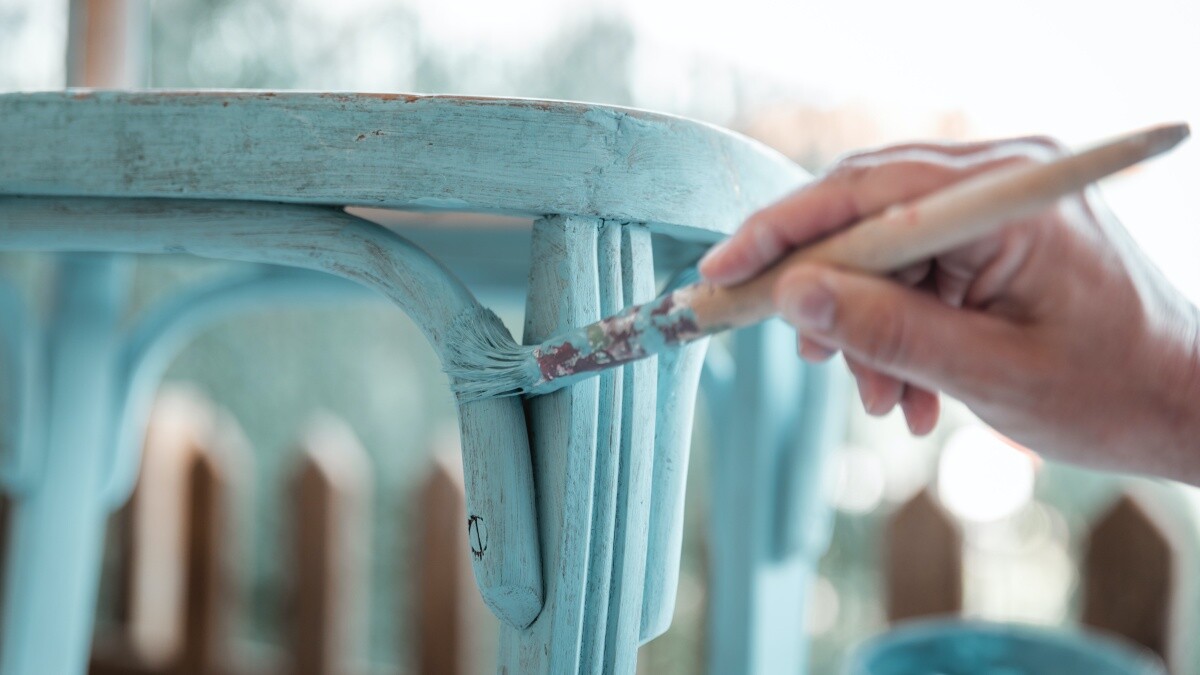
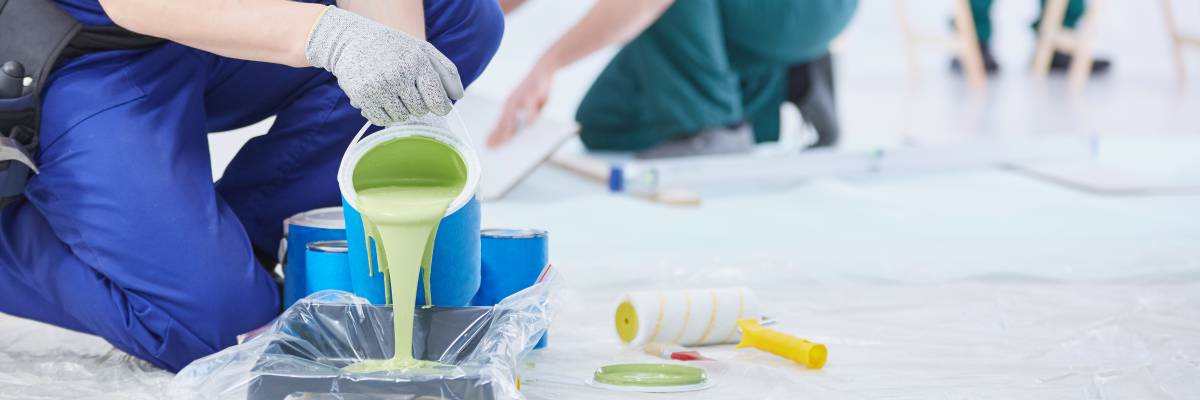
Step 3: Painting the bathroom tile
Once your primer is dry, you can use a roller or a large brush to start painting large swaths on the tile. If you have more patience, you can brush individual tiles by “cutting in” around the edges. If you do this, however, you’ll need an angled brush to avoid painting the grout lines. Patterned tiles might pose an additional challenge, so make sure you have the right painting tools.
Your process will depend on whether or not you plan to paint the grout, a large area, or just a few accent tiles. The paint can take around two or more days to dry, during which you’ll need to avoid touching it or using the bathroom – so keep that in mind before you begin.
Step 4: Applying a pattern (optional)
If you decide to paint tiles using a pattern, wait for the tiles to be fully cured, then tape your pre-bought or homemade stencil to the area you want to pattern. Go over the stencil with a roller and wait out the full dry time before removing the stencil.
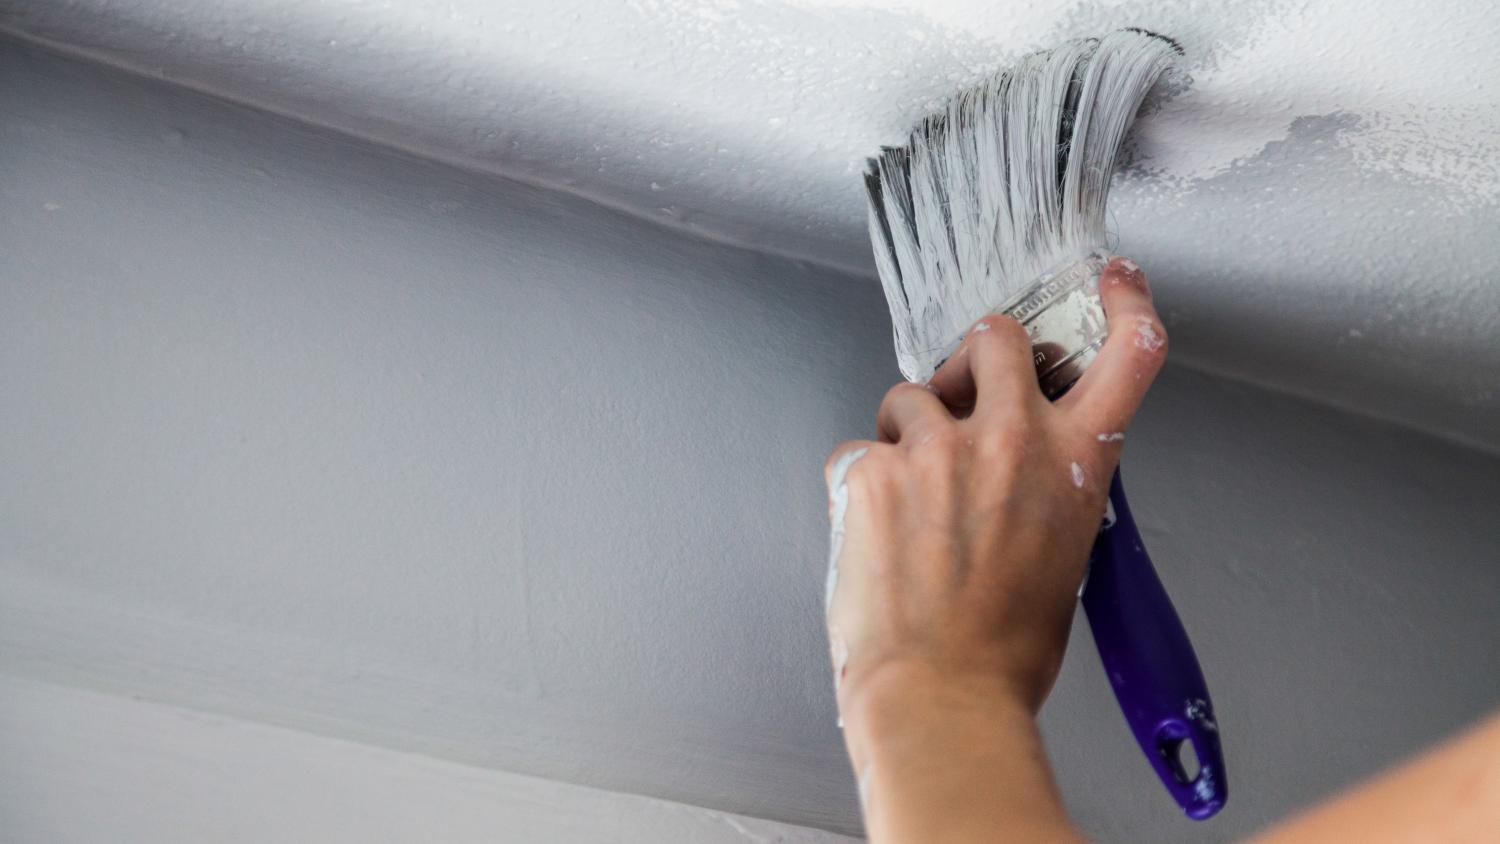
Step 5: Sealing
The final step involves the application of a sealer that protects the painted bathroom tile from grime, scuff marks, and scratches. Use a clear sealer of the following type:
Urethane for ceramic or porcelain
Masonry for natural stone or quarry tile
Once again, you’ll need to wait for the full required drying time before you begin to use the bathroom. You may be unable to use your bathroom anywhere from two to several days. Make sure you clear everything you need from the bathroom before you start!
Painted bathroom tile maintenance
Like any part of your home, painted bathroom tiles require regular maintenance. You must keep it clean by regularly sweeping, mopping, or vacuuming the surfaces. The sealer you applied can help the tiles retain their colour, protect them from dirt, and give them a long lasting finish. Place bathroom mats to prevent scuff marks, especially in high-traffic areas. If your painted tiles are damaged, use a good quality brush to reapply some of the leftover paint and reseal the area.
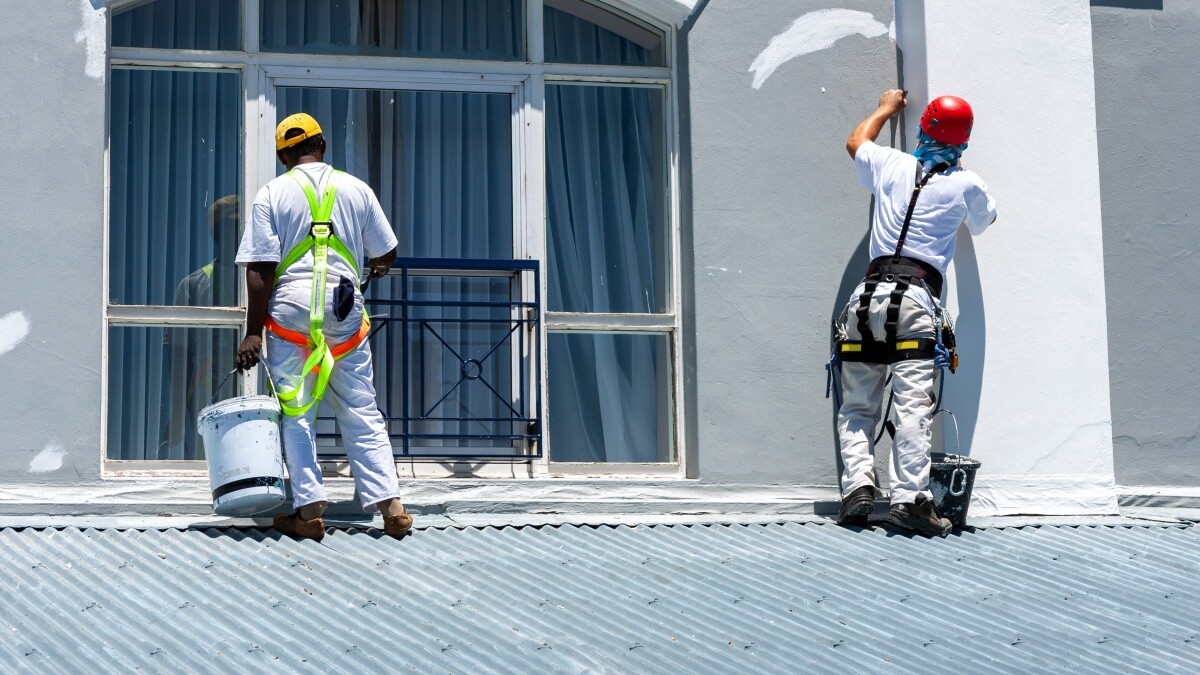
Don't have time to learn how to paint bathroom tiles or do the work yourself? Leave it to the pros! Book our experienced painting Taskers for your bathroom painting projects. They can help you save time, show more techniques on how to paint bathroom wall tiles, and provide excellent results for the painting work.
Painting your bathroom tiles can offer a quick refresh, but if you're thinking about a more comprehensive update, it may be worth looking into bathroom renovation services. Airtasker also has professionals based in West London who can help with larger transformations, from retiling to full redesigns.
Painting Bathroom Tiles FAQs
Yes, you can! You can paint ceramic, porcelain, most natural stone, and unglazed quarry tile. You should avoid painting glazed quarry tile as it does not bond well with the paint. Your new paint job will last the longest on surfaces that have low exposure to moisture, which is hard in a shower, but if you use an epoxy paint, it will cure into a harder coat that is more durable and resistant to moisture. You can find an epoxy that is specifically designed for shower tiles.
If you are painting ceramic, porcelain, or unglazed quarry tile, use latex or epoxy paint. Latex paint is generally less toxic and does not smell as intensely. You can also choose a mildew-proof variety for more protection. If you are painting some of the wetter areas, an epoxy cures into a harder coat that is more durable and resistant to moisture.
Your tile paint’s longevity will depend on the variety you use and how much traffic the painted area receives. If you get a scuff mark or damage to the paint for some reason, you can simply use a small artist’s paintbrush to re-apply some of the leftover paint to fix it.
As you can see, painting your bathroom tile isn’t difficult, but it is time-consuming. This can be a fun and satisfying project to take on; you just need to account for the fact that your bathroom will be out of action for a few days.
Find bathroom painters, fast
Find a Bathroom Painter
Related price guides
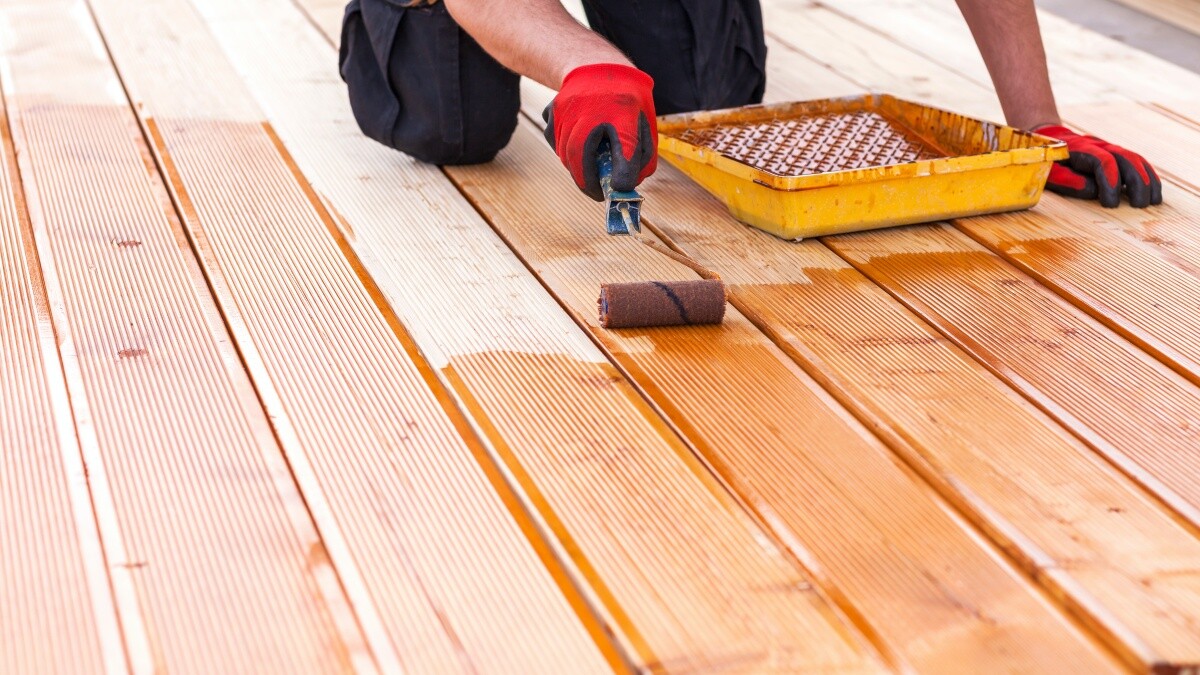
How much does deck painting cost?
Read more
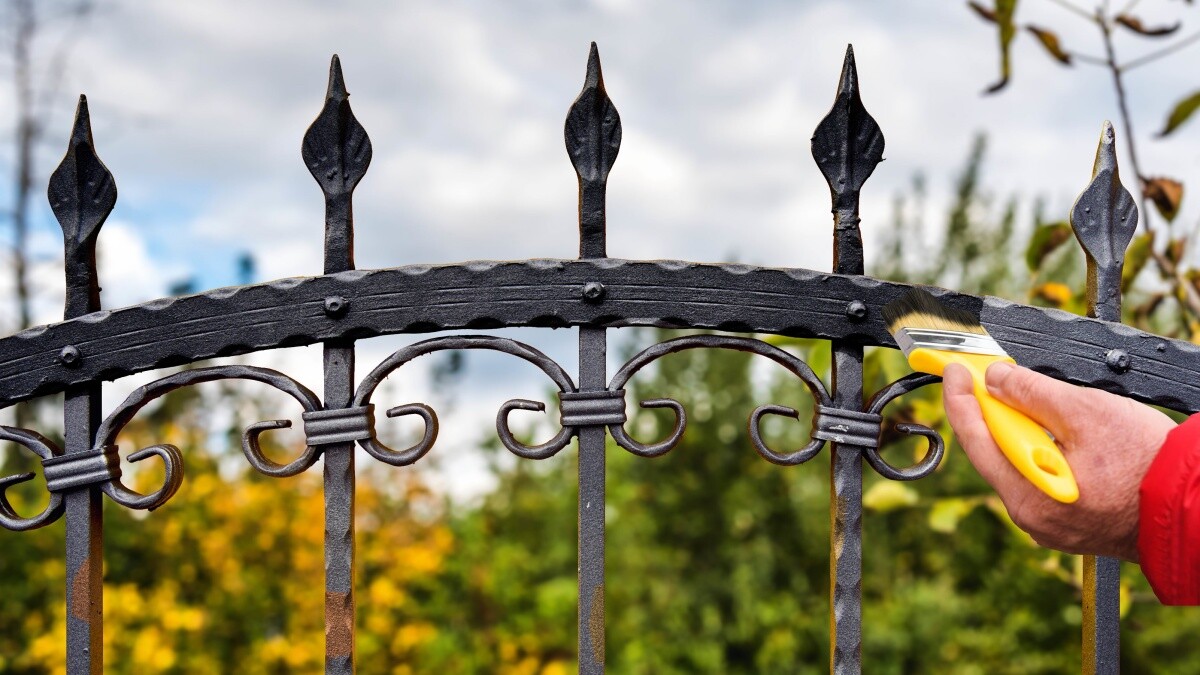
How much does fence painting cost?
Read more
House painting: How much does it cost?
Read more


Related articles
How much do painters make?
Read more
How to estimate a paint job in 4 steps
Read more