- Home/
- Guides/
- Wall Painting/
- Wall Painting Techniques
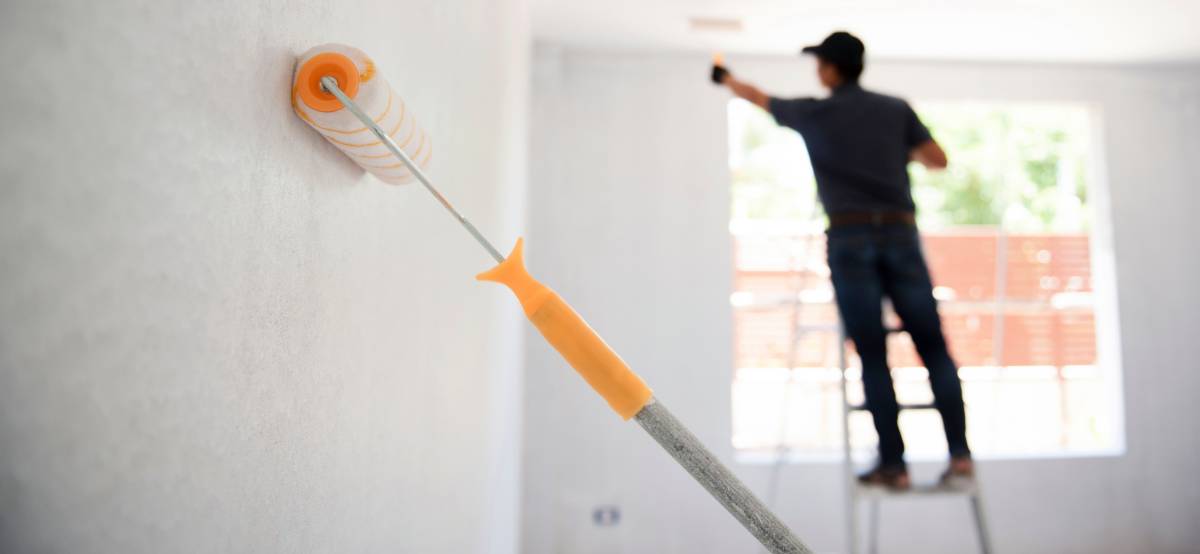
12 Wall painting techniques: Creative finishes that get you hired
Expand your wall painting skills and get more painting work.
Published on
Key Facts
- Wall painting techniques like sponging, stenciling, and ombré are easy to learn and add professional flair to any room.
- Techniques like faux marble, copper patina, and rag rolling mimic luxe finishes without the high cost.
- Learning these methods can expand your service offerings and attract clients looking for creative, standout walls.
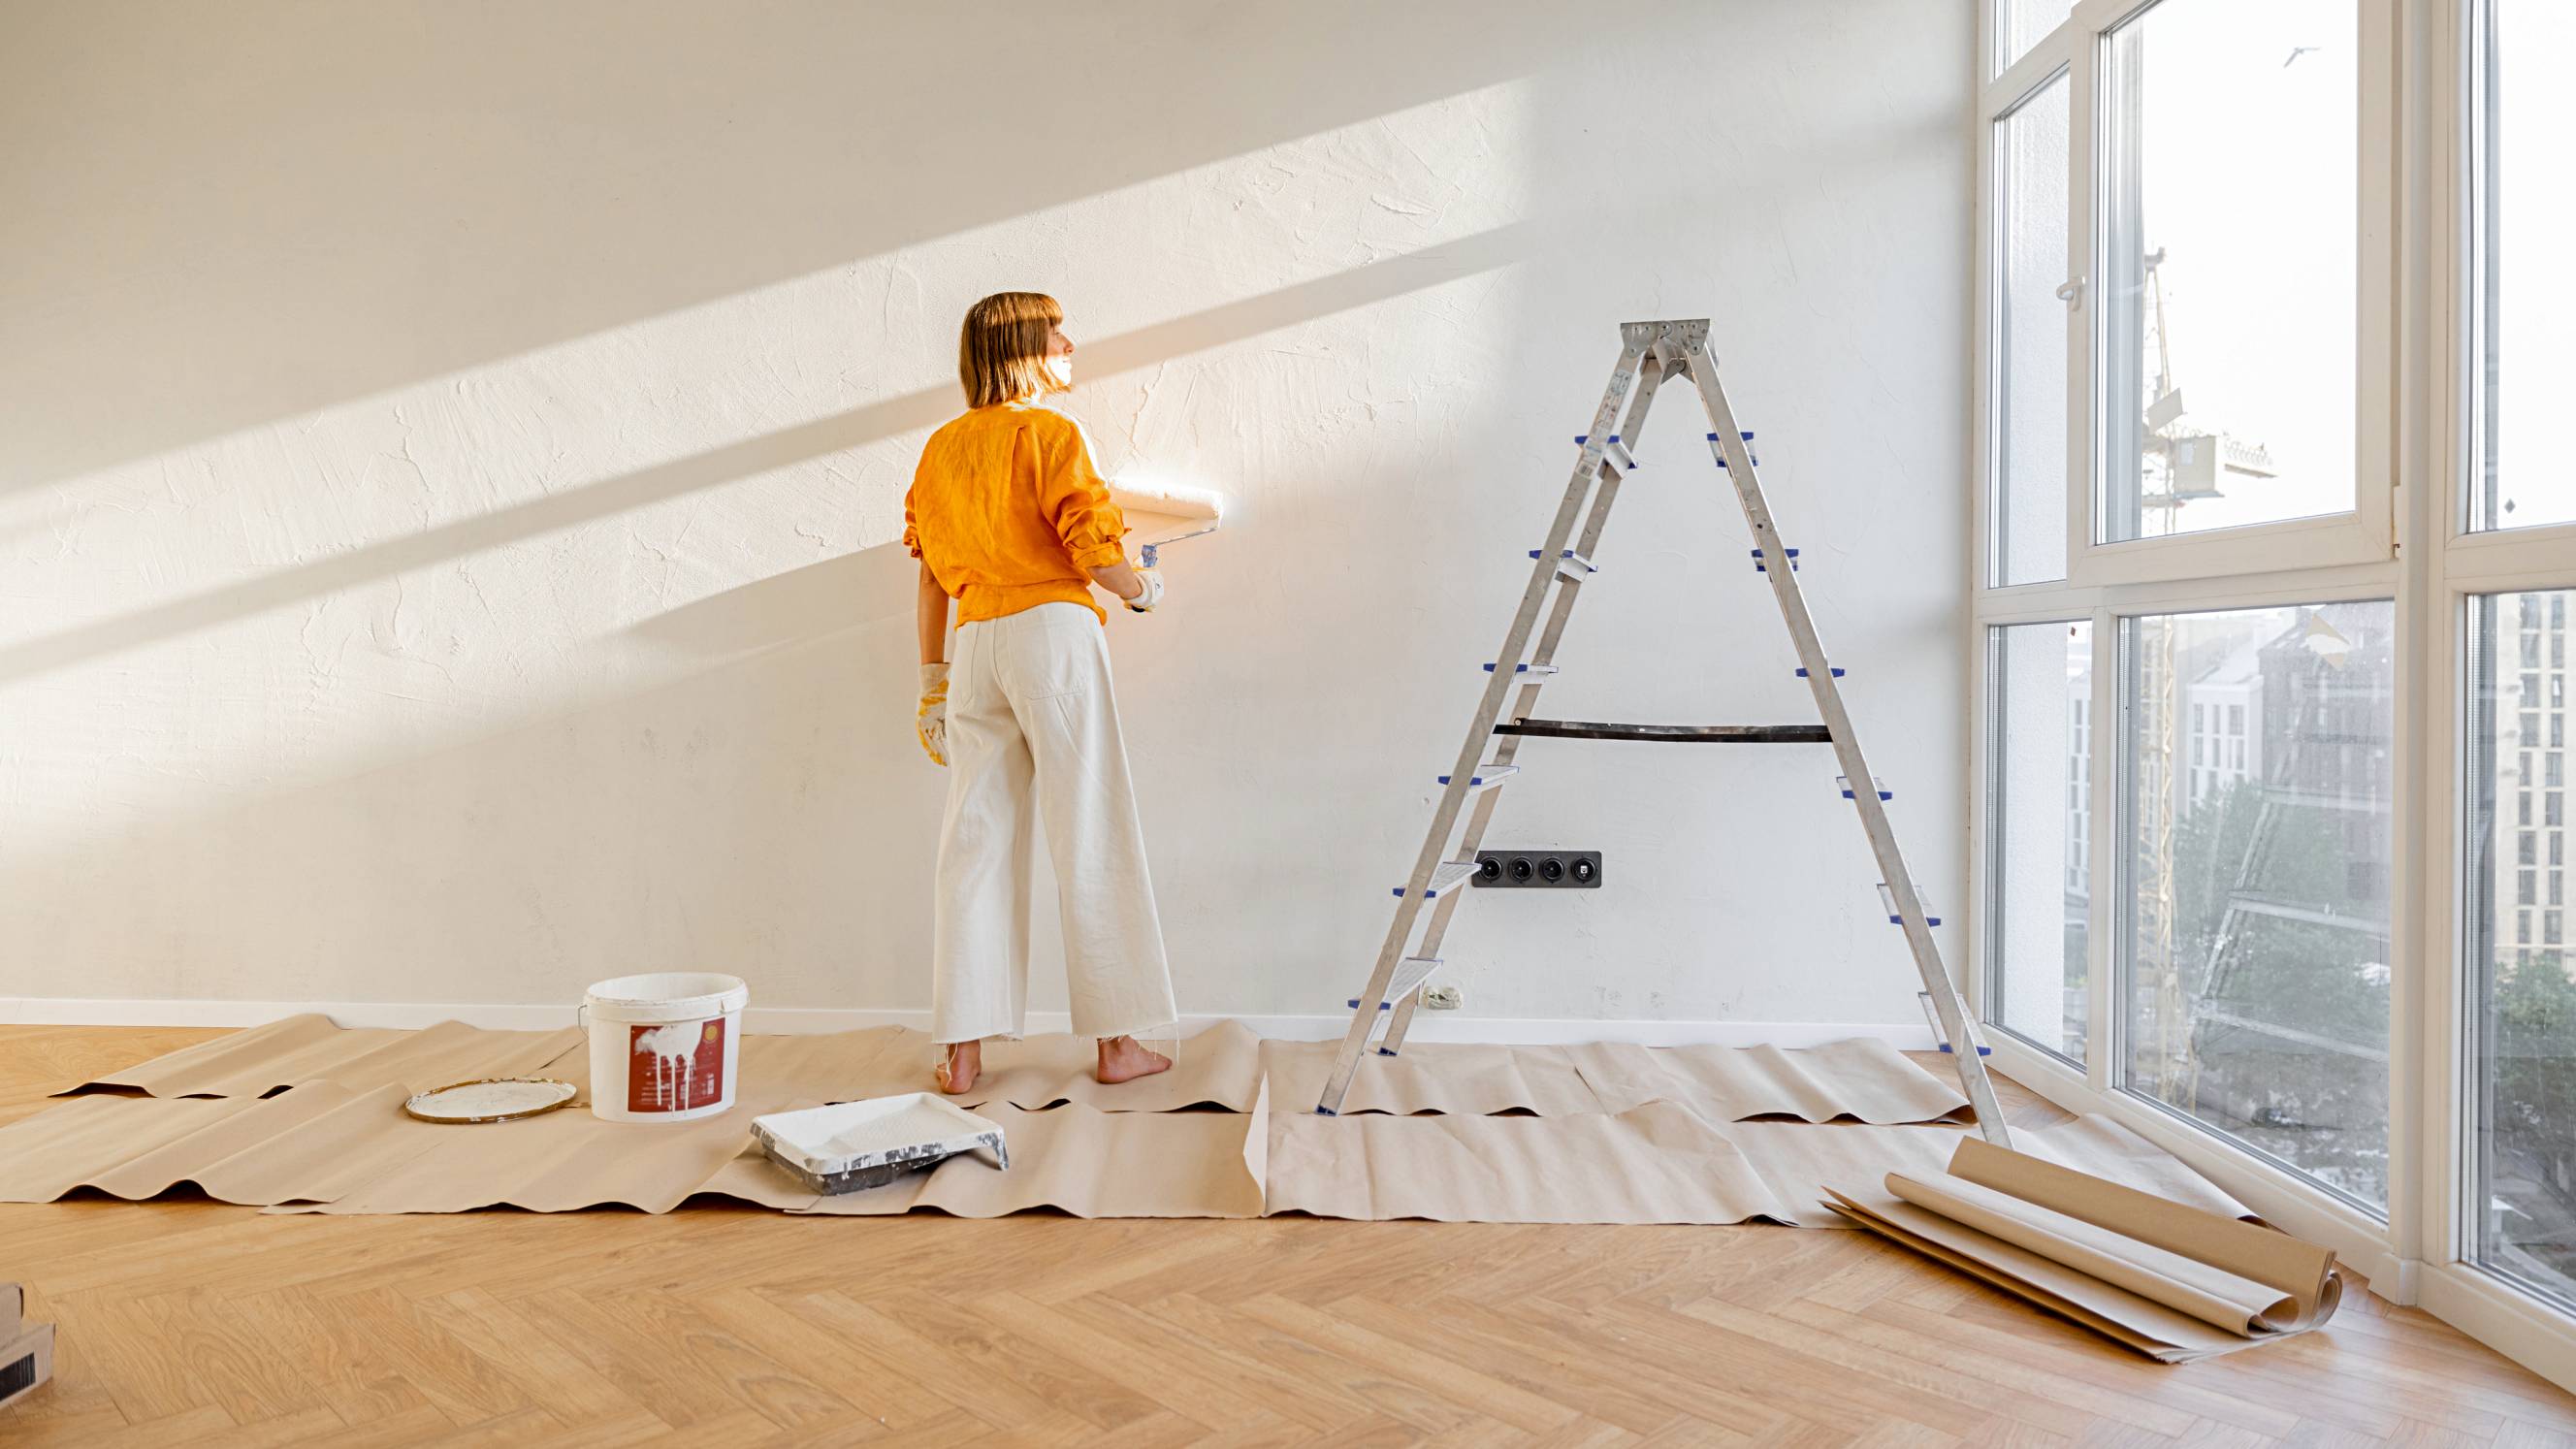
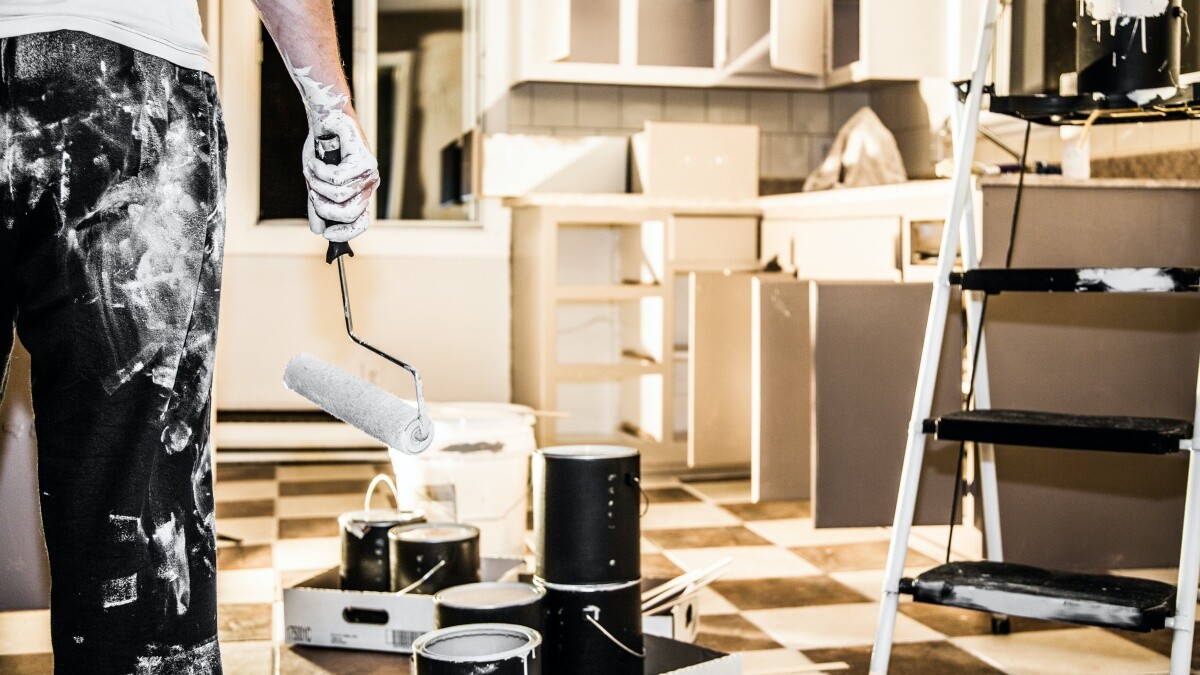
Painting the walls of a house is a straightforward task, but some clients can mistakenly think all wall painting techniques are the same and are equally easy to do. There can be more to painting than just slathering on the paint, even if painting a wall can seem as straightforward as making the necessary site preparations and then going to town on it with your roller or brush.
Check out this guide and get to know some wall painting ideas you can explore to expand your services, and get more business!
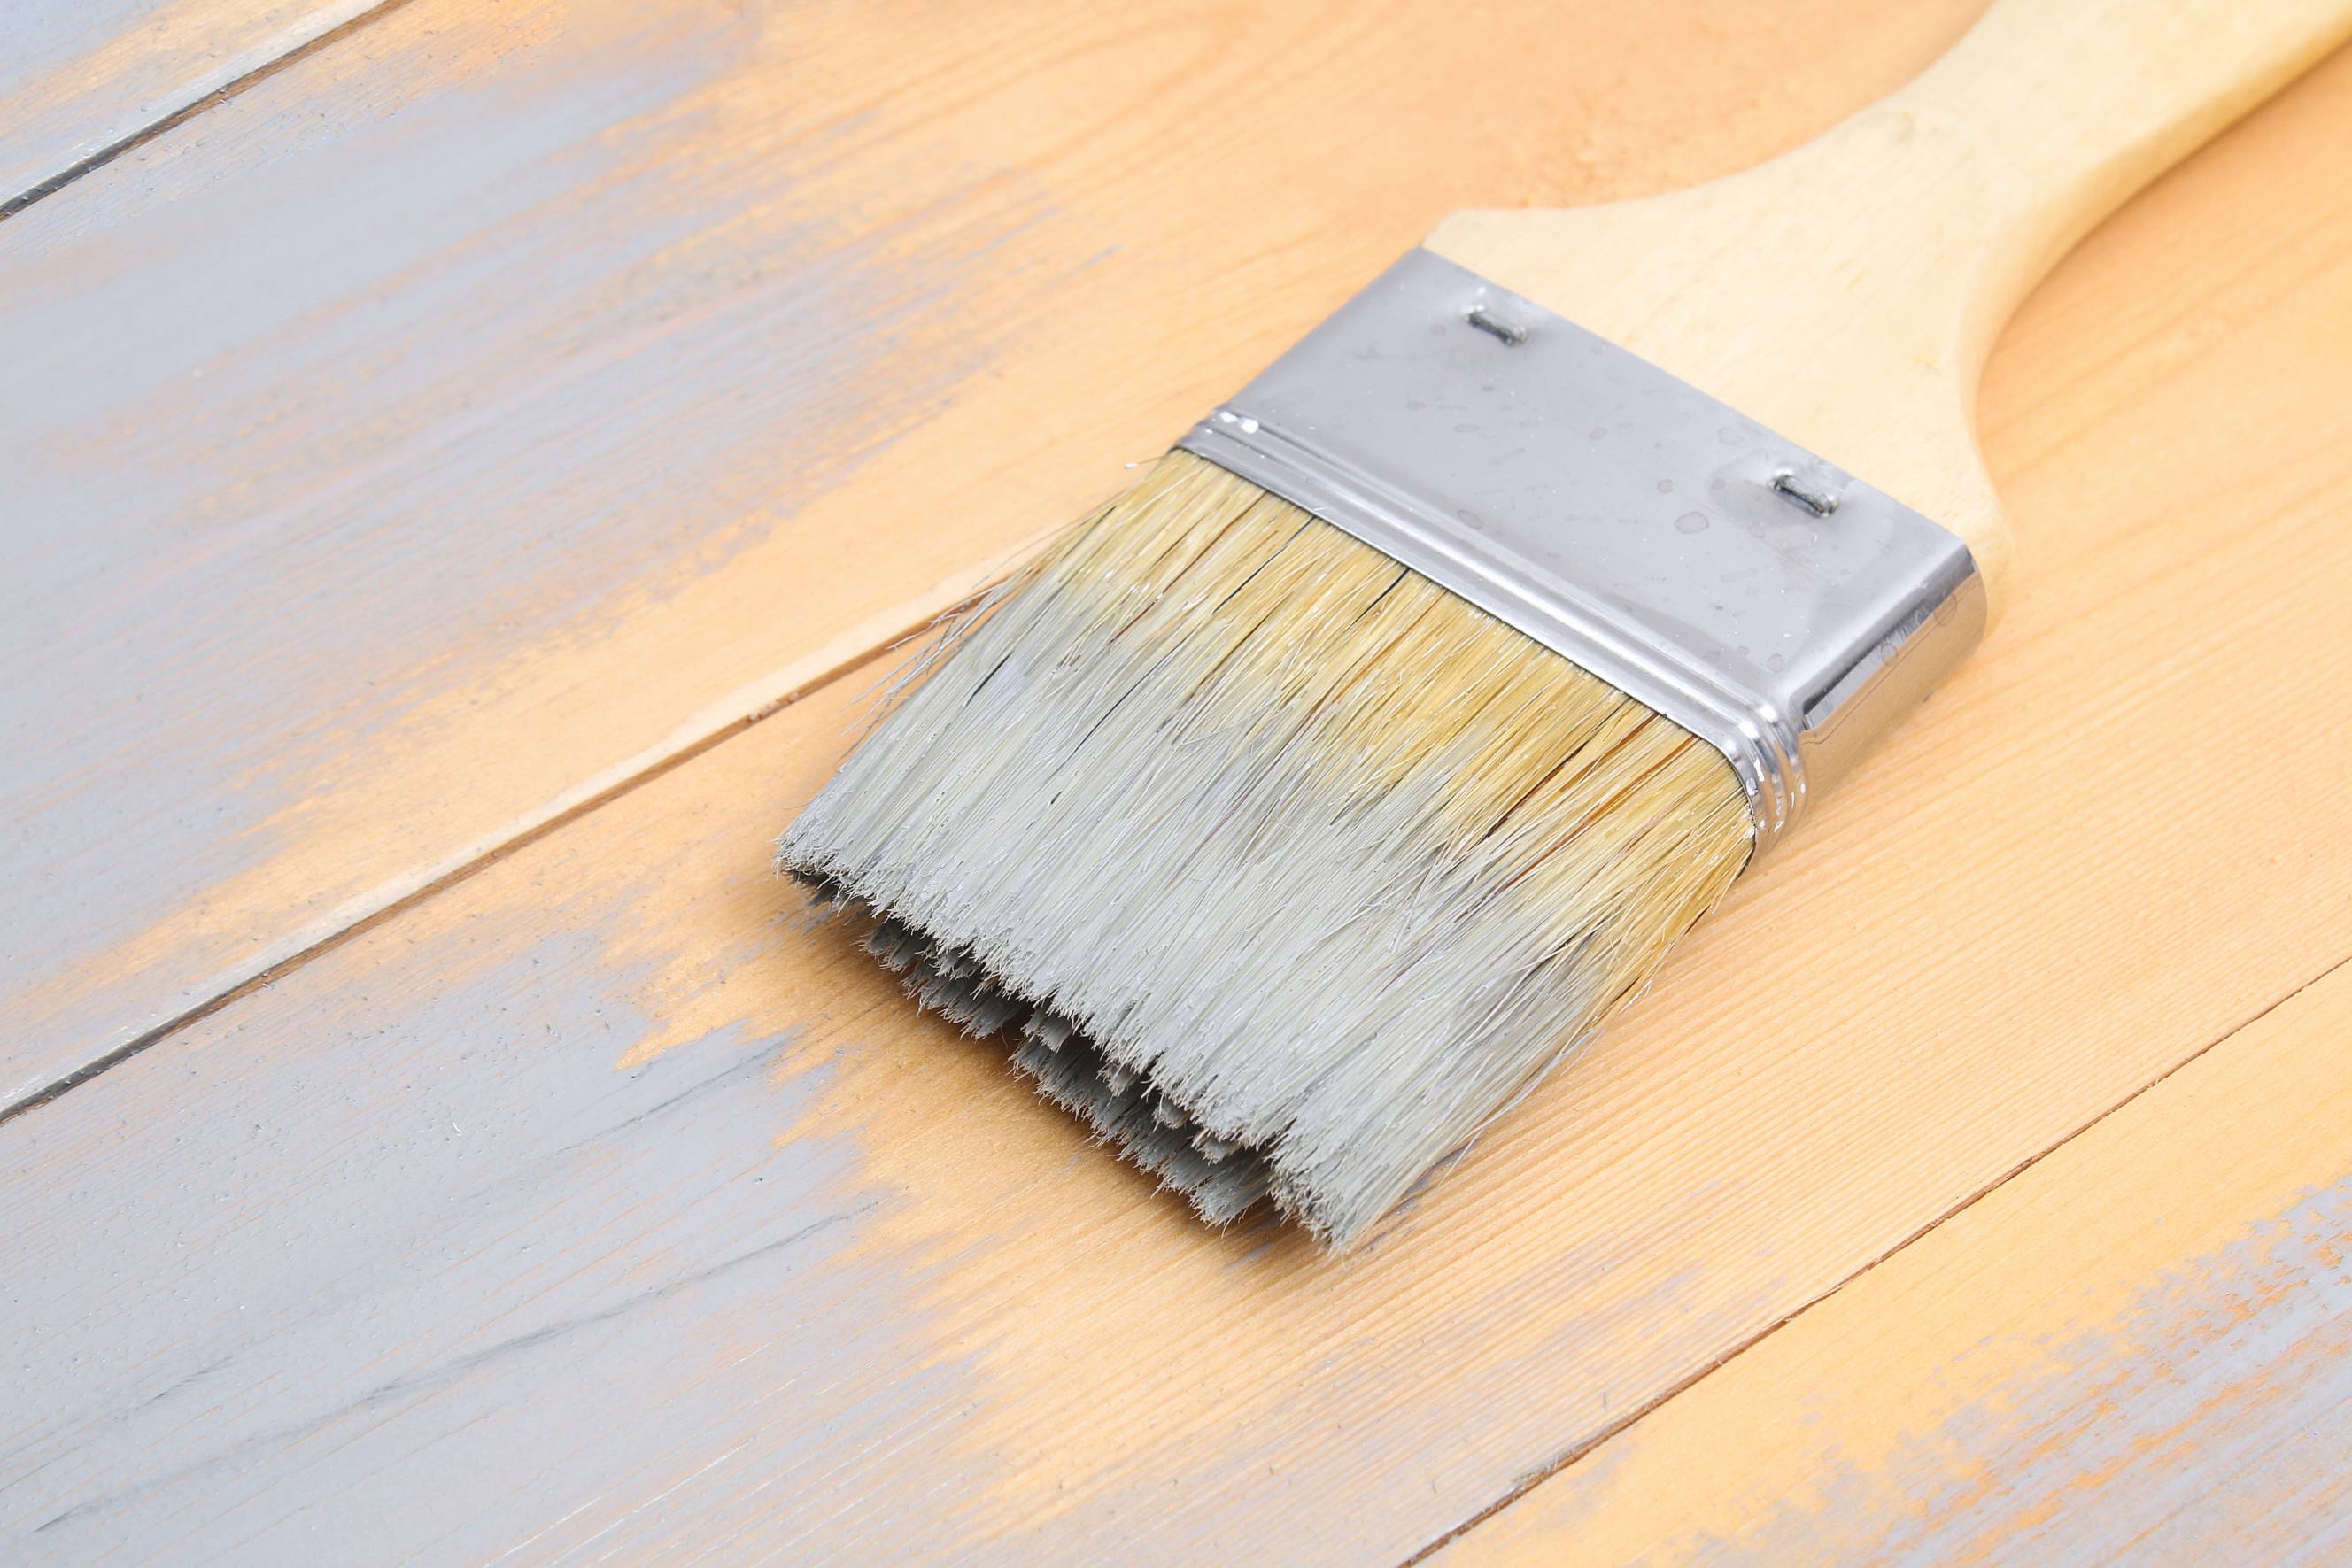
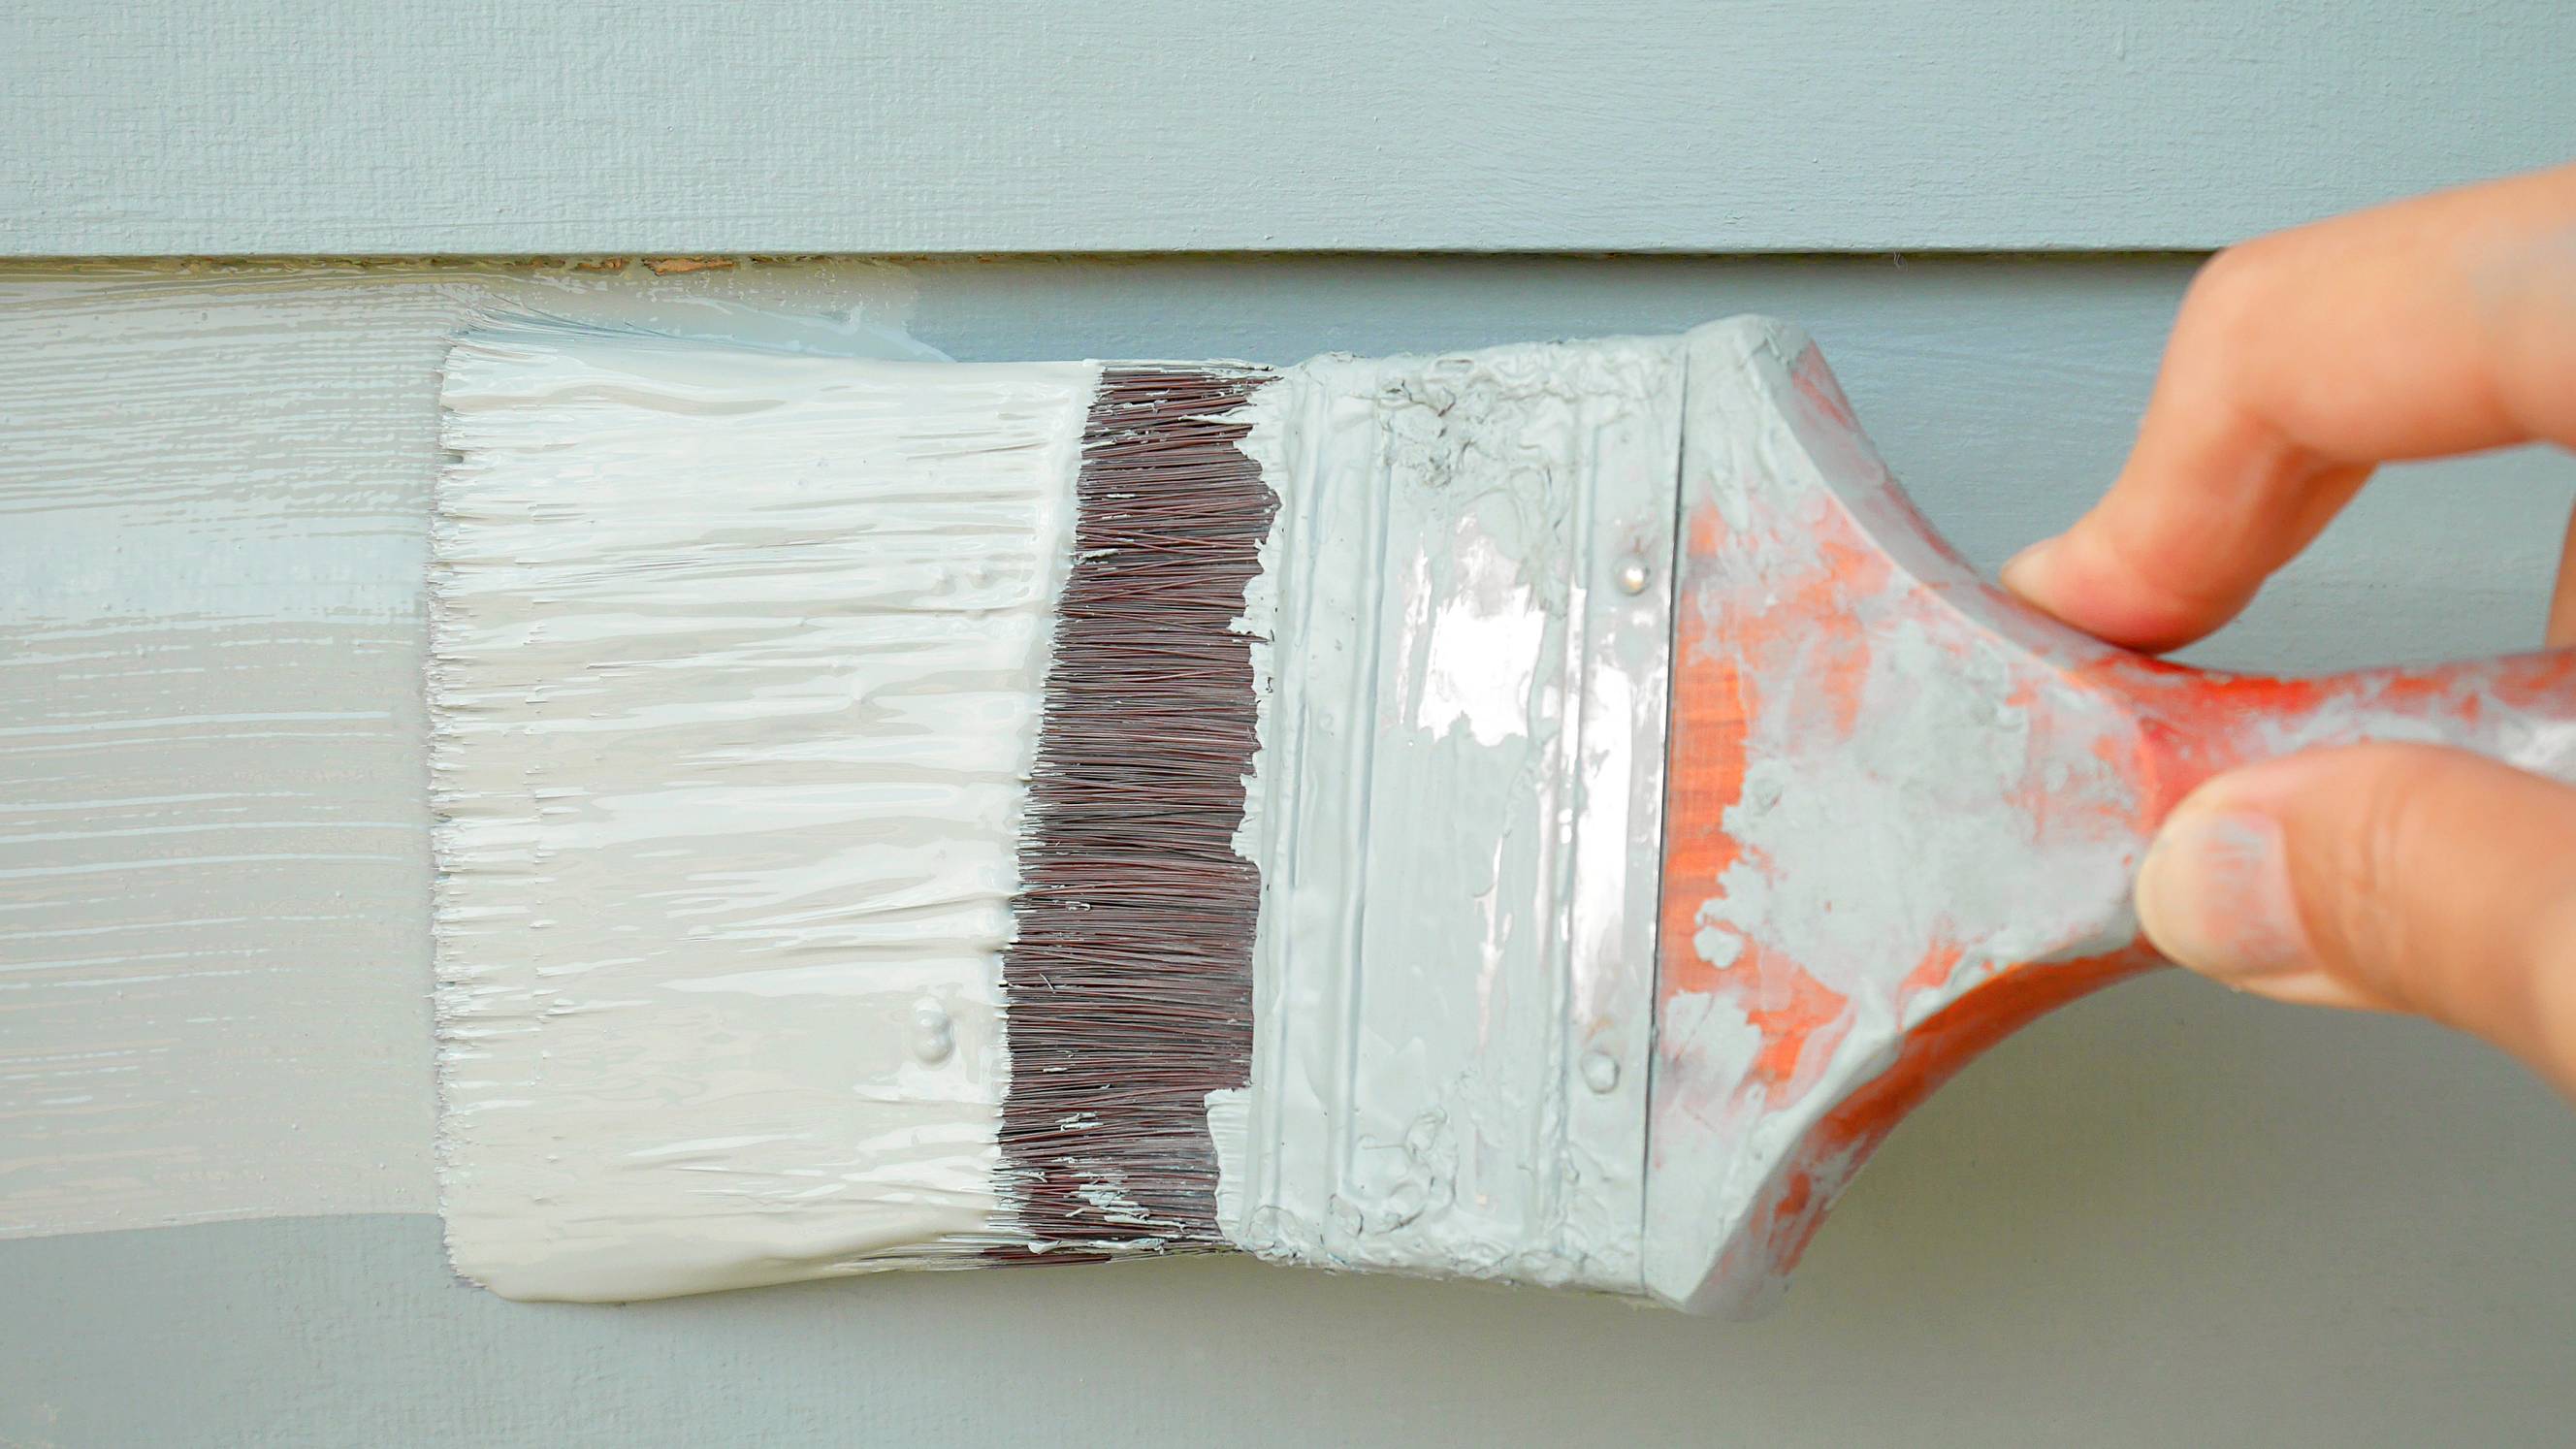
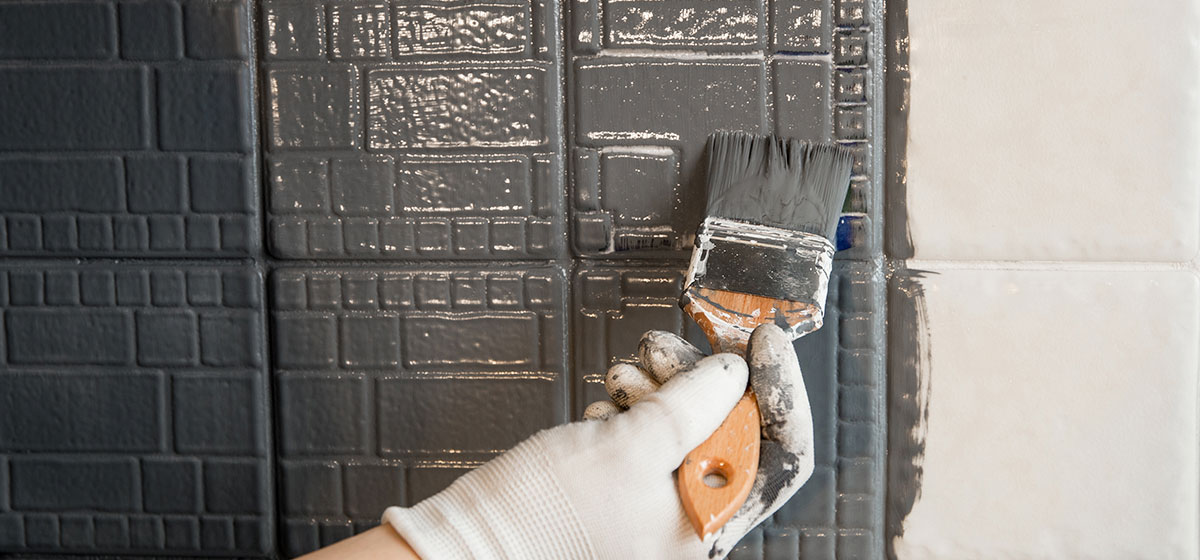
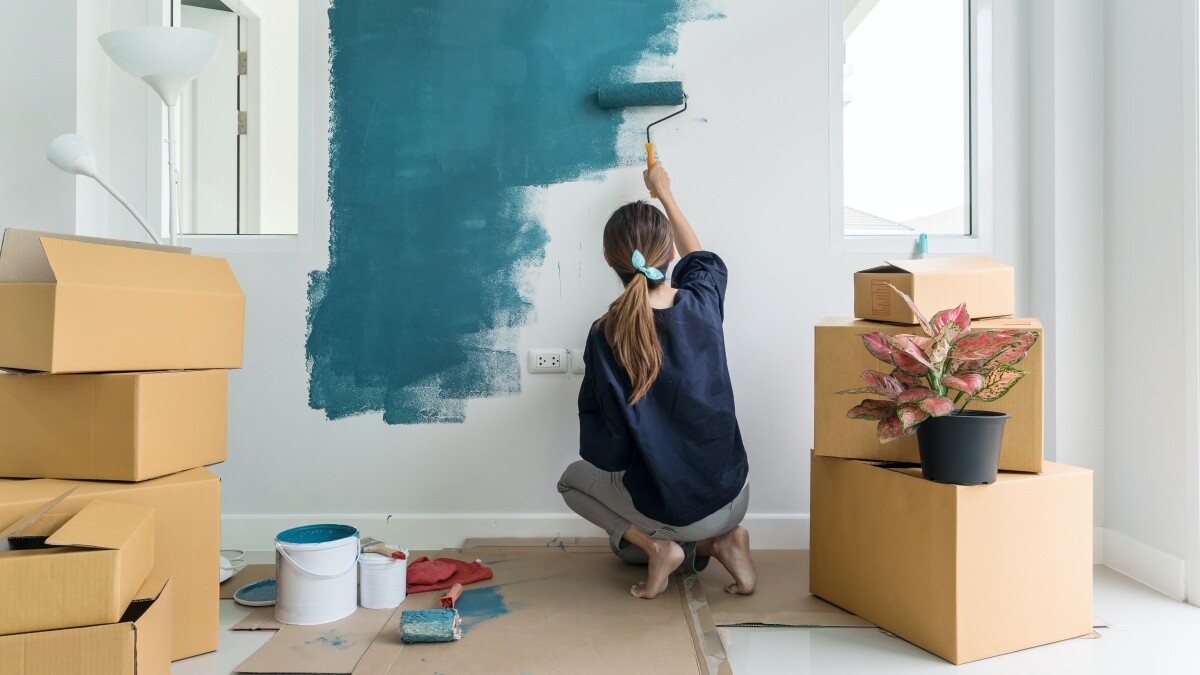
Painting techniques for walls
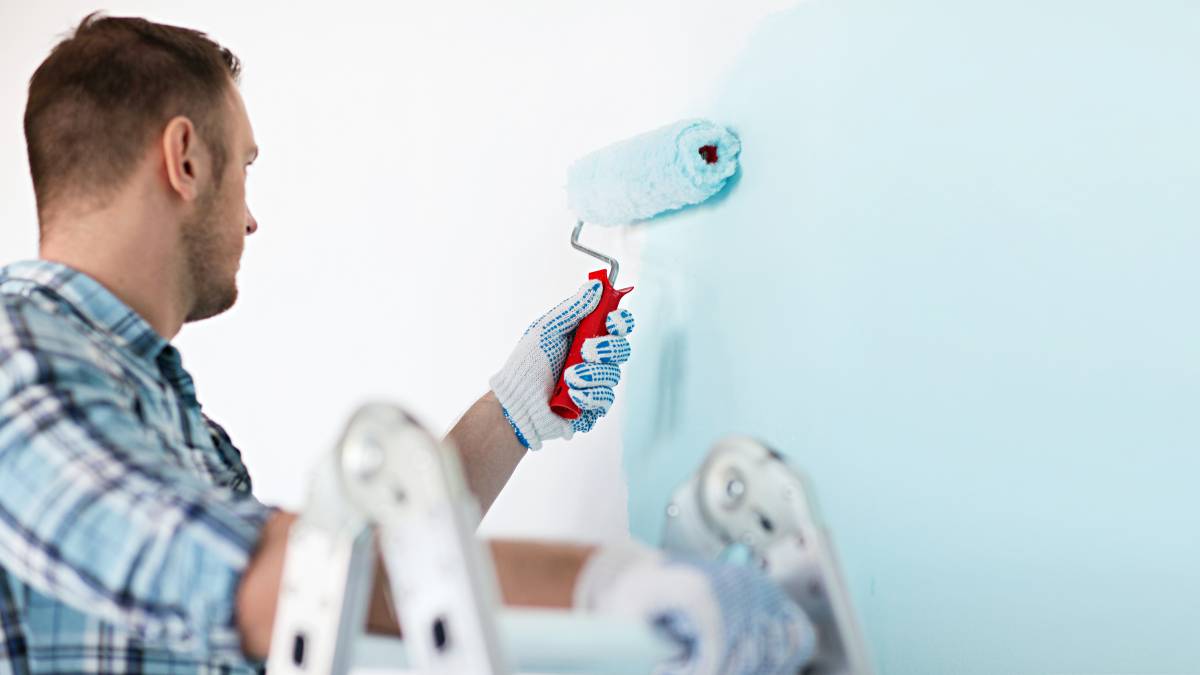
You can get by with standard wall painting with a roller, paint brush, or even a sprayer as your main tool. But your earnings and the demand for painting services can only go so far. You could miss out on more lucrative jobs from clients looking for painters to brighten up a room or space with more creative wall painting techniques.
So why not upgrade your wall painting skills and make yourself the painter that clients think of first when renovating, redecorating, or building a new room? Here are different wall painting techniques you can learn and add to your service offerings:
1. Sponging
Easy, effective, and attractive, sponging is also one of the most cost-effective painting techniques for walls. All you need are at least two contrasting colours and a sponge!
This simple but enthralling painting style gives walls a 3-dimensional “texture” without actually applying any plaster or stucco.
Here’s what you need to do when sponging on a wall:
Step 1. Apply a base colour on the wall and let it dry.
Step 2. Dip a large sea sponge in a contrasting paint colour mixed with glaze.
Step 3. Dab the paint-dipped sponge liberally on the wall.
Step 4. Repeat the process with as many colours as you want.
Step 5. Retouch any areas with the appropriate colour until you get the desired effect!
2. Colour washing
 Colour washing adds visual texture to plain walls (Source: Mona Eendra on Unsplash)
The colour washing technique is an excellent option for clients who want to give a room a rustic, weatherbeaten look. You can do this wall painting technique easily:
Step 1. Apply a coat of primer to the wall and wait for it to dry.
Step 2. Follow up with a base colour and let this dry as well.
Step 3. Apply a mixture of glaze and contrasting paint with a rag or sponge. Apply this with a circular motion as if “washing” the wall.
Step 4. Let each layer of paint dry and repeat the “washing” step until you get the desired result.
3. Wall stencilling
For a more unique and creative look, you can try wall stencilling. Do these steps to achieve a great finish:
Step 1. Make sure that the wall or area to be stencilled is perfectly smooth, level, and free from any dust or debris.
Step 2. Carefully attach the stencil with tape or light adhesive.
Step 3. Make sure your paint brush or roller only has minimal paint, then paint the area.
Step 4. Wait for the paint to dry then carefully peel off the stencils, then admire your work!
4. Rainbow painted wall technique
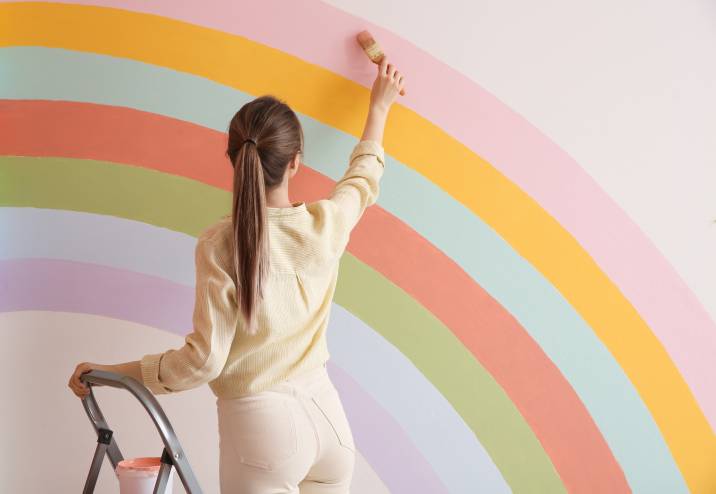 A vibrant rainbow mural being painted by hand (Source: iStock)
In this technique, you paint a rainbow accent. This is ideal for painting a kid’s room or space for any kid at heart. Make a rainbow on a wall by doing these steps:
Step 1. Trace a rainbow of the appropriate size on your wall with carpenter’s pencils.
Step 2. Paint the rainbow with your chosen colours; You can use the seven traditional rainbow colours or use any number of bright colours or shades you like!
Step 3. Leave the paint to dry.
5. Ombre wall painting
The ombre technique can give a space a distinctly modern look by seamlessly blending at least two colours. Pick out a two-colour scheme and a third hue that can work as a transition into either colour.
 Ombre done with two-tone burgundy gradients to create a statement wall in a modern workspace (Source: iStock)
Here’s how to achieve an ombre effect:
Step 1. Choose a light colour as your base coat and paint the entire wall.
Step 2. After the paint has dried, measure three equally-sized strips across your wall and mark them with a pencil.
Step 3. Paint the top part with the lightest colour, the bottom with the darkest, and the middle part with the third colour.
Step 4. Make a blend of the middle colour and the darkest colour then dry-brush this blend on the entire length where the darkest and middle colours meet.
Step 5. Do the same with the middle colour and the lightest colour. Repeat steps 4 and 5 until you get the ombre level you want!
6. Faux marble wall technique
Did you know that the right technique with a cleverly applied paint coat can mimic expensive decorative materials? Give your client the option of having a wall that looks like luxurious marble.
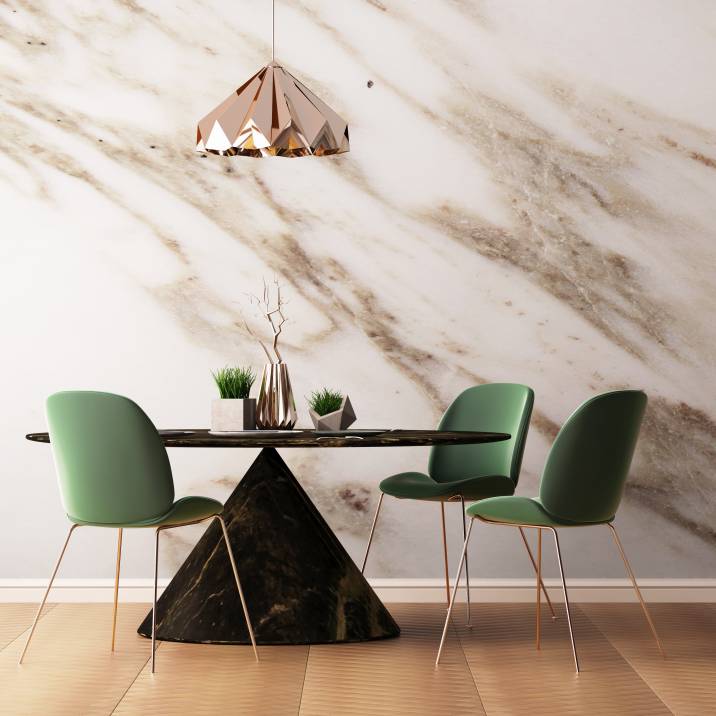 A marble-inspired painting technique brings an elegant, stone-like finish to your walls (Source: iStock)Here’s how:
Step 1. Choose the appropriate colours to simulate marble; This is usually three colours. For white marble, for example, you’ll need grey, white, and dark grey. Viable options include Dulux Rock Salt and White Mist.
Step 2. Apply the three colours in uneven diagonal strips side by side, and on the entire wall.
Step 3. With a sponge, dab all three colours on the wall and leave it to dry.
Step 4. Dilute the lightest colour (usually white) and draw random “veins” to mimic the appearance of a marble slab.
Step 5. Dry brush the other colours on some of the veins to make it look natural.
7. Copper patina
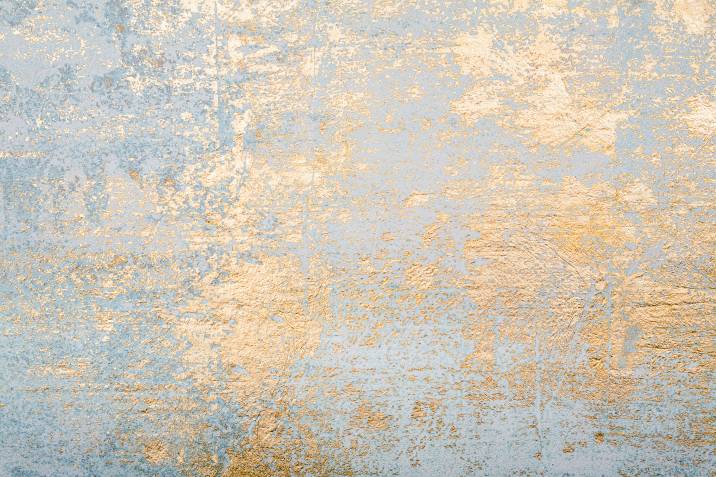 Subtle metallic brush strokes add shimmer and depth, transforming this blue wall into a modern focal point (Source: iStock)
Yes, you can learn to create a realistic copper-like patina! Replicate this effect by using a darker coat over a lighter base coat. The lighter colour should also be metallic, so a bronze or copper base coat works best. On top of this, you’ll have to apply a coat of green, cyan, or turquoise.
Here’s how to give walls a copper patina:
Step 1. Apply the base coat with a paint roller and let it dry.
Step 2. Next, apply a second layer of the base coat but in smaller sections.
Step 3. With the second layer still wet, use a dry brush, sea sponge, or muslin. Then, dab on the paint. Doing this will remove some of the wet paint and uncover part of the base layer.
Step 4. After the paint has dried, apply a specialist paint patina and dab it randomly on the paint.
Step 5. Leave the patina effect to reveal itself over the course of a few days—much like real oxidizing copper!
8. Drag painting
Also known as Strie painting, this ingenious technique leaves a stripe pattern that looks very much like real wall-covering fabric. You can make a wall look like it’s covered in denim or linen but at a fraction of the cost! Not even wallpaper can replicate this effect, so clients will call you for this valuable and unique service.
Here’s how you can do it:
Step 1. Choose a darker base coat and a corresponding glaze mixture at least three shades darker or lighter.
Step 2. Paint the entire wall with the base coat and let it dry.
Step 3. With a paint roller, apply the glaze.
Step 4. Before the glaze dries, use a Strie brush and drag it downwards vertically from top to bottom, stopping only just before you reach the floor. Do this on the entire wall.
Step 5. For a linen-weave look, let the paint dry after dragging vertically. Apply a new glaze but this time, drag the brush horizontally over the vertical drags. Do this until the entire wall is covered.
9. Rag rolling technique
The rag rolling technique can be a long and tedious process, but the leather-like textured effect can be very rewarding. As this is quite labour-intensive and unique, you may find clients who are willing to pay a premium for this paint job.
Here’s how to do this painting technique on a wall:
Step 1. Apply a satin-finish paint as the base and let it dry.
Step 2. Soak a cloth or rag roller with glaze and apply over the base coat.
Step 3. Roll the rag or cloth roller in random directions or patterns all over the wall.
Step 4. Let the glaze dry, and repeat until you get the desired effect.
10. Lime washing walls
This is another painting technique that can give your client’s wall a rough, aged look. Lime washing is easy to apply and gives a nice finish that looks like scrubbed chalk. Some of its advantages are its quick drying time and low cost. This technique also works best for porous surfaces like brick or unfinished wood.
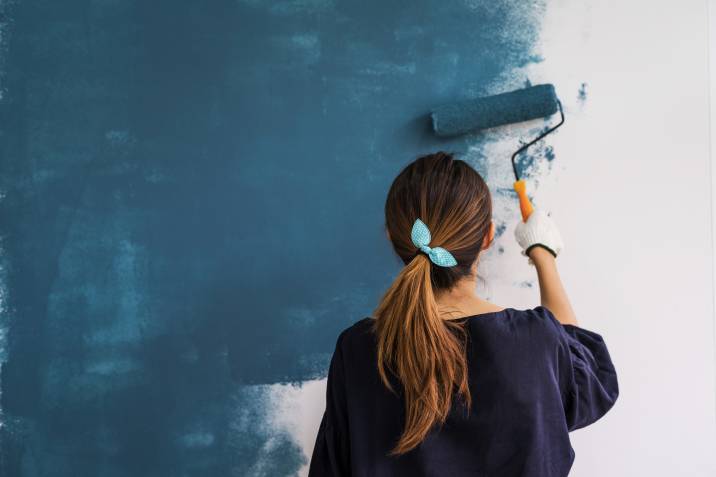 Applying a dramatic navy blue paint using limewash technique for bold impact (Source: iStock)
Here’s how to do it:
Step 1. Learn to make a limewash the old-fashioned way by taking up an apprenticeship with experienced painters or replicate it by diluting matt paint with water until it reaches a creamy consistency. For the former option, you can post a task on our platform to find local painters who can teach you how to do this technique.
Step 2. Moisten the wall before applying the limewash.
Step 3. Apply the paint to the entire wall with a roller or brush.
Step 4. Apply a protective layer of latex varnish once the paint has dried.
11. Stripe painting
Simple and timeless, stripes on a wall are a decorative element that’s easy to do and will always be in demand. Thinner stripes on a wall can give a subtle effect, while thick, contrasting stripes can provide a striking focal point in a room. All it takes is deciding on the colours, number of stripes, and layout before painting. Patterns can vary by being asymmetrical, vertical, horizontal, or diagonal.
12. Pattern painting
Painting patterns on walls can provide a subtle or eye-catching effect. Polka dots, diamonds, stripes, or any single shape painted repeatedly can make for a unique pattern-style wall painting. Have your client choose the right colour and shade for the desired effect: light colours for subtlety and dark for visual flair. Then, pencil or stencil the pattern on the wall before painting.
How do you paint a wall perfectly?
Here are some tips to get a perfect finish:
-
Compute the total area that needs painting and prepare enough paint. Multiply the room length by the width and number of coats needed. For example:
6 metres long x 4 metres wide = 24 metres (Total area)
If you need 2 coats, get enough paint for 48 metres square.
Strip off all the old paint.
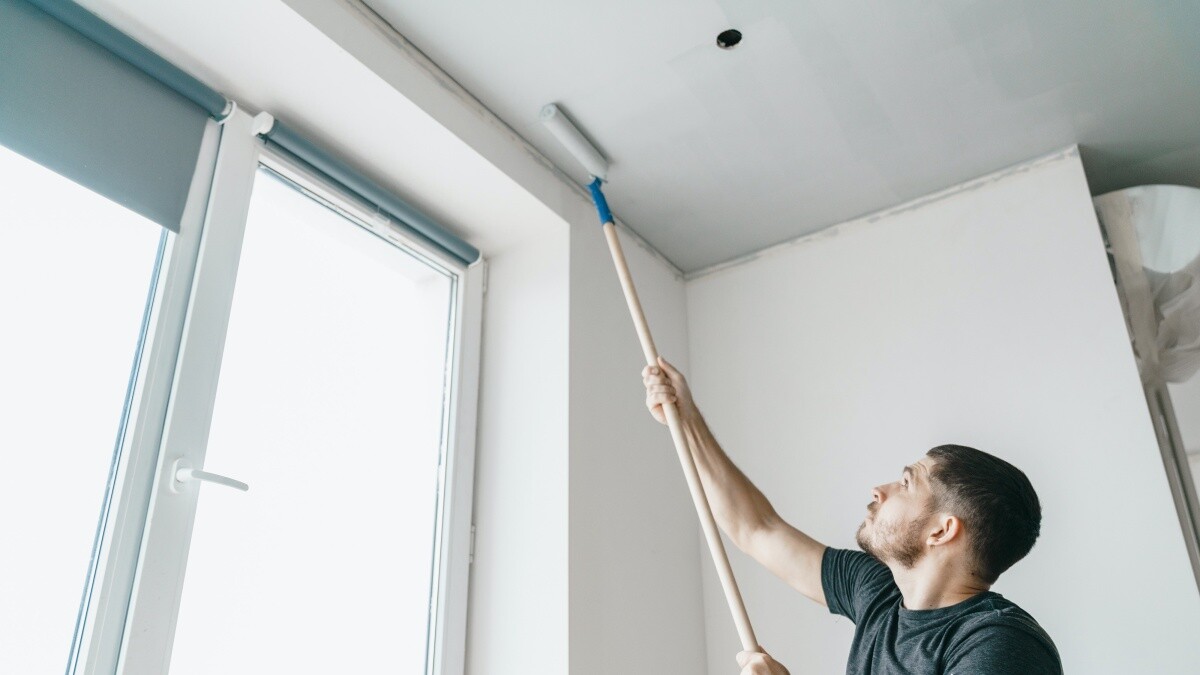
Always paint the ceiling first, then the walls, then the trim.
Always use slow strokes. Going fast with a brush or roller will create splatter.
Stand out with these wall painting techniques and earn more money.
Knowing how to do these unique and stunning wall painting techniques can get you more work as a painter. But finding clients can still be a challenge. That’s why we’re here to help! Sign up on Airtasker to start finding local painting jobs and sending quotes to potential customers.
FAQs on wall painting techniques
Applying a coat of primer is the all-important first thing you should do before painting – assuming you’re done with all the washing, sanding, and dusting. Any paint on its own can’t adhere to a surface for very long without primer. A primer provides a uniform base that covers up imperfections on your wall like stains or patched-up areas. You’ll also need fewer coats if you use a primer.
Professional painters paint a wall by doing lots of preparation before painting. If you want to paint professionally, you’ll need to do prepping tasks first, such as:
- moving furniture
- filling holes in walls
- stripping off old paint
- dusting off and vacuuming walls
- applying masking tape on light switches, electrical outlets, and trim
Professional painters may do one or more of these tasks before the actual painting, which involves laying down one or two primer coats and then painting with slow strokes.
Lighter colours and vertical or horizontal stripes can make a room appear more spacious and taller, depending on the direction of the lines.
Create your profile and start browsing jobs in minutes
Start earning now
Related price guides
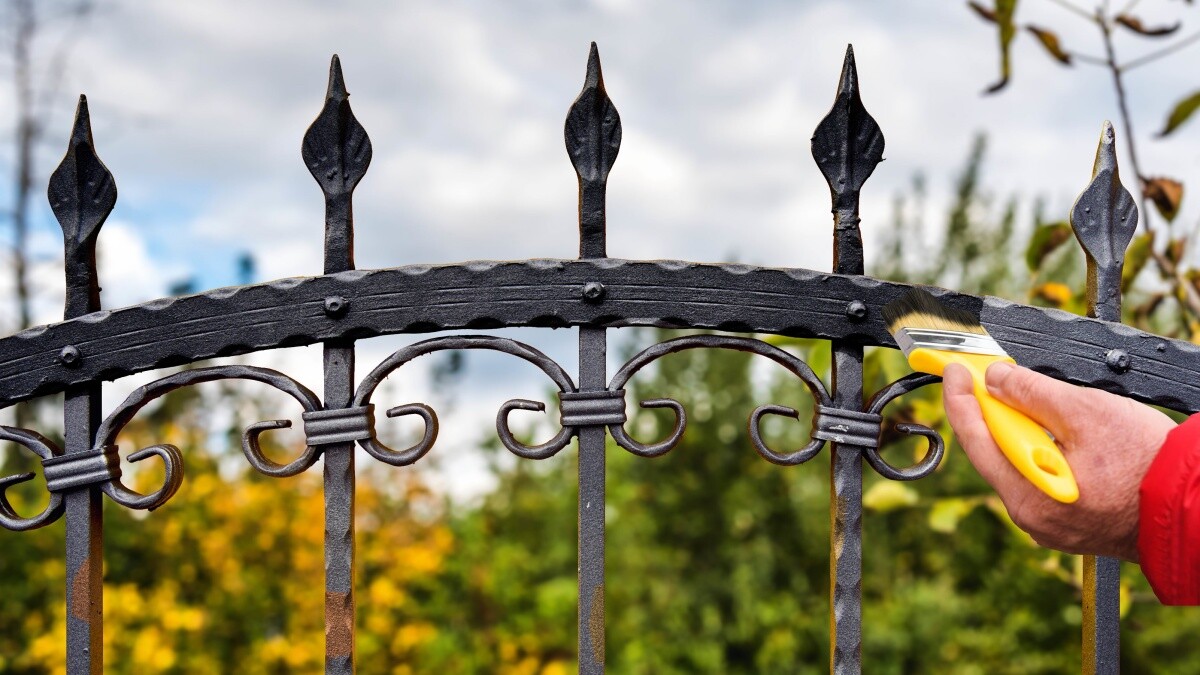
How much does fence painting cost?
Read more
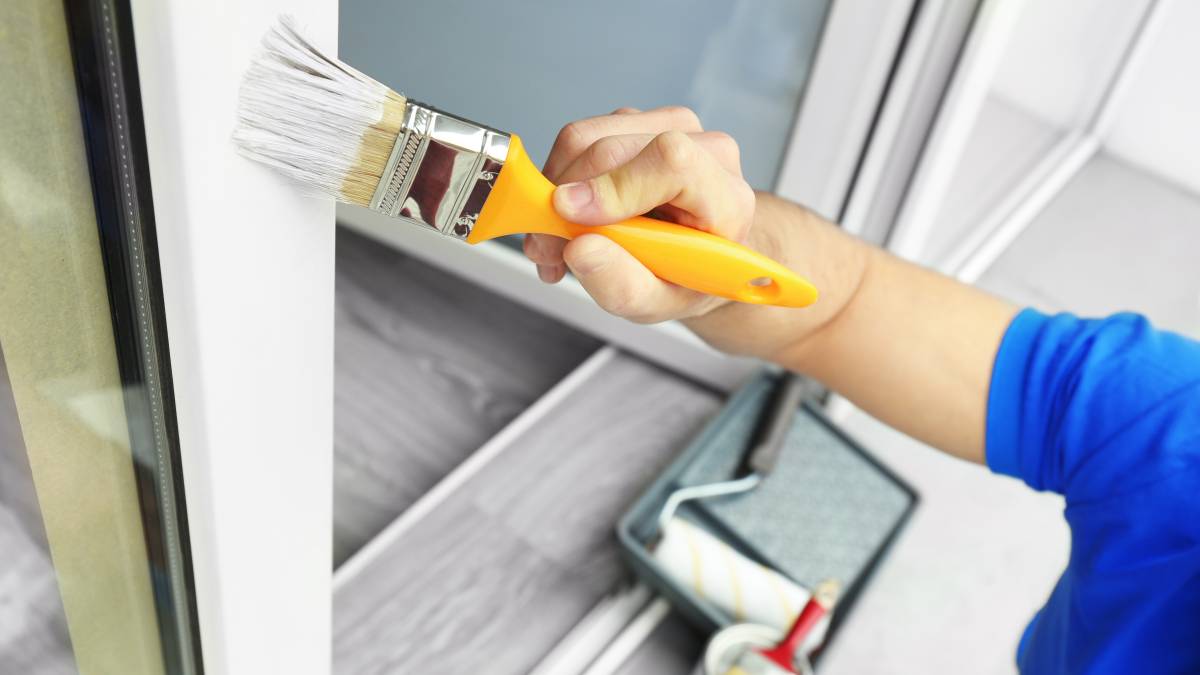
House painting: How much does it cost?
Read more
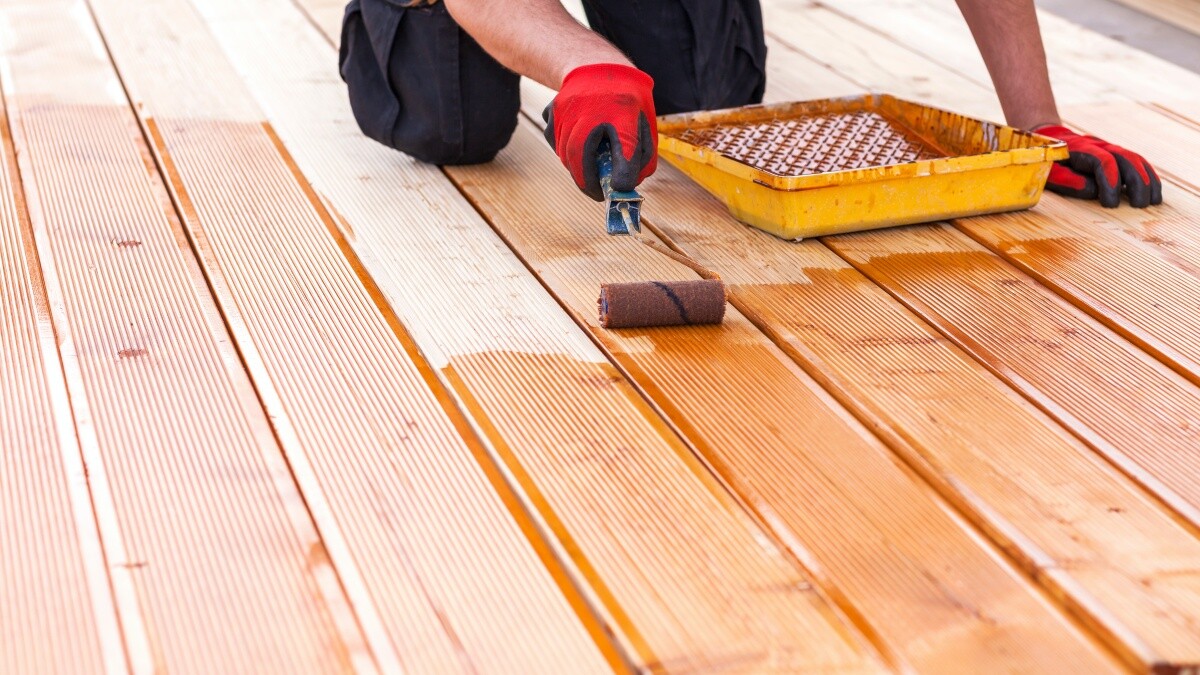
How much does deck painting cost?
Read more


Related articles
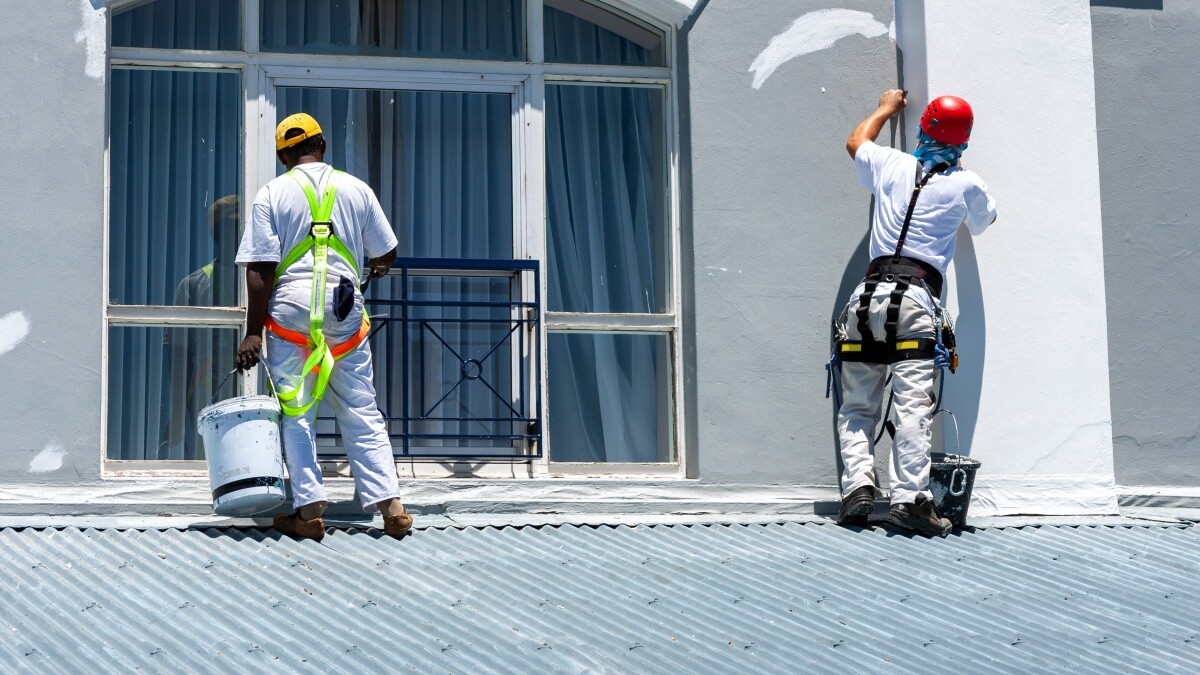
How much do painters make?
Read more
How to estimate a paint job in 4 steps
Read more