- Home/
- Guides/
- Garden Tool Sharpening/
- How to Sharpen Garden Shears
A complete guide to sharpening most types of garden shears
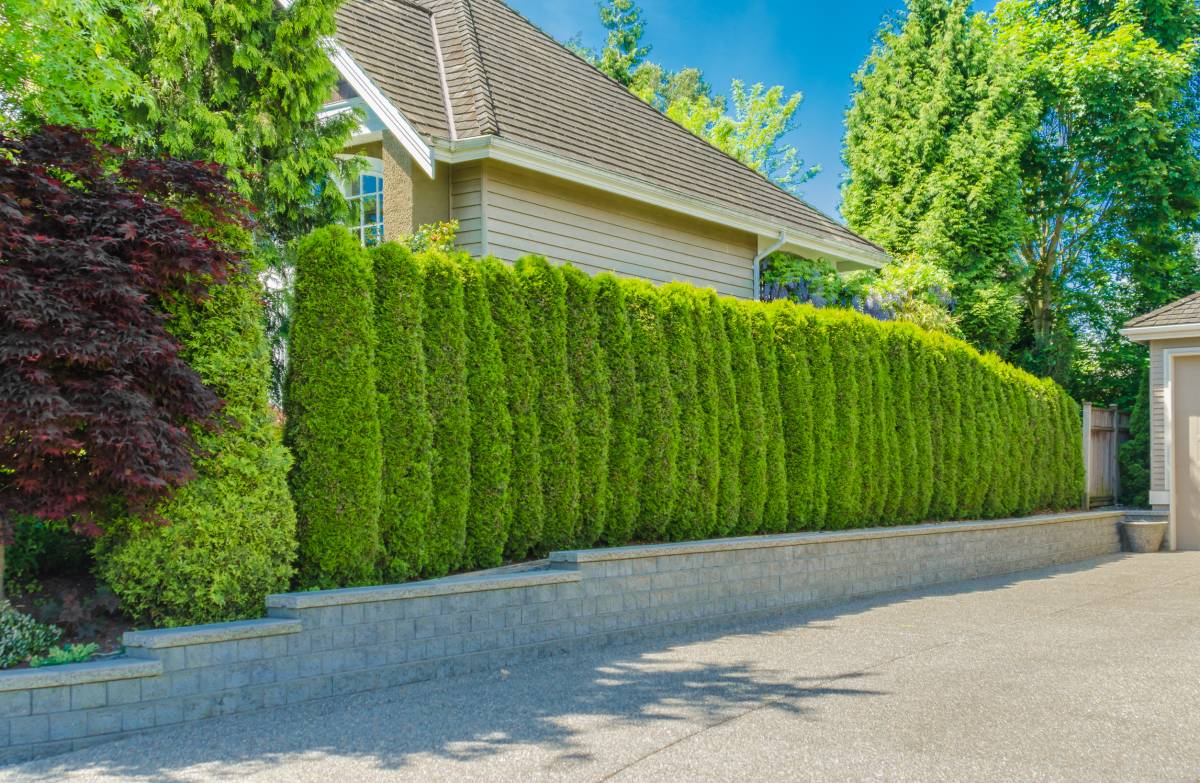
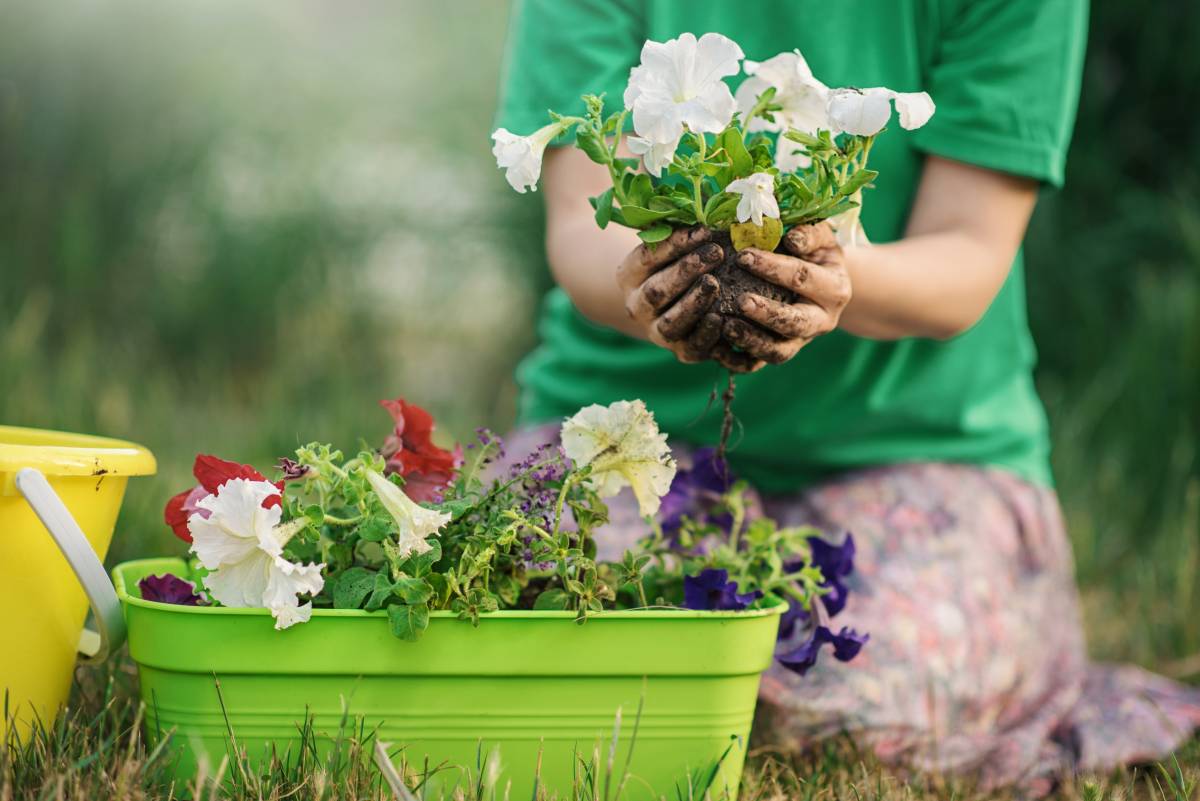
Beautiful landscaping is best achieved with well-maintained tools.
Last Updated on
Beautiful landscaping is best achieved with well-maintained tools. No gardener or landscaping enthusiast can have perfectly-trimmed hedges or neatly-cut grass if their garden shears don’t have a keen edge!
Get to know how to sharpen garden shears and get the best results whenever you do gardening or landscaping tasks.
Tools you need for sharpening garden shears
You can find most of these items at DIY stores or in the home improvement section of a supermarket.
When sharpening garden shears, you’ll need safety equipment and items for cleaning and removing rust. You’ll need to remove any rust or dirt buildup on your garden shears; A dirty or rust-encrusted blade can cause your sharpening tool to slip or prevent you from sharpening dull sections! Even a dull tool can give you a nasty cut, so wear safety gloves when shear sharpening.
Here’s a full list of what you’ll need to clean, remove rust, and sharpen most types of garden shears.
Safety equipment:
Gloves
Safety goggles
For cleaning:
Wire brush
Dish soap or detergent
Shallow pan or bucket
For removing rust:
Sandpaper
White vinegar or baking soda
Water
Old towel or rag
For sharpening:
Bench vice
Steel file
Coarse-grade whetstone or sharpener
Fine-grade whetstone
Diamond file
Mineral oil
Lubricating or machine oil
How long does shear sharpening take?
Sharpening can take about 20 minutes to an hour – under usual conditions and depending on the dullness of your shears. This task can take more time if you need to remove heavy layers of dirt and rust before sharpening. If your shears are very rusty, you may also need another 12 hours of immersing the tool in a vinegar-water water mixture.
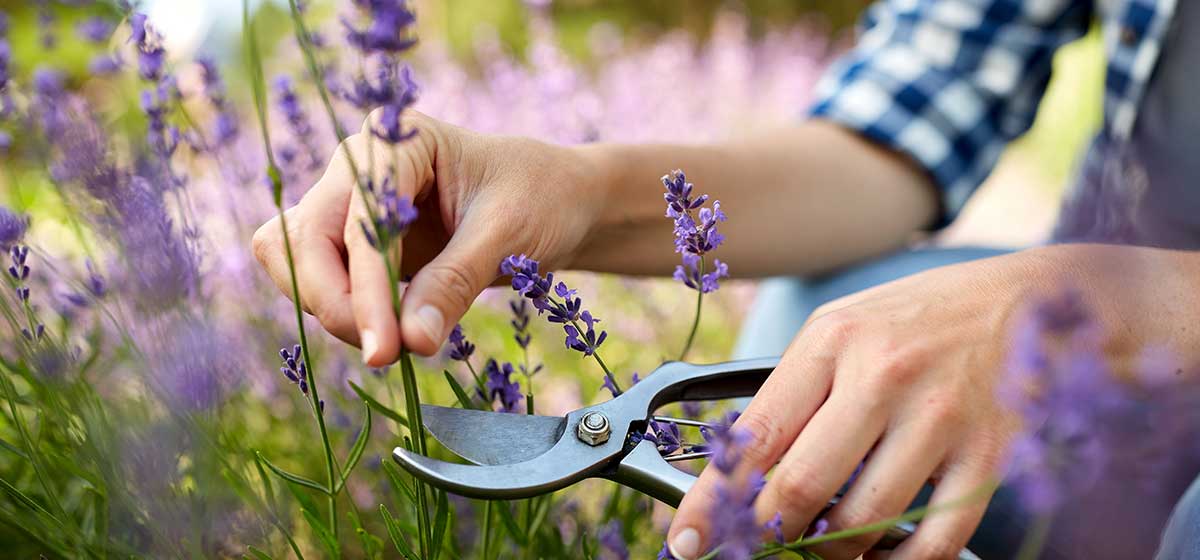
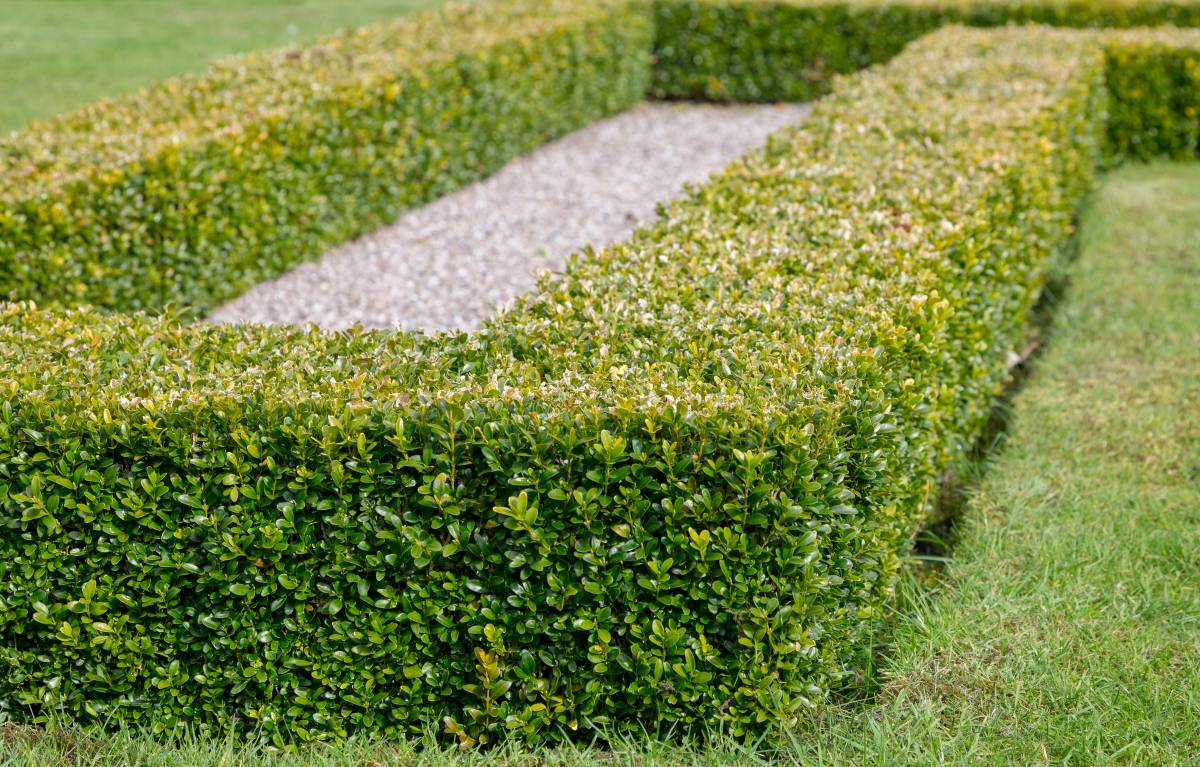
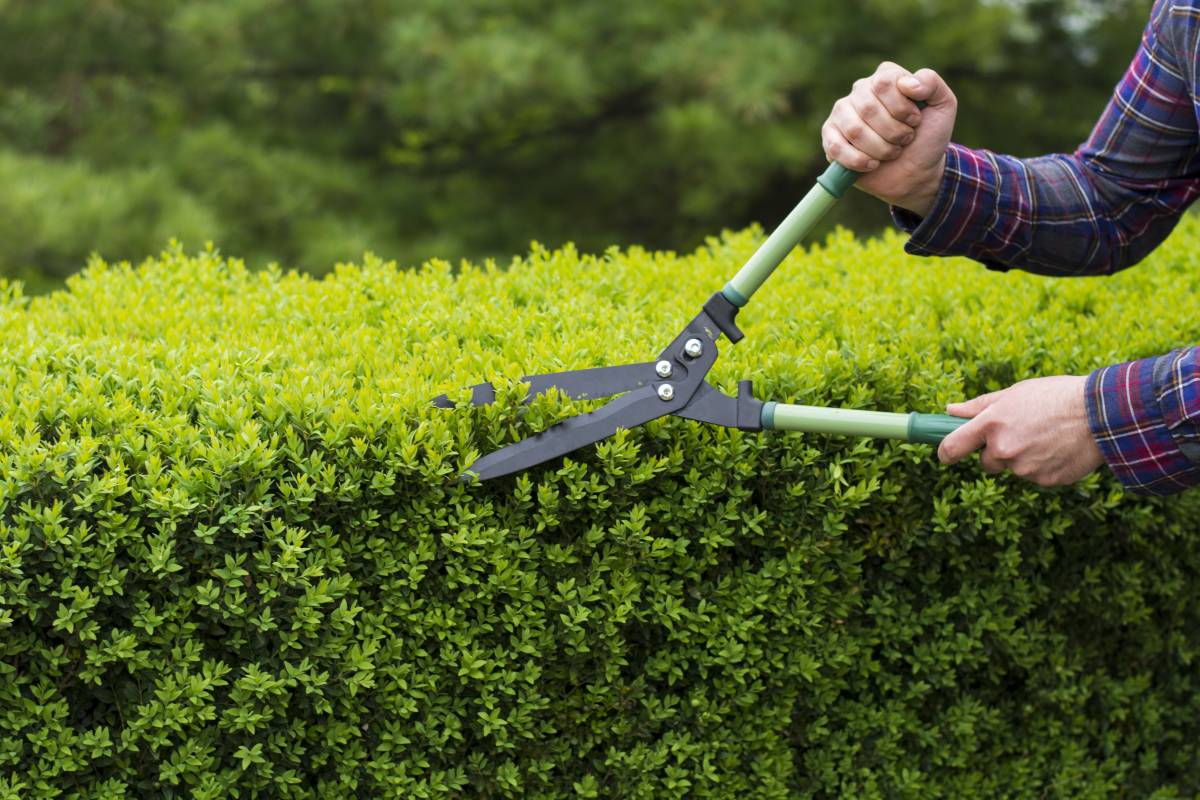
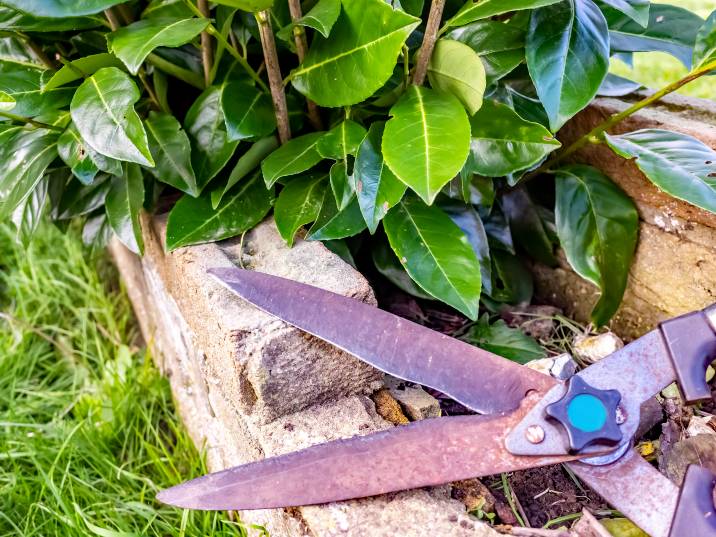
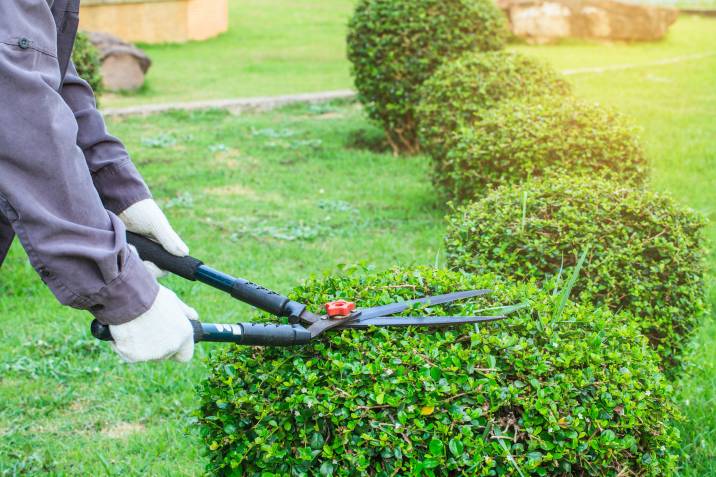
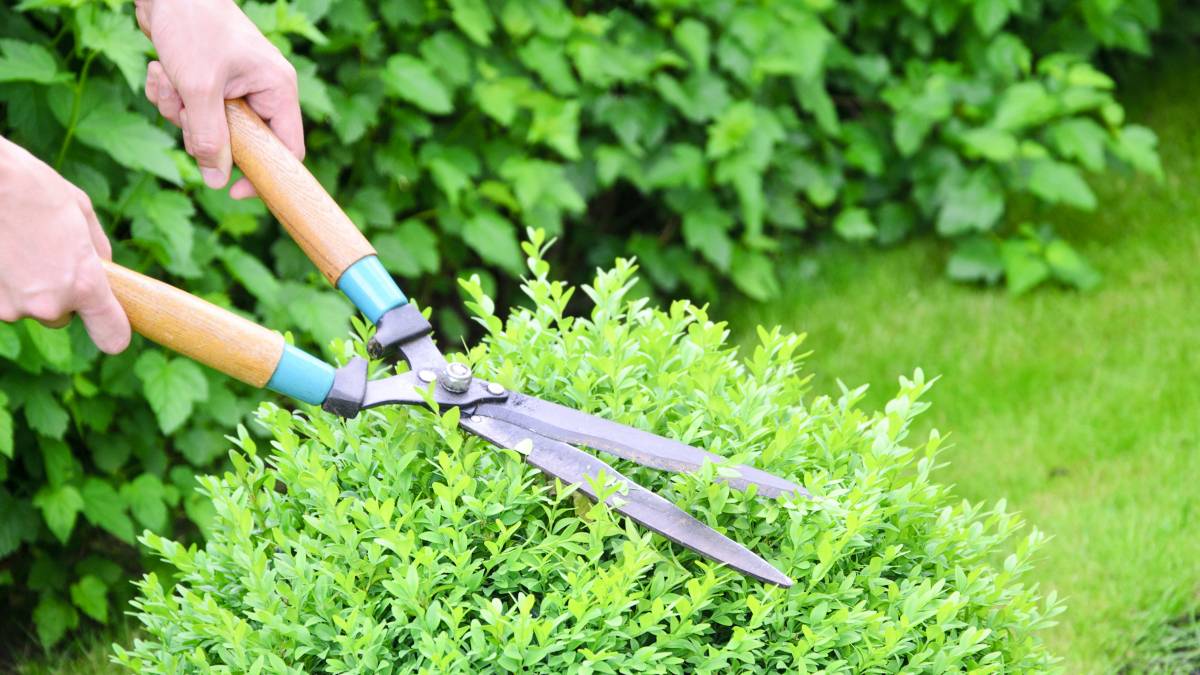
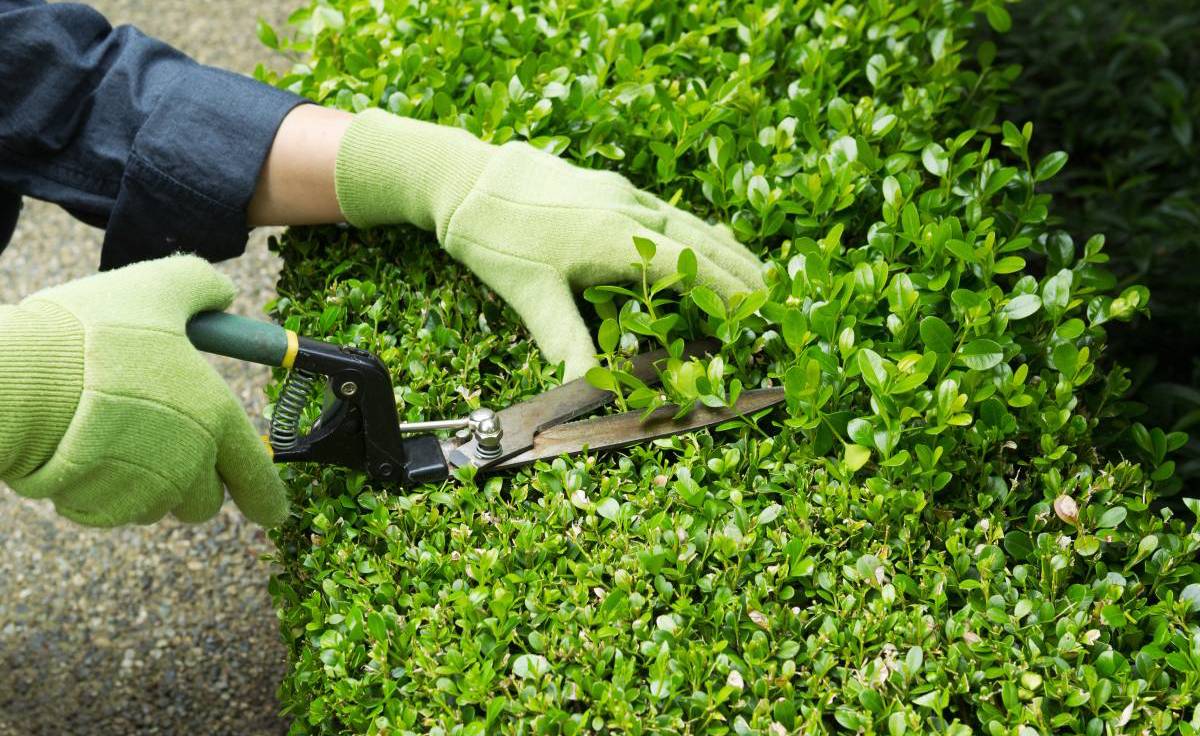
How to sharpen hedge shears
Hedge shears are crucial to trimming bushes and shrubs, ensuring they aren’t overgrown. Trimming your bushes also ensures they are free of any pest-ridden or dead branches. But as with most garden cutting tools, these long garden shears are only effective if kept sharp.
Here’s how to prepare the tool for sharpening and sharpen your hedge shears:
Step 1: Clean the hedge shears
Make sure to remove all the dirt on your hedge shears.
For heavy dirt, immerse the tool in water mixed with dish soap or detergent and leave it to soak for a few minutes.
Retrieve the tool from the soapy water and rinse it off with clean water. You can also use a wire brush to remove any stubborn dirt.
Repeat the process until all dirt is removed, then wipe the tool dry with an old towel or rag.
If you don’t see any dirt on the shears, give it a good rinse under the tap and wipe it dry.
Step 2: Remove rust
Skip this step if your shears don’t appear to have any rust, though you should inspect pivot areas.
Refer to the tool’s manual for disassembly, then loosen the bolt and separate the two main parts. Remove any rust from the pivot areas with sandpaper, and then reassemble the tool afterward.
If your shears are heavily rusted, mix white vinegar (or baking soda if you run out of vinegar) and water in a pan or bucket, in a 1:10 ratio of vinegar and water.
Immerse the tool in the mixture and leave it there for at least 12 hours.
Retrieve the tool and run a wire brush on its surfaces to remove the rust.
Rinse with clean water and wipe it dry with a rag.
Reassemble the tool if necessary.
Step 3: Prepare the shears for sharpening
The best way to prepare your shears for sharpening is to use a bench vice. You can disassemble the two main parts of your hedge shears, then clamp each piece and sharpen them one at a time. Another benefit of using a vice is you keep both hands free while sharpening.
If you don’t have a vice, you can disassemble the shears and lay them flat on the edge of a workbench with the cutting edge facing away from you.
Step 4: Restore the edge
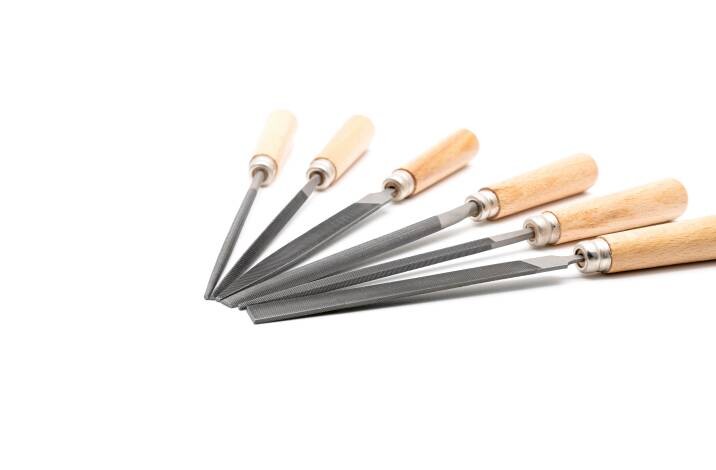
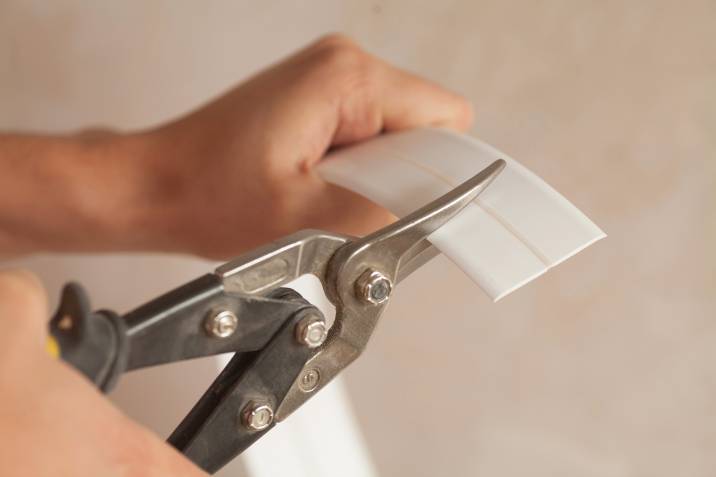
Skip this step if you don’t see any dull or nicked sections on the garden shears. But if there are nicks or dull sections, you will have to grind away some of the material to create a new cutting edge. A diamond file works best, but steel files can suffice.
As with sharpening, follow the angle of the bevel and apply light pressure. Use slow, long strokes along the bevel angle and don’t lift your file.
Continue this process until you see an even, bright line on the cutting edge.
Proceed with sharpening the new edge.
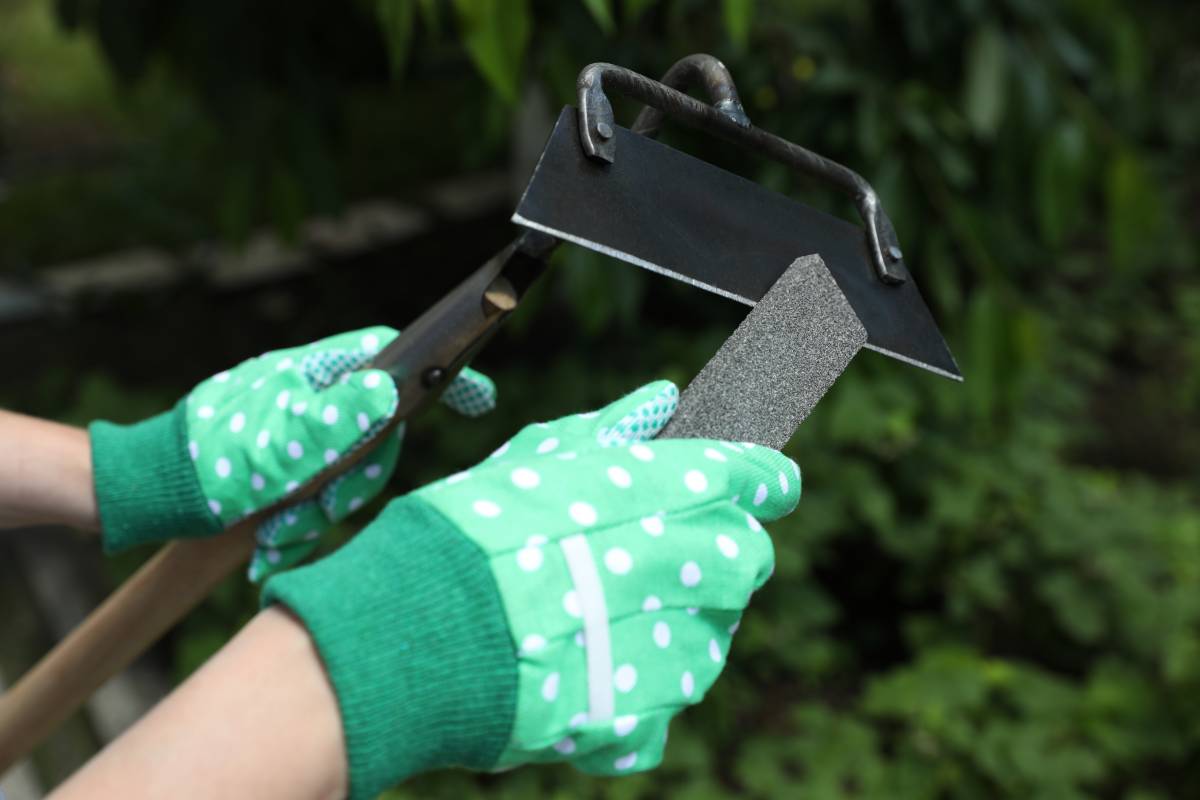
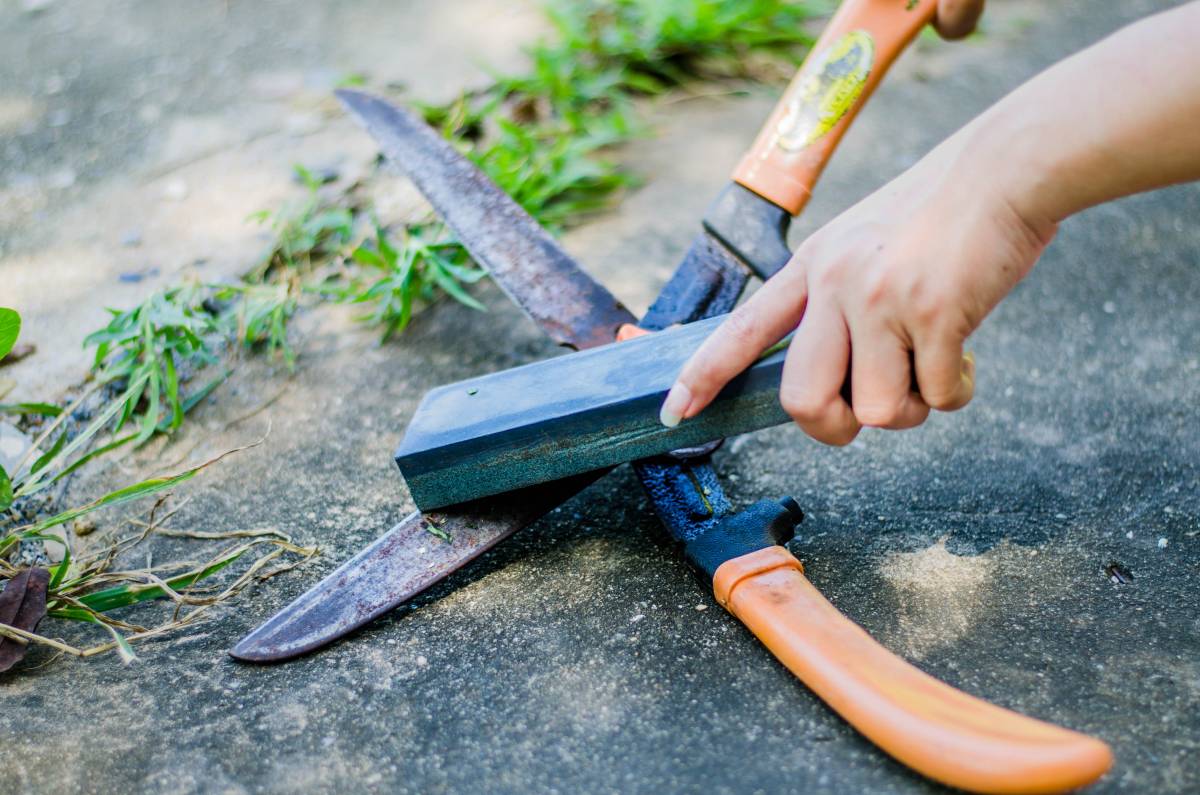
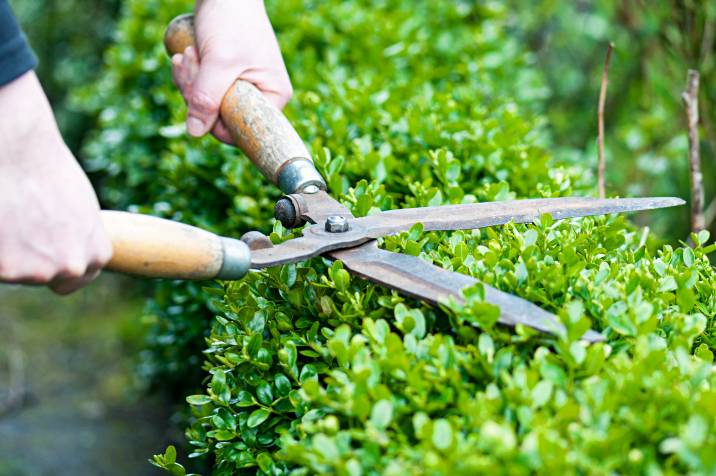
Step 5: Sharpen the shears
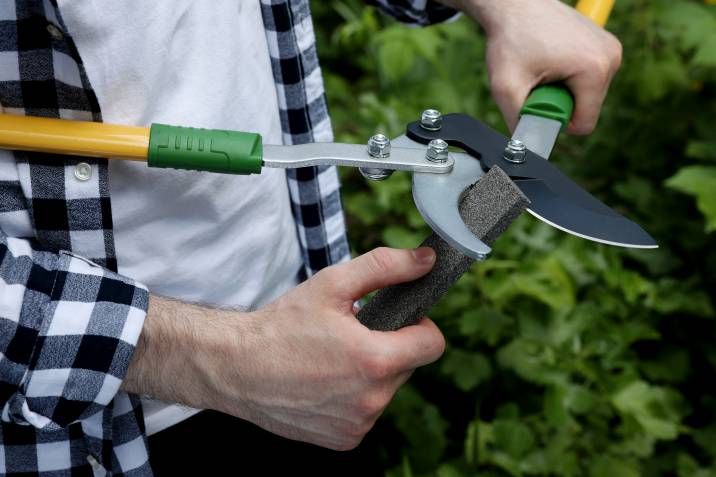
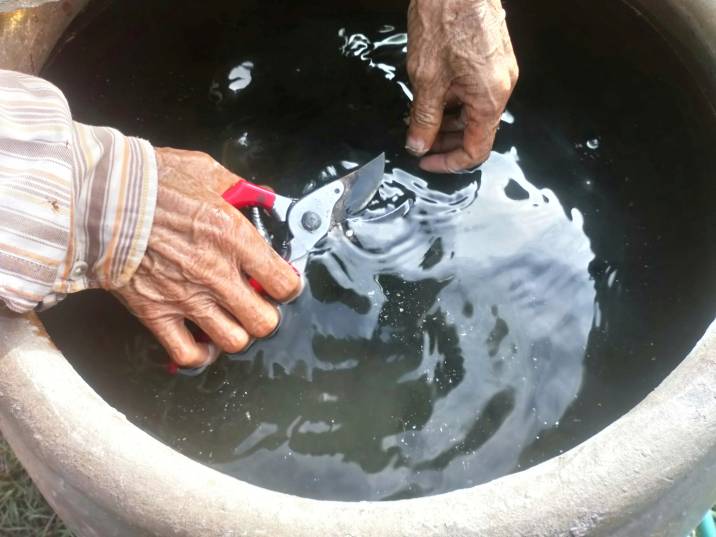
A steel file is one of the best tools to sharpen garden shears like hedge shears. You can also use garden tool sharpeners or coarse-grit and fine-grit whetstones. If using whetstones, remember to immerse these in water to expel all the air. Your whetstones are ready for use when no more bubbles appear.
Sharpen the shears’ cutting edges with long, slow strokes without lifting your sharpening stone or file.
Position your sharpener at an angle that follows the bevel of the cutting edge at about 20 to 30 degrees. Make a few strokes with your sharpener.
To remove burrs, make a couple of light passes with your sharpener on the opposite side of the blade. Keep the sharpener flat to avoid creating an opposing bevel.
Step 6: Test the shears for sharpness
To check if the blades are sharp enough, reassemble the shears and use them to cut scrap paper or old newspaper. Note the ease or difficulty in cutting the paper, and the resulting cut.
If the paper has jagged edges, go back to step 5. Repeat the sharpening and testing process until your garden shears make smooth, clean cuts on paper. Lubricate the blades and pivot areas with a spot of machine oil.
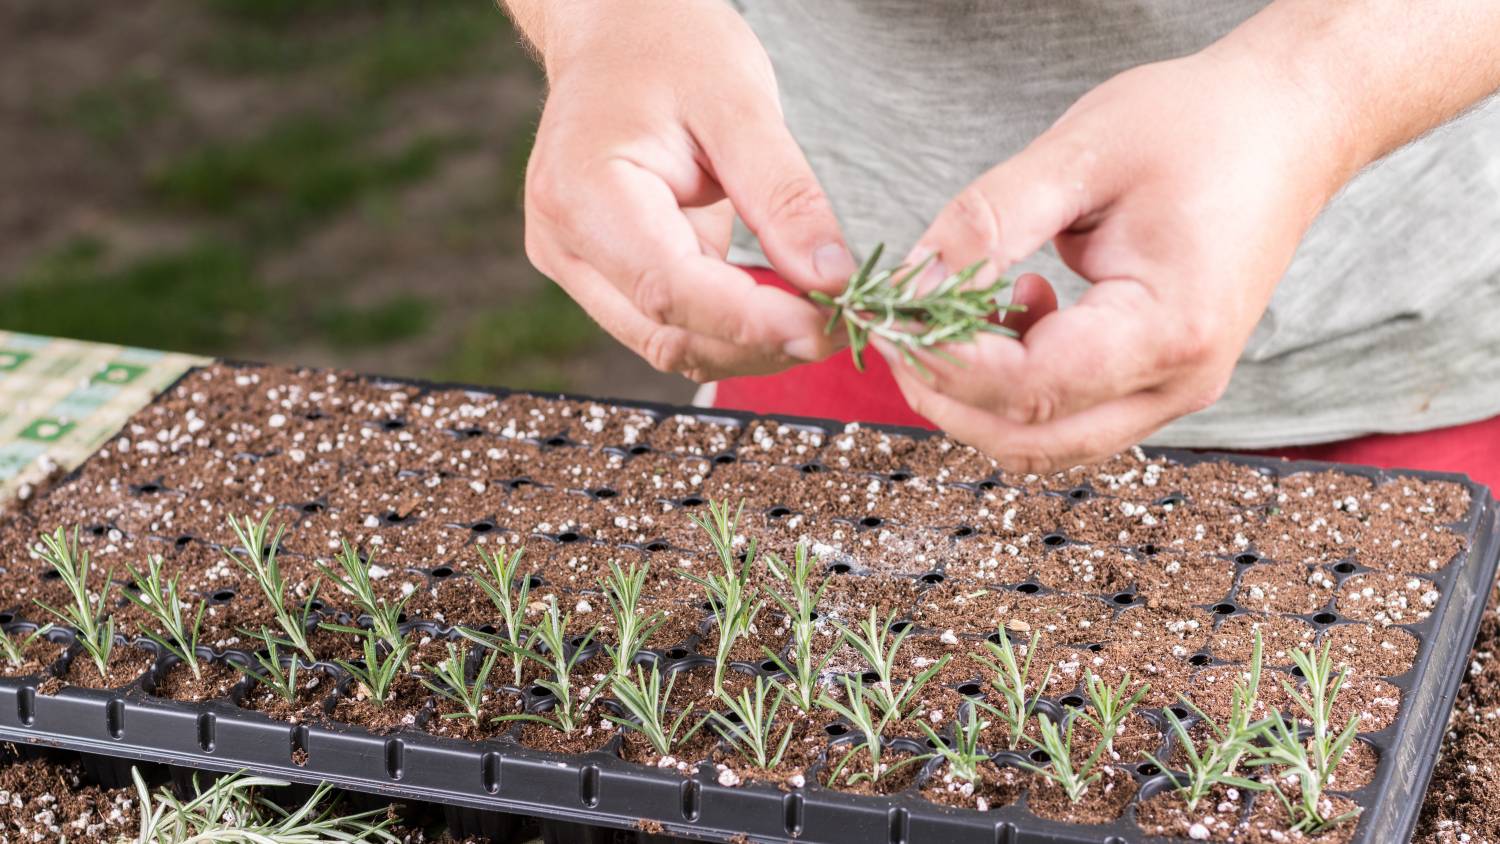
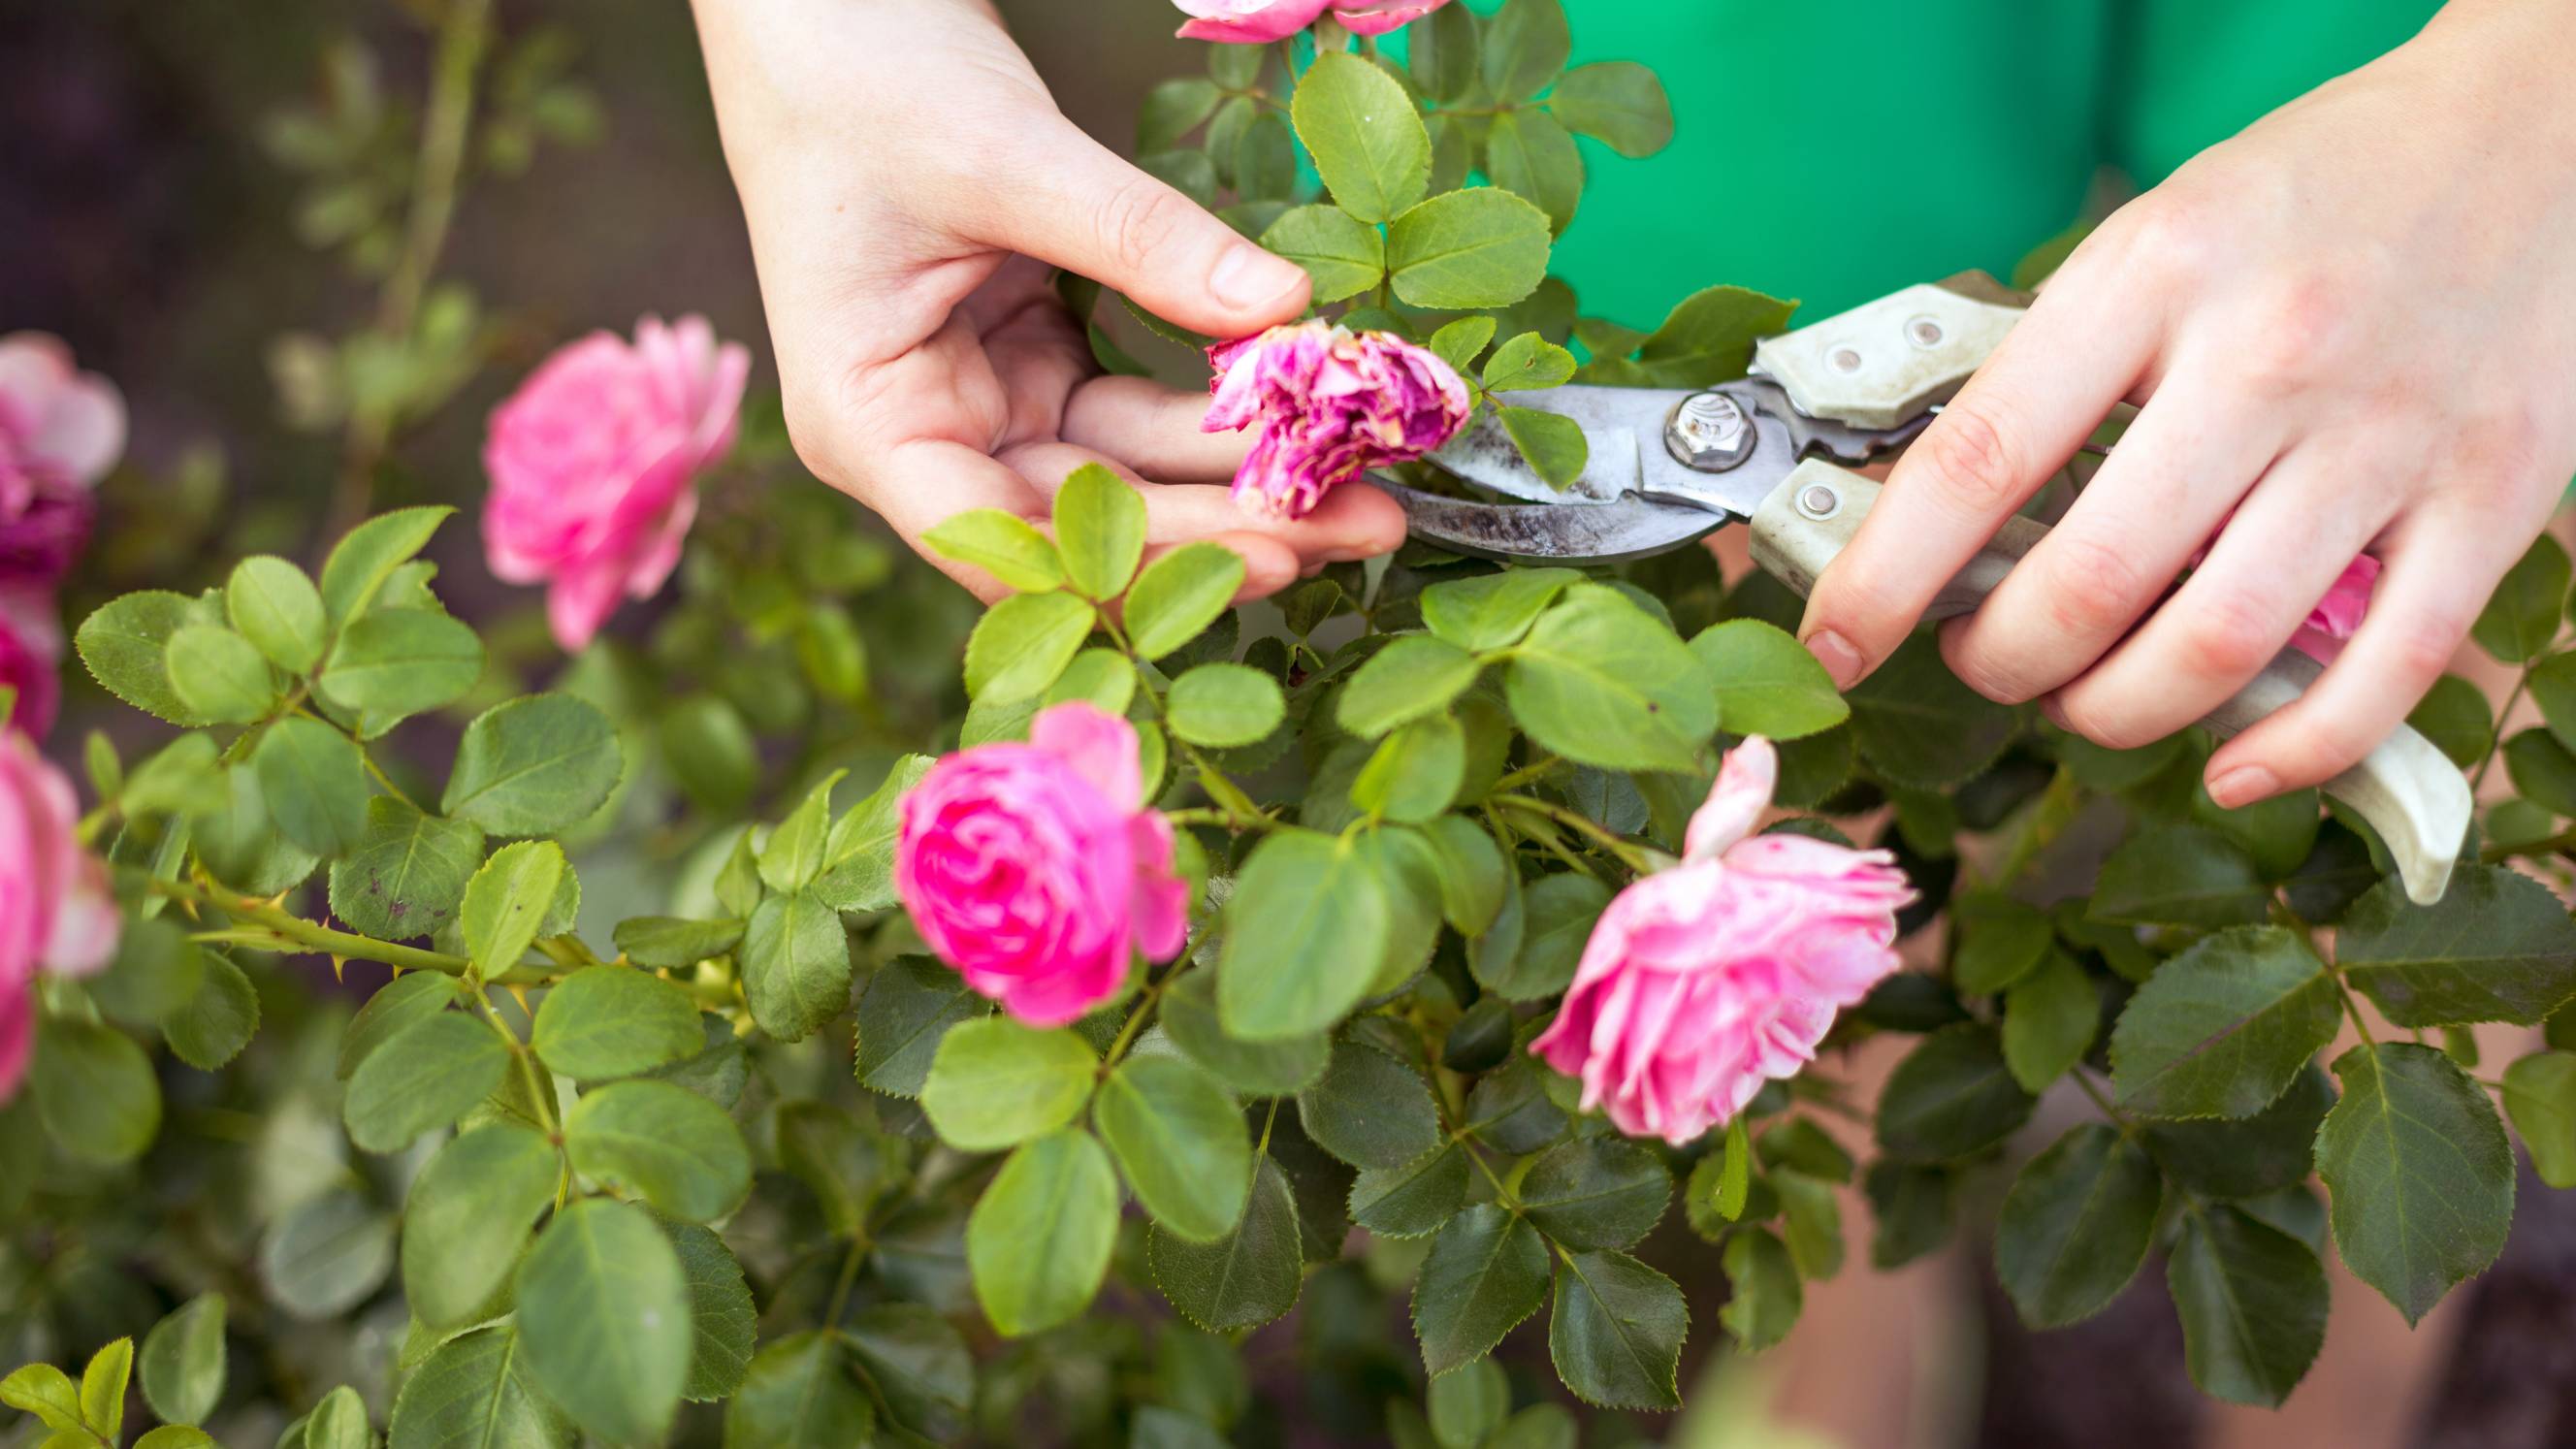
How to sharpen garden hand pruners

Also known as secateurs or pruning shears, garden hand shears are essential for trimming stems, leaves, and branches on smaller plants and small growths on trees. A sharp pair of secateurs also allow for easier delicate trimming on ornamental plants and removing diseased sections of your plants or trees.
Here’s how to maintain the cutting edge of your garden hand shears:
Step 1: Clean the garden hand shears
Remove dirt or debris from the secateurs by soaking them in a shallow pan or bucket with dish soap and water. Use a wire brush to remove stubborn dirt, rinse the tool, and dry with an old rag or towel.
Step 2: Remove rust
If you see any rust on the blades or any metal parts, remove them with sandpaper or a steel brush.
For heavily-encrusted rust, mix 1 part vinegar or baking soda and 4 parts water in a bucket. Then, immerse the tool.
If you use baking soda, this will form a paste. Rub some of the paste onto the rusty areas.
Leave the hand shears to soak in the mixture for at least 12 hours.
Retrieve the tool afterward and use a wire brush to remove the loosened rust.
Rinse the tool and dry with an old towel or rag.
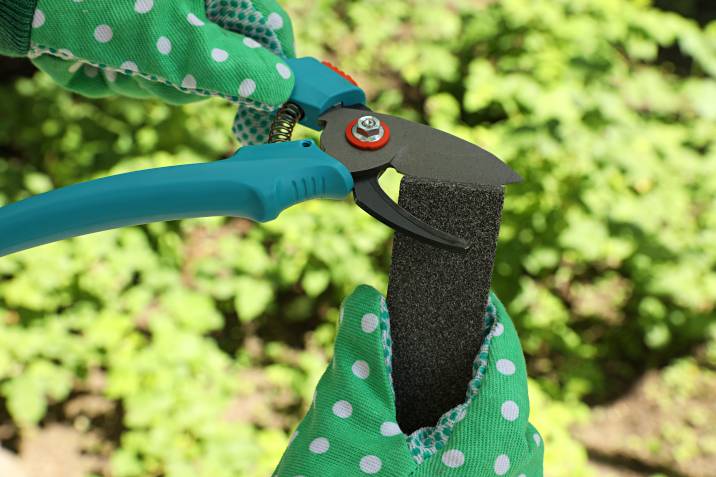
Step 3: Sharpen the garden shears
Grasp the tool firmly as you sharpen the blade. Make sure to use safety gloves and goggles!
Sharpen the blade by holding your whetstone or file at the same angle as the bevel. Use a couple of long, slow strokes without pressure. Never lift your sharpening tool for complete and consistent sharpening.
Turn the blade over and lightly run your whetstone flat on the other side of the blade to remove any burrs.
If your secateurs have had heavy use, Inspect the lower “blunt jaw.” Note that this section needs a consistent, flat gripping surface.
Disassemble the tool if you need to work on this section. Check the jaw’s edge for rounded areas; These areas must be honed into a flat, not sharp, edge.
If the surface looks uneven, use fine-grit sandpaper to lightly grind and even out the surface.
Reassemble and lubricate the tool’s blade and pivots afterward.
Step 4: Restore worn edges
If your garden hand shears have any nicks or blunt sections on the blade, you can use a diamond or steel file to restore the edge.
As with sharpening, run the file with long, slow strokes and light pressure on the working edge.
Repeat this process until any nicks or dull sections are replaced by a thin, bright line running along the entire blade.
Remember that if you don’t have the time or find this process tedious, you can always hire a garden tool sharpening service.
Step 5: Lubrication and storage
After sharpening, apply a spot of lubricating oil on your hand garden shears’ pivot point, spring and blades. Hang the tool up on a rack in your garden shed or place it in a sealed container to protect it from moisture.
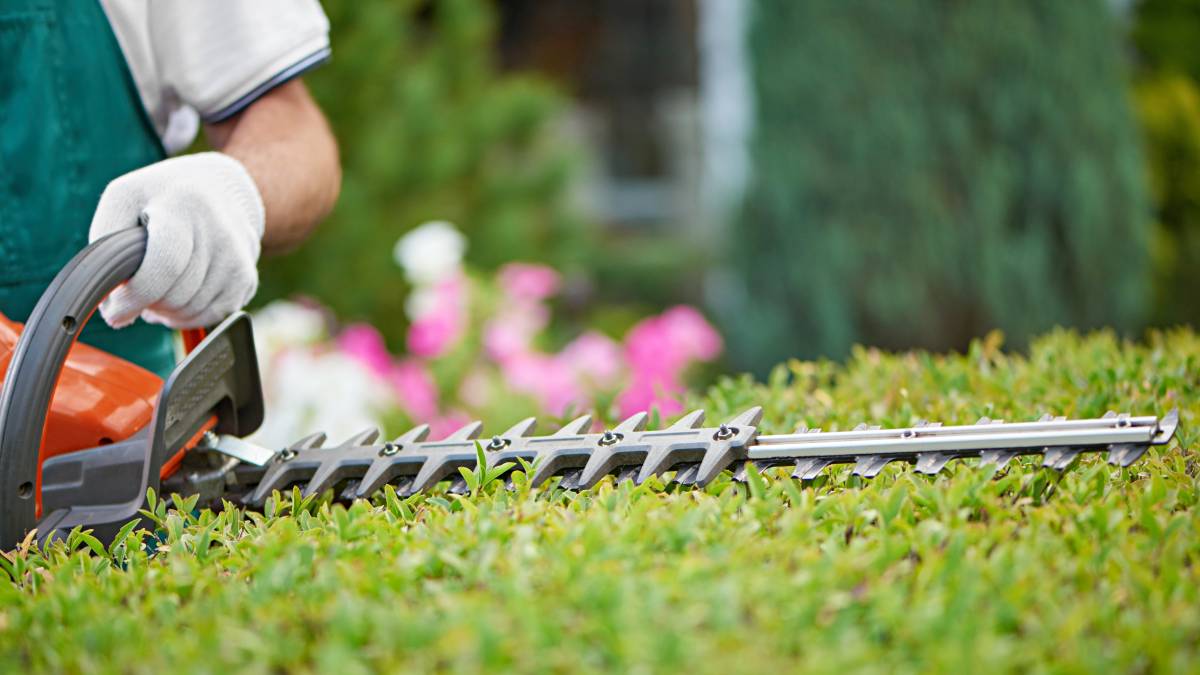
How to sharpen long-handled garden shears
 Long-handled garden shears are essential for pruning or trimming high branches, tall hedges, or other hard-to-reach areas. This category also includes loppers with pruning blades, long-handled hedge trimmers, and grass trimmers with side-facing shears.
Whichever tool you have, here’s how you can sharpen this indispensable tool. This tool is helpful for looking after your hedges and trees, and cutting overgrown grass.
Step 1: Clean the tool
Remove any dirt or plant debris on your long-handled garden shears with a blast from your garden hose. If necessary, give the tool a good and thorough cleaning with soapy water and a brush. Dry the tool with an old rag or towel.
Step 2: Remove rust
Use sandpaper or a wire brush to scrape off any surface rust on the blades.
If the tool is heavily rusted, prepare a mixture of water and baking soda or vinegar in a bucket or pan. You don’t have to soak the entire tool – just the blades.
Leave the tool in the mixture for at least 12 hours.
Retrieve it and use a wire brush to scrape off the loosened rust, then rinse and dry it with a rag.
Step 3: Create a new edge
Check for nicks or dull areas along both blades. If you find any of these, you’ll need to grind a new cutting edge. For this task, you can use a diamond or steel file. The only difference is that the steel file may take a few more strokes and more effort to grind a new edge.
Position your file in line with the bevel angle of the blade.
Make a few long, slow strokes with light pressure to grind away the nicks and dull areas.
Keep going until you create a long, consistent line of shiny metal. This is the new edge you can now sharpen!
Step 4: Sharpen your long-handled garden shears
Secure your long-handled garden shears in a bench vice with the blades open and facing upwards. You can also lay the tool on a table and open the blades, with the blades facing away from you.
With your file, whetstone, or sharpener, make a few long, slow strokes on each blade. Be sure to do the strokes at the same angle as the bevel.
You can test the blade for sharpness by cutting a piece of scrap paper.
Do a few more strokes with the sharpener if the cuts are jagged or the blades meet some resistance.
Continue the process until the blades cut cleanly through the paper.
Step 5: Maintenance and storage
After sharpening:
Apply a few drops of machine oil to the moving parts and the blades. If your long-handled garden shears have wood handles, apply some natural oil like walnut or linseed oil on them.
Let the oil sit for a few minutes.
Wipe off any excess oil.
Store this garden tool in your garden shed by hanging it on a rack.
How to sharpen electric garden shears
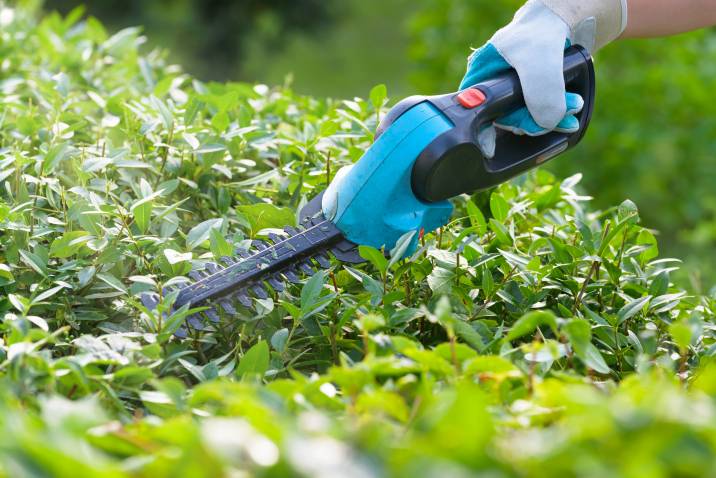 Whether you use corded or cordless garden shears, electric garden shears are the best tool for doing many cutting jobs that require less precision. With electric garden shears, you can trim several hedges, shrubs, and trees in one go with minimal effort.
To enjoy the benefits of getting a lot done in your garden with less effort, make sure your electric garden shears stay sharp.
For electric garden shears, you’ll need these materials and tools:
Wire brush
Sandpaper
Steel wool
Diluted bleach
Machine oil
Safety gloves
Flat steel file
Soap and water
Rag
Step 1: Safety on, power off
Before you sharpen electric garden shears, the most crucial step is to make sure they’re not plugged in. Remove the battery if you have battery-powered garden shears. Never start sharpening or cleaning the blades until you’re sure there is no chance of activating the shears accidentally.
Also, remember to wear safety gloves while you work on the blades.
Step 2: Clean the blades of your electric garden shears
If your electric garden shears have some dirt or debris, use an old towel or rag to clean them. You can use soap and water and scrub off the dirt with a brush, but dry the blades with a rag afterward.
For more stubborn dirt, you can immerse the blades in diluted bleach overnight. Refer to the instruction manual of your electric shears and detach the blades from the motor. Reattach the blades if necessary after cleaning.
Step 3: Remove rust from the electric shears
If your electric garden shears have light rust, use coarse-grade sandpaper and a wire brush to remove it. Heavier rust buildup can be removed by applying some machine oil to the rust, allowing it to sit for a few minutes, then scraping it off with steel wool.
Step 4: Sharpen your electric garden shears
Note that your electric garden shears are more like a saw, with several tooth-like blades, each with three sharp side tips.
Use a flat steel file to sharpen each tip of each blade.
Run the file along the bevel angle of each blade tip in long, slow forward strokes. Never do a back-and-forth motion.
Sharpen each tip until you see bare metal.
Step 5: Practise proper blade care and storage
After sharpening:
Apply a few drops of machine oil to the blades.
Let the oil settle for a few minutes, then run the tool for about 5 seconds to spread the oil.
Remove the battery and hang your electric hedge trimmers in a cool, dry place. You can refer to the manufacturer’s instructions for proper battery storage or storage for the electric cord.
If your shears still feel dull or aren’t working as expected even after sharpening, it might be time for a professional check. Whether you need a tool repair Dallas or a power tool fix in Miami, you can easily book a local expert to inspect and fix the issue.
Why hire a garden tool sharpening service
Your most-used garden shears can stay sharp with proper and constant maintenance. But sharpening your garden tools can be tedious and even dangerous. Garden tool sharpening services can save you all the trouble by taking the task off your hands. Hire a professional with the proper tools and skills to sharpen garden shears. Your garden tool sharpening service can safely and quickly restore your tools, so you can focus on tending to your garden.
FAQs on sharpening garden shears
You don’t always need razor-sharp garden shears. For small shears like pruners, it’s best to sharpen them to a keen edge. Shears should make the cleanest cuts, especially for grafting. Other heavy-duty tasks like trimming edges don’t require razor-sharp blades. The blade edges only need to be sharp enough to cut away dead branches and stems with the least effort.
Shears are often two-handed tools for heavy-duty tasks like trimming large shrubs or overgrown hedges. Pruners (or secateurs) are a more specific type of shears used with one hand. Also, pruners differ significantly from larger shears in that they’re designed for more precise and delicate cutting work. These small shears are best suited for work on flowers, small shrubs, vines, or small growths on trees.
Yes, you can use a power tool to sharpen your electric hedge trimmers. Remember to use the proper size of sharpening stone on your power tool. What’s more, use the sharpening device on a low- to medium-speed setting. Avoid going at higher speeds as this may grind away too much material from the hedge trimmer blades. Don’t forget to use safety gloves and goggles, and grind each tooth at the same angle of the bevel.
Immerse the sharpening stone in water and let all the air bubbles come out before using it. Also, wear safety gloves! Once the sharpening stone is ready, place it on the cutting edge at the same angle as the bevel. Make light, slow strokes in one direction until the cutting edge looks shinier than the rest of the blade.
Find garden tool sharpening experts, fast
Find a garden tool sharpening expert
Related price guides
How much does hedge removal cost?
Read more

How much does a garden room cost?
Read more
How much does mulch cost?
Read more
How much does weeding cost?
Read more
Related articles
How to build a raised garden bed
Read more
How to clean landscape rocks
Read more
Your garden maintenance checklist
Read more

25 ways to make money gardening
Read more

How to Start a Vegetable Garden
Read more

13 best spring gardening tips
Read more
How to trim bushes the right way
Read more
36 Quirky plant pot ideas you’ll love
Read more