How to move with plants safely: The ultimate survival guide
Learn expert-approved steps for safe plant relocation
Last Updated on

Written by Genine T.
Staff Writer
Read more about our contributor
Key Takeaways
Moving can cause plants to wilt or droop due to transport stress, but proper preparation and careful handling can prevent most damage.
Always check USDA rules if you’re moving plants interstate to avoid unexpected fines or confiscation.
After the move, take time to unpack gently, help your plants acclimate, and ease them back into their routine.
Ever feel like your houseplants know you’re about to move? Those droopy leaves and sudden yellow patches aren’t just bad luck. Plants are surprisingly sensitive to change, and 66% of households hit this exact snag when relocating.
The good news is you don't have to say goodbye to your green family or start over with expensive nursery runs. Moving plants successfully comes down to smart timing, proper prep, and knowing which factors you need to consider. In this guide, you’ll discover how to move with plants, including foolproof packing techniques, state-by-state rules, and transport methods that keep even your fussiest specimens thriving.
Preparation for moving
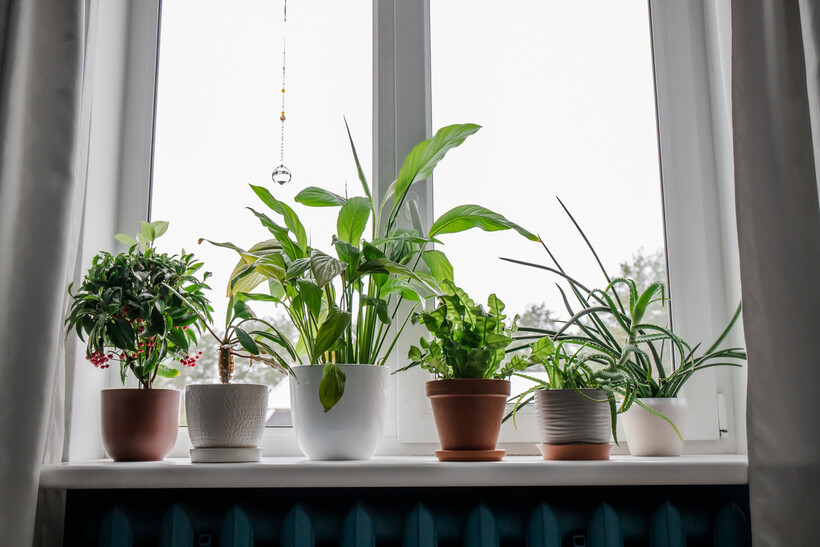 Potted plants lined up on a sunny windowsill in a cozy living space. (Source: iStock)
Moving house is already a big job, and transporting plants adds a few extra steps to get it right. In this section, get to know the three must-checks before you hire a mover.
Assess which plants to move
Give yourself at least two weeks before moving day to figure out which plants are worth taking. It’s recommended that you start by researching your new space. Look at things like sunlight, climate, and how much room you actually have indoors and outdoors. Will your ferns thrive if you’re moving to a hotter spot? Will that big pot fit through your new front door? Knowing this upfront helps you avoid moving plants that will struggle to survive.
For potted plants, check for pests, disease, or signs of poor health. Remember that if the plant is sick, it’s unlikely to bounce back after being moved. If unsure, ask a local nursery or garden planting specialist for advice.
Once you know which ones you want to keep, start treating them well ahead of time. Remove any dead leaves, check for pests and diseases, and give them a health boost with a bit of fertilizer if needed. Well-hydrated, healthy plants cope much better with the stress of a house move.
Check laws and regulations
Moving plants within the same city is straightforward, but crossing state lines can trigger strict federal and state agricultural restrictions. The USDA’s Animal and Plant Health Inspection Service (APHIS) oversees regulations for moving plants between states, while individual states may enforce additional rules to protect their agriculture and environment. For example, Florida and California have restrictions on moving citrus plants to prevent the spread of diseases like citrus greening.
Before moving plants interstate, check if you need a permit, inspection, or certificate from APHIS or your destination state’s agriculture department. Some plants must be certified pest-free and inspected by a licensed officer before they can be moved.
Decide what to leave behind
Once you know which plants you want to move and what’s allowed, it’s worth going through them again with a practical eye. Not every plant is cut out for the stress of travel, sudden climate changes, or a new garden layout. Be honest about what’s worth the effort and cost, and what might thrive better in someone else’s care.
To do this, group your plants based on which ones you can safely bring to your new space, which ones could be gifted, and which should be disposed of responsibly. Here are a few smart questions to help you decide:
Can it handle days without much water, light, or stable temperatures during the move?
Will it thrive in the climate, soil, and sunlight at your new place?
Will you have enough space and light for it after your move?
Is it more practical to replace this plant with a new plant suited to your area?
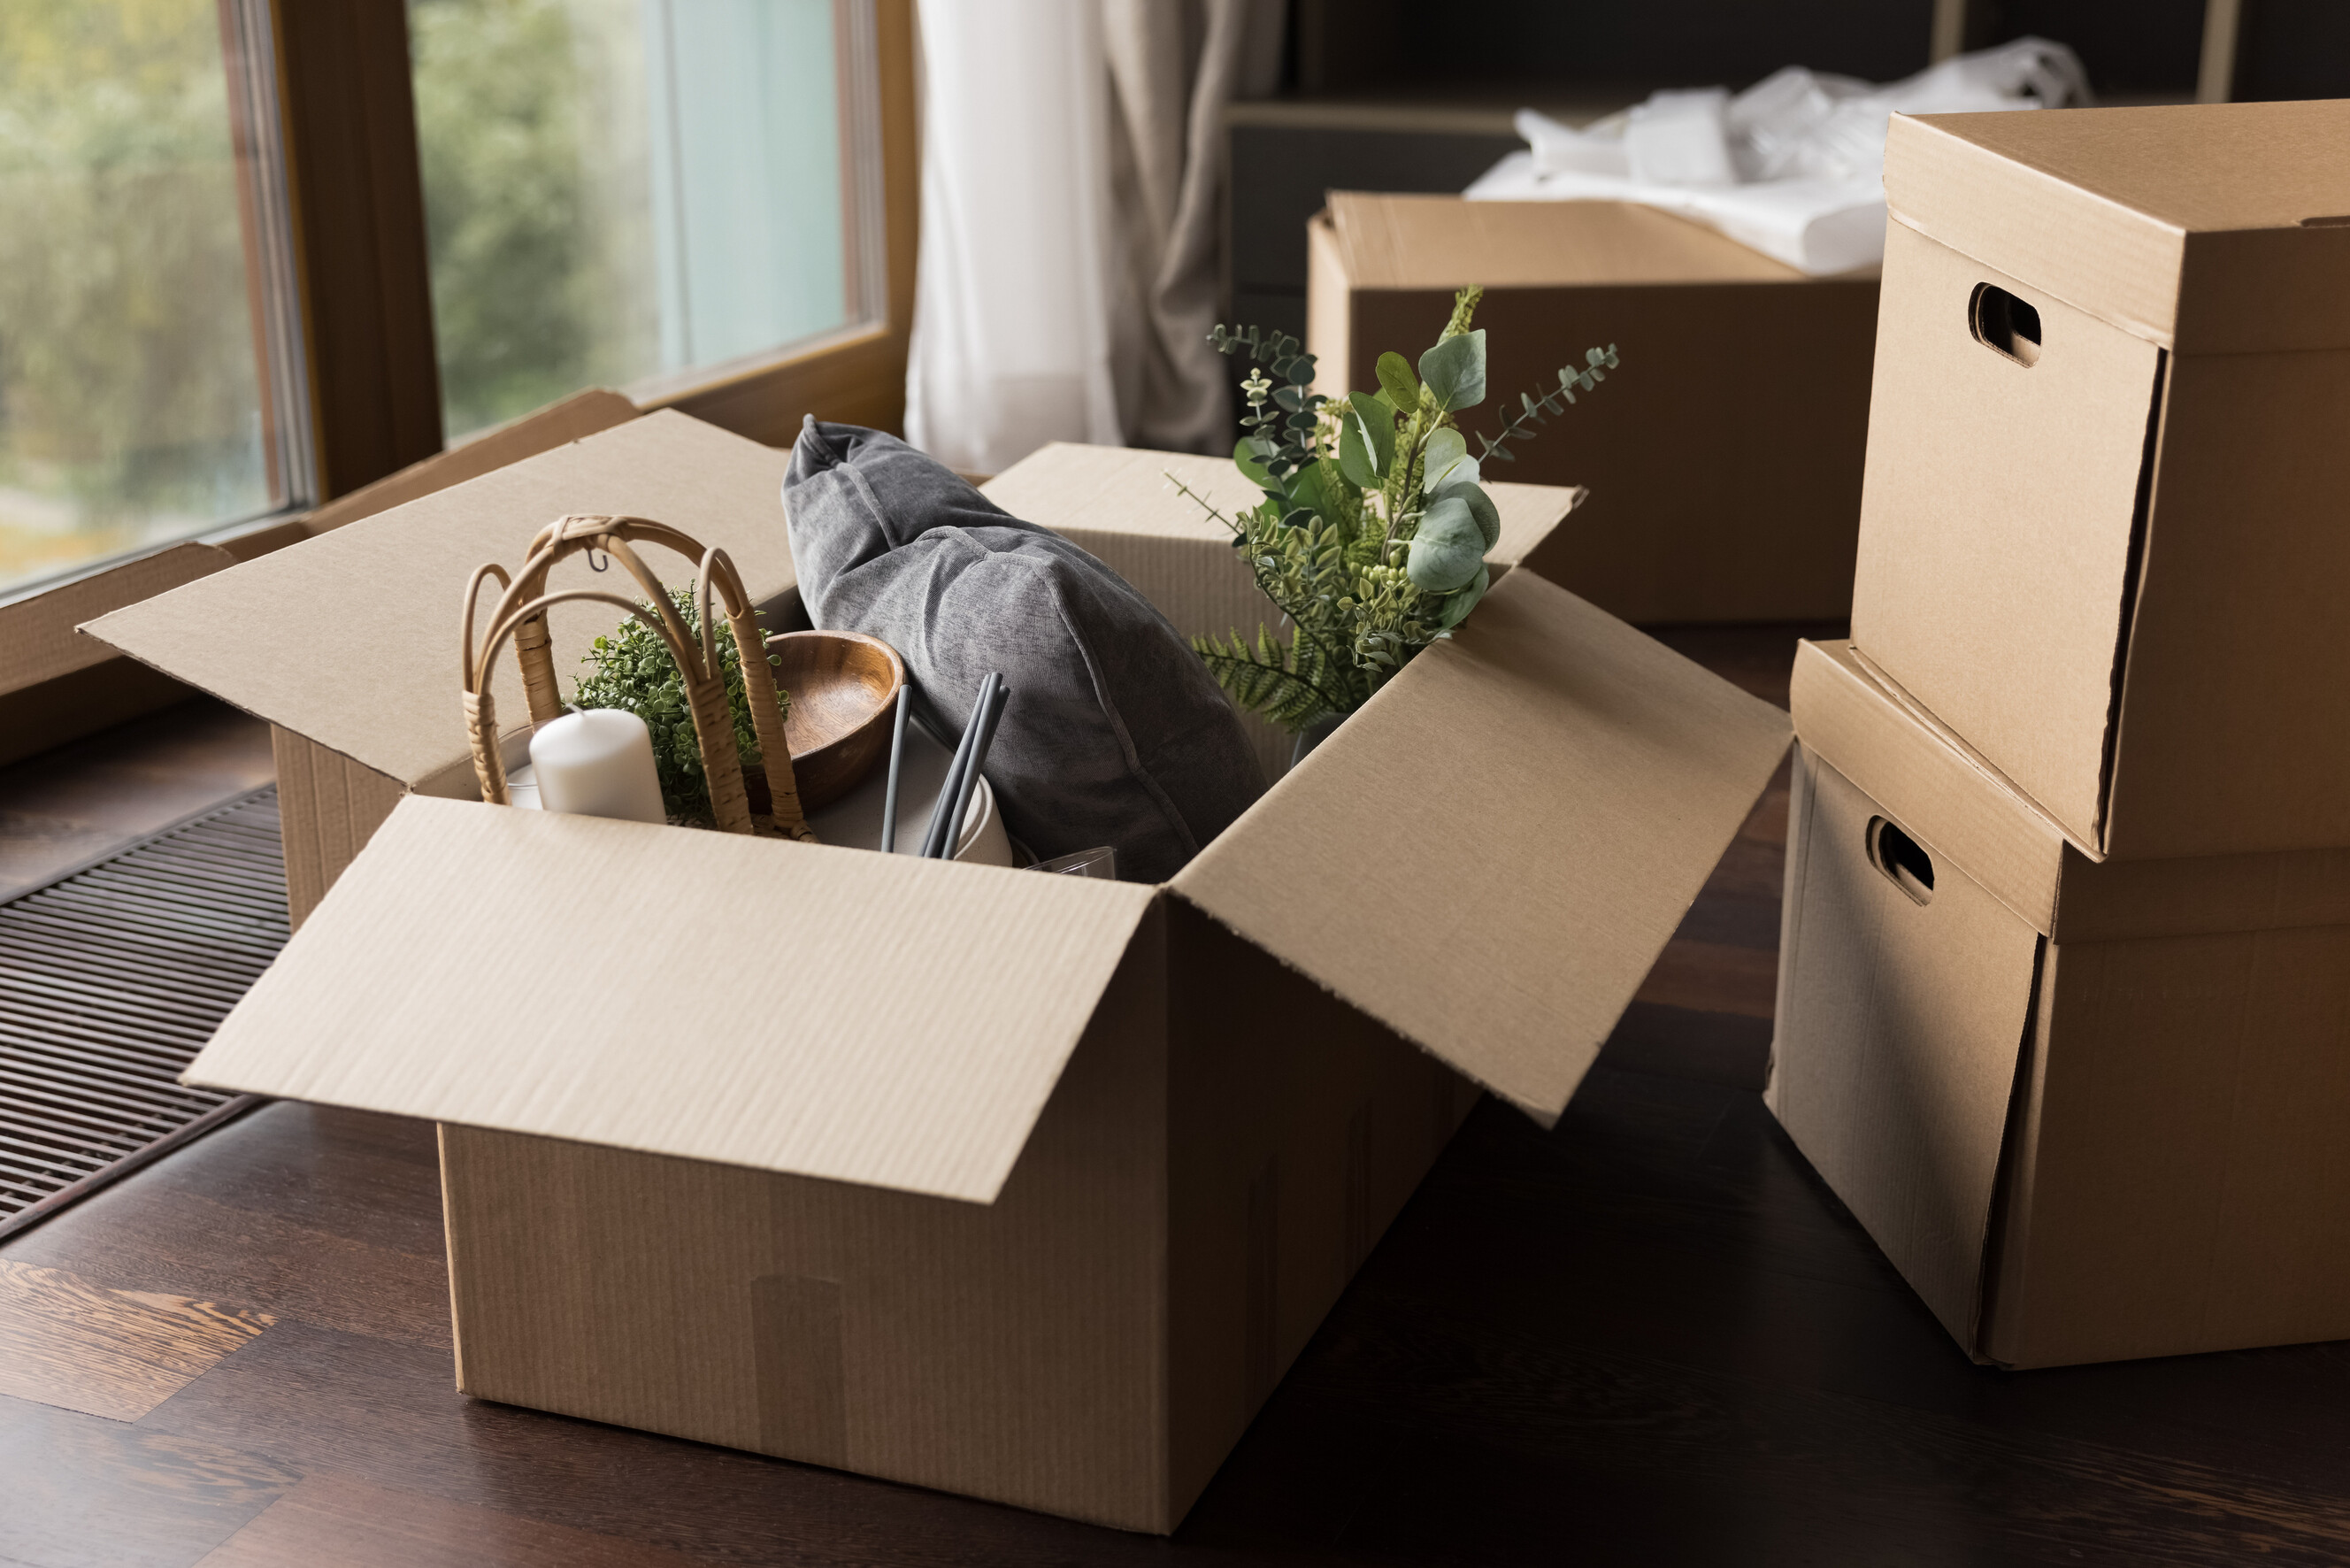
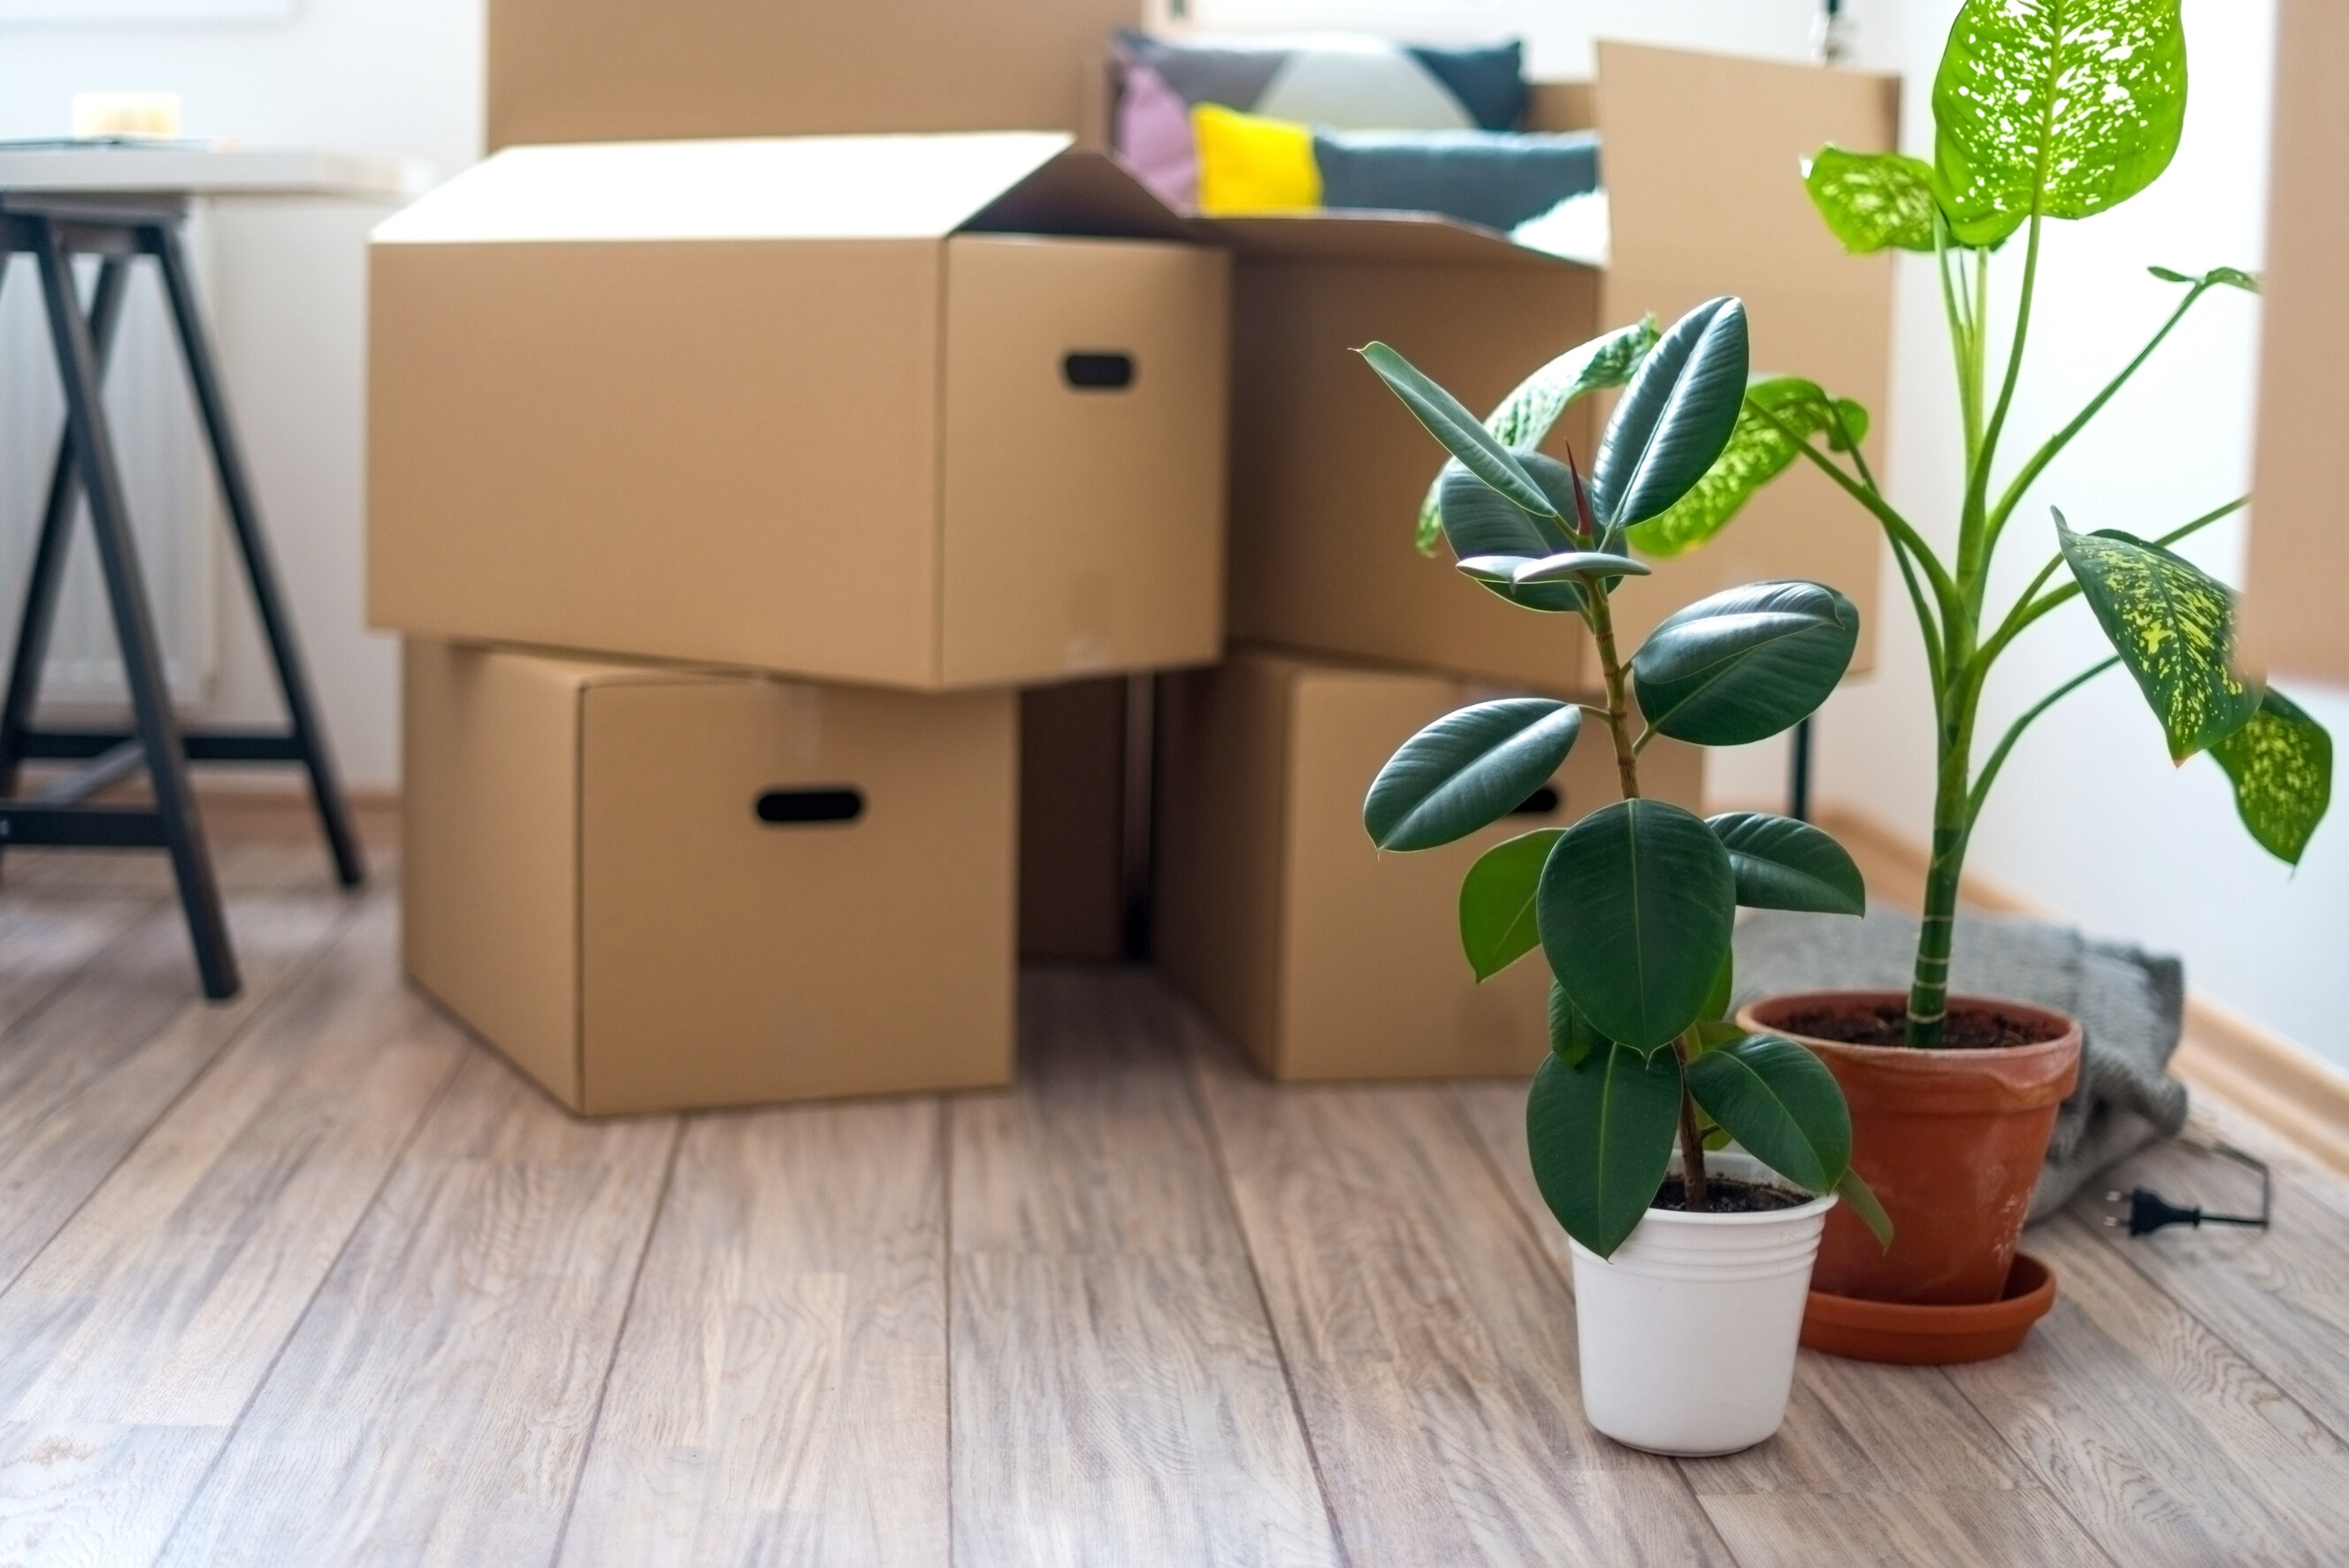
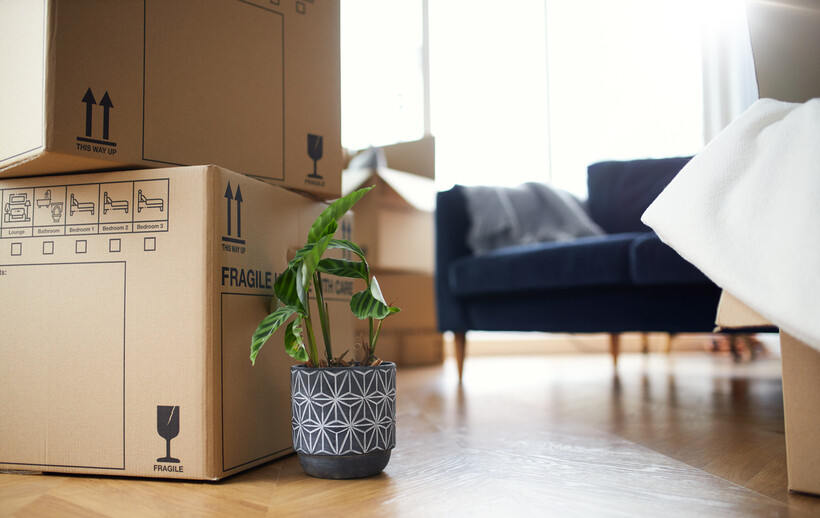
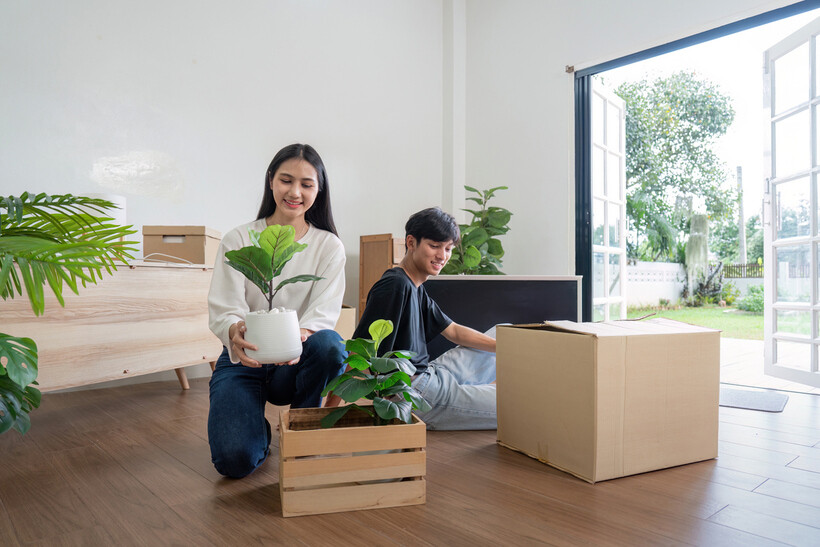
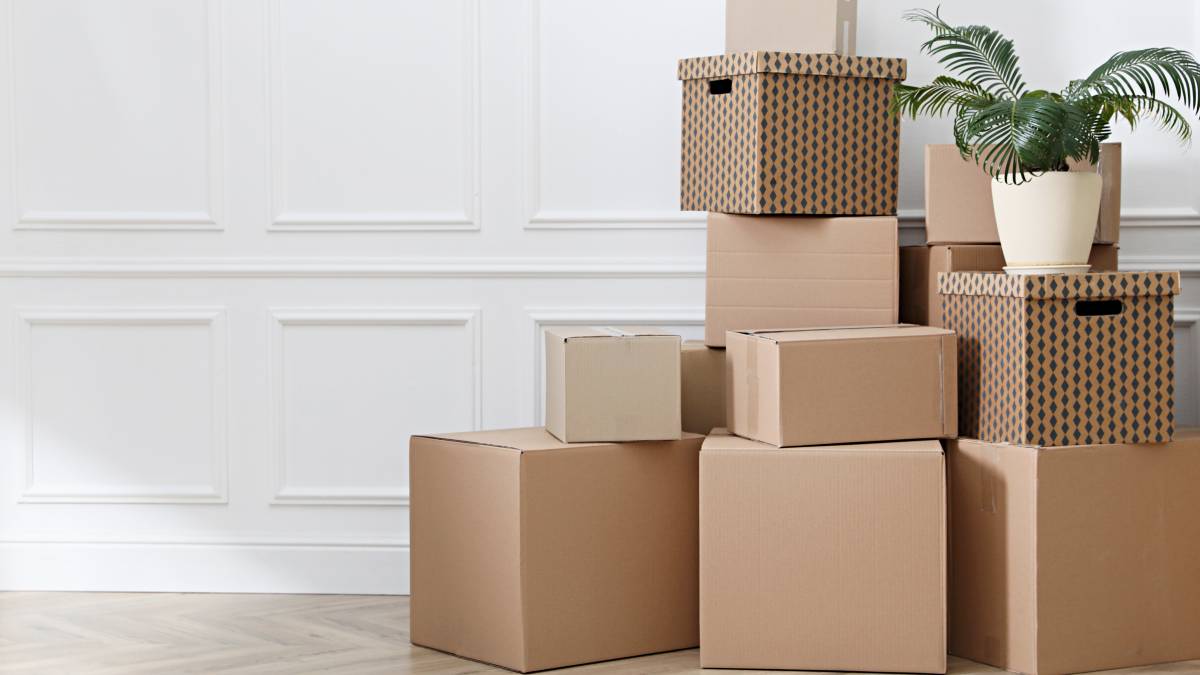
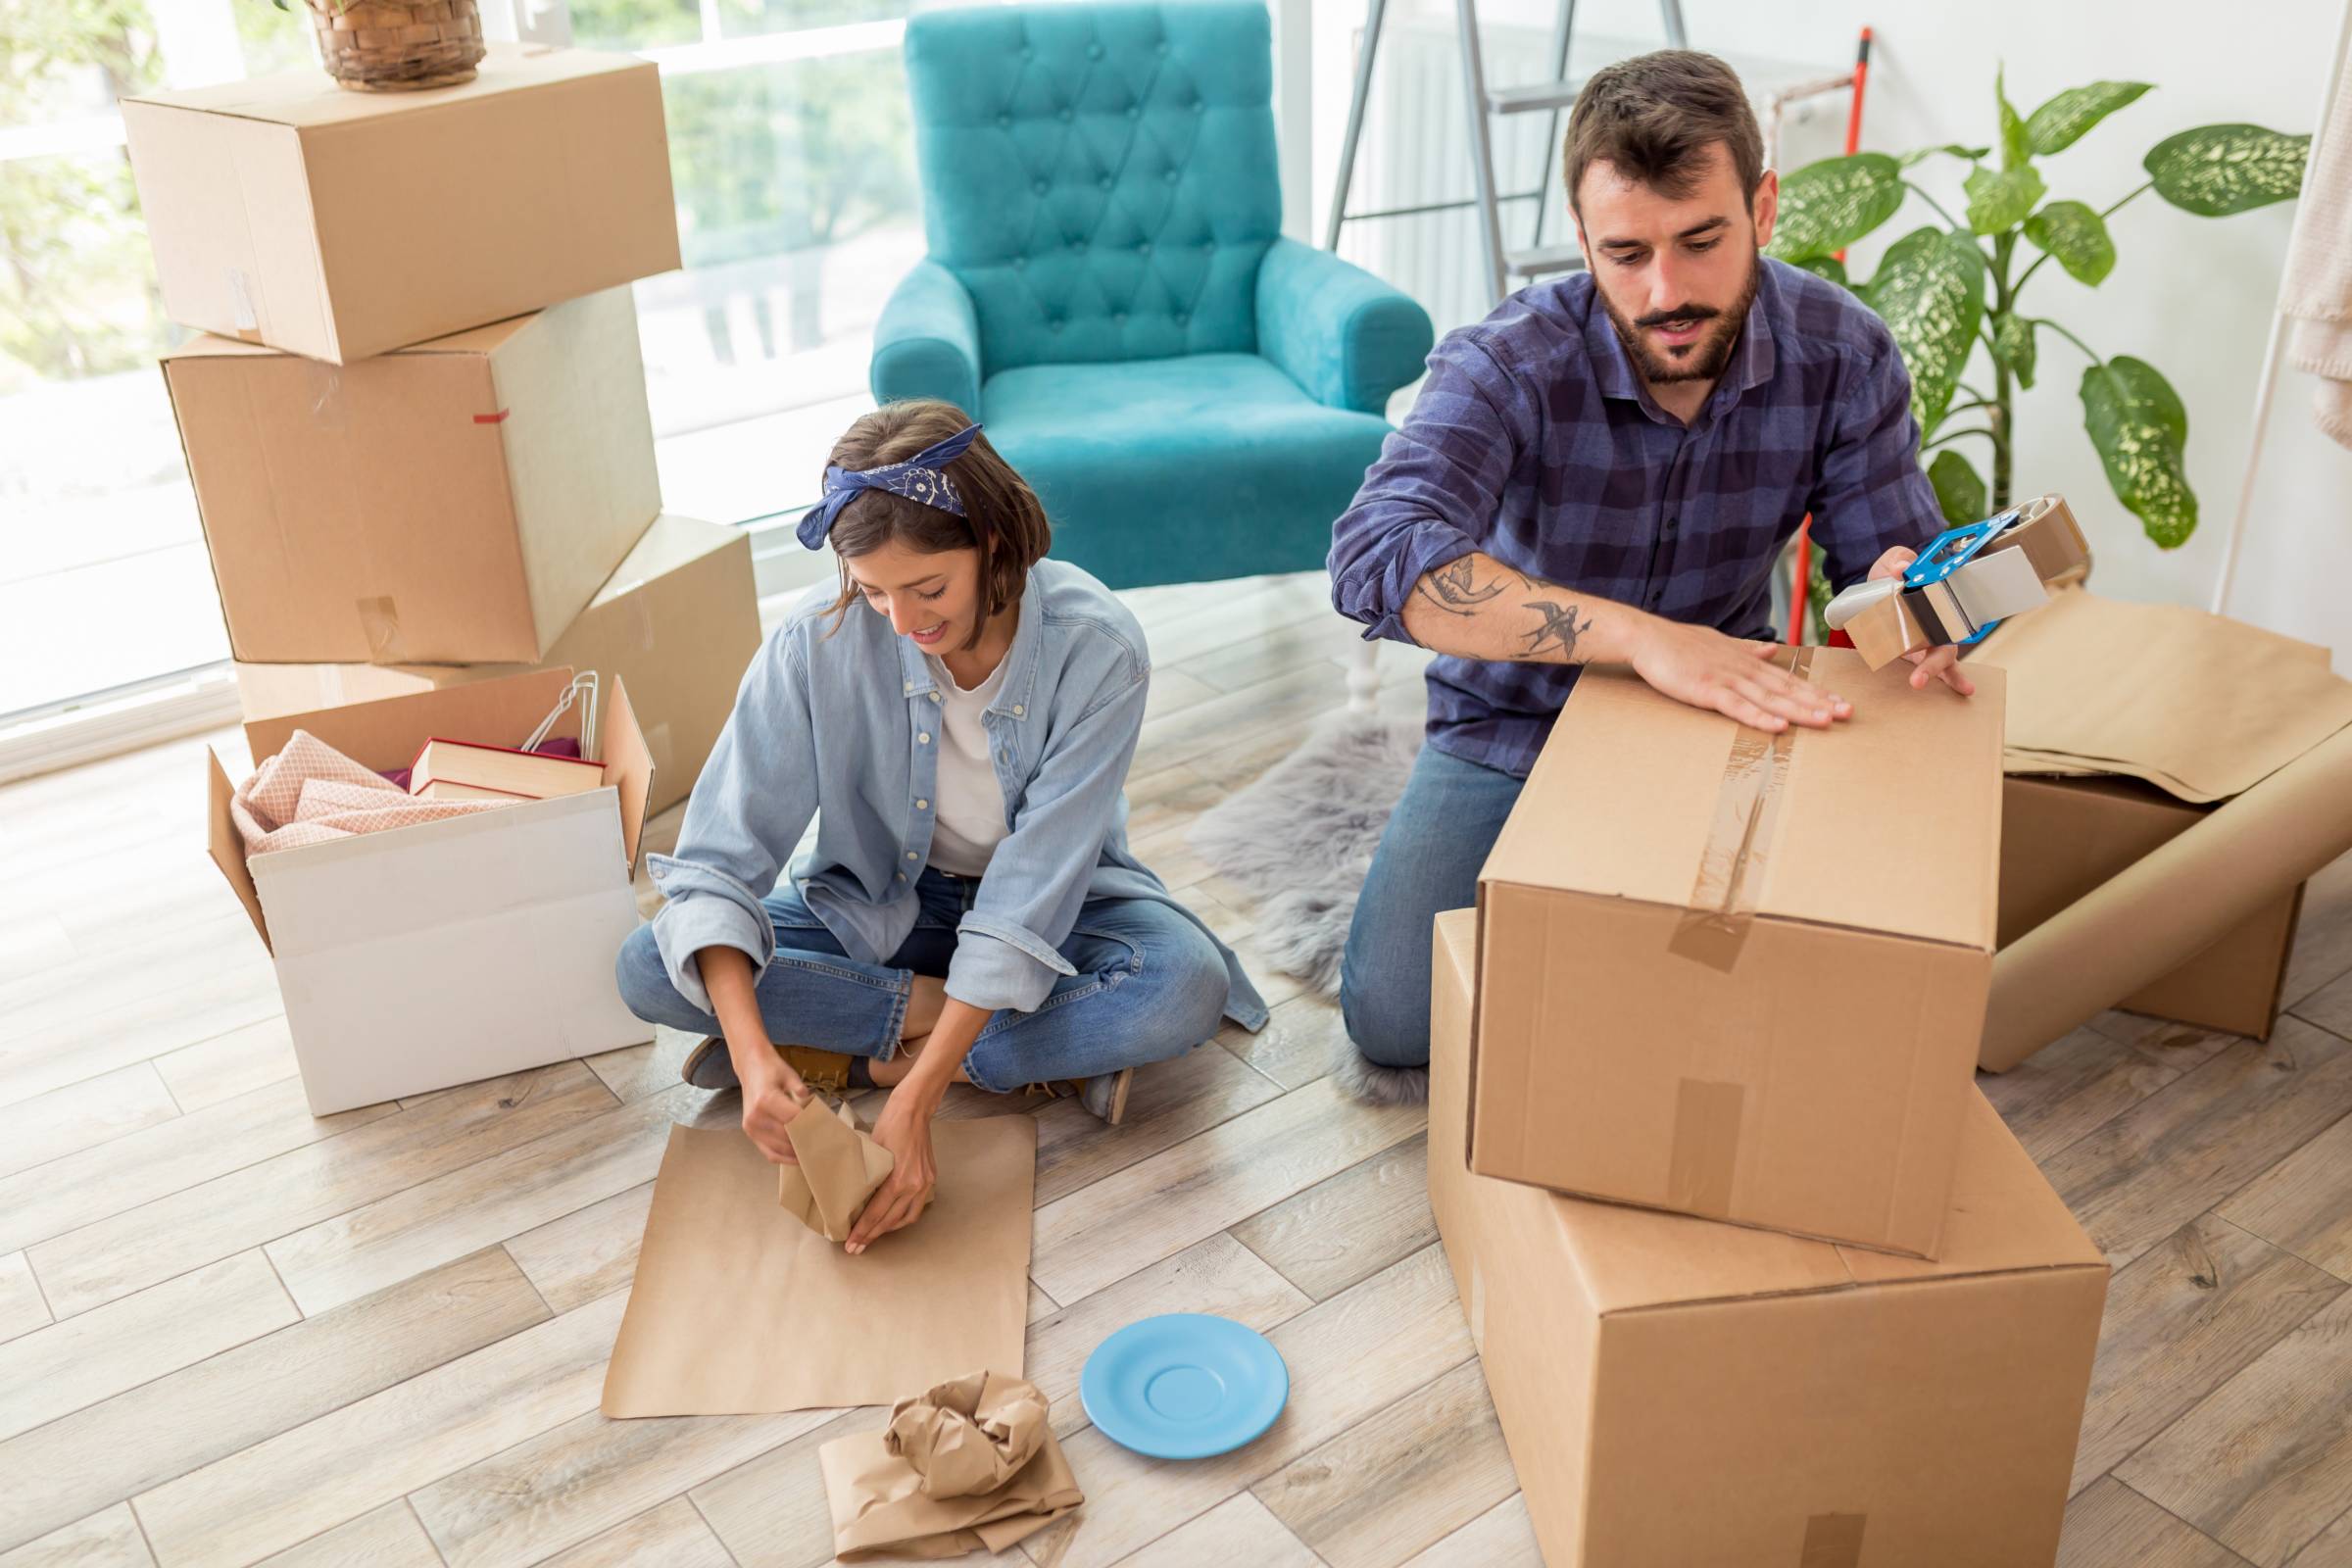
How to pack plants for moving
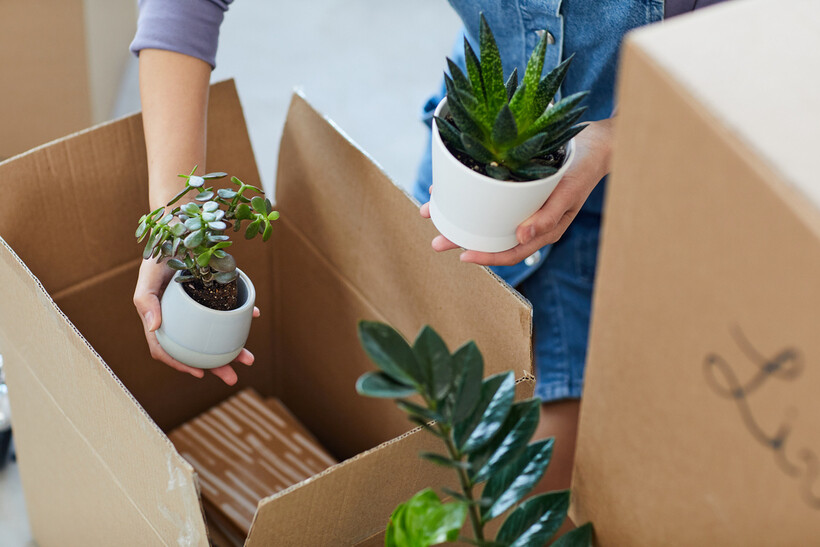 Carefully organizing houseplants during a moving process. (Source: iStock)
Sorted out which plants you're taking? Perfect! The next step is packing them properly to prevent broken pots, soil spills, and damaged leaves during transport. Here's how to do it right.
Gather the right supplies
When packing plants, the goal is to lessen the jostling inside the box and keep each pot stable during the move. This helps protect delicate roots from shifting or breaking and stops branches and leaves from getting bruised or snapped. To do this properly, make sure you have the right packing material ready to secure plants and keep them safe:
Shatterproof plastic pots: Lightweight containers that replace heavy ceramic or clay pots to prevent breakage during transport.
Clean potting soil: Fresh, pest-free growing medium recommended for long-distance moves.
Pruning shears or hand pruners: Sharp cutting tools for trimming dead growth and reducing plant size before packing.
Packing paper: Protective wrapping material that secures soil and cushions delicate plant parts.
Bubble wrap: Cushioning material that provides shock protection for fragile pots and stems.
Sturdy boxes: Strong containers that keep plants upright and prevent movement during transport.
Plastic wrap: A covering material that prevents soil spillage and retains moisture during the move.
Garbage bags: Protective liners that catch soil leaks and protect moving surfaces from mess.
Labels: Identification stickers alert movers to carefully handle boxes containing live plants.
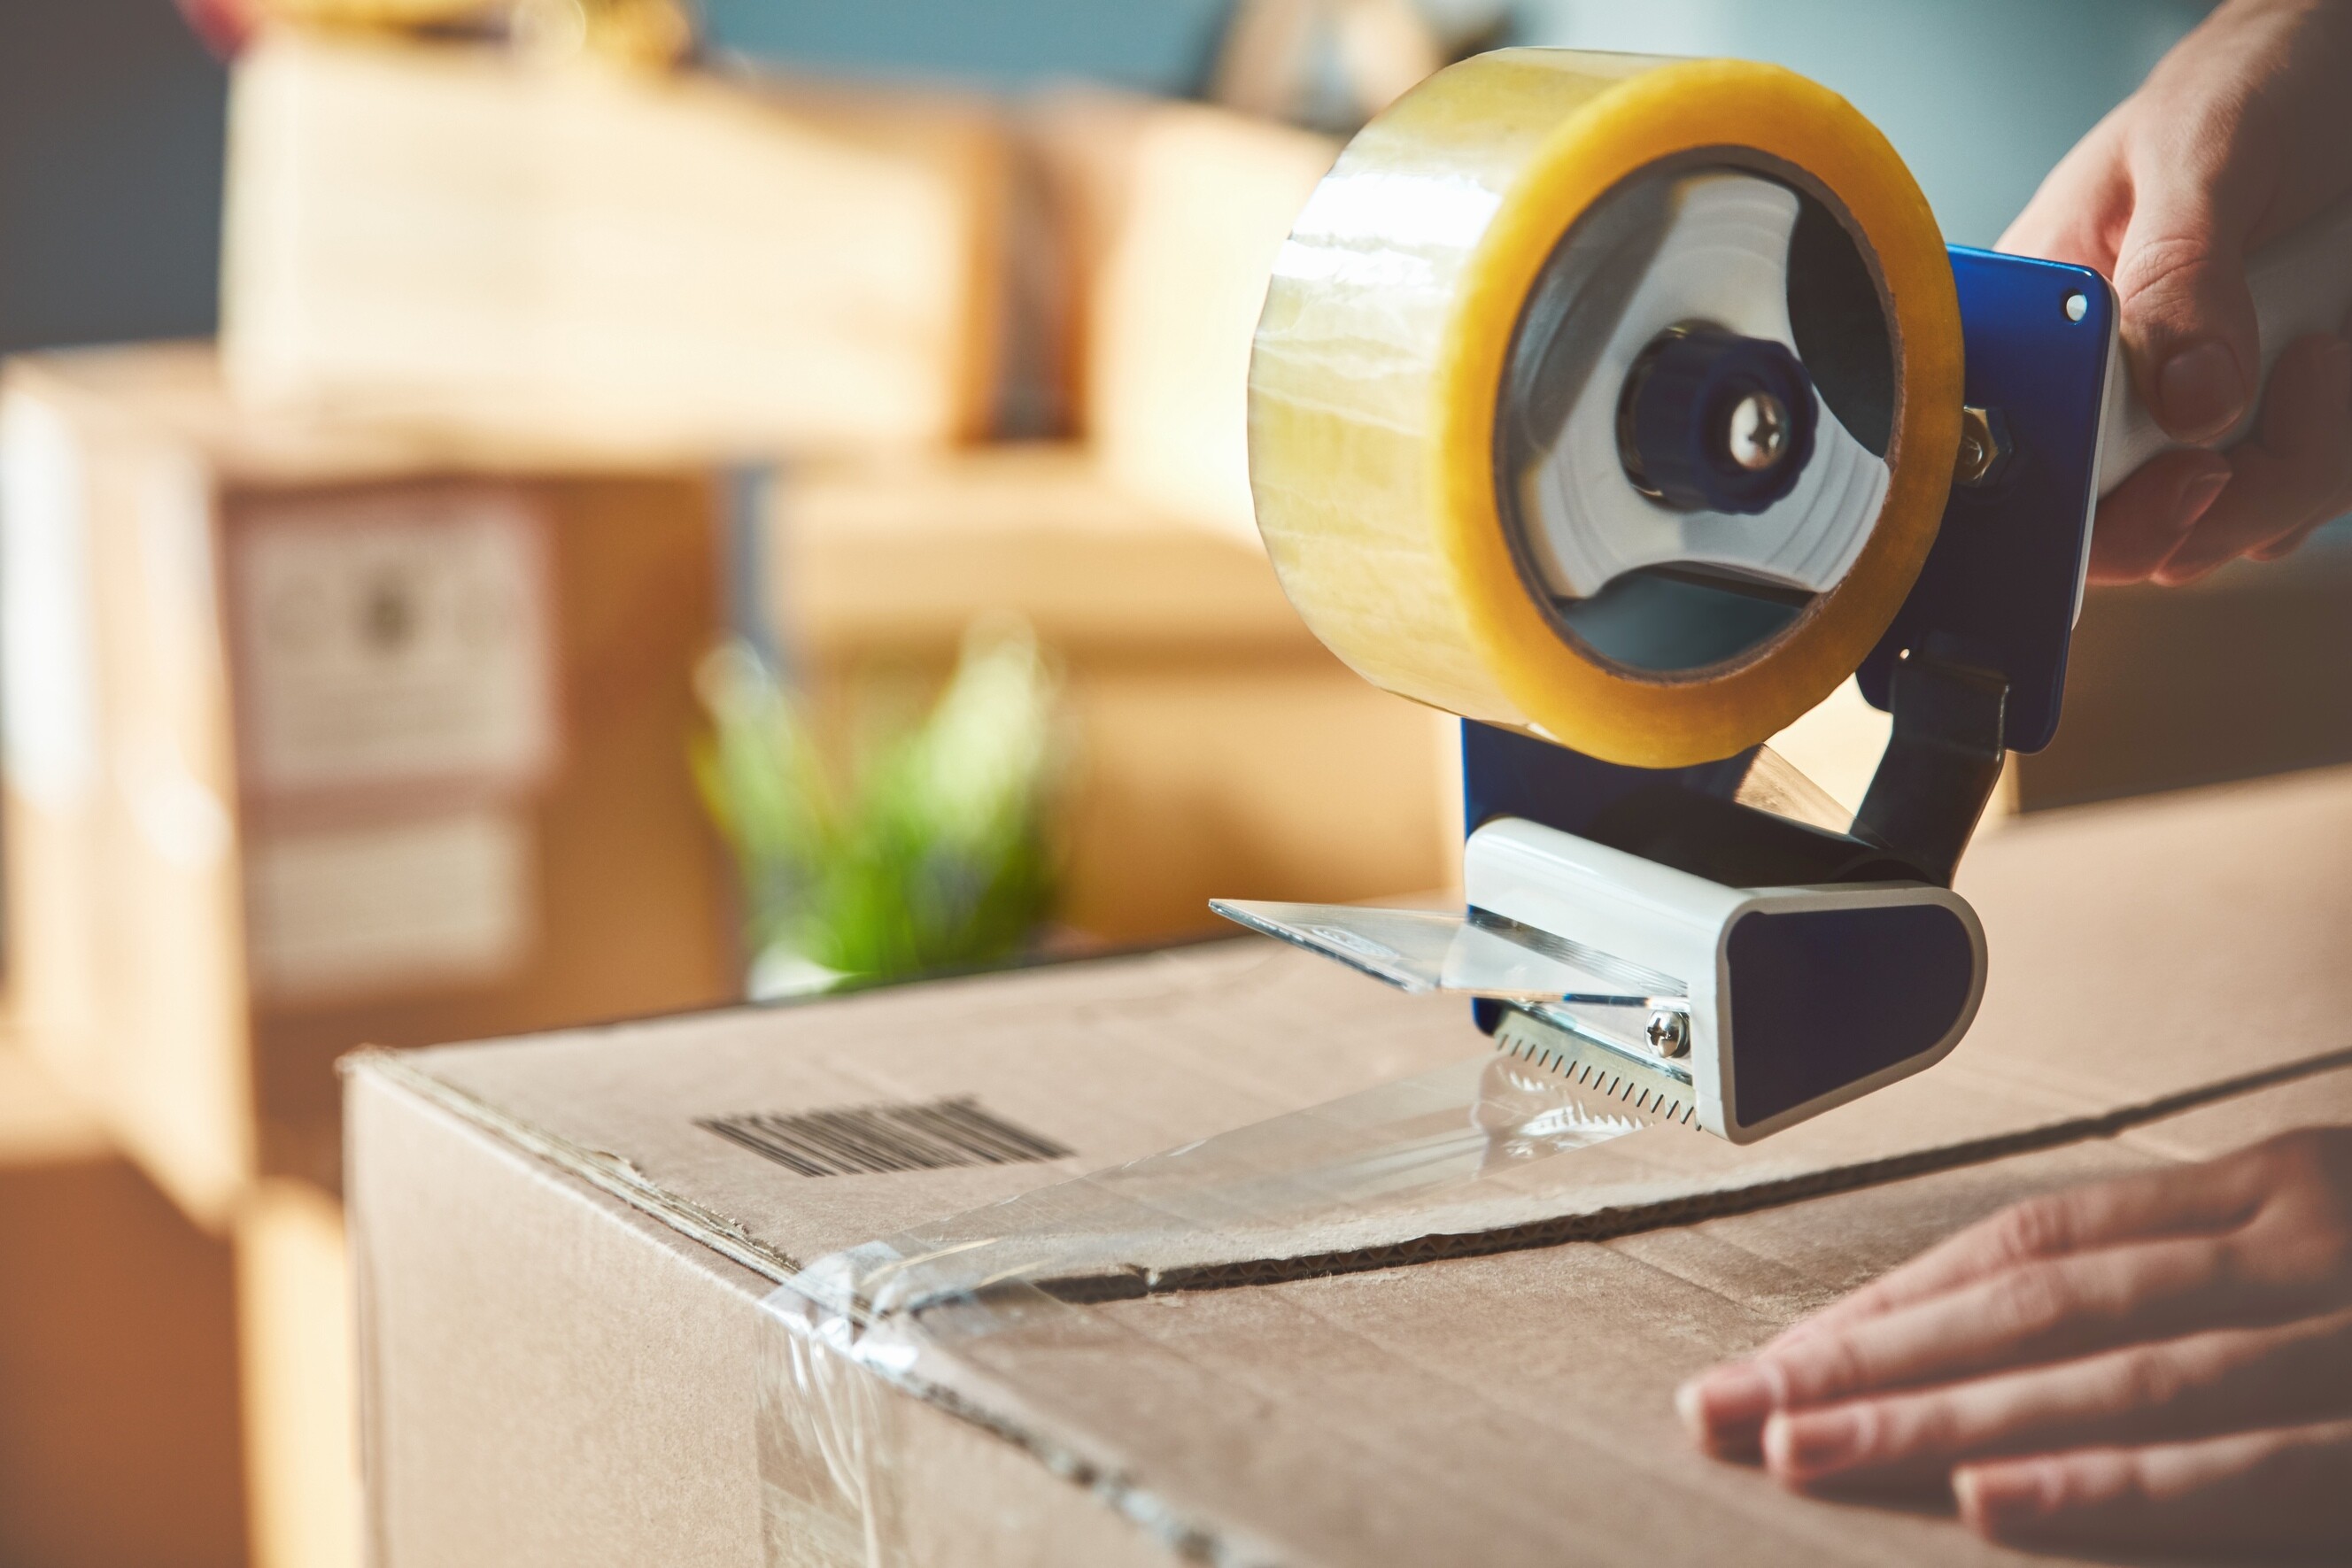
Packing tape and scissors: Adhesive tape and cutting tools for securing all packaging materials in place.
If you have spare cardboard boxes, old towels, or packing foam, keep them handy to cushion pots inside boxes and stop them from shifting. Old clothes work too, as you can cut fabric strips to tie stems or secure branches that might get knocked about during the move.
Water strategically before the move
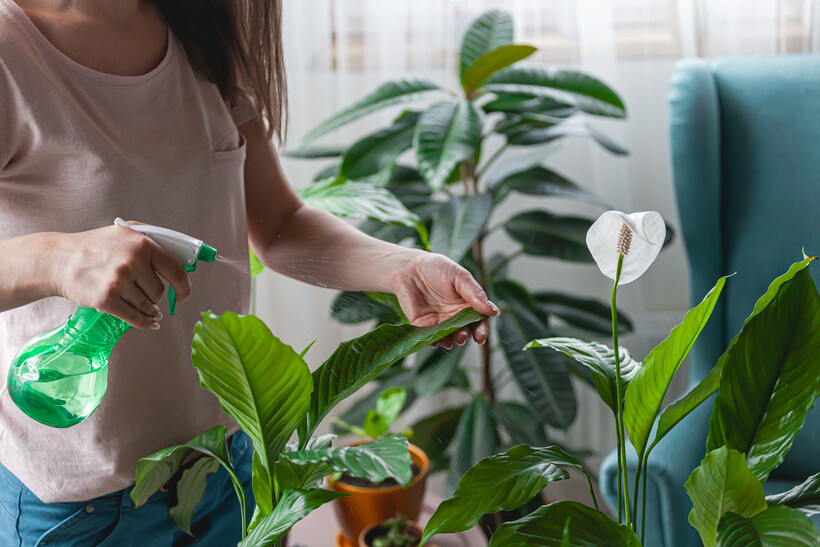 Caring for plants with regular watering before a house move. (Source: iStock)
Start your plant preparation 2-3 days before moving by repotting everything into lightweight plastic pots with fresh, clean potting soil. This prevents heavy ceramic containers from breaking during transport and ensures your plants are intact, especially if you're moving long distances. Once repotted, use clean pruning shears to remove all dead, damaged, or diseased growth, then trim back long stems and trailing branches by 20-30% to create compact plants that pack easier and won’t break in transit.
After repotting and pruning, water lightly so the soil feels slightly moist but never soggy. This gives plants enough moisture to handle stress without creating heavy, leaking pots that make transport messy and difficult. More importantly, keep your prepared plants in a stable, climate-controlled area away from temperature extremes, direct sun, or drafts.
Wrap and protect each plant
Start by loosely wrapping the foliage with packing paper, newspaper, or soft cloth to cushion delicate leaves and branches. If you have a plant with extra fragile stems, add a small stake or stick into the pot and gently tie the branches to it with soft fabric ties to keep them upright during the move.
Next, don’t forget to wrap the pot itself with packing paper or spare cardboard to prevent chips or cracks. For smaller pots, you can also use extra cardboard pieces to separate and protect them from knocking against each other.
If you’re moving in winter, wrap an extra layer of bubble wrap or horticultural fleece around the pot to help keep roots warm, but leave enough space for air to circulate so your plants can still breathe. In summer, lightly dampened newspaper or a bit of sphagnum moss around the base can help keep the soil cool and maintain humidity during plant relocation.
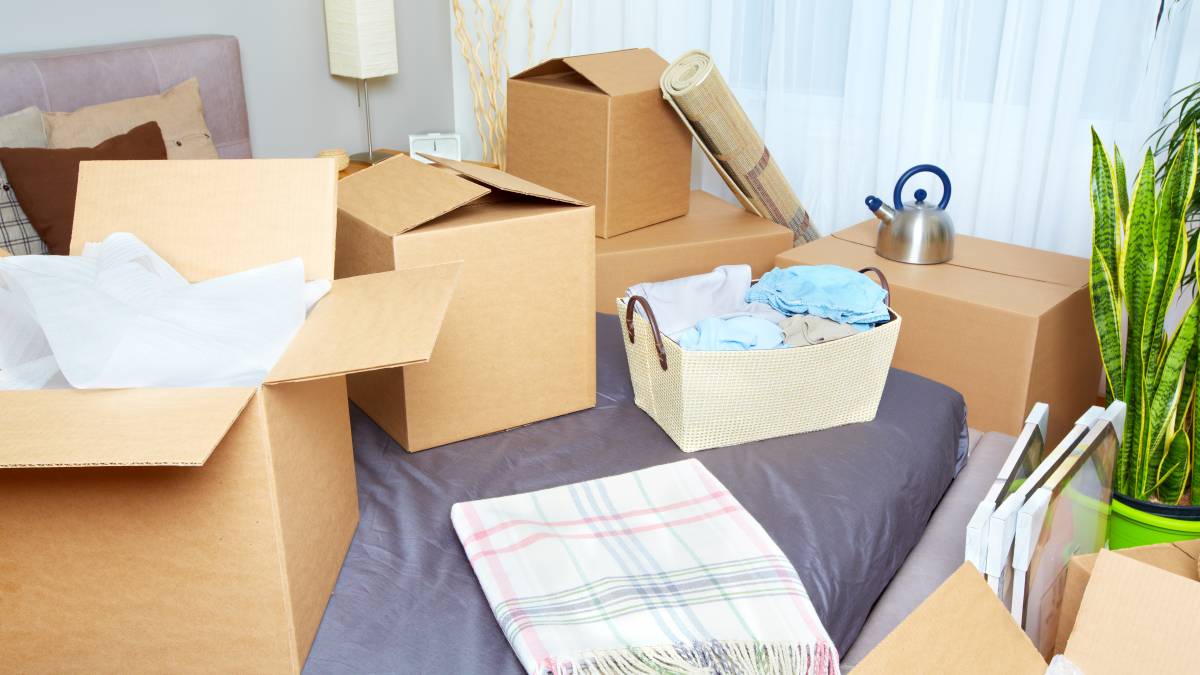
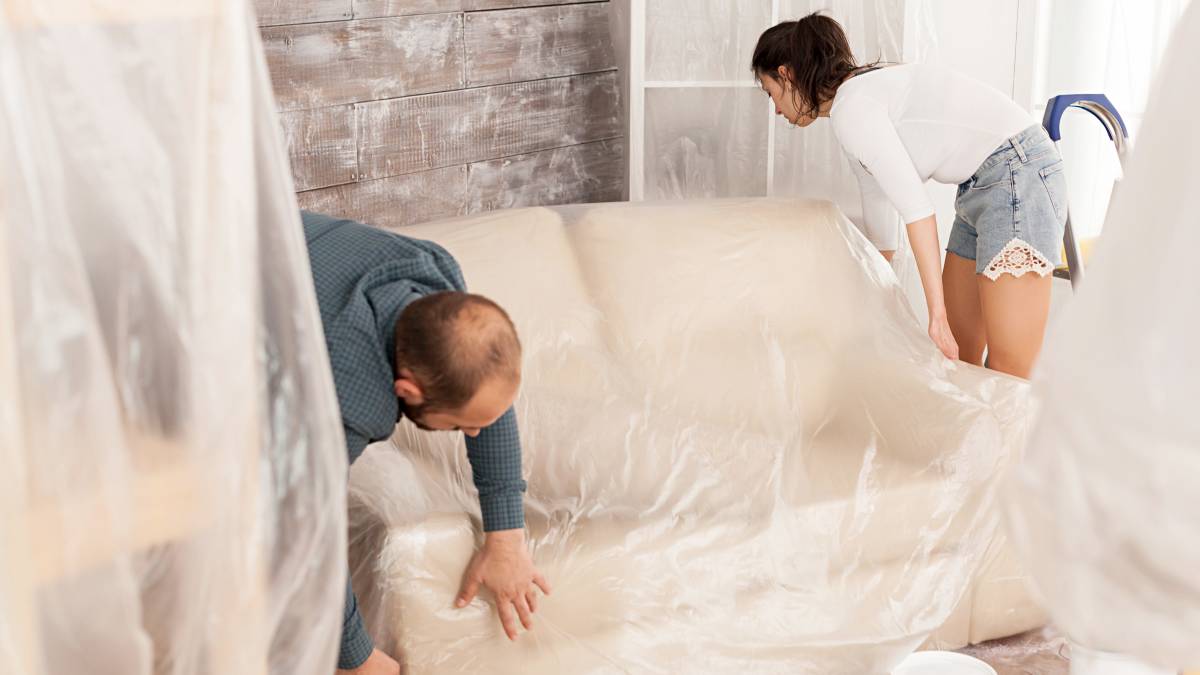
Box plants carefully
 Preparing for a move with labeled boxes and indoor plants. (Source: iStock)
Choose a sturdy box that’s tall enough for each plant to sit upright without bending or squashing the foliage. Once you’ve got the right box, line the bottom with a garbage bag or plastic liner to catch any leaks. Place each plant in a box carefully, always keeping it upright to avoid loosening roots or breaking branches. Fill empty gaps with spare cardboard, towels, or crumpled packing paper so the pots stay secure and don’t shift in transit.
Leave the top slightly open if you can, or add a few air holes if you need to close it for a short time. Finally, label each box clearly with “Live Plants” and arrows pointing up to remind your movers to handle them with extra care. Getting this right is a big part of how to move plants safely and helps your leafy friends settle in faster at their new home.
How to transport plants by car
Most plant movers agree that the best way to transport plants is by car because it eliminates the biggest killers of plants during moves: temperature shock, poor ventilation, and bad positioning. To keep them healthy from driveway to doorstep, follow this simple three-step approach before you hit the road.
Step 1: Protect your car
Start by lining the floor or trunk with a tarp, old shower curtain, or plastic sheet. This will catch any loose soil, leaks, or moisture, so you’re not stuck cleaning mud out of carpets later. Place smaller plants in sturdy containers like laundry baskets, sheet cake pans, or milk crates to keep pots upright. For extra security, wedge towels or scrunched-up newspapers between pots to stop them sliding around.
Use your car’s seatbelts to secure larger plants in place so they don’t tip over if you brake suddenly or take a sharp turn. Buckling them in works well for taller or top-heavy pots that cannot sit flat in a box. If any plants sit in direct sunlight through the windows, cover your windows lightly with a cloth or towel to stop leaves from burning.
Step 2: Adjust temperature and airflow
The best way to transport plants by car is by keeping a stable temperature throughout the trip. On cold days, warm up the car before loading your plants so they don’t go into shock. Also, avoid putting them near direct air vents that blow hot air right on delicate leaves. In hot weather, run the air conditioning to keep your green passengers cool and comfortable.
If you need to stop for fuel or food, treat your plants the same way you would when moving with kids or pets. Park in the shade, crack the windows slightly for ventilation, and never leave them for long. You can also pack a small spray bottle or watering can to mist plants if they start to dry out, especially during a cross-country move.
Step 3: Arrange plants for quick unloading
When moving with other house items, always load your plants last so they’re the first thing you can carry inside at your new place. Once you arrive, never leave your plants sitting in a hot or cold car for too long. When unloading, use safe lifting techniques and hold each pot firmly from the bottom instead of pulling by the stems or leaves, which can snap easily.
Unpack boxes from the bottom first so you don’t crush smaller pots underneath. Remove any wrapping gently and place your plants in a cool, sheltered spot to help them adjust. A bit of fresh air and soft light helps them bounce back from the trip and settle into their new home faster.
Tips for moving trees, bushes, and garden plants
 Well-maintained garden featuring bright green bushes. (Source: iStock)
Moving plants inside pots is one thing, but relocating trees, bushes, and in-ground garden plants is different. These plants are often larger, making them harder to dig up and transport safely. Their roots can be more sensitive to damage and may take longer to adjust once replanted. Here are a few things to keep in mind when moving trees, bushes, and garden plants so they thrive in their new home.
Trees
Small trees with shallow roots (like young ornamentals) can sometimes be dug up and transplanted if you plan ahead. The best time is when they’re dormant, typically late autumn or winter, for deciduous trees. Before digging, prune the branches lightly to reduce stress and dig as wide and deep as possible to keep the root ball intact. Wrap the root ball in burlap to hold soil together during transport.
For larger or established trees, it’s usually safer to leave them behind or hire a specialist arborist.
Bushes
Most bushes and shrubs can be moved if they’re not too large or deeply established. Like trees, aim to transplant during the cooler months when growth slows down, reducing plant stress. To start, water the bush well a day before digging to keep the soil moist around the roots. Dig out a wide root ball, wrap it snugly in burlap, and plant it as soon as possible in its new spot.
Part of knowing how to pack plants for moving is ensuring the roots stay connected during the trip. Use burlap, twine, or fabric ties to hold the root ball together and protect branches from snapping. Once replanted, trim back about one-third of the top growth to help the roots recover without having to support too much foliage. Mulch around the base and dampen the soil for the first few weeks to help it settle in.
Garden plants
Perennials and small garden plants are often the easiest to move, but they still need gentle handling to settle in well. The best way to transport plants like these is to lift them carefully, divide clumps if needed, and shake off excess soil. Then, replant them immediately in fresh soil at your new place so they can re-establish quickly.
If you don’t have garden beds ready yet, consider building planter boxes as a simple way to give your plants a healthy new home until you finalize your garden layout.
Common mistakes to avoid when moving plants
Even if you plan carefully, a few common slip-ups can undo all your hard work. Look for these easy-to-avoid mistakes below.
Overwatering: Too much water can do more harm than good, since soggy soil may leak and cause root rot on the road.
Neglecting pests: Pests like mites or aphids often go unnoticed, so always check and treat your plants before packing.
Crowding pots: Cramming too many pots together in one box easily crushes delicate leaves; it’s best to give each plant in a box enough space to stand upright.
Unlabeled boxes: Boxes without labels are more likely to get stacked under heavy furniture during your house move, so mark each one clearly with “Live Plants” and arrows.
Leaving plants in extreme temperatures: Prolonged exposure to heat or cold in a vehicle can cause plants to wilt. Make sure to unpack them first to minimize stress.
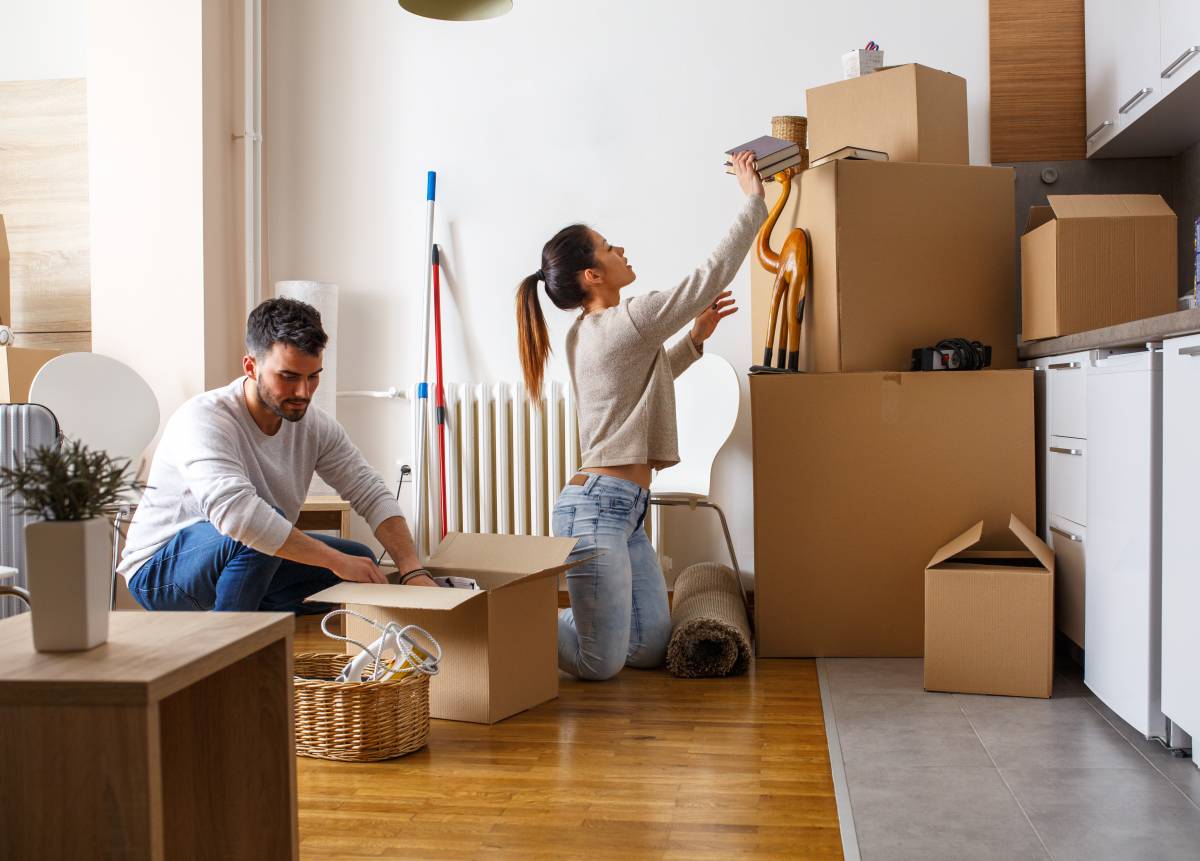
Post-move plant care for your plants
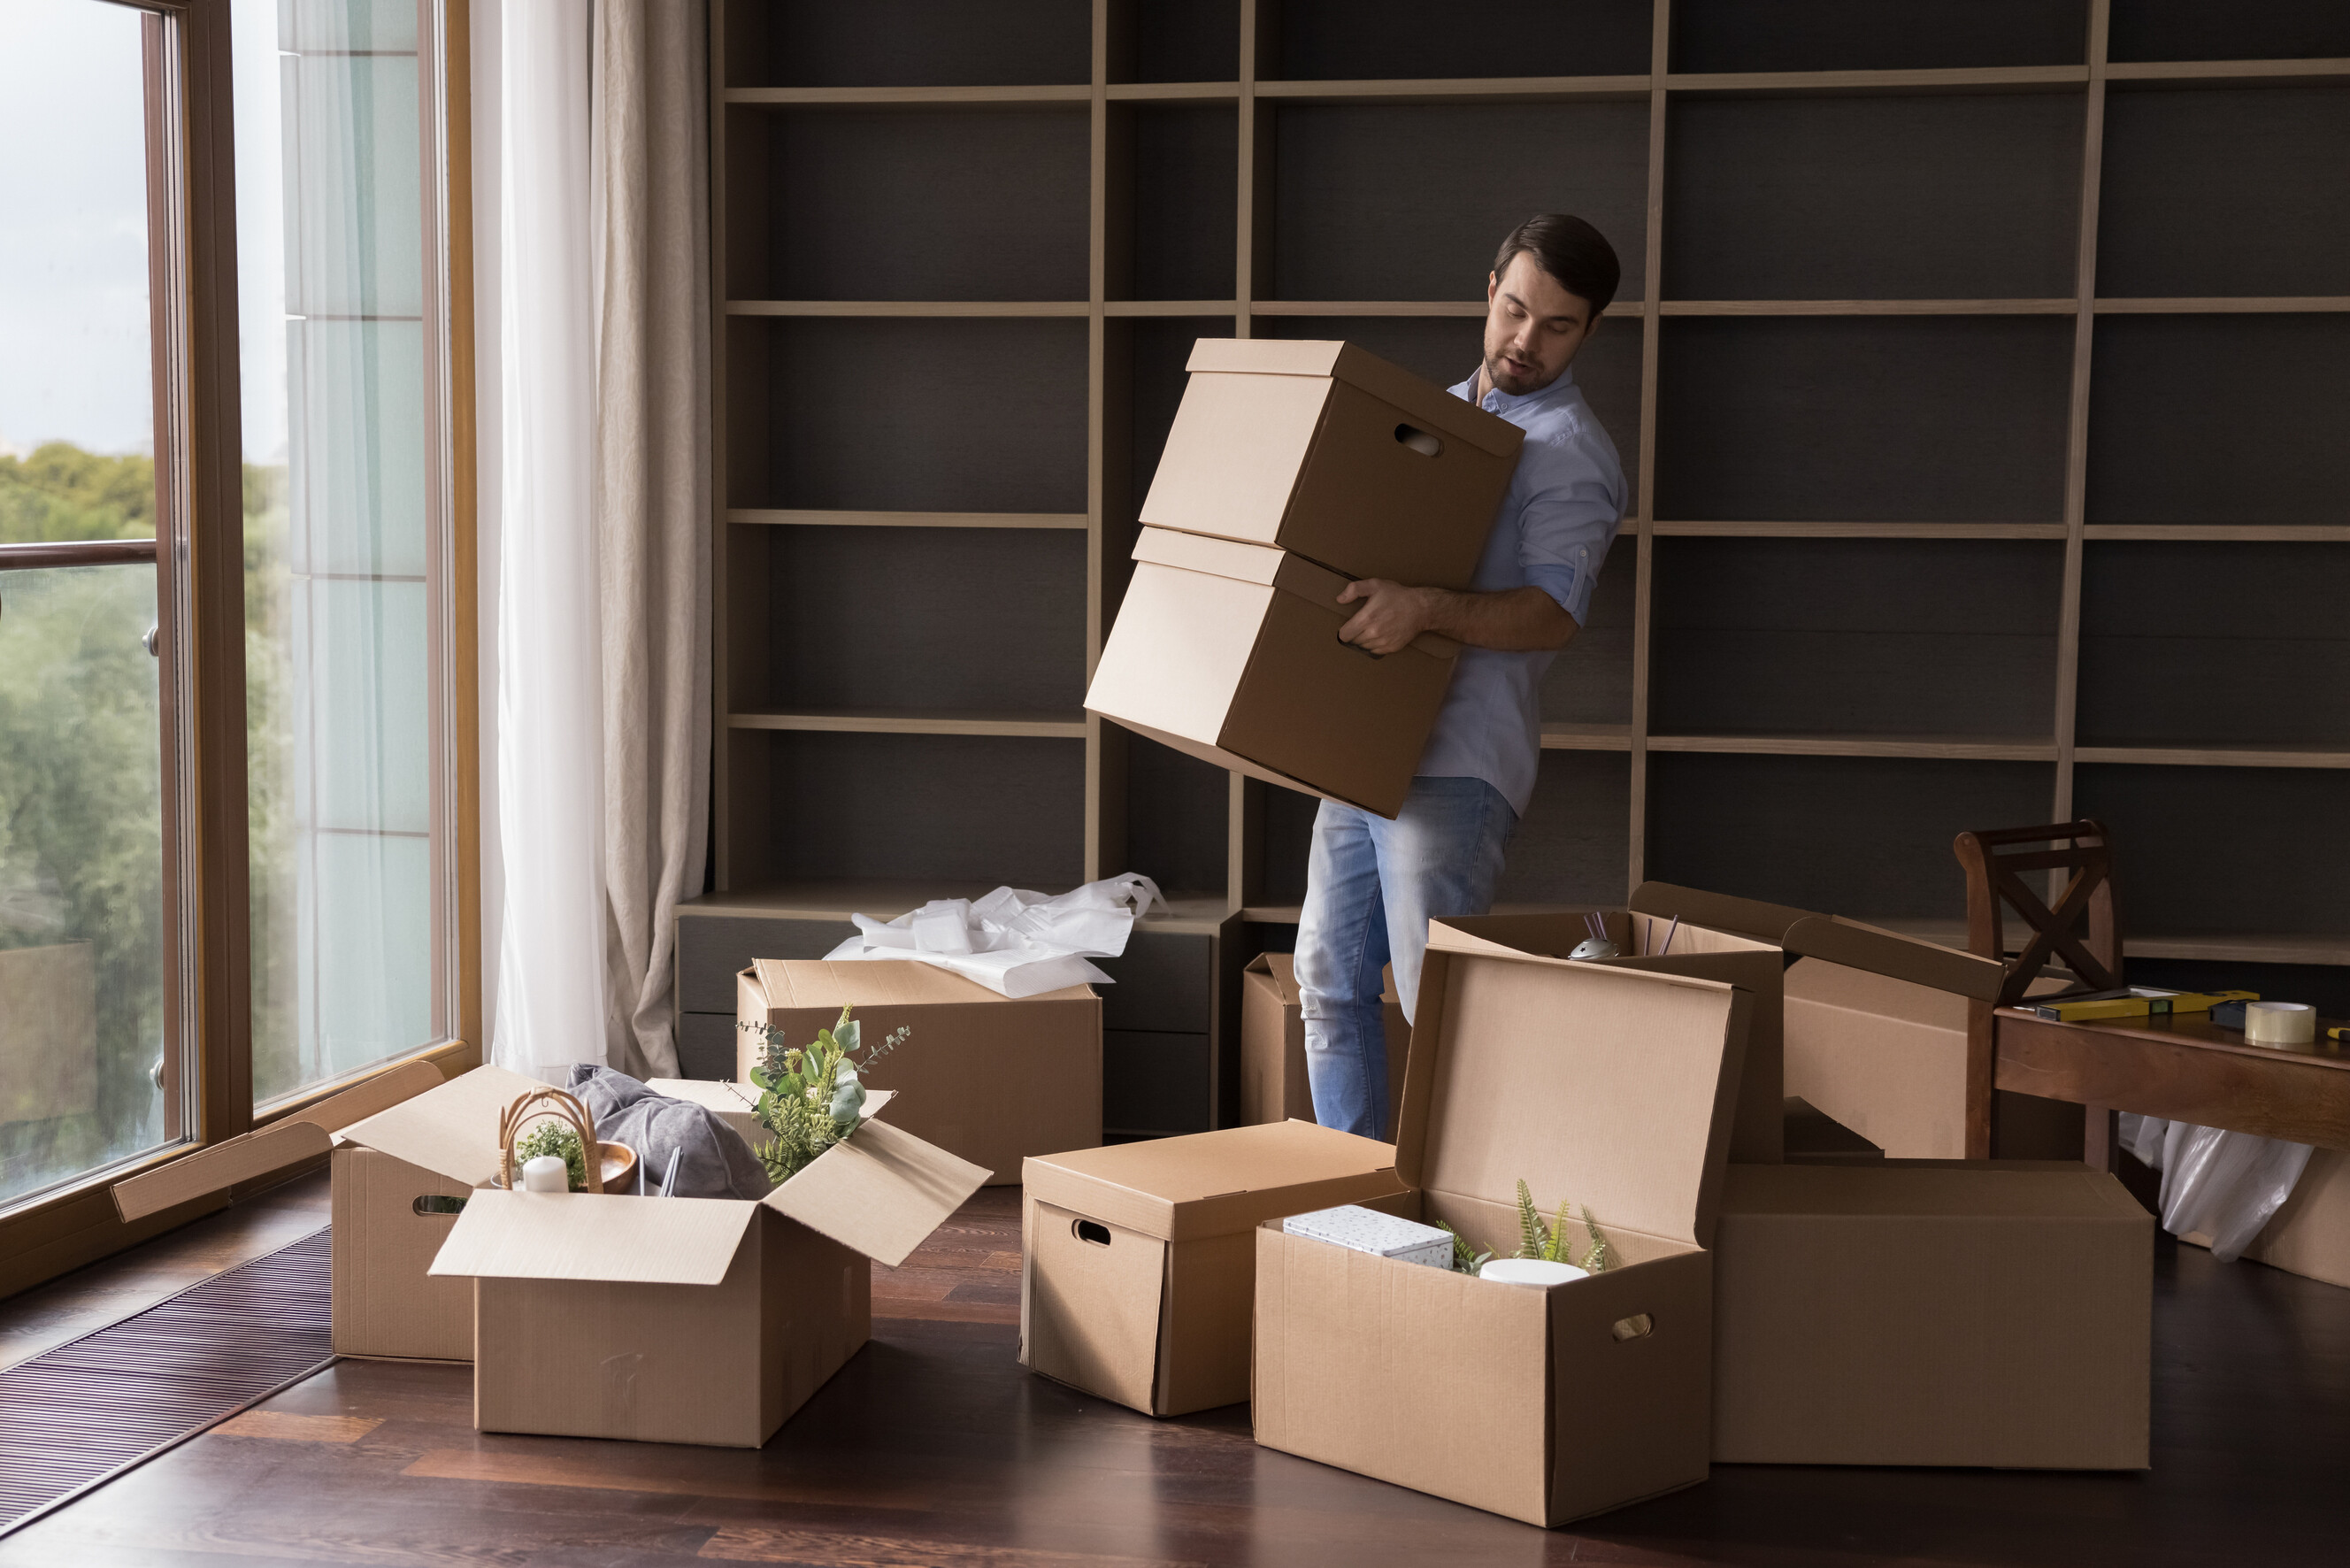
 Unpacking boxes and arranging potted plants during a move-in. (Source: iStock)
The work doesn’t end once your plants arrive at their new home. Your green companions will need some extra attention to recover from the journey and adapt to their new environment. Here’s how to get them thriving again.
Unpack with care
Unwrap each plant gently and inspect for broken stems, damaged leaves, or loose soil that may have shifted during transport. When moving heavy plants indoors, use a sturdy trolley or get help to lift from the pot’s base and not by the branches or stems. Place larger pots on plant stands or saucers before watering to protect your new floors from moisture damage.
Help plants acclimate
If your plants were transported interstate, they may face completely different light conditions, humidity levels, and even water quality than in their previous home. The best solution is to keep them in a sheltered, indirect light spot for the first few days, away from harsh sun or air conditioning drafts. Gradually introduce them to their permanent positions over 7-10 days to prevent transplant shock.
Resume normal care routine
Once they’ve had time to settle, return to your regular watering and feeding routine, but monitor them more closely than usual. Check soil moisture levels daily since stressed plants may need extra water or humidity through misting. Watch for signs of pest problems or continued stress, like yellowing leaves, which can indicate they need more recovery time.
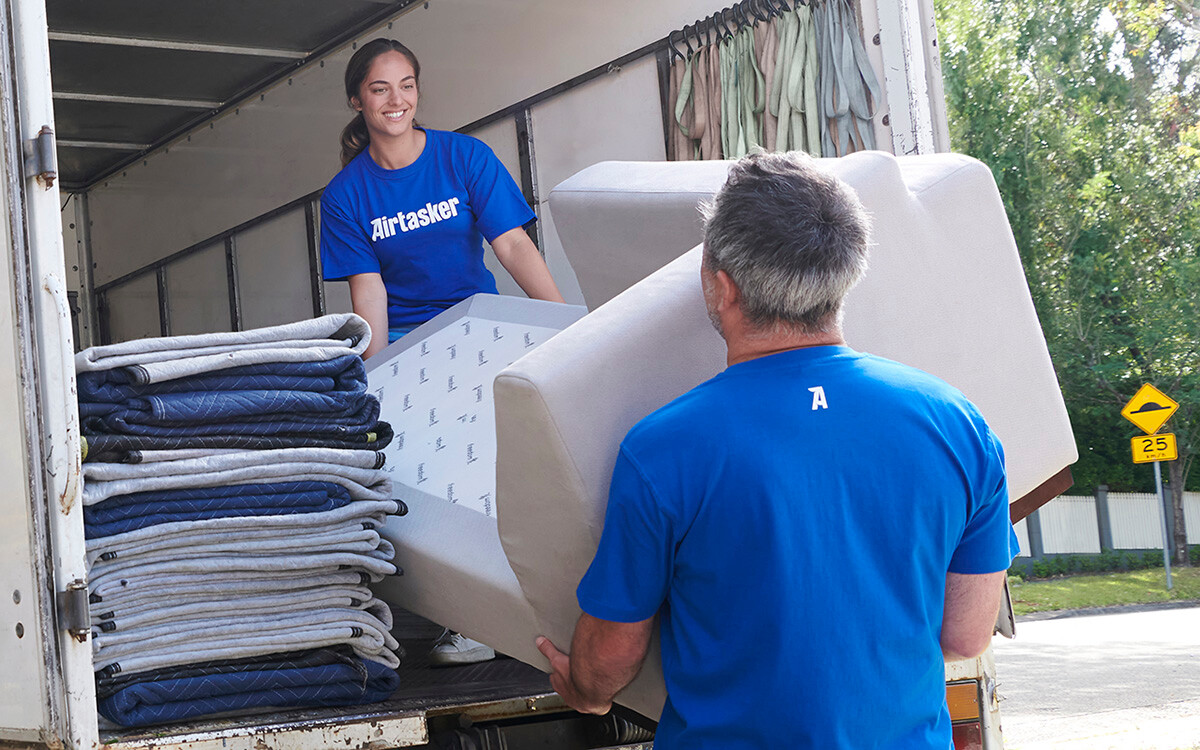
Find local movers for your plants on Airtasker
Your plants have turned your current house into a healthier, happier home, and they can do exactly the same in your new place. By following the steps laid out here, you can avoid spending hundreds on replacement house plants and keep all those mood-lifting, air-purifying benefits alive.
If you’d rather not tackle it on your own, you can book reliable movers through Airtasker. Depending on what you need, you can get connected to local professionals who can pack, transport, and unload your plants with care. This way, your green friends arrive safe and thriving, ready to settle in and brighten up your new home from day one.
Learn more about our contributors
Written by Genine T.
Staff Writer
Genine is a writer and educator with over seven years of experience. She has published peer-reviewed research papers, worked in academia, and created educational content for thousands of language learners. She discovered her passion for turning complex ideas into practical advice through writing about DIY topics like home improvement, furniture assembly, and household fixes. When she’s not writing, Genine enjoys curling up with her dogs and a good book.
FAQs on moving plants
Most plants can survive up to five days in a moving truck as long as they’re well-watered beforehand and protected from temperature extremes. They can handle a few days in the dark, but aim to unpack them as soon as possible so they don’t suffer from heat or cold stress.
Yes, all plants experience stress when moved due to changes in light, temperature, humidity, and root disturbance. This stress can cause wilting, browning, leaf drop, or slower growth for several weeks after relocation. Proper preparation, timing, and aftercare help minimize moving stress and improve recovery rates.
It’s best to wait at least 2-3 weeks after planting before attempting to move a plant, as newly planted specimens need time to establish their root systems in the soil. Moving too early can cause severe transplant shock since the roots haven’t had time to anchor properly or develop new feeder roots.
Yes, you can bring plants on domestic US flights in either carry-on or checked luggage. Just make sure to pack securely and check airline size restrictions before heading to the airport.
Find movers, fast
Find a mover
Related price guides
How much do packers cost?
Read more


Related articles
Moving to San Diego Guide
Read more
Moving Checklist
Read more
A guide to becoming a mover
Read more

How much do movers make?
Read more

Tips for moving house with kids
Read more
How to move gym equipment safely
Read more

How to pack artwork for moving
Read more

How to pack books for moving
Read more
How to pack kitchen items
Read more
How to move a washing machine
Read more
How to move a shed
Read more

How to move a pool table
Read more
How to move a vending machine
Read more
How to pack bedding for moving
Read more
How to move a refrigerator
Read more

How to move a pinball machine
Read more
Where to get moving boxes for free
Read more
How to wrap furniture for moving
Read more

What movers won’t move
Read more
The ultimate packing and moving list
Read more

Moving interstate checklist
Read more

Moving out of state checklist
Read more