- Home/
- Guides/
- Appliance Movers/
- How to Move Your Washer and Dryer
The final load: How to move your washer and dryer
Breaking down the process of washer and dryer relocation
Last Updated on

Written by Ana K.
Contributor
Read more about our contributor
| Skill Level | Estimated Completion Time | Estimated Cost |
|---|---|---|
Advanced |
From a few hours to half a day |
$100 to $300, pricier if moving long distances |
Key Facts
Due to their weight and size, moving a washer and dryer is no simple task; if not done properly, it can cause accidents, injuries, and property damage.
Planning well, having the right tools and equipment, and following best practices can help ensure a safe move.
Moving appliances on stairs is particularly challenging. As such, hiring professional movers or asking someone to help you is recommended.
Moving heavy household items is a challenging and complex chore that presents health risks when done incorrectly. In fact, from 2021 to 2022, over a million workers in the US suffered from injuries and health issues due to overexertion and bodily reaction, which are commonly caused by handling and lifting loads.
Fortunately, this guide offers a safe method on how to move a washer and dryer, outlining the proper tools and technique you should use to confidently transport bulky appliances while preventing accidents and injuries.
Preparing to move your washer and dryer
Similar to a washing machine, other laundry appliances can be challenging to haul due to their size and weight. As such, it is important to determine the best way to move a washer and dryer and adequately prepare for the move.
Understanding the weight and dimensions
How much do a washer and dryer weigh? The table below shows the average weight of different washer and dryer types, as well as their typical dimensions.
| Appliance Type |
Average Weight |
Typical Dimensions (H x W x D) |
|---|---|---|
Front-load washer |
143 to 198 lb |
39 in x 27 in x 32 to 34 in |
Top-load washer |
88 to 143 lb |
42 to 44 in x 27 in x 27 to 28 in |
Electric dryer |
100 to 180 lb |
39 in x 30 to 35 in x 27 to 28 in |
Gas dryer |
120 to 200 lb |
39 in x 30 to 35 in x 27 to 28 in |
Stacked washer/dryer unit |
243 to 399 lb |
78 in x 24 to 28 in x 32 to 34 in |
Gathering the right tools and supplies
 Tape measure and cleaning tools arranged on counter before relocating washer and dryer
Here are tools and equipment that can come in handy during the moving process:
| Tool/Supply | Purpose |
|---|---|
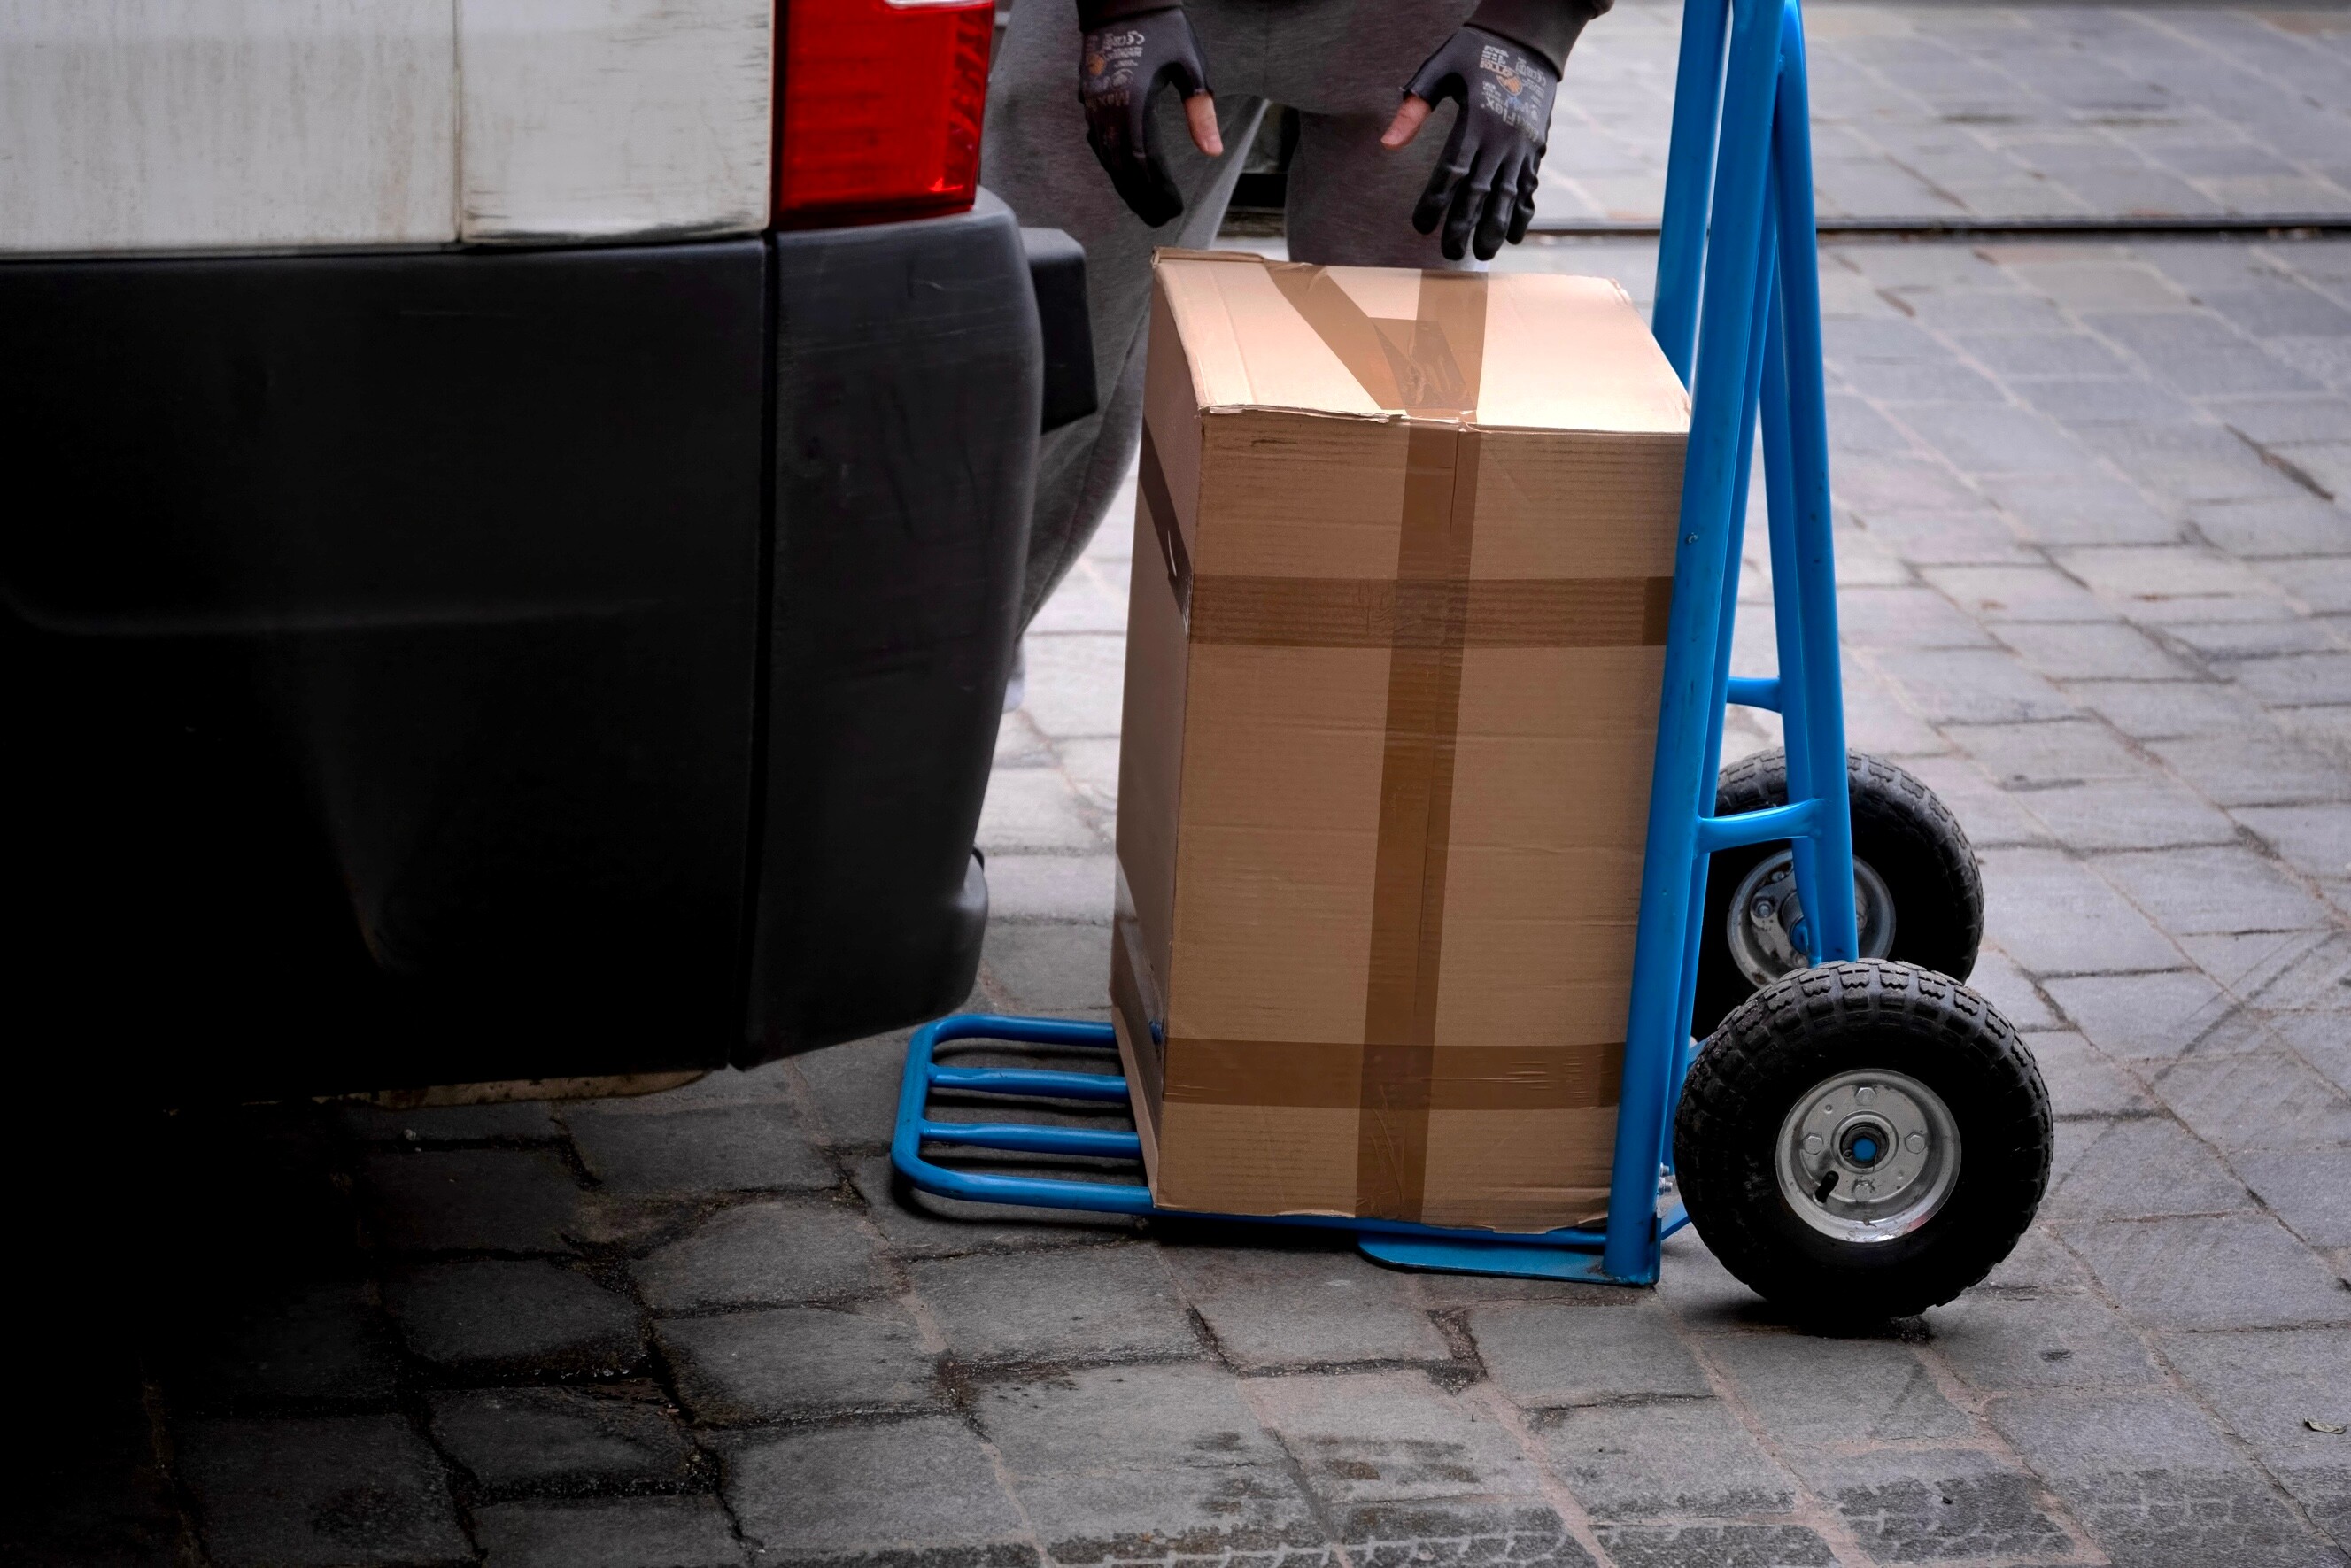
Dolly |
To safely transport heavy appliances without lifting |
Moving straps |
To lessen the difficulty of carrying a heavy object with another person |
Work gloves |
To protect your hands while handling heavy or sharp edges |
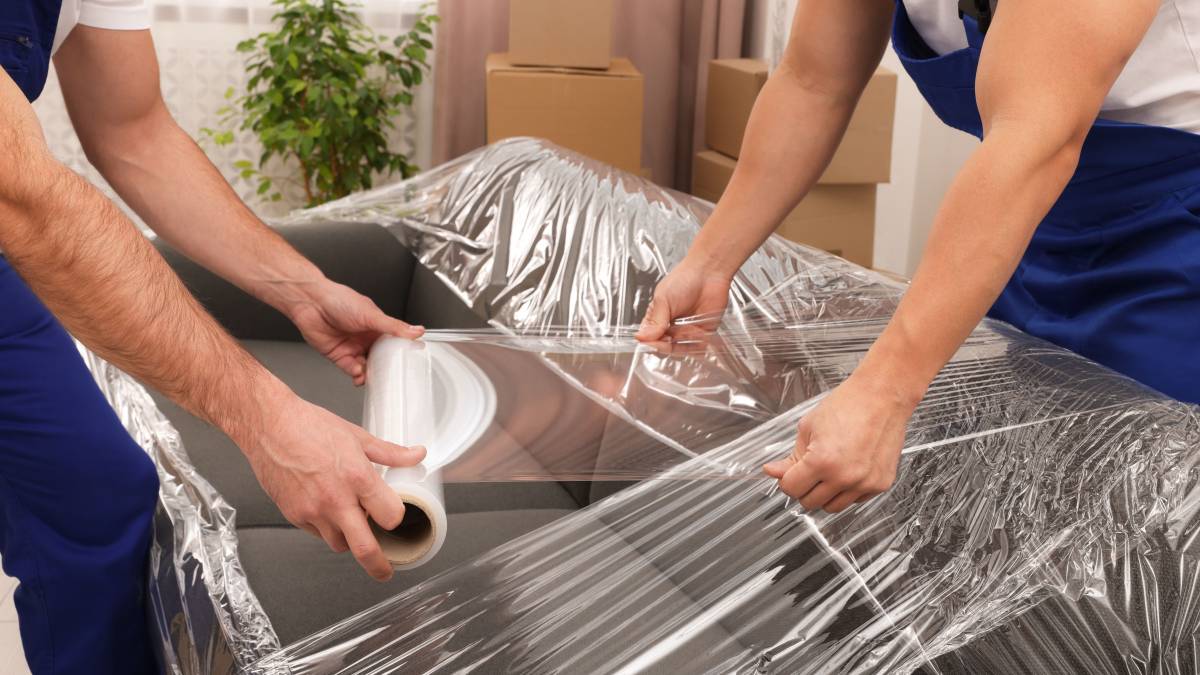
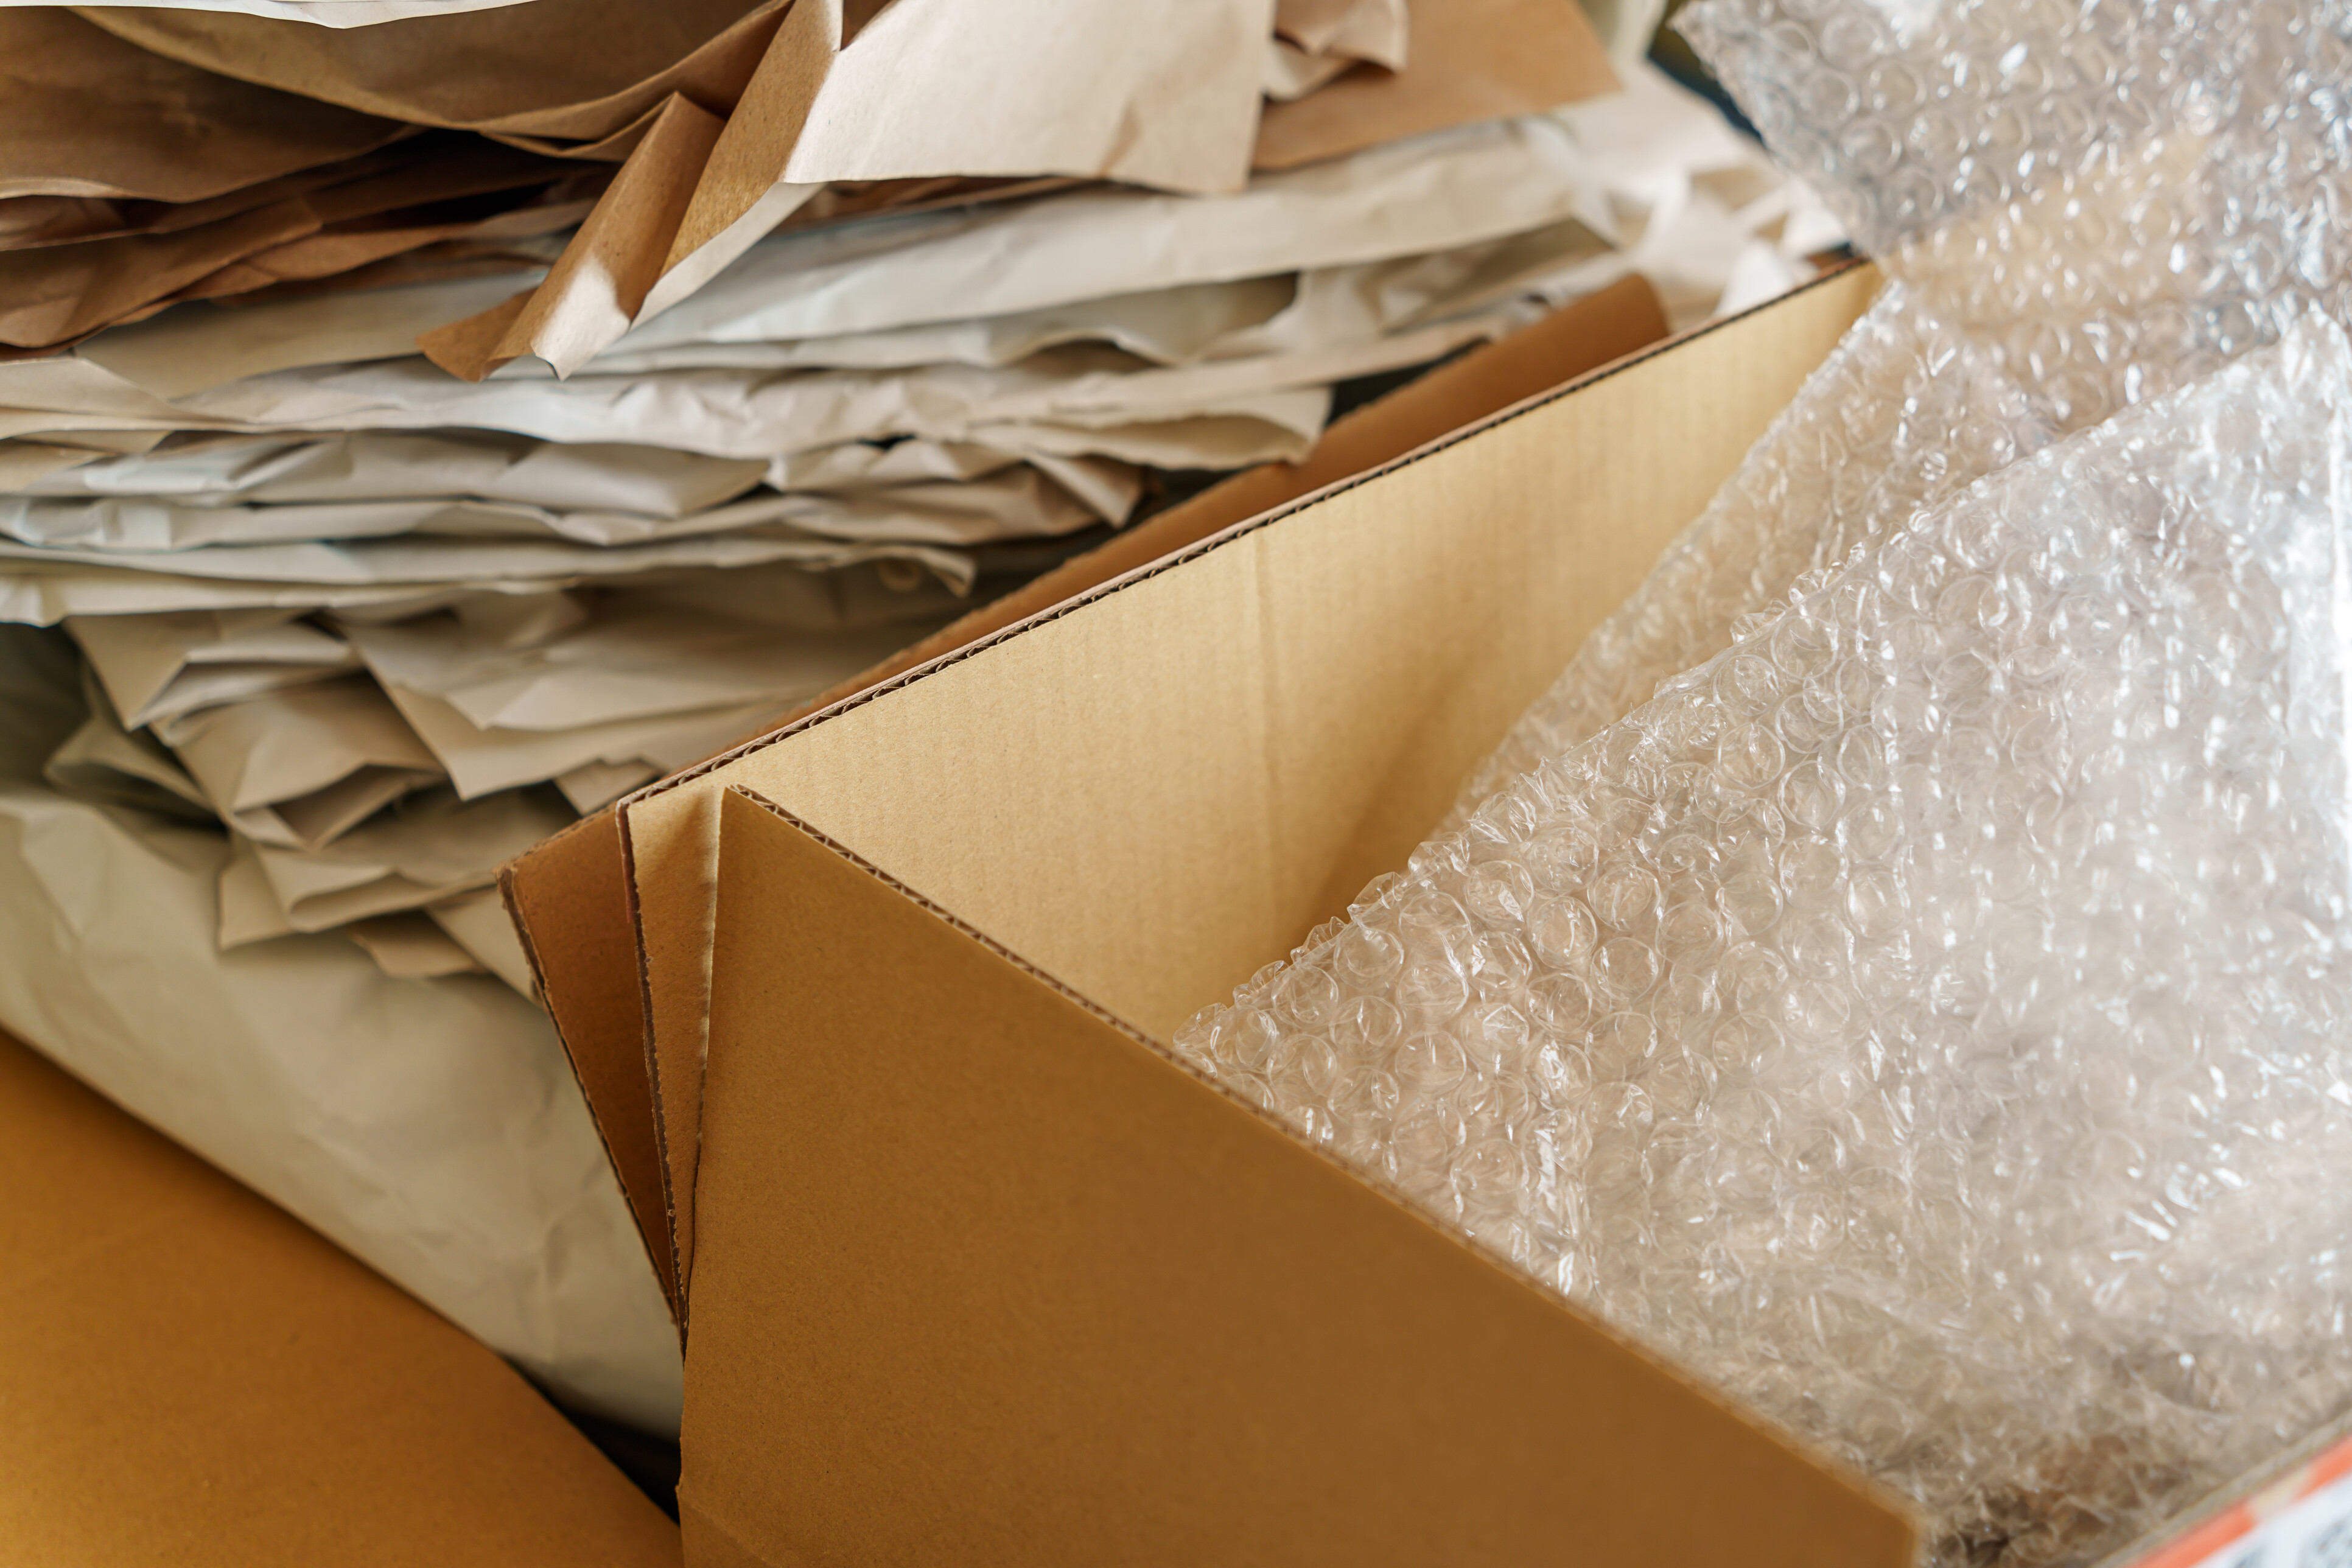
Moving blankets and plastic wrap |
To wrap and protect the appliances from scratches and dents |
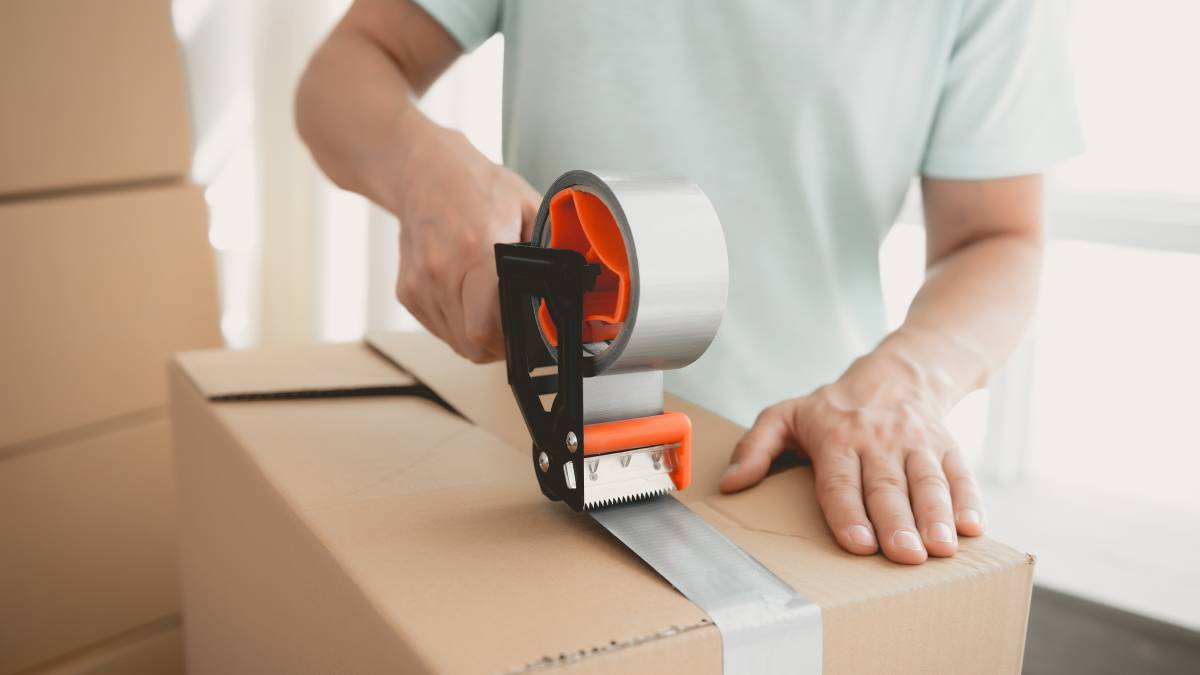
Tape or bungee cords |
To secure loose parts, such as doors and hoses |
Screwdriver or wrench |
To disconnect hoses, cords, and other attachments |
Bucket or towels |
To catch any remaining water when disconnecting the washer |
Appliance sliders |
To help move the appliances across floors without damaging them |
Disconnecting the washer and dryer
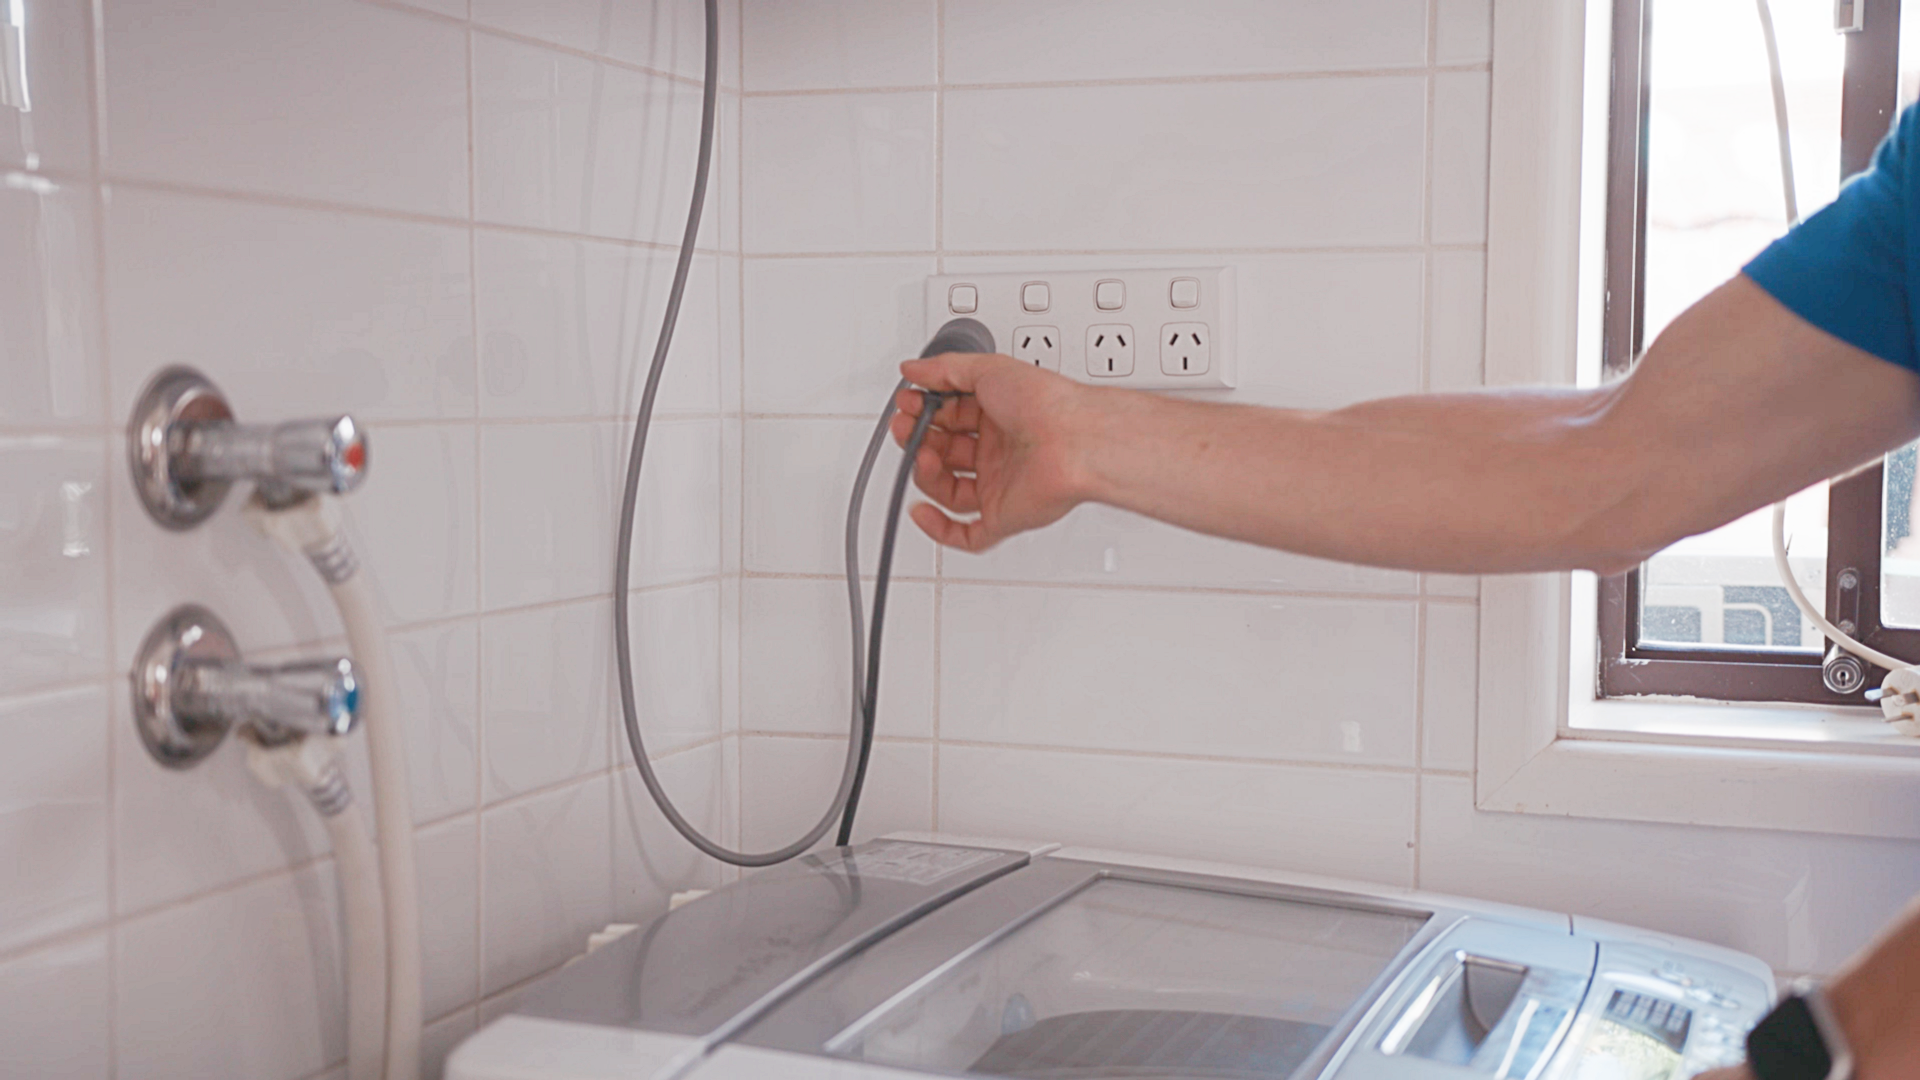 Tasker disconnecting a washer during the appliance relocation process
Properly disconnecting a washer and dryer involves flipping off the correct breaker in the breaker box and doing the following steps:
| Washer | Dryer |
|---|---|
|
|
While the instructions above apply to most washer and dryer models, it is still important to check your appliances’ manuals or user guides.
Moving your washer and dryer safely
After you disconnect the washer and dryer for moving, the next step involves following best practices for a safe and worry-free procedure.
Following best practices for moving
Don’t forget to follow best practices when it comes to moving heavy appliances. These include:
Assuming the correct posture when lifting and using an appliance dolly;
Clearing your path of obstacles;
Using paddings, blankets, or sliders to protect your floors and walls;
Asking for help moving your washer and dryer if you think you cannot do it on your own.
Using a dolly to move the appliances
Don’t just use any appliance dolly or trolley to move a washer and dryer; make sure that the one you have is stable and durable enough to carry heavy items.
Begin by tilting your appliance backwards before carefully placing the dolly beneath it. Afterwards, secure it with straps or cords to ensure it won’t slide while being transported. And since you’re moving a hefty object, wheel your dolly steadily and avoid making abrupt turns and movements.
Moving the appliances on stairs
Moving a washer and dryer upstairs or downstairs with a dolly can be especially challenging. To minimize the risk of accidents, you can seek someone’s aid and make sure that the appliances are secure.
Whether ascending or descending stairs, you should tilt the dolly on its back wheels and take your time rolling it on every step, with the person at the bottom taking on more of the burden.
If you want to learn how to move a washer and dryer down the stairs or up a different way, you can also use moving straps. You and the person helping you should wear these harnesses around your shoulders to evenly distribute the load’s weight while climbing up or down.
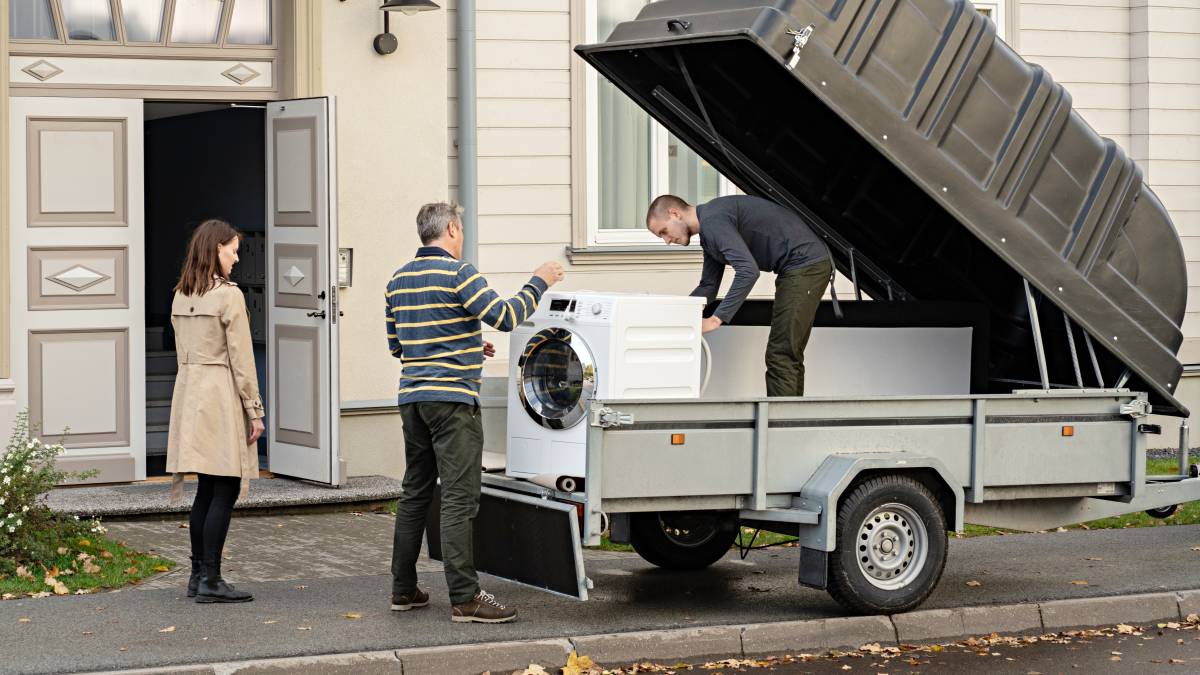
Transporting your washer and dryer
Knowing how to transport a washer and dryer using a vehicle is essential, especially if you’ll be moving long distances.
Loading and securing the appliances
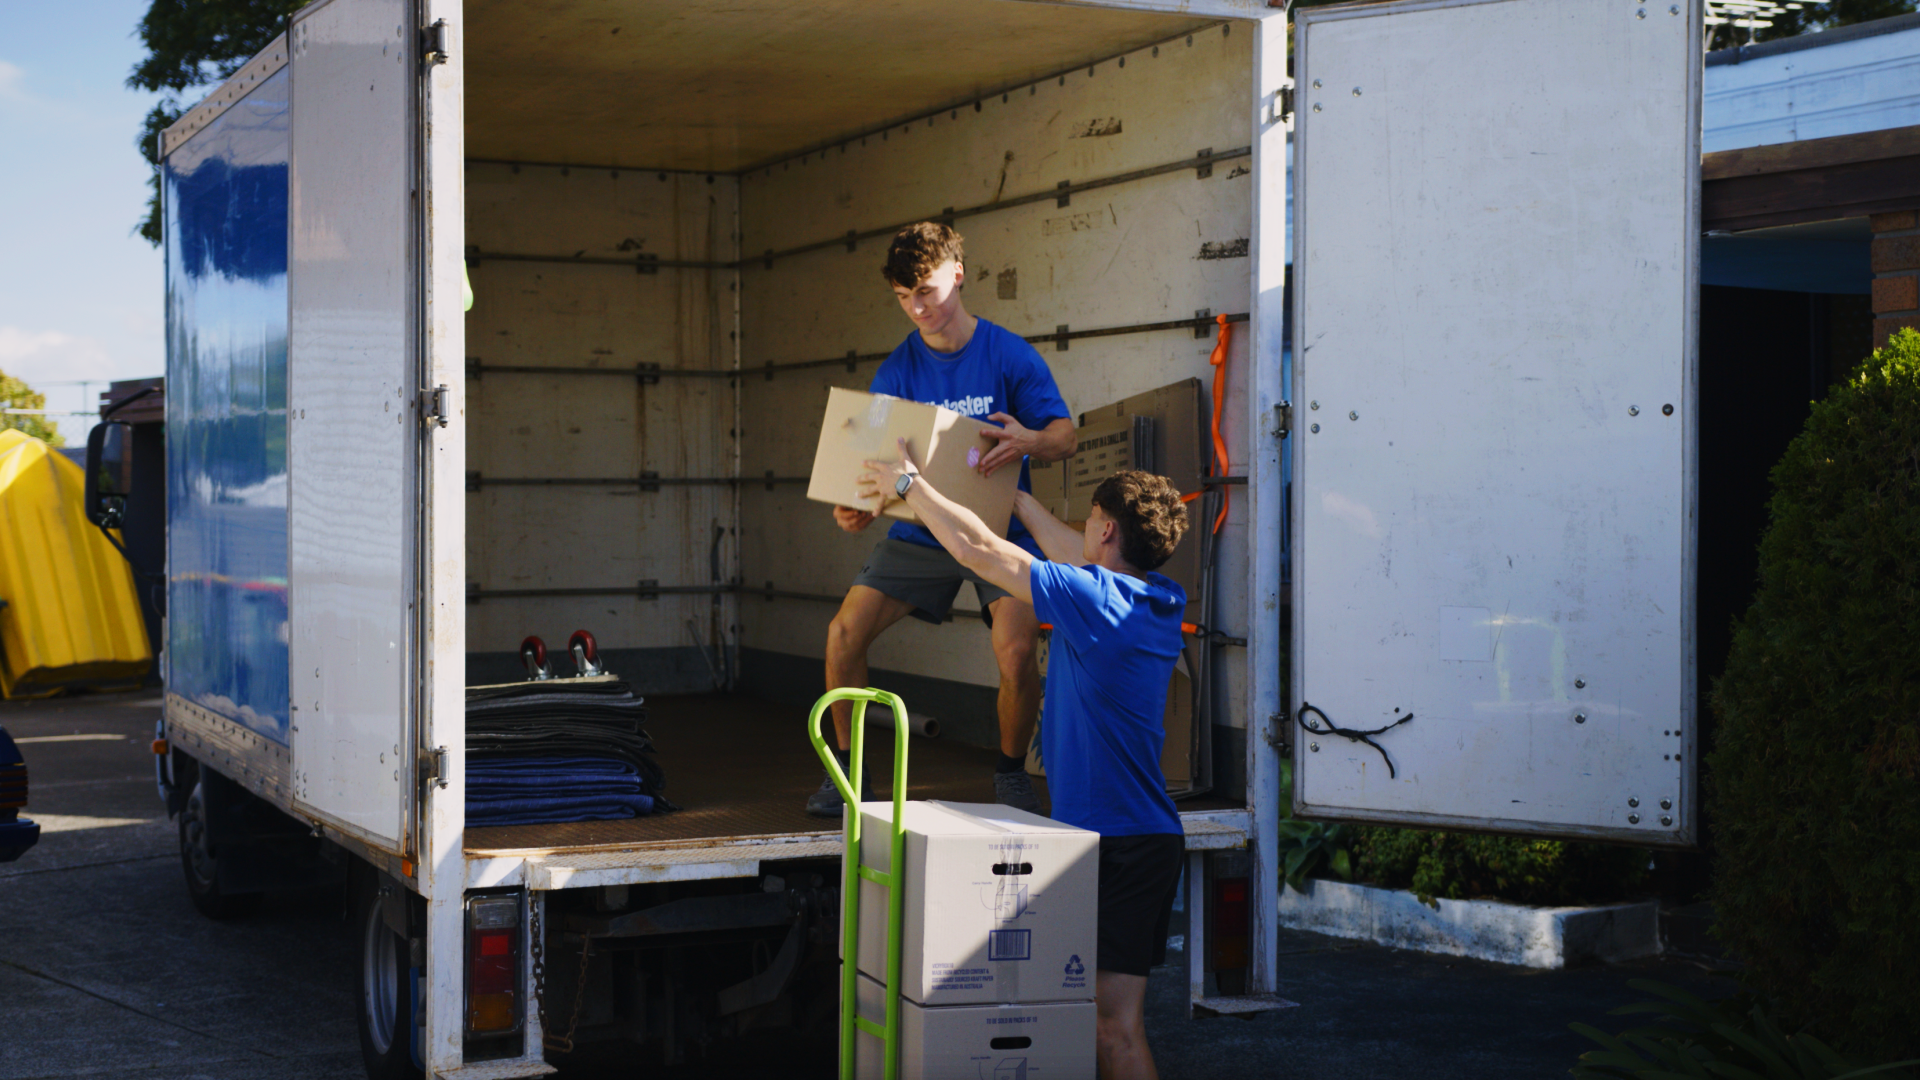
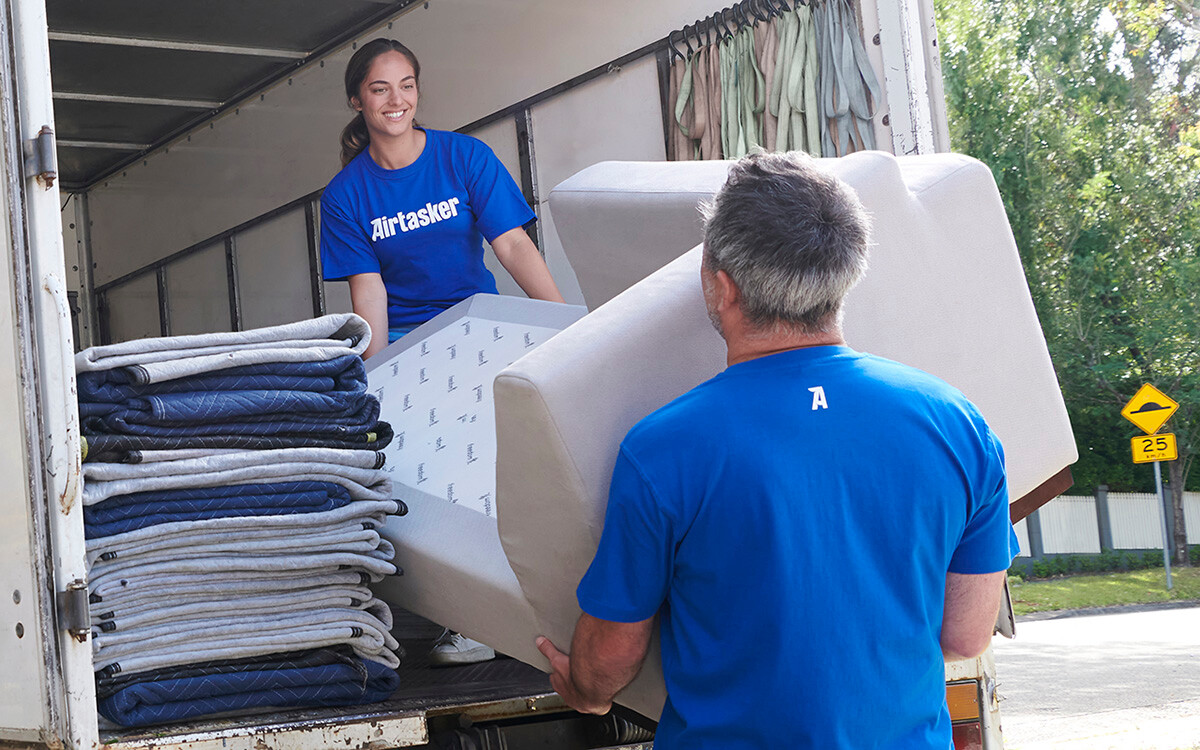
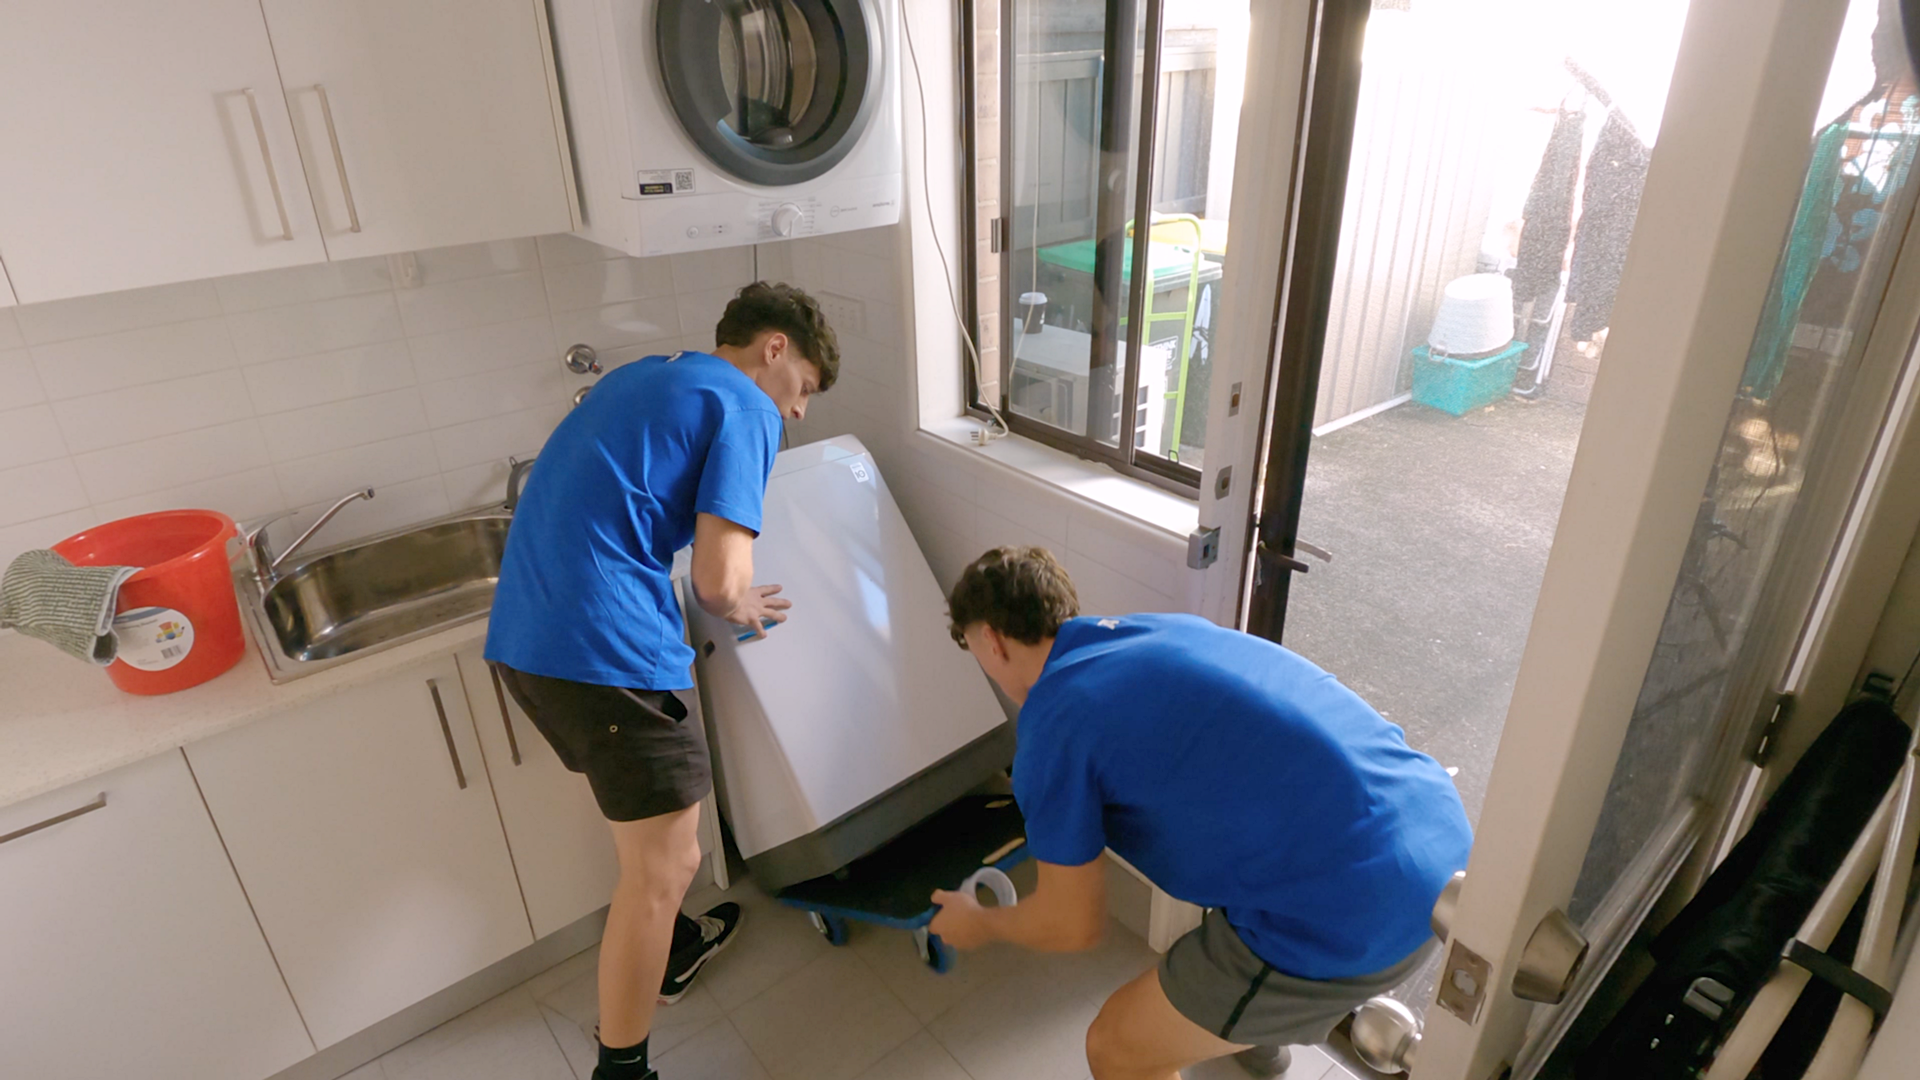 Taskers lifting a washer onto a moving dolly in laundry room
The best way to load appliances onto a moving truck involves using a ramp while wheeling in the dolly. This is a job best done with assistance from someone, particularly if you are moving a stacked washer and dryer.
Both the washer and dryer should be strapped down in the vehicle to prevent unnecessary movement and accidents during the entire journey. You can also keep these appliances wrapped with blankets, especially if you are transporting them with objects like furniture or fragile items. Moreover, before the vehicle departs, double-check that all doors are locked.
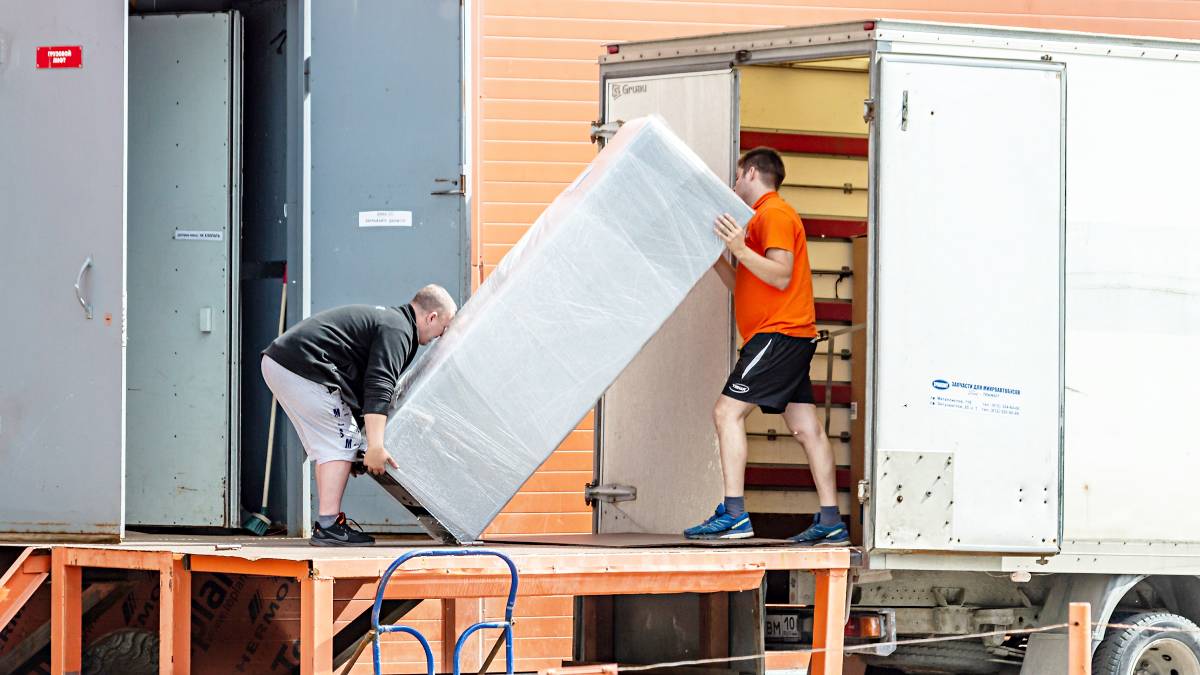
Relocating the washer and dryer
Before relocating your washer and dryer locally or out of state, make sure that the new space is clean and everything is in order. This will allow for a seamless move since no clutter will block the way to the laundry room.
When you finally arrive at your destination, unload the washer and dryer from the vehicle the same way you loaded them—by using a dolly and a ramp.
Reinstalling your washer and dryer
After the moving process, the next step involves reinstalling your appliances and keeping them in excellent working condition.
Setting up the appliances
Reinstalling your washer and dryer entails removing their covers and ensuring they are on stable and level ground. It also involves doing the following procedures:
| Washer | Dryer |
|---|---|
|
|
Do note that, similar to disconnecting washers and dryers, installing them should be guided by the instruction manual.
Maintaining the appliances after the move
With all the effort it takes to transport a washer and dryer, it is important to keep them in good condition so they can have a longer lifespan.
Some measures you can take to ensure your appliances will last are:
Cleaning the hoses and filters from time to time;
Not using too much detergent and only using the right kind;
Inspecting the connections, hoses, and washer door seals; and
Avoiding overloading.
Spare yourself from heavy lifting with Airtasker
Are you looking for a pro to do the heavy lifting for you? Through our platform, the process to hire someone to move your washer and dryer has never been easier.
After signing up on the Airtasker app or website, you’ll be able to reach out to appliance moving experts near you. View each service provider’s ratings and reviews on their profile and consider your budget and needs to ensure you’re picking the right person for the job.
Learn more about our contributors
Written by Ana K.
Contributor
Ana always puts a premium on accuracy, clarity, and style when writing—a practice that her English degree has instilled in her. She excels at covering topics related to pet care, home and interior design, and food, which count among her varied interests. She also enjoys nature and street photography, as well as travelling. Overall, Ana uses her love for research to engage Airtasker readers with fun, practical content.
FAQs on moving washers and dryers
No, a washer and dryer should be upright when being moved or transported to prevent internal damage.
Yes, in certain instances, you can use moving straps with another person to lift your washer and dryer.
To effectively remove unpleasant smells and dirt from your washer, you can use washing machine cleaning tablets or a washer cleaner pack and start a rinse cycle. Meanwhile, to get your dryer in squeaky-clean condition, you must wash its lint trap, use a vacuum cleaner on its vents, and wipe away dirt from the dryer drum.
You can transport your appliances on a rainy day, but they must be sufficiently bundled in plastic wraps or sheets. Moreover, after they are loaded on a vehicle, check if they are completely dry to prevent damage and rust.
Find appliance movers, fast
Find an appliance mover
Related price guides
How much do packers cost?
Read more


Related guides
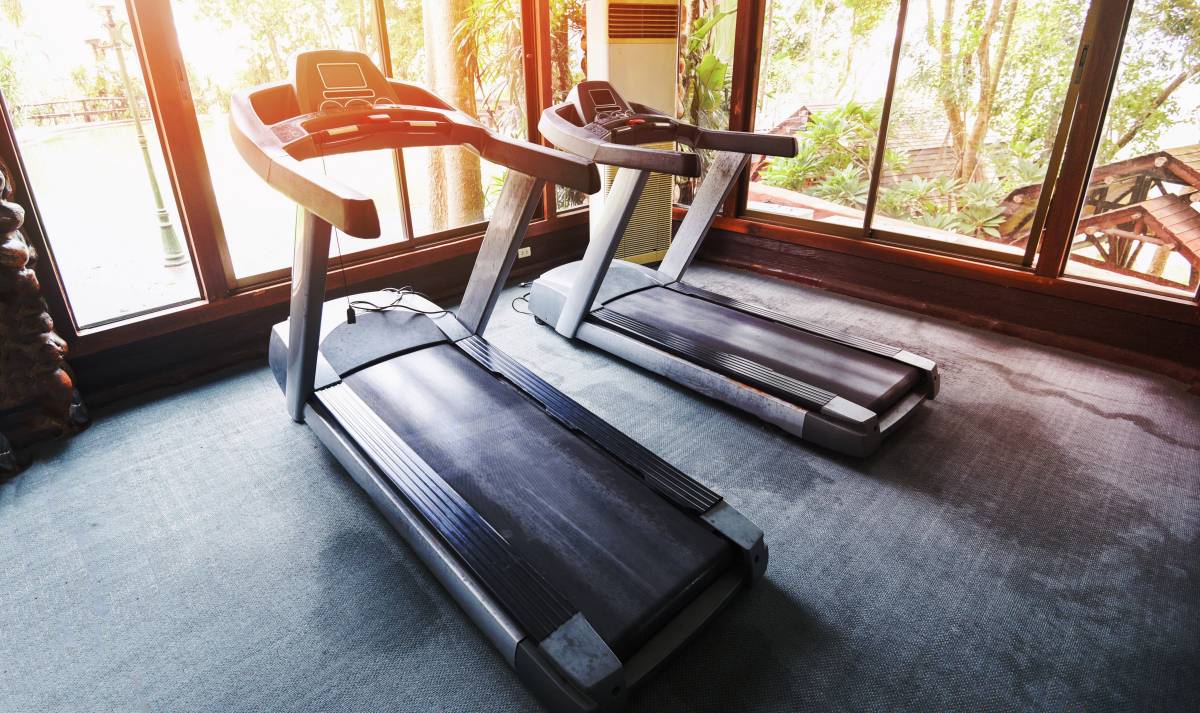
How to move gym equipment safely
Read more

Where to get moving boxes for free
Read more
Moving to San Diego Guide
Read more
Moving to Atlanta Guide
Read more

Moving interstate checklist
Read more

Moving out of state checklist
Read more
Moving Checklist
Read more

What movers won’t move
Read more

The ultimate packing and moving list
Read more

How to wrap furniture for moving
Read more

A guide to becoming a mover
Read more

How much do movers make?
Read more

Tips for moving house with kids
Read more

How to pack kitchen items
Read more

How to pack artwork for moving
Read more

How to pack books for moving
Read more

How to move a pool table
Read more

How to move a shed
Read more
How to move a washing machine
Read more
How to move a vending machine
Read more
How to move a refrigerator
Read more

How to pack bedding for moving
Read more

How to move a pinball machine
Read more