- Home/
- Guides/
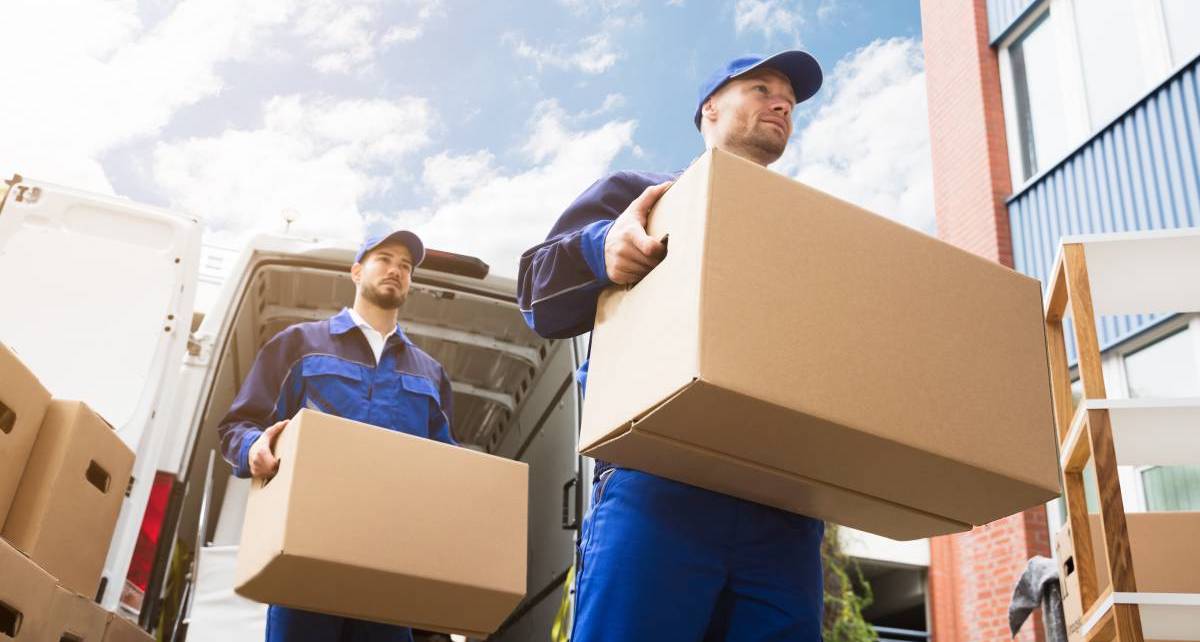
- Appliance Movers/
- How to Move a Freezer
Avoid back pain: Here’s how to move a freezer
Don't let moving day become a painful experience. Find out how to keep your freezer intact while protecting your back!
Published on
Moving a freezer can be a daunting and painful experience, as they are heavy, bulky, and difficult to maneuver. Without proper planning and technique, you could end up with a sore back and a damaged appliance!
But don’t worry, we have you covered! Whether you’re moving a freezer from one room to another or across states, this guide will provide you with the essential steps on how to move a freezer safely and share some tips and tricks to make your moving experience stress-free.
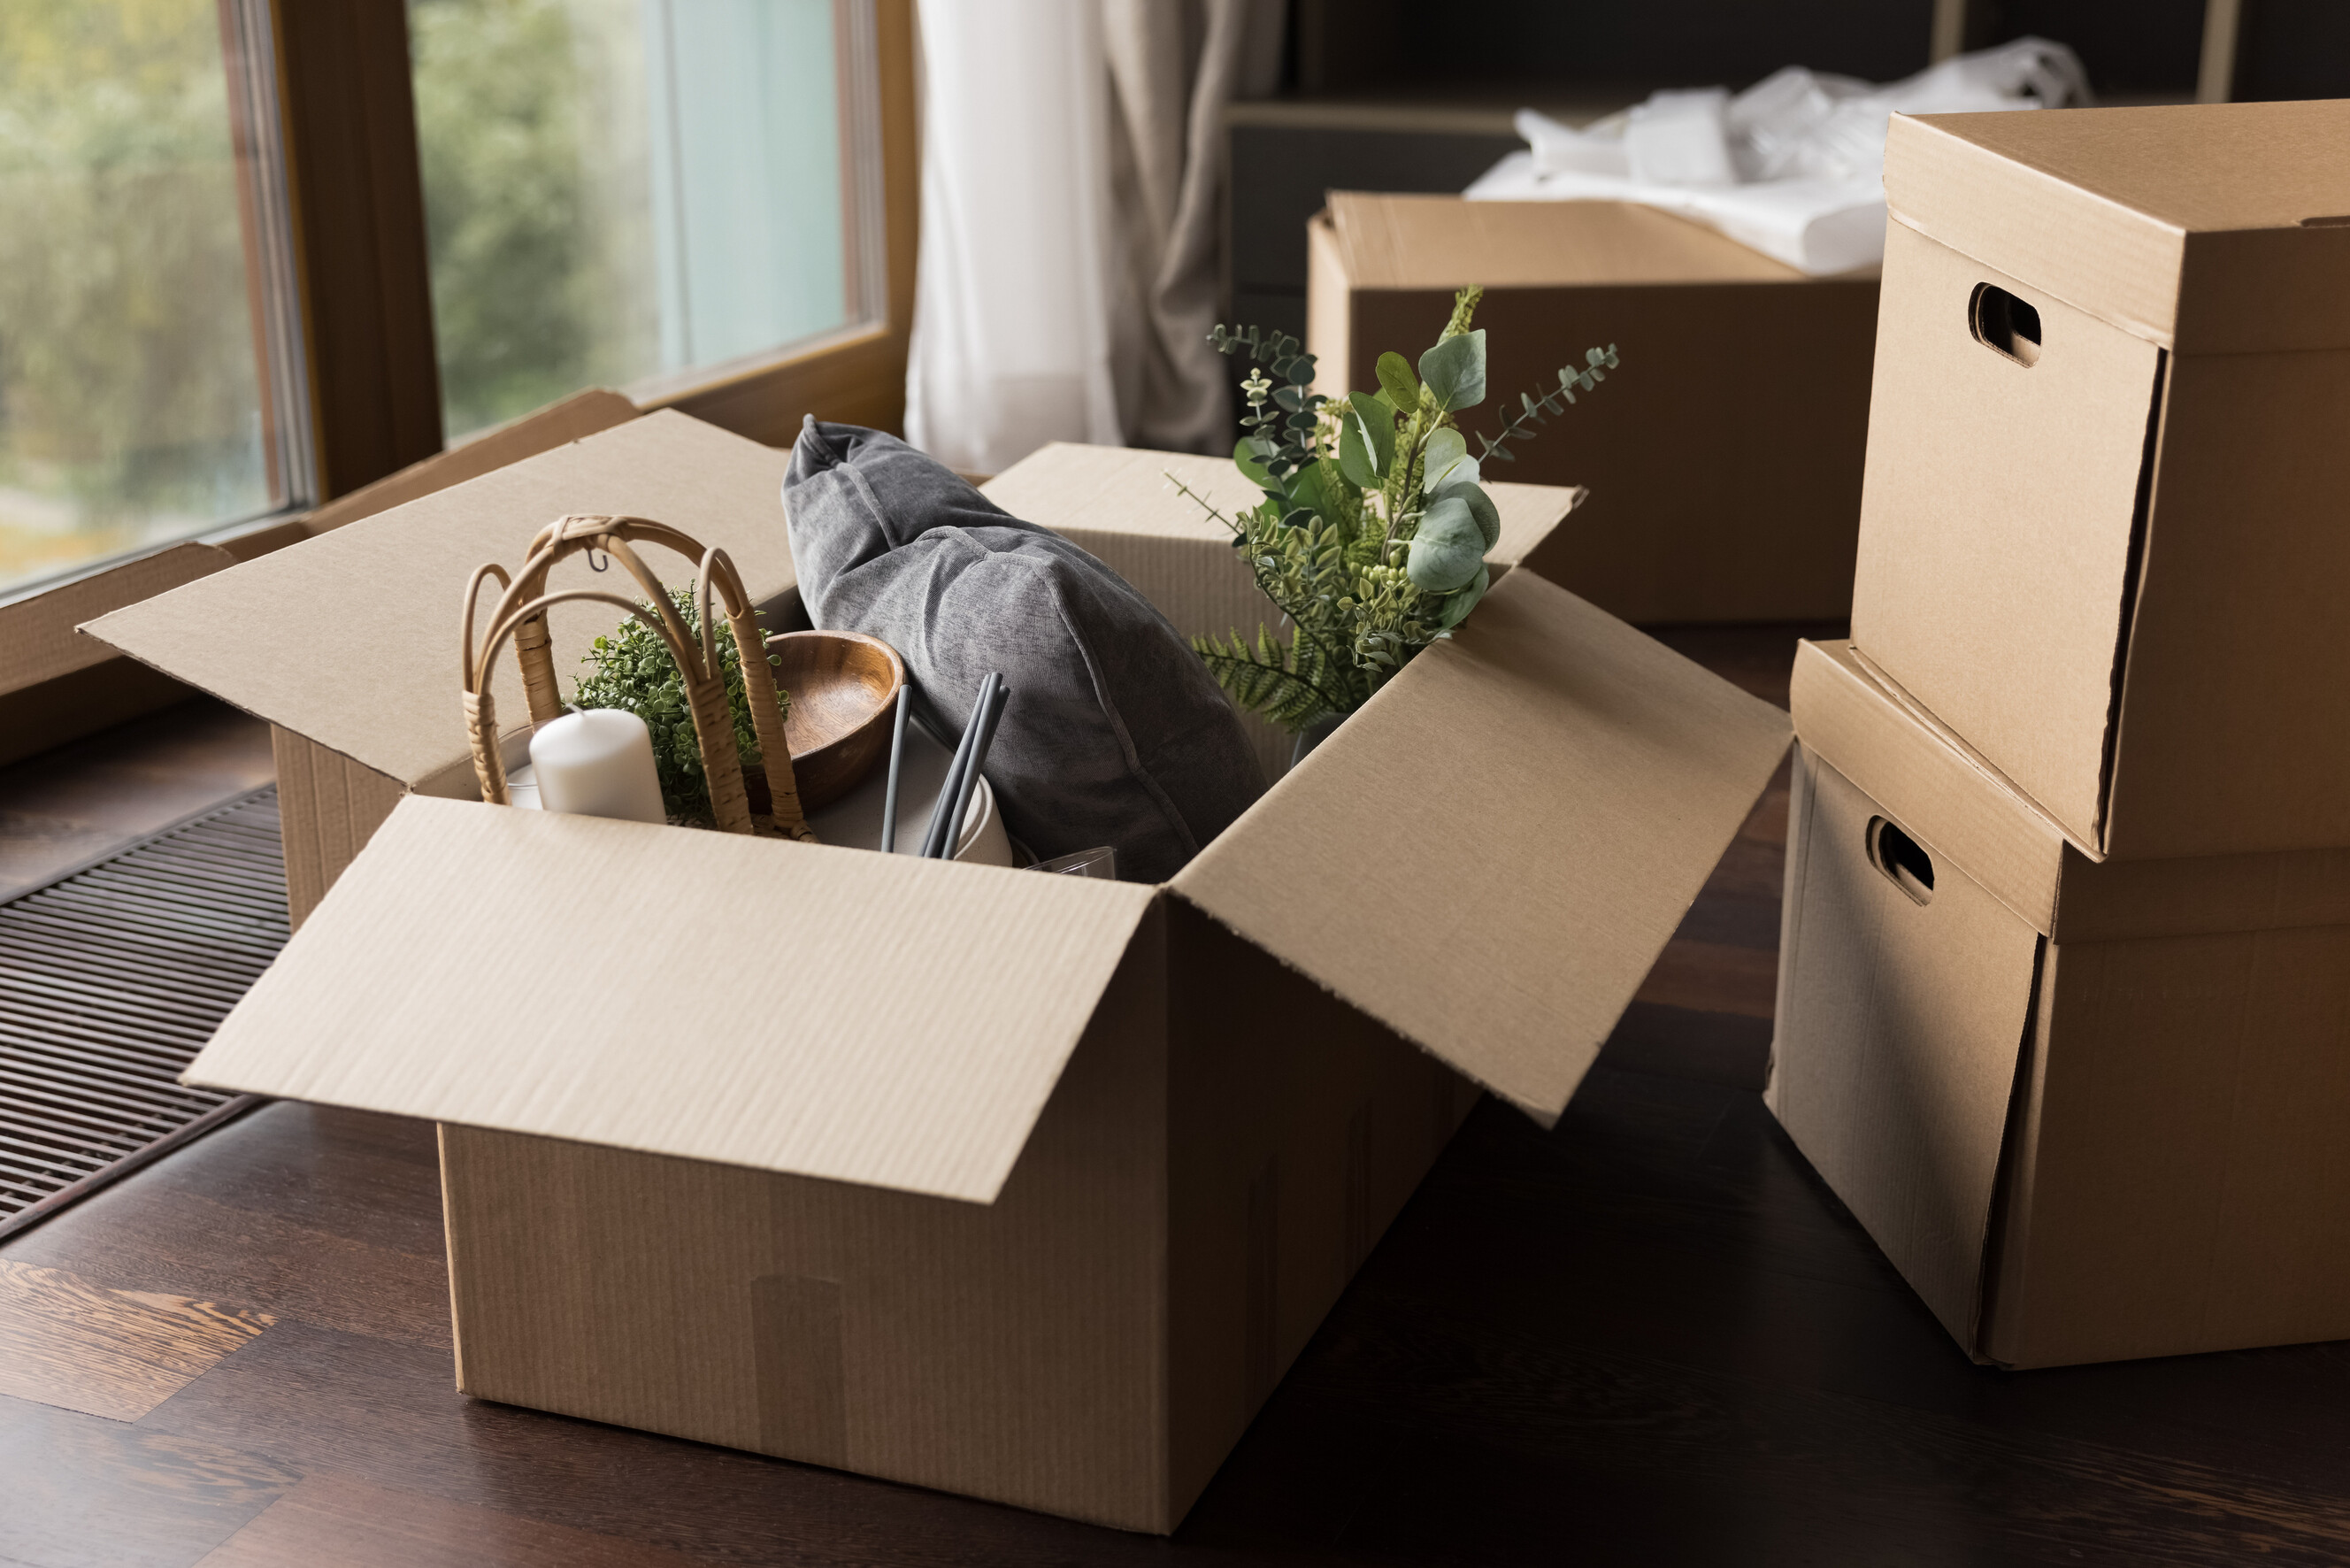
What you’ll need
Moving blankets or thick furniture blankets
Appliance sliders
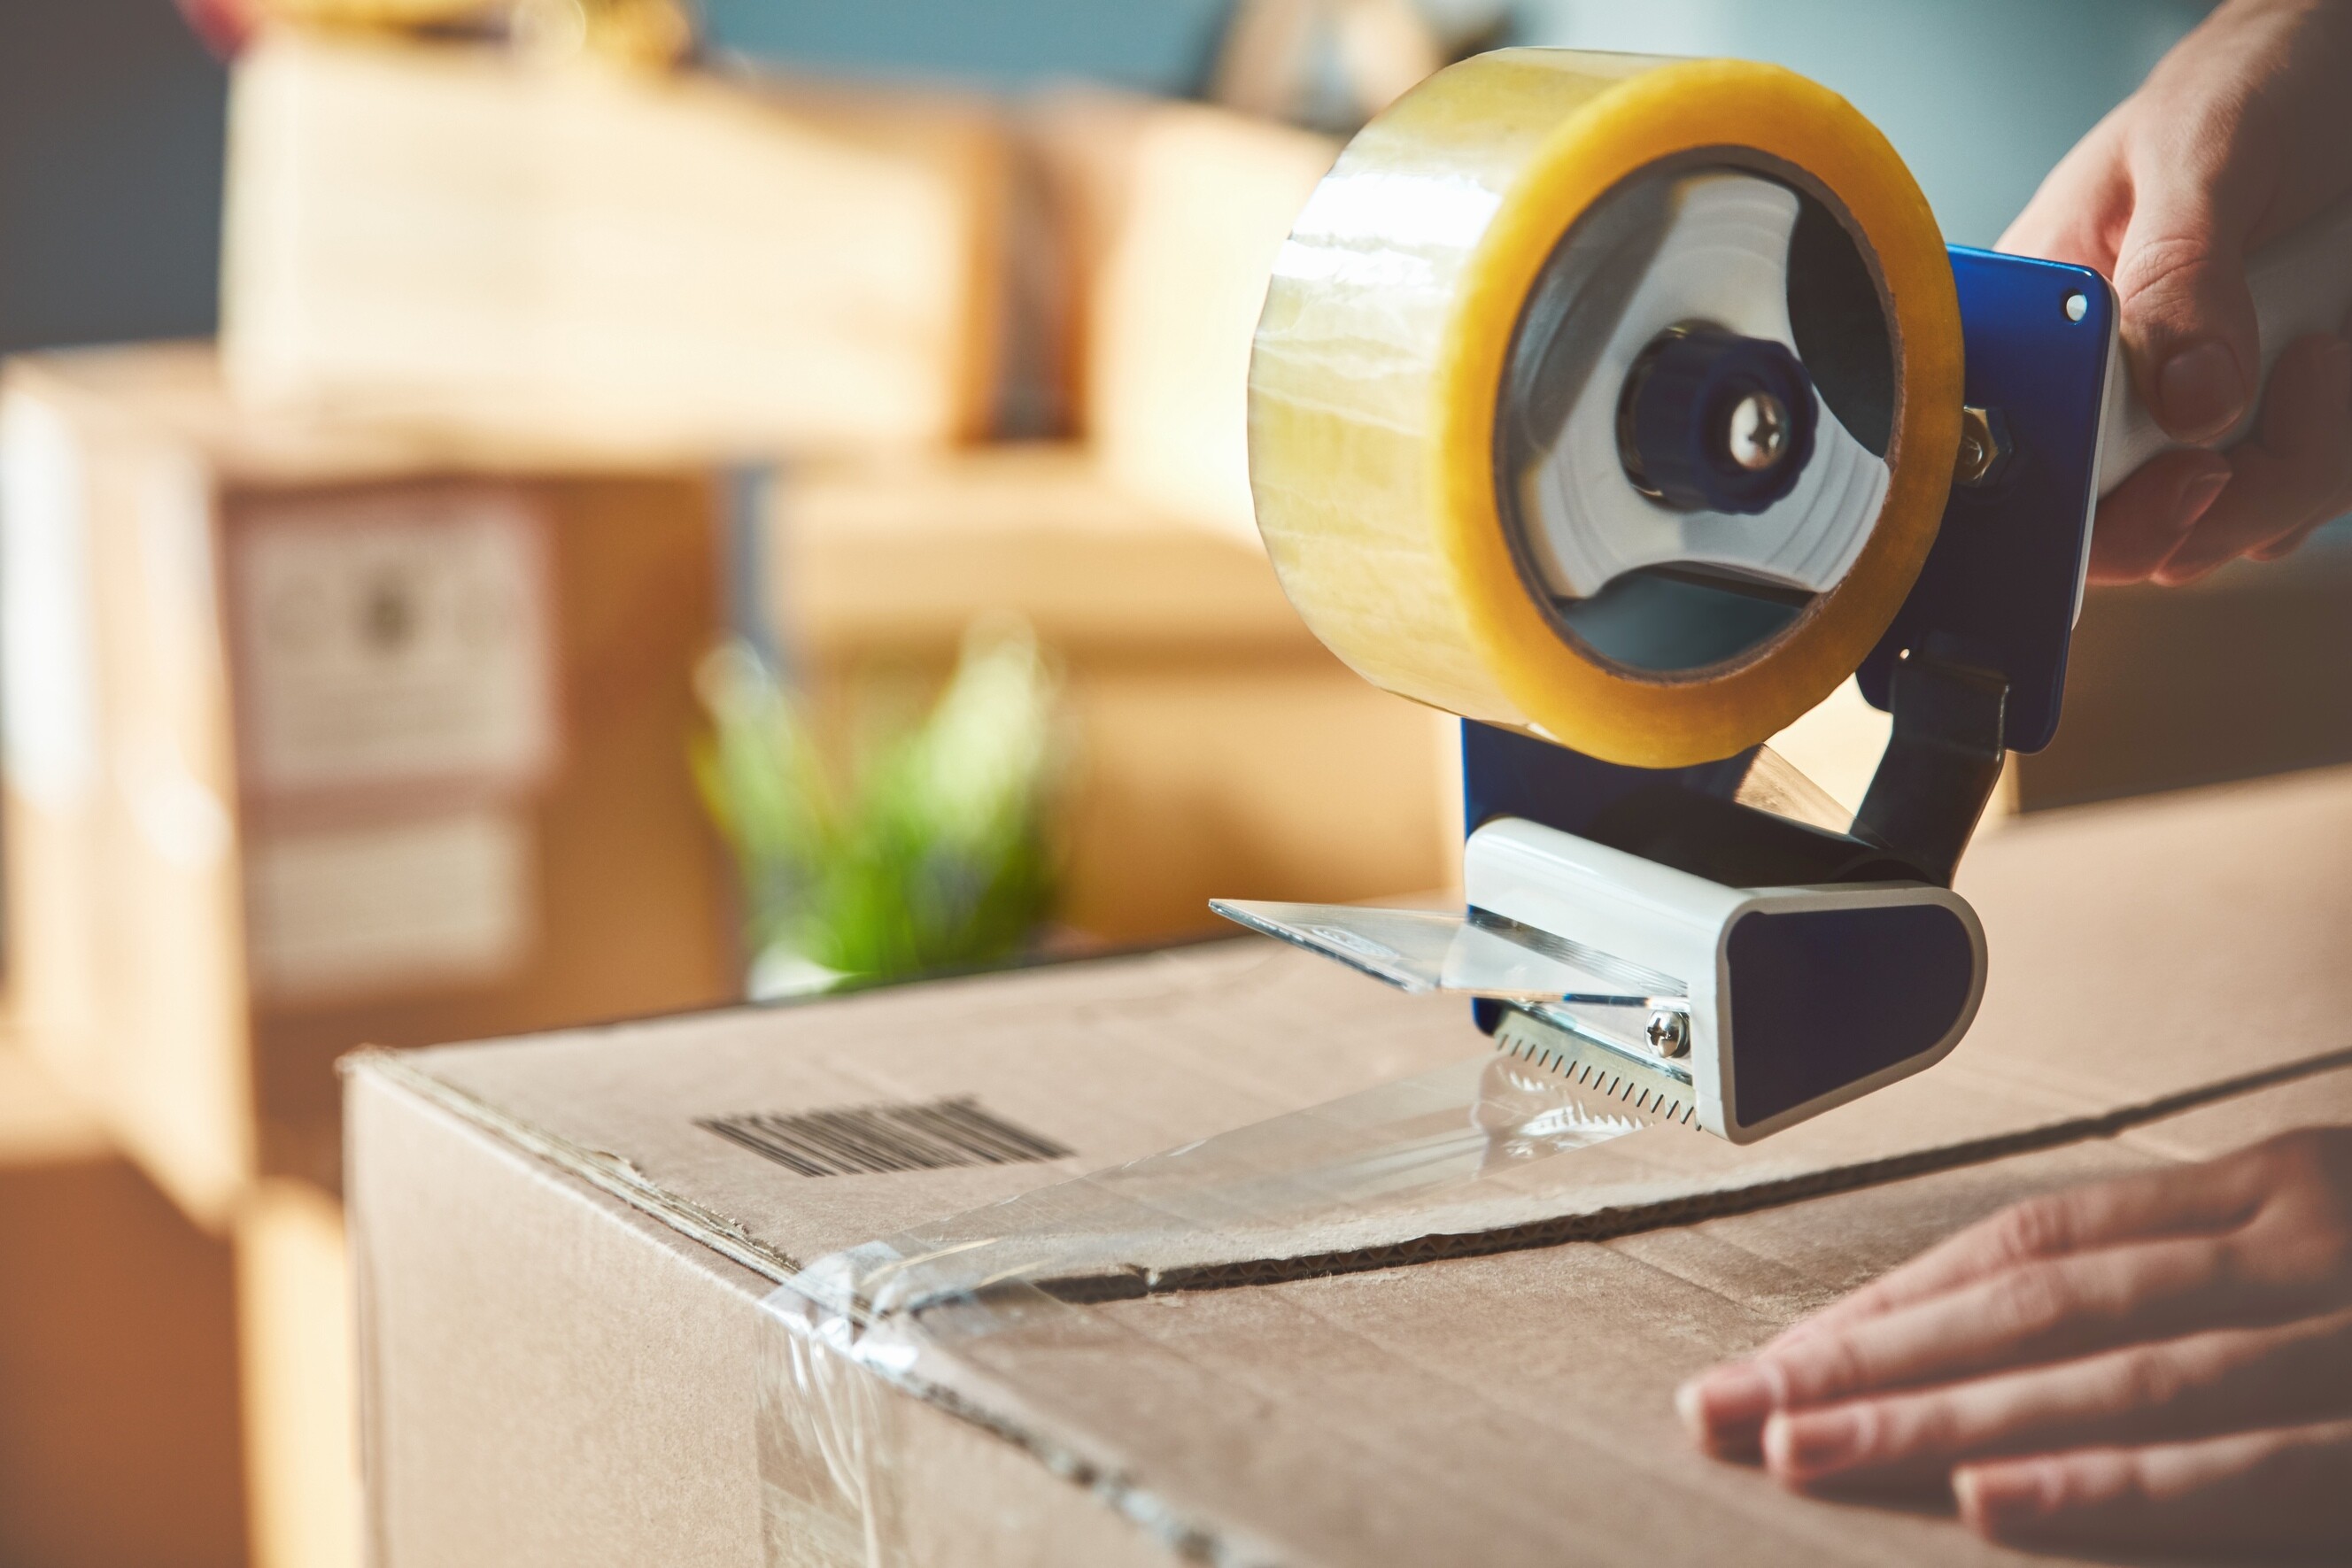
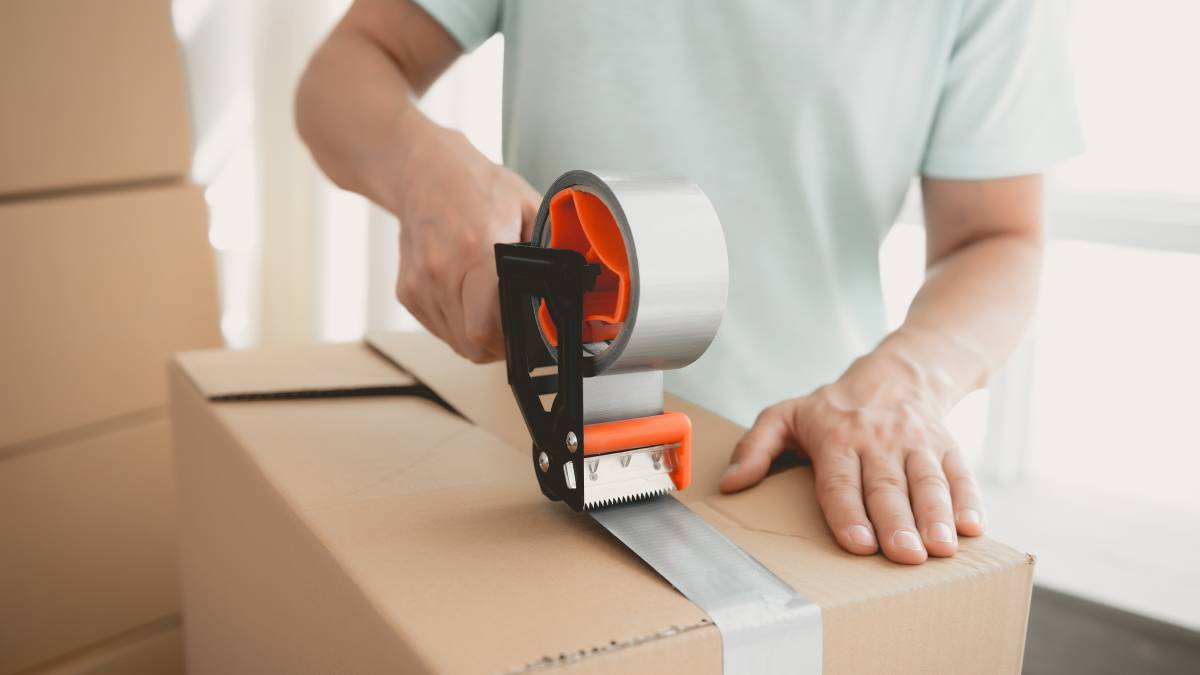
Packing tape
Moving straps
Moving dolly or appliance dolly
☞ Read also: Moving guide and checklist: How to make your move stress-free
Before you start
Make sure to prepare properly by completing the following steps no later than a day before transporting a freezer:
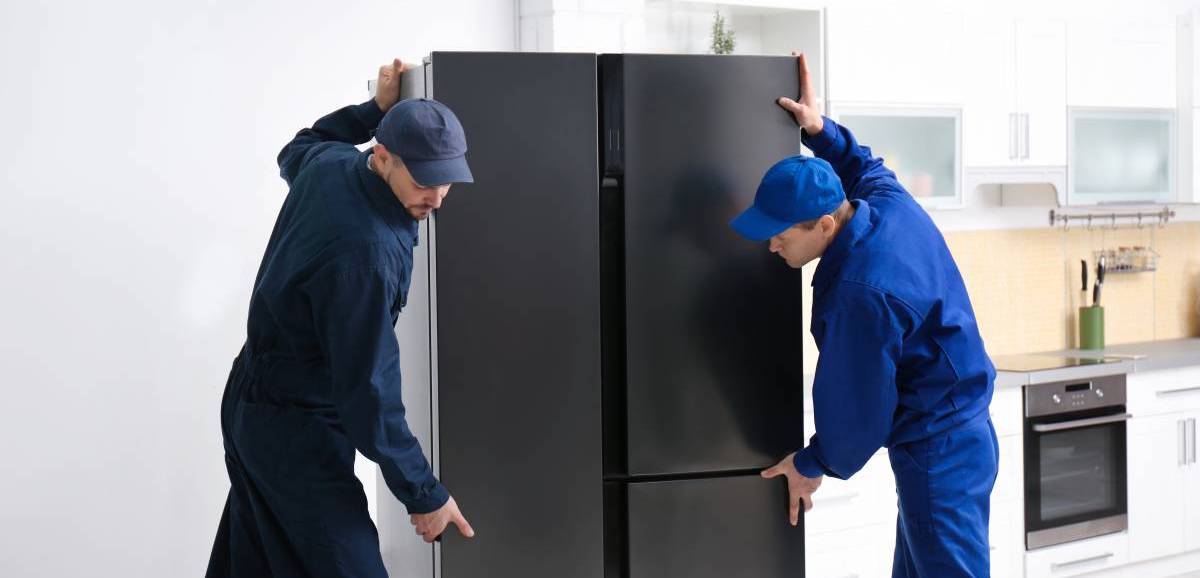
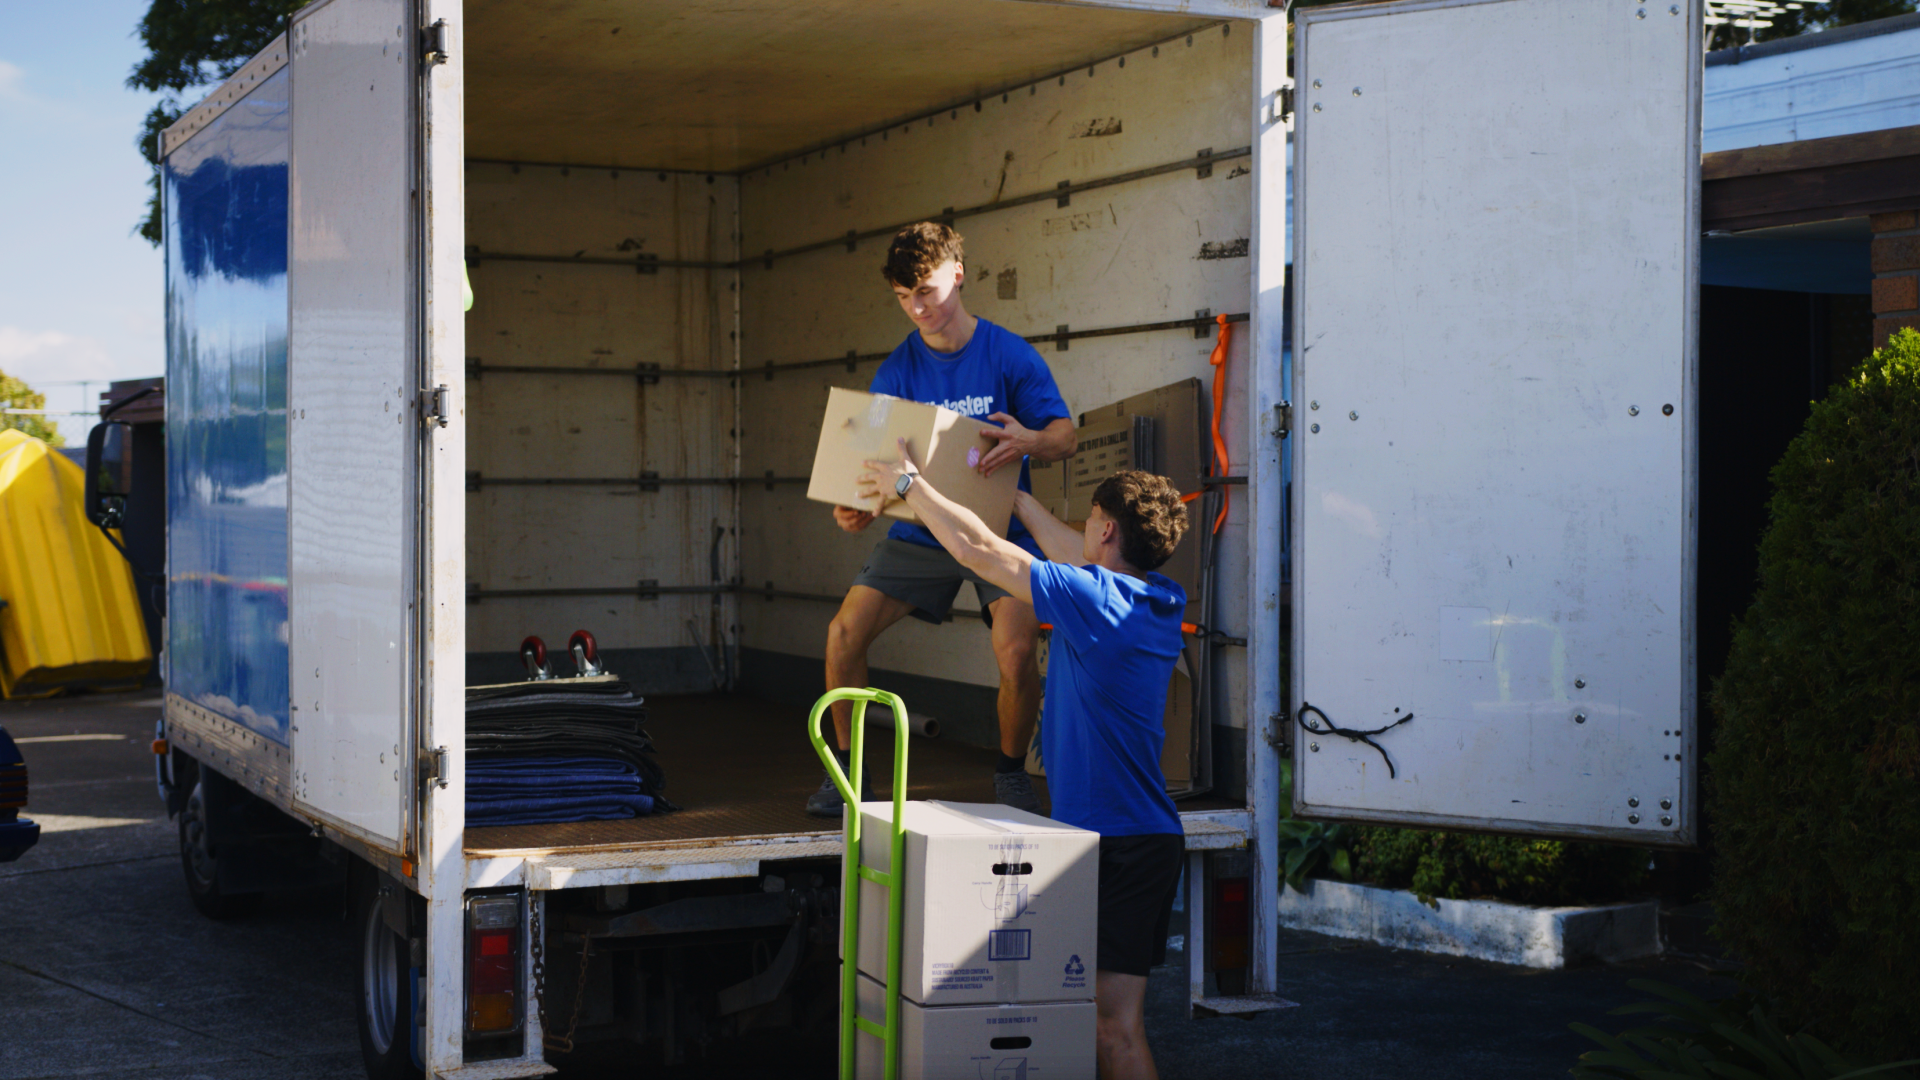
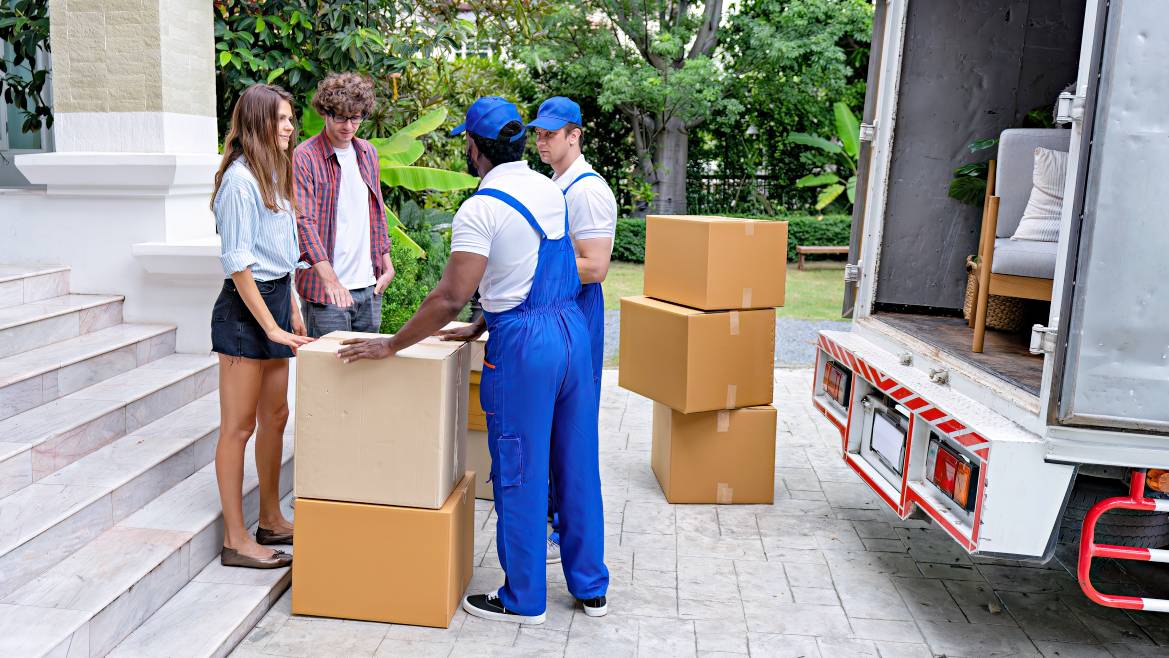
Enlist help. Don’t attempt to move a freezer alone. Having friends to help is important, as moving it by yourself can result in injury or damage to your home and the appliance. If no one’s available, feel free to hire appliance removalists.
Read the owner’s manual. The manufacturer may have specific instructions for moving the equipment.
Measure your freezer. Check if the pathway is spacious enough. Make sure that doors and halls are wide enough to fit the appliance.
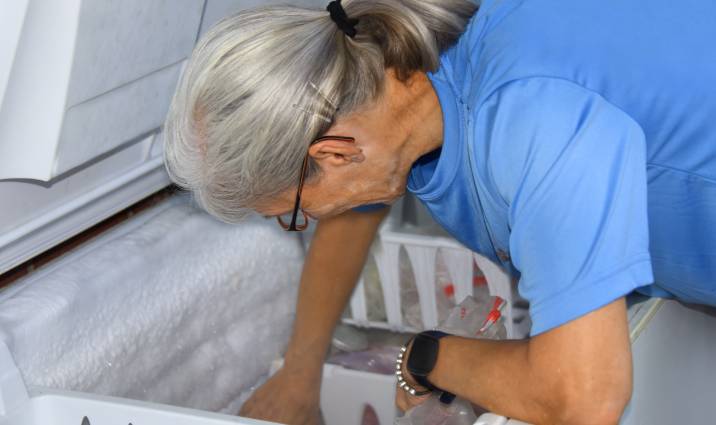
Empty your freezer. Generally, it’s not advisable to learn how to move a freezer full of food for a few reasons. One, leaving food items inside will increase the freezer’s weight, making it harder to move. And two, any deep-frozen food items will begin to defrost as soon as the freezer is disconnected from power. This is especially problematic for long-distance moves, as the food will likely spoil and go bad. It's best to remove all food items to make the freezer lighter and prevent spoilage.
Disconnect the ice maker. Refer to the manual to disconnect the ice-making device from the water supply.
Defrost your freezer. Unplug the freezer, leave the door open for several hours, or use the defrost function if available. Allow enough time for defrosting, which can take at least 24 hours, depending on the room temperature and amount of ice buildup. Collect any non-drained water in containers and drain it in the sink to reduce the weight of the freezer.
Deep-clean your freezer. Use a soft non-abrasive sponge to clean the appliance. Remove shelves and drawers and wash them with soapy water. Use a wet sponge with baking soda to act as a gentle abrasive if there are any stubborn stains.
Dry your freezer up. This is to prevent mold and mildew during transport. Use a soft dry cloth to dry the interior and leave the door slightly open for air circulation until packing for the move. If any unpleasant odors persist, place a saucer with baking soda inside the freezer to neutralize them.
If you’re unsure about doing this all by yourself, call professional movers or a moving company to help you carry out this task.
A guide on how to move a freezer like a pro
Now that you and your freezer are ready, here’s a step-by-step guide process on how to move a chest freezer properly and safely:
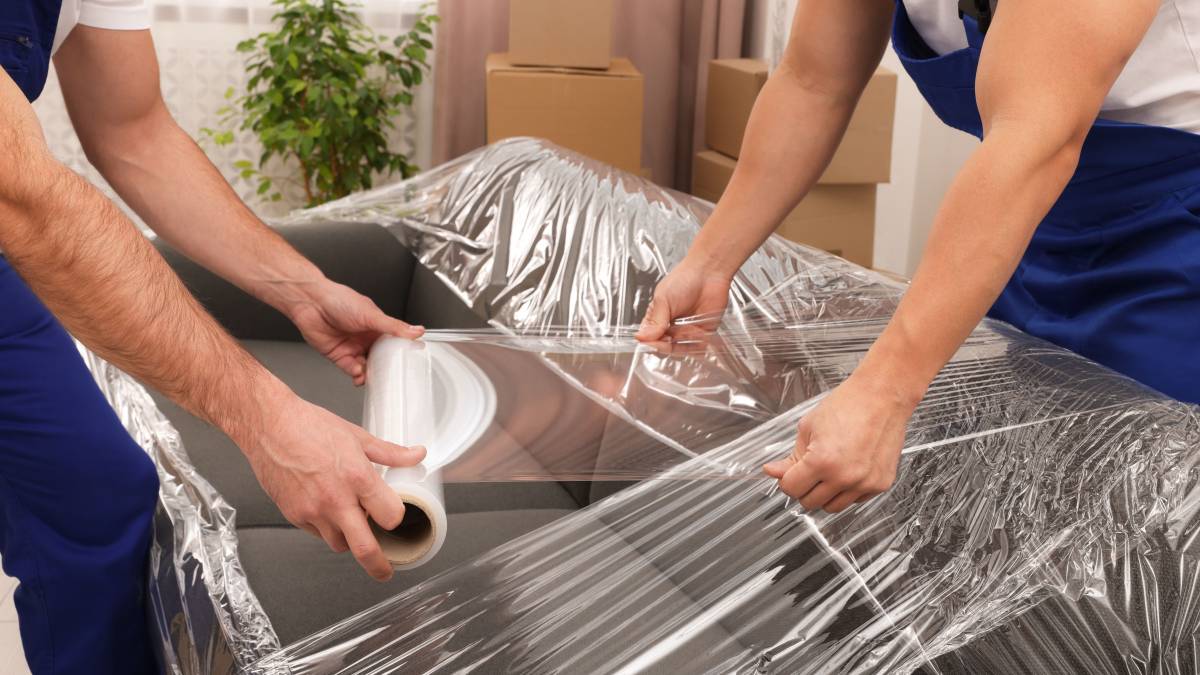
Step 1: Protect it with moving blankets
Move the freezer away from the wall and put an appliance slider under each leg. Tape the power cord to the back and cover the door edges with masking tape. Then, use moving blankets to wrap the freezer and secure it in place with tape. It’s important to ensure the entire appliance is well-padded and no vulnerable areas are exposed.
☞ Related article: Moving a fridge: How to do it right
Step 2: Secure it
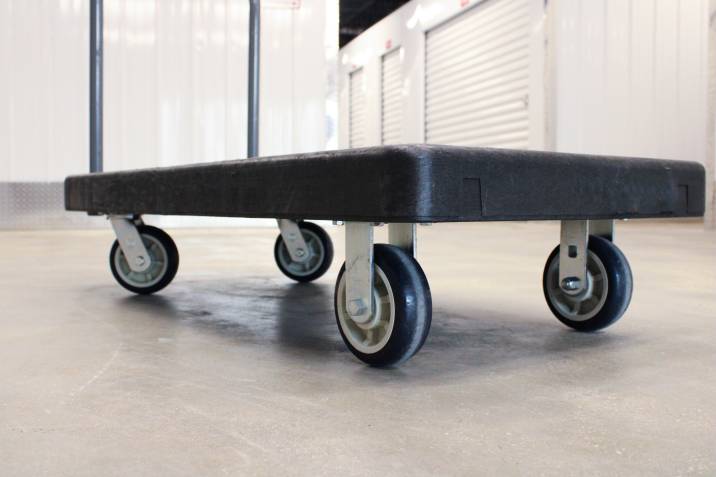
Use a moving dolly to move a chest freezer. Tilt the freezer to one side, put the dolly underneath, and center the load onto the four-wheel platform. Secure the freezer with straps or rope underneath the dolly and over the appliance. Be cautious and plan each step carefully with your helper.
Step 3: Wheel it out
After securing the freezer on the dolly, it’s time to take it outside and load it onto the vehicle. Keep it upright throughout the entire move, as laying it on its side or back could cause refrigerant to leak inside the evaporative coils.
If you must, you can lay a deep freezer on its back, but do it for as little time as possible, and only on the compressor side of the unit. Wheel the loaded freezer towards the front door, balancing it with helpers. Note that furniture dollies are not suitable for stairs.
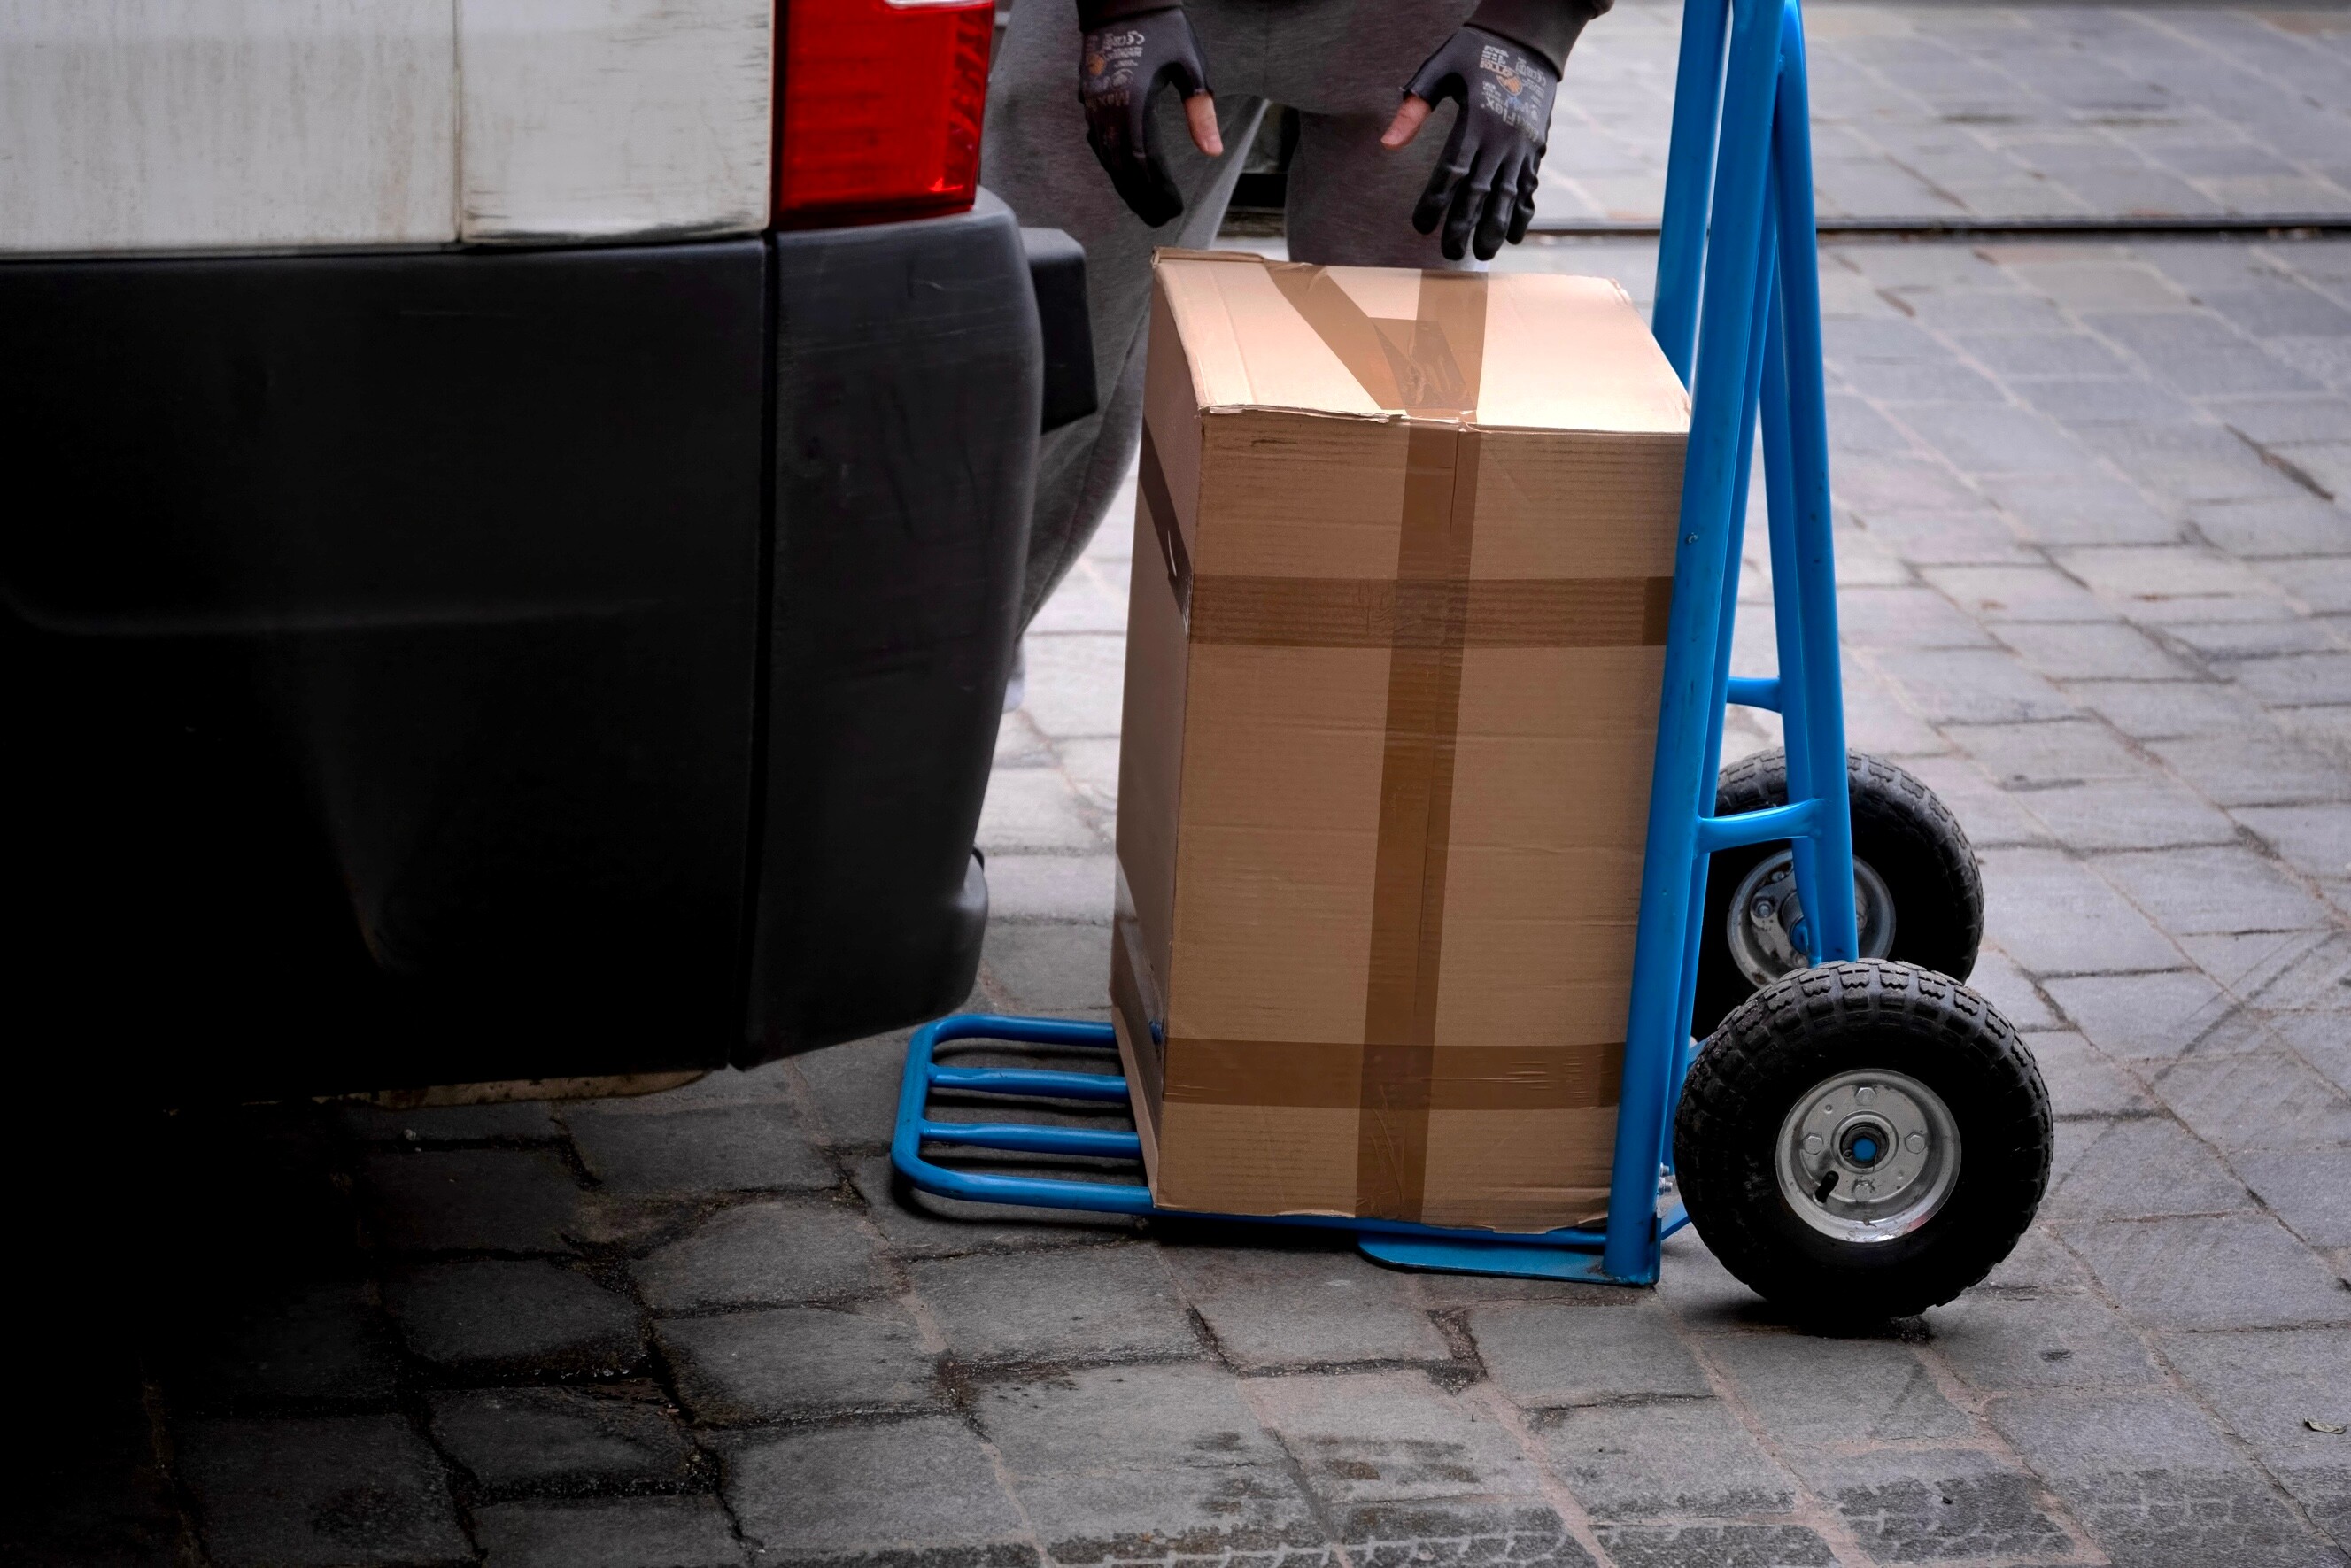
Step 4: Load it up
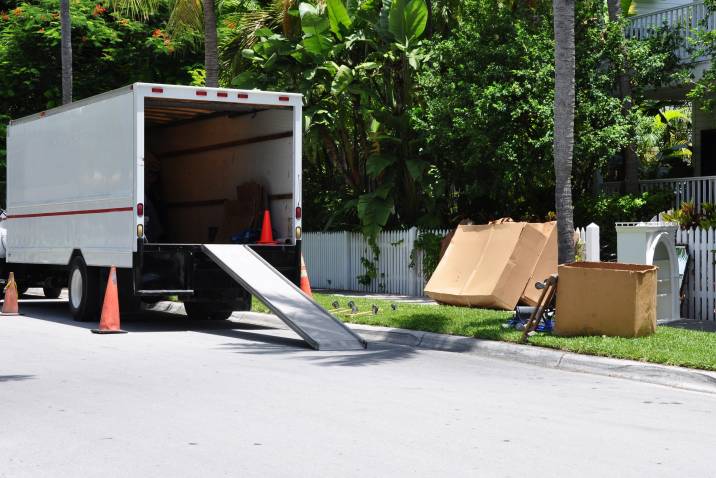
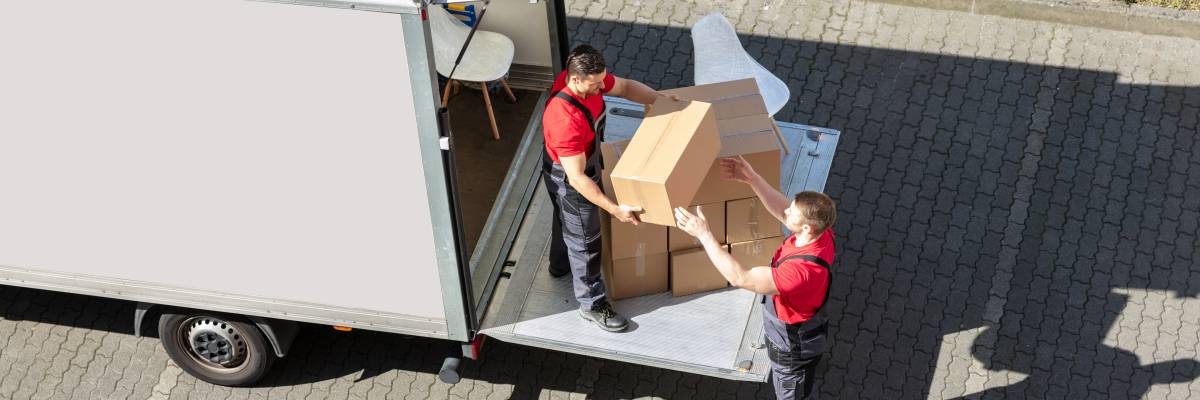
When it’s time to load the freezer into the moving truck, use the loading ramp and make sure to have enough people to help with the heavy lifting. To load a chest freezer, you pull it up the ramp while your helpers push from behind.
Remember to keep it upright to avoid damage to the cooling system. Once it’s inside, secure the freezer to the side of the moving vehicle using ratchet straps or rope.
☞ You might also like: 6 Moving and lifting safety tips you should know
Step 5: Set it down
Upon arrival at the new location, wheel the freezer to its final location and set it upright. If the freezer was transported upright the whole time, you could plug it in immediately. However, if it was on its side or back during transport, wait the same amount of time it was in that position before plugging it in.
How long should a chest freezer sit after moving? It's best to wait 24 hours to be safe and allow the oil to get back to the compressor unit. Remember that plugging in the freezer too early can damage the refrigerating system.
Don’t freeze up during the move!
Learning how to move a deep freezer can be daunting, but by following the steps outlined in this guide, you’ll be able to move your chest freezer safely and efficiently.
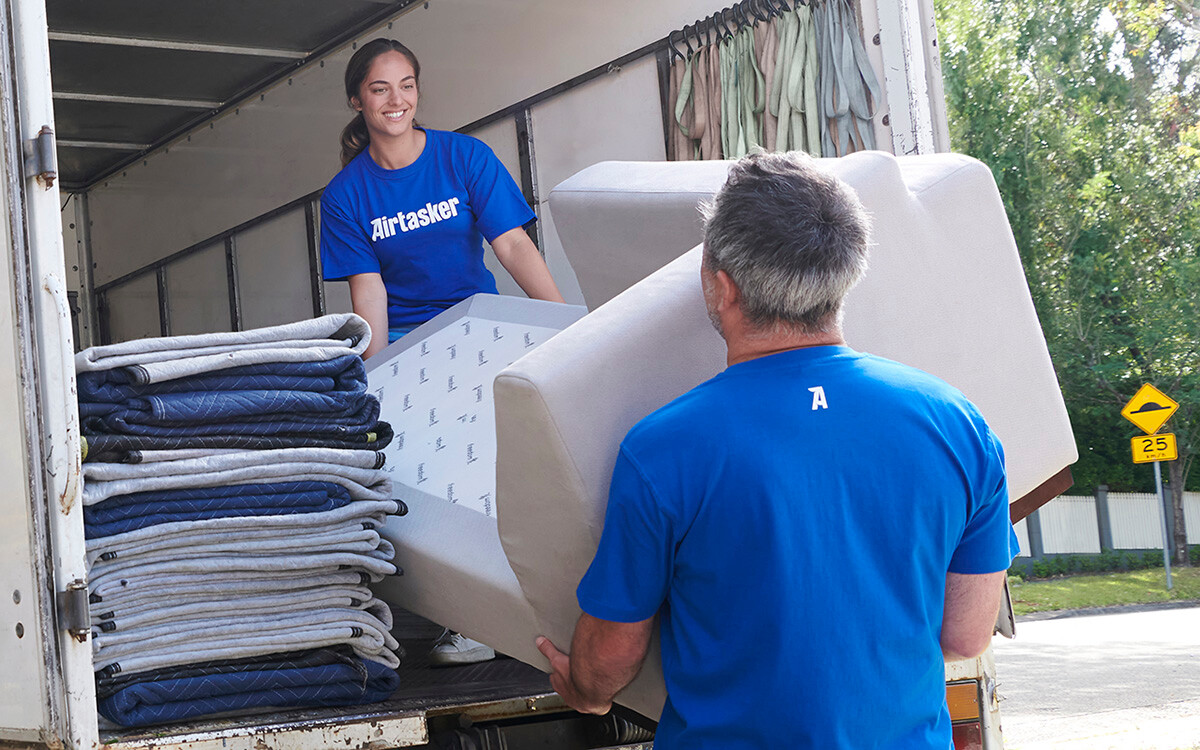
But if you’re feeling unsure and anxious about the challenge ahead, it’s alright! Don’t let moving a chest freezer become a burden on your shoulders. Airtasker can connect you with professional movers who can let you enjoy a stress-free and safe moving experience.
Put up a task now and let the experts handle the heavy lifting for you, so you can focus on settling into your new home. Your chest freezer (and your back!) will thank you for it!
Related price guides
How much do packers cost?
Read more


Related articles
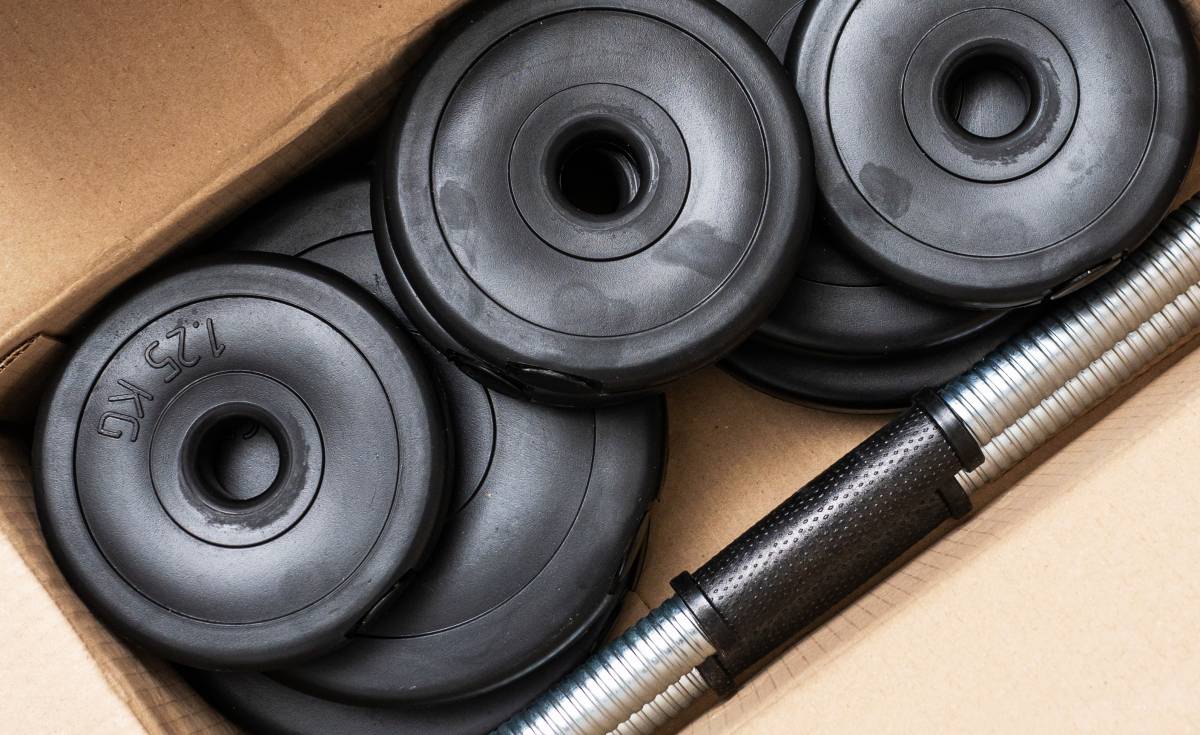
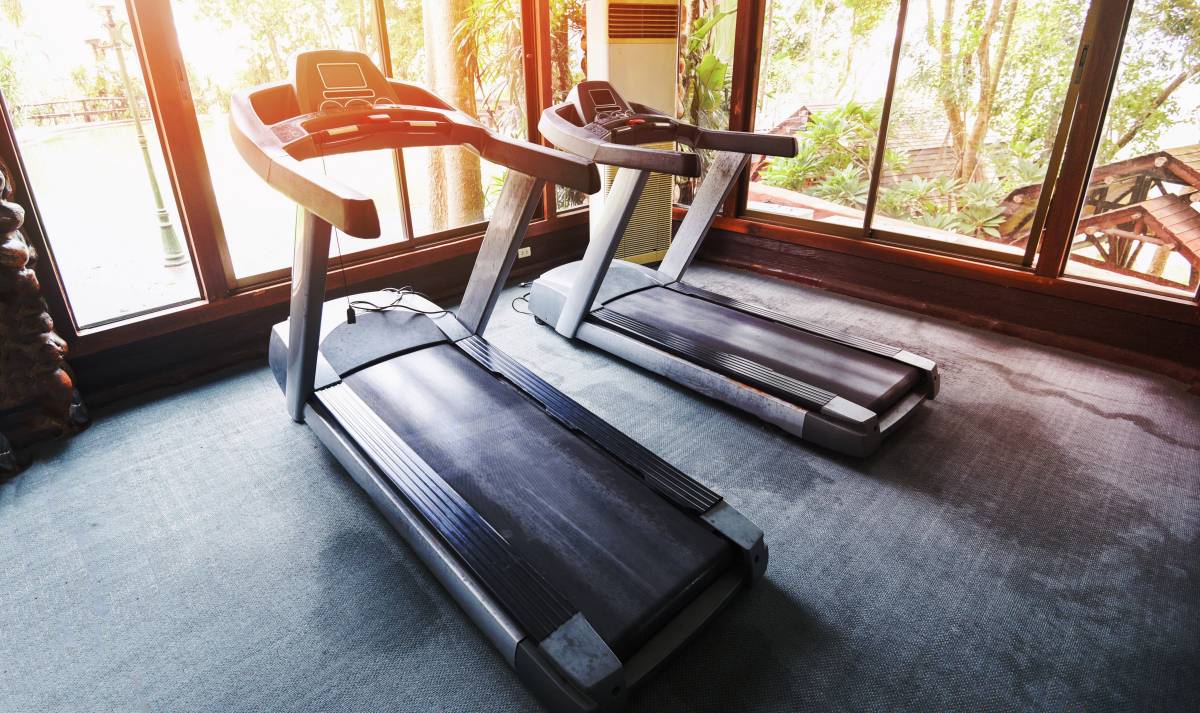
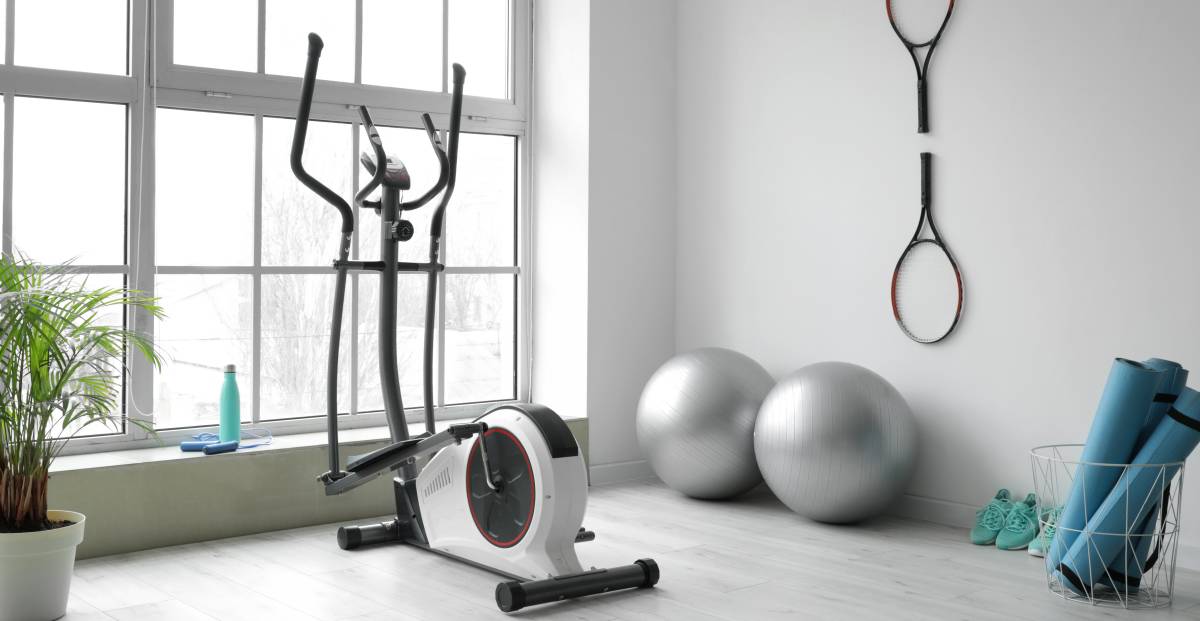
How to move gym equipment safely
Read more
Where to get moving boxes for free
Read more
Moving to San Diego Guide
Read more
Moving to Atlanta Guide
Read more

Moving interstate checklist
Read more

Moving out of state checklist
Read more
Moving Checklist
Read more

The ultimate packing and moving list
Read more

A guide to becoming a mover
Read more
How much do movers make?
Read more

Tips for moving house with kids
Read more

How to pack kitchen items
Read more

How to pack artwork for moving
Read more

How to pack books for moving
Read more

How to move a pool table
Read more

How to move a shed
Read more
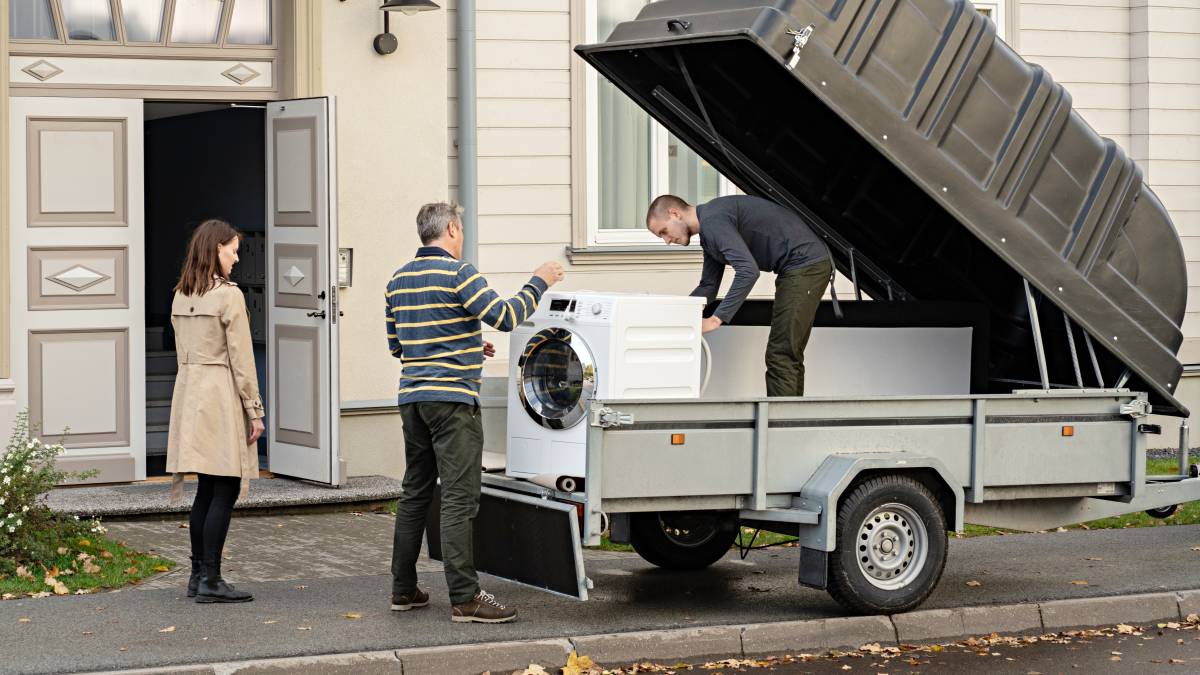
How to move a washing machine
Read more
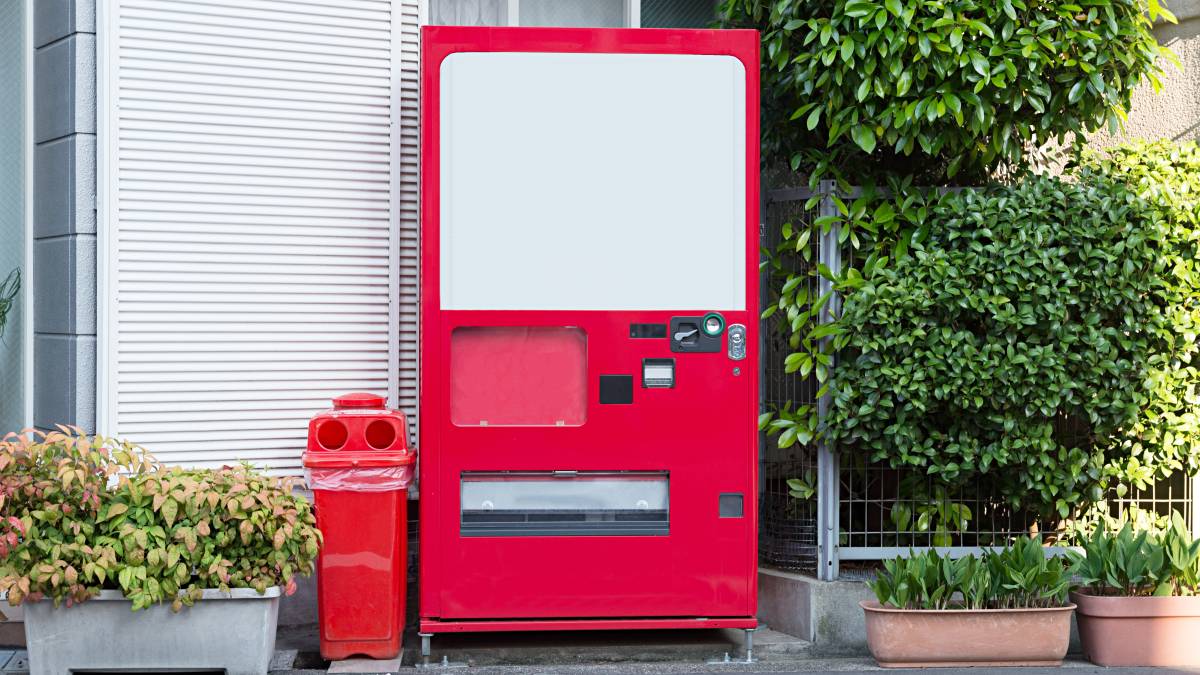
How to move a vending machine
Read more
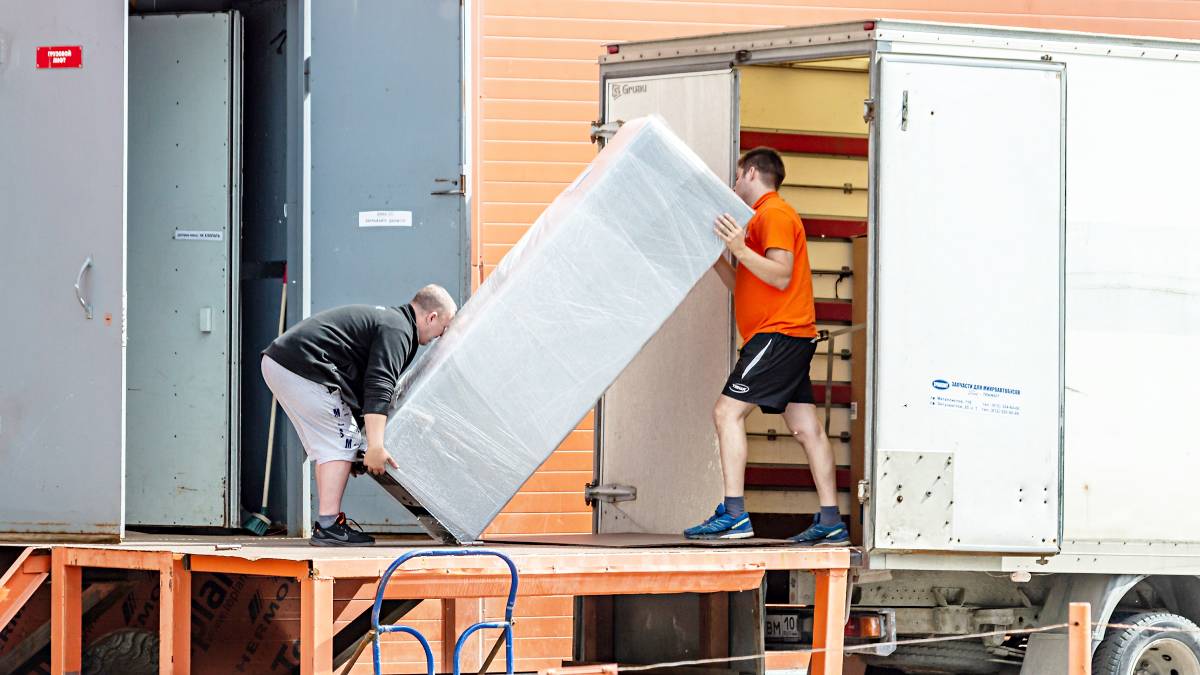
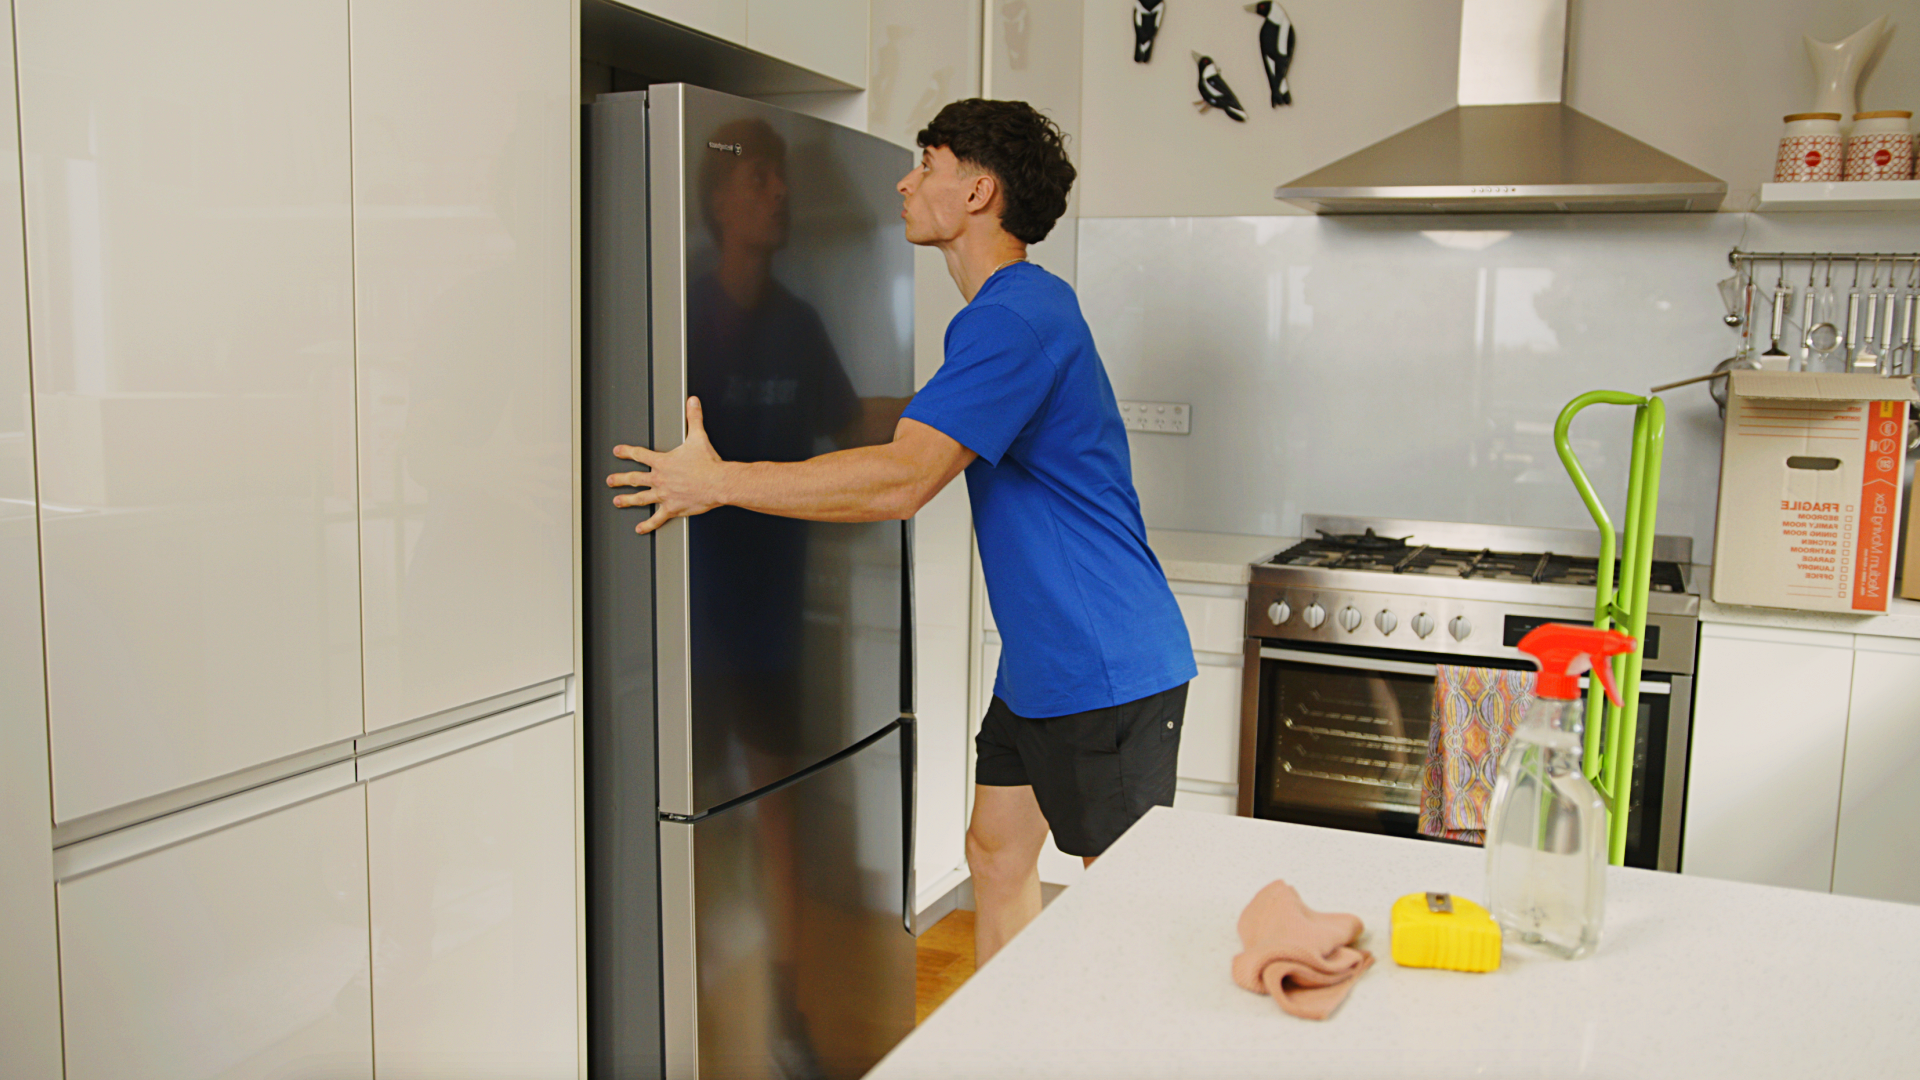
How to move a refrigerator
Read more

How to pack bedding for moving
Read more

How to move a pinball machine
Read more

How to wrap furniture for moving
Read more

What movers won’t move
Read more