How to Clean a Stainless Steel Sink in 5 Easy Steps
A step-by-step guide to removing stubborn stains, preventing scratches, and restoring shine.
Published on

Written by Genine T.
Staff Writer
Read more about our contributor
Key Facts
Wipe your sink daily to remove food residue, grease, and moisture, then deep clean once a week to prevent stubborn stains and grime buildup.
Always scrub along the stainless steel grain using a soft cloth or non-abrasive sponge to protect the finish.
Never use steel wool, harsh scourers, or bleach on stainless steel sinks to prevent scratches, discolouration, and corrosion.
While 83% of Australians enjoy cooking as a way to unwind, the cleanup isn’t always as enjoyable. All that food prep and washing up can leave your kitchen sink covered in grease, food scraps, and stubborn stains. To help reduce the risk of cross-contamination from this buildup, it’s important to understand how to clean a kitchen sink properly.
Ready to give your sink a proper clean? This guide shows you how to clean a stainless steel sink step by step, remove stubborn stains, and avoid scratches. Plus, we’ve got easy maintenance tips to keep it sparkling between cleans.
What you’ll need to clean your kitchen sink
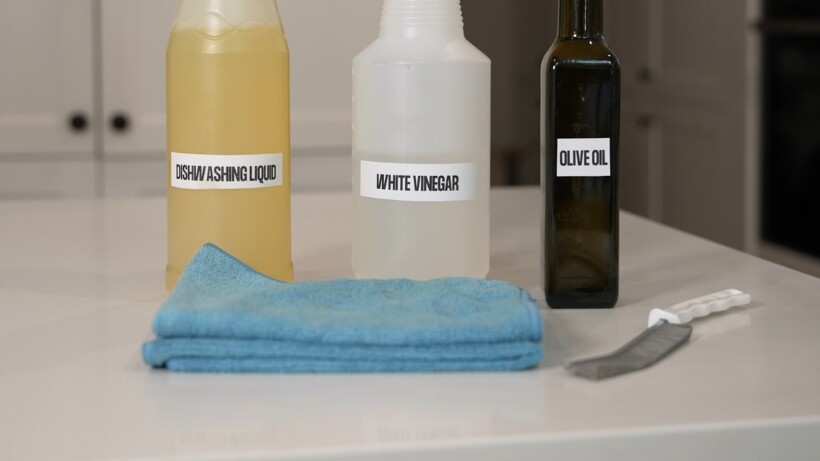 Prepare the cleaning supplies first
Before getting started, check your sink’s material and the manufacturer’s cleaning recommendations. Stainless steel, ceramic, and composite sinks may require different products to avoid scratches, discolouration, or damage.
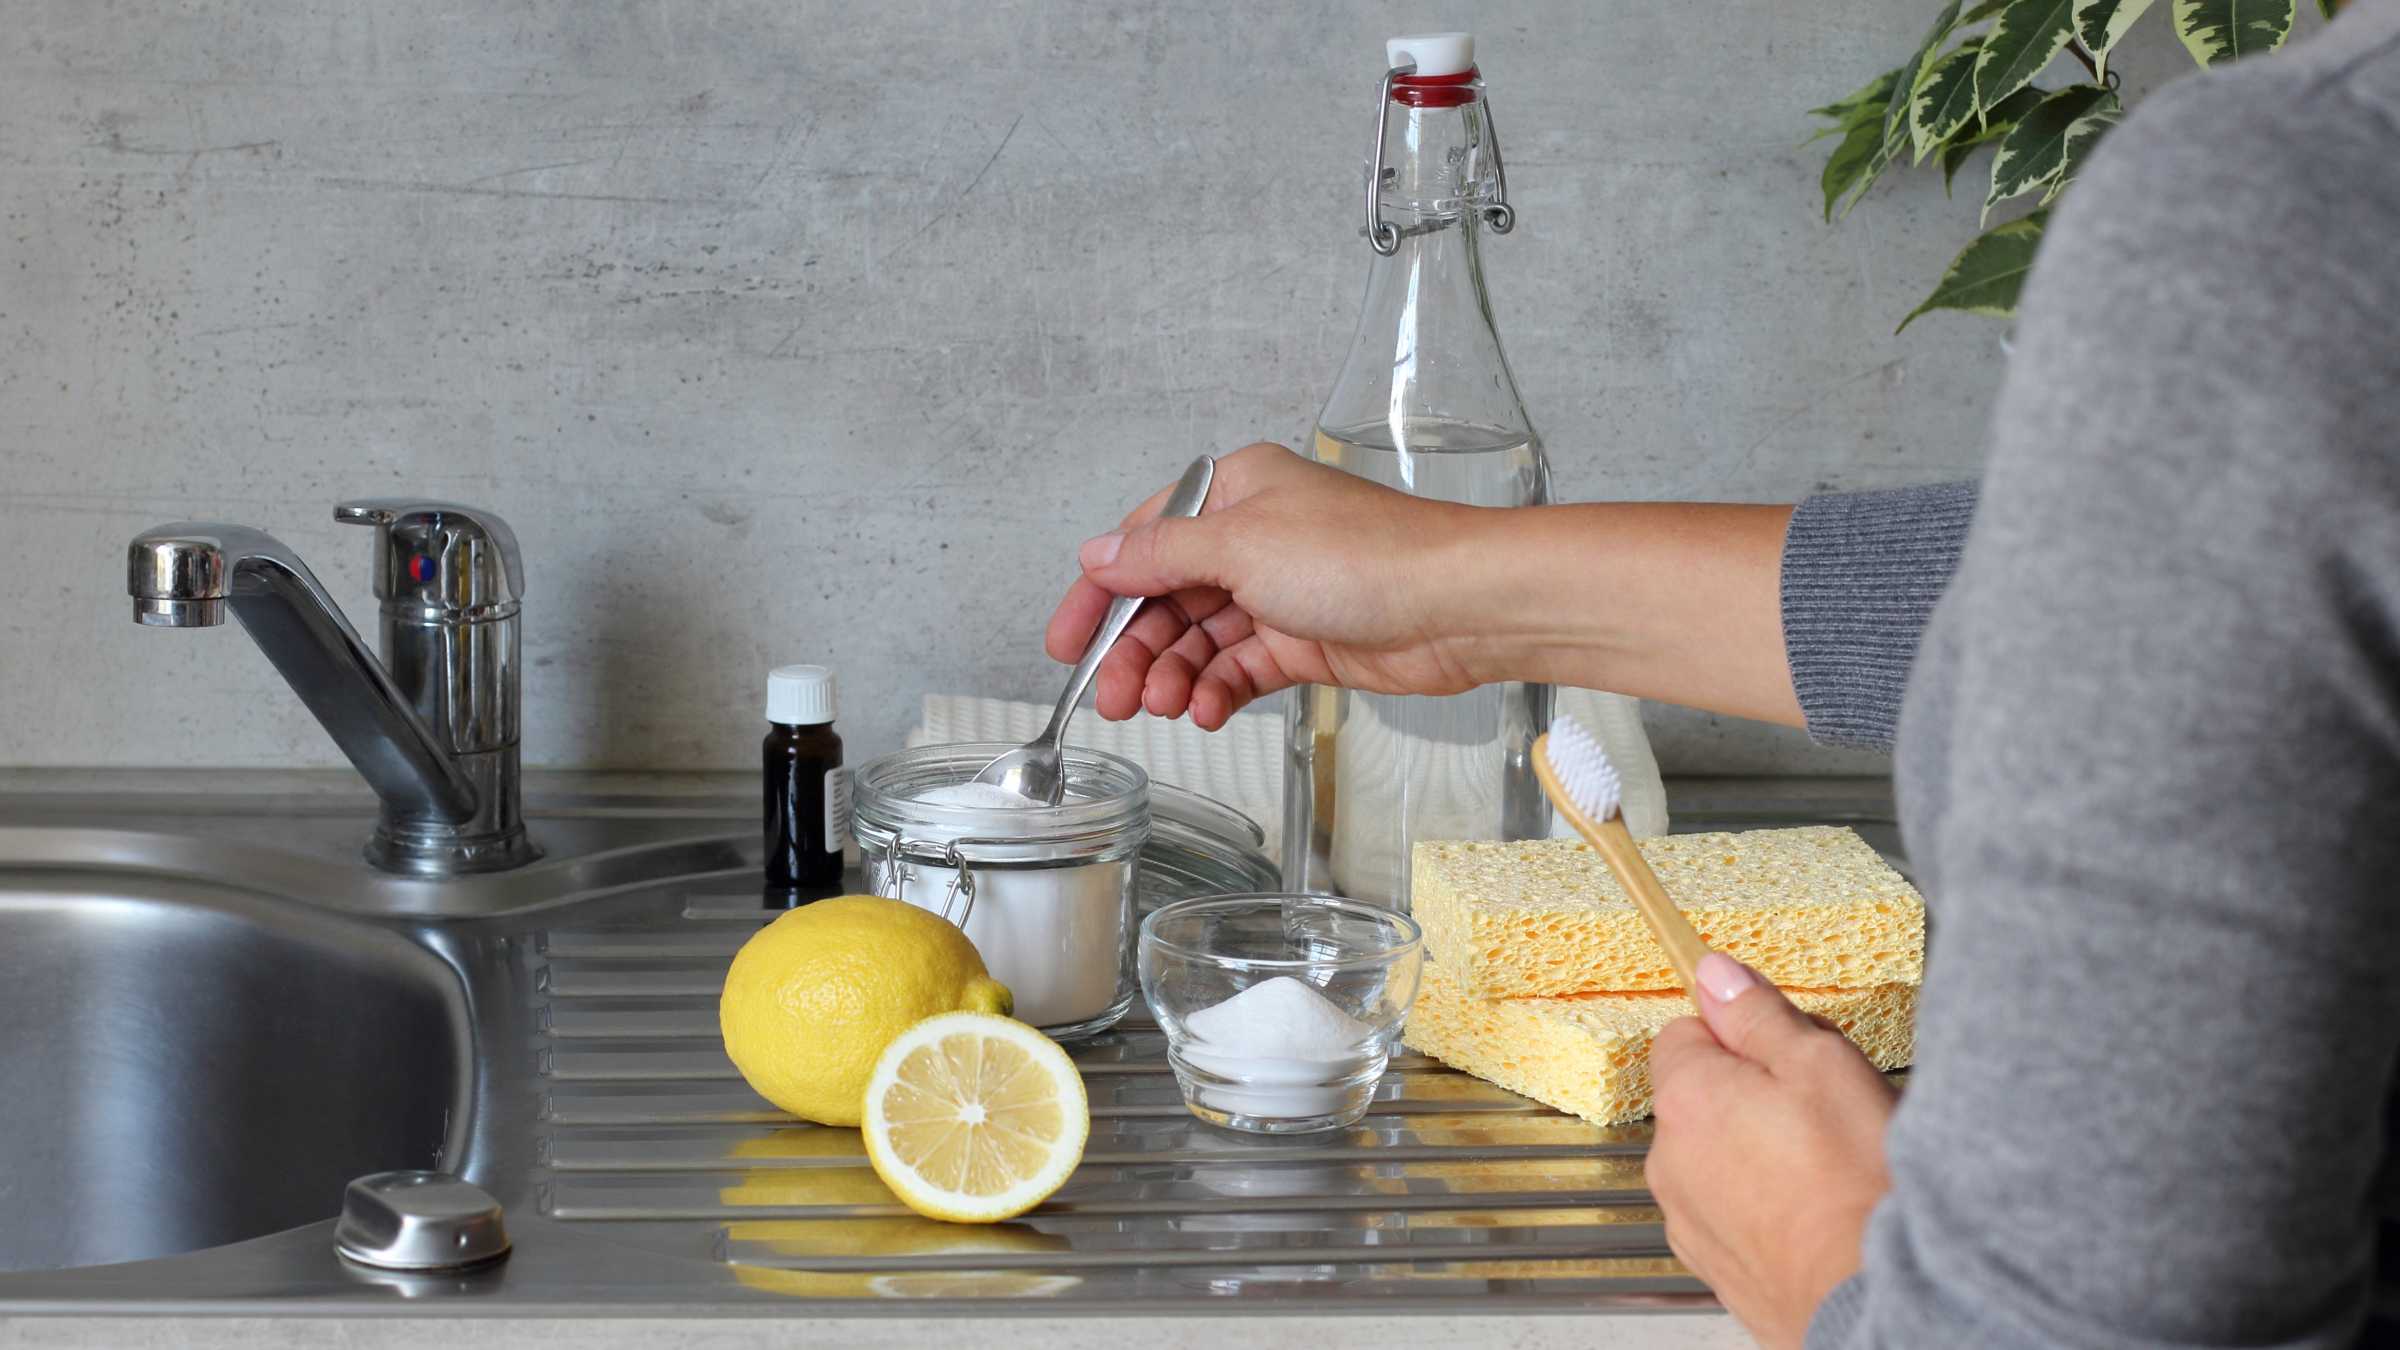
Baking soda to help remove stubborn stains and built-up grime
Dishwashing liquid like Fairy or Morning Fresh to cut through grease and food residue
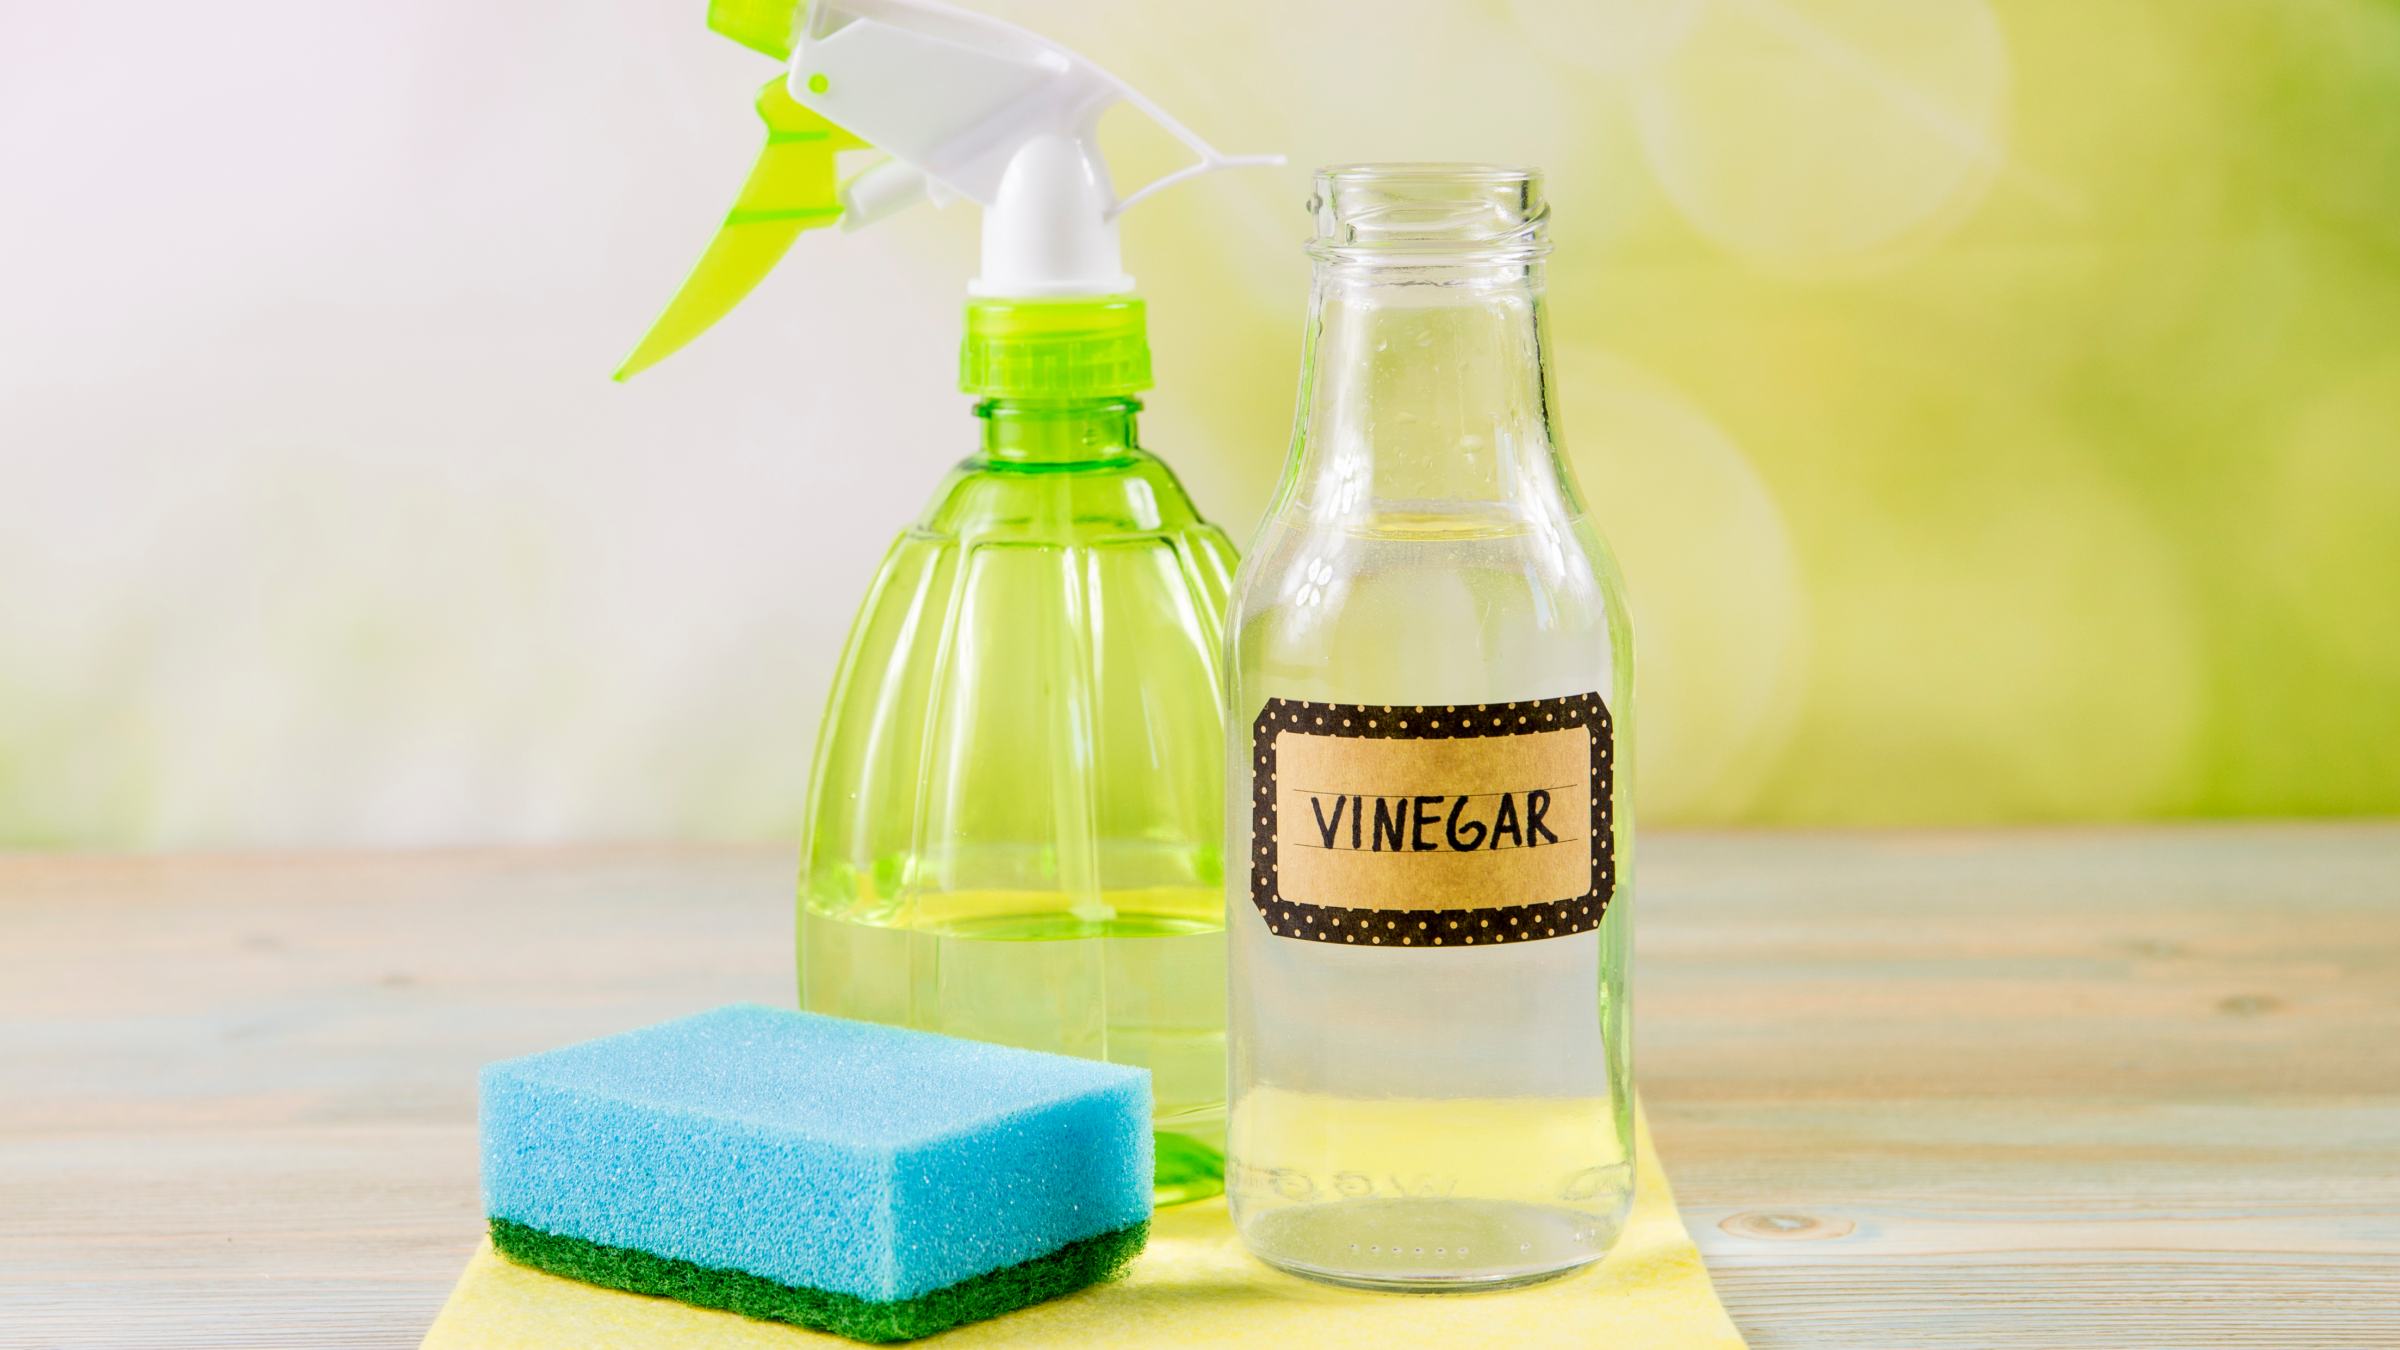
White vinegar to help remove water spots and mineral deposits
Microfibre cloths for cleaning, drying, and buffing the sink
Soft nylon brush or old toothbrush to clean around the drain, taps, and other hard-to-reach spots.
Olive oil or baby oil for light polishing after cleaning
Since we’re focusing on stainless steel sinks, steer clear of steel wool and harsh scourers to prevent scratches. Bleach and chlorine-based cleaners are also best avoided, as they may cause discolouration and pitting.
Step-by-step: How to clean a stainless kitchen sink safely
If it’s your first time cleaning a stainless steel sink, take a moment to check the direction of the grain before you start. Stainless steel has fine lines running across its surface, and scrubbing against them can leave visible scratches. Cleaning along the grain helps protect the finish while removing water spots, stains, and built-up grime.
Step 1: Clear and rinse the sink
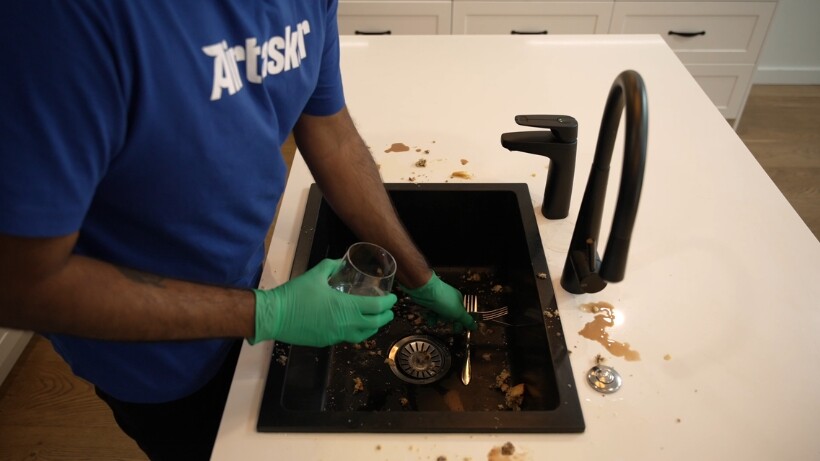 Clear the sink and rinse away loose debris
Start by removing any dishes, utensils, and other items from the sink and draining board to give yourself plenty of room to work. Clear away food scraps, crumbs, and other loose debris, making sure to collect them in the bin rather than washing them down the drain.
Next, rinse the sink and draining board with hot tap water to wash away any remaining loose bits. If there’s stubborn food residue or grease clinging to the surface, add a small amount of dishwashing liquid, then gently wipe the area with a soft sponge or microfibre cloth, and rinse again.
Step 2: Sprinkle baking soda and dishwashing liquid
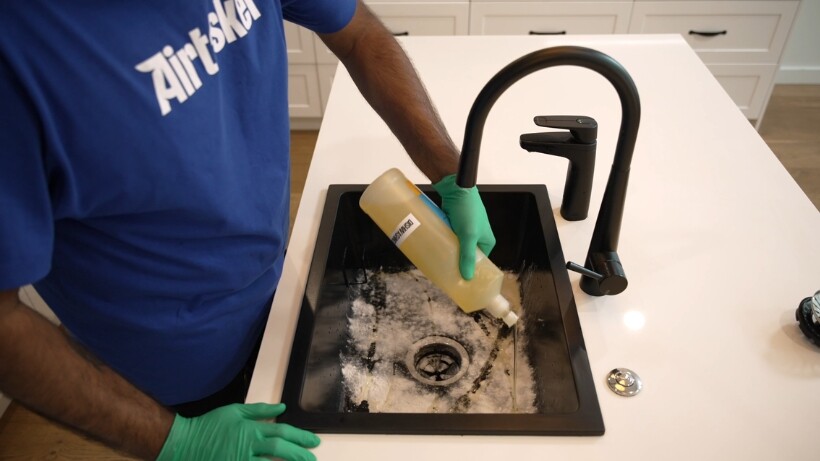 Sprinkle baking soda and add dishwashing liquid
With the sink still damp, sprinkle a generous amount of bicarb soda over the bowl and add a few drops of dishwashing liquid. Bicarb soda is mildly abrasive, helping lift stubborn stains and grime, while dishwashing liquid cuts through oily buildup and stuck-on food particles.
Using a microfibre cloth or damp, non-abrasive sponge, gently work the mixture into the surface, following the direction of the stainless steel grain. To find it, look at the sink from an angle under good lighting and check which way the faint brush marks run. Scrub gently in that direction rather than in circles or across the grain to avoid leaving fine scratches.
Step 3: Spray with white vinegar
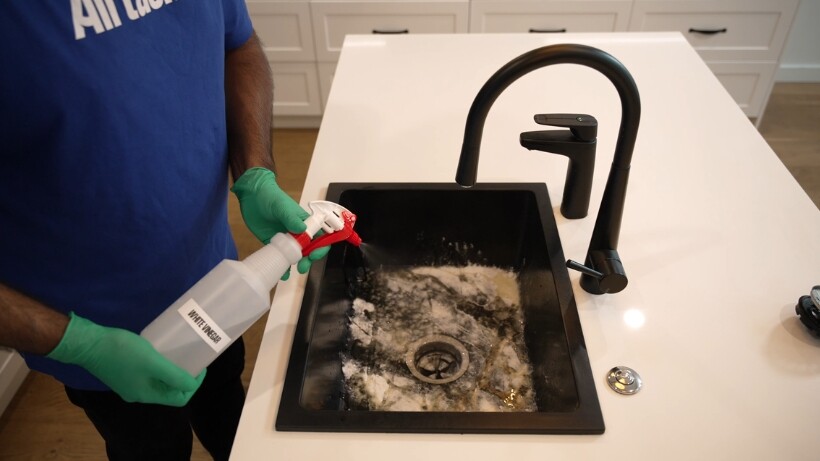 Spray white vinegar over the sink surface
Once you’ve scrubbed the sink with bicarb soda and dishwashing liquid, lightly spray white vinegar over the mixture and let it fizz for about five minutes. Pay extra attention to areas with chalky white marks, as vinegar can help dissolve the mineral deposits that cause them. Then, gently wipe the surface with a microfibre cloth, following the grain.
While it might be tempting to leave the vinegar on for hours, prolonged exposure to its acidity can damage the protective chromium oxide layer on stainless steel, potentially causing discolouration or pitting. Once that damage is done, you may need to call a kitchen sink expert for possible replacement.
Step 4: Scrub the taps, drain, and draining board
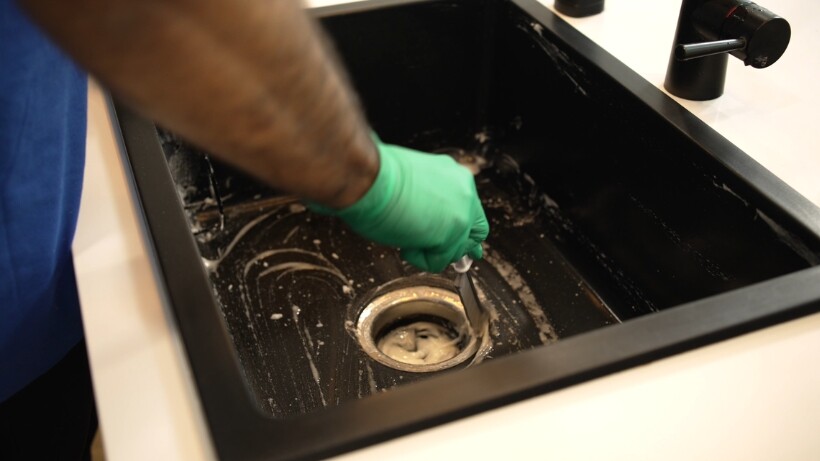
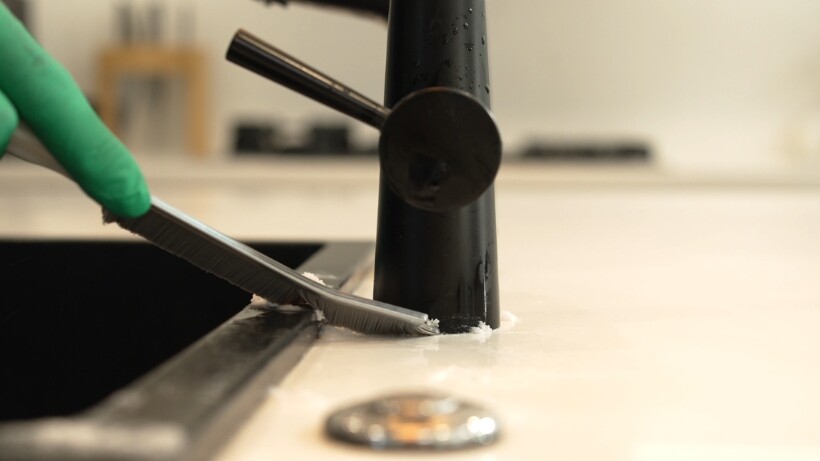 Scrub around the base of the tap with a small brush
Use a soft nylon brush or old toothbrush to clean around the drain opening, strainer, grooves, and edges of the draining board. Pay particular attention to the base of the taps, where limescale tends to build up.
For lingering drain odours, remove any trapped food scraps from the strainer before sprinkling a little extra bicarb soda into the opening. This may help absorb unpleasant smells, although persistent odours could mean there’s buildup further down the drain.
Step 5: Rinse, dry, and polish
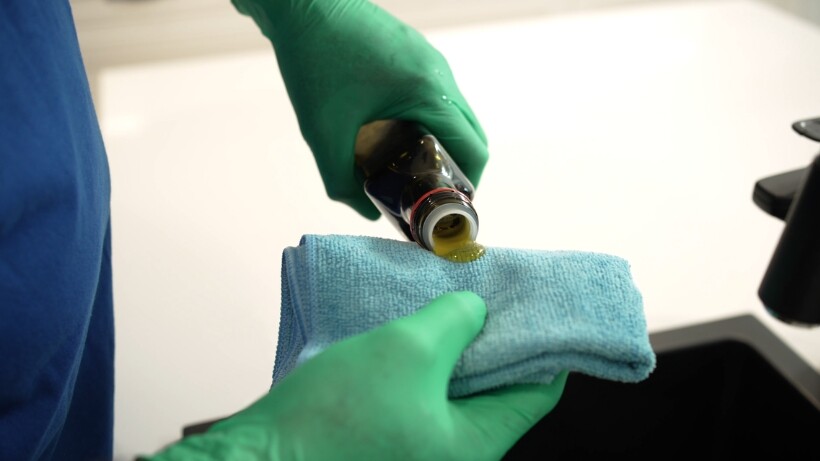 Buff the sink with a little olive oil for extra shine
Rinse the entire sink and draining board thoroughly with clean water to wash away any remaining bicarb soda, vinegar, and dishwashing liquid. Then, use a clean microfibre cloth to dry the surface, including around the taps and drain. Avoid leaving it to air-dry, as evaporating water can leave behind mineral deposits that appear as white spots or streaks.
For a finishing touch, add a few drops of olive oil or baby oil to a dry microfibre cloth and gently buff the stainless steel along the grain. A thin layer of oil can temporarily enhance the shine and make fine surface marks less noticeable. Use it sparingly to avoid leaving a greasy film.
Kitchen sink maintenance tips you should know
Wondering how often to clean a kitchen sink? Give it a quick wash with warm water and dishwashing liquid every day, then dry it with a microfibre cloth to prevent water spots. For a more thorough cleaning, aim to follow the steps above once a week to remove stubborn stains and buildup.
Here are a few more ways to keep your stainless steel sink in good shape:
Clean around the taps and drain: Scrub hard-to-reach spots with an old toothbrush and empty the strainer daily to prevent buildup.
Prevent limescale buildup: If safe for your tap’s finish, wrap a cloth soaked in diluted white vinegar around the affected areas for a few minutes, then rinse and dry.
Keep wet items off the surface: Store damp sponges elsewhere and remove metal items promptly to prevent rust-coloured marks.
Keeping your kitchen sink clean is a great start, but why stop there? Your rangehood and air fryer also need regular attention to prevent grease and grime from building up. For a more thorough clean, follow our kitchen cleaning checklist to make sure no corner gets overlooked.
Ready for a kitchen deep clean?
Cleaning a stainless steel sink is fairly straightforward, but years of built-up grime, stubborn stains, and limescale can take more than a quick scrub. If you’d rather leave the hard work to someone else, post a task on Airtasker for professional cleaning help. Simply describe the job, upload a few photos, and get offers from local Taskers.
While you’re at it, why not give the rest of your kitchen some attention? From oven cleaning to dishwasher repair and kitchen refurbishments, Airtasker can help you get those household jobs sorted without the hassle.
Learn more about our contributors
Written by Genine T.
Staff Writer
Genine is a writer and educator with over seven years of experience. She has published peer-reviewed research papers, worked in academia, and created educational content for thousands of language learners. She discovered her passion for turning complex ideas into practical advice through writing about DIY topics like home improvement, furniture assembly, and household fixes. When she’s not writing, Genine enjoys curling up with her dogs and a good book.
Frequently Asked Questions
No. Bleach and other chlorine-based cleaners can damage stainless steel and cause discolouration or corrosion. Stick to mild dishwashing liquid or a cleaner approved by your sink’s manufacturer.
Wash the sink with warm water and dishwashing liquid, then rinse and dry it with a microfibre cloth. For extra shine, buff it with a few drops of baby oil on a clean cloth, following the grain.
Find cleaners, fast
Find a cleaner