- Home/
- Guides/
- Kitchen Cabinet Painting/
- How to Paint Kitchen Cabinets
How to paint your kitchen cabinets in simple preps and steps
Get pro tips on painting kitchen cabinets.
Last Updated on
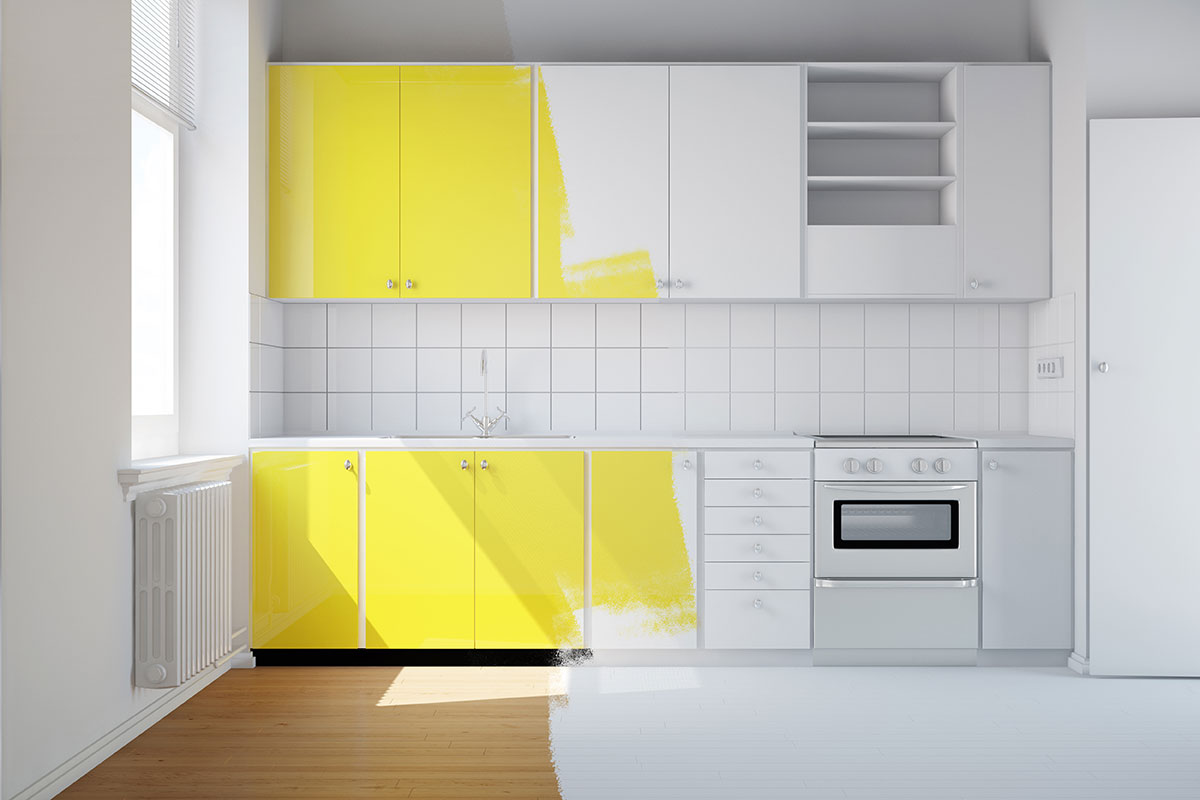
When it comes to kitchen improvements, painting your kitchen cabinets is one of the easiest and most cost-efficient projects. Instead of replacing the cabinets, a new paint color can completely change the entire vibe and aesthetics of your kitchen. For any DIY enthusiast, learning how to paint kitchen cabinets can be a valuable skill.
This guide teaches you the best way to paint kitchen cabinets, whether made of laminate or wood. Follow this step-by-step guide and enjoy the beauty of having newly painted kitchen cabinets.
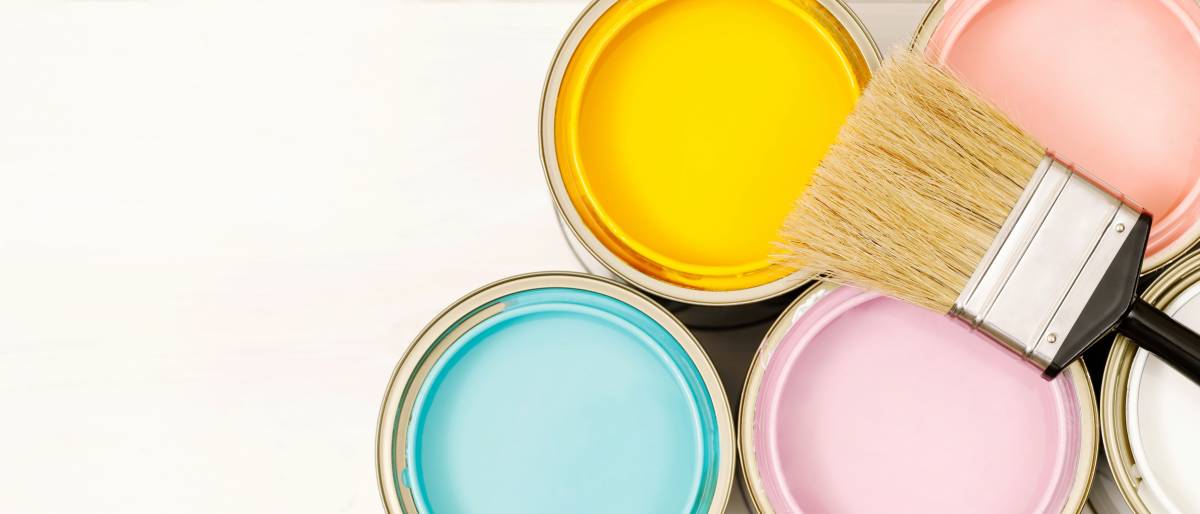
Choosing the best paint options for your kitchen
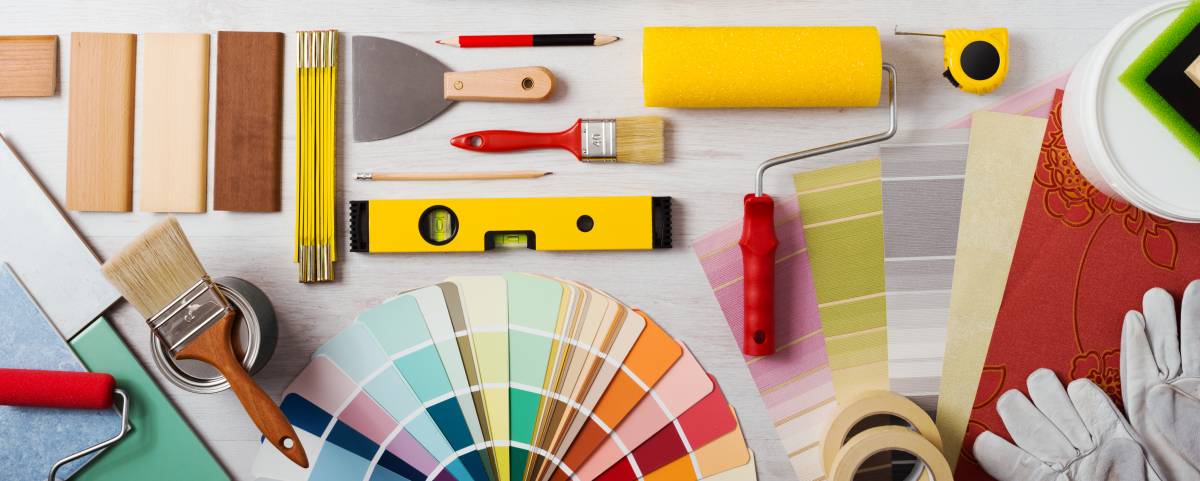
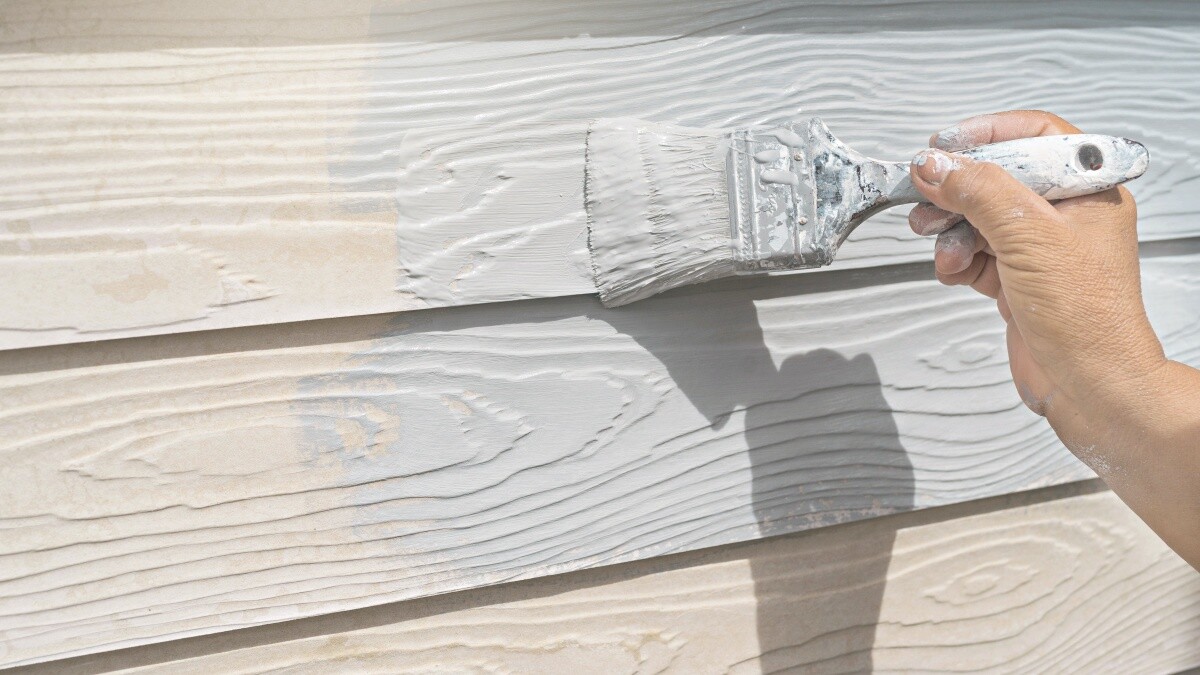
Part of learning how to professionally paint kitchen cabinets is knowing the paint type to use. When you buy from your local paint store, you’ll likely encounter different options: oil-based paint, latex paint, or water-based paint. An important step will be gathering all of the necessary supplies for your specific type of cabinets - solid wood or laminate. Check the paint label to ensure the option you pick is appropriate for your material, and get any specific instructions for its application.
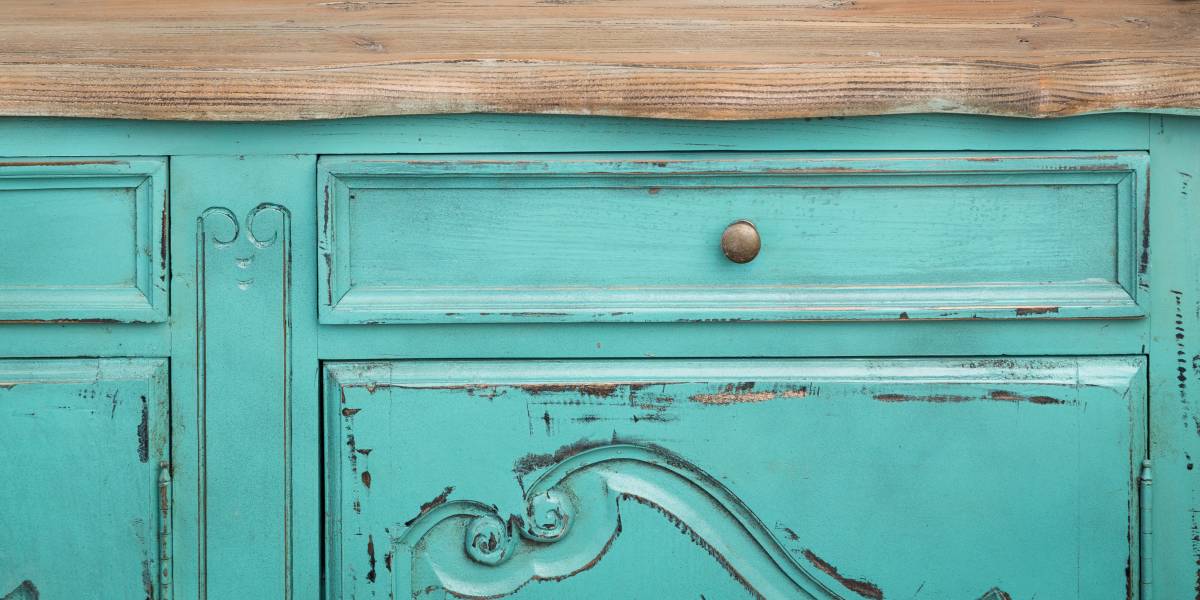
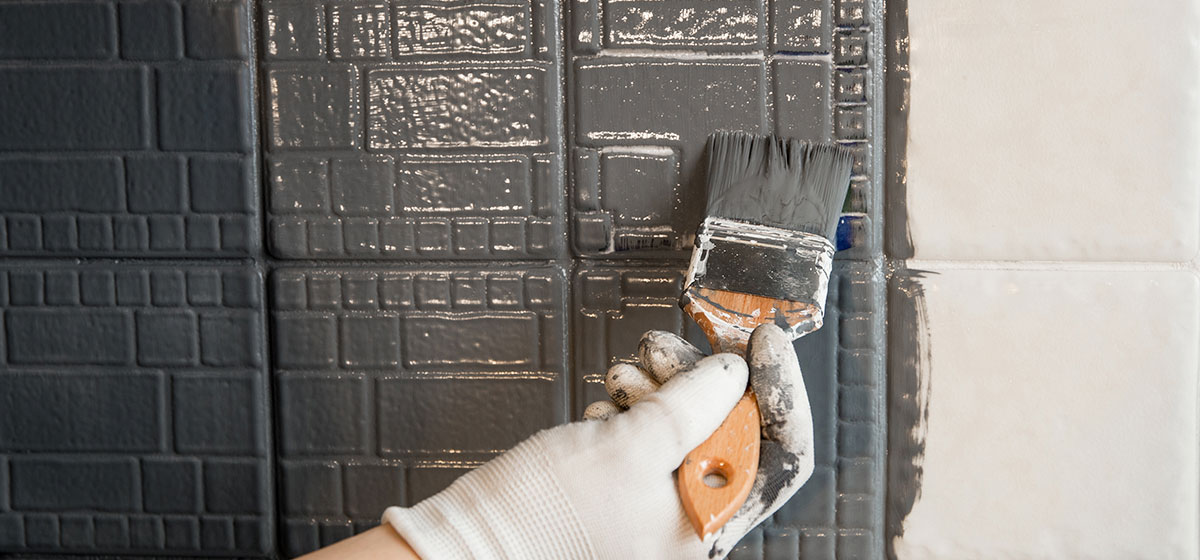
The easiest option for a repaint is wood, but any cabinet that can be scuffed with sandpaper is prime for painting. If you are working with laminate cabinets, you'll need a special bonding primer and high-quality paint for a durable finish. You can find special cabinet paints which will offer a smooth finish, but you'll want to ensure your paint is acrylic and not vinyl. Acrylic latex-based paint is easier to clean up and will last for a long time.
When choosing, keep in mind that a glossy finish will make your cabinets sheen, but the inevitable future dent will be very obvious. Semi-gloss or satin finishes are popular in kitchens as a good mid-way option for painted cabinets.
How to prep kitchen cabinets for painting
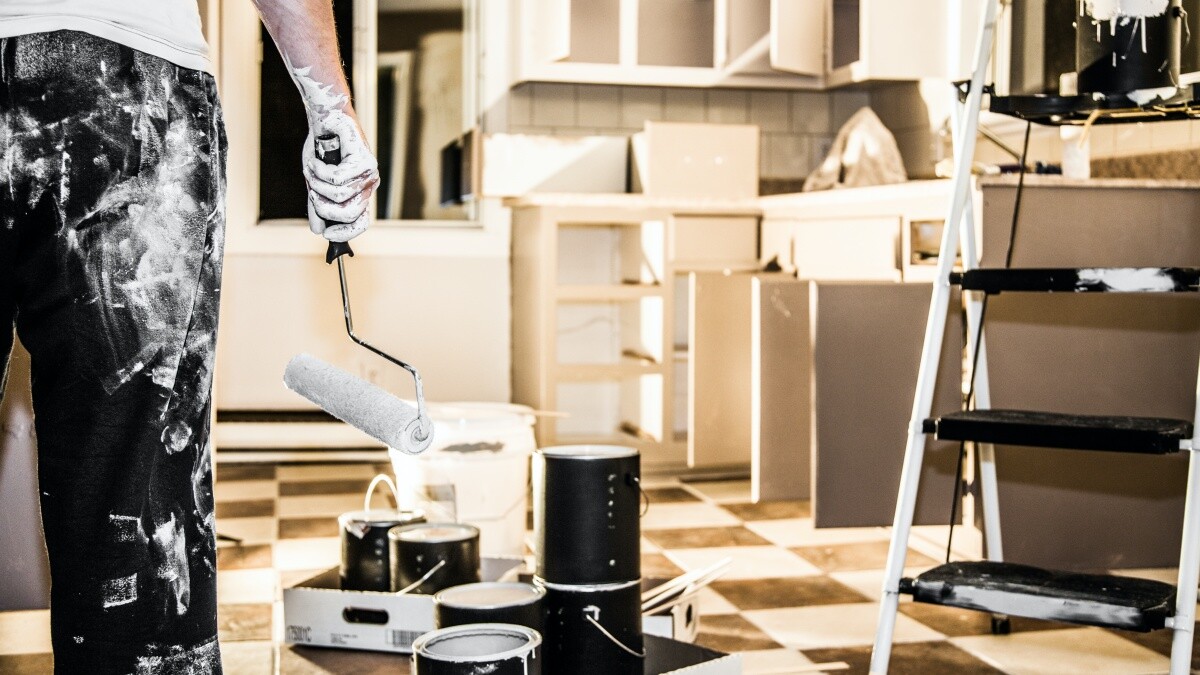
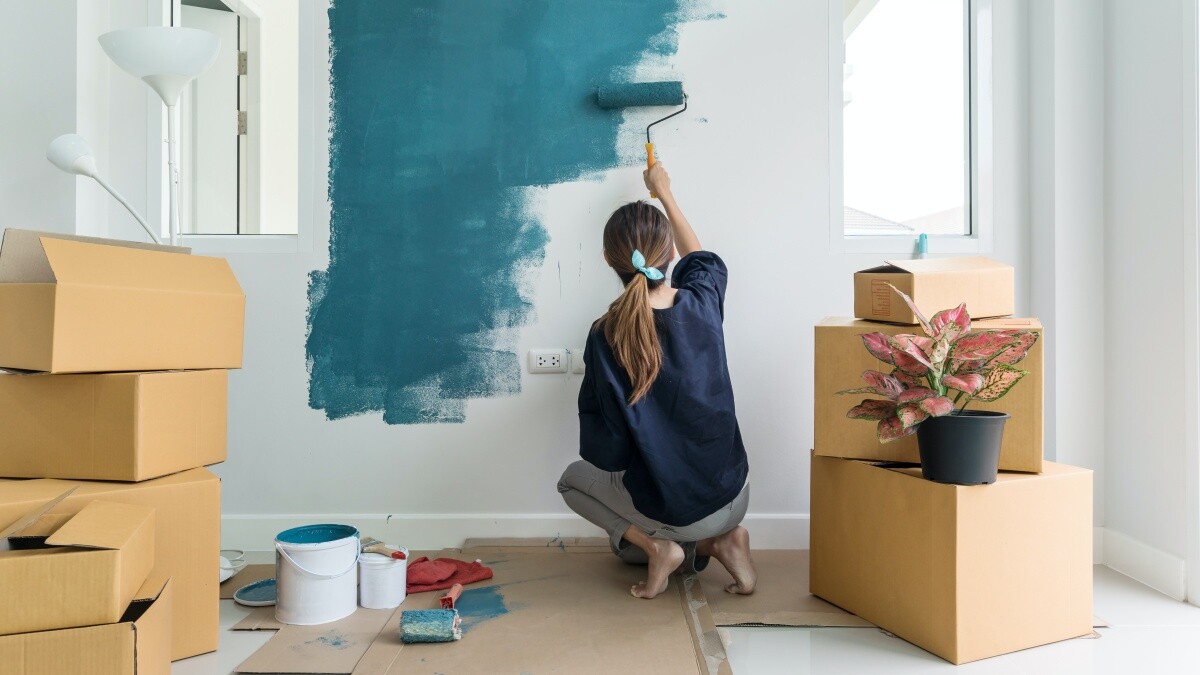
Repainting your kitchen cabinets is not a small job (unless you have a particularly small kitchen). Plan accordingly, and the best way to do this is with preparation. Open the windows for ventilation and throw down some drop sheets to protect your flooring.
Remove the doors and drawers and paint them in a garage or basement if possible. You can execute a far better process if the cabinet doors are no longer attached and you won't risk painting other elements of your kitchen that should be left alone.
Step-by-step preparation instructions
If there is existing paint on your cabinets, it will need to be removed with stripping products.
Apply the stripper with a synthetic bristle brush and wait for the stripper to react. From here, you can use a plastic scraper to peel away.
Remove the last of the paint with sandpaper.
Empty the cabinets and remove the doors, drawers, and hardware. Label where each one goes to reinstall them in the right spots.
Clean all the surfaces with TSP cleaner to ensure they are dust-free before painting cabinets.
Repair damaged areas and fill dents or holes with a wood filler.
If painting in the kitchen, cover your countertops and appliances.
Use painter’s tape on walls and cabinet edges.
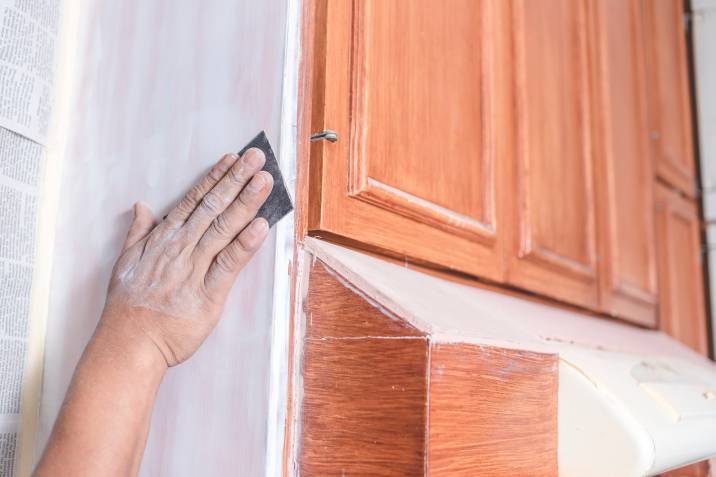
Sand everything with medium-grit sandpaper.
How to prime your kitchen cabinets
Primer is an important step, as it provides a suitable surface for the paint to stick to while also rectifying any small imperfections that may be present. While this is not crucial and adds extra time to the painting process, it will offer a more professional and longer-lasting result.
To apply the primer to your cabinets before painting, follow these step-by-step instructions:
Step 1: Work from the inside out
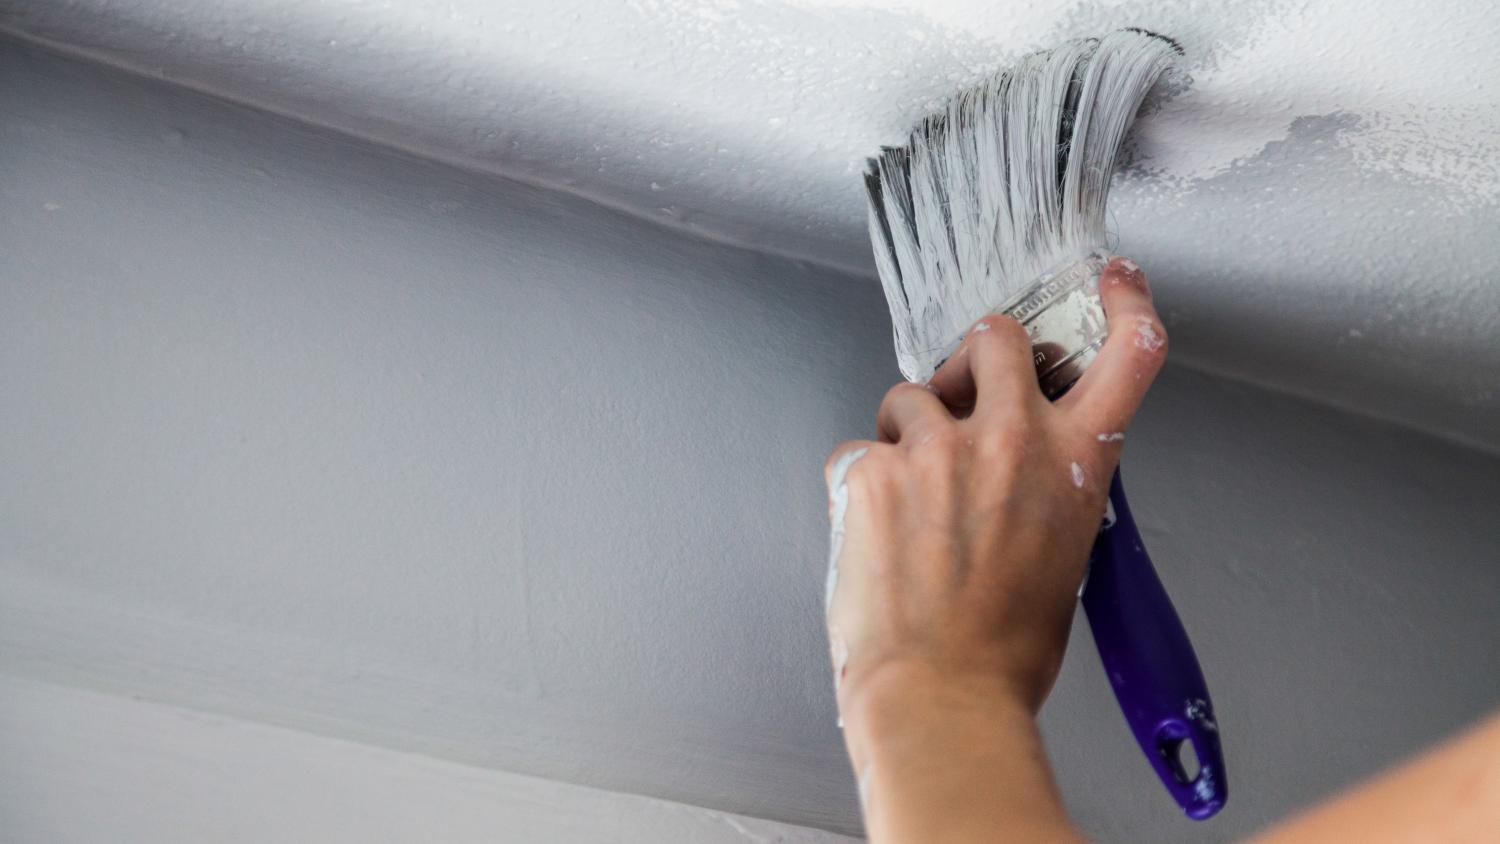
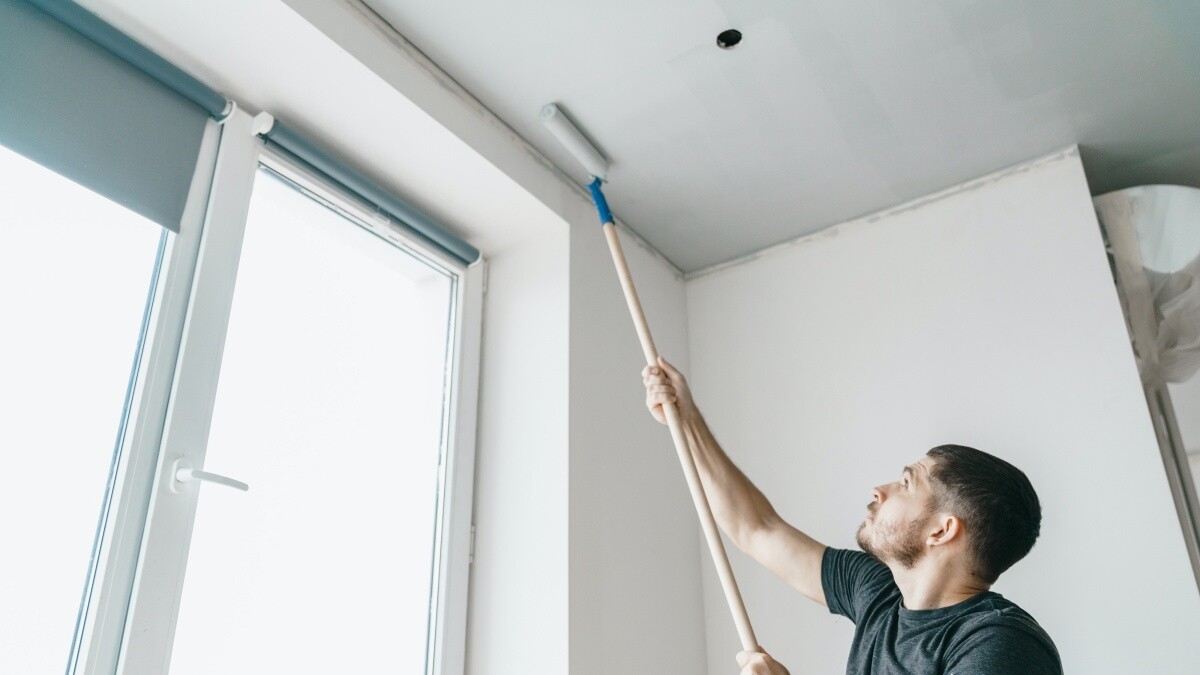
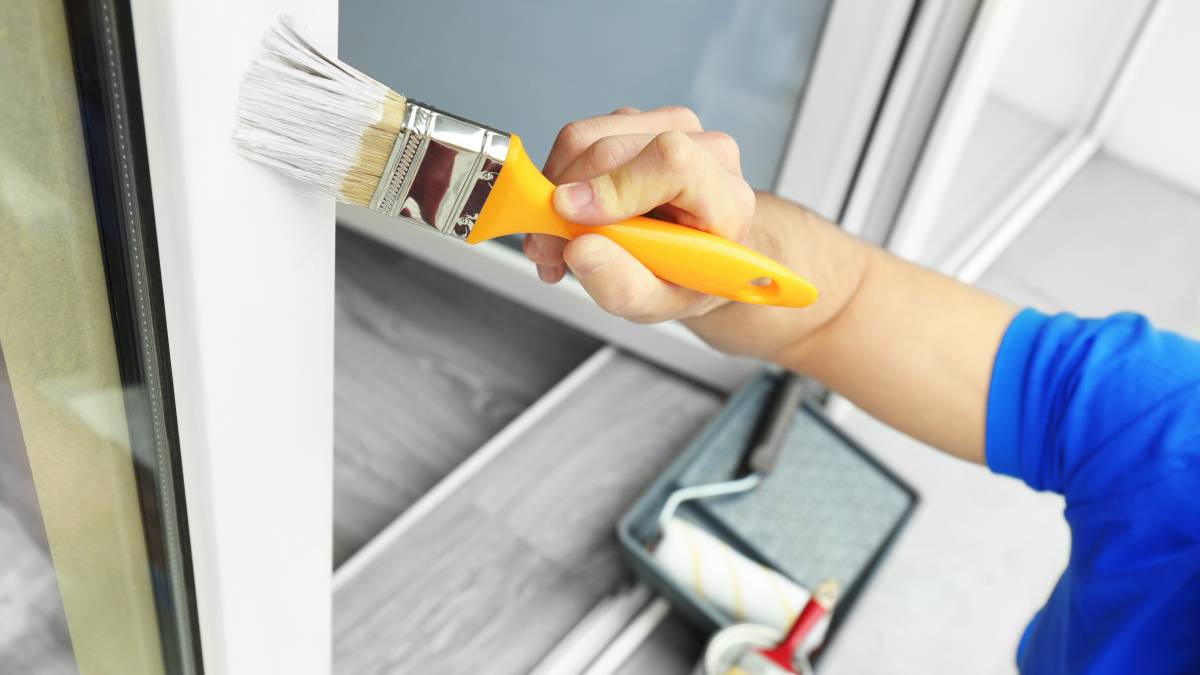
Work from the inside out on your cabinet frames and start at the back, working toward the front. A synthetic bristle brush will be crucial to properly get into the corners, using broad, even strokes, and finish back into the wet primer.
Step 2: Work on the primer
Keep in mind that the primer doesn’t have to look perfect; the primary importance is that it covers the surface well. Work with a roller and cover one area at a time.
Step 3: Remove the buildup
Once all areas are covered, use a dry roller or brush to lightly remove any buildup. Some primers may require sanding before painting; this will be stated in the instructions.
Optional: How to paint kitchen cabinets without sanding
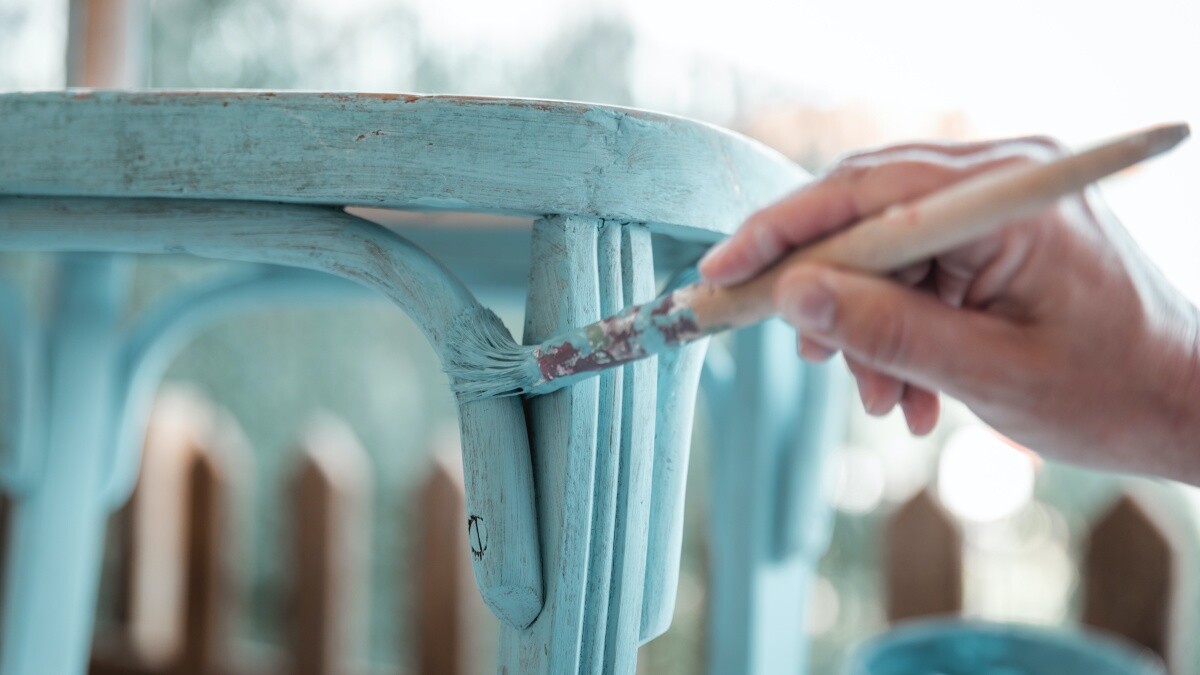
Use an abrasive sponge and mineral spirits, so the primer can have the extra grip to adhere to. When applying primer, it's best to ensure a smooth, even coat. Always wait for one side to dry completely before flipping it to paint the other. Start with the detailed areas, and avoid having any primer pool in the corners of your cabinet. More extensive, flat surfaces are best handled with a foam roller. If possible, use painter’s tripods to paint the edges more easily.
When it comes to your drawers, just paint the front piece as opposed to the entire drawer. Painting the sides and bottom of a drawer can cause it to stick in the frame. Applying primer can take a few hours, and it is essential that it dries completely before you begin painting.
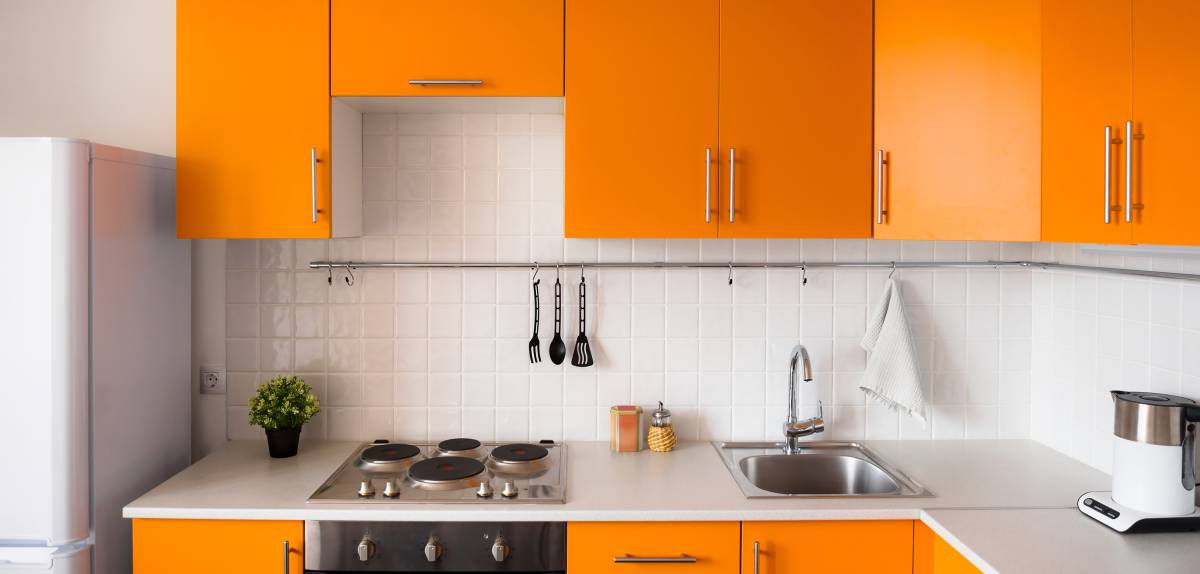
How to paint kitchen cabinets like a pro
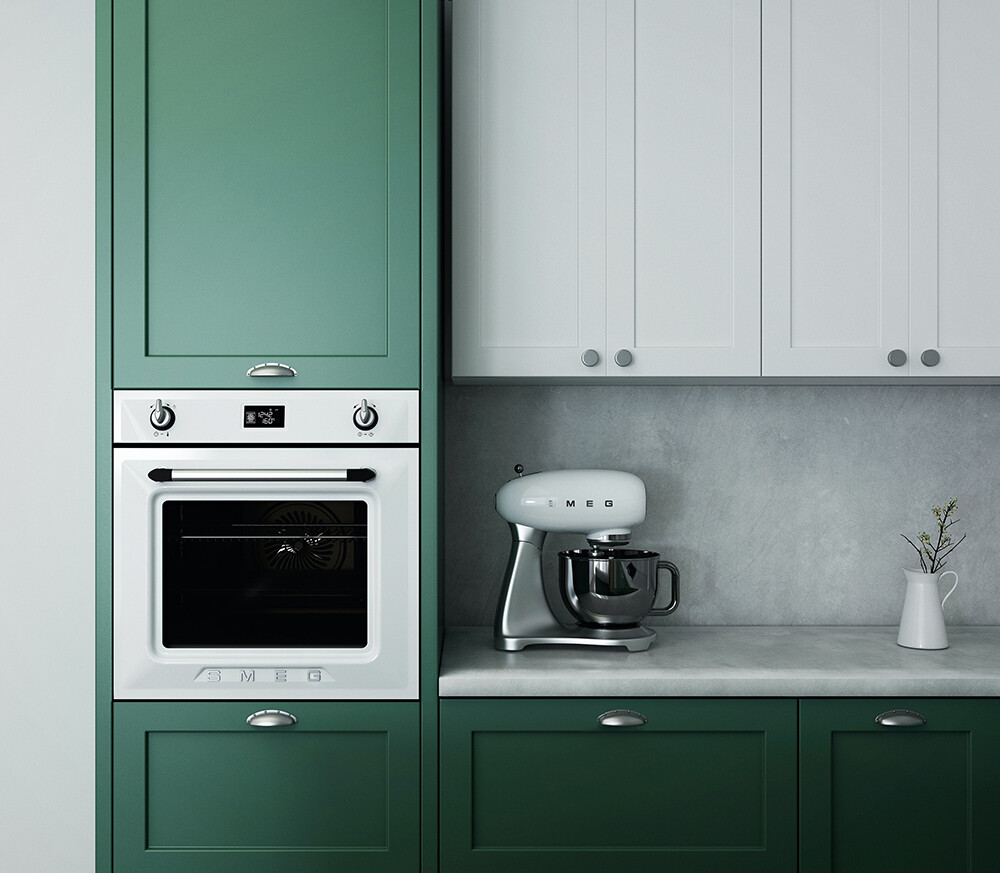
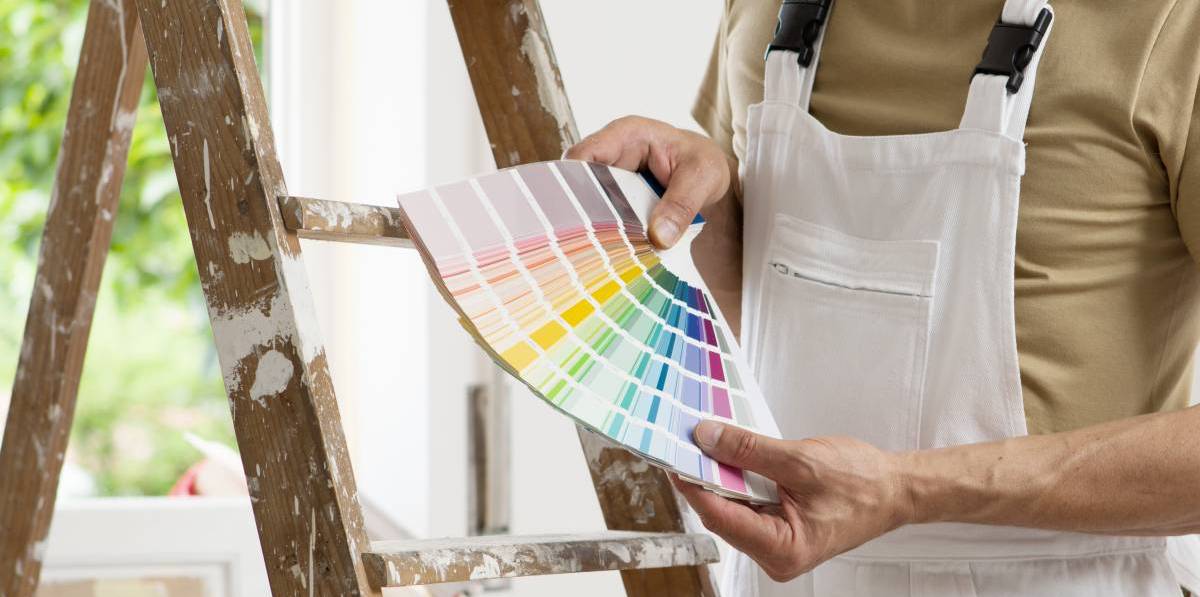
With a little bit of patience and some work in your spare time, your kitchen can easily see a whole new look! In most cases, the kitchen area is one of the primary sections of a home. It may even set the tone for the visual aesthetic throughout the rest of your space, so the colors used are important.
Grab your brush and roller to apply your chosen paint, and follow these steps:
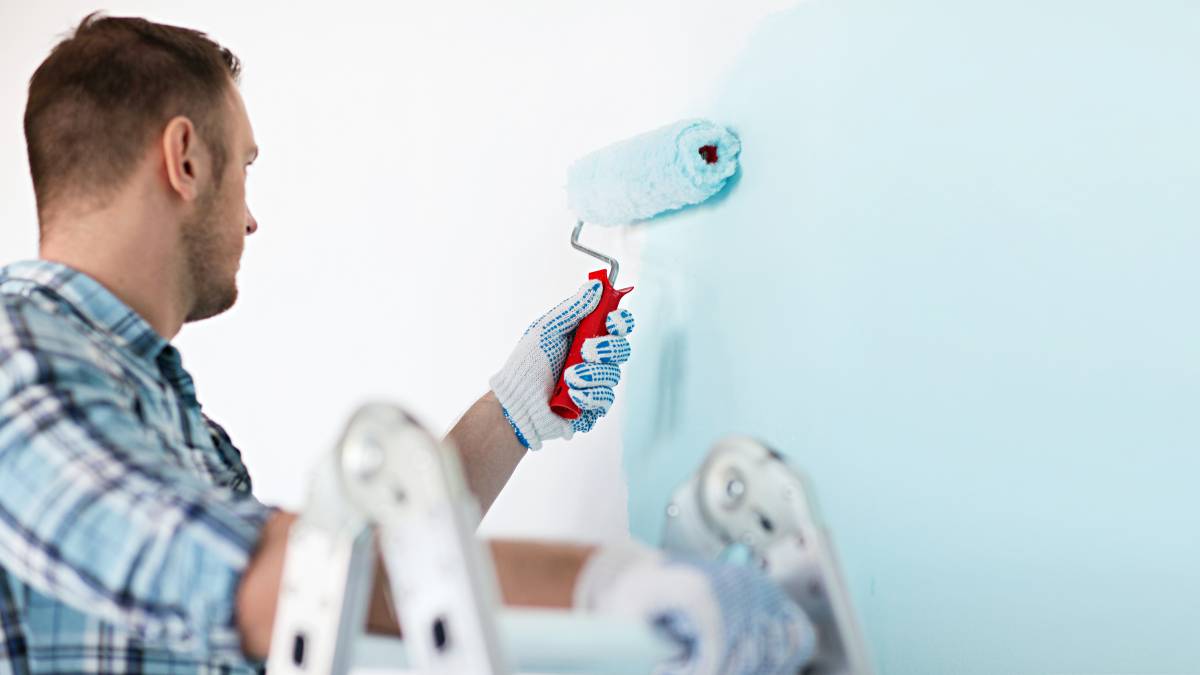
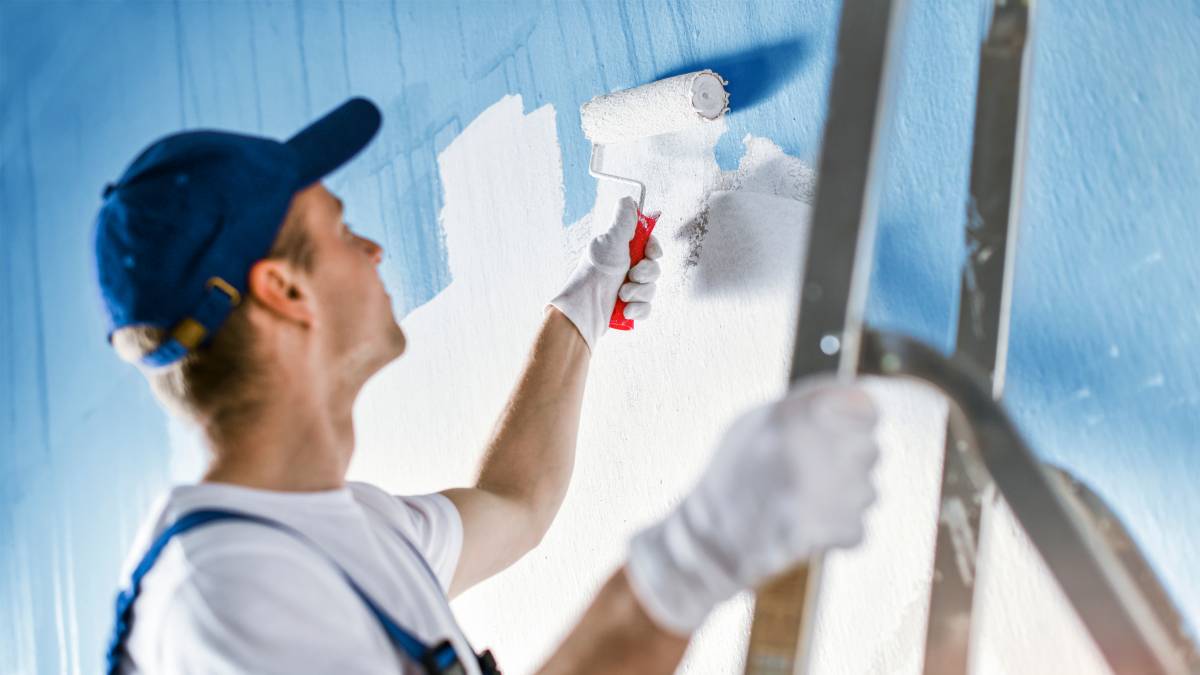
Step 1: Apply the paint
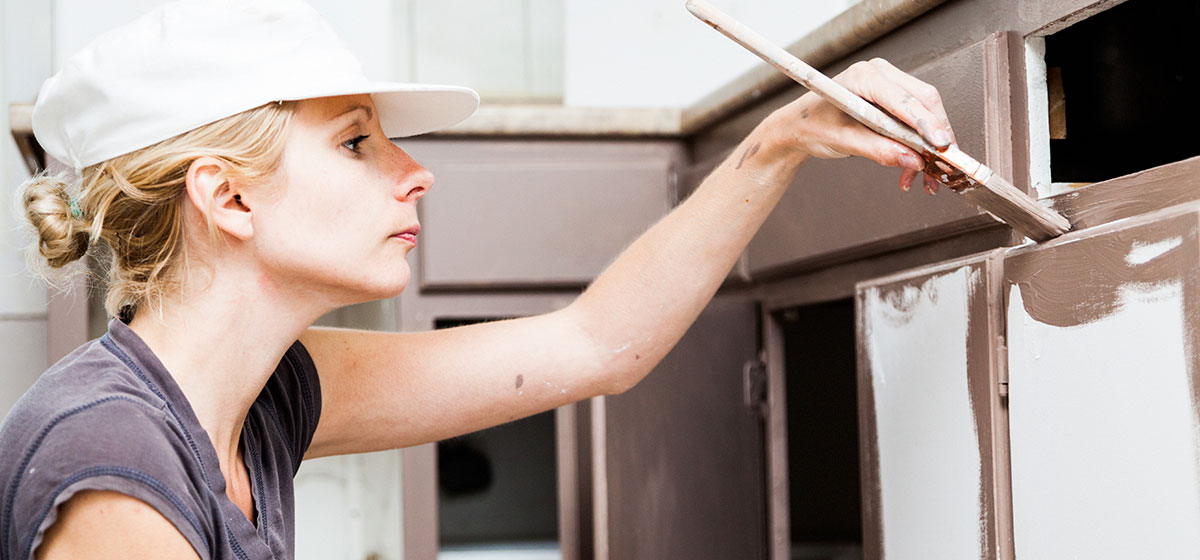
Start with the frames and use a similar technique for the primer. Paint with even strokes and avoid pooling in the corners. If you need to know how to paint cabinets without brush marks, you can sand them lightly before proceeding with the second coat of paint.
Step 2: Paint the door
For doors and drawer fronts, paint the backs and allow them to dry completely before moving to the fronts. Ensure you let the paint dry completely before moving on to the next section or adding another coat.
Step 3: Apply the second coat
Apply a second coat as the finish once the first layer is dry, and wait again for it to dry thoroughly before you put the cabinets and drawers back together. You'll want to be a little more particular about your brush strokes on the last coat, as they will be the obvious ones once the paint is dry, but they will also be much easier to get right once the first coat is down.
If you want to be thorough, you can follow up with a third coat of polyurethane for added protection. However, using high-quality paint in the first instance pretty much covers this.
Planning to give your cabinets a new look? Find out how much kitchen cabinet painting costs, and make sure you have the right budget for your project! |
Make your kitchen cabinets stand out
With these steps to paint kitchen cabinets, your kitchen can have a brand-new look that you can be proud of. As your kitchens can be used as a workspace, space to entertain guests, or simply a place to test your culinary skills, you’d want to be surrounded by a look you love.
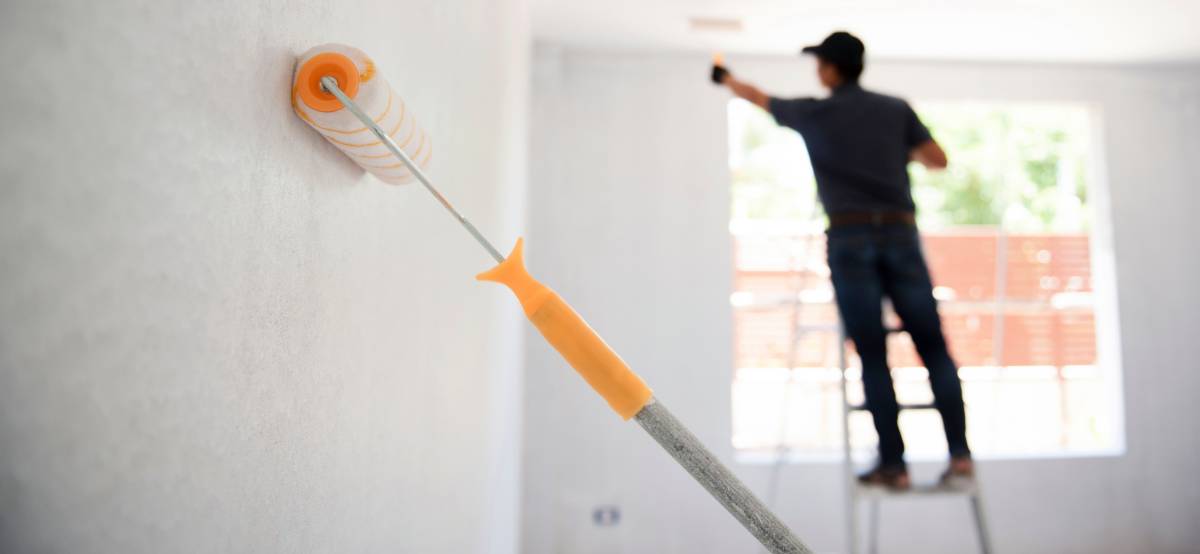
If you don't have the time to take on this kitchen cabinet paint job yourself, you can hire a Tasker offering painting services. Experts can help with paint stripping and other steps to painting kitchen cabinets professionally.
Paint Kitchen Cabinets FAQs
You can; however, there is an element of preparation required, depending on the material of your cabinets. The easiest option for a repaint is wood, but any cabinet that can be scuffed with sandpaper is prime for painting. If you take care and time in removing the cabinets and applying two quality coats of paint, your cabinets will not only look brand new but completely change the feel of your kitchen with a new paint job. Consider the type of paint you use based on the make-up of your cupboards and read the instructions carefully, but all cabinets can score a new paint job!
If you are working with laminate cabinets, you’ll need a special bonding primer and high-quality paint. You can find special cabinet paints which will offer a smooth finish, but you’ll want to ensure your paint is acrylic and not vinyl. Acrylic latex-based paint is much easier to clean up and will last for a long time. For wooden cabinets, most paints will be appropriate. If you want to really be thorough, you can follow up with a coat of polyurethane which will provide added protection, however, using high-quality paint in the first instance pretty much covers this, so ensure you have good quality paint and you should be fine!
It may take a couple of hours to a full day to paint cabinets. This will depend on the number of cabinets you'll be painting, their size, and amount of prep work that goes into the work. If you don't have the time to spare for a kitchen cabinet paint job, it's best to leave painting cabinets to the pros!
Find kitchen cabinet painters, fast
Find a kitchen cabinet painter
Related price guides
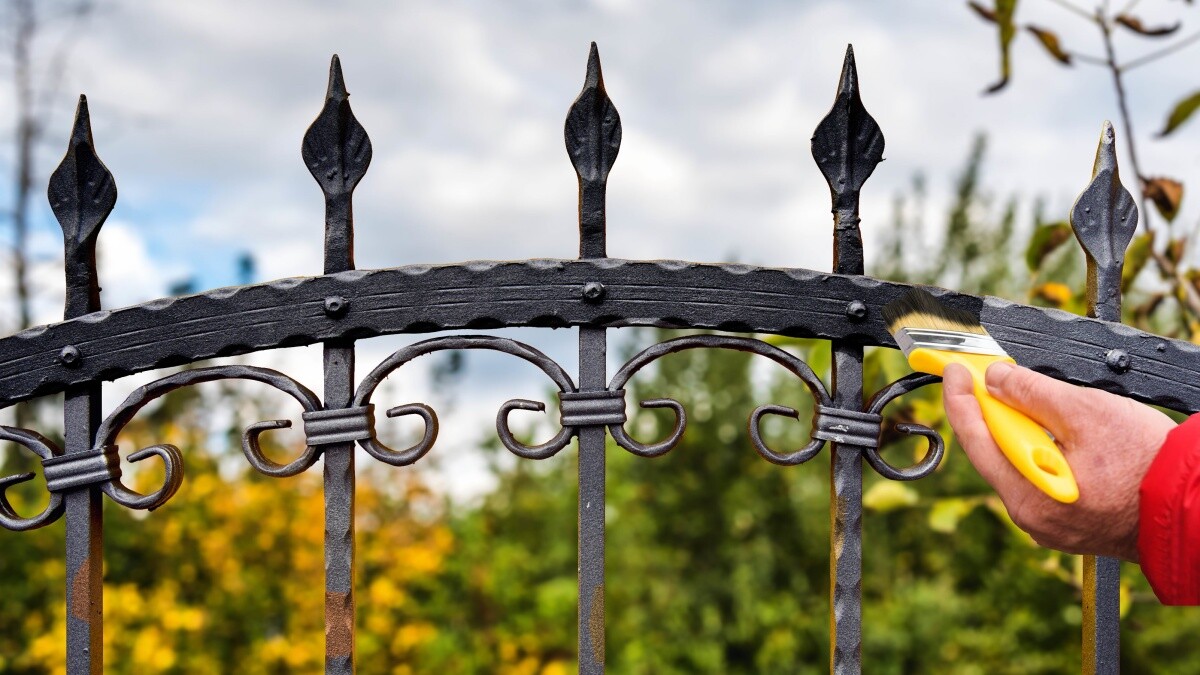
How much does fence painting cost?
Read more
How much does deck painting cost?
Read more


Related articles
How much do painters make?
Read more
How to estimate a paint job
Read more