- Home/
- Guides/
- Mixer Tap Installation & Repair/
- How to Fix a Leaking Tap
How to fix a leaking tap, everything you need to know
Last Updated on
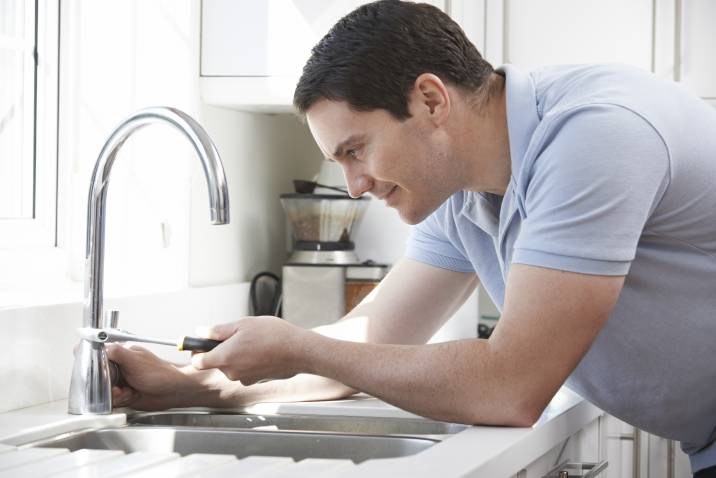
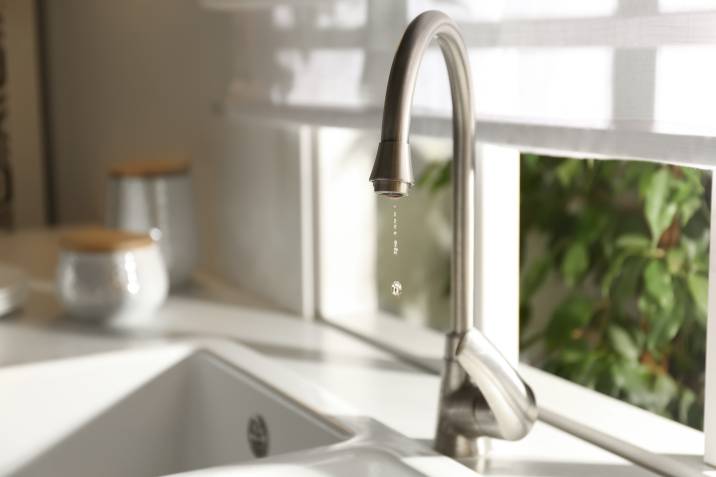
You may think that a leaking tap is nothing more than a nuisance that keeps you up at night, but it can cause severe damage to your home. Learning how to fix a leaking tap in your kitchen or bathroom can save you thousands of litres of water in a year and save money in the process.
Here’s a surprising fact, the number one cause of leaking taps is not the washer but the valve seat that stops the water from flowing when the tap is closed.
This handy guide will guide you through how to fix a dripping tap. Whether you need to know how to fix a leaking kitchen faucet or bathroom tap, we’re here to help!
What you’ll need:
Before you get down and dirty, or in this case wet, make sure that you have the following tools:
- A pair of scissors
- An adjustable spanner
- O-rings, washers (12mm washers are common), and a replacement cartridge
- Jumper valve
- Screwdriver
- Reseating kit
- Tap spanner set
- Tap lubricant
- Cloth
Time of completion:
Allow for at least an hour to do the repairs. The time it takes also depends on the type of tap, as fixing a leaking mixer tap can take more or different steps than a leaking stopcock tap. If the leaks are due to more complex issues like inconsistent water pressure or a broken pipe, it’s time to call a plumber. You can check our plumbing price guide if you need to know how much this service might cost you.
| Related: How much do plumbers charge to change a tap? |
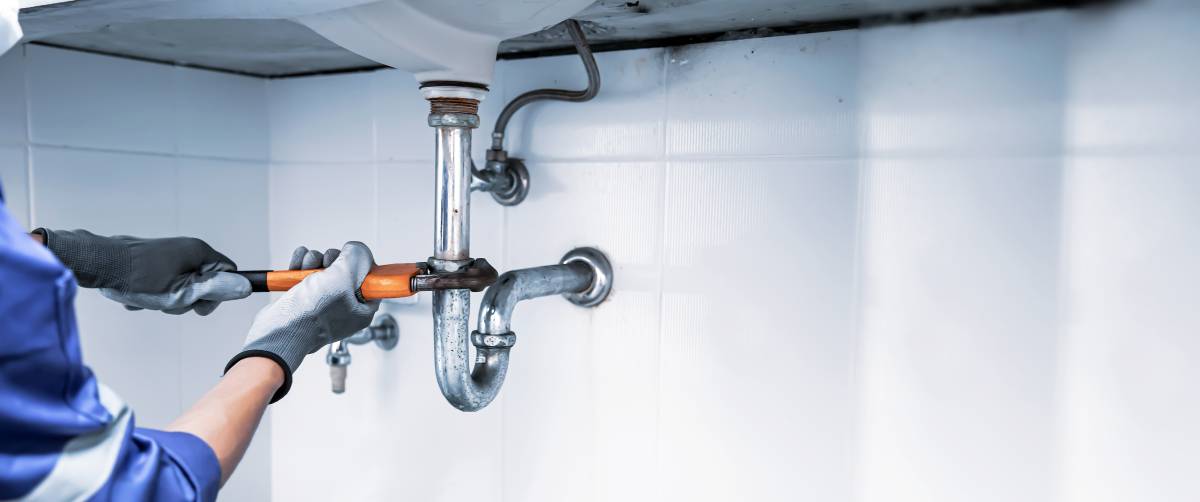
Fixing a leaking tap, step-by-step
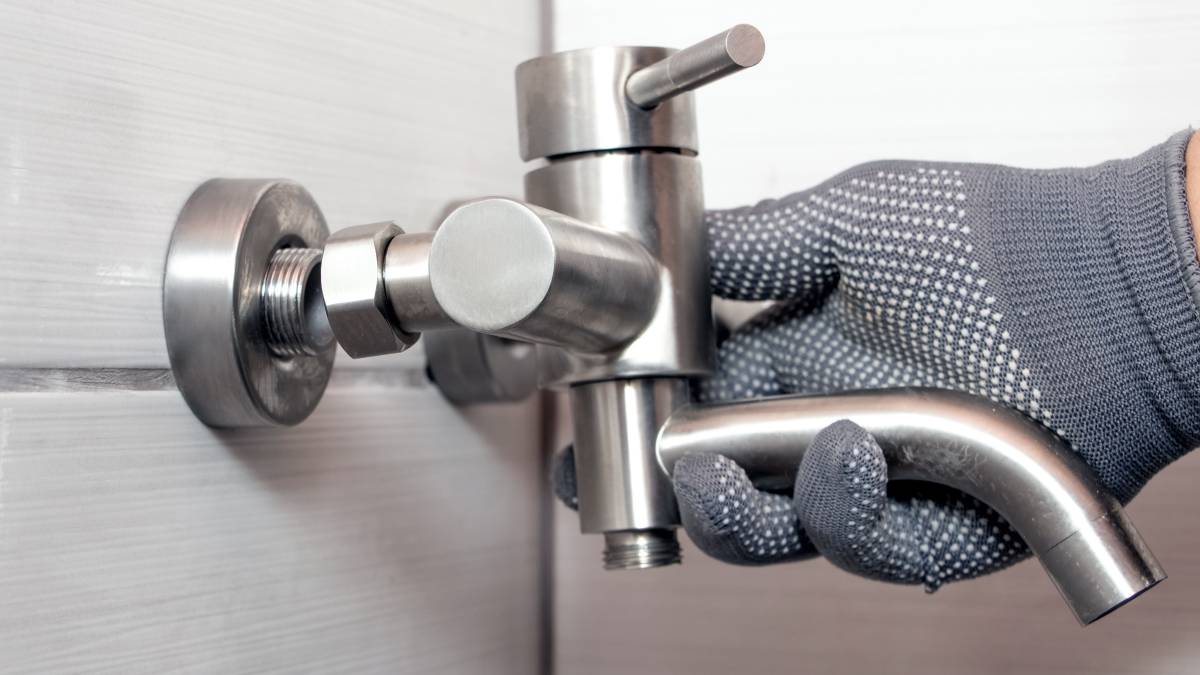
Step 1: Turn off the water supply
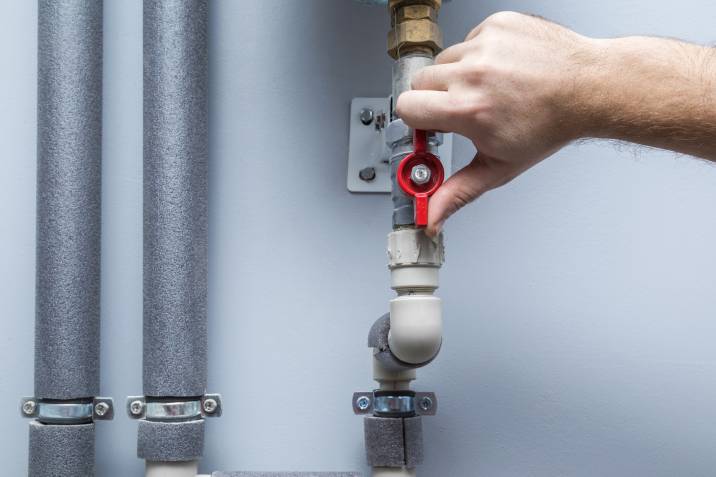
Turn off the mains water supply, then turn on the leaking tap until all the water runs out. To completely turn off the water, check the fixture you are working on for an isolation valve; turn it with a screwdriver.
If you don’t find an isolation valve, locate the stop valve and turn off the water from there.
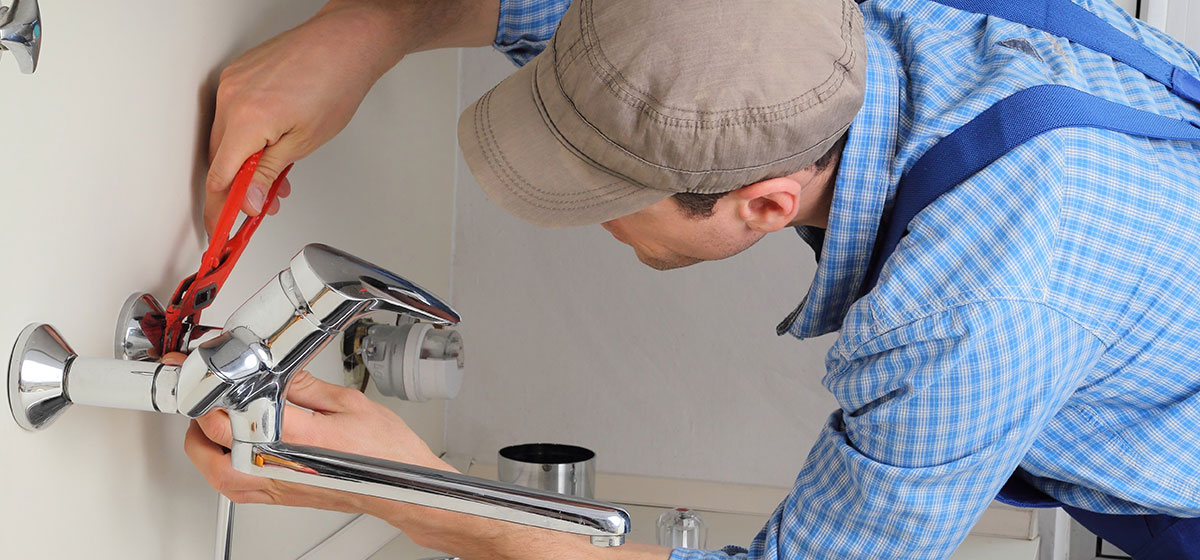
Get a screwdriver, and unscrew the tap handle. The screw is under the indicator (red and blue for hot and cold water, respectively) if you have a modern tap. Once you unscrew the handle, you will expose the body and spindle. If the top of the spindle has water and the outer frame is wet, you need to change the O-ring because it indicates leaking.
Important tips
Don’t forget to plug the sinkhole before you start working on the tap. That way, you won’t lose any tools or parts down the drain.
Also, secure the tap with a spout when unscrewing the handle to prevent it from turning. You might crack the sink or damage the pipework if the tap turns when unfastening.
Lastly, apply penetrating oil on any stuck nut instead of using force.
Step 2: Change the leaking O-ring
In case you find a leaking O-ring, do these steps:
- Loosen the body by unwinding it using a spanner. Remove the body washer at the base of the tap and pull out the jumper valve.
- Expose the O-ring and cut it off with a knife.
- Wipe the jumper valve until it’s dry and clean. Then, roll on a new O-ring, pop the spout back in place, and tighten the screw.
- Place the jumper valve back inside the body and place a new body washer on the base. Grab the tap and tighten with a spanner.
- Screw everything back in place, i.e., the cover, handle, and button.
- Turn on the water from the mains and open the tap slowly to let out the air.
- Turn off the tap and check for leaks.
Step 3: Change the worn-out washer
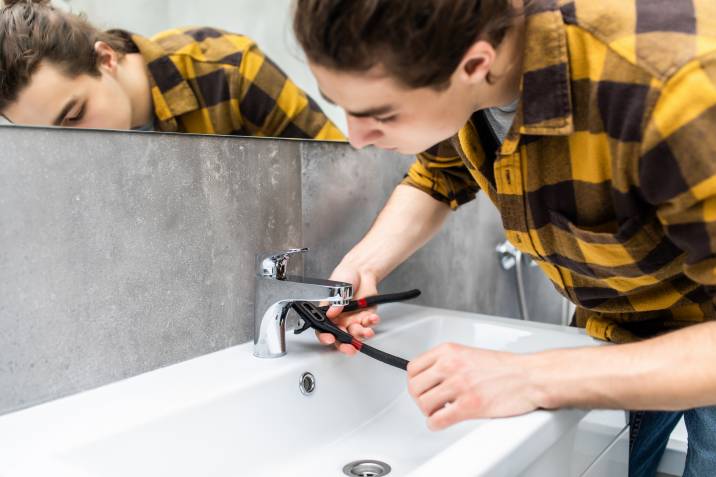
After exposing the body, check the washer next to the pin at the bottom for any damage. If the washer is in excellent condition, it’s the valve seat that’s causing the leak. Change the washer if it’s damaged by following these steps:
- Using an adjustable spanner, hold and turn the valve until it’s loose enough to be removed by hand.
- Slide or unscrew the worn-out rubber washer and replace it with a new one.
- If you’re struggling to get the new washer over the pin, apply some petroleum jelly and slide it using a spanner or the side of your pliers.
- Tighten the valve back in place and put everything back together.
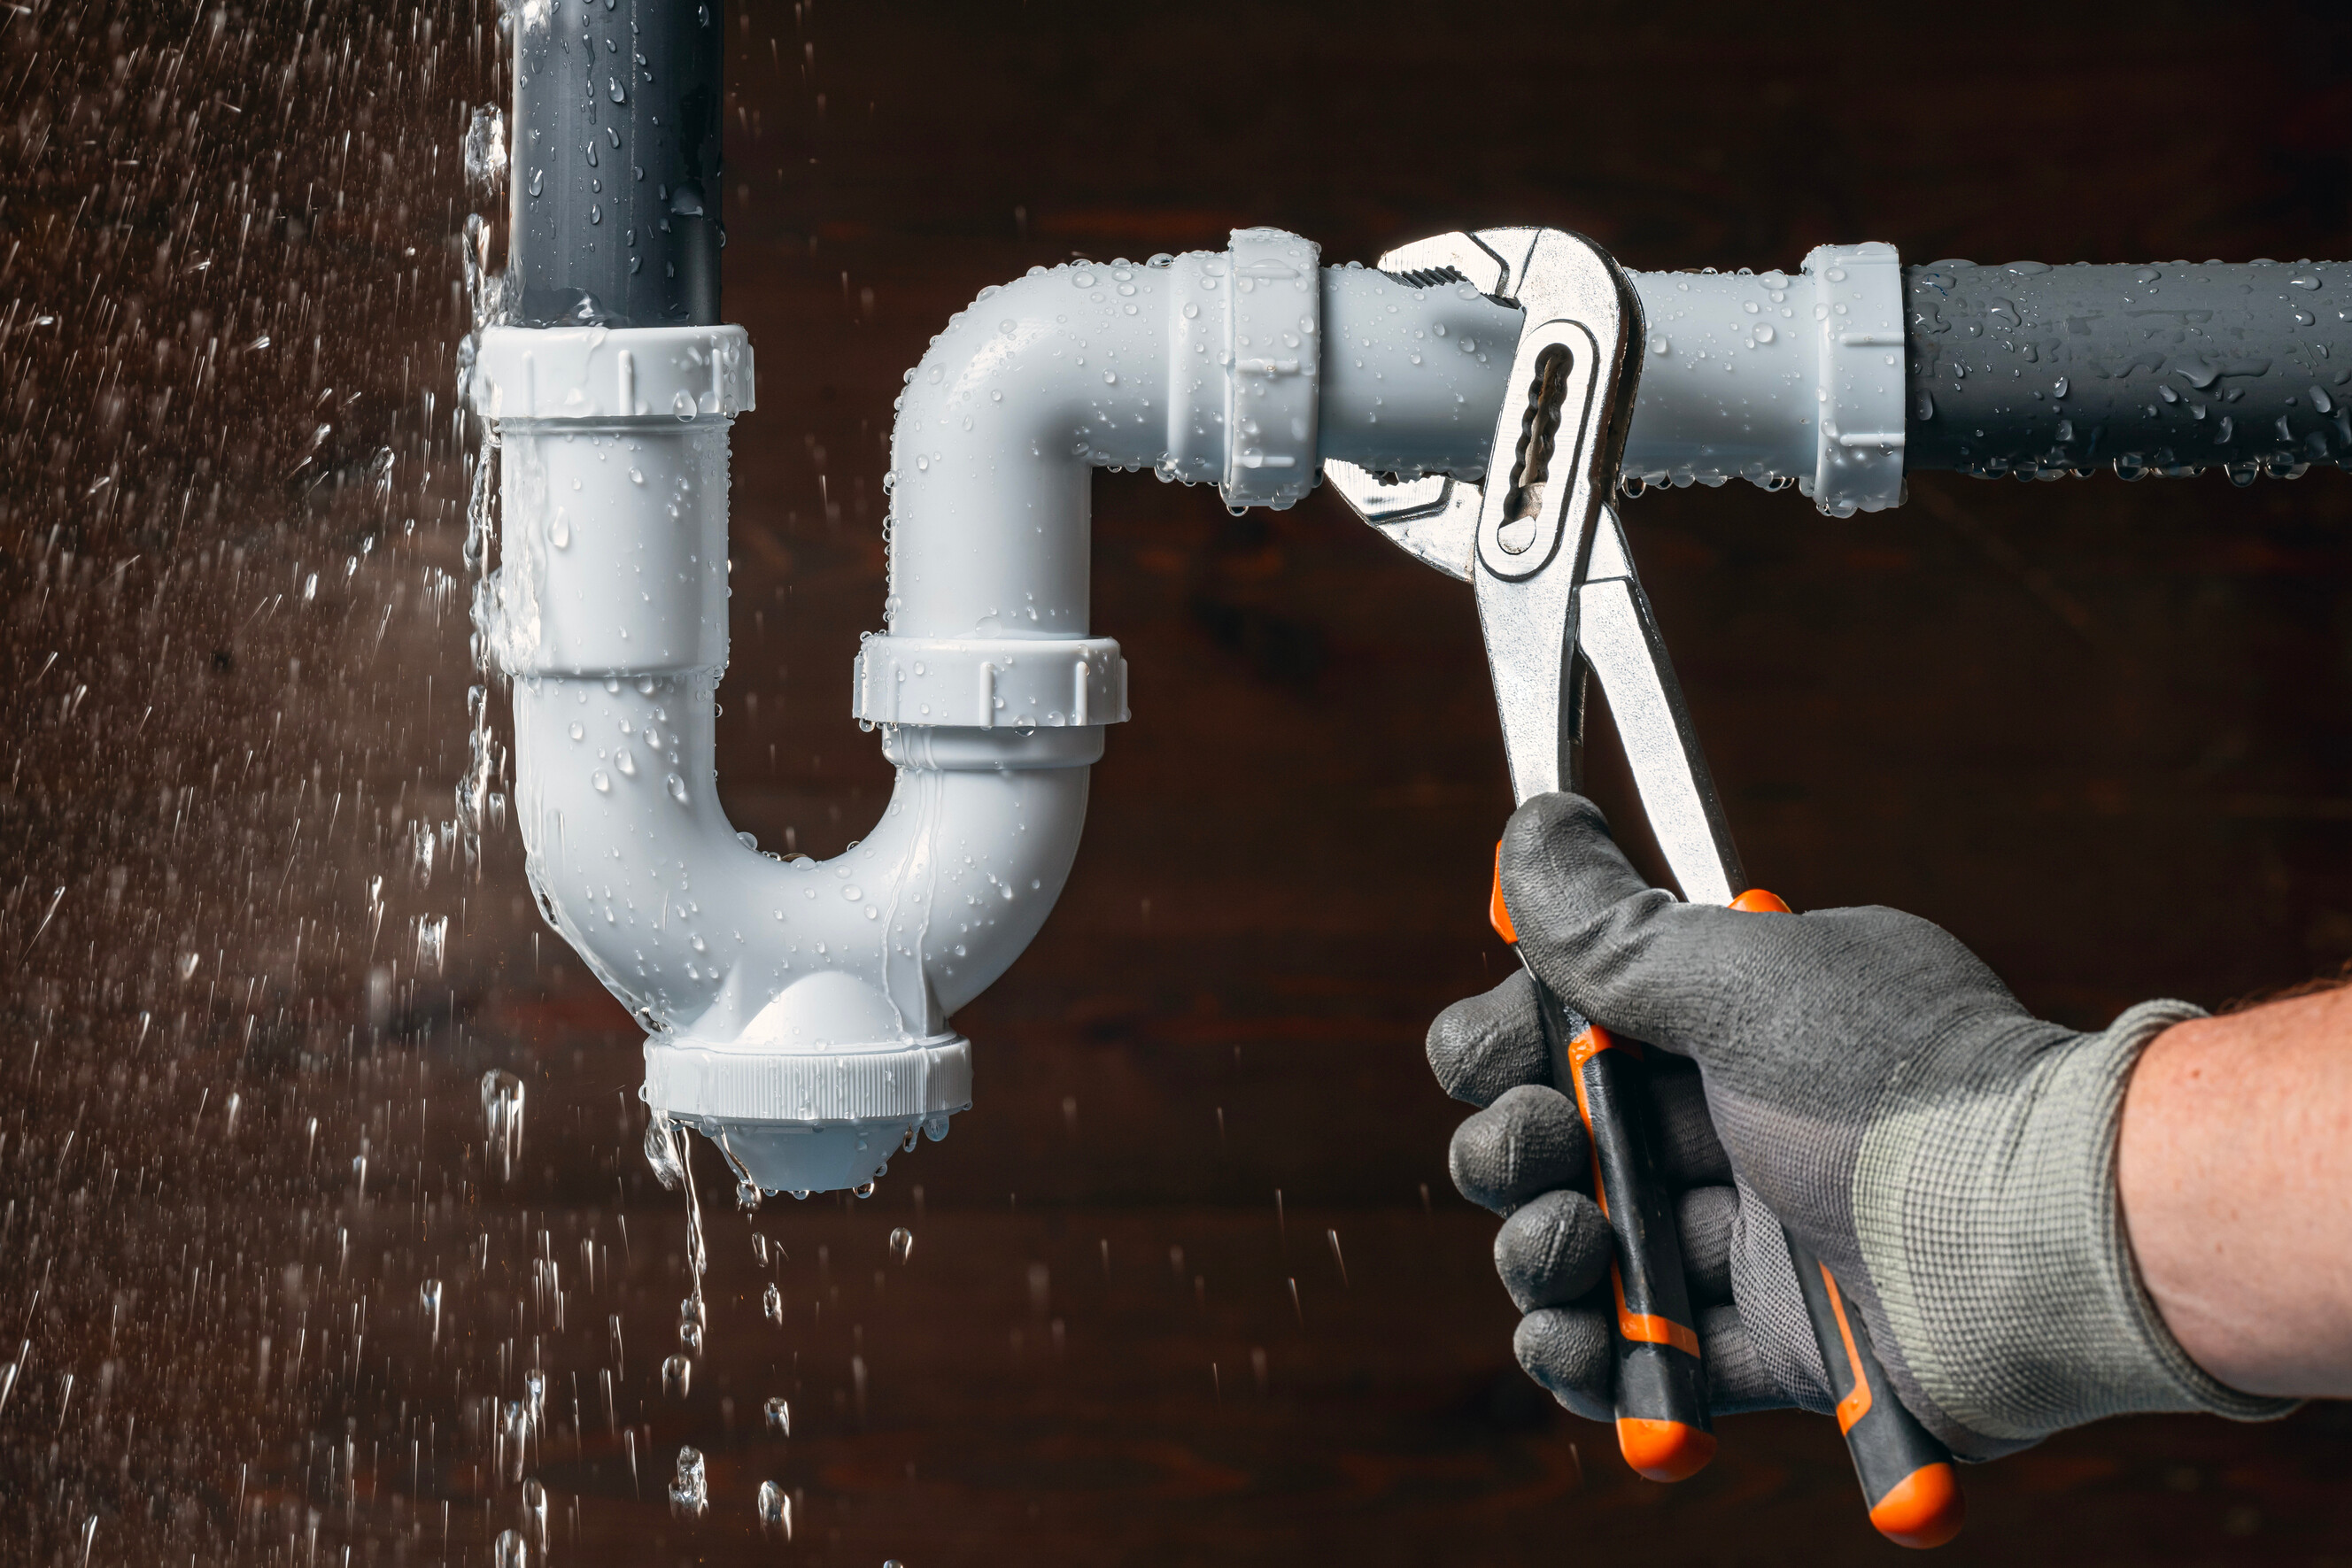
Step 4: Change the leaking tap valve
If your tap is continuously dripping, the problem might be the valve seat. Water might force itself under the washer and erode the brass that holds the seat. Small canals form in the seat and allow water to pass the washer and straight through the tap. Hard water is the leading cause of a leaking tap valve. So how do you fix a leaking sink tap with a leaking tap valve? Follow these steps:
- Remove the tap valve.
- Once you have the tool in hand, insert a grinder, tighten it up, push it up and down the handle, and don’t forget to twist. This process makes the seat grinder smooth.
- After a few turns, remove the grinder. Run your fingers around the top of the seat to check for indents.
- Keep grinding until the valve seat is entirely smooth.
- Put everything back in place and turn on the water.
Pro-tip: apply tap lubricant to the valve and spindle for better sealing and tap operation, and do not overtighten the nuts when refitting the bonnet and spindle.
How to fix different types of leaking taps
Your tap uses a washer or a ceramic disc. The only way to know what type of tap you have is to give it a turn. If it rotates half or a quarter of the way, then it’s a ceramic tap. If you can turn it more than halfway, then it’s traditional. A worn-out O-ring is the primary cause of leaks in conventional faucets. If the tap is still leaking even after replacing the washer, you need to check the state of the O-ring.
How to fix a dripping mixer tap
Mixer taps come in different designs, but the common ones consist of two fixtures connected to one central spout. Fixing this type of mixer tap is similar to single taps, but you need to find the culprit first before anything else.
How do you do this? Turn off each tap and check the one that stops the leak. You can fix the mixer tap without turning off the water supply, but only if the unit has separate O-ring seals at the bottom area of the spout.
How to fix washerless taps
A washerless tap, as the name suggests, does not have a washer but a mixer function and rotating handles that control the temperature and flow of water.
Washerless taps are low maintenance, but some of their parts can malfunction. Check the manual to know how to dismantle the part and fix problematic areas.
If you don’t have a manual, do not attempt to DIY to avoid severe water leakage. Call a plumber and see how they do it, so you’ll know what to do next time.
How to turn off the water
Depending on your home’s overall structure, you might find the stop tap under the kitchen sink, in an airing cupboard, or beneath the floorboards close to your front door.
Turn the valve clockwise to stop the water. Note that this will initially reduce the water flowing into your home, and you will have to wait a few minutes before your water shuts off completely. After repairing your leaky tap, turn your valve anti-clockwise and wait a few minutes for the water to return to normal pressure levels. Turn the valve on or off slowly and don’t over-tighten or use excessive force. Remember that when performing any plumbing task beyond replacing washers, tap valves and O-rings should be left to the professionals.
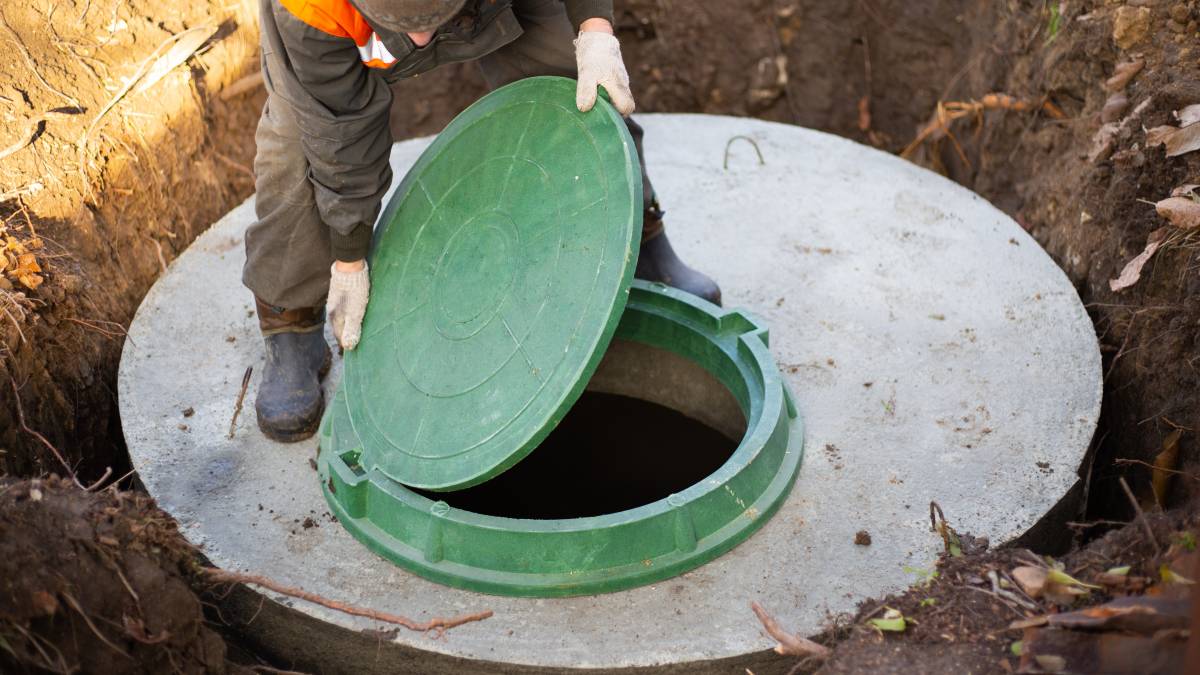
Homeowners cannot work on any system directly connected to the main water supply or sewer system.
This rule is in place to prevent tampering with the water supply system. Don’t forget to check with the local authority before taking up any plumbing work.
Fixing your leaking tap is easier with an expert that’s on-call!
Fixing a leaking tap requires time, dedication and skills. You can use the information in this guide to fix simple leaks, but if you don’t have time, the tools, or prefer to have an expert do the work, you can always hire a Tasker! On Airtasker, you can find plumbers who can help you with fixing a leaky tap wherever you are:
- Plumbers in London
- Plumbers in West Yorkshire
- Plumbers in Liverpool City
- Plumbers in Oldham
- Plumbers in West Sussex
- Plumbers in Gloucestershire
Book a Tasker even on short notice to fix your leaky tap or provide other plumbing services at reasonable rates. Click on the ‘Post a task’ button to get started!
Related price guides
Related articles