- Home/
- Guides/
- Bed Assembly/
- How to DIY Loft Bed
How to create the coolest DIY loft bed for kids (or adults!)
Last Updated on
A loft bed can be the perfect addition to a kid’s or guest room as it saves space and can double as something else – like a workspace if you include a desk! Surprisingly, creating your own DIY loft bed really isn’t that hard. With the right tools and good planning, you’ll be able to nail this project (pun intended).
Loft beds should be able to accommodate a full mattress, and from cutting the lumber to assembling it, we have all the necessary steps and tips for creating a budget-friendly loft bed below.
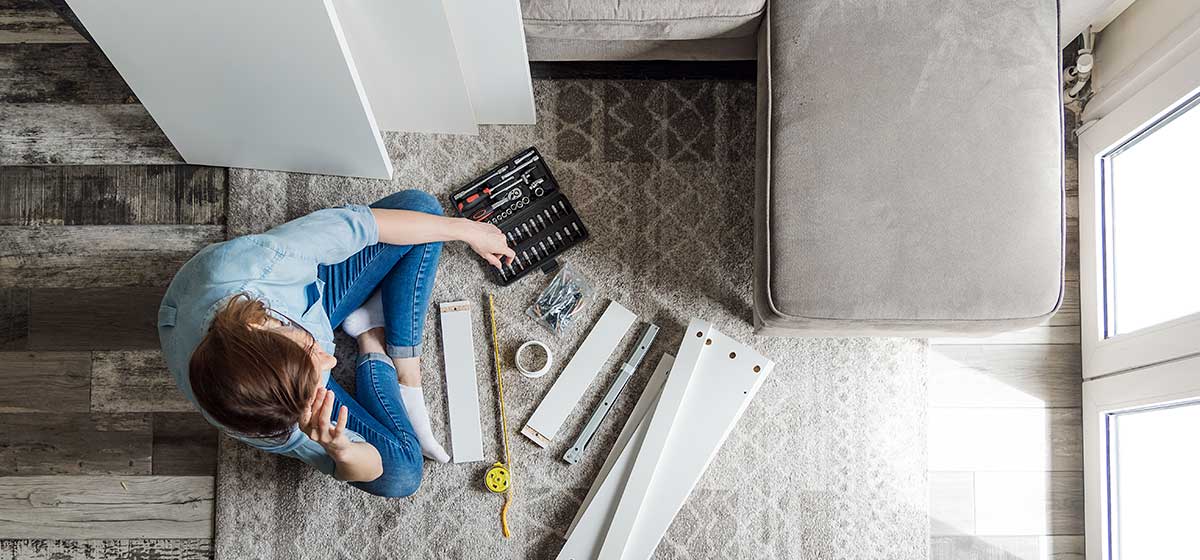
Gathering the materials: DIY loft bed plans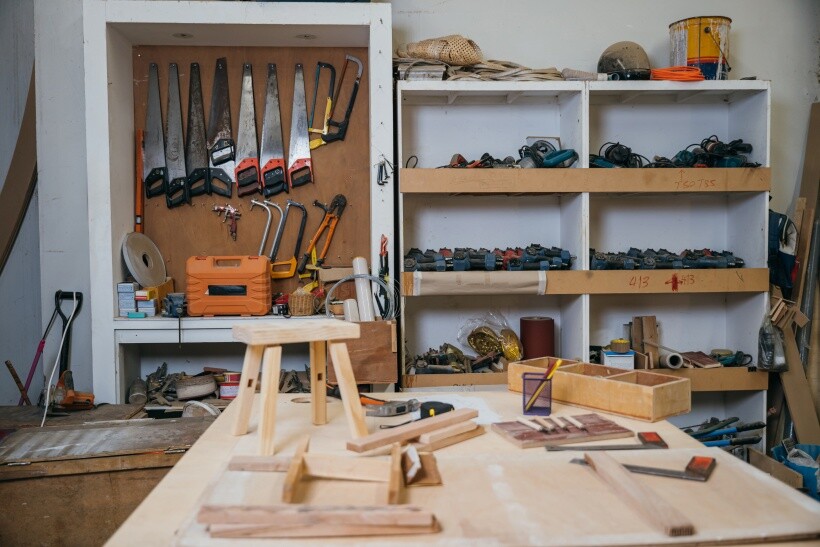 A well-equipped woodworking space with tools and supplies for DIY loft bed. (Source: iStock)
The dimensions of every DIY loft bed will vary based on your available space, but the following list will at least give you a guide of what materials you’ll need. When building furniture, it is important to use a quality grade of lumber. Try to choose the straightest boards you can with the least knots. Steer clear of end cracks that extend far into the wood. Always buy extra to allow for any cutting mistakes.
For a DIY loft bed, grab the following lumber
- (10) 2′ x 6′ x 8′ boards
- (1) 2′ x 6′ x 10′ boards
- (2) 2′ x 2′ x 8′ boards
- (1) 2′ x 2′ x 10′ boards
- (3) 1′ x 6′ x 10′ boards
- (6) 2′ x 4′ x 8′ boards
- (3) 2′ x 4′ x 10′ boards
- (1) 3/4-inch 4′ x 8′ MDF sheet
You’ll also need the following hardware (make sure all screws used are made for wood)
- 2 1/2-inch pocket hole screws
- 3-inch, #10 washer or wafer head screws
- 4-inch flat or trumpet head wood screws
- 5-inch zinc-plated tee hinges
- 1 1/2- x 72-inch continuous hinges cut to 56 inches in length
- 2-inch zinc-plated window bolt
- 120 and 220 grit sandpaper
For the tools you’ll need
- Circular saw
- Drill
- Pocket hole drill set
- Heavy-duty clamps
- Tape measure
- Carpenter’s square
- Wood glue
- Putty
- Paint (if painting)
- Safety gear
DIY loft bed: A step-by-step build
Here's how to build a sturdy, custom loft bed for your bedroom.
Step #1: Cut the wood
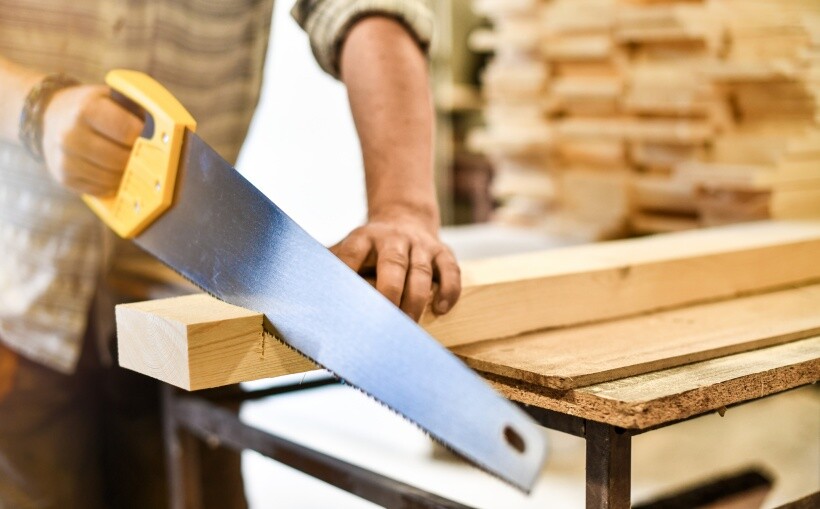 Close-up of precise woodcutting using a traditional handsaw. (Source: iStock)
Use a circular saw to cut your wood to size. Before you assemble the DIY loft bed, you’ll want to sand the rough edges to make them smooth. Start with 120 grit sandpaper moving up to 220 while making sure you d not round over the cut ends that join to other pieces.
A rough guide for your pieces and sizing is as follows (board inches refer to length):
Legs
- (4) 2 x 6 70 inch boards
- (4) 2 x 4 70 inch boards
Ladder
- (8) 2 x 4 60 inch boards
Slats
- (6) 1 x 6 54 inch boards
Top Rail
- (2) 2 x 6 79 inch boards
- (2) 2 x 6 54 inch boards
Inner Slat Rail
- (2) 2 x 2 54 inch boards
- (2) 2 x 2 72 inch boards
Lower Frame and Top Rail
- (2) 2 x 6 79 inch boards
- (2) 2 x 6 54 inch boards
Spacer Blocks
- (10) 2 x 4 6 inch boards
Step 2: Assemble the frame
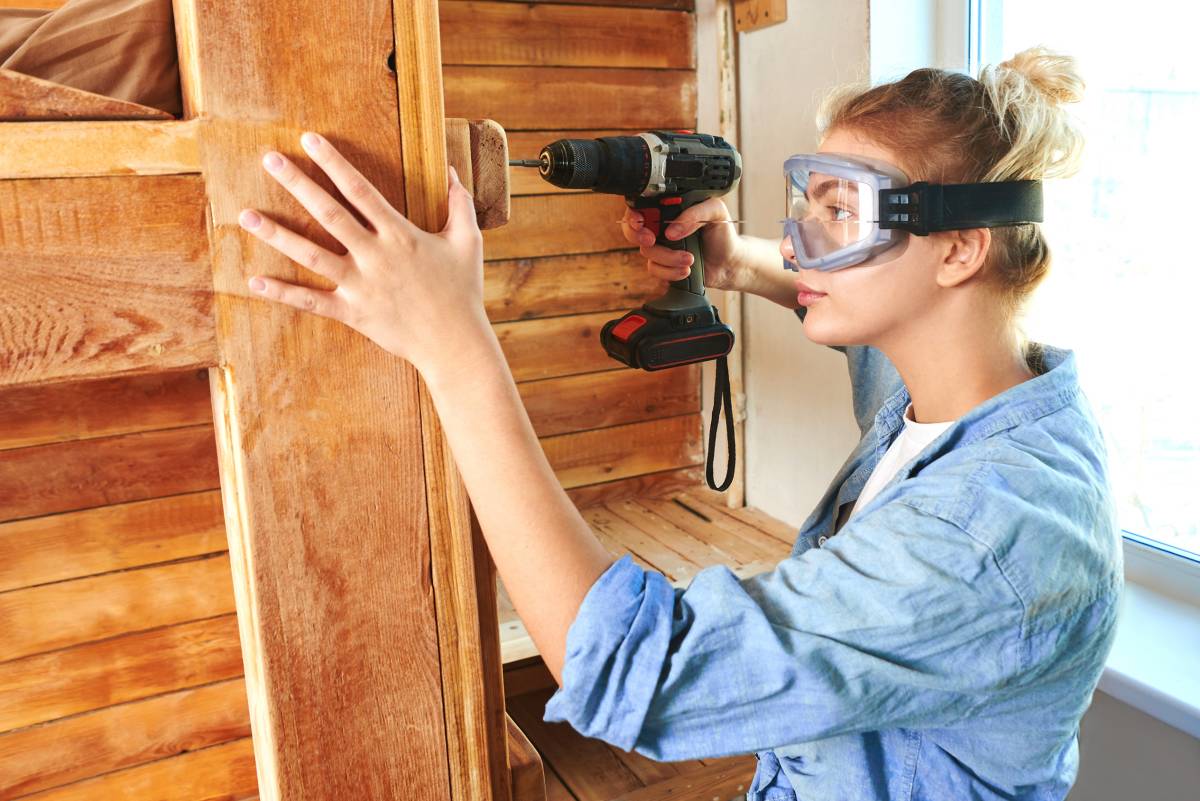
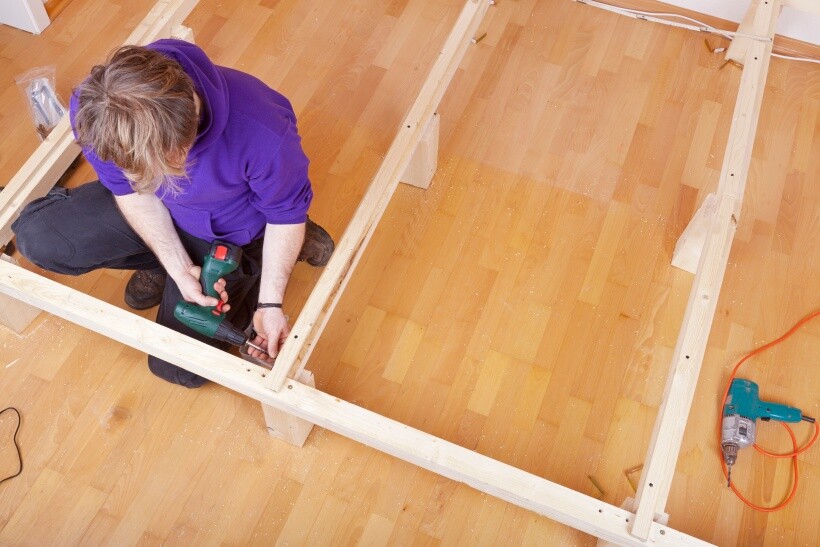 Constructing a wooden frame with a drill as part of a DIY loft bed project. (Source: iStock)
Always begin with the lower frame and top rail by connecting the 79-inch 2 x 6 boards with wood glue to the 54-inch 2 x 6 boards. Place the 54-inch board to the 79-inch board to create a join on the inside. After you have done this, you can use the driver kit to screw each end creating butt joints with three 4-inch screws on either end.
Once assembled, the inside dimensions should be 54 x 76 inches with an overall dimension of 57 x 79 inches. This process will also be repeated for the top rail. As this will likely be quite heavy, assemble it on the floor of the room you are putting the bed in.
Step 3: Attach spacer blocks
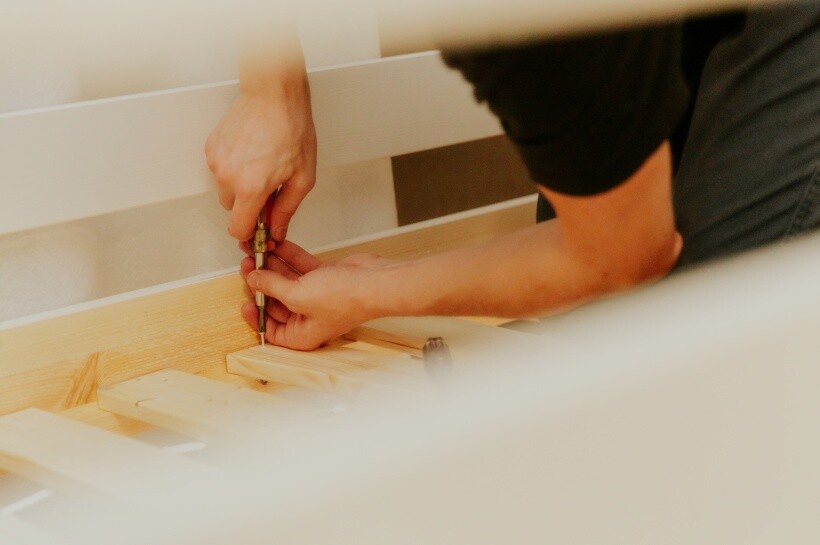 A DIY loft bed frame build with hand-fitted wooden spacer blocks. (Source: iStock)
Start by drilling two pocket holes into one end of the 6-inch 2 x 4 to attach to the lower frame. On the opposite end, drill two more pocket holes for the top rail. On the longer sides, draw a mark at 37 1/2 inches from each end for the middle spacer. The other two spacers will sit at 18 3/4 inches from each end.
On the short ends, mark 16 1/2 inches from each end, then attach the blocks using both wood glue and two 1 1/2-inch screws. The top rail frame should align with the lower frame, and you can attach the top rail to the spacer blocks also with wood glue and two 1 1/2-inch screws. For a quality finish, ensure everything is completely flush and spaced evenly.
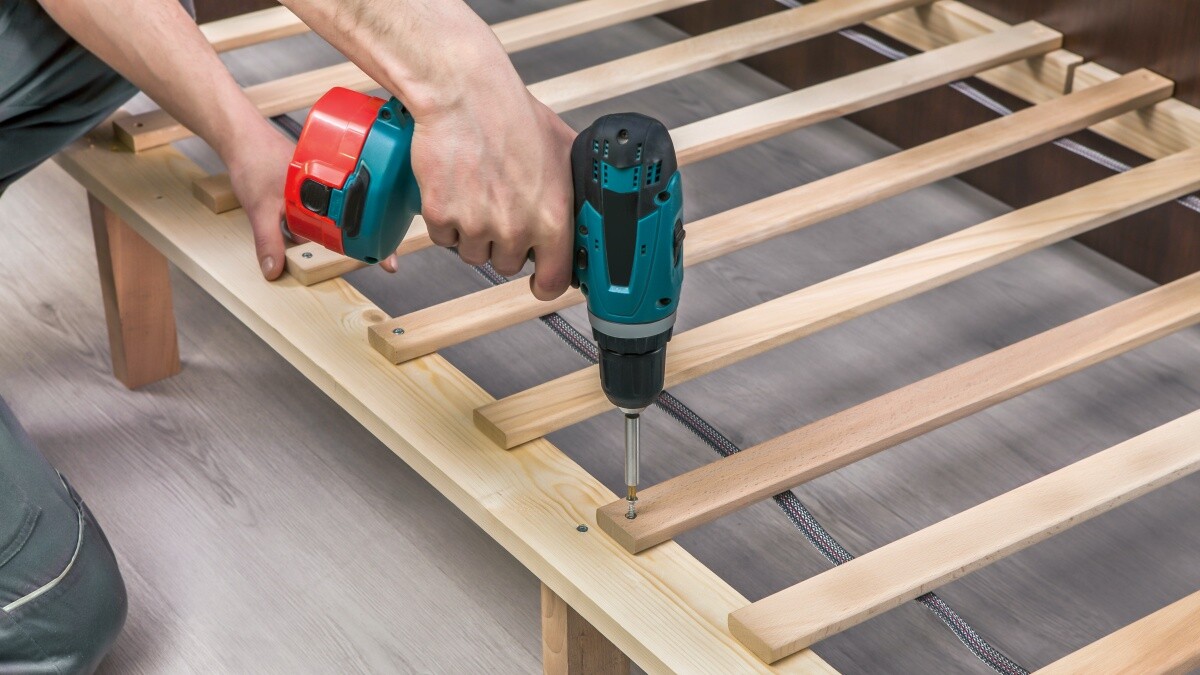
Step 4: Rails, slats and legs
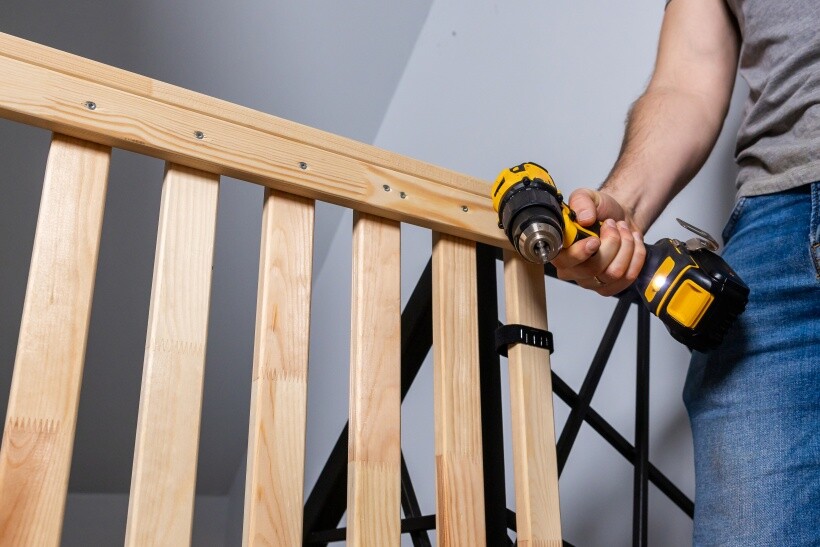 Drilling wooden slats into place during loft bed assembly. (Source: iStock)
Follow these steps for the attachments:
- Attach the 54-inch 2 x 2 boards to the inside of the lower frame using 3-inch screws and wood glue
- Connect the 72-inch 2 x 2 boards with the 54-inch 2 x 2 board with the same method creating a butt joint
- Space the 1 x 6 slat boards evenly on top of the frame
- Attach all slats using wood glue and two 1 1/2-inch screws
- Drill pilot holes for the legs, then add screws
- Use 4-inch screws to make a butt joint in the shape of a capital letter “L” using one 70-inch 2 x 6 board and one of the 70-inch 2 x 4 boards
- Drive screws at 12-inch intervals to make six in each leg
- Repeat for the remaining legs
Step 5: Attach braces and ladder
 Attached braces and ladder to complete a loft bed frame. (Source: iStock)
Flip the frame upside down to attach the legs with wood glue, then use four 3-inch screws on the 2 x 6 and two 3-inch screws on the 2 x 4. Once all of the legs are on, you can flip the loft bed upright, then add a ladder and brace.
Use wood glue for the 76-inch long 2 x 4, roughly three inches from the floor with three 3-inch screws to secure. Then attach the 60-inch 2 x 4’s spaced evenly with wood glue and use three 3-inch screws on each end of the ladder to secure it.
Step 6: Sand and paint
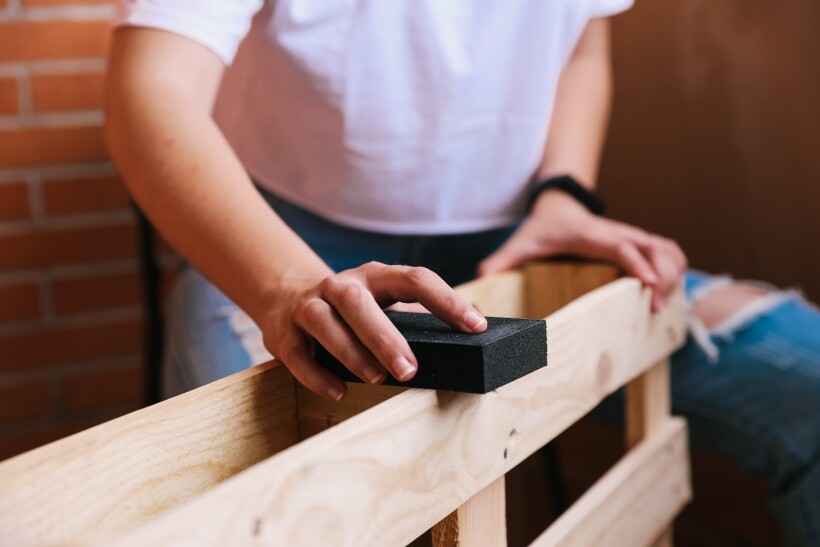 Sanding a loft bed frame to prepare for painting. (Source: iStock)
Give the entire loft bed sand with medium-grade sandpaper or, if you have one handy, an orbital sander. The goal is to ensure all the edges are smooth to touch, so you avoid any surprise splinters.
Wipe everything down with a microfiber cloth to get rid of all the dust, then fill any holes or cracks with putty. For the finish, it is up to you if you want to paint or stain, whatever works best with the rest of the room’s aesthetics, really!
Flex those DIY skills with your new loft bed
You have the steps above to help you create a simple DIY loft bed; the only thing to do next is to start gathering the materials. You’ll be well on the way to a fun and stylish kid or guest bed very soon. And it’s the coolest loft bed because you made it with your own two hands!
If the idea of a DIY loft bed is set, but after reading the instructions, you fear you might not have the time to do it yourself, search the range of skilled furniture and bed assembly Taskers that we have available to set up IKEA loft beds. You’ll save a stack of time and enjoy peace of mind in knowing the job has been done properly and the bed will stay up!
On the other hand, you may well have the DIY bug, and the bedroom is getting an overhaul. In that case, we have a stack of other articles that you will likely be interested in. Read on for some colour themed bedroom inspiration in options like purple and black, and use your new DIY skills to overhaul and improve your space.
Frequently asked questions
There are many variables when it comes to the cost of a DIY loft bed. The total cost will essentially come down to the raw materials you choose for the frame and connecting materials. Extra costs may include certain types of tools needed to construct the bed if you don’t already own them. Generally, prices can start from £200 all the way up to £1,000 if you are using premium materials.
You sure can! A loft bed with or without a desk, depending on how skilled you are, is a great DIY addition to a kid’s or spare room. Building one yourself is a very achievable DIY project, so long as you have the right tools and materials. Good planning is the key, and your goal should be to make the bed large enough to accommodate a full mattress.
Depending on the materials you choose and how long it takes you to build (time is money, after all), building your own DIY loft bed can be much cheaper. It can be quite simple to build an attractive, sturdy, safe loft bed yourself, which can also double as a fun family project. As long as you plan properly to avoid excess wastage and choose the right materials, you should be able to build your own loft bed for much less than buying a pre-made version.
Find bed assembly experts, fast
Find a Bed Assembly specialist
Related price guides
Related articles

Learn how to build a DIY bookcase
Read more

Creative wall shelving ideas
Read more

15 Must-try pallet furniture ideas
Read more