How to stain wood and wooden furniture like a pro
Need help in wood staining? Find local staining contractor in our community!
Last Updated on
Wood is a popular material due to its natural beauty, it delivers an innovative design, cost & resource efficient, however, sometimes its initial colour doesn’t always work with your other interior design touches. The trick around this is by learning how to stain wood which can alter the colour or grain visibility of bare or stripped wood.
The great thing about wood is its natural variance, no two pieces are alike, even in the same species. This does, however, make it necessary to always run a quick test of any stain you are considering on an unnoticeable spot to ensure you are happy with how it reacts with the particular wood.
Read on for everything you need to know about staining and material types and master the art of tailoring your wood to a range of different looks!
Choosing your stain type
While learning how to stain wood, it is important first to understand the types of stains available. It is a good idea to first check that the stain you are considering is compatible with your wood type. There are two stain types, water and oil-based:
Oil-based wood stains
- Provide a longer working time making them perfect for larger projects like floors, cabinets, and doors which reduces the risk of unwanted marks from drying stain
- Will not raise the grain, saving you the task of sanding
Water-based wood stains
- Lower in odour
- Quick-dry to speed up the duration of your project
- Easy to clean with soap and water
- Available in an extensive range of vibrant colours
How to stain wood
When it comes to how to apply wood stains, they all require open pores to help with their absorption. If you are applying a stain over a finished surface, the colour of the wood will not change.
As the existing finish blocks the pores, the stain will not absorb and will wipe off. To ensure your stain takes hold and offers you the look you are after, consider the following tips:
- Always sand bare wood lightly which will open the pores in preparation for staining. It’s a good idea to start with medium-grit sandpaper, working down to fine-grit sandpaper. Always sand in the direction of the grain each time to avoid scratches.
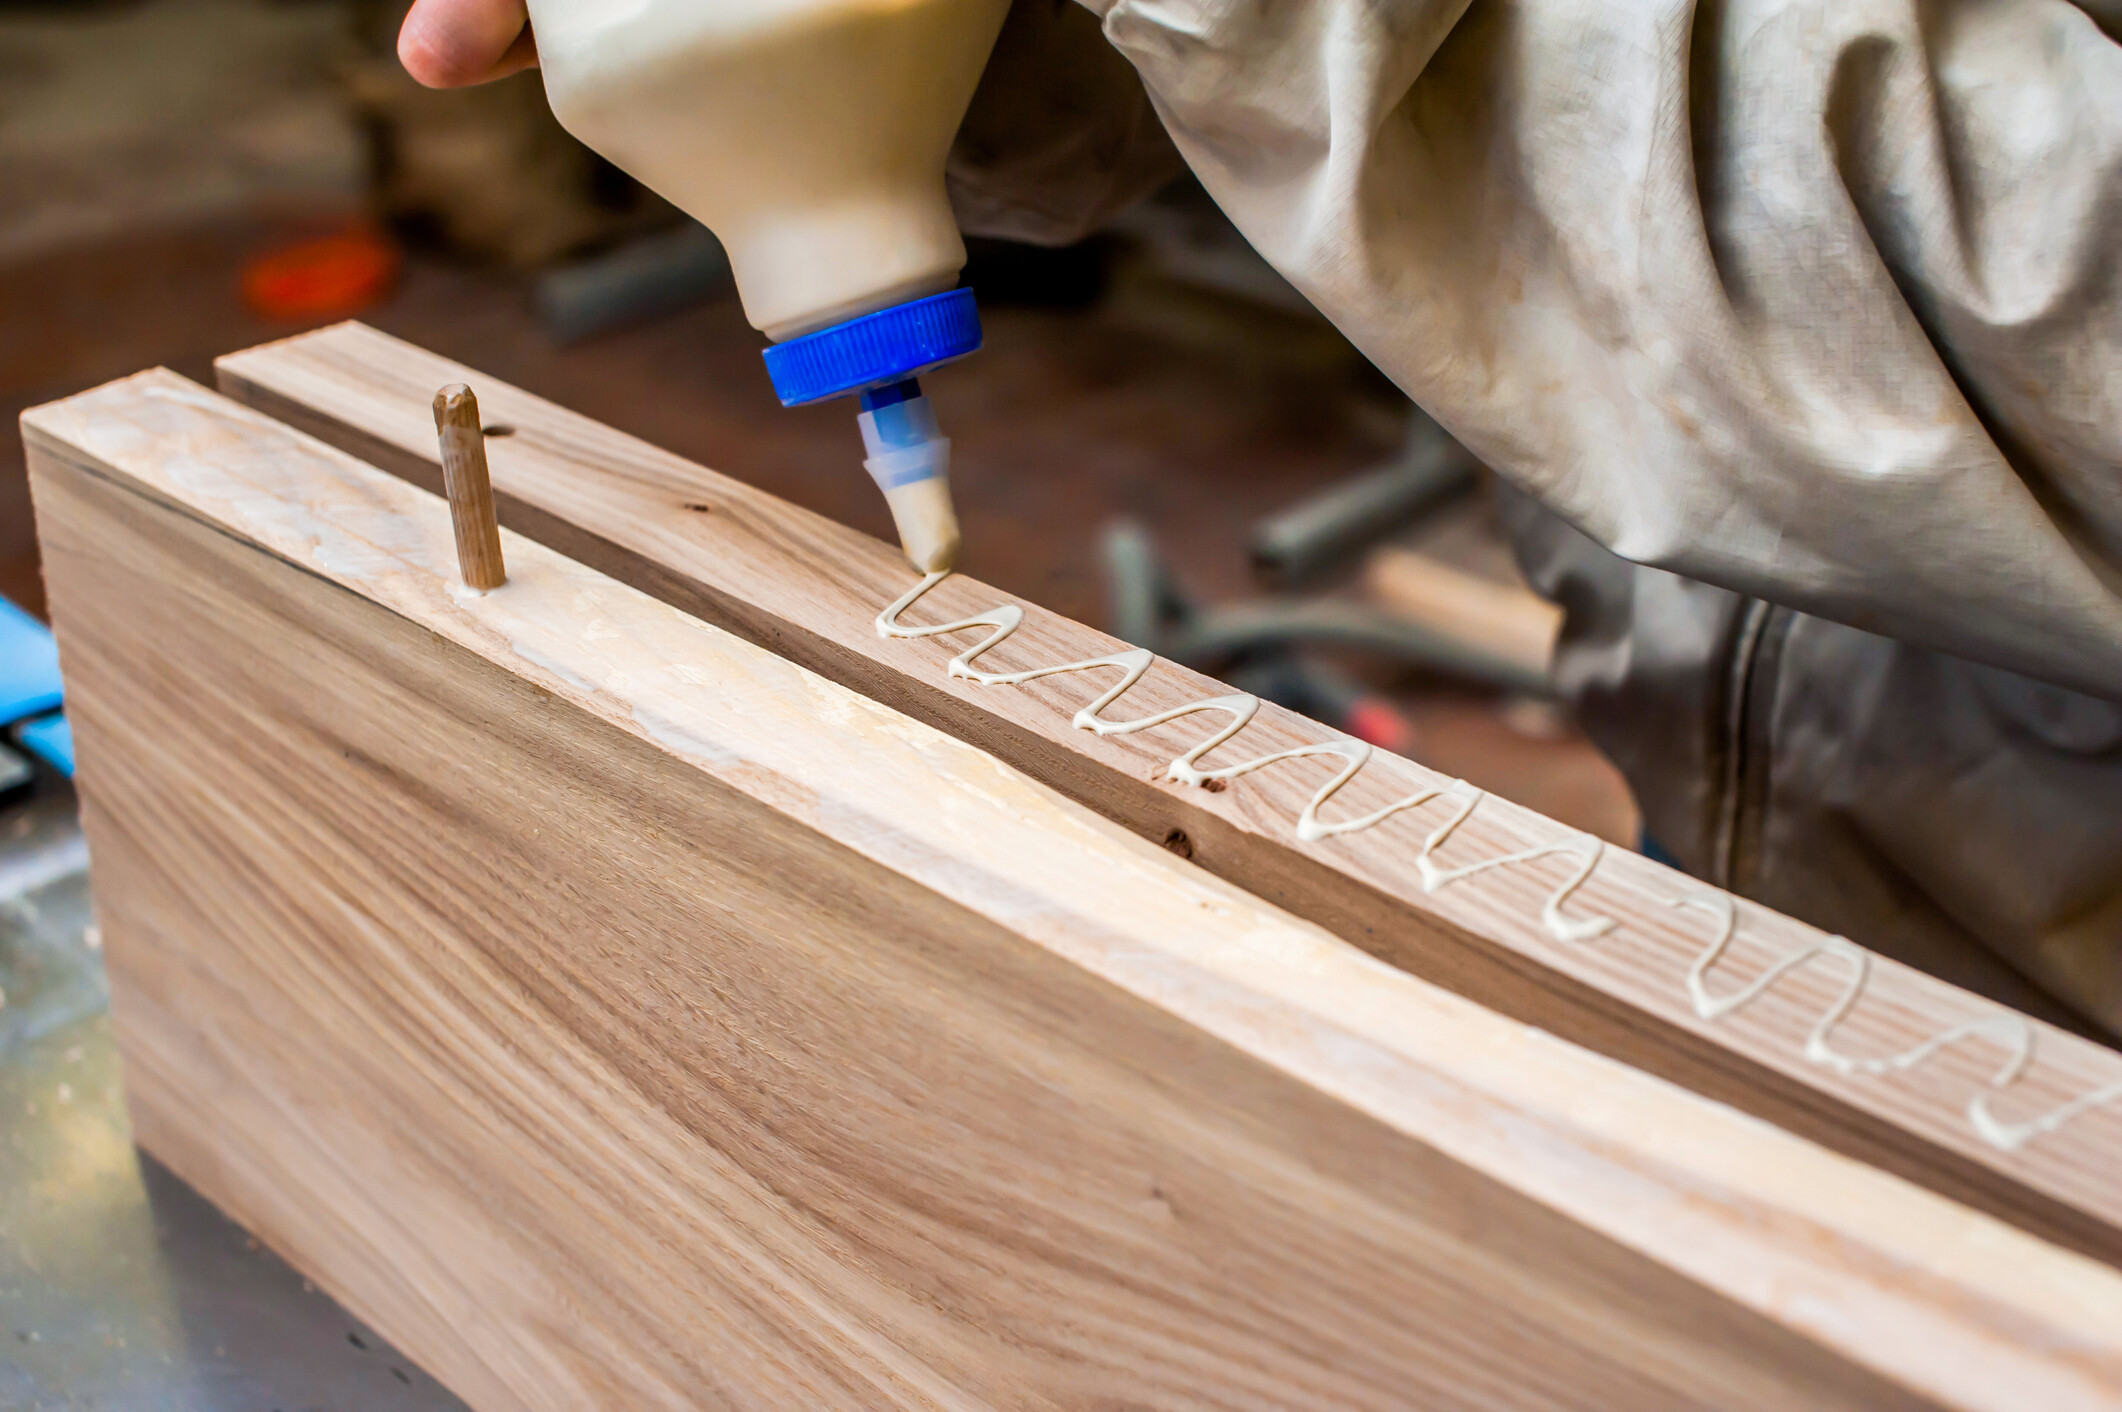
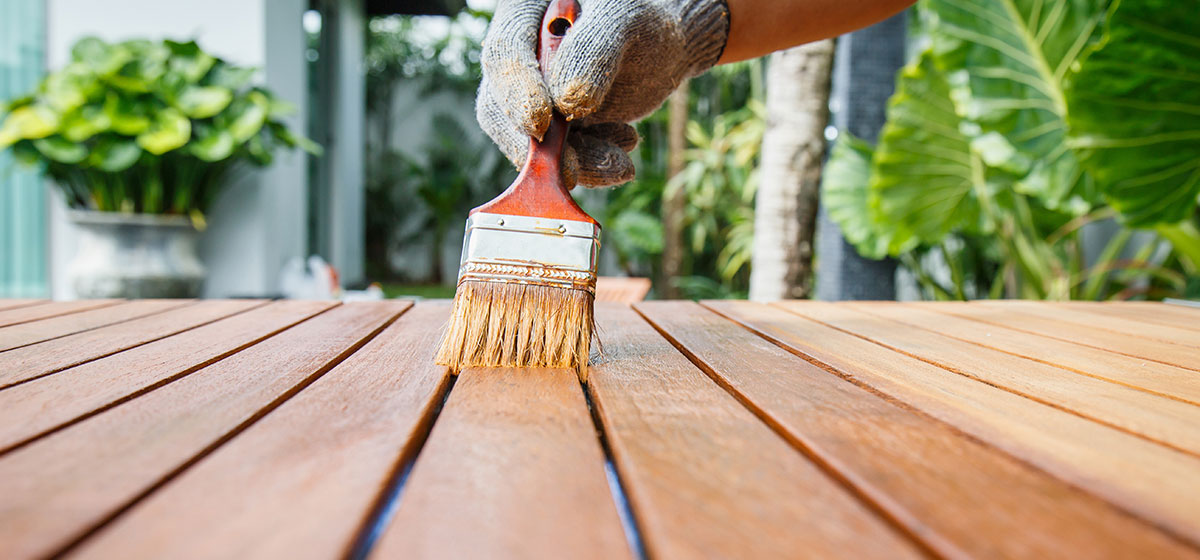
- Apply stain with a bristle or foam brush, or a cloth.
- Large, open-pore woods, such as oak, mahogany and ash require more pressure when applying stain to ensure it gets into the pores. Brush against the grain to achieve this.
- The longer stain is left on, the deeper and more vibrant the colour will be.
- Remove unabsorbed stain by wiping in the direction of the wood grain with a dry cloth.
- Once your stain has dried, use a clear finish to enhance the overall look, protecting both the stain and the wood
Staining particular types of wood
1. Staining oak wood
One of the most popular hardwoods, oak offers a very strong grain pattern with large pores which make the absorption of stain very easy. This is why oak works with a wide variety of stain colours with little risk of it turning blotchy. Oak offers particularly good results if you use a pre-stain wood conditioner first. To ensure you fill oak’s deep pores, use a liberal amount of stain worked in with a cloth and swirling motion.
2. Staining poplar
Poplar is a great option if you want a similar grain pattern to cherry wood with less of a reddish hue. If you use a stain with red colour in it, the less expensive poplar will give the look of the much higher priced cherry. Along with oak, you can find poplar used in kitchen cabinets.
3. Staining pine wood
When it comes to how to stain pine wood, it is easy to get great results with only a light application of stain. Use a liberal coat of a pre-stain wood conditioner and work with light to medium colours. Be careful when using darker stains as the knots and blemishes will make it hard for even absorption.
4. Staining hard maple
This dense and tight-pored wood makes absorbing stain much harder. The grain pattern is uneven, so stains are absorbed in varying degrees. To make things easier, start with a coat of a pre-stain wood conditioner and use a light to medium coloured stain.
5. Staining mahogany hardwood
This popular hardwood offers dark, rich colours and is full of natural oils, so additional staining is rarely necessary. If you do decide to stain some, use an oil-based stain to ensure good compatibility with the natural oils.
6. Staining cherry
Once again, this wood does not need much in the way of staining thanks to its distinctive reddish hue. Cherry has a subtle grain pattern and very small pores, so changing its look significantly is quite a task.
7. Staining birch
Birch is an inexpensive way to replicate the look of the more expensive maple wood, popular in furniture and cabinets. The problem is, this wood does not absorb stain evenly, which is why dark coloured stains are essential. Once again, a pre-stain wood conditioner will make the task much simpler.
8. Staining ash and chestnut
These hardwoods are very similar to oak, so a similar process should be followed. They have large pores for easy absorption of the stain and work with a wide variety of colours with a low-blotch risk. Always use a liberal amount of stain for these woods.
9. Staining alder and aspen
These lightweight hardwoods are growing in popularity as they are affordable and easy to machine. When it comes to staining, however, they are unfortunately difficult. These wood varieties absorb stains unevenly, so to help reduce blotchiness a liberal coat of a pre-stain wood conditioner will be necessary.
Ready to stain wood like a pro?
Hopefully, this has given you everything you need to know to change the look of your wooden furniture or various other projects. Once you master how to apply wood stain, you open up a world of possibilities for changing the aesthetic of your home.
However, if you don’t want to risk potentially ruining some expensive furniture or fittings due to beginner mistakes, you’ll be pleasantly surprised by how many people there are nearby ready to help with wood staining. They can help with almost any part from floor sanding and floor polishing to complete hardwood flooring care and restoration to breathe new life into your home.
And let’s not forget the exterior privacy fences which look superb when stained black for a dramatic look. Get an extra helping hand with your fence staining.
Wood Staining FAQs
When it comes to applying stains, the wood variety and type of stain will determine the best application process. Stains are best applied with a bristle or foam brush, or a cloth. As a general rule, the smaller the pores of the wood, the more stain that will be required. If you are working with wood such as oak, which absorbs stain quite easily, the stain should be stain worked in with a cloth and swirling motion. On the other hand, if you are working with a tighter-pored wood such as hard maple, you will need to apply a significant amount of pressure to ensure the stain is absorbed. In most cases, prepping your wood with a liberal coat of a pre-stain wood conditioner will make the application process much easier.
All woods require open pores to help with their absorption. If you are applying a stain over a finished surface, the colour of the wood will not change. For this reason, it is essential to always sand bare wood lightly to open the pores in preparation for staining. It’s a good idea to start with medium-grit sandpaper, working down to fine-grit sandpaper, sanding in the direction of the grain each time to avoid scratches. If you do not sand your wood, the stain will not absorb correctly and likely wipe off easily with a cloth.
It is not necessary to sand between coats of stain. However, if you do take the extra time to do this, it will provide a better finish. The best method for this is to wait until a coat has dried, then use 220 or 240 grit sandpaper to lightly sand the surface. As you do this, you will notice a white film over the finish as you sand. There is no need to worry as this will disappear as you apply the next coat. Always remember, it is vitally important that you do not sand the final coat.
Find staining services, fast
Find a staining service
Related price guides
Related guides