

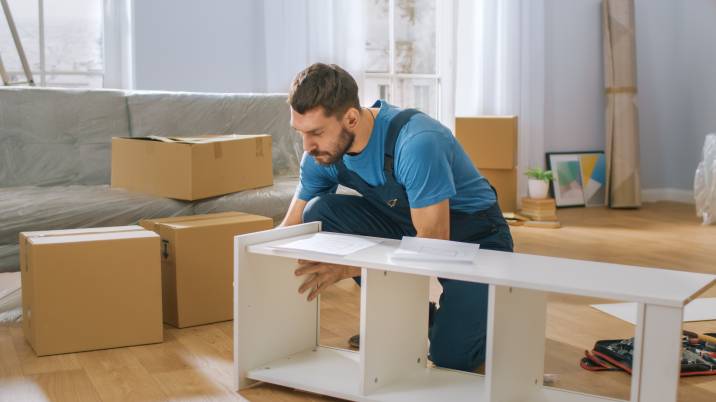
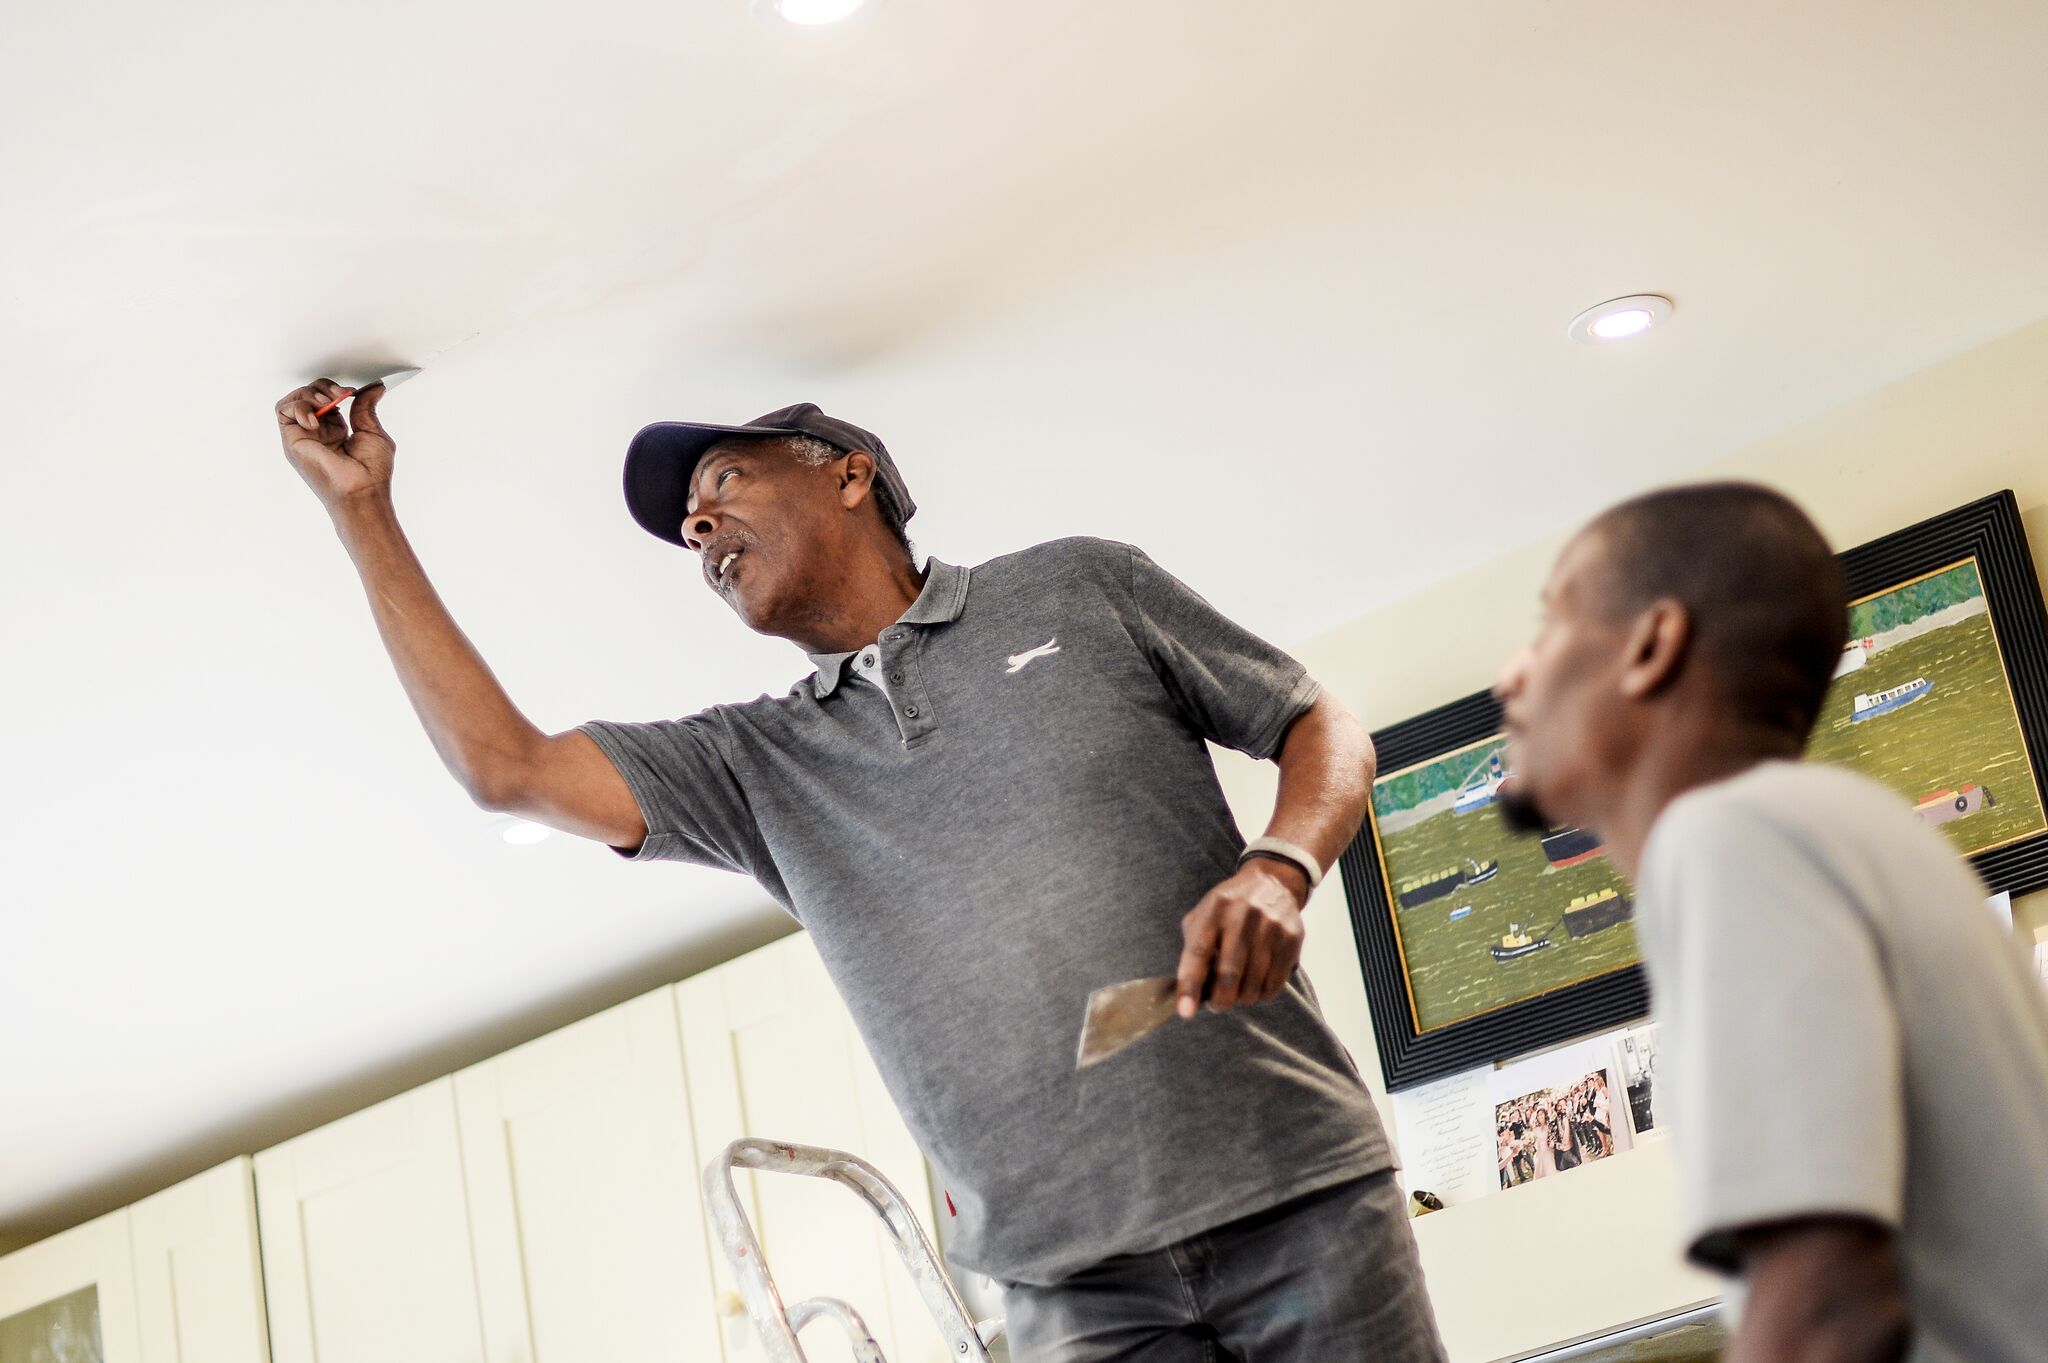
Do you have a knack for fixing broken pipes and leaky taps? Can you do more than change a light bulb, such as replace old electrical wiring and outlets? When something needs repair, maintenance, or installation in your home, do you quickly rush to the scene?
If you answered “yes” and the prospect of earning money from your passion appeals to you, then you can become a handyman!
In this guide, you can learn how to become a licensed handyman and create a steady career or additional income. Read on below.
What you’ll need as a handyman
One of the best things about being a handyman is if you choose to work as an independent contractor, you’re pretty much your own boss. You can set your own hours, choose which jobs to take, and keep all that you earn (after paying the appropriate taxes and deducting the costs, that is).
You’ll need all the appropriate tools, equipment, and certifications or licenses necessary to do your job. Here’s a list of what you’ll likely need on your journey to becoming a reliable handyman.
Tools
As a handyman, you’re expected to tackle many different tasks that deal with various repair or construction issues in different areas of the house. Some of your handyman tasks can include:
- Floor tile repair or installation
- Installing or updating insulation
- Plastering walls
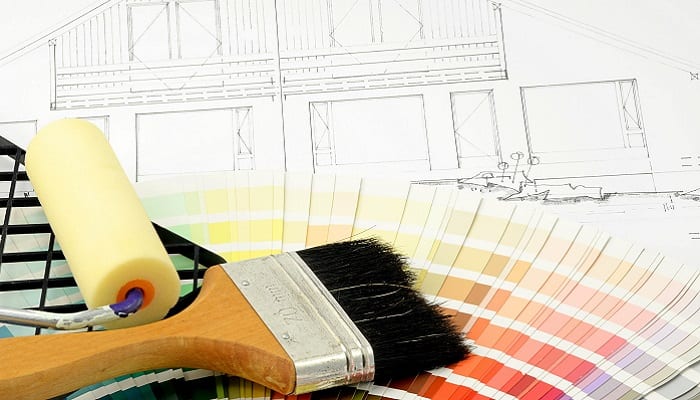
- Painting walls
- Basic electrical repairs or maintenance
- Basic plumbing repairs or maintenance
It’s advisable to get all the tools necessary for plumbing, electrical and carpentry work. Here’s a sample of what tools you’ll need:
- Set of pliers
- Set of screwdrivers
- Set of wrenches
- Set of chisels
- Hammer or nail gun
- Metal snips
- Tape measure
- Spirit level
- Tile saw
- Drywall hawk
- Electric sander
- Stud finder
- Cordless drill with drill bits and hole saw attachments of various sizes
- Toolbox or tool bag
- Electrical tester
- Wheelbarrow
- Marking tools like carpenter’s pencils
- Headlamp or flashlight with clip
These are but a small sample of the tools you might need. Depending on the scope of your work, the list can become longer or shorter. And as you go through training courses, you’ll have a clearer picture of what sort of handyman services you want to deliver, which will help you determine exactly which tools you’ll need.
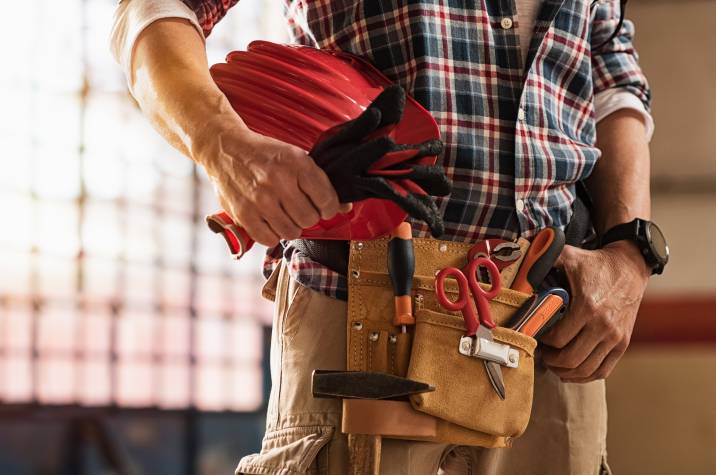
Safety equipment
Apart from the tools to perform your duties as a handyman, you’ll need the proper safety equipment. The basic safety equipment you should have in your kit can include:
- Safety gloves
- Safety goggles
- Hard hat safety helmet
- Safety shoes or safety boots
- Rubber boots (for treading or wading in water)
- Safety harness
- Dust mask
Safety equipment is just as important as your tools. If you choose to work for a service provider or contractor, you can’t always expect them to provide you with safety equipment, so prepare to get your own. Some contractors or customers may not even allow you to work if you don’t have them.
Apart from potential objections from your employer or customer, even the most cautious handyman can’t predict accidents at the worksite, so always have the appropriate safety gear ready.
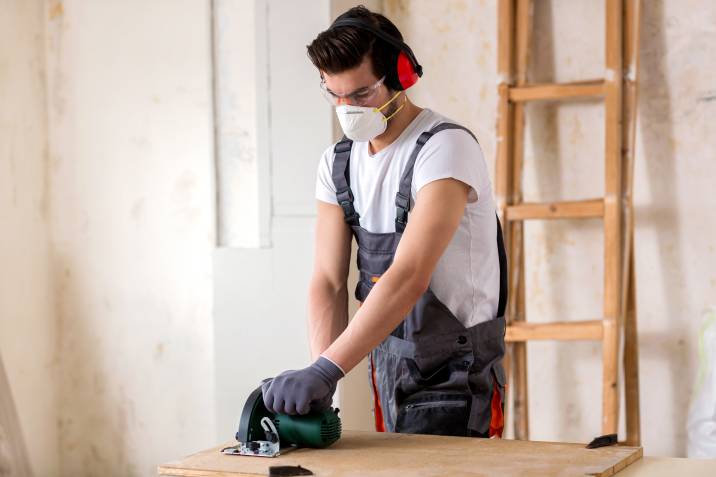
Proper training and skills development
Part of how to become a handyman entails training. Don’t rely on the basic handyman skills you already have when dealing with new or unfamiliar tasks. Without proper training, you’re prone to making mistakes and you may also end up hurting yourself.
You can get training from community colleges, NGOs, vocational schools, or courses offered by government offices. Another way to develop the skills you already have is to apply for an apprenticeship with other experts. You also have the option of joining service companies or charitable institutions that provide training.
Attempting to do work that you don’t have the training or skills for can also result in shoddy workmanship and unsatisfied customers. Here are some of the skills you must have or can develop as you learn how to become a certified handyman:
- Installing windows and doors
- Using power tools and hand tools
- Basic building and construction
- Painting
- Clearing and maintaining rooms
- Clearing and maintaining gardens
As you start, stick with what you know. Declining to do a job is better than doing a bad job, as the latter can get you bad reviews! These bad reviews can ruin your reputation and prevent you from getting more jobs in the future.
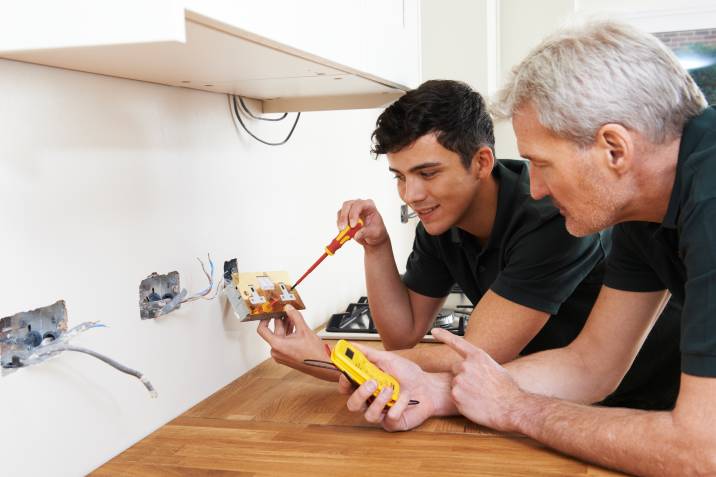
UK licences and certifications
Another advantage of becoming a handyman is its relative ease. If you plan to become a handyman that specialises in simple handyman tasks, you don’t need any special licence or formal training.
However, you can avail of government-certified training courses at accredited universities to upgrade your skills and get certified as a plumber or electrician. You can also get OSHA certification to do more complex construction work.
Insurance
If you’re a handyman, insurance isn’t usually required by law but it’s advisable to have an insurance policy—especially if you work as an independent contractor. Here are the types of insurance policies you can get as a handyman; note that these policies are optional unless required by state law:
- Worker’s compensation insurance
This type of insurance is applicable if you’re working for a service provider or contractor. It covers injuries or illnesses sustained on the job. Most states require this type of insurance for their workers.
- Commercial auto insurance
This covers any accidental injuries or damages sustained or caused by business vehicles. For example, if your van or truck sideswipes another car, your commercial auto insurance pays for the damages or any injuries sustained by the concerned parties.
- Tool and equipment insurance
This type of insurance is used to fix or replace any damaged, broken, stolen, or vandalized tools and equipment. This can cover equipment at your workshop, stored in your commercial vehicle, or at the worksite.
- Professional liability insurance
This covers costs and liabilities due to errors in execution, failure to meet deadlines and stipulations, and other forms of a breach of contract.
- Commercial property insurance
This covers the cost of repairs or replacement of business assets, tools, equipment, and other inventory items due to accidents, work hazards, or natural disasters like earthquakes or floods.
Transportation

You’ll need reliable transportation for your work as a handyman, as having your own truck or van isn’t only about getting to your worksite on time. A business vehicle also serves as secure and safe storage and transport for your tools and safety equipment. In some cases, you may also have to use your truck to procure and transport materials from the supply store to the worksite.
Physical fitness

Handyman work can require significant effort like repeatedly going up and down flights of stairs, lifting heavy equipment, or carrying loads of materials to the worksite.
To be efficient and to be able to handle more handyman jobs, it’s advisable that you keep yourself in decent shape. Try to maintain a level of physical fitness that allows you to lift and carry at least 25kg without too much exertion on your part.
Getting handyman jobs
Once you’ve acquired the appropriate licenses or certifications and training for becoming a handyman, get your tools and equipment ready and start taking on jobs! A good way to begin is to let your neighbours know that you’re now offering your services as a handyman. Here are some simple ways to promote your services:
- Go door-to-door to promote your services in your neighbourhood
- Distribute flyers to nearby areas
- Use social media as a promotion or sales tool
You can also sign up on Airtasker, create a profile, and start offering your services to customers.
Become a handyman, get hired on Airtasker
Working as a handyman in your spare time can be a rewarding part-time gig that boosts your income. To get started, become a Tasker and choose from lots of jobs available on the Airtasker platform. Sign up now!
FAQs on being a handyman
What can a handyman legally do in the UK?
A handyman can do the basic installation, repair, or maintenance jobs around the house. Note that handymen don’t have certifications or licences to do complicated plumber or electrician jobs—for these tasks, they’ll need formal training and government certification.
What skills do you need to be a handyman?
The skills needed to be a handyman include knowing how to do basic electrical, plumbing, and construction tasks. Apart from that, it’s helpful to have problem-solving skills as handyman jobs aren’t always the same. You may have to come up with creative solutions to repair or install different fixtures in your customers’ homes.
Is being a handyman profitable?
Aim to charge a decent rate, attract the right customers, and deliver excellent service to make your business profitable. The trick is to get enough jobs you can do well while keeping your customers happy. Happy customers will not only rely on your services but they’ll refer you to new customers too.


