
Renovating your home needn’t be an intimidating thought, and there’s plenty you can do without knocking down a single wall.
From easy alterations to accessible design style, we’ve pulled together our favourite tips from our talented Taskers to give your home the refresh it deserves.
The stairway to a better… home
One of the most impactful ways to transform your home is by adding some personality to your staircase. A stair runner is an easy and affordable way to do just that – just make sure to opt for a bold colour to make a real statement. This trick is easy to implement on uncarpeted wooden stairs, but even without them, ripping up the carpet, sanding, then painting/varnishing isn’t too a technical job to sort yourself.

Source: Pinterest – House & Garden Magazine UK
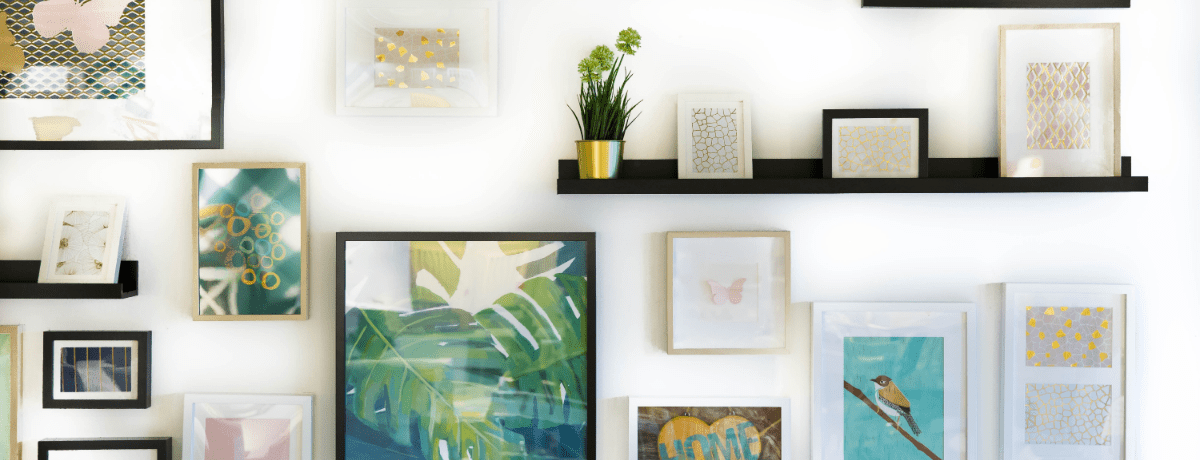
Get to know Billy (… Bookcase)
You all know Billy, right? The Billy Bookcase from IKEA, perhaps their most popular product. Yes, that one. But forget the fact that so many people have it already, this relatively cheap bit of kit is an internet favourite, with a seemingly endless amount of options of how to use it – large in thanks to its adjustable shelves, variable widths and heights, and changeable colour.
Want to create a style or feature wall, add a storage system-cum-kitchen island, or just create your own stylish room divider? BILLY CAN HELP.

Image source: www.southernrevivals.com
Re-tile your kitchen or bathroom
This might sound like a more expensive job than expected, but there are plenty of options from big retailers for reasonably-priced tiles that still pack a punch in the style department. For an easy and budget-friendly option, update your splashback or bathroom with a simple white tile, and try a grey grout for a cool industrial effect. Head to places like Topps Tiles for around 31p per tile.
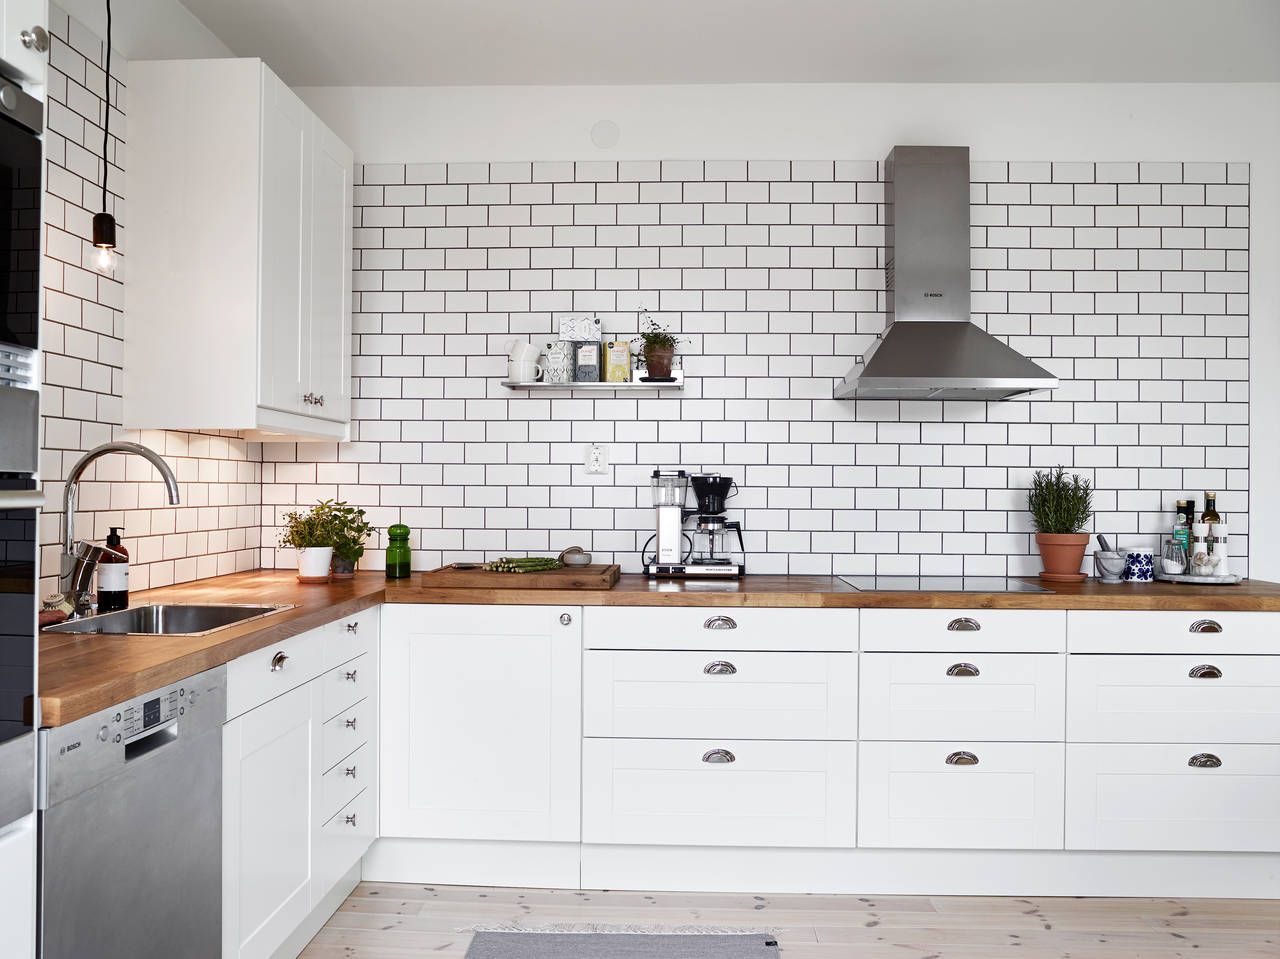
Image source: www.cocolapinedesign.com
A fresh lick of paint
Seems like a simple one, but painting some or all of your house can make all the difference. Use light or neutral colours to give the illusion of more space, or if you really want to switch up the decor of a room while you’re at it, why not paint one wall a bold colour to create a statement design? It’s an old trick, but one that works.
…and forget following the herd and only using luxury paint products, according to most interior designers worth their weight in strategically-placed coffee table books, a high street brand like Dulux will do the job nicely.
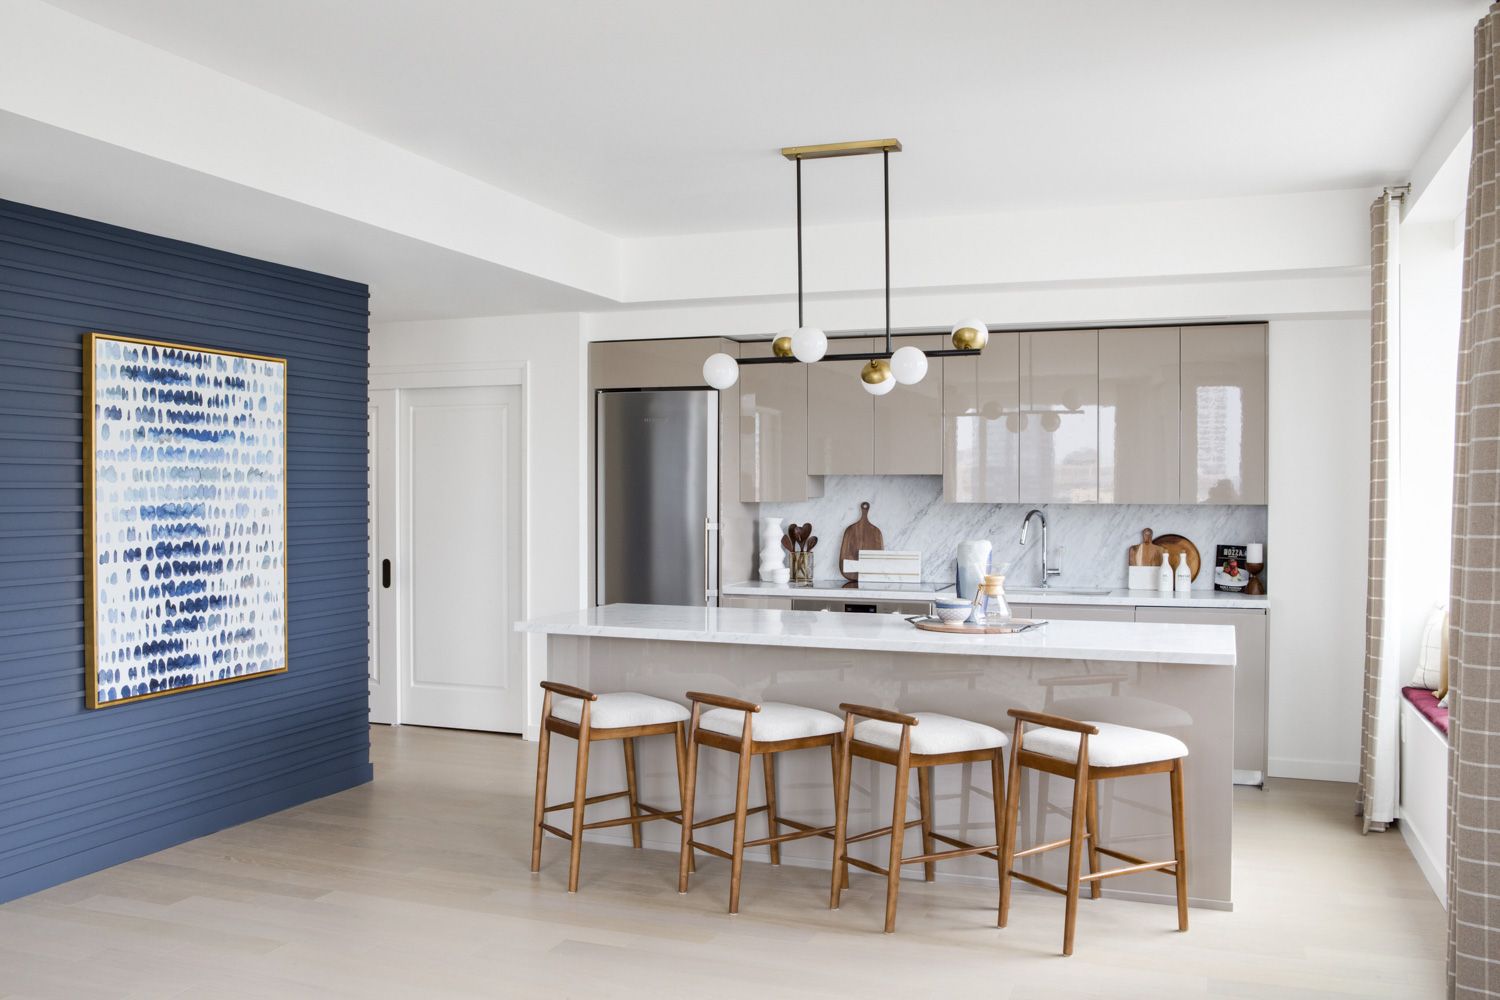
Image source: www.domino.com
Create a DIY headboard
Okay, this one is a lot less intimidating than it looks. If you have a flat bed, a DIY headboard can really bring it to life and make some good use of the drab blank wall space right behind your bed. Seek out inspiration on Pinterest and then prepare to get crafty. You could try some of the ideas below:
- Hang a textile. You could nail a rug or a wall hanging for an easy DIY headboard
- Paint one on the wall. Admittedly, this one requires more creativity and some serious precision. But it can be done on a budget and looks great.
- Paint the lower half of the wall just above your bed. Make sure the line is super straight and presto – you have a makeshift headboard.
- Get creative with some wood. If your DIY skills are up to scratch, build yourself a headboard with shelving in it for function + design.
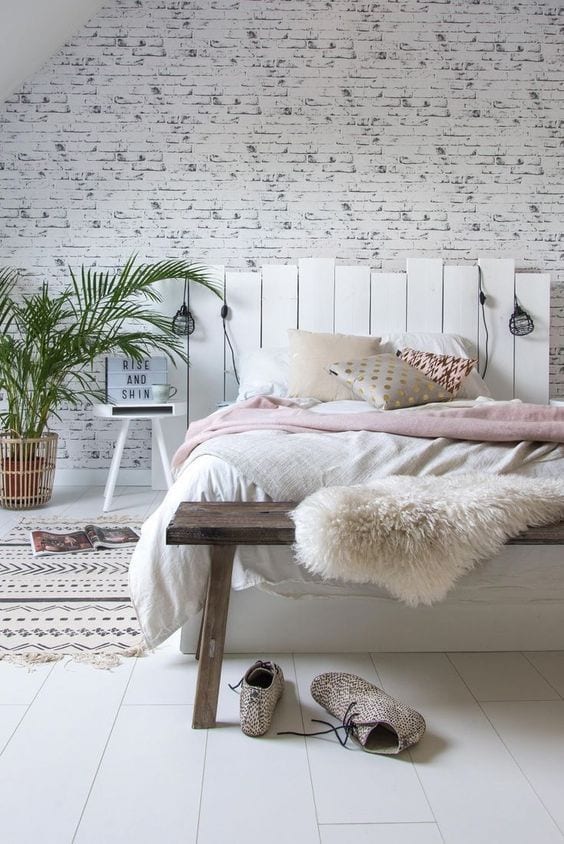
Source: Pinterest – Homedecorbedrooms.club
Lastly, don’t make any cliché mistakes
You’ve decided to refresh your home, and that’s great – but before you hop to it, just make sure you’re all set on the following considerations:
- Do you have the skills to complete the job? Home renovating and decorating can be a fun task, but take on something you don’t have the ability to do yourself at your own peril – you might end up creating more work (and cost) for yourself down the line.
- Have you checked the rules and regulations? If knocking down walls, adding staircases, or adding extensions or conservatories – make sure you have the relevant permission before you start the work.
- Is there enough wiggle room in the budget? One of the top renovation mistakes that almost everyone makes is blowing the budget. To avoid budget blow out, talk to professionals, tradespeople and people who have renovated before, before commencing work.
- Have you properly planned? ‘Fail to plan, plan to fail’ – a cliché quote for a cliché problem. Kicking off any grand plans without properly planning leads to chaos and calamity, just ask Theresa May. Plan everything out, including timelines, where you’ll get your materials, where you’ll find the right tradespeople, and costs involved. You’ll thank yourself for doing so later.

