Found the motivation for a spot of painting but not exactly sure where to start? With a few ideas from our painting services crew, get ready to smock up and get started.
Painting colour ideas
So many colours, so little space..
Other than deciding whether to get handyman help, colour choice is one of the toughest decisions you will make when painting.
Here’s how to nail the perfect colour….
From the outside in

The exterior of your home will make or break your entire colour scheme. A well-executed exterior will add curb appeal to your home and offer long-term return on investment.
- Highlight any architectural features like roof lines, gutters and doors. You can use various shades of the one colour, or mix it up using darker shades against lighter colours of paint
- Use your existing landscape and driveway as colour choice inspiration
- Fences help to frame the view of your home and cannot be ignored when selecting your colour scheme. Use a similar colour to the exterior of your home for painting your fence
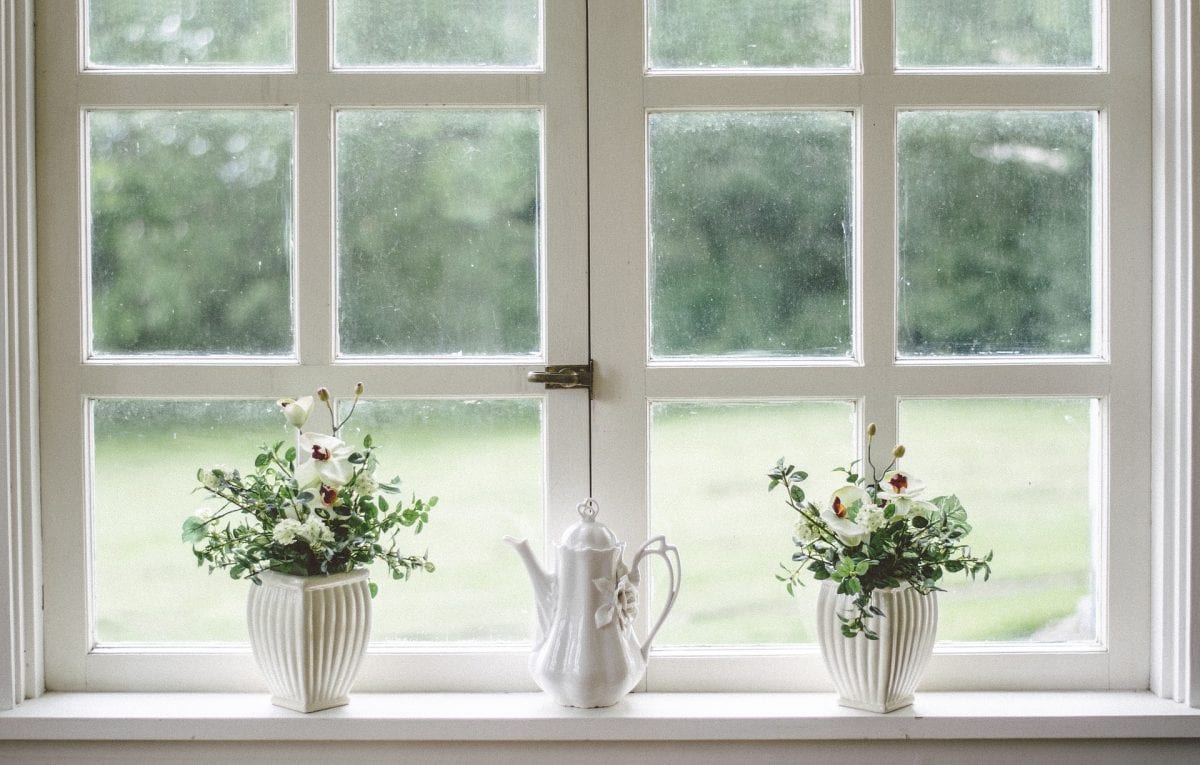
Interior colours
Ensure your interior colours blend with those you have chosen for the exterior. It’s important to have a seamless colour transition from outside to inside, and from one room to the next.
General colour ideas
Dark walls have the potential to make a room appear smaller, whilst light colours have the opposite effect.
Some ideas that can counteract these perceptions are:
- Dark walls with lighter trims make a room appear bigger
- Light walls with darker trims make a room more intimate or homely
Cool colours in a large space can make a room look clinical. Just add some natural elements to the area like timber or textured linens.
Feng shui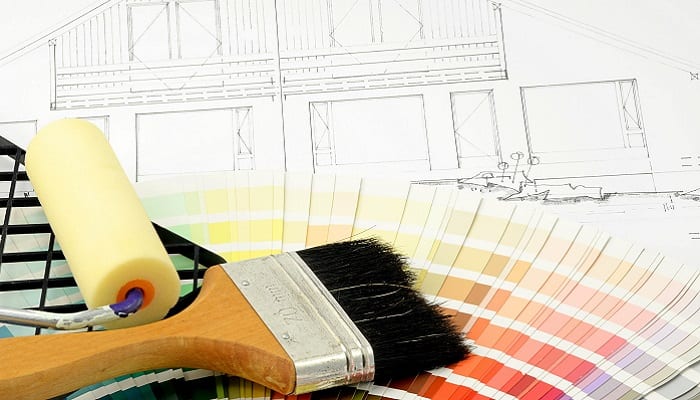
Traditional feng shui principles have been used for centuries with colour selections. These ideas might provide some inspiration for you too.
Bedroom colours
- Blue for calmness
- Green for healing and renewal
- Pink for warmth and energy
Living room colours
Both yin and yang colours should be used to balance a living area. For example:
- Blue, grey, and black for soothing and peacefulness
- Red or yellow represent an energetic vibe
Bathroom colours
Popular bathroom colours include blue, grey, white and lavender for a sense of relaxation to ease the mind
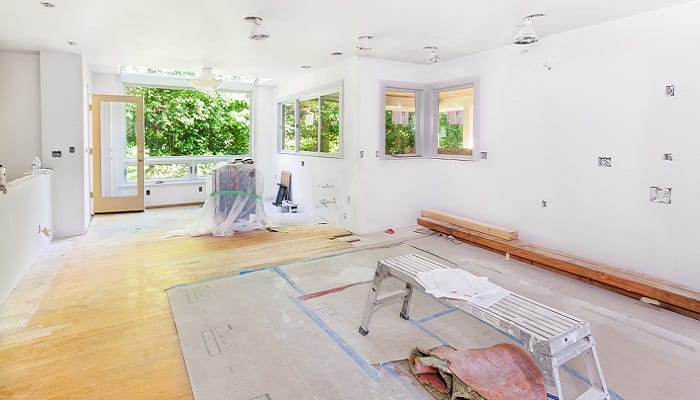
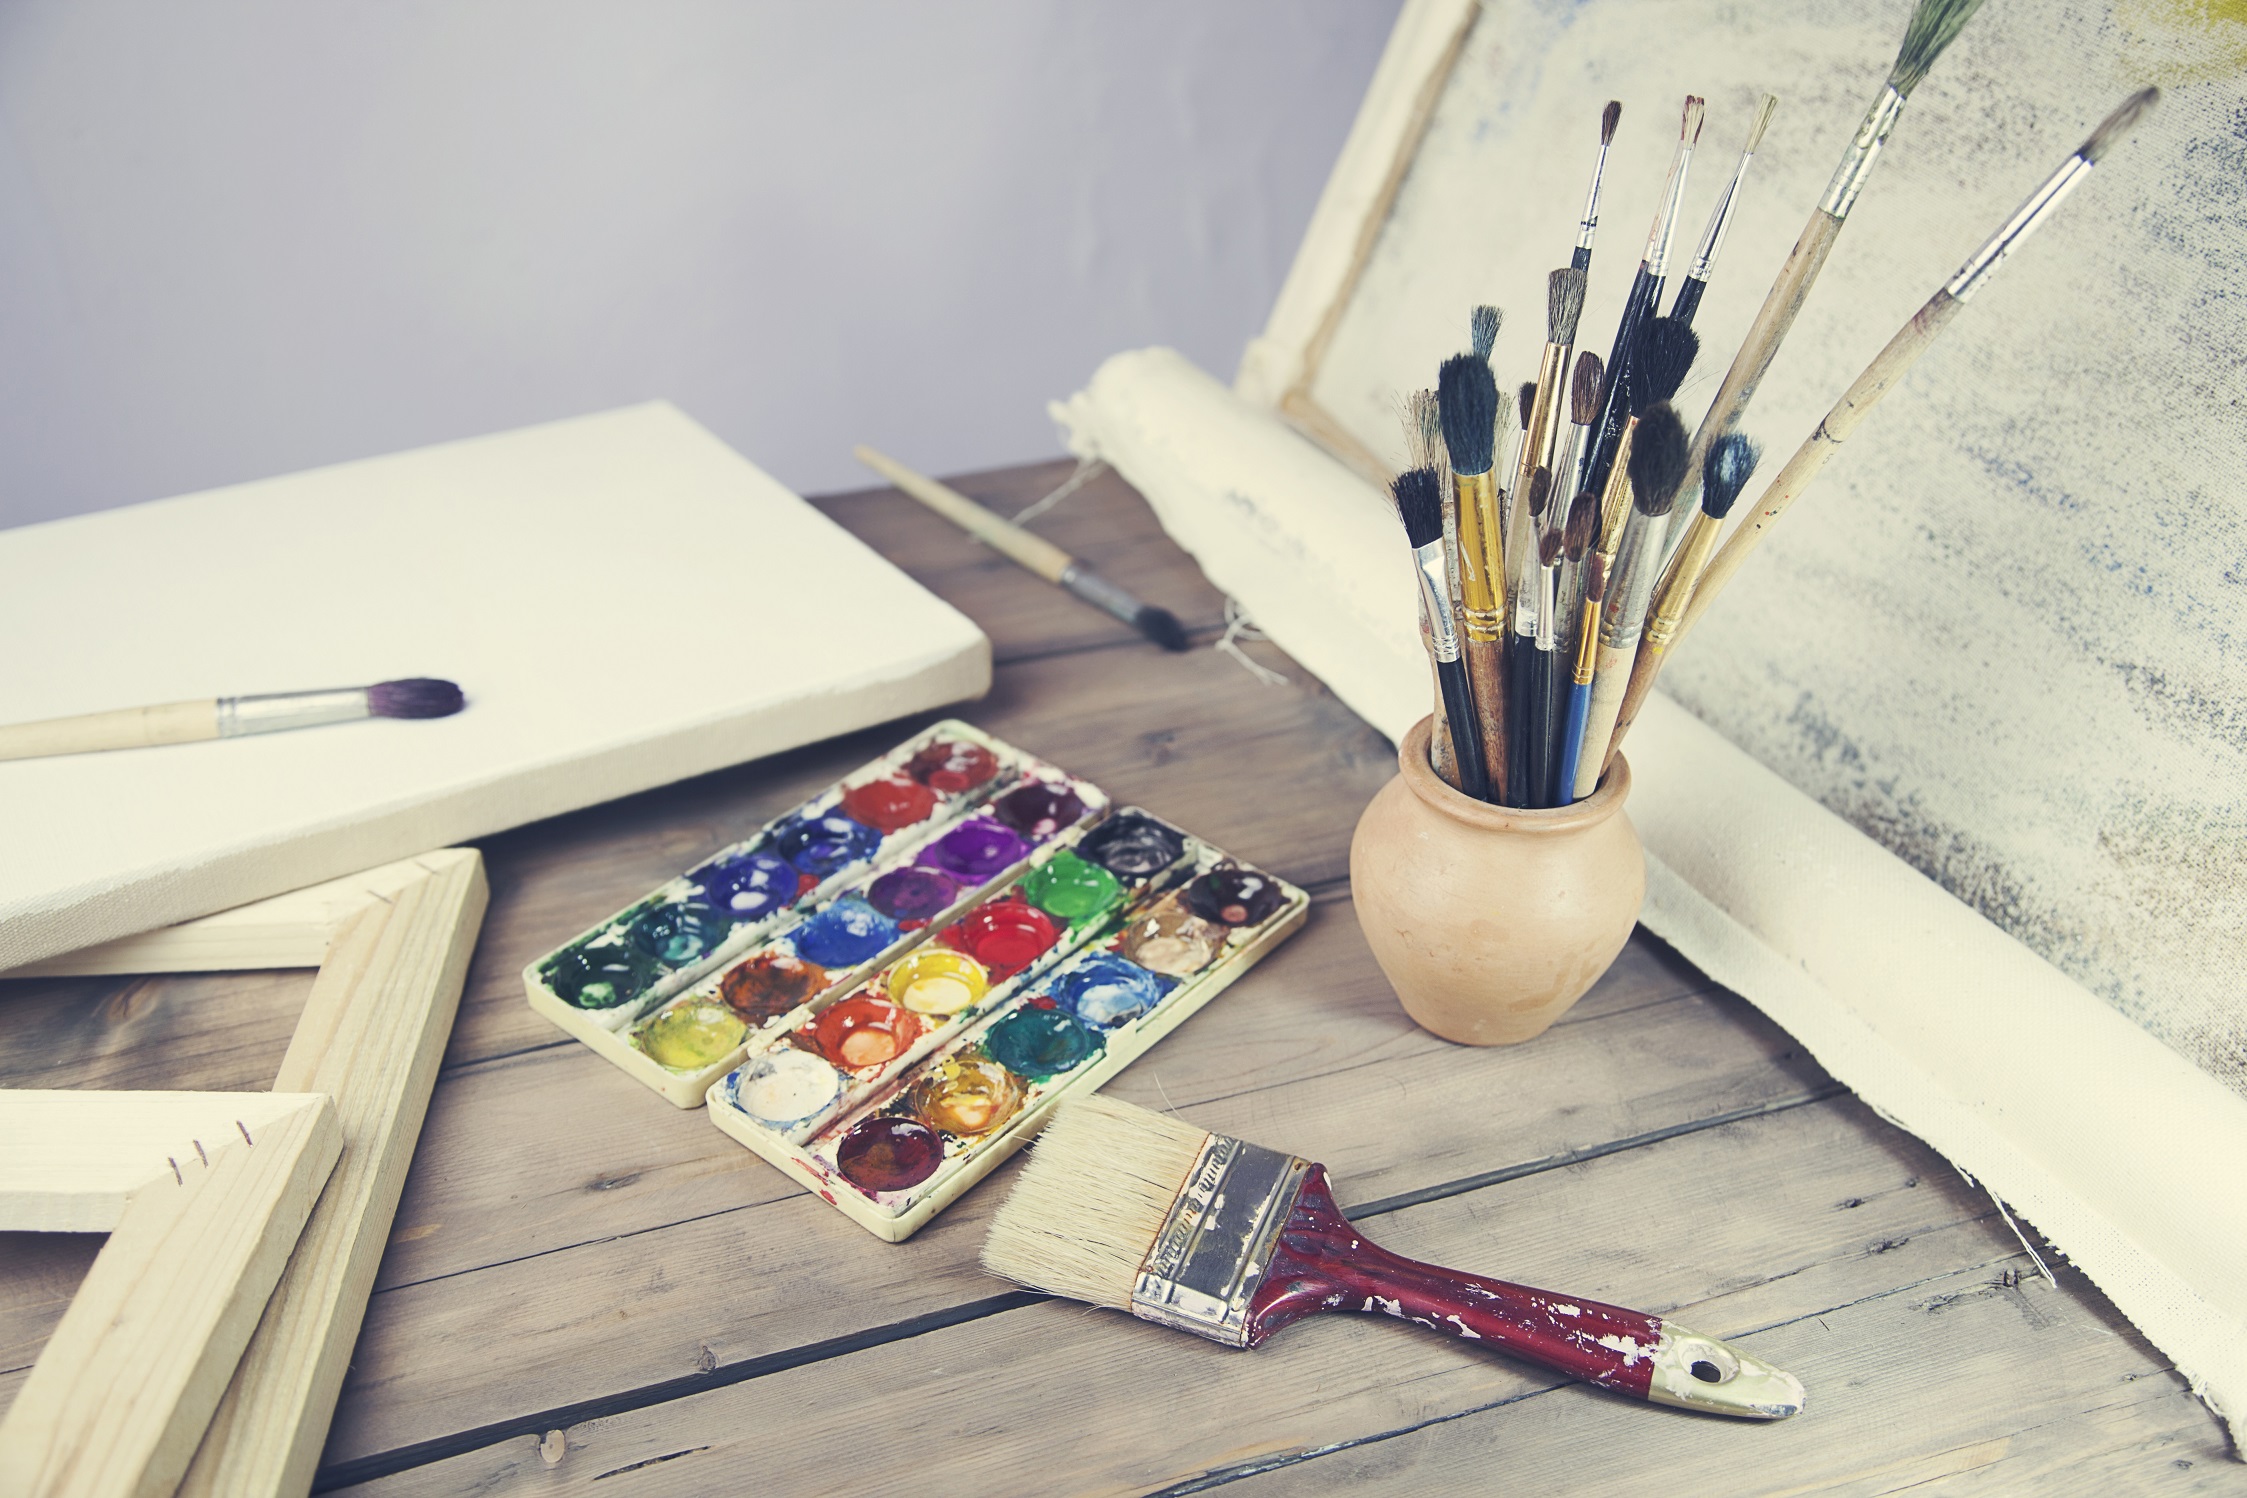
Painting preparation
Get the most out of your time and effort. Prepare your area for painting before you even pick up a brush.
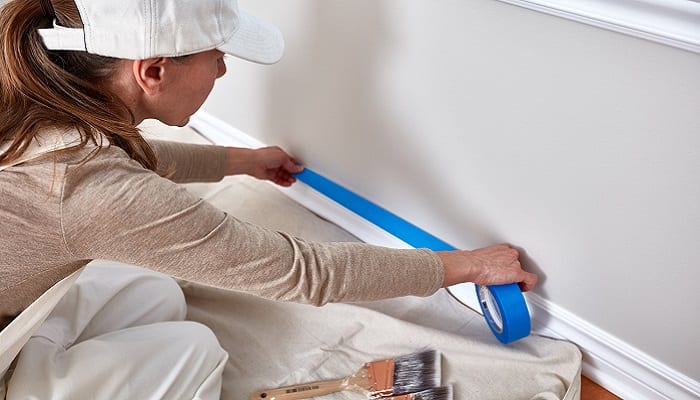
- Remove light fittings and bag any that cannot be removed (e.g. large chandeliers, etc.).
- Tape over power outlets and light switches.
- Clean and dry the painting surface thoroughly – remove any cracked paint, repair dents, cracks, etc.
- Always prime before painting a topcoat.
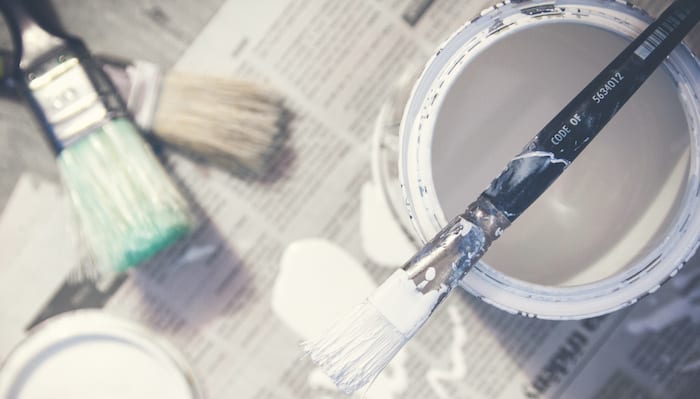
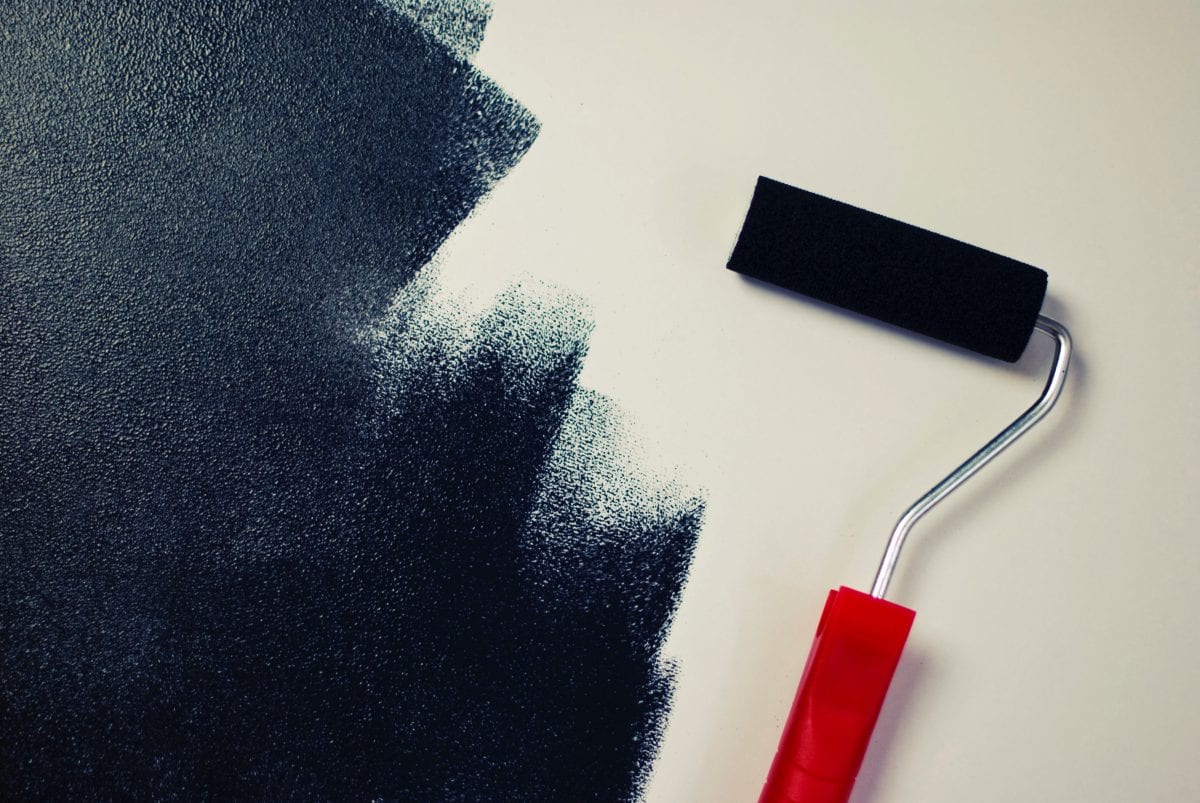
Ideas while you are painting
These ideas will create a seamless painting process for you.
- Never wash your brushes out between coats. Simply seal them in a zip lock bag. If they are too large, put the brush head in a plastic bag then seal it tight with a rubber band
- Keep a damp rag with you to dab up any accidental paint dribbles or splashes immediately. Dampen the rag with whichever solvent is appropriate for the paint you are using
- Don’t cut in too far in advance. Applying paint to a dried area produces overlap stripes and you will undo all of your good work
A sash brush has bristles cut on an angle and will save you having to tape before cutting in.