Spring cleaning hacks and tips

Spoiler: you're going to need a fair bit of baking soda.

Spring cleaning hacks and tips

In a time of Marie Kondo and her uncompromising war on mess, you’d be forgiven for thinking an almighty tidy-up requires a week away from work and an unbreakable promise to yourself you’ll never go back to being that person.

BUT PLOT TWIST: the time-old tradition of Spring cleaning your home from top to bottom doesn’t have to be painful, life-affirming or even time consuming. In fact, we’ve scoured (sorry) the internet to bring together the best cleaning hacks to leave your home sparkling and your calendar unscathed – so grab some sponges, and when the time to comes to scrub, consider this list your cleaning bible.

Want a little help cleaning your home? You’ll find trusted, rated and local cleaners on Airtasker.

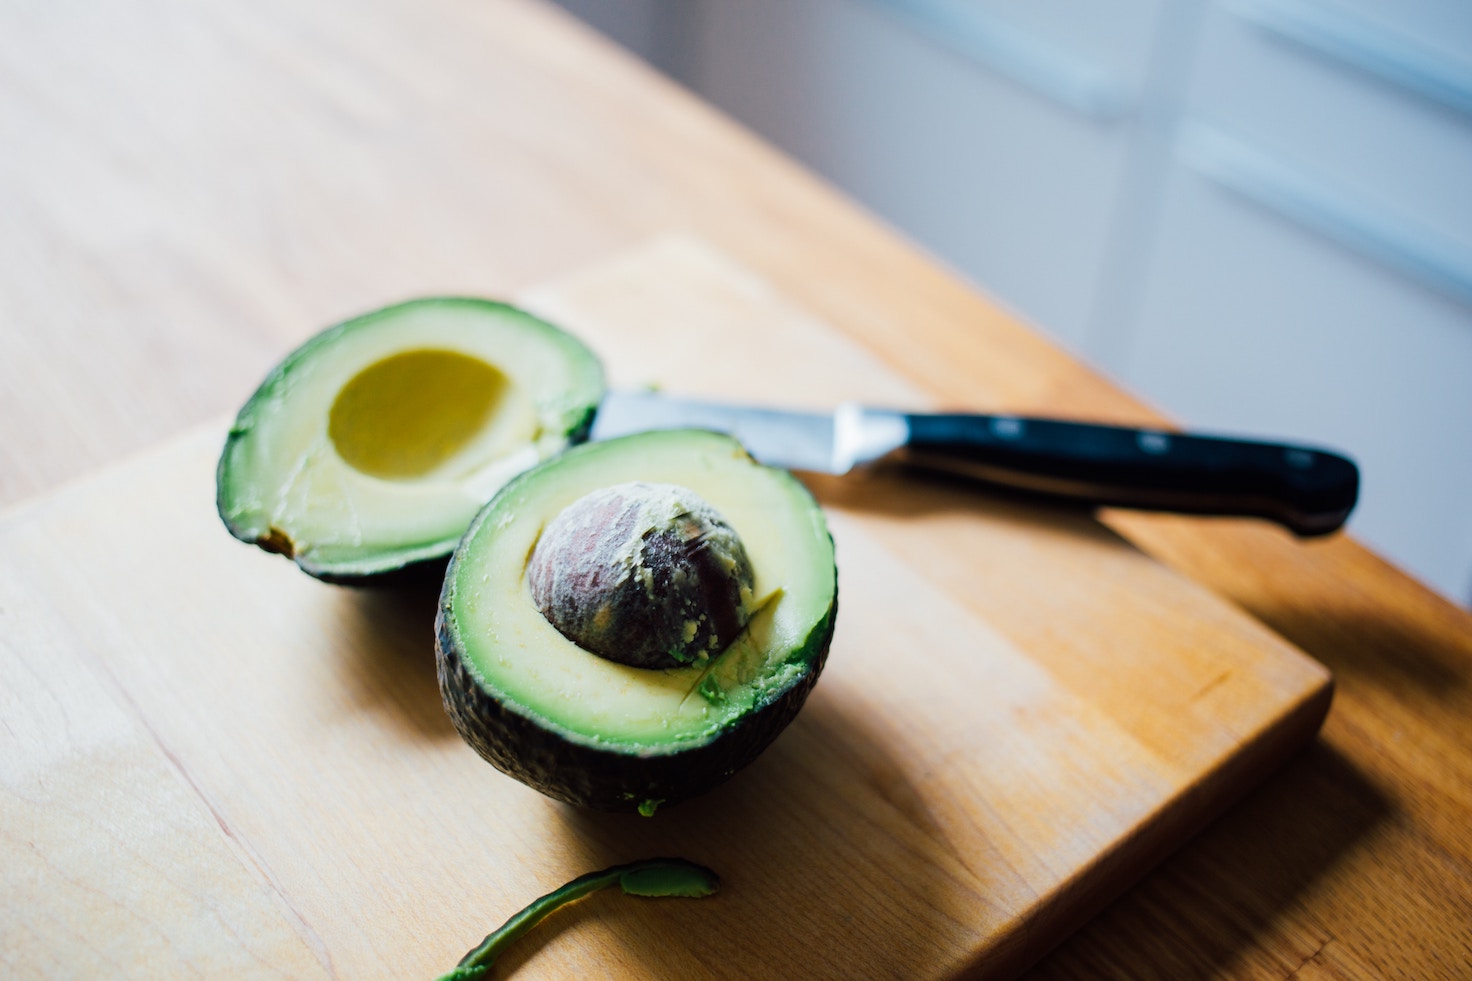
Deep cleaning your kitchen

As you’d expect, a kitchen in any home is a tricky beast to clean. Before you get started, do a quick sweep of any unnecessary clutter that might have made its way in from other rooms, clean the surfaces as you normally would, and give yourself a blank canvas to work from.

Baking soda

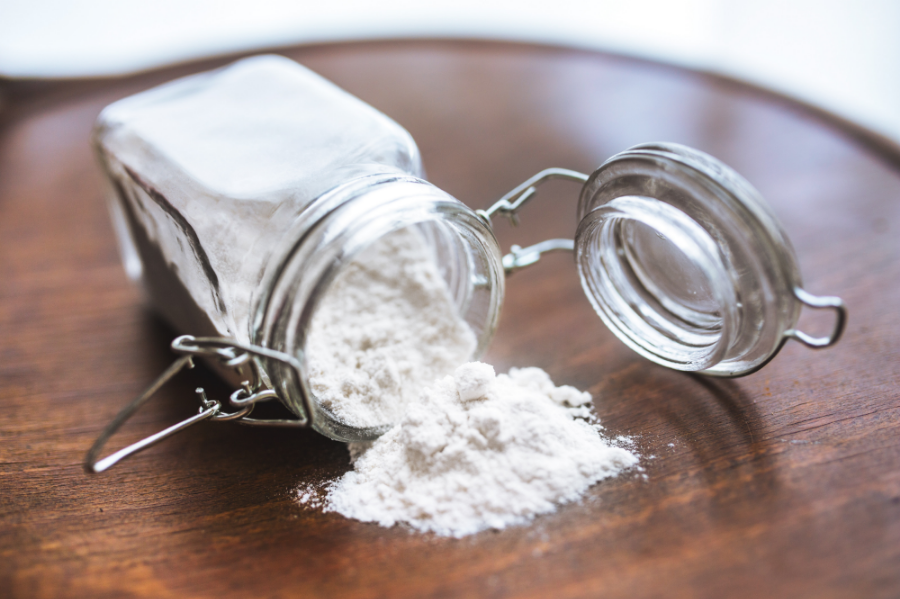
All hail the magic of baking soda.

The oven

Most people will tell you that you’ll need a heavy duty solution to clean your oven; but they’re wrong. Ditch the chemicals and nostril-burning fumes, and reach for your baking soda instead.

Just mix 6 teaspoons of baking soda with 250ml of warm water until you have a smooth paste. Repeat this ratio to get as much ‘product’ as you need.

Oven interior: remove the racks and set them aside, then with a sponge spread the paste over all the interiors and oven door – leave this to set for a few hours (or the night before if you’re prepping), then once ready, with a damp sponge scrub and then rinse the solution away, stains and all.

Racks: You’ve heard the stories of what cola does to bones and teeth, right? Well it turns out it’s also ‘great’ at removing tough stains from metal too. Put the racks in the sink and soak in the cola for around 15 mins, after that, scrub the racks with a scourer and rinse with warm water before adding back into the oven. Ta-daaaa, shiny clean oven racks.

The fridge

It’s a hardworking appliance in your kitchen and every now and again it needs some special attention. There are plenty of ways to keep it organised, but if you’re just cleaning – create your own homemade and eco solution to keep it sparkling. Get yourself a spray bottle or rinse out an old one, then add:

  •  120ml white vinegar
  • 250ml water
  • juice of 1 lemon

Shake up the bottle, empty your fridge completely and then spray your solution everywhere inside. After a few minutes, clean with a damp sponge, and do the same for each shelf if you can remove. This’ll remove any stains and help with any unwanted odours too.
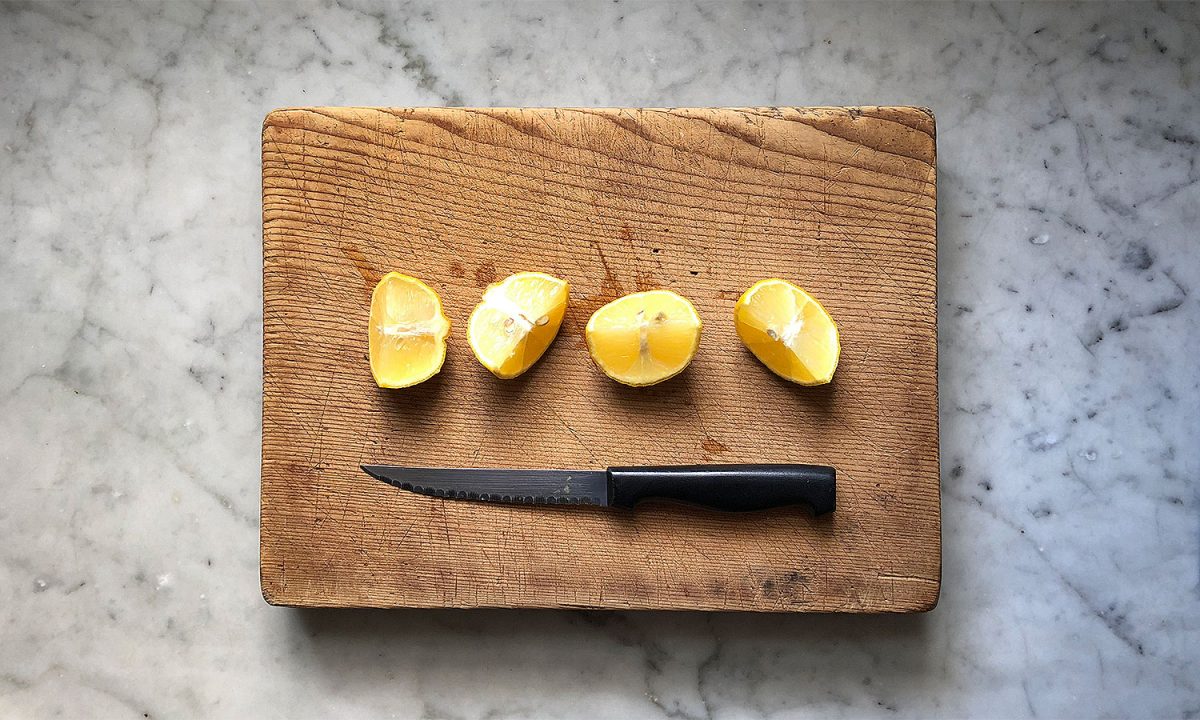
If you’re looking to remove a smell but don’t have time for the full clean, just add an open container of bicarbonate of soda into the fridge and let it sit for a few hours – this will absorb any of those nasty smells.

The kettle

When life gives you lemons, descale your kettle! This eco-friendly hack is a must. Thanks to our relatively out of control tea obsession in this country, limescale isn’t hard to find – however doing this trick ever 3-4 months will keep any unwanted build-up at bay. Just quarter a lemon, fill the kettle up, then boil the water with the lemons inside (twice if you feel like it needs it) – once done, rinse, then re-boil and that’s it! Watch the video here.

Cleaning your walls

Whether they’re in Game of Thrones or in our humble homes, walls are important. And they can also become inexplicably dirty if left without attention for too long. The trick with walls is cleaning without damaging the paint work or wallpaper, but as long as you bear the following in mind you’ll be fine:

Do:

  • Dust the walls lightly before you start.
  • Use a soft damp sponge, and don’t scrub too hard as to not remove any paint.
  • Use a non-toxic solution: warm soapy water works best, but you can also use white vinegar mixed with warm water too (100ml of vinegar in a bucket of water is fine)
  • Rinse the wall with water and a clean sponge after applying.
  • Dry the wall with kitchen towel once you’re done – don’t leave the wall wet as this could result in water stains.

Don’t:

  • Use heavy-duty products or things from your kitchen cleaning cupboard. Just.don’t.
  • Use a sponge that’s too wet, a damp one will do, so ring it out before beginning.
  • Start the process without testing out on a small out-of-sight area of the wall first; just to be safe as to not ruin the wall.
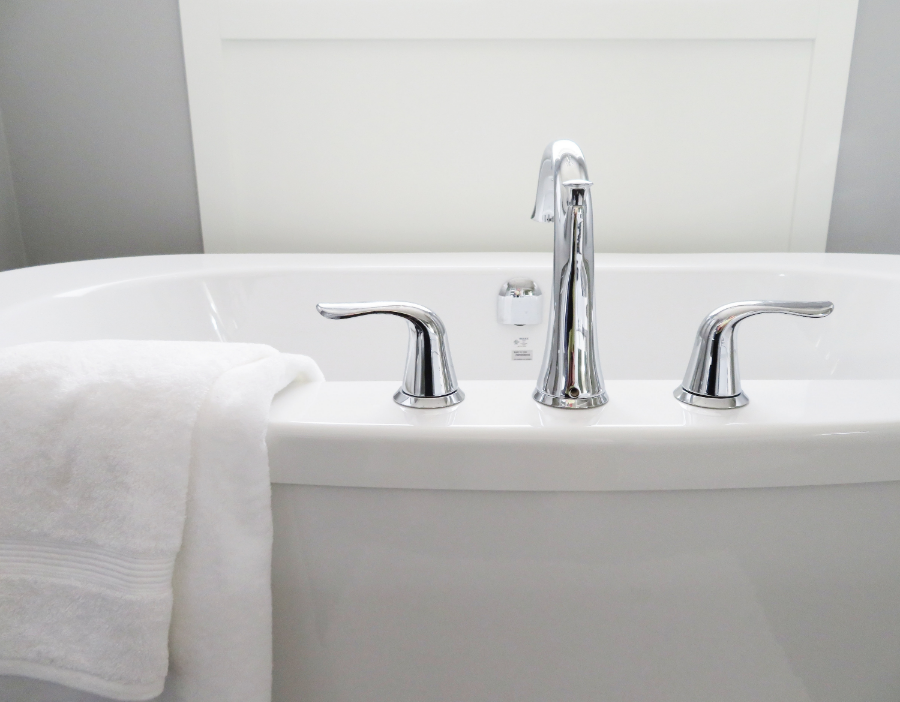
The bathroom

Once cleared of clutter and empty shampoo bottles, the bathroom is actually the easiest place to clean in the house – and yep you guessed it, it’s also easy to do without any toxic products:

You’ll need:

  • Lemons
  • A microfibre cloth
  • White vinegar
  • Baking soda (yep, again)
  • One black tea
  • A few freezer bags
  • A toothbrush (that you don’t mind sacrificing)

Find a cleaner

Removing limescale

Thanks to the sheer amount of water splashing about everywhere, limescale build-up is common in bathrooms everywhere – but it’s also easily removed. Just squeeze a few teaspoons of lemon juice into a spray bottle, mix with some warm water, then spray offending areas with the mixture. Leave for a few minutes, and the acidity of the lemons will allow for an easy wipe away with either a wet cloth or toothbrush.

Cleaning your shower head

Mix equal parts water and vinegar, then half-fill a plastic bag with it. Submerge the shower head in the bag and seal it with tape or an elastic band. You don’t have to remove the shower head if you tie the bag on tightly enough.

After an hour, remove the bag, pour the water and vinegar away, and wipe away any remaining dirt on the shower head.

Hire a cleaner in London

Mirrors

Make a strong cup of black tea and you’ve got an ideal mirror cleaner. Use a cloth to rub it in circles and it will reduce streaks and soap marks. This also works wonders with windows.

Unclogging drains

Start by pouring boiling water down the drain, then pour 75g of baking soda after it and leave for a few minutes. While you’re waiting, mix 150ml of vinegar and 150ml of boiling water together, then pour that down the drain too. Cover the plug hole, leave it for 10 minutes, and then pour more hot water down there. This final rinse will wash all the dissolved blockage away.

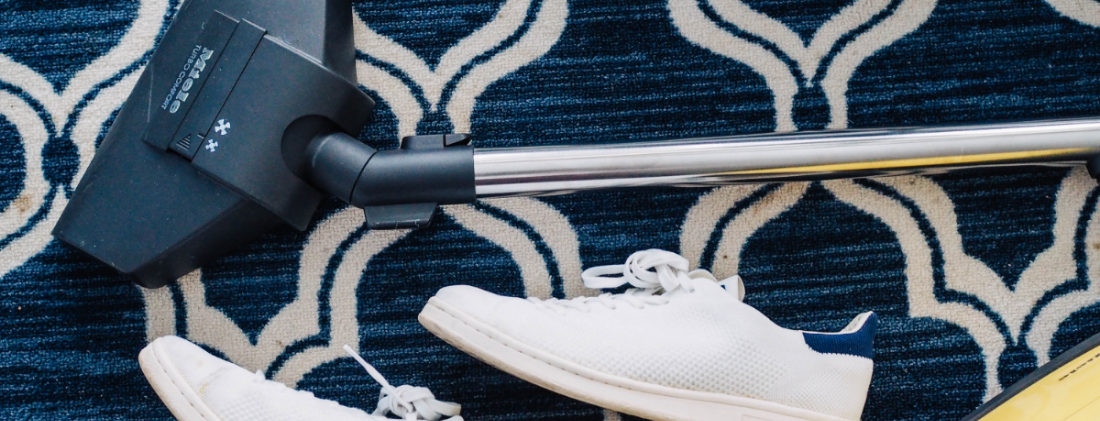
Bedrooms, living rooms and odd jobs

They’re a mecca for comfort and a place to relax, and as such they’re of course well worth looking after. There are a few odd-jobs that need seeing to throughout the remainder of the house, and thankfully, there are a few hacks too:

Sofas and beds

Next time you’re doing the Spring clean, sprinkle some baking powder over your couch or mattress, leave for 20 minutes, then use your hoover attachment to suck up the debris. This little trick ensures a super clean finish, whilst giving the material a freshen up too.

Window shutters

Forget fiddling around with a cloth when cleaning your window shutters, they’re too tricky to get a good grip on and you’ll be there forever. Instead, get a clean sock you don’t mind giving up, make the baking powder and water solution you’ve now mastered, dip the sock in, then put the sock over your hand to easily wipe away any dust, dirt of whatever else the shutters have managed to accumulate over the year. Easy.

Clean your shutters

Vases

Though this seems like an odd one to include, vases are often overlooked and when you do come to use them, you find yourself disappointed with how grubby they look. To get rid of stubborn grime in your vases, easy up the process by adding 200g of uncooked rice, 500ml of warm water and 100ml of white vinegar – swish around and leave for 15 minutes. Empty, rinse, and admire your sparkly good-as-new vase.

Things not to forget:

Try as you might, there are always a few things that are forgotten during your spring clean, here are the ones not to miss:

Remote controls, switches and handles

You use them everyday and though you can’t always see any issues, they can get dirty quickly. Use the same solution as the one you used for the fridge (120ml white vinegar, 250ml water, juice of one lemon) and take that around the house, carefully dabbing with a cloth, and wiping dry afterwards. For electrical items just make sure these are turned off and any batteries removed first.

Extractor fans

Extractor fans above hobs can get greasy and blocked easily; the best way to get around this is to give them a good cleaning every now and again. Using a large stainless steal bot, boil water, and add baking soda gradually – stop when you see it fizzing. Carefully using tongs, lower the filters into the pot. Leave them for 5 minutes, remove, set aside, a wipe clean before adding back into the fan.

Cleaning equipment

We know, we know – cleaning things you’re cleaning with? INCEPTION. 

But all that cleaning has left your cleaning equipment, well, filthy. Make sure to give that mop bucket a good scrub before using, and arm yourself with a pack or two of clean cloths – a little prep will save you plenty of time in the long run.

And there we have it, happy cleaning!

Looking for a little help? Find trusted and local cleaners with Airtasker.

5 ways to clean painted walls

Give your walls a good (gentle) scrub before your move.

5 ways to clean painted walls

Moving out soon?

Other than packing up your entire home, it’s also time to tackle your abode with a good old pre-move clean.

Sure, some areas like the oven are fairly straightforward to clean, and we’re used to regularly cleaning them. But what about painted surfaces like your walls?

Walls can gather grime and dust (don’t ask us how) over the years. And they’re not something we seem to regularly clean (well, most of us anyway).

If you don’t want the hassle of a full-blown paint job, try cleaning your painted walls using the below 5 tactics:

A couple of things before you start though…

  • Don’t forget to dust off any excess dirt before starting. You can do this using a simple duster for those areas you can reach, and a broom with a rag over its bristles for any high areas.
  • Use the right tools to prevent any scratches on the paintwork. A soft sponge will do for cleaning, and a soft cloth for drying.
  • Don’t over soak the sponge. If you do, wring it out properly before cleaning. Dripping can leave water stains on your walls that future tenants won’t love.

1. Wash with a gentle detergent and water solution

Yep, your walls can be washed.

Slightly weird concept when you think about it, but it’s actually the best way to clean your painted walls. Now in most cases, all you need is warm and soapy water. Create a cleaning solution in a bucket using water and your mildest cleaning detergent. Use your softest sponge to apply the solution to your walls.

Have another bucket with just water nearby so you can rinse off the solution about 5-10 minutes after applying.

This simple process should be enough to clean most painted walls.

2. Use white vinegar with warm water for pesky stains

Need something a little stronger? White vinegar, our old cleaning favourite, is up to the task of cleaning off any stubborn stains or particularly grimy walls.

Simply mix a cup of white vinegar with a bucket full of warm water and use your soft sponge to tackle any stains. No need to rinse off after.

For a helping hand with the moving process, connect with removals and moving services in Brighton on Airtasker.

3. Avoid alcohol + chemicals

If you’re heading to your cleaning cupboard to find the right products to clean painted walls with, step away from anything containing alcohol or harsh chemicals. These ingredients can break down your paint surfaces, and leave your walls in more of a mess than when you first started.

If you’re unsure about even the mildest detergent – test it out first. Find an inconspicuous area to make sure it doesn’t contain any ingredients that will affect the paintwork.

4. Use a mild degreaser for kitchen walls

Obviously, kitchen walls can get a little greasy. On top of your washing techniques above, an additional wipe-down with a gentle degreaser should do the trick.

Just follow the product instructions to avoid any streak marks.

5. Spot-clean with baking soda + water

Got a few stains that just won’t budge? Baking soda can (once again) come to your rescue. Spot-clean your walls using a mixture of water and baking soda on a soft cloth or towel.

A half-cup of baking soda in a bucket of warm water should do it. Any crayon or pen marks should come straight off with this nifty little blend.

Again, test out on a hidden area before really going for it.

Find removalists and moving services in Brighton with Airtasker.

5 ways to use salt when cleaning the house

It's for more than just chips.

5 ways to use salt when cleaning the house

Along with its cousin baking soda, salt is a powerful natural cleaning agent and should be part of your non-toxic cleaning arsenal.

Don’t spend your cash on expensive creams, gels, and aerosols. A simple ingredient like salt can clean pretty much everything in your house as well as the best cleaning services in Brighton.

It’s absorbent and anti-bacterial
Salt will suck up moisture like it’s a refreshing cocktail. It’s great for preserving food and keeping it bacteria-free.

It’s tough
The abrasive texture of salt makes it really good at scrubbing away dirt, but still gentle on fabrics and surfaces. It’s non-toxic too, so you can use it on cooking surfaces without worrying about weird chemicals.

Here are some eco-friendly cleaning hacks to try with salt.

1. Clean cast iron pans

If food has been burnt onto your fancy cast iron pans, salt can scrub it away without damaging the metal.

When the pan is still warm, pour some salt into it and use a cloth or sponge to scrub away the stains. When you’re done, rinse it away with warm water, and dry with a paper towel. Put a low heat underneath the pan to evaporate all the moisture.

2. Remove coffee and tea stains

Remove coffee and tea stains from mugs, surfaces, and kitchen counters – scrub with salt sprinkled on a sponge, then rinse with water. You won’t be left with the residue of toxic stuff in your next cuppa.

This method works on a lot of fabric stains too. It’s particularly effective with grease marks, red wine, and sweat (happens to the best of us).

cleaners in Brighton

3. Freshen wooden chopping boards

Mix salt with acidic lemon and you’ll create a very handy chemical reaction.

Sprinkle loads of salt all over your chopping board – the coarser the better. Use a lemon half to scour the surface, and give it the occasional squeeze to let the salt mix with the lemon juice. Leave it to sit for about 10 minutes, then rinse with water and leave to dry.

Not one for scouring and soaking? Find cleaning services in Brighton with Airtasker.

4. Clean a coffee machine, dishwasher, kettle, iron etc.

All kinds of appliances can be cleaned with salt. Add salt to your usual dishwasher cycle, or add salt to the water in your kettle before boiling.

Some coffee machines and dishwashers will come with a recommended cleaning solution, but salt water usually does the job just as well. Just make sure it’s 100% pure salt before you start!

cleaners in Brighton

5. Remove water stains

Water with a high mineral content can leave stubborn stains on surfaces, particularly wood. To remove, mix either lemon juice or diluted vinegar with salt to make a thick paste. Rub the paste into the stain, leave for a few minutes, and then wipe away.

To avoid future watermarks, make sure you wipe them away as soon as you spot them.

Salt is a miracle worker when it comes to natural cleaning. It’s an even bigger winner for parents who don’t want chemicals sprayed and wiped all over their house.

As long as you’ve got salt, baking soda, lemon, and some diluted vinegar in your tool kit, you should be able to clean pretty much anything.

Looking for a cleaner in Brighton? Find trusted and local cleaners in Brighton with Airtasker.

How to organise your garage

Converting your garage into an efficient space isn’t an easy job. Check out our simple tips on how to start organising your garage.

How to organise your garage

How does your garage look right now? Messier than it should?

You’re not alone. Most people tend to use their garage for storing everything, and clutter builds up quickly and easily.

Luckily we’ve got some handy tips on how to organise your garage and make the most of the space.

If you need a hand with the garage organisation process, post a job on Airtasker to connect to friendly locals willing to help. Also, if you’d like to know how much does a garage conversion cost, visit our updated garage conversion price guide.

Converting your garage into a workable, efficient space isn’t a one-day job. It requires careful planning to figure out how to make the most for your space. Start by thinking about the best ways to organise your things.

A key element in your plan should be shelving. There are various options to choose from when it comes to garage shelving systems. You can choose from metal shelving, wire shelving, wall shelving, cube shelves, custom-made shelving systems, storage racks and the list goes on and on.

1. Metal, Wire & Mounted Shelving

This shelving system combines metal mounted shelves with a series of adjustable racks so you can custom fit it to your space. Invest in different sized tubs and bins to help you tuck away all the ad-hoc items lying around.

Garage 1Source: unclutterer

The next two shelving systems utilise the full space of the wall. You can add storage bins or wire baskets to store items, and also store longer pieces such as sporting equipment or tools.

Garage 2Source: simplyorganized

Garage 3Source: houzz

2. Industrial Shelving

Industrial shelving systems are often found in garages as they’re so versatile. You can also adjust these easily according to the amount of space available.

Garage 4Source: garage-shelving

3. Cube Shelves

Cube shelves can be deceiving as they don’t appear to hold much. But you’d be surprised how much you can pack into them using a variety of baskets or bins.

Garage 6Source: antiquefarmhouse

4. Storage Racks

Make use of all the spaces within your garage, including the ceiling. This innovative storage rack system enables you to tuck away all those bits and pieces you don’t use often but still need to access from time to time.

Have shelving or storage ideas to organise your garage?  Share your tips in the comments section below.  

Need a hand installing storage solutions in your garage or keen to know how much does a garage door cost? Use Airtasker to connect with handyman services in London today.

How to clean the oven

Here’s an easy, non‐toxic solution for oven cleaning!

How to clean the oven

Cleaning the oven is one of those house cleaning chores that we love to ignore (Brits reported it as their least favourite household cleaning task!). Close that oven door, and you can pretend all is well for a couple more months at least!

But this is one chore you really shouldn’t ignore for too long. Ovens accumulate grease and food debris over time, which can result in excessive smokiness and even result in a grease fire.

Plus, the longer you wait to clean your oven, the harder it gets to do. So take a deep breath, buckle down and start cleaning!

Looking to hire a cleaner in London? Find trusted and rated professionals using Airtasker.

Here’s an easy, non‐toxic solution for oven cleaning:

Clean your oven racks

1. Remove the racks from your oven.

2. Sprinkle baking soda over the racks, then spray with vinegar. Watch out for the bubbling effect as the baking soda reacts to the vinegar.

3. Place the oven racks in a large bucket big enough to soak your racks (you can use your bathtub for this too!) If using the tub, lay down some towels at the bottom first.

4. Fill the bucket or tub with enough hot water to cover the racks, and let it sit overnight.

5. The next day, scrub the oven racks with the coarse end of a sponge. Rinse thoroughly after.

Make your own cleaning solution

Clean your oven with items that can be found in most household pantries: vinegar, coarse salt and baking soda.

1. In a spray bottle, combine 100ml of vinegar with 200ml of water.

2. Spray the inside of your oven with the solution, including the inner side of the oven door.

3. Sprinkle baking soda all over the oven, and spray some directly onto any stubborn stains or tough dirt.

4. Sprinkle a thick layer of coarse salt over the baking soda.

5. Spray the oven again with your vinegar and water solution.

6. Leave to sit overnight.

Use some elbow grease

Now you won’t be able to get away with zero scrubbing. But the good news is, with your pre-clean and your homemade solution, the rest of the oven cleaning shouldn’t take much time at all!

1. With the coarse side of a sponge, scrub the oven. Prepare to be amazed at how easily all that muck comes off!

2. Spray with the vinegar and water solution again to remove the last of your oven debris.

3. Wipe everything down with old towels or kitchen towels, and you’re all done!

Time spent cleaning: 2 -3 hours


Time spent getting other things done while the racks clean: 
8 hours


Now that your oven is nice and clean, use it to make the rest of your house smell amazing. Put two teaspoons of vanilla into an oven-proof coffee mug and place in a 150 degree Celsius oven for an hour.

Looking for oven cleaning services in London to assist with the process? Find a skilled tasker to help with the job today.