How to lay pavers on any surface properly
Last Updated on
Whether you want to add a pathway to your property or create a whole entertainment area, learning how to lay pavers will enhance your home while also adding value at the same time.
You can easily customise the look, size, and shape of your paved areas getting a little bit creative with the aesthetic while also creating a functional space in an area that was otherwise unusable.
The best part is, you don’t need to be an expert to know how to lay pavers. It just takes a little elbow grease and some patience. Follow this easy guide that features ten simple steps, and you’ll be paving all over the place in no time at all!
A little planning to start
Before you pick your pavers, spend a little time planning to save creating more stress than necessary. Choosing the right paver is one of the most important steps as some pavers may work better in specific applications.
Once you have found the right paver, follow these easy steps.
How to lay pavers in 10 steps
- Marking out and excavation
- Creating a road base
- Compacting
- Screening sand
- Setting up a string line
- Checking your first row
- Creating an edge restraint
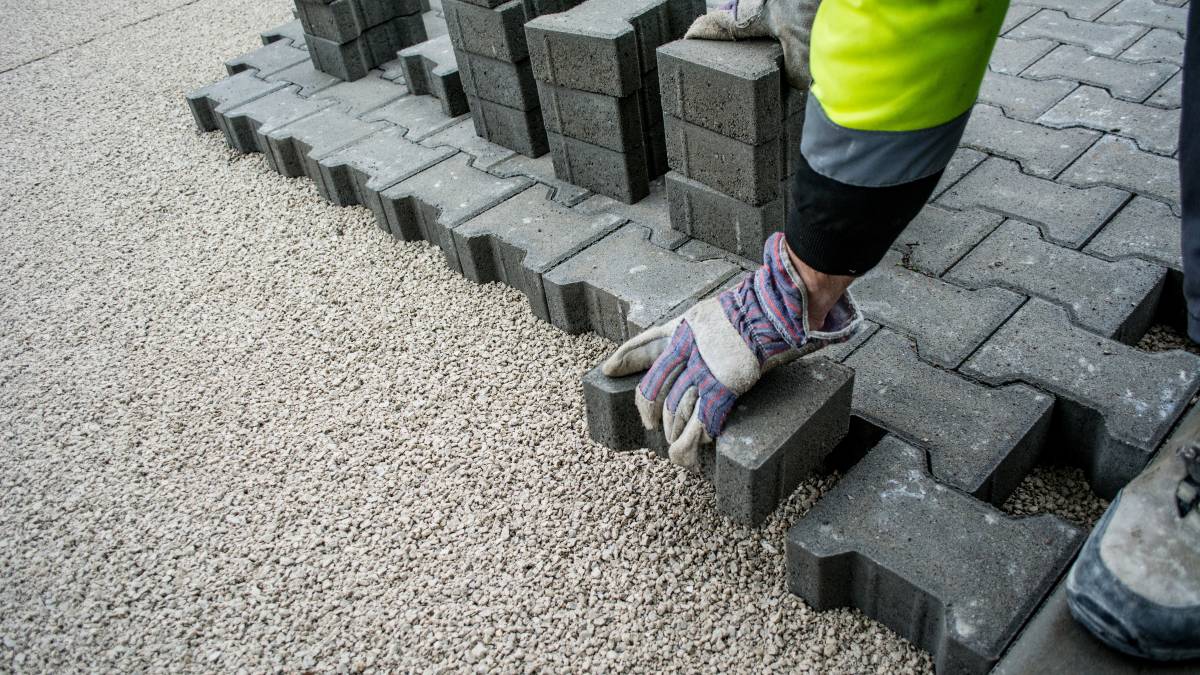
- Setting and positioning
- Final compacting
- Cleaning
Step 1: Mark out and excavate
Mark out the area you want to pave as this will give you the total square metre size which determines how many pavers you need (always buy some extra to allow for breakage). Stake the ground at the corners with string lines between at the desired surface level.
If the area is covered with grass, you’ll need to kill it off and dig it out, so you are working with a clean, flat base.
Step 2: Creating the road base
Your paved area will need a solid base foundation known as the road base, which involves the compacting of any soft spots. Keep in mind that you don’t want the surface to be completely flat as you’ll need rainwater to flow off the finished pavement (preferably away from the house). Aim to create 15mm per metre and make sure your pavers sit below the damp proof section of your house. It is vital that you do not cover damp proof courses or air vents.
Step 3: Compacting
If creating a walkway you want to aim to have your road base around a 75-80mm thick layer; or 100-150mm thick layer for driveways. Allow around 10mm extra for compacting. Run over the area with a plate compactor two or three times in different directions.
Extend the compaction to the outer perimeter of your area to reduce the chances of outer perimeter paving subsidence.
Step 4: Screeding Sand
Next, you’ll lay and screed the paving sand to a depth of 30mm. Take your time with this step as a rushed job could result in an uneven level. When it comes to screeding sand here are the three main things to keep in mind:
- Use two screeding straps placed approximately 1m to 3m apart
- Use a screed rail to level off between the straps. Remove the straps then smooth off the sand before laying the pavers
- Keep the thickness consistent to ensure the pavers will settle evenly
Step 5: Setting up a string line
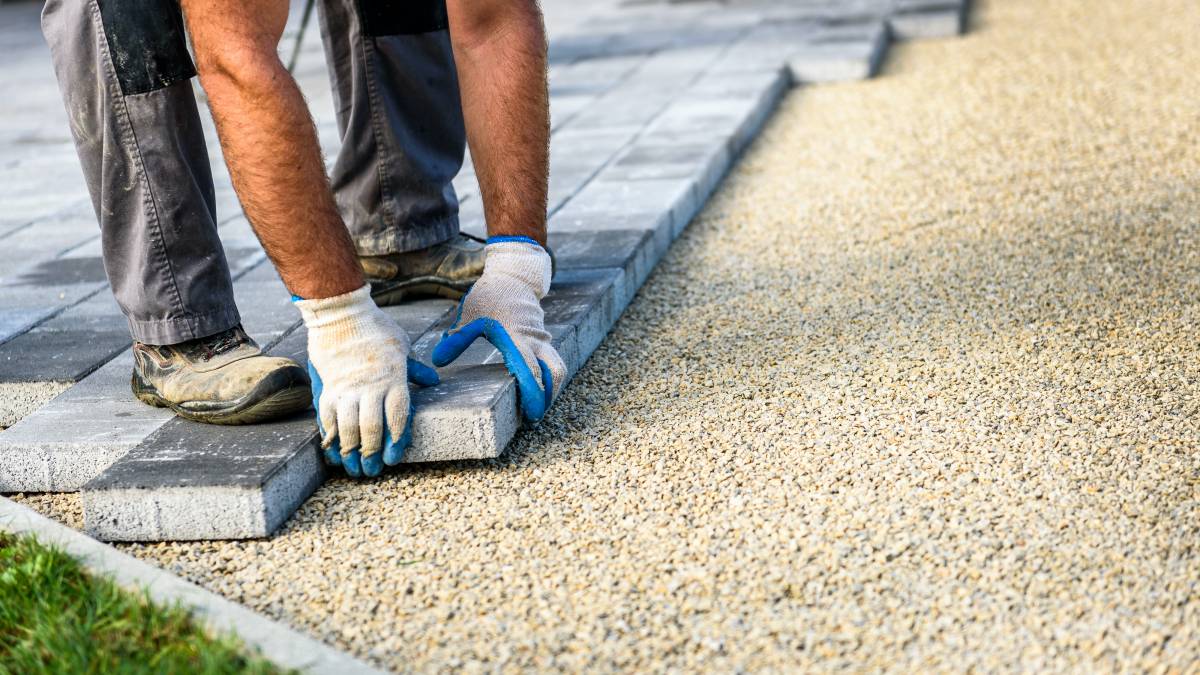
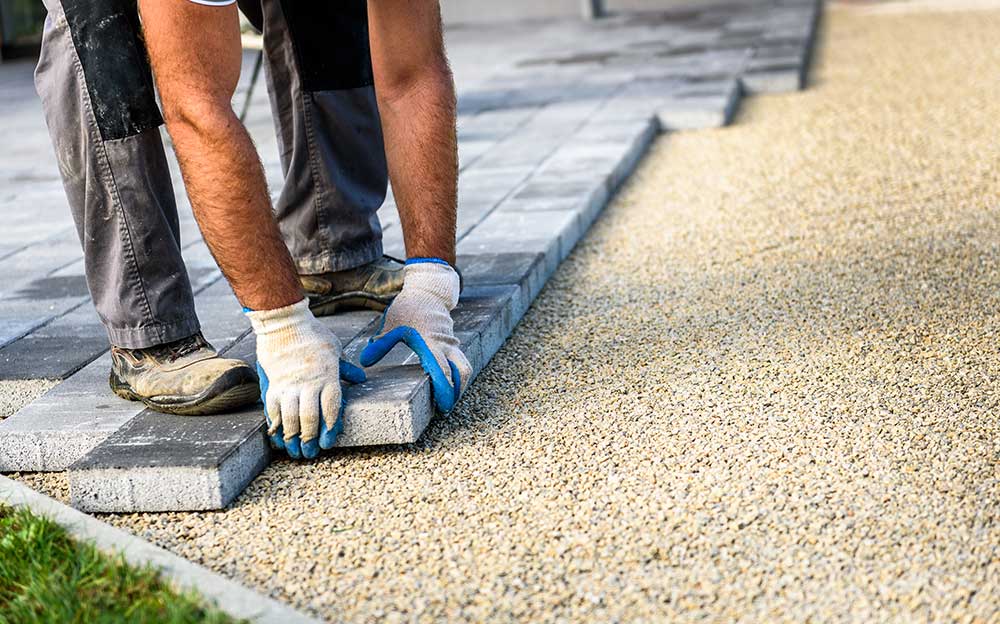
Set up a string line to use as a guide when laying the pavers. This will help you measure the exact height. Once the line is up, start in a corner or along an edge and place the pavers on the screeded sand in your pattern of choice.
Step 6: Checking your first row
After laying your first row of pavers, check them thoroughly as they will be the guide for the next row. When you have laid the second row of pavers, make sure there is a 90-degree angle with a square set. If you need to adjust the laid pavers, do so with a trowel.
Lay the remaining pavers and ensure there is a gap in between them of about 2-3mm. Make sure to work from the top of laid pavers to avoid disturbing the bedding sand that has already been set up.
Step 7: Creating an edge restraint
An edge restraint ensures the paving does not spread or open up after a time. To do this, finish the unsupported edges with a concealed concrete edge strip around 10mm below the finished level. You can also use exposed concrete strips, or set the paving on a concrete base.
Step 8: Setting and positioning
If you’re paving a surface that will have a lot of foot traffic, Pave Set is required to fill the gaps between the pavers. This will secure their positioning and prevent movement or shifting. Pave set is a blend of sand, binder and gelling agents, and it is important to keep the following in mind when using it:
- Do not use it if rain or high winds are forecasted in the next few days
- Do not use it if you don’t have a well-drained base
- Ensure it is not used in gaps wider than 4mm
- Do not use it around swimming pools
- Do not use on steep inclines
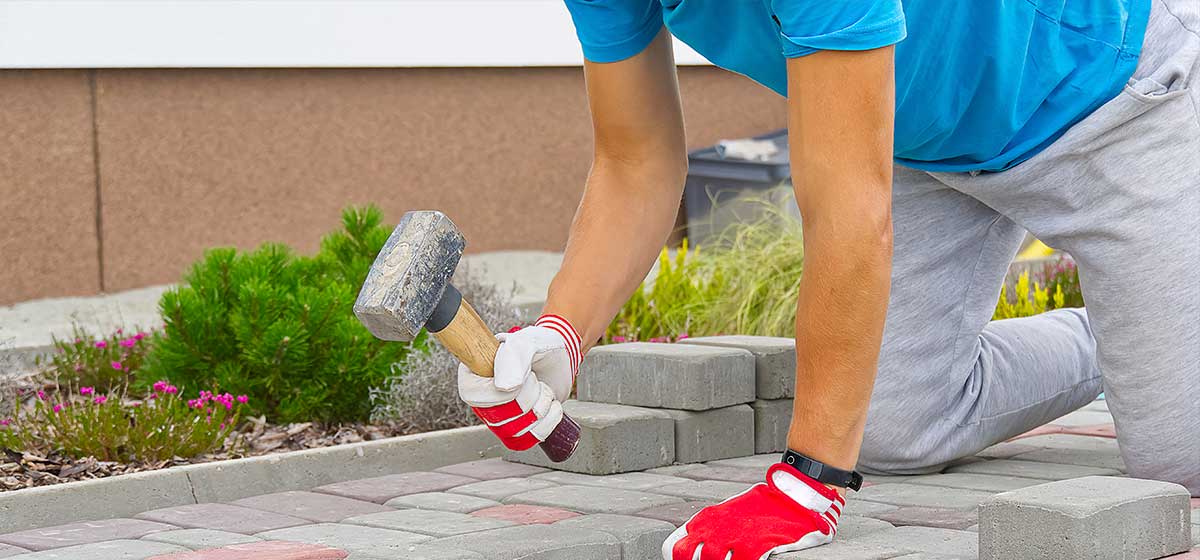
When applying the Pave Set, make sure the area is dry and clean and spread it evenly over pavers, sweeping it into the gaps. Compact the Pave Set with a rubber mallet until the joints are filled. Allow the Pave Set to dry for around two days.
Step 9: Final compacting
When ready, you compact your pavers. If you have some old carpet handy, place it under the compacting plate to avoid any chipping or cracking of the pavers. It is best to use a mechanical vibrating plate compactor with a rubber base which you can hire from most hardware stores.
Place a layer of sweep sand over the surface to protect the pavers from damage when you are doing the final plate compaction.
Step 10: Cleaning
As the final step, hose down your pavers to remove any excess sand. This will also help the sand between the gaps to settle. Let the area dry and if possible, avoid walking on it for 24-48 hours. From there you’ll have a brand new outdoor space to enjoy!
Paving your way to a more enjoyable home
Following the steps above means, you’ll have the ability to pave areas of your home not only to improve its aesthetic and value but also your enjoyment of it!
If you need a little bit of help or want to ensure the job is done correctly, there are plenty of taskers who can help with a range of paving projects. From brick paving to outdoor and driveway paving, you’ll be able to find the right person for the job with ease. You can even find taskers to help you with paving repairs and bricklaying!
Get reading and really make the outdoor areas of your home something to be proud of today.
Paving FAQs
To begin it is important to mark out the area, you want to pave as this will give you the total square metre size, determining how many pavers you need. Stake the ground at the corners with string lines between at the desired surface level. If the area is covered with grass, you’ll need to kill it off and dig it out, so you are working with a clean, flat base. Your paved area will need a solid base foundation known as the road base, which involves the compacting of any soft spots. The surface will need to be completely flat as you’ll need rainwater to flow off the finished pavement. Run over the area with a plate compactor two or three times in different directions and your ground should be ready to pave.
It is a good idea to place sand which you will lay screed to a depth of 30mm under your pavers. Ensure your ground underneath has been compacted and is level, then use two screeding straps placed approximately 1m to 3m apart and a screed rail to level off between the straps. Keep the thickness consistent to ensure the pavers will settle evenly.
Absolutely. Before you begin, spend a little time planning to save creating more stress than necessary. Choose the right pavers and prepare your area to ensure a clean and mostly flat space, with the exception of a slight angle to allow for water runoff. Past this, the most you will need is some hire equipment, like a ground compacter, and the rest of the task can be very DIY friendly. The hardest part is essentially the preparation, laying the actual pavers can be time-consuming but it is one of the main tasks home-improvers can tackle due to its simplicity.
Find paving contractors, fast
Find a paver
Related cost guides