- Home/
- Guides/
- Roof Repair/
- How to Fix Roof Tiles
How to fix your roof tiles
Learn how to fix your roof tiles with this guide.
Get help from a roofing expertLast Updated on
In light of the recent storms that have hit the east coast of Australia, it’s practical to ensure that your roof can withstand weather damage. With the effects of La Niña and other natural phenomena, it’s hard to predict when a storm could hit your area.
Issues like broken roof tiles arise when heavy rain or hail pelt down on unmaintained roofs. If you’re skilled in DIY solutions, you can take the initiative and restore your roof. Here are some tips for repairing roof damage before or after bad weather.
Remember that delaying repairs can cause more trouble to your home such as the problems listed below.
Problems caused by old roof tiles
Water leaks - Old roofs can’t keep water out efficiently, causing mould or mildew inside your home. This could then trigger allergies or respiratory problems.
Accidents and injuries - Broken roof tiles are hazards because they might fall on you or your neighbours and result in costly disputes.
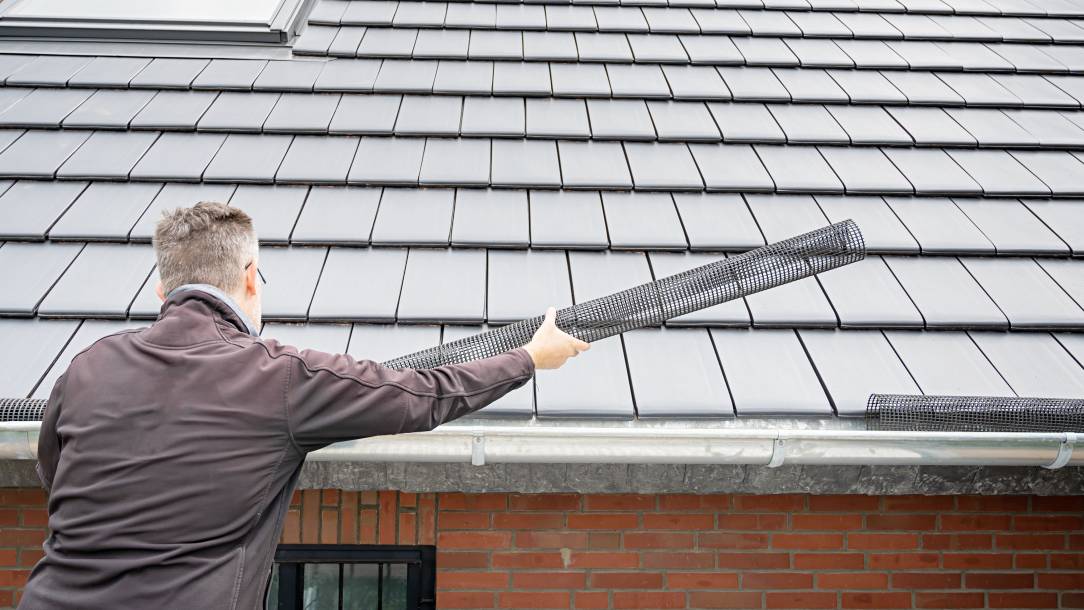
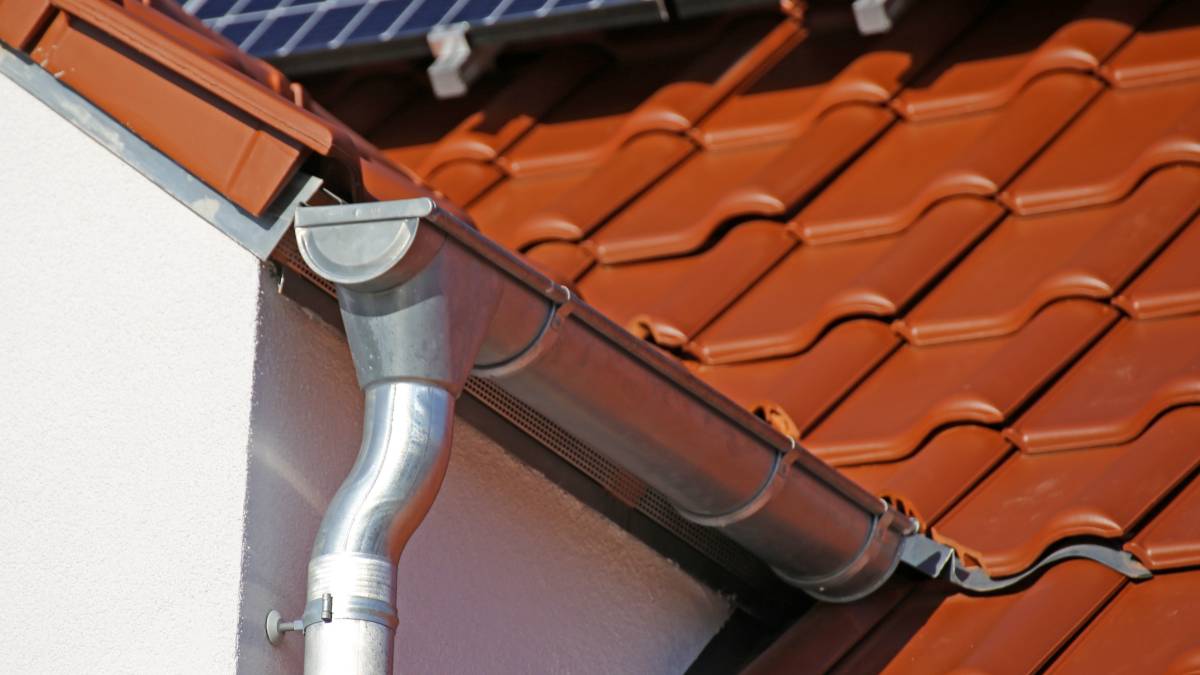
Damaged gutters - Loose shingles might slide and hit your gutters, causing more property damage.
Tools you need for roof tile repair
Before bringing out a ladder, make sure you have the proper equipment to fix roof tiles. You can always consult a roofing expert before performing repairs and installations on your own.
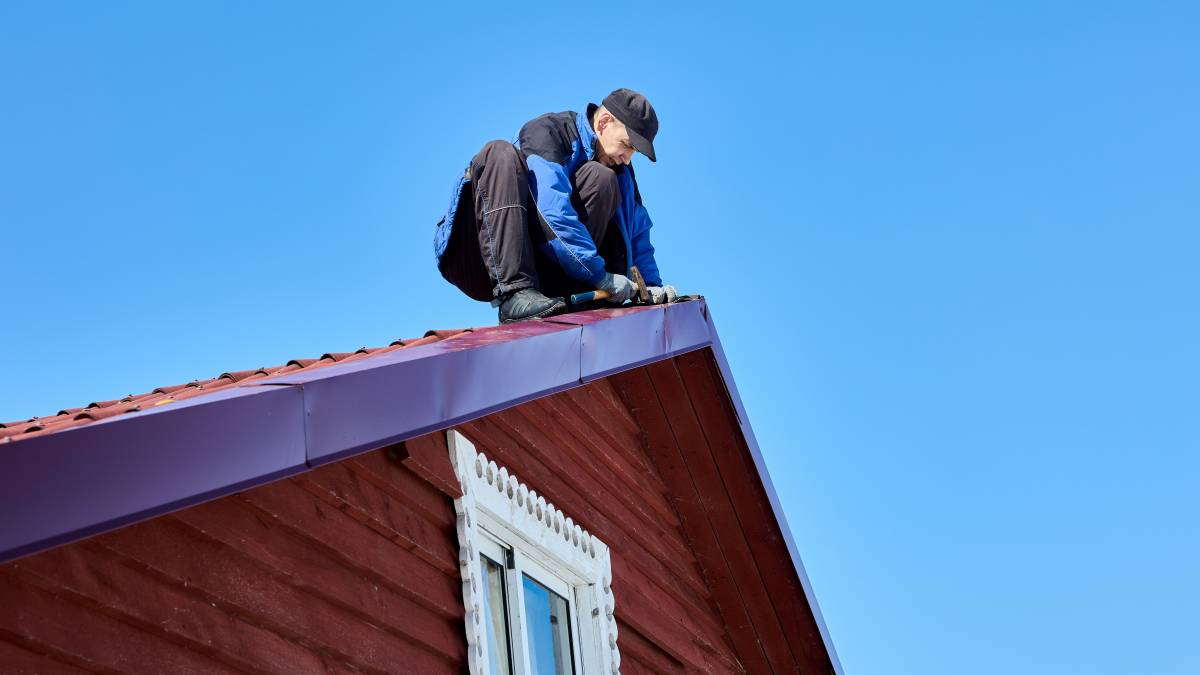
Fall protection gear - According to the Australian Height Safety Services, fall protection equipment is necessary if you’re working at heights of two metres or higher. Get a lightweight harness that will allow you to move freely.
A tool belt - Get a roof belt to hold a few hand tools and a pouch of roofing nails. This way, you don’t have to keep climbing up and down your ladder to get what you need.
A pry bar - This tool can be a big time saver when removing tiles that won’t budge.
A hammer - A staple in any toolbox, your hammer can help you drive roofing nails and pry things apart.
Slate ripper - This tool is used to remove broken and chipped tiles. This will come in handy in taking out your broken tiles to avoid handling them with your hands.
Pincer pliers - These are used to pinch, cut, or pull objects. This will come in handy in taking out the nails of fixed roof tiles.
Roof tile adhesive - Tiles made from concrete and clay can be attached using this adhesive instead of nailing them down. Roof tile adhesive is made of polyurethane, which is known to be extremely strong and resistant.
Timber wedges - These can help you hold up adjacent tiles. They are thin, triangular blocks of wood.
Stainless screw cap and washer - This is a necessary item if your roof tiles are nailed onto your roof. These provide extra security and seal to your roof tiles.
How to repair roof tiles
Step 1: Identify the damage on your roof tiles.
The damage on your roof tiles can easily be seen through cracked or missing tiles, but other times the damage can be hard to locate.
Here’s what you can do to check if your roof tiles need repair:
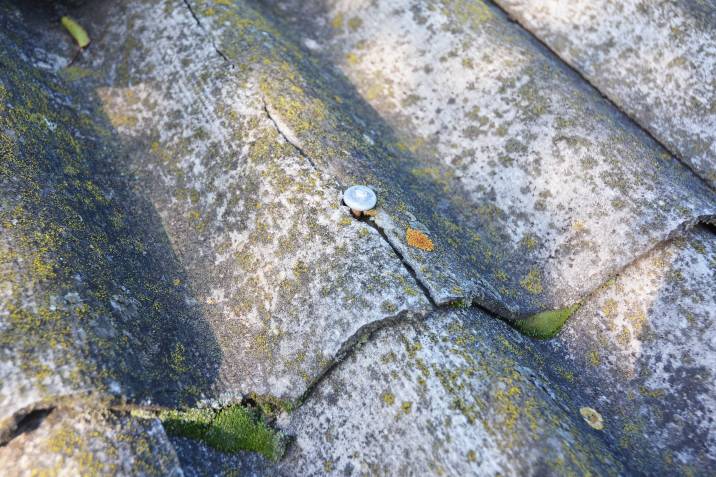
Check for missing or cracked tiles.
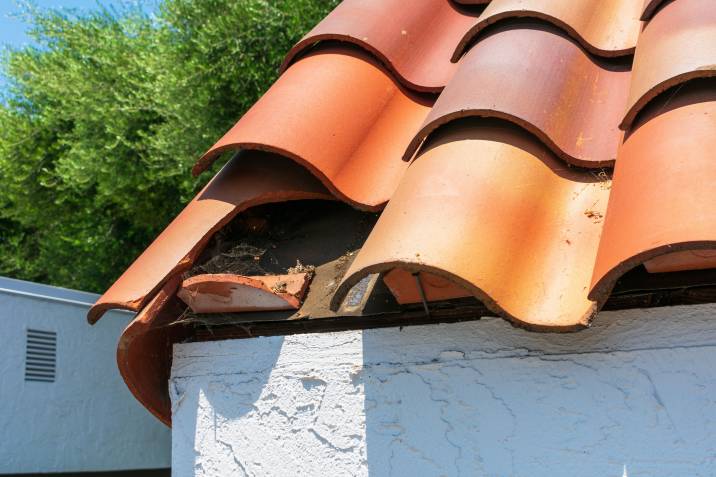
Frequent rain and storms can lead to tiles cracking or going missing. Survey your roof to see if any tiles have suffered damage. Even during the dry season, you should also do a survey for cracked or missing tiles. These problems can indicate that the tiles are getting old and need replacement.
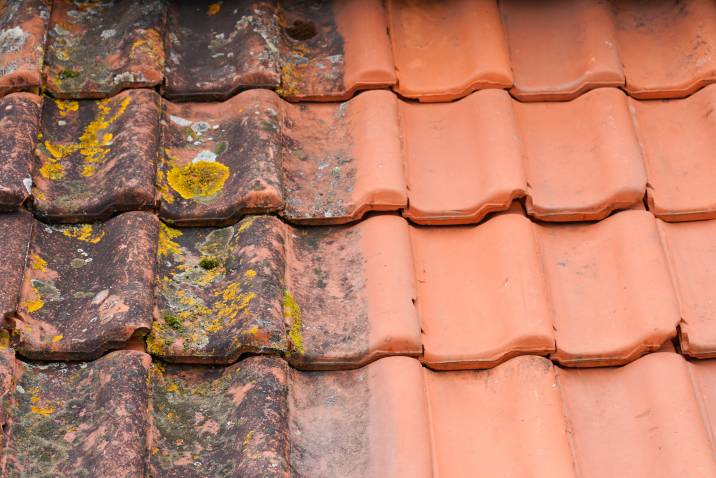
Spot any algae buildup.
Roof algae can easily be spotted with its black-green hue. This usually grows on wood and ceramic tiles. Algae is definitely not a pretty sight to see on your roof, and it can also cause damage as time goes by. This can be fixed by having someone do a regular roof cleaning to prevent moisture buildup on your roof tiles.
If the algae persists after cleaning, it might be time to install new roof tiles. You can always hire a professional to do the roof tile installation for your utmost safety.
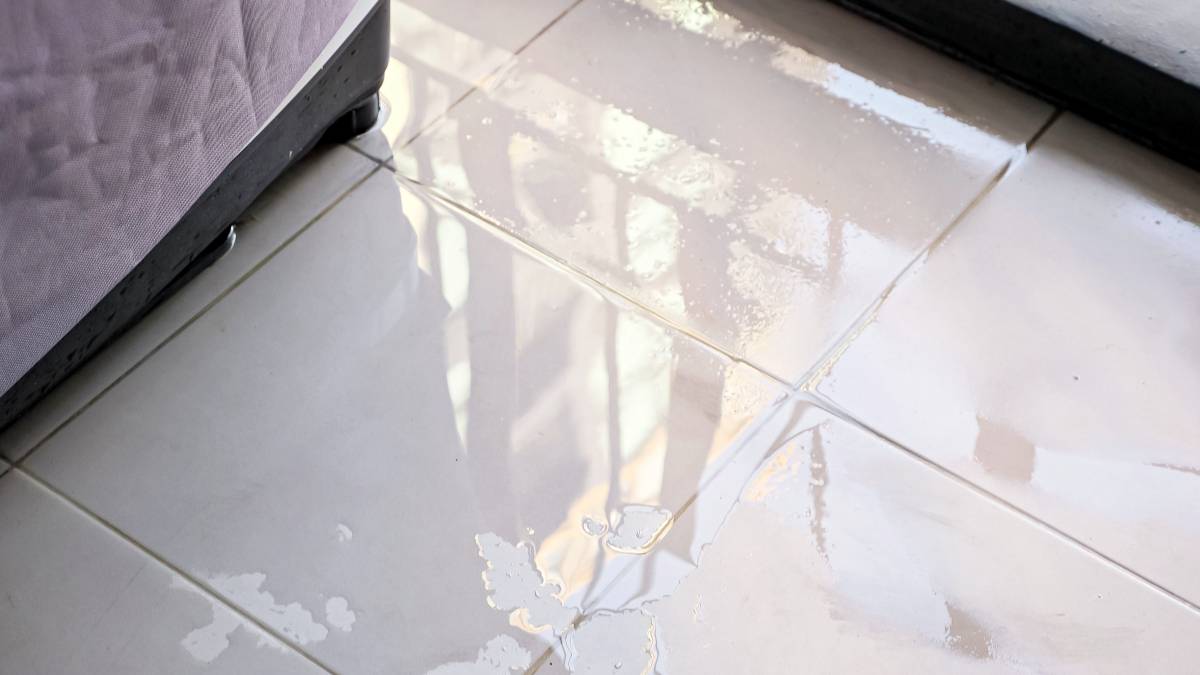
Check for water seepage and interior ceiling stains.
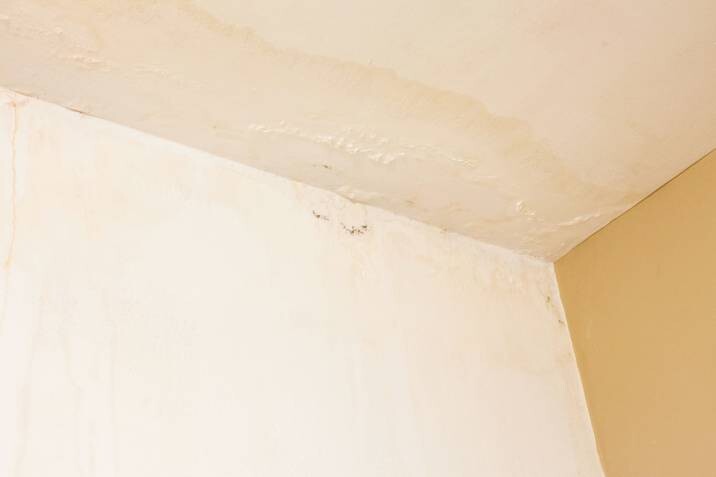
Water seeping under your tiles can be a sign that your tiles were not properly installed. It can also be a sign that the tiles are getting old. Water can even seep into the interiors of your home.
Step 2: Prepare the proper tools and materials for roof tile repair.
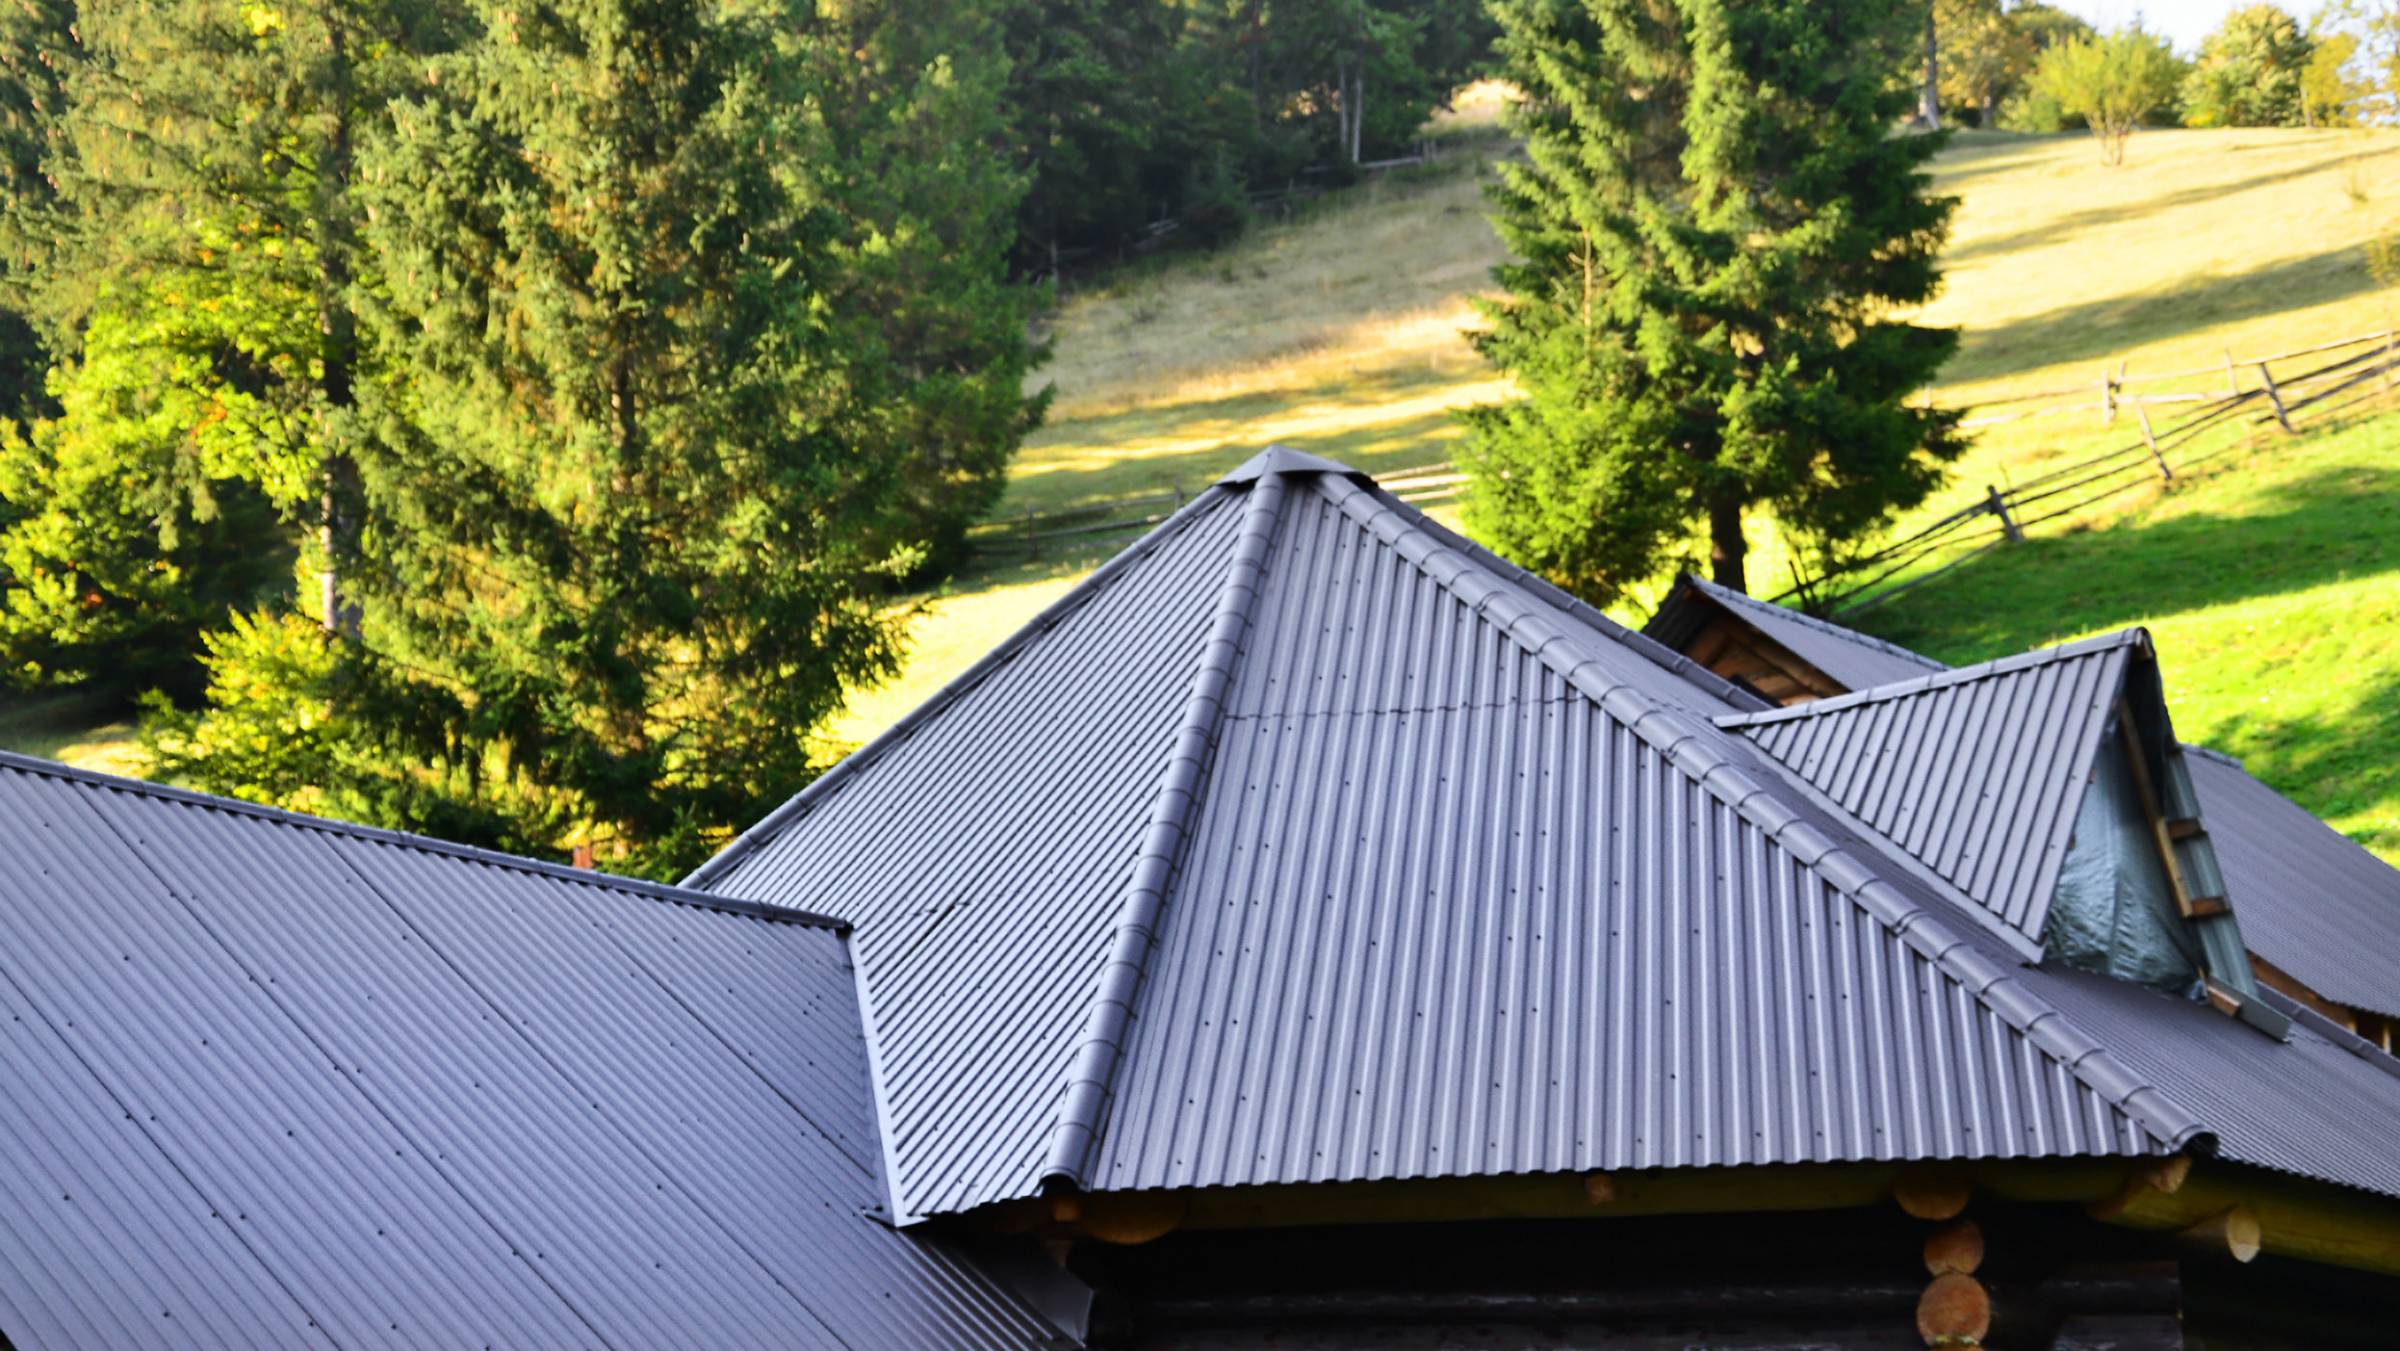
Match your roof tiles.
Carefully match your replacement tiles with your current roof. The new tiles need to be around the same thickness, length, and shape to ensure the symmetry of your roof. Also, your replacement roof tiles should be made of the same material as your old ones.
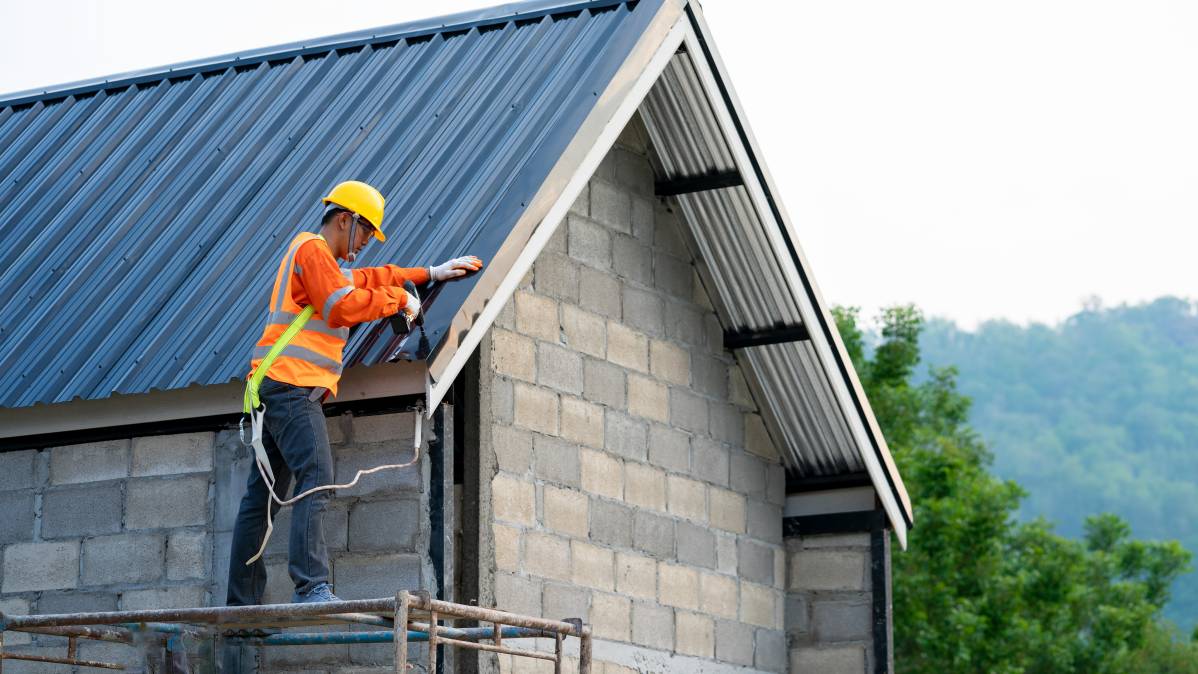
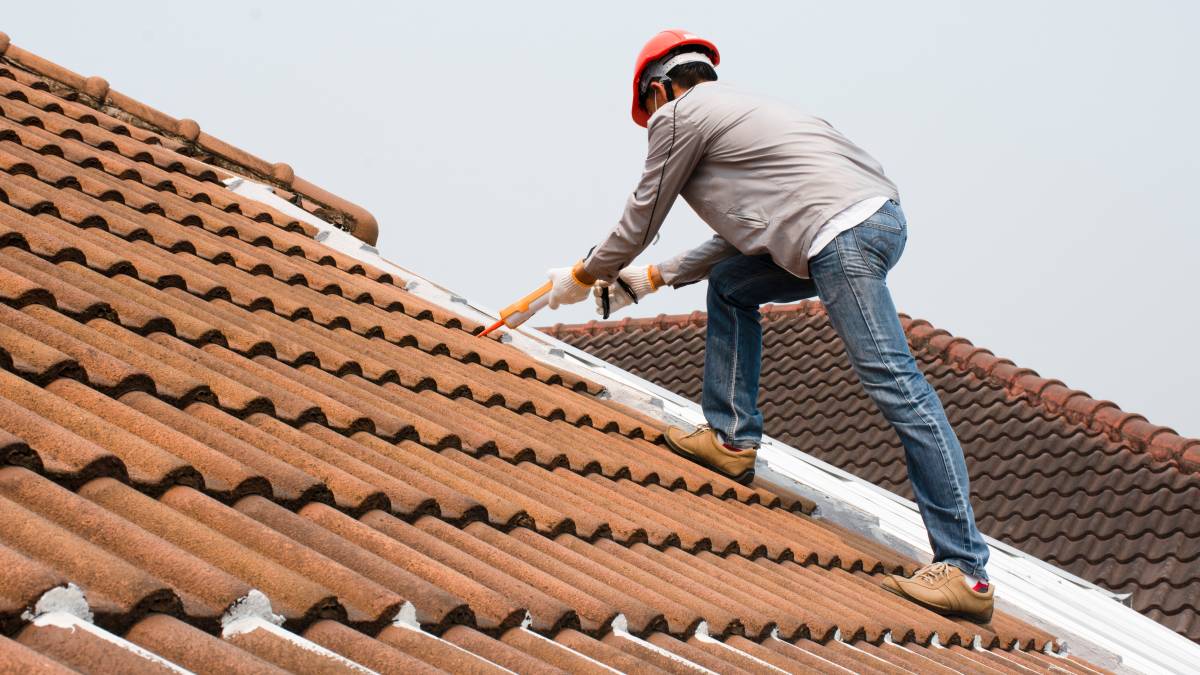
Set up the safety equipment.
Have your fall protection gear ready before climbing up and fixing your broken roof tiles. Remember that a lightweight harness is required when working 2 metres above the ground. Aside from this, your ladder should be stable and in good shape to support your climb to the roof.
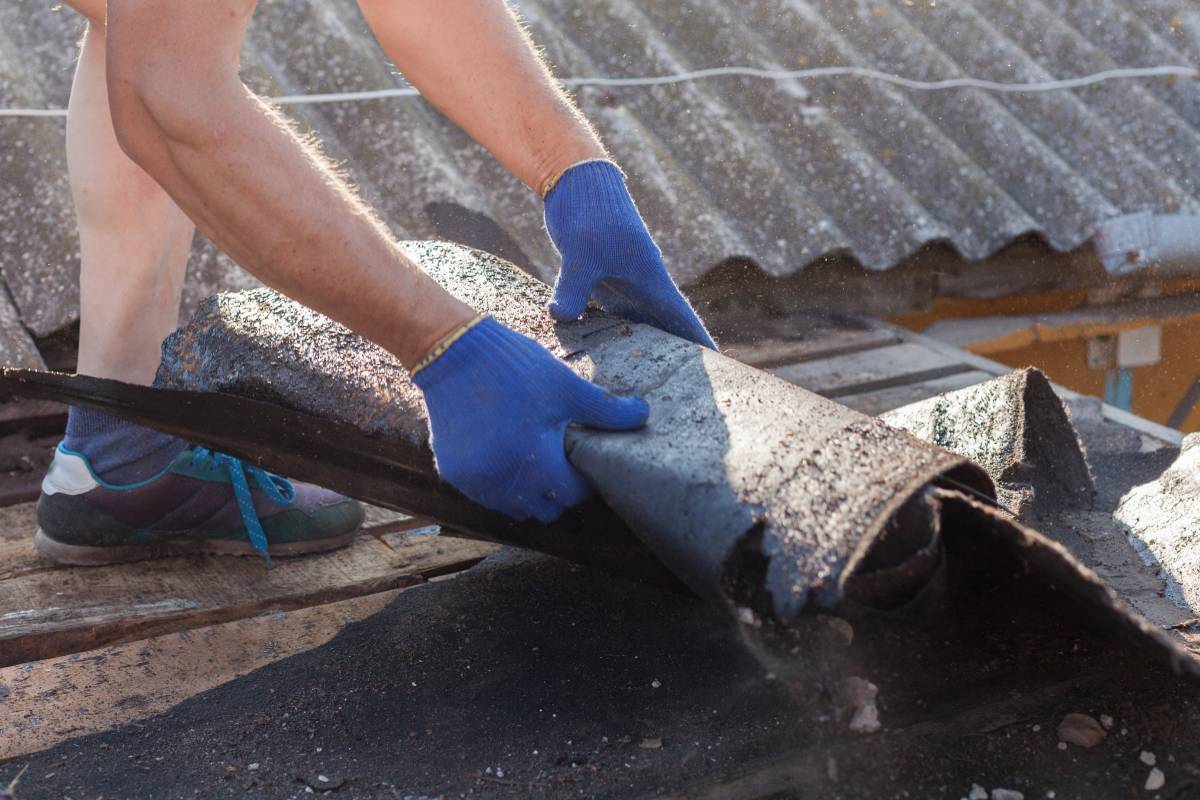
Step 3: Remove all broken tiles.

After assessing the damage, you can easily tell if only one tile or several tiles need to be removed.
Once you’ve spotted the damaged tiles, remove them through any of these methods:
How to remove unfixed roof tiles
Using your pry bar, lift up any overlapping adjacent tiles.
Use a timber wedge to hold the adjacent tiles in place to prevent the nibs from touching the batten underneath.
Carefully slide out the damaged tile from its position. If the tile is cracked, take out each broken piece one at a time.
How to remove nailed roof tiles
Using a slate ripper or pincer pliers, remove the broken tile’s nails and adjacent tiles. You need to take out the adjacent tiles to see the fixings underneath.
Once the tiles are out, carefully remove the broken tile using a slate ripper.
Step 4: Fix the damaged roof tiles.

Replacing non-nailed roof tiles
Most non-nailed roof tiles are made of concrete or clay. When fixing your concrete tiles, make sure to lift the adjacent tiles with a timber wedge.
Apply adhesive on top of the replacement tile and the tile it will be overlapping with. This provides an extra seal for the tile.
Use a brick trowel to slide the new tile into place.
Replacing nailed roof tiles
Fix your new tiles into position.
Apply adhesive to the headlap on the new tile. This will secure the new tile to its adjacent tile.
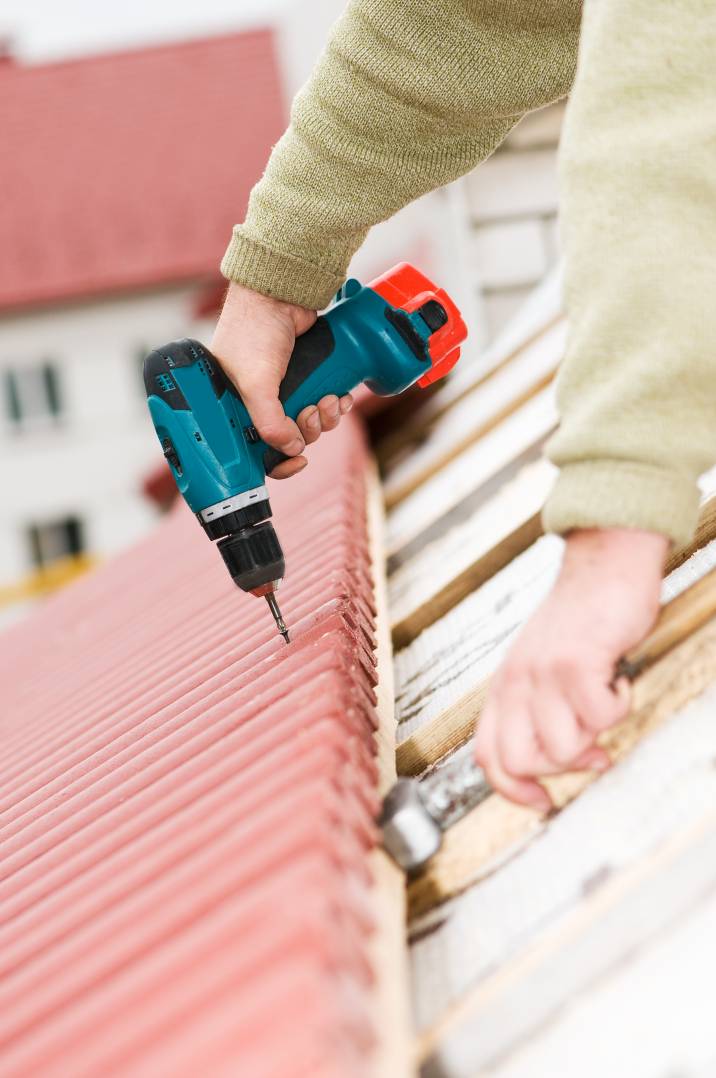
Drill a hole through the bottom of the new tile, which is above the hole on the adjacent tile.
Use a stainless-steel crew cap and washer to secure the tile.
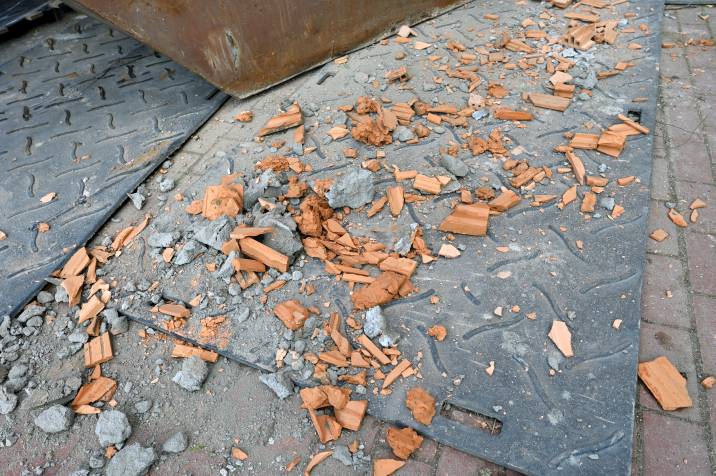
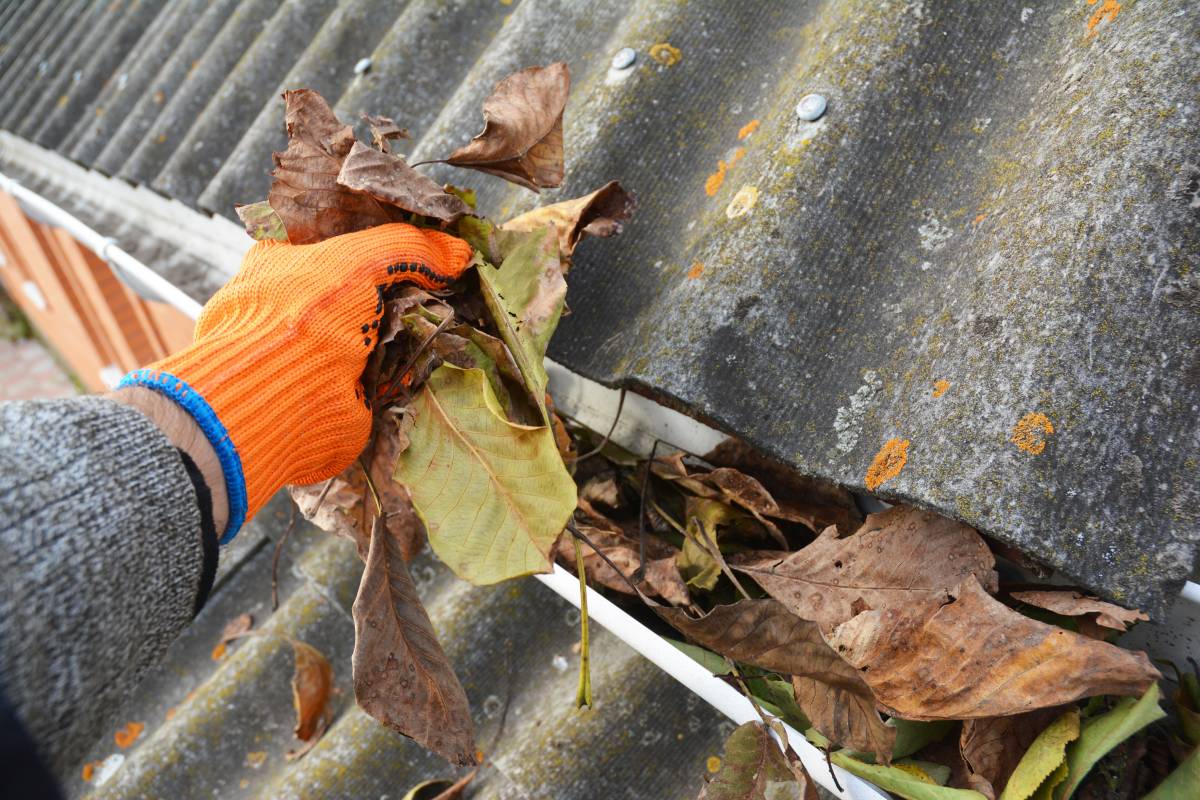
Step 5: Clean up the debris.
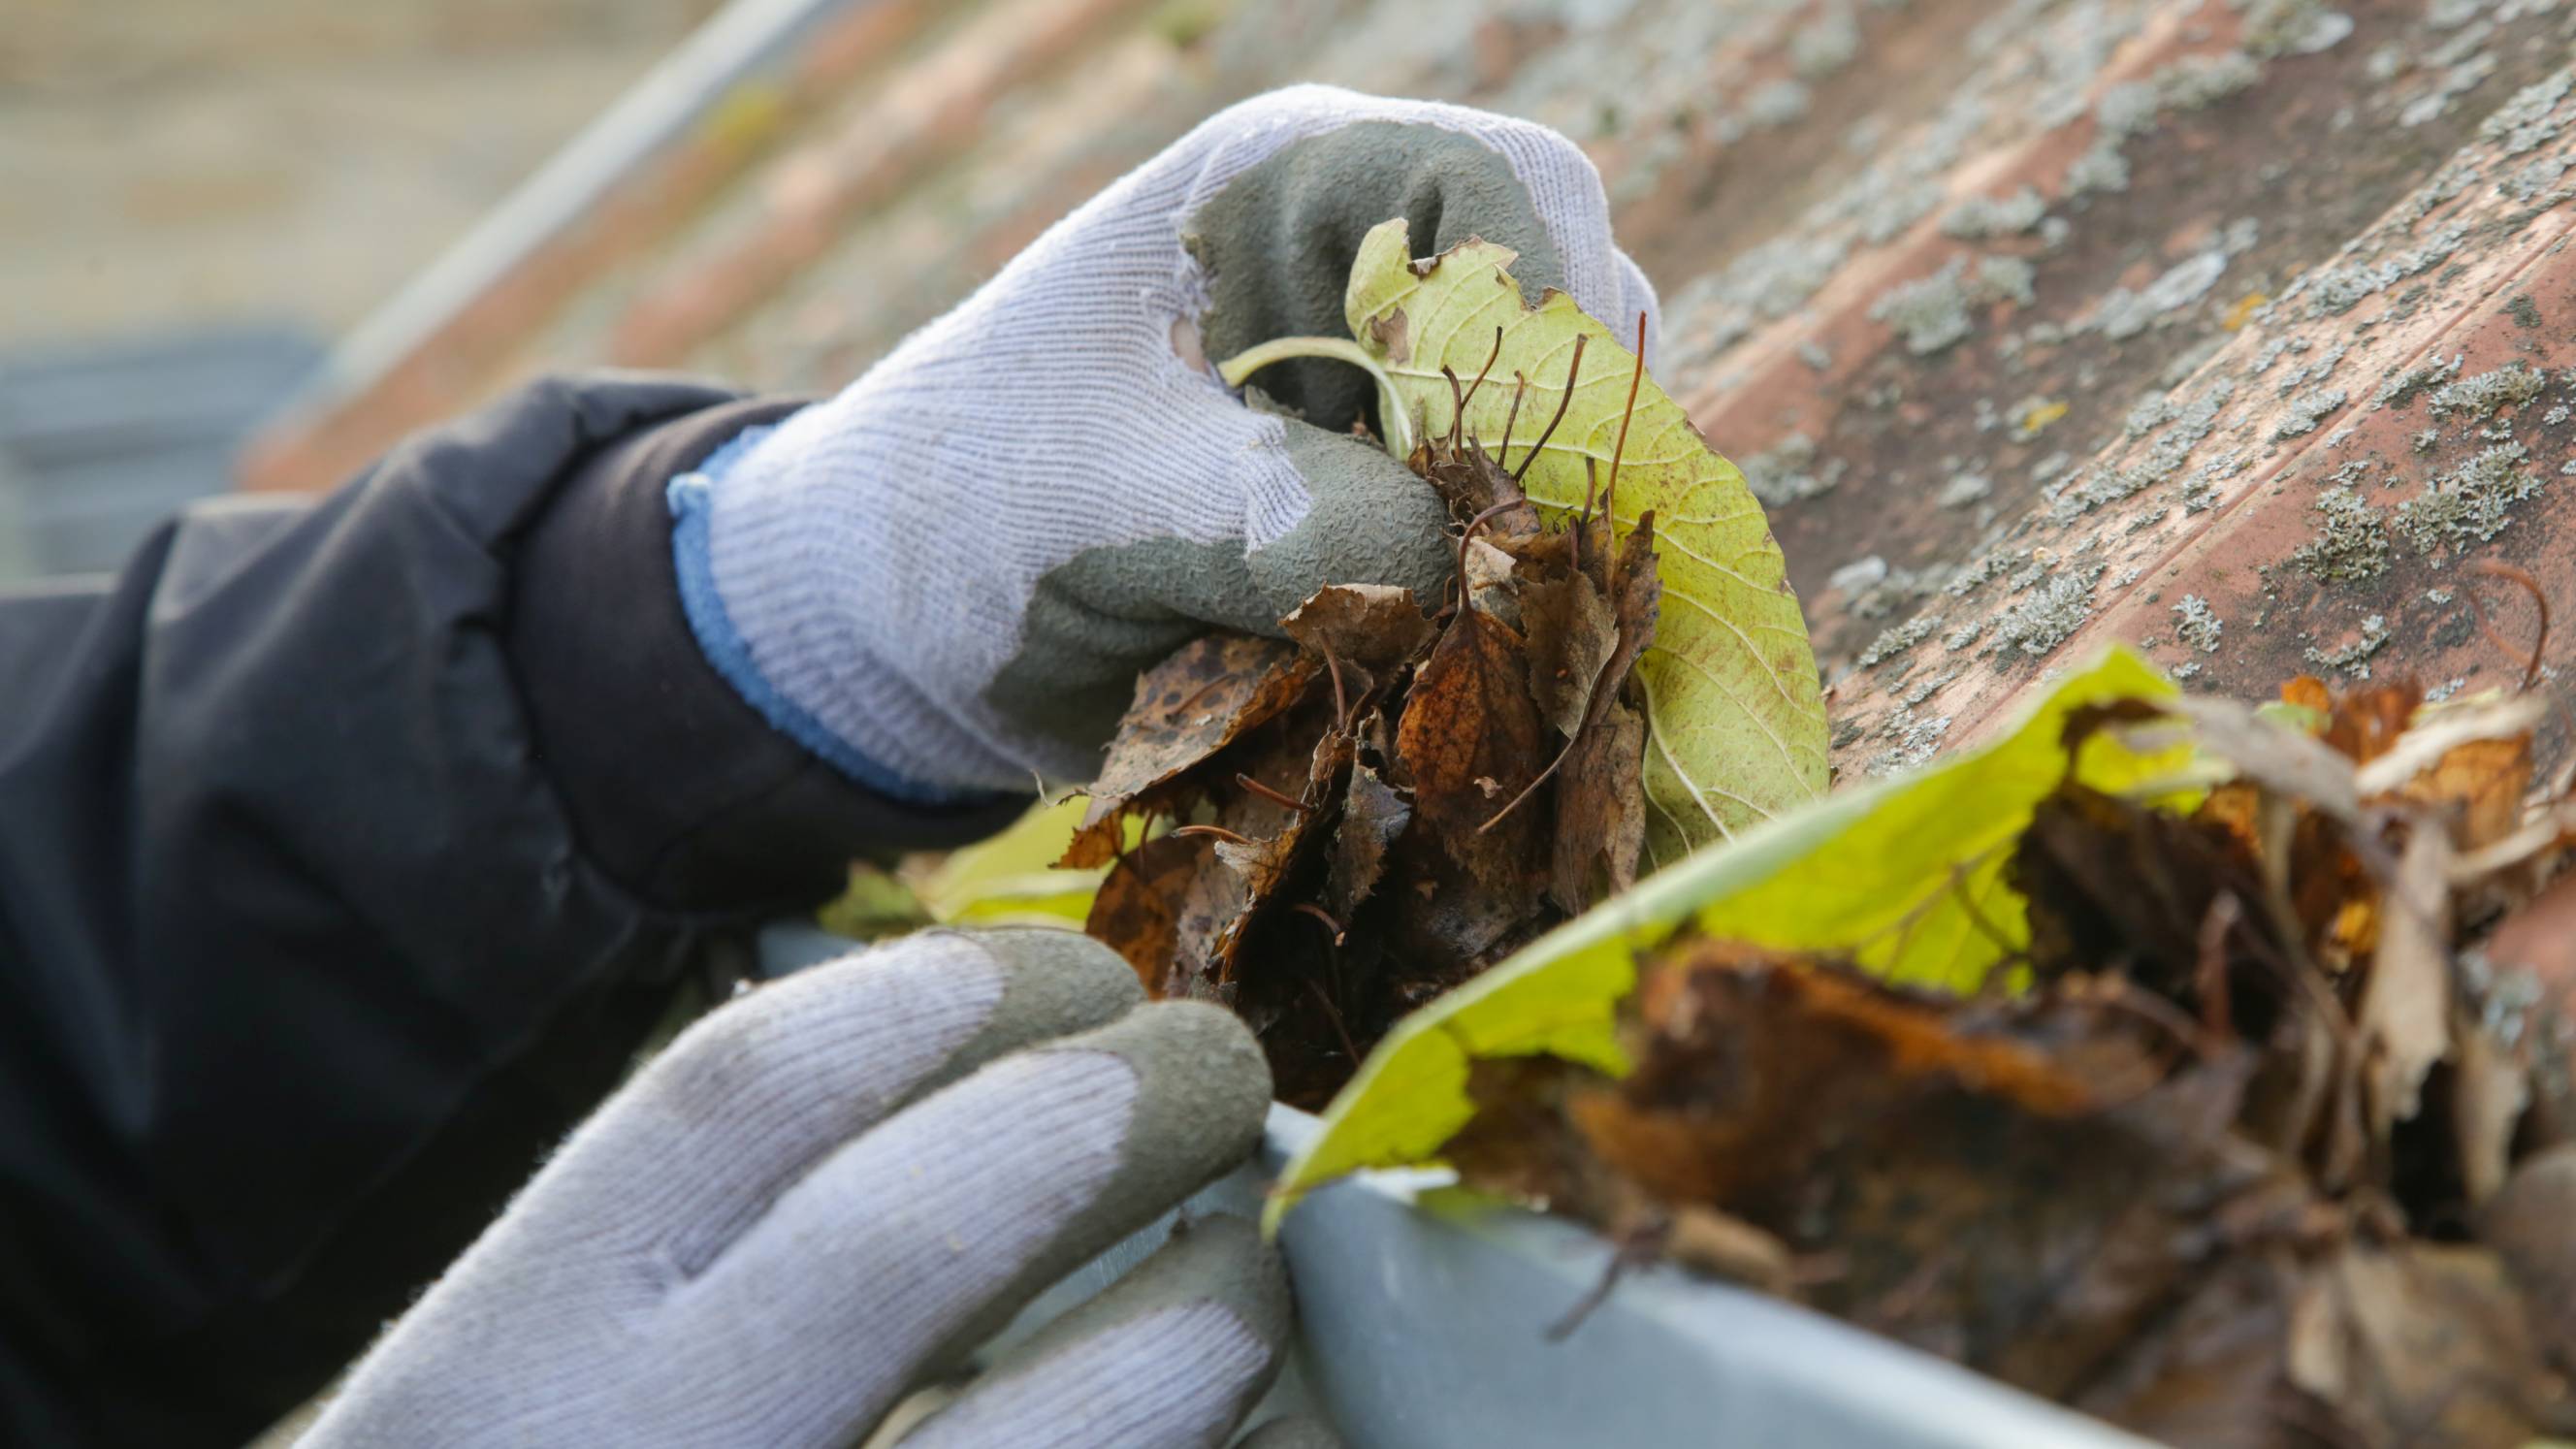
Clear off the debris from your roof and the ground below your roof. You can run a magnet through your patio or garden to pick up any loose nails. This way, you’ll avoid running into nails months after your repair!
A roof cleaning service can use a powerful handheld blower to blow off sawdust and granules from your roof. This is also a great opportunity to get your gutters cleaned.
Why hire a roof repair specialist?
Repairing broken roof tiles always comes with risks despite your best efforts. With a lack of experience, you risk further damaging your roof or getting injured while working from a height.
Your safest option is to hire a professional to repair your broken or leaking roof tiles. Old or broken roof tiles seem like minor inconveniences, but they have major consequences on your property and well-being. An experienced roof repairer can ensure your roof repair complies with professional standards.
FAQs on fixing roof tiles
A roof tile’s lifespan depends on factors like the material and environment. Terracotta and concrete ones can last 30 to 50 years. Slate, a very durable material, can last for a century. You can hire a roof professional to inspect your roof once or twice a year. Proper maintenance can extend the lifespan of your tile roof.
Leaks due to cracked or broken roof tiles are a common roofing problem. Regularly check your gutters or drainpipes and look for cracks or obstructions.
Find roof repair contractors, fast
Find a roof repair contractor
Related articles

Related price guides

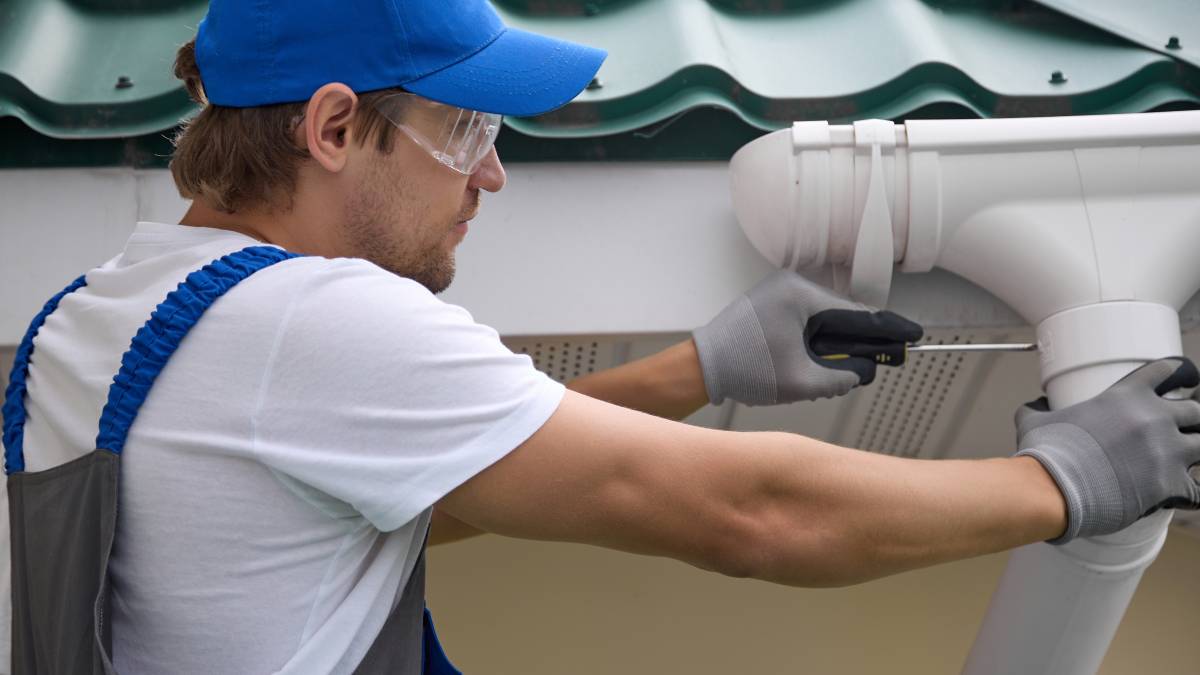
How much does a gutter repair cost?
Read more
How much does roof repair cost?
Read more
How much does roof plumbing cost?
Read more
How much does a chimney sweep cost?
Read more

How much does roof cleaning cost?
Read more

How much does insulation cost?
Read more