- Home/
- Guides/
- Shed Installation/
- How to build a shed
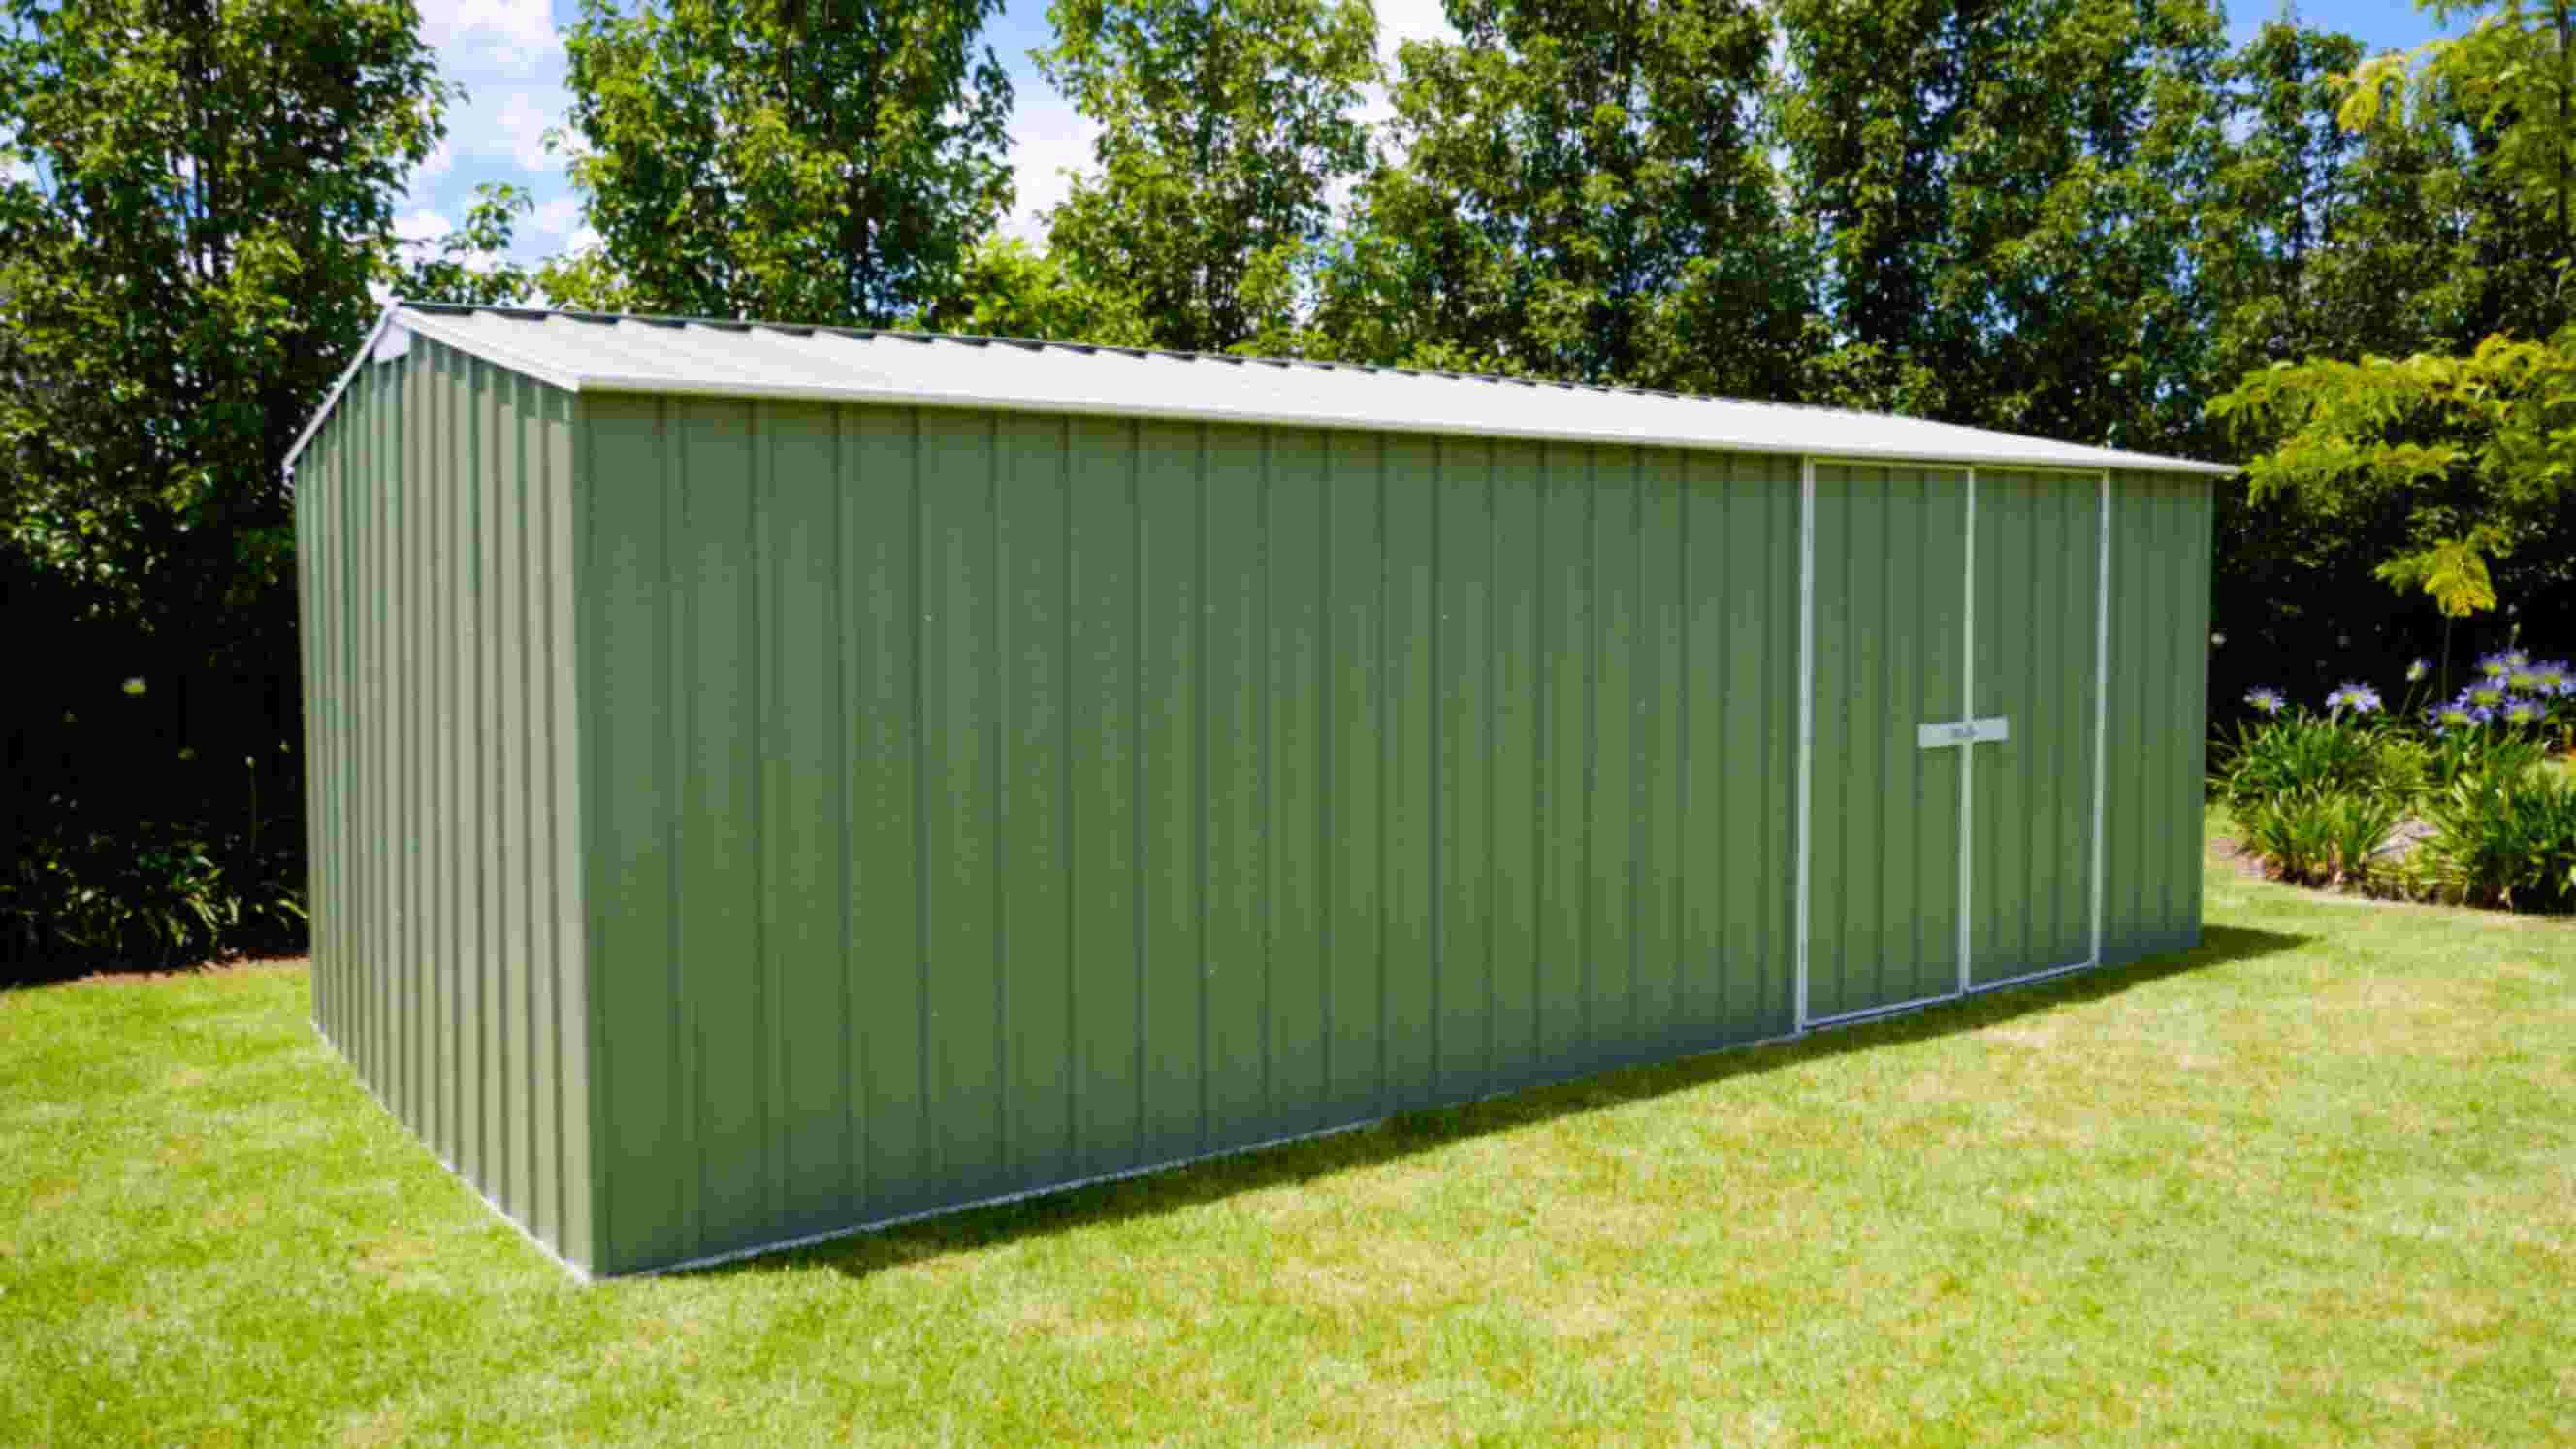
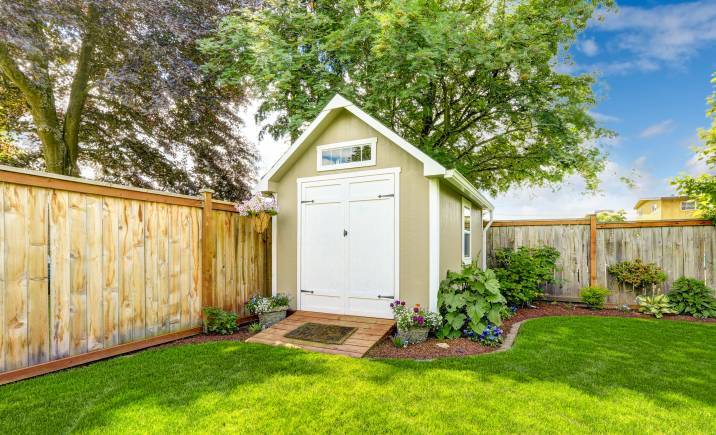
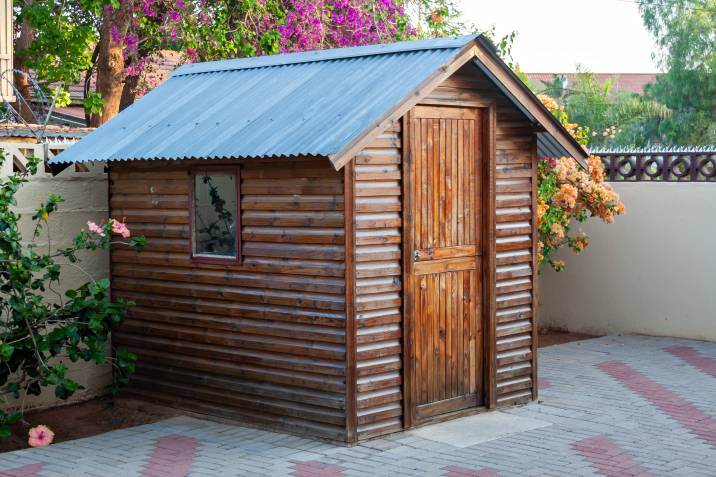
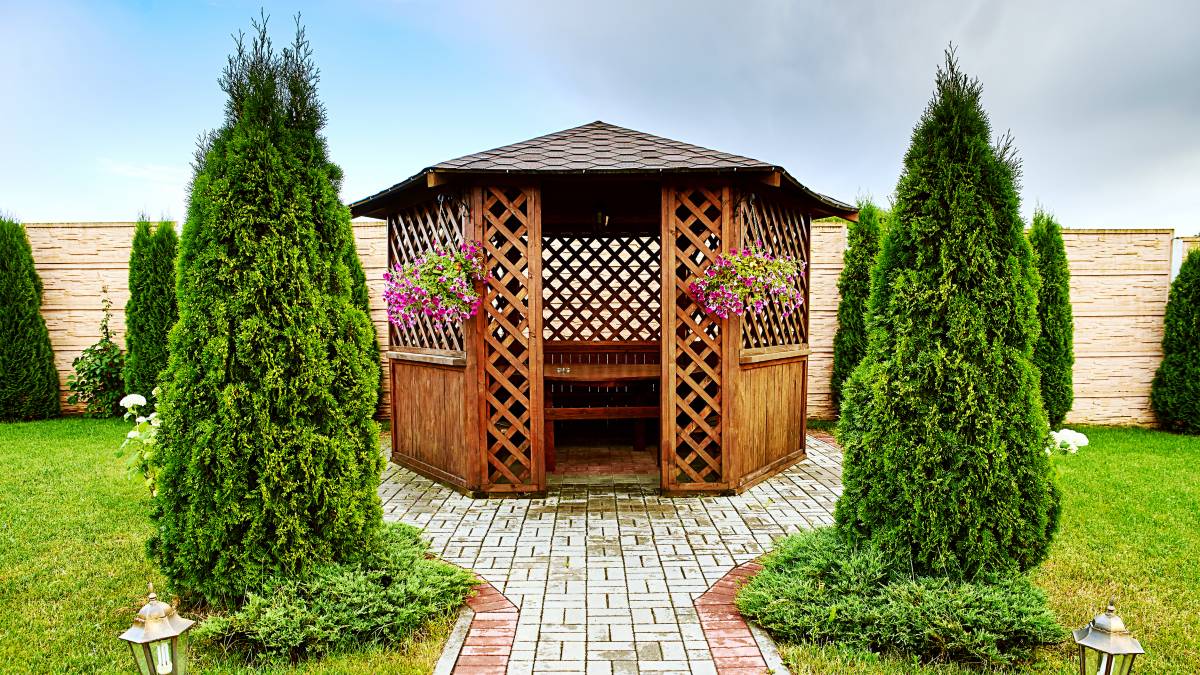
How to build a shed you’ll love - A DIY guide
What is a classic backyard without a shed? Learn how to DIY a shed for your outdoor space.
Last Updated on
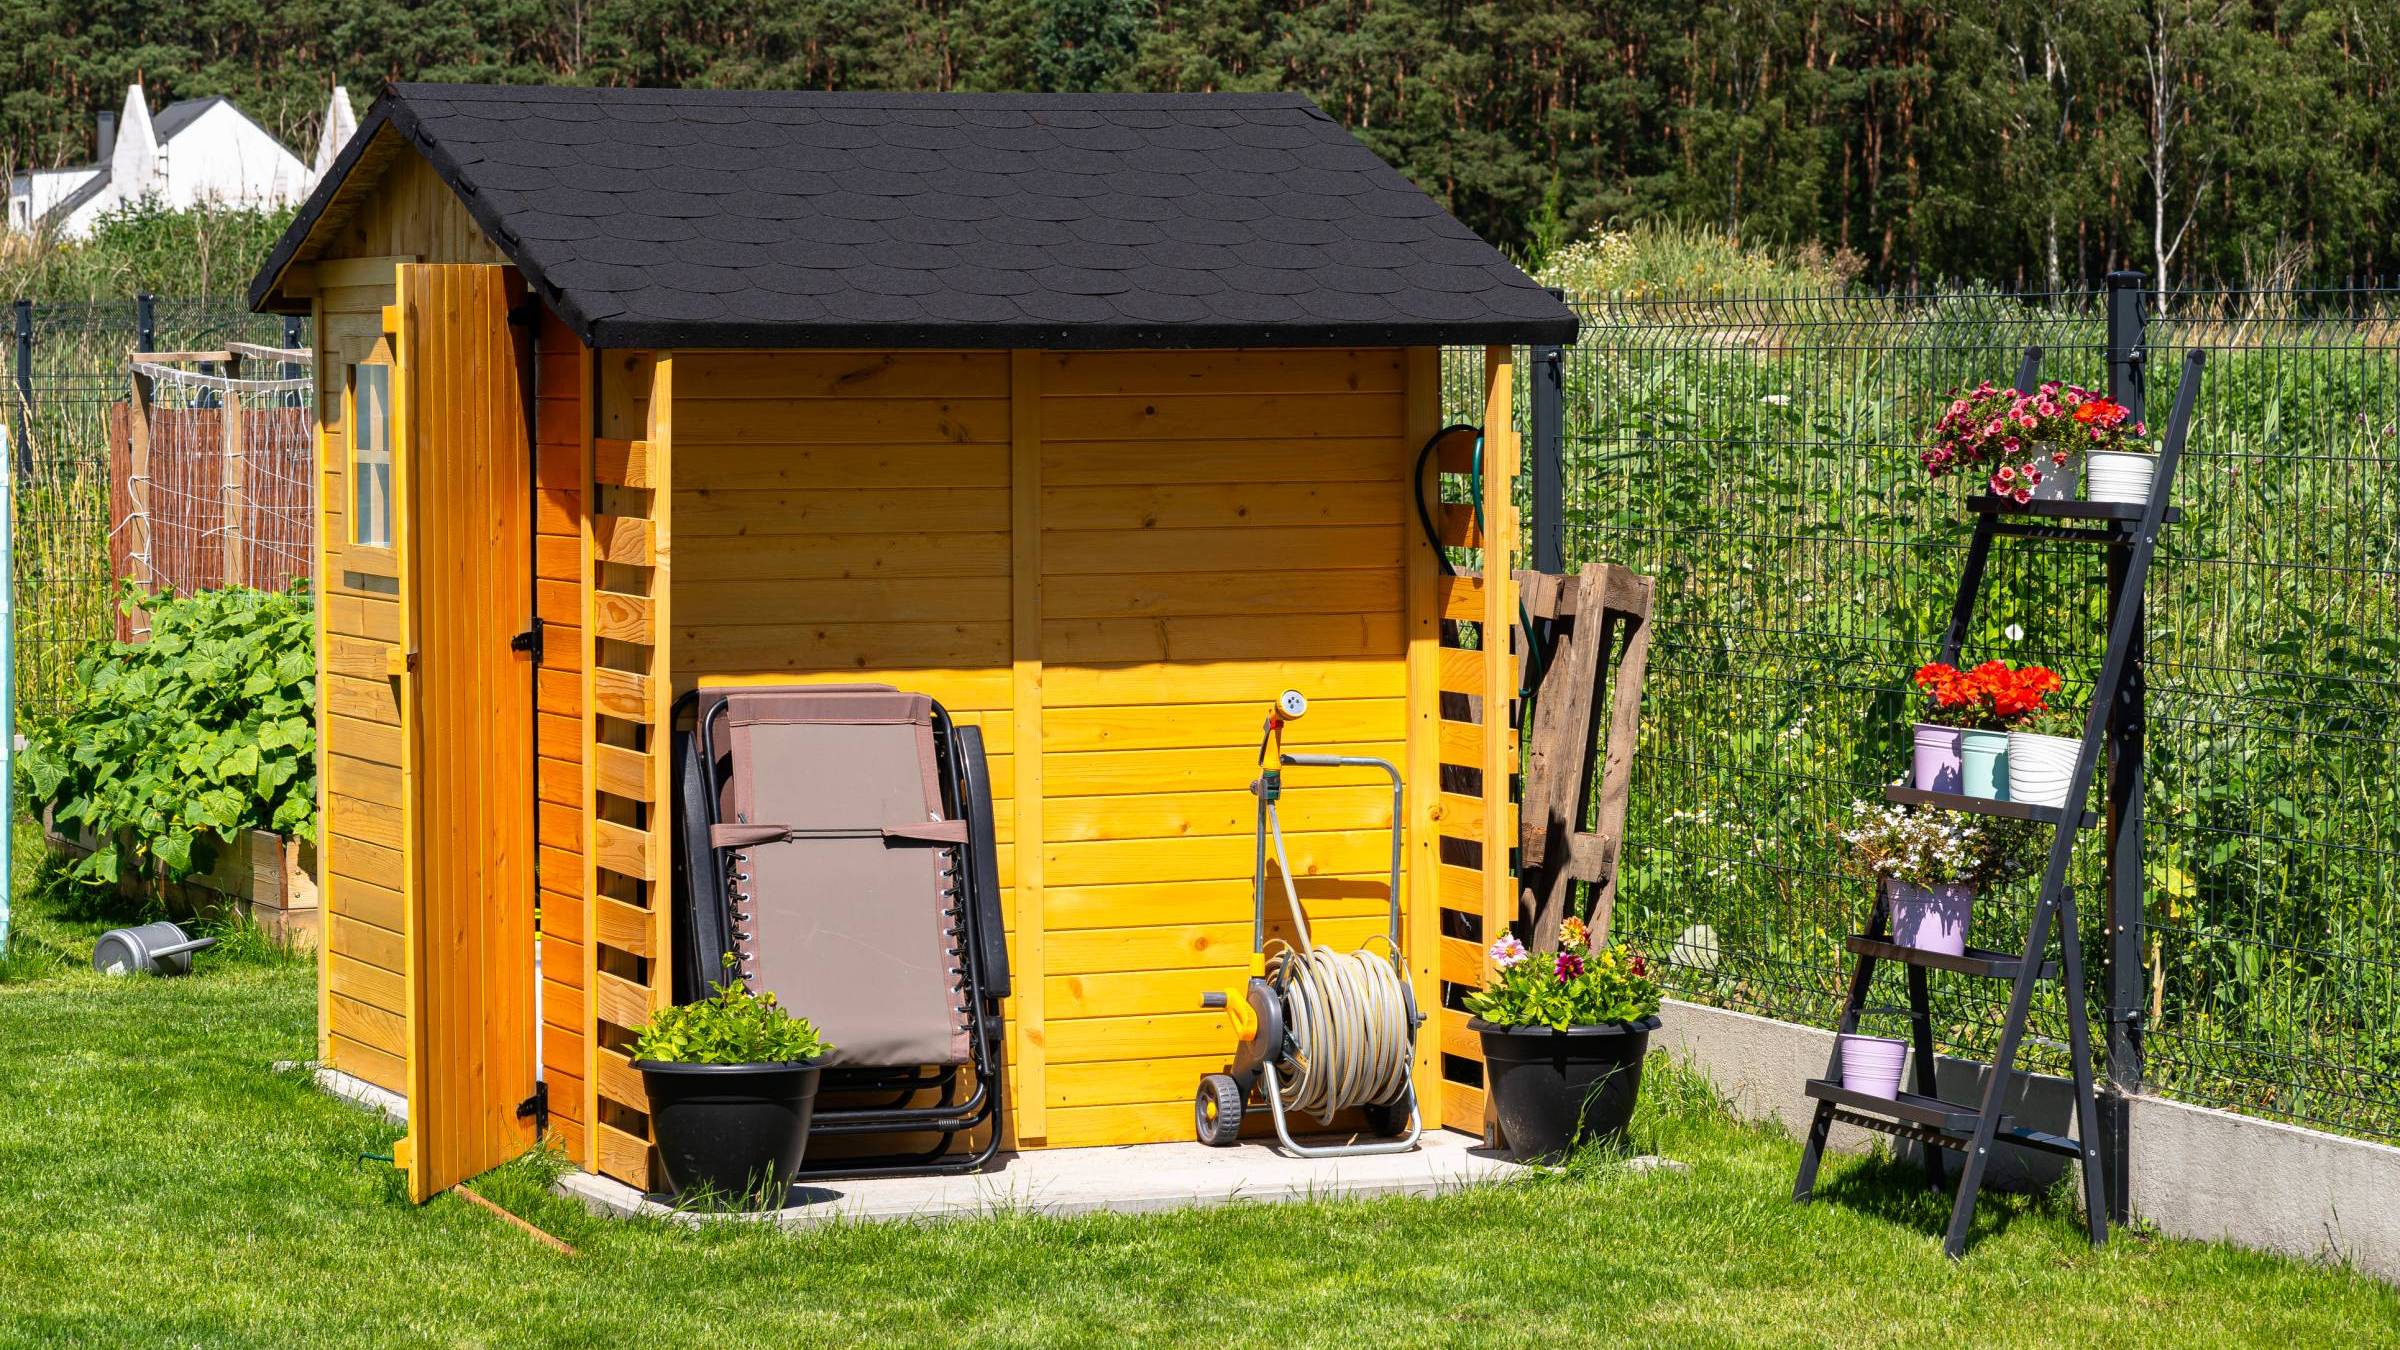
One of the best ways to maximize your backyard is to have a shed that you can use as extra storage for garden tools and equipment, or as a workspace for your DIY projects. Learning how to build a shed is a great project to undertake for your home.
This guide will help you with the step-by-step process of building your own shed, whether you’re planning to create one from scratch or hire a contractor for the job. Read about the tools, steps, and other best practices for building a shed.
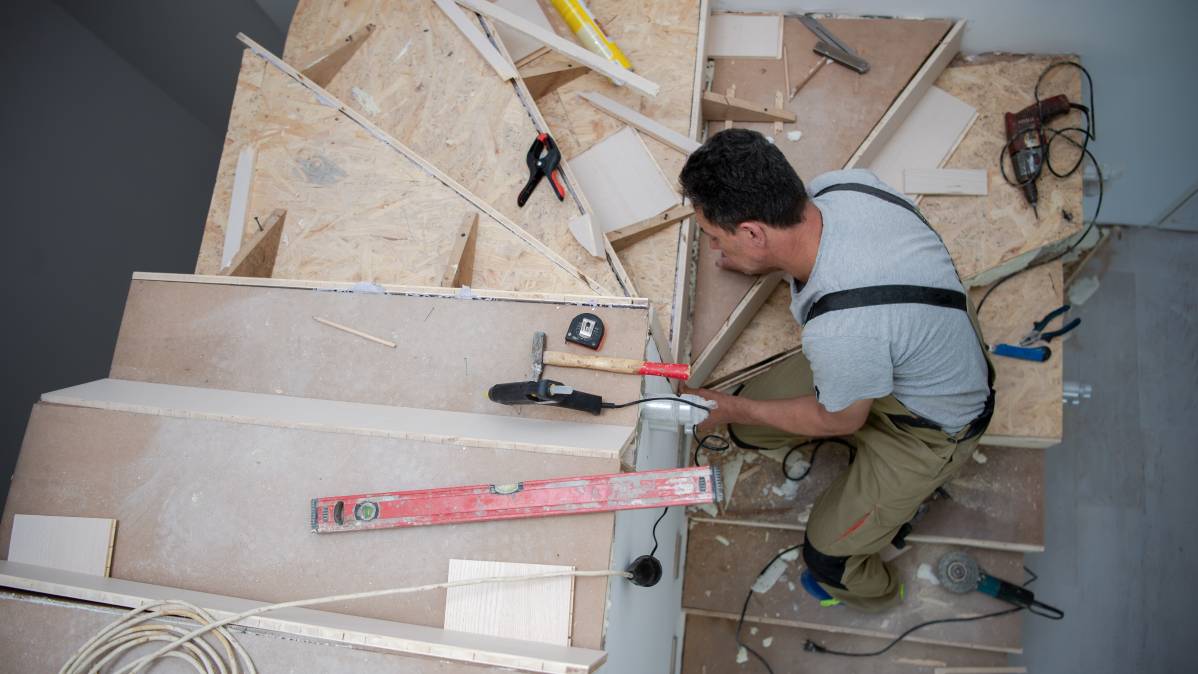
Materials and tools to build a shed
It’s always good to be prepared before you begin to save time (and frustration) when your shed construction is underway. No matter how big your shed will be, you’ll need a range of carpentry hand tools and power tools, including:
Basic tools
A hammer
Tape measure
Framing square
Combination square
A level
Chalk reel
Handsaw
A flat pry bar
Tool belt
Power tools
A job site table saw (helpful, not necessary)
Extra battery for power tools
Miter saw
Safety tools
Safety glasses
Gloves
Mask
Construction helmet
Materials list
Most materials lists will vary greatly depending on the type and size of shed you are building. To give you a rough guide, however, here is a standard list of materials required to make a typical shed:
Corner/fence posts 90x90mm x 2.4m (Quantity 4)
Cement 25kg (Quantity 1)
Sharp sand 25kg (Quantity 1)
Waterproof sheeting (Quantity 1)
CLS C16 timber 38x63mm x 2.4m (Quantity 60)
LogLap cladding 125mm x 22mm (224m total length)
3×2 C16 construction timber 45x70mm x 3m (Quantity 8)
3×2 C16 construction timber 45x70mm x 3.6m (Quantity 6)
OSB3 18x1220x2440mm (Quantity 5)
OSB3 12x1220x2440mm (Quantity 6)
Roof felt 10m (Quantity 2)
Door hinges (Quantity 4)
A mix of screws – 80mm – 50mm
A window (optional but recommended if possible)
If you are a regular DIY-er, you probably have most of this on hand. If not, well, get ready to build your tool collection!
Step-by-step DIY shed instructions
While the specifics of shed construction will be very particular to the type of shed you build, read on for some higher-level steps crucial for a DIY shed, then tailor as necessary for your chosen plan.
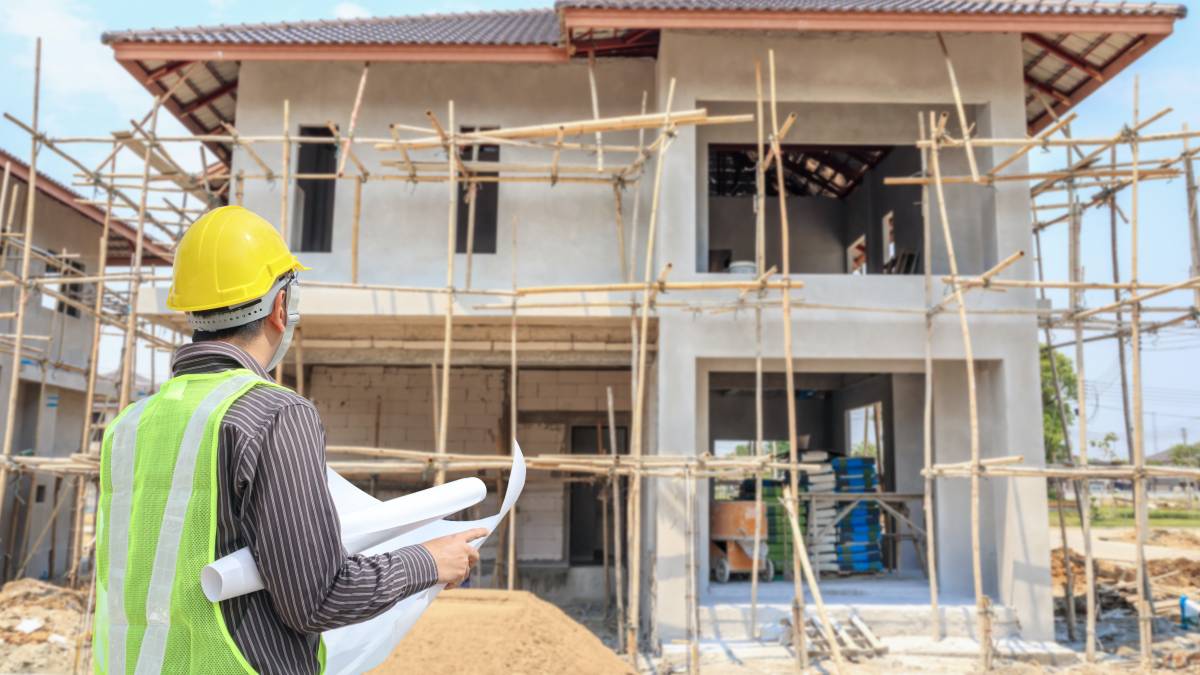
Step 1: Get clearance to build
Firstly, you must apply for a building permit before constructing anything on your property. This will ensure you can legally pop a shed up in that area of your home. Even though it is your property, your shed may affect someone else’s view, and the last thing you want to do is go to the trouble of building a shed, only to have to tear it down. Smaller sheds don’t often require permits to be constructed.
Get all the necessary approvals and permits first, which may require you to submit a set of shed plans to ensure your project adheres to building codes. If you want to lower the risk of possible rejection, call ahead and determine what is and isn’t allowed on your property.
The most significant restriction will likely be height and size. If you understand your parameters first, you can design your shed around them and ensure the approval of your plans. A building inspector will review your plans and ensure your structure meets all the requirements for local and national building codes.
Don’t worry; if you get a code violation the first time, the building inspector will tell you how to fix it, and then you can resubmit.
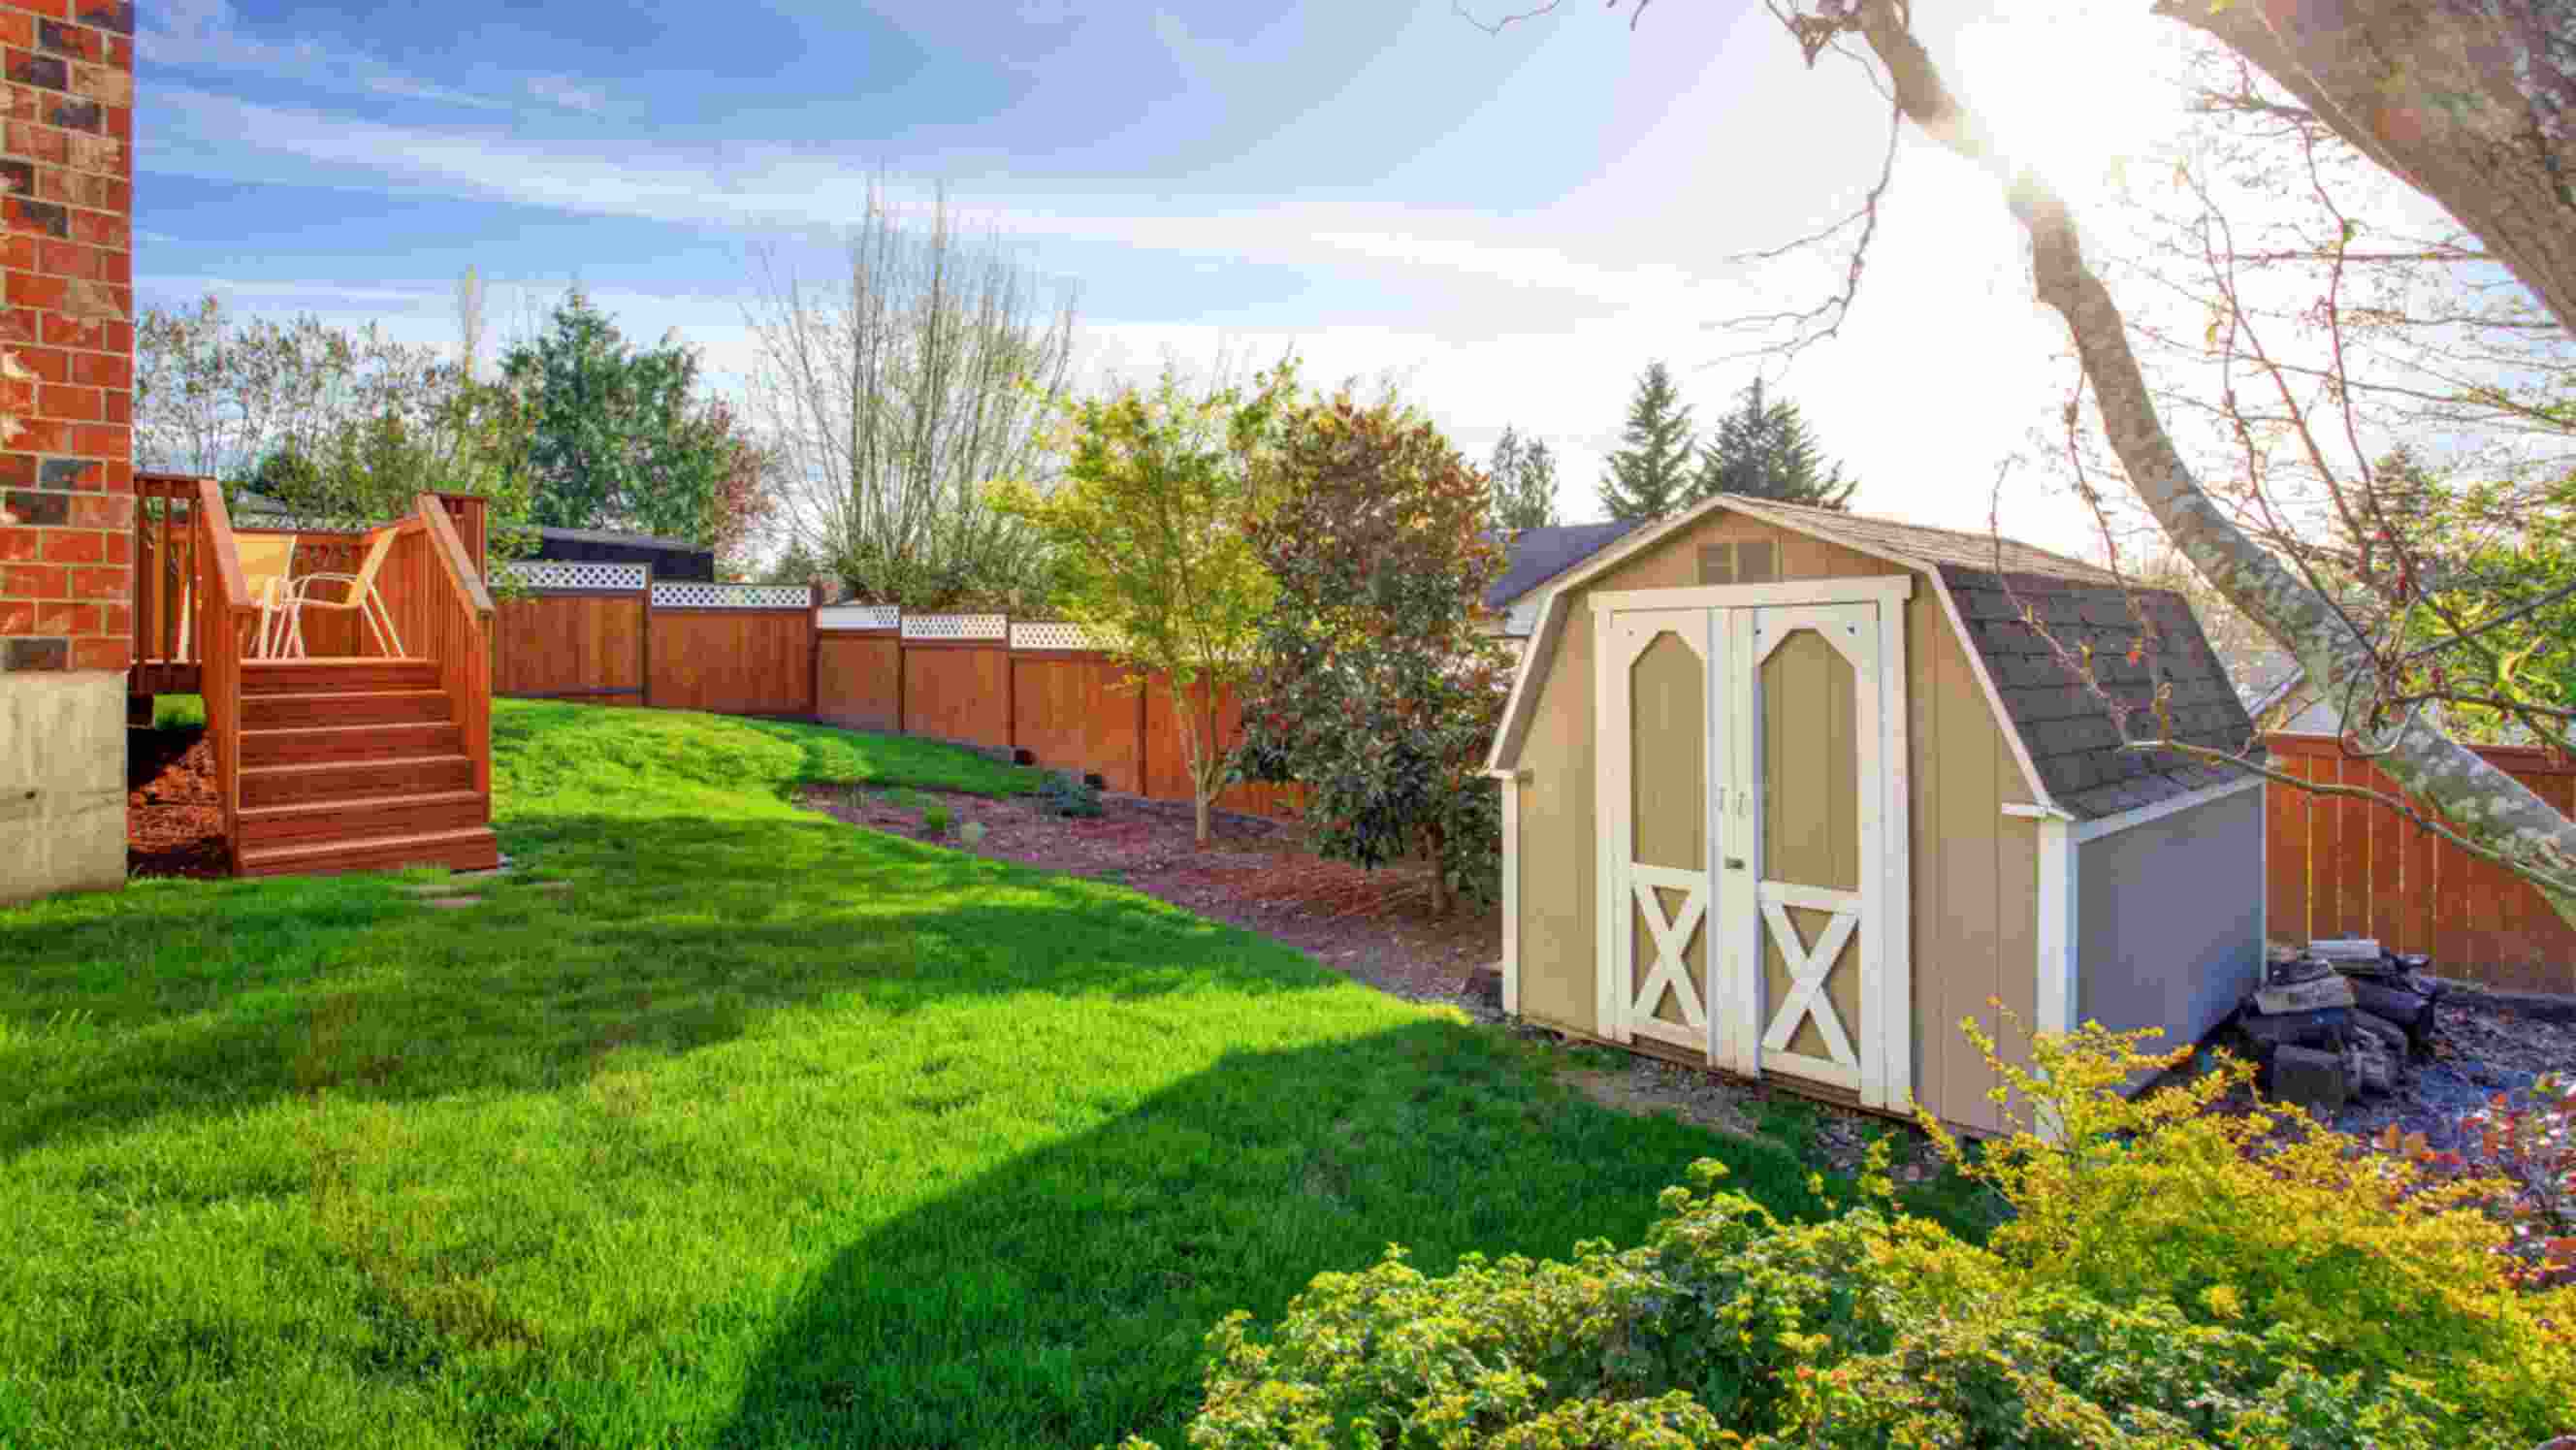
Step 2: Picking your site
You’ll want to confirm where your shed will sit on your property. This is a crucial step that isn’t as easy as it sounds. If you choose poorly, your shed won’t be standing for long.
Follow these simple rules to pick the best spot:
Avoid building at the bottom of a hill or in a spot where water collects. You don’t want extra moisture when it comes to any wood structure. Your wood will rot; hinges will rust; the paint will blister. Not to mention, you don’t want a flooded shed.
Don’t pick a spot where your shed will be surrounded by trees and ground cover, as this will restrict sunlight and airflow. Avoid overhead trees where branches could fall; pine needles could shower your shed roof.
Never violate code-required setback distances, which determine how far away your shed must be from the side, front, and rear property lines.
Remember that your location should allow easy access when carrying heavy tools in and out of your shed. In some cases, your yard may not be that big, meaning the location is somewhat already picked for you. If so, keep access in mind when choosing the dimensions of your shed.
Step 3: Create a strong foundation
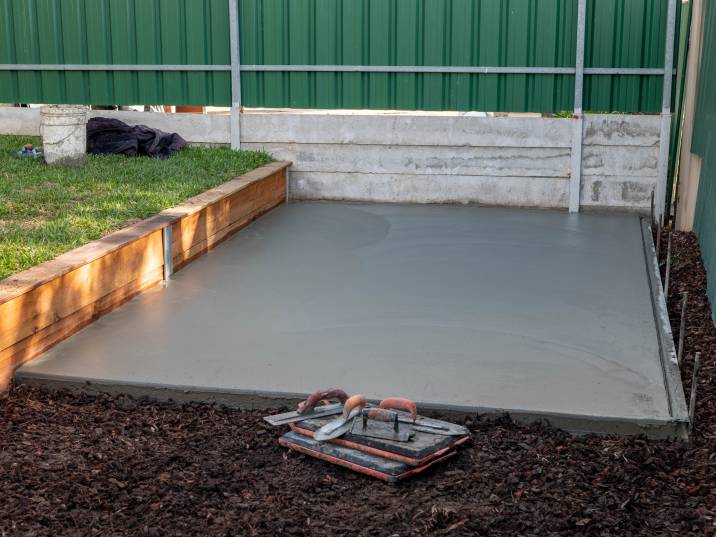
The first thing you’ll need to create is a solid shed base. If you build anything on a weak foundation, it’s bound to fail at some point. The most common on-grade foundations are solid concrete blocks or pressure-treated wood timbers on the ground. You’ll want to ensure that your base is perfectly level to support the shed’s floor frame.
Protect the foundation from soil erosion by setting them on a 4-inch-deep bed of compacted gravel. If you build a small shed, you’ll be fine to compact this by hand. For larger areas, you’ll save time by renting a plate compactor. Ideally, your garden shed foundation will be set slightly off the ground to help with water drainage.
It is important to note that if you buy a prefabricated shed, you’ll still need to perform this step to create the foundation.
|
Pro-tip: If your shed is over 200 square feet, your building inspector will likely make you install a permanent foundation that extends down to the frost line. For this, you are looking at poured concrete piers. Check with your building department to get all the code requirements and find the frost line in your area. |
Step 4: Build a floor frame
Your floor frame should feature a mudsill, floor joists, and perimeter band joists. It is crucial to weatherproof your structure as it will sit close to the ground, making it prone to rot and wood-eating bugs. Build your floor frame out of pressure-treated lumber. If you buy a prefabricated shed, ensure it has a floor frame made with treated construction-grade lumber.
You’ll need at least a ¾-inch exterior-grade plywood for the floor deck. The thicker, the better. This may raise costs and be harder to install, but you’ll be glad you created a solid floor down the track. Pressure-treated plywood for the floor deck is always a good idea for longevity.
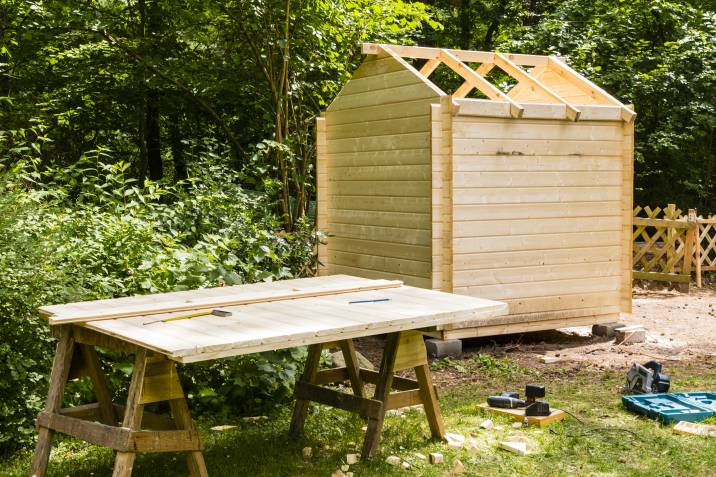
Step 5: Build the shed roof frame
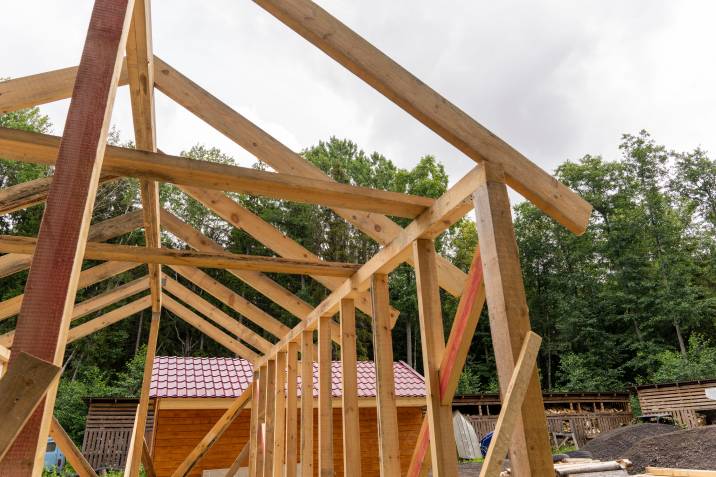
The hardest part of the process is framing the roof, as you’ll need to make a lot of repetitive, angled cuts. Start by assembling the rafters and ceiling joists into roof trusses, then raise them and set them on top of the walls. This will be much easier than building the roof frame one board at a time.
You can use your completed floor deck like a giant workbench when creating the roof trusses. Ensure you take the necessary time to get this right.
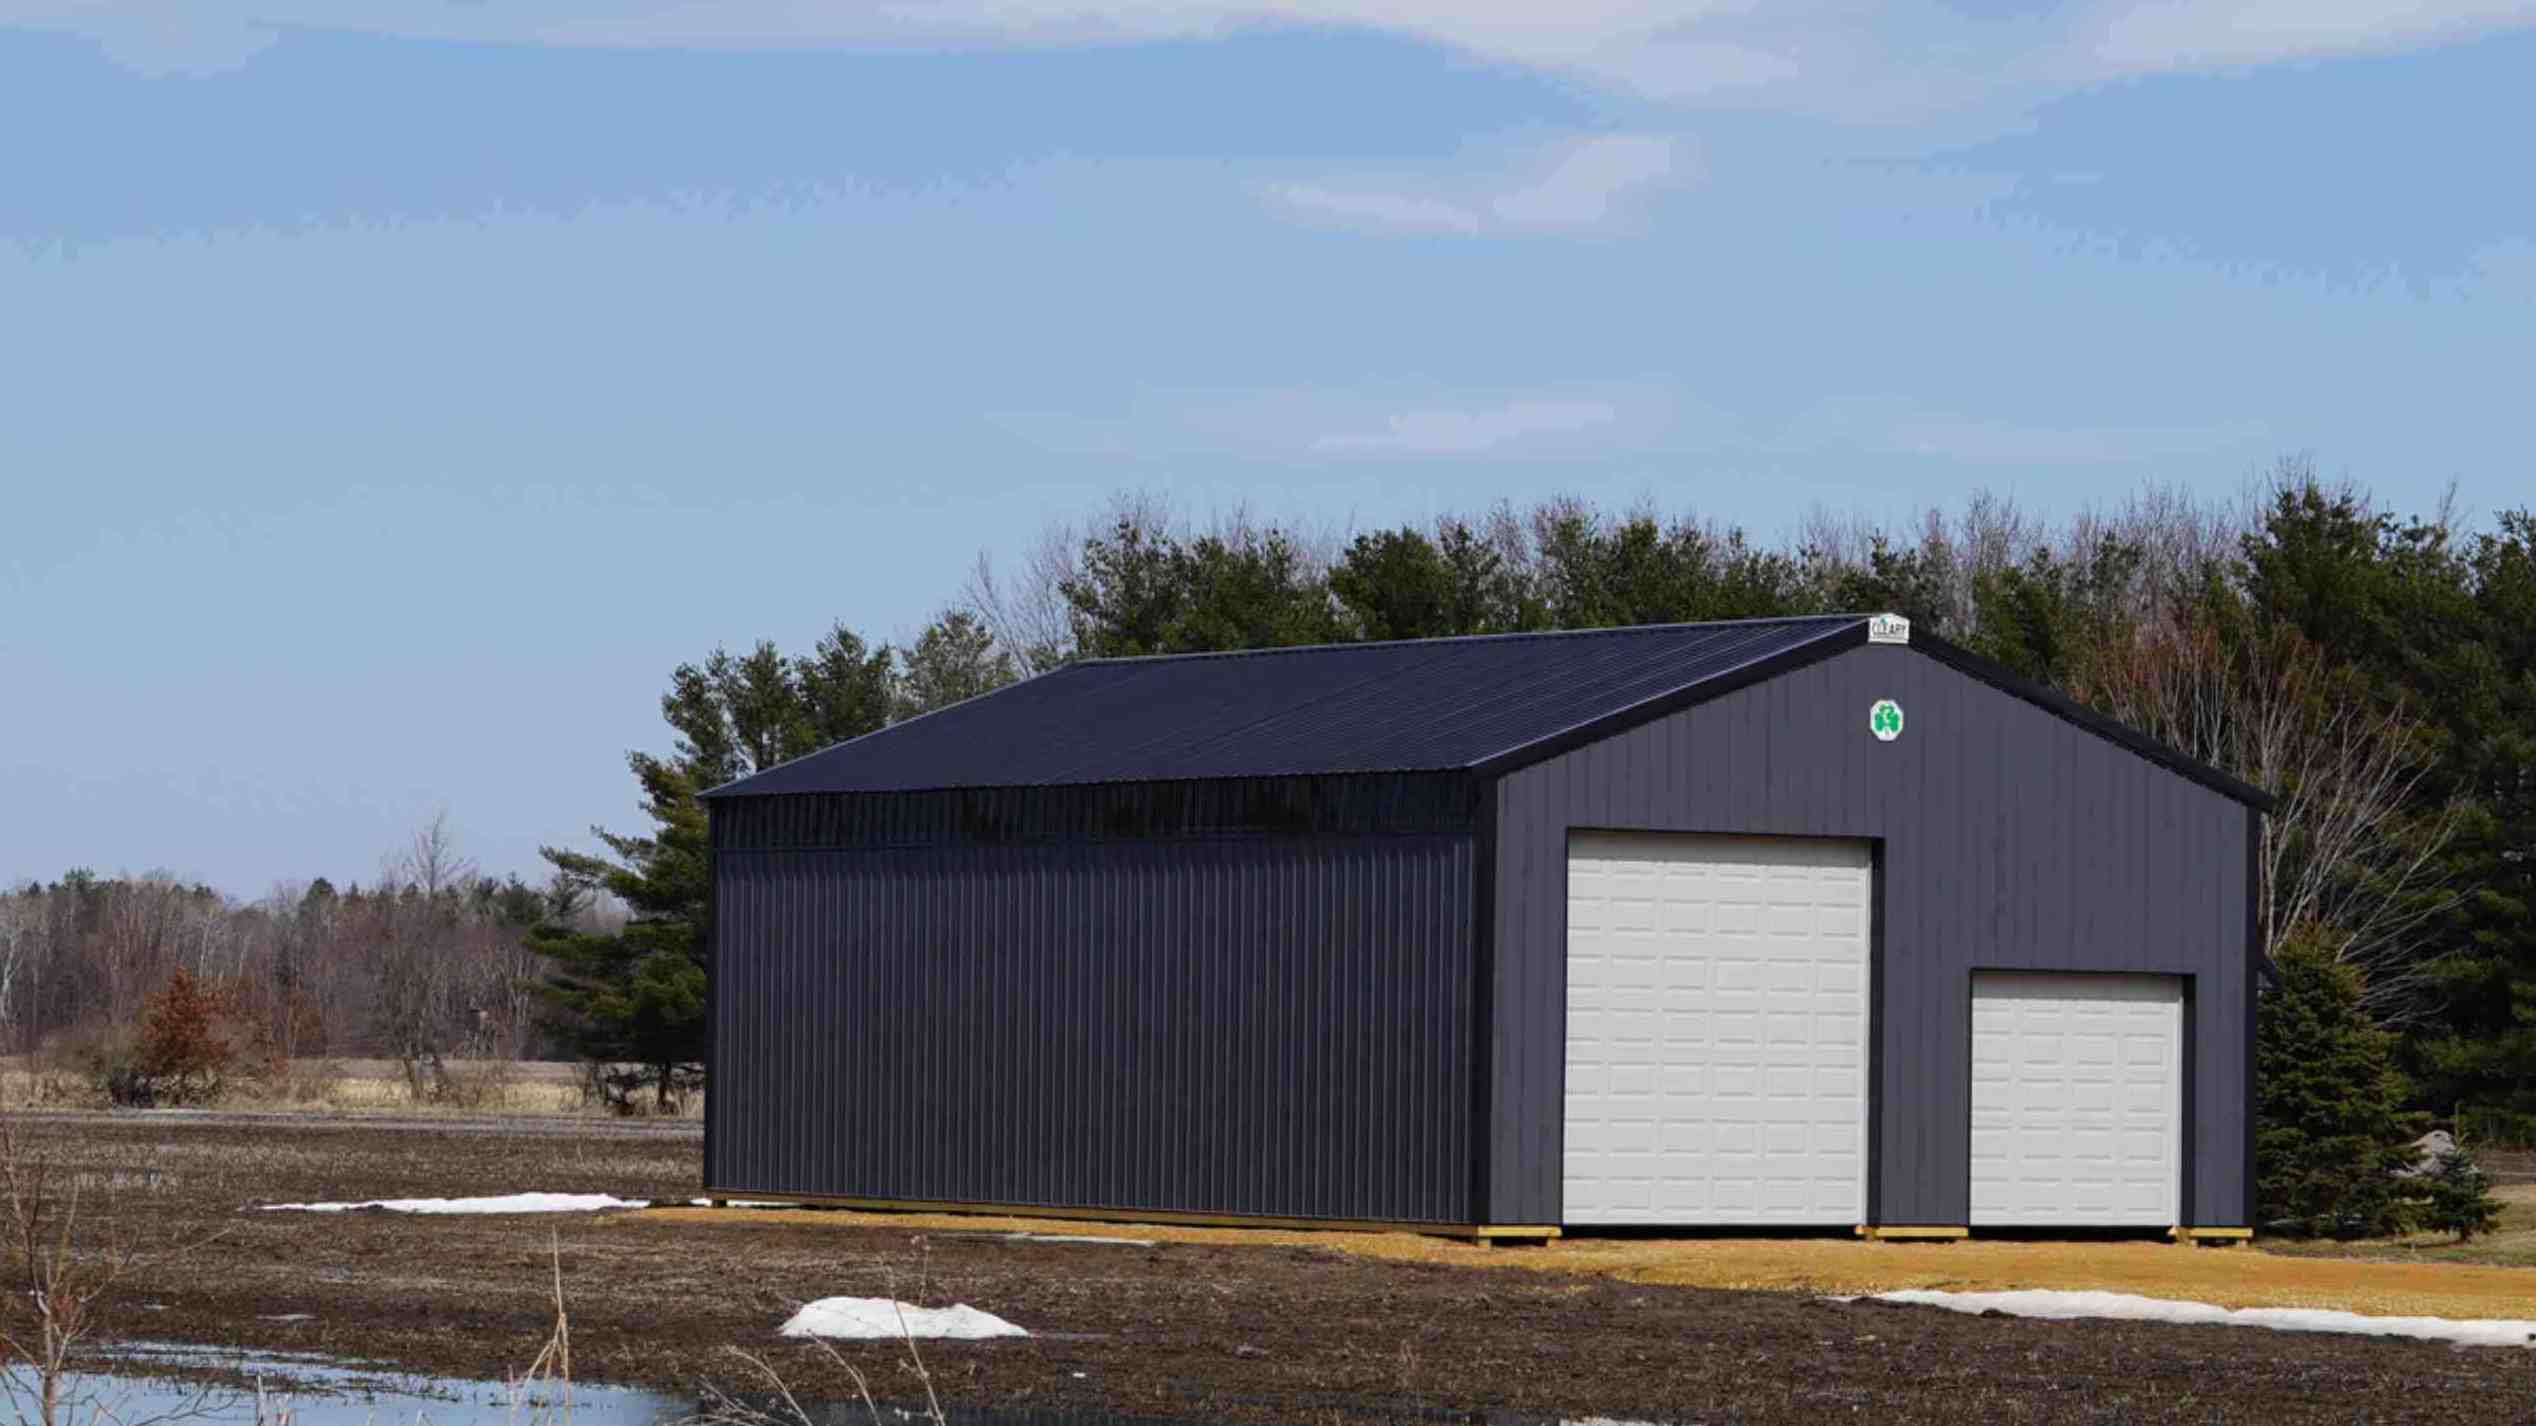
Step 6: Decide on door placement
You’ll find two types of doors for sheds – hinged and sliding. Both are great for any kind of shed. Hinged doors take up less space and are more secure. Sliding doors are easier to install but require additional wall space on either side.
The best positioning for your door is on one of the sidewalls. This will allow you to access items no matter where they sit in the shed. There is nothing worse than digging through everything to get the shovel hanging at the very back!
Step 7: Add a skylight
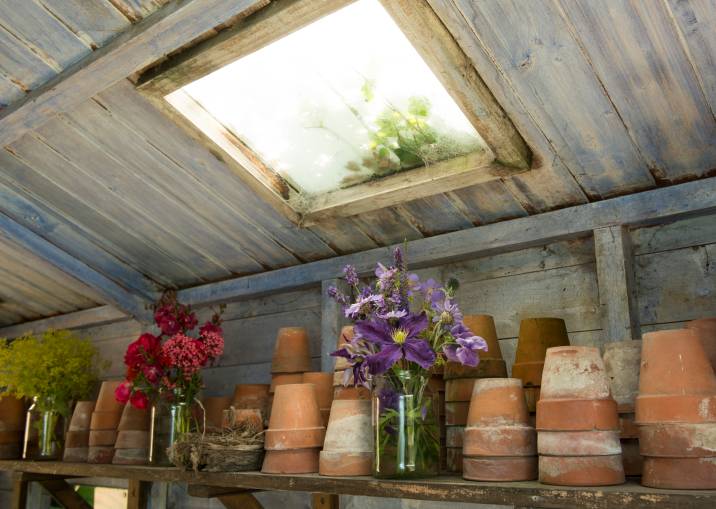
Adding a skylight to your shed will provide some much-needed natural light. This provides additional lighting over working areas in case there is no power nearby for electrical lights.
Step 8: Plan your electricity source
Running electricity to your shed is a doable but complicated process. It’s best to hire an electrician when you do any kind of electrical work.
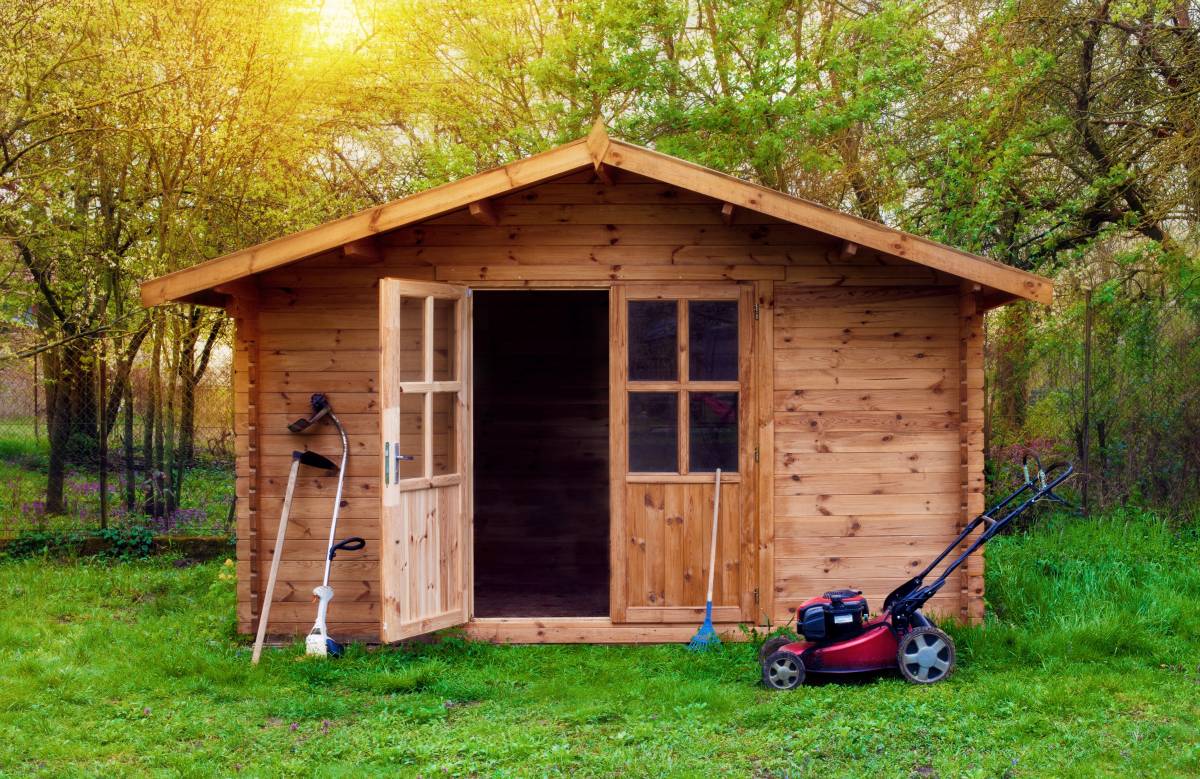
Step 9: Design the interior of your shed
This is where the fun begins! You can make your interior anything you want it to be. DIY studio? Reading lounge? Homeschool space? Zoom call away from the family? It’s up to you to decide how you want to design the area suitable for your garden shed.
Best practices when planning your shed construction
Storage: It’s unlikely you are building a shed just for the aesthetic look. You probably have some ideas in mind for it as well, such as maximizing the extra storage. If so, ensure you consider your storage requirements before building. Make an inventory of the things you plan to keep in your shed and account for a little room to move.
Climate: Some shed materials will not be able to handle the harsh weather. Steel seems like a durable choice for a shed, but a steel garden shed in hot regions will be unbearable in summer.
Costs: Ensure that price is not the most significant factor in building your shed. The costs of installing a shed depend on different factors, such as material, labor, and project complexity. Cheap materials can become brittle in the heat, and you’ll spend more replacing sections or even the entire shed sooner than if you had opted for a more durable material.
| You might also like: How much does it cost to repair a shed roof? |
You will get many uses out of your freshly built shed. It may even be a home that inspires many more future DIY projects! As long as you focus on sturdy construction with quality materials, you’ll be able to enjoy your garden shed for many years to come.
If you want the shed but with less DIY work, many expert Taskers can help with shed installation, handyman services, and other garden shed repairs and builds. Taskers can also help you move your shed if that's what you need. Hiring these experts can also eliminate the guesswork and extra hard work that comes with the project.
FAQs on Building Garden Sheds
If you have all the tools and materials on hand, it may cost you less to build your own shed than to buy a pre-built one. You can go all out with the customizations and have more control over the quality of the shed. Of course, you can always hire a Tasker for the extra pair of hands to work with you within your budget.
This will depend on the type of shed you’re planning to build. Start with a DIY shed kit if you want to take the easy way. However, more complex shed construction may require the assistance of professional shed installers.
If you’re planning to build a wooden shed, it’s not recommended to lay your shed directly on grass. This will make it susceptible to water damage or more prone to rotting due to the moisture from the grass. Make sure you have a firm foundation for your shed.
Find shed installers, fast
Find a shed installer
Related price guides

How much does a plunge pool cost?
Read more
How much does demolition cost?
Read more
How much does a pergola cost?
Read more

How much do patios cost?
Read more
How much does a new staircase cost?
Read more
Related articles
Your handy shed tools checklist
Read more