- Home/
- Guides/
- Garden Planting/
- How to Repot an Orchid
Learn how to repot an orchid
Find a garden planterLast Updated on
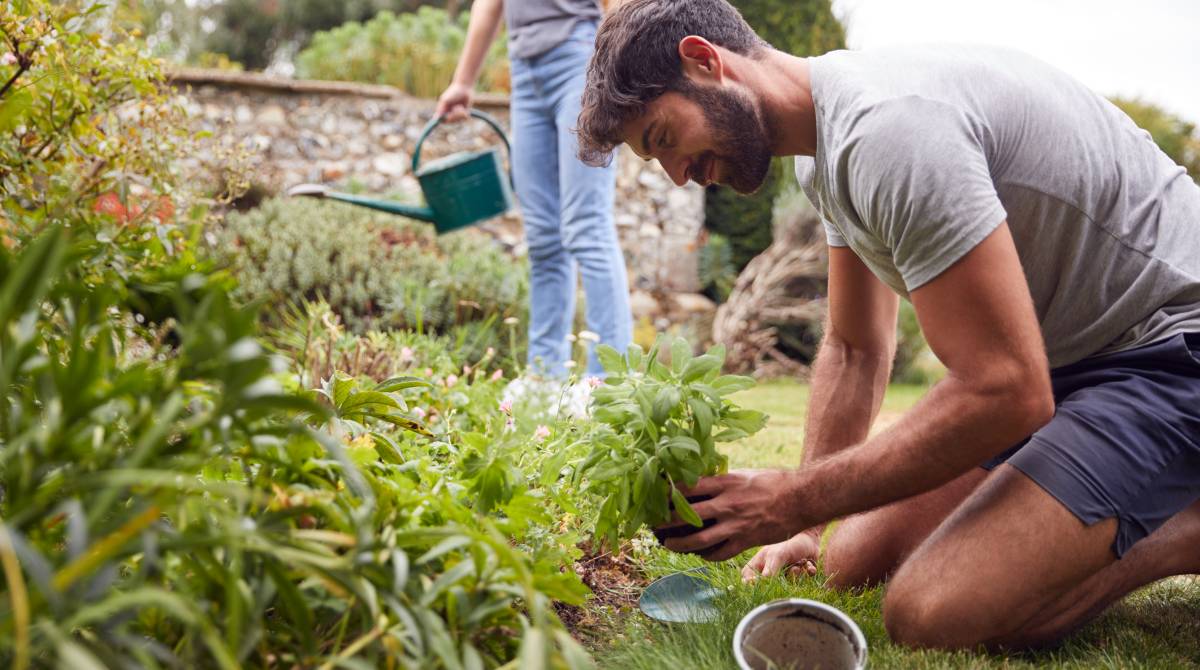
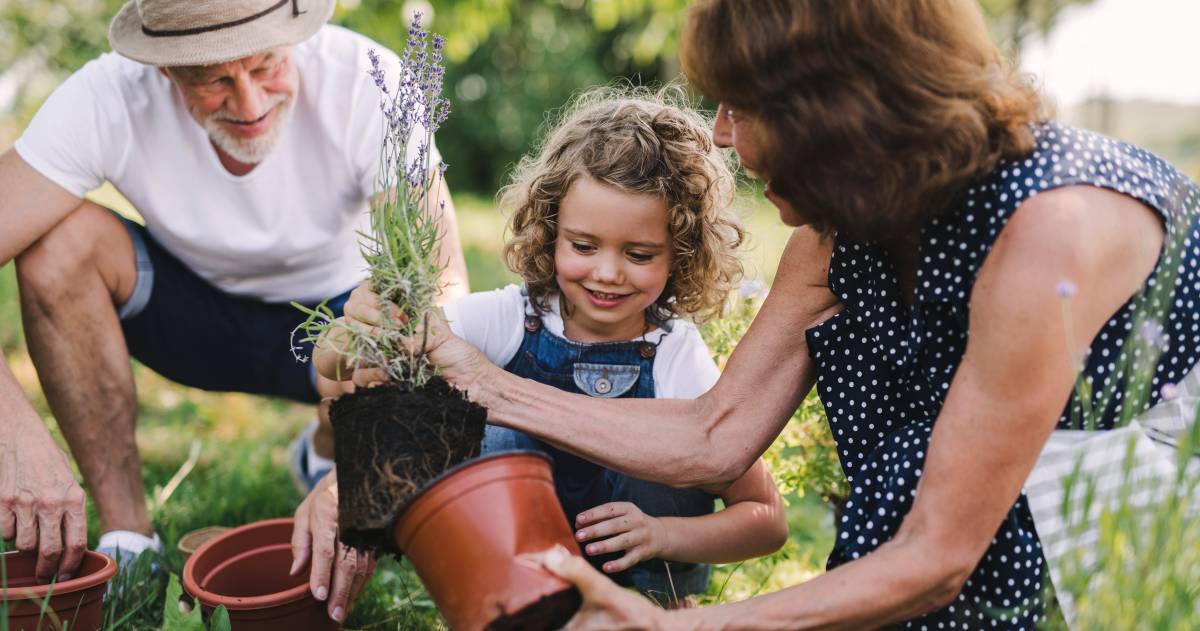
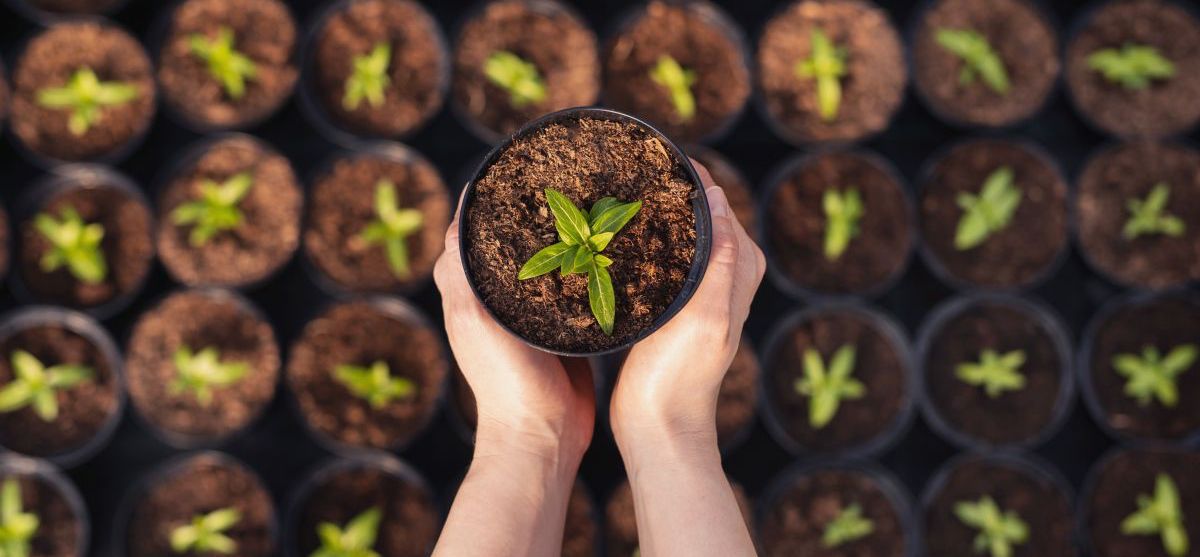
It’s not easy being an orchid lover when you consider the gentle balance required to ensure your prized plants thrive! Orchids, in, particular, need the right balance of water, sunlight, and conversation to ensure a healthy relationship! This level of care extends to repotting orchids as well!
If your orchid has outgrown its plastic pot, it may well be time for you to learn how to repot an orchid. Read on for some tips to help you do this successfully and ensure that your precious plant baby is happy in its new home (and alive).
Knowing when you should be repotting orchids
You will usually know that it’s time to repot your orchid when the roots begin to grow out of its current container. Your orchid is officially too large for its pot!
A secondary indication could be your orchid’s roots starting to rot, often because your pot isn’t draining correctly. Wait for your orchid to finish flowering, and when new growth beginning to appear, it is time to repot.
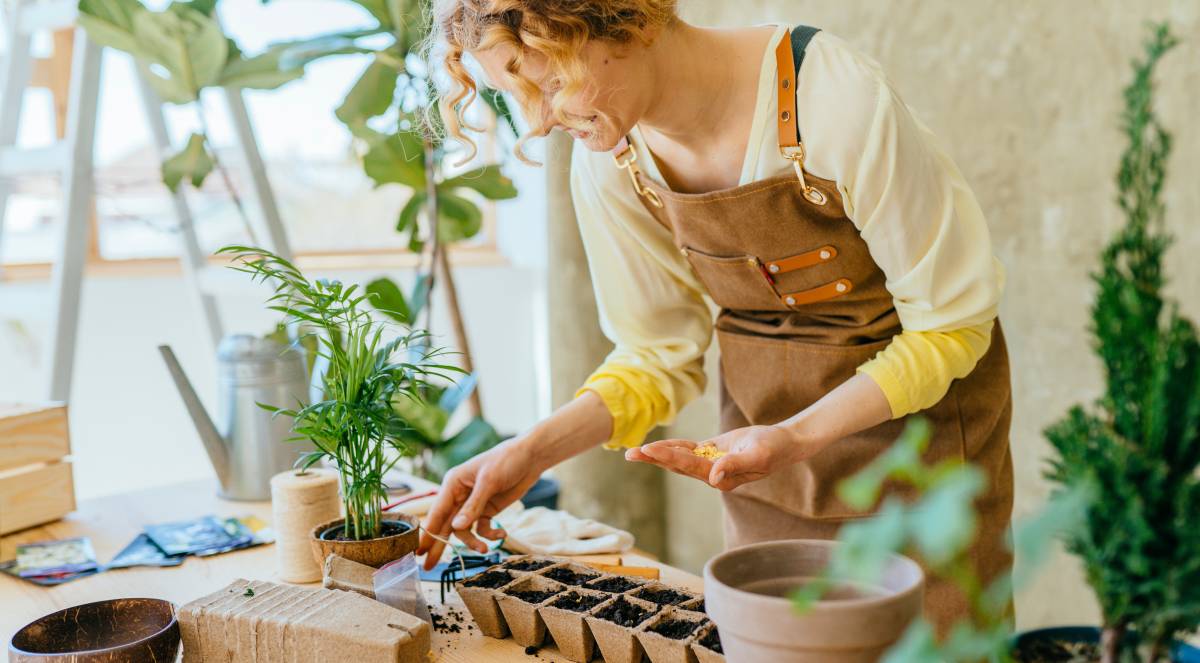
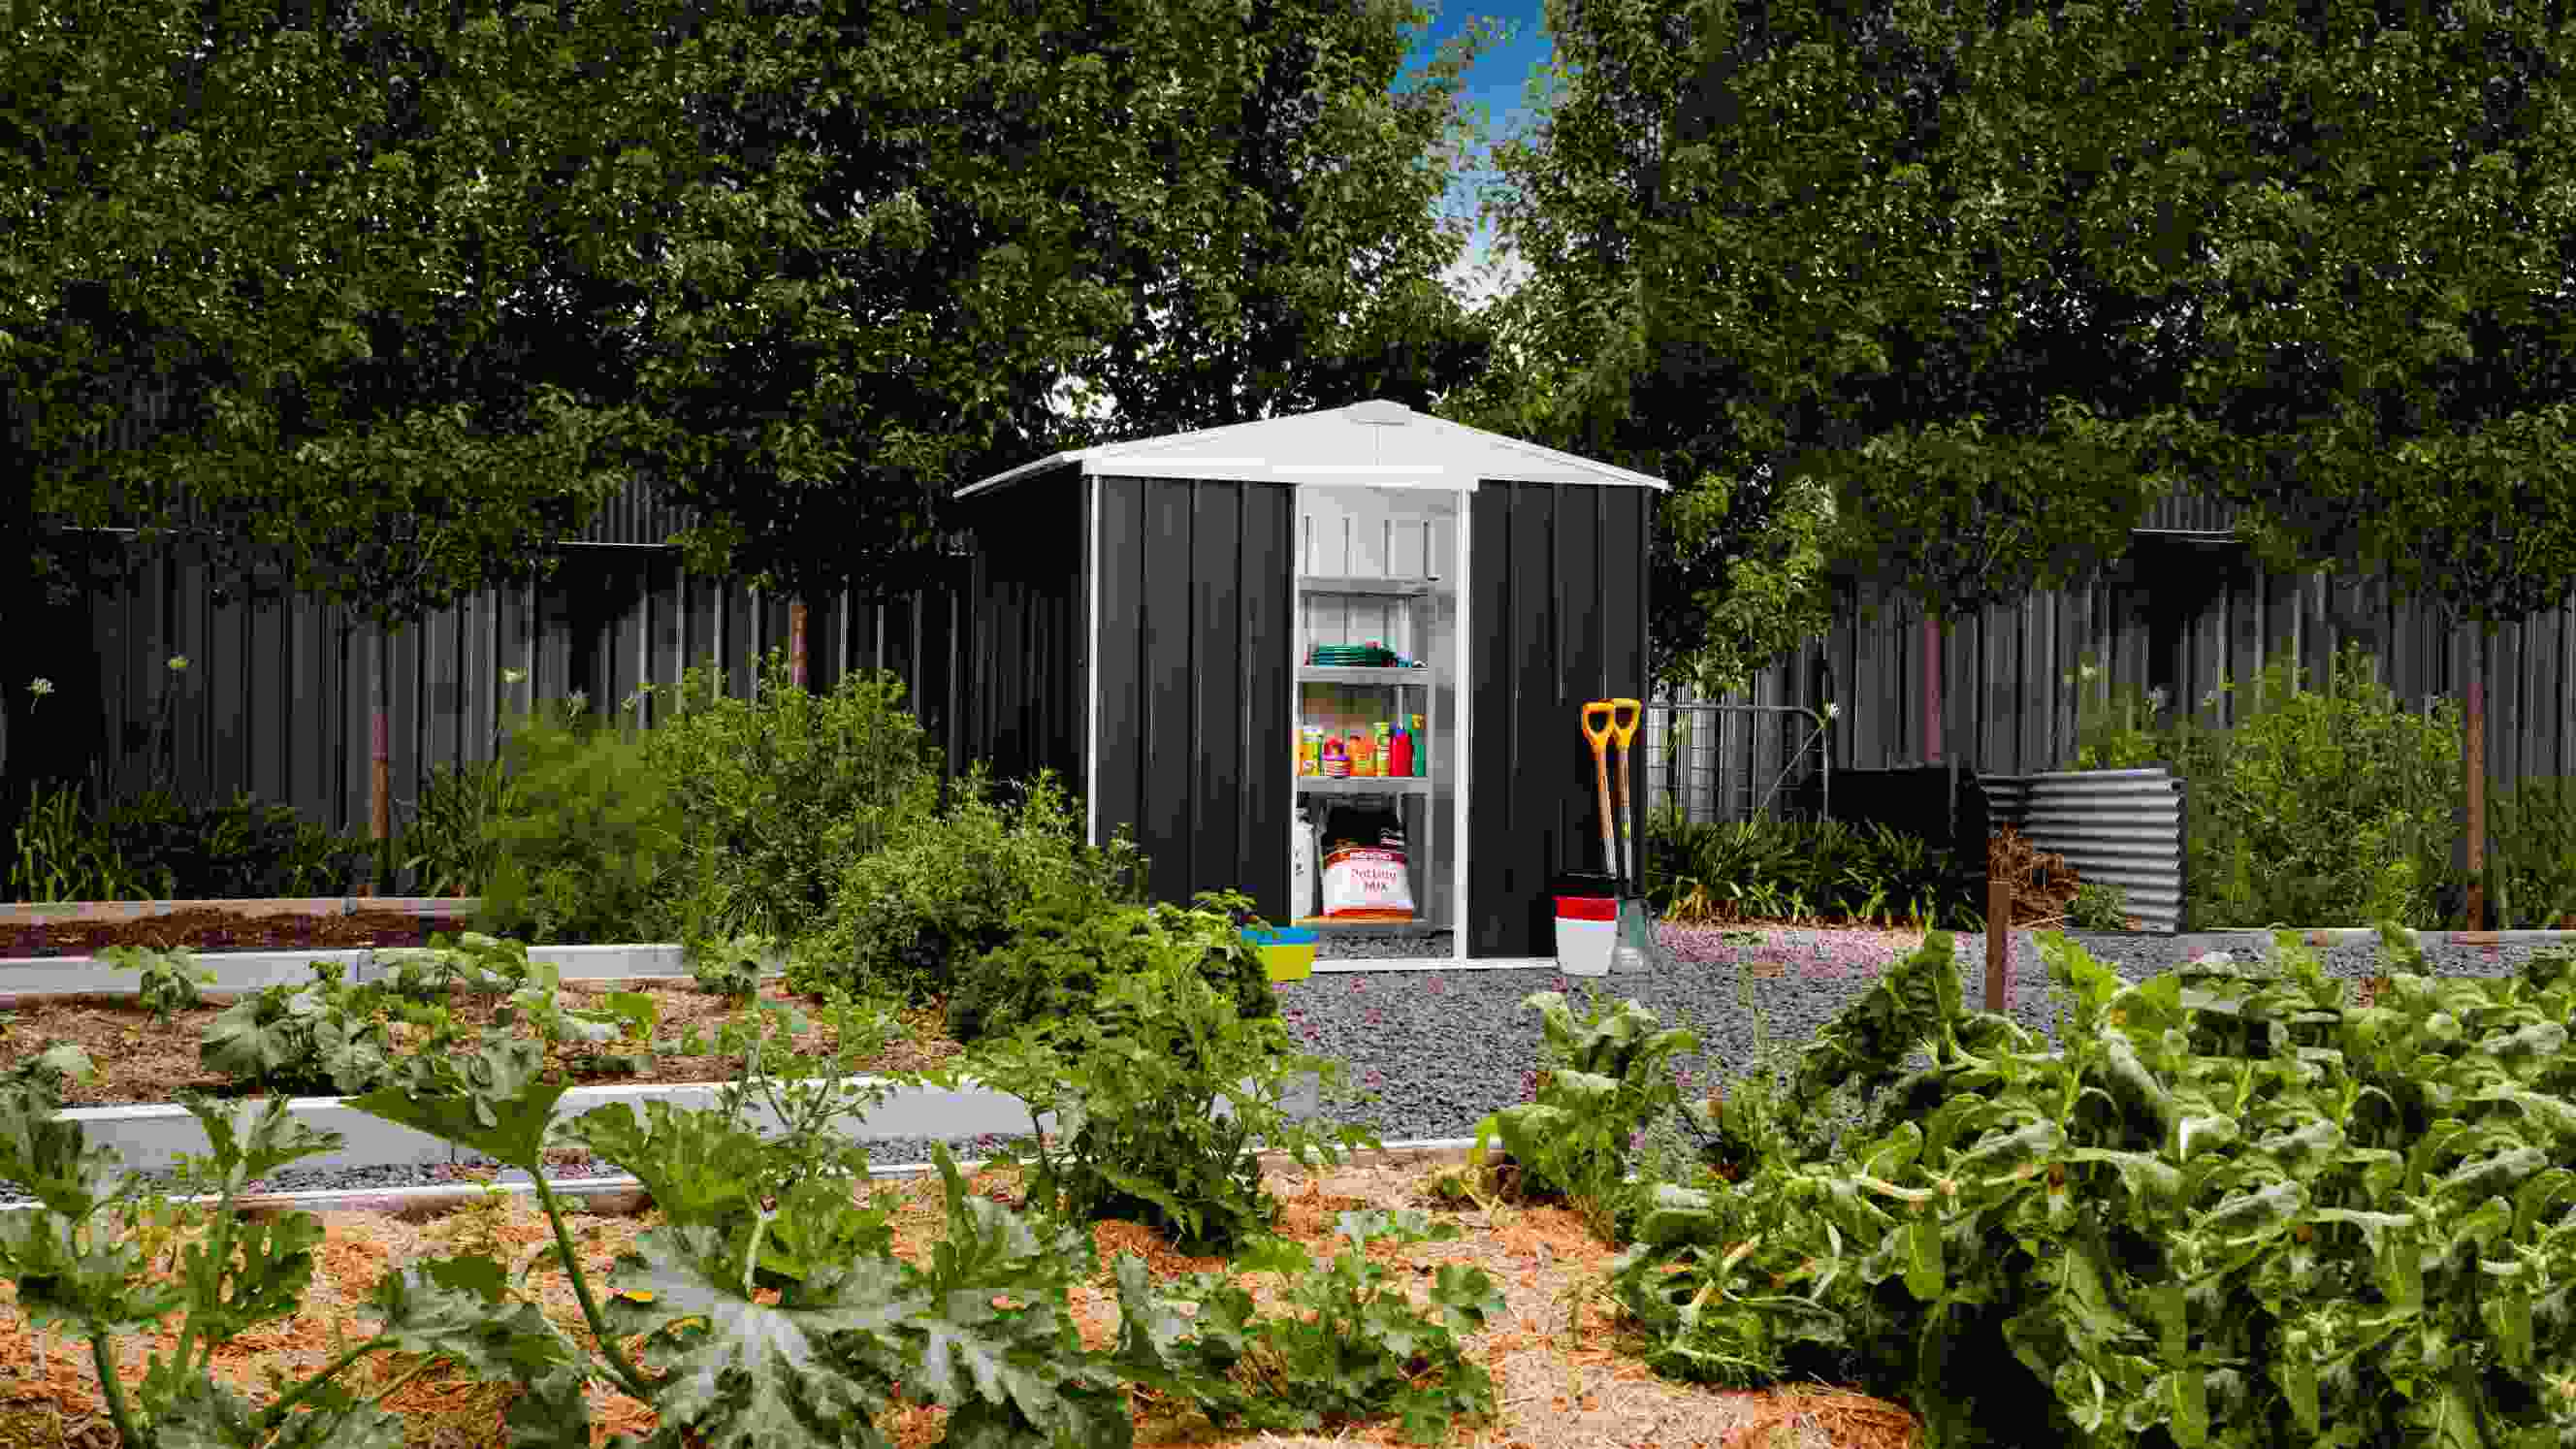
Things you’ll need for repotting
- A new pot that is at least two inches larger in diameter than the old pot
- Potting mix
- Clipping shears
- A large bucket
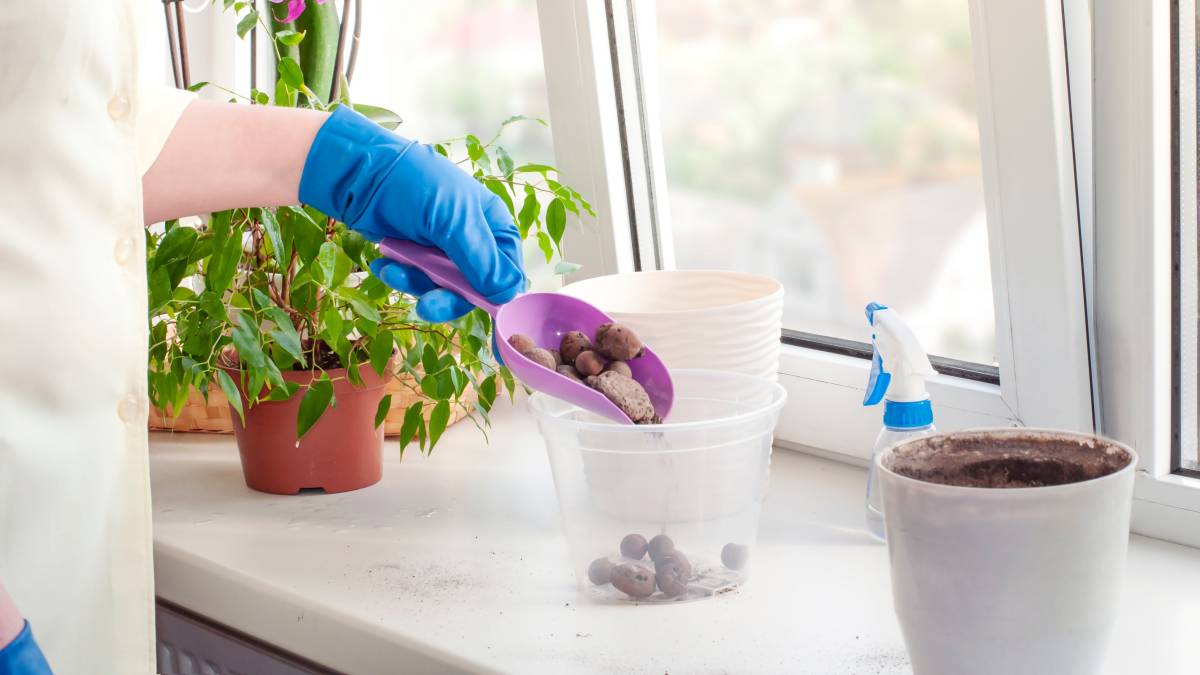
Steps for repotting an orchid
Step 1: Preparation
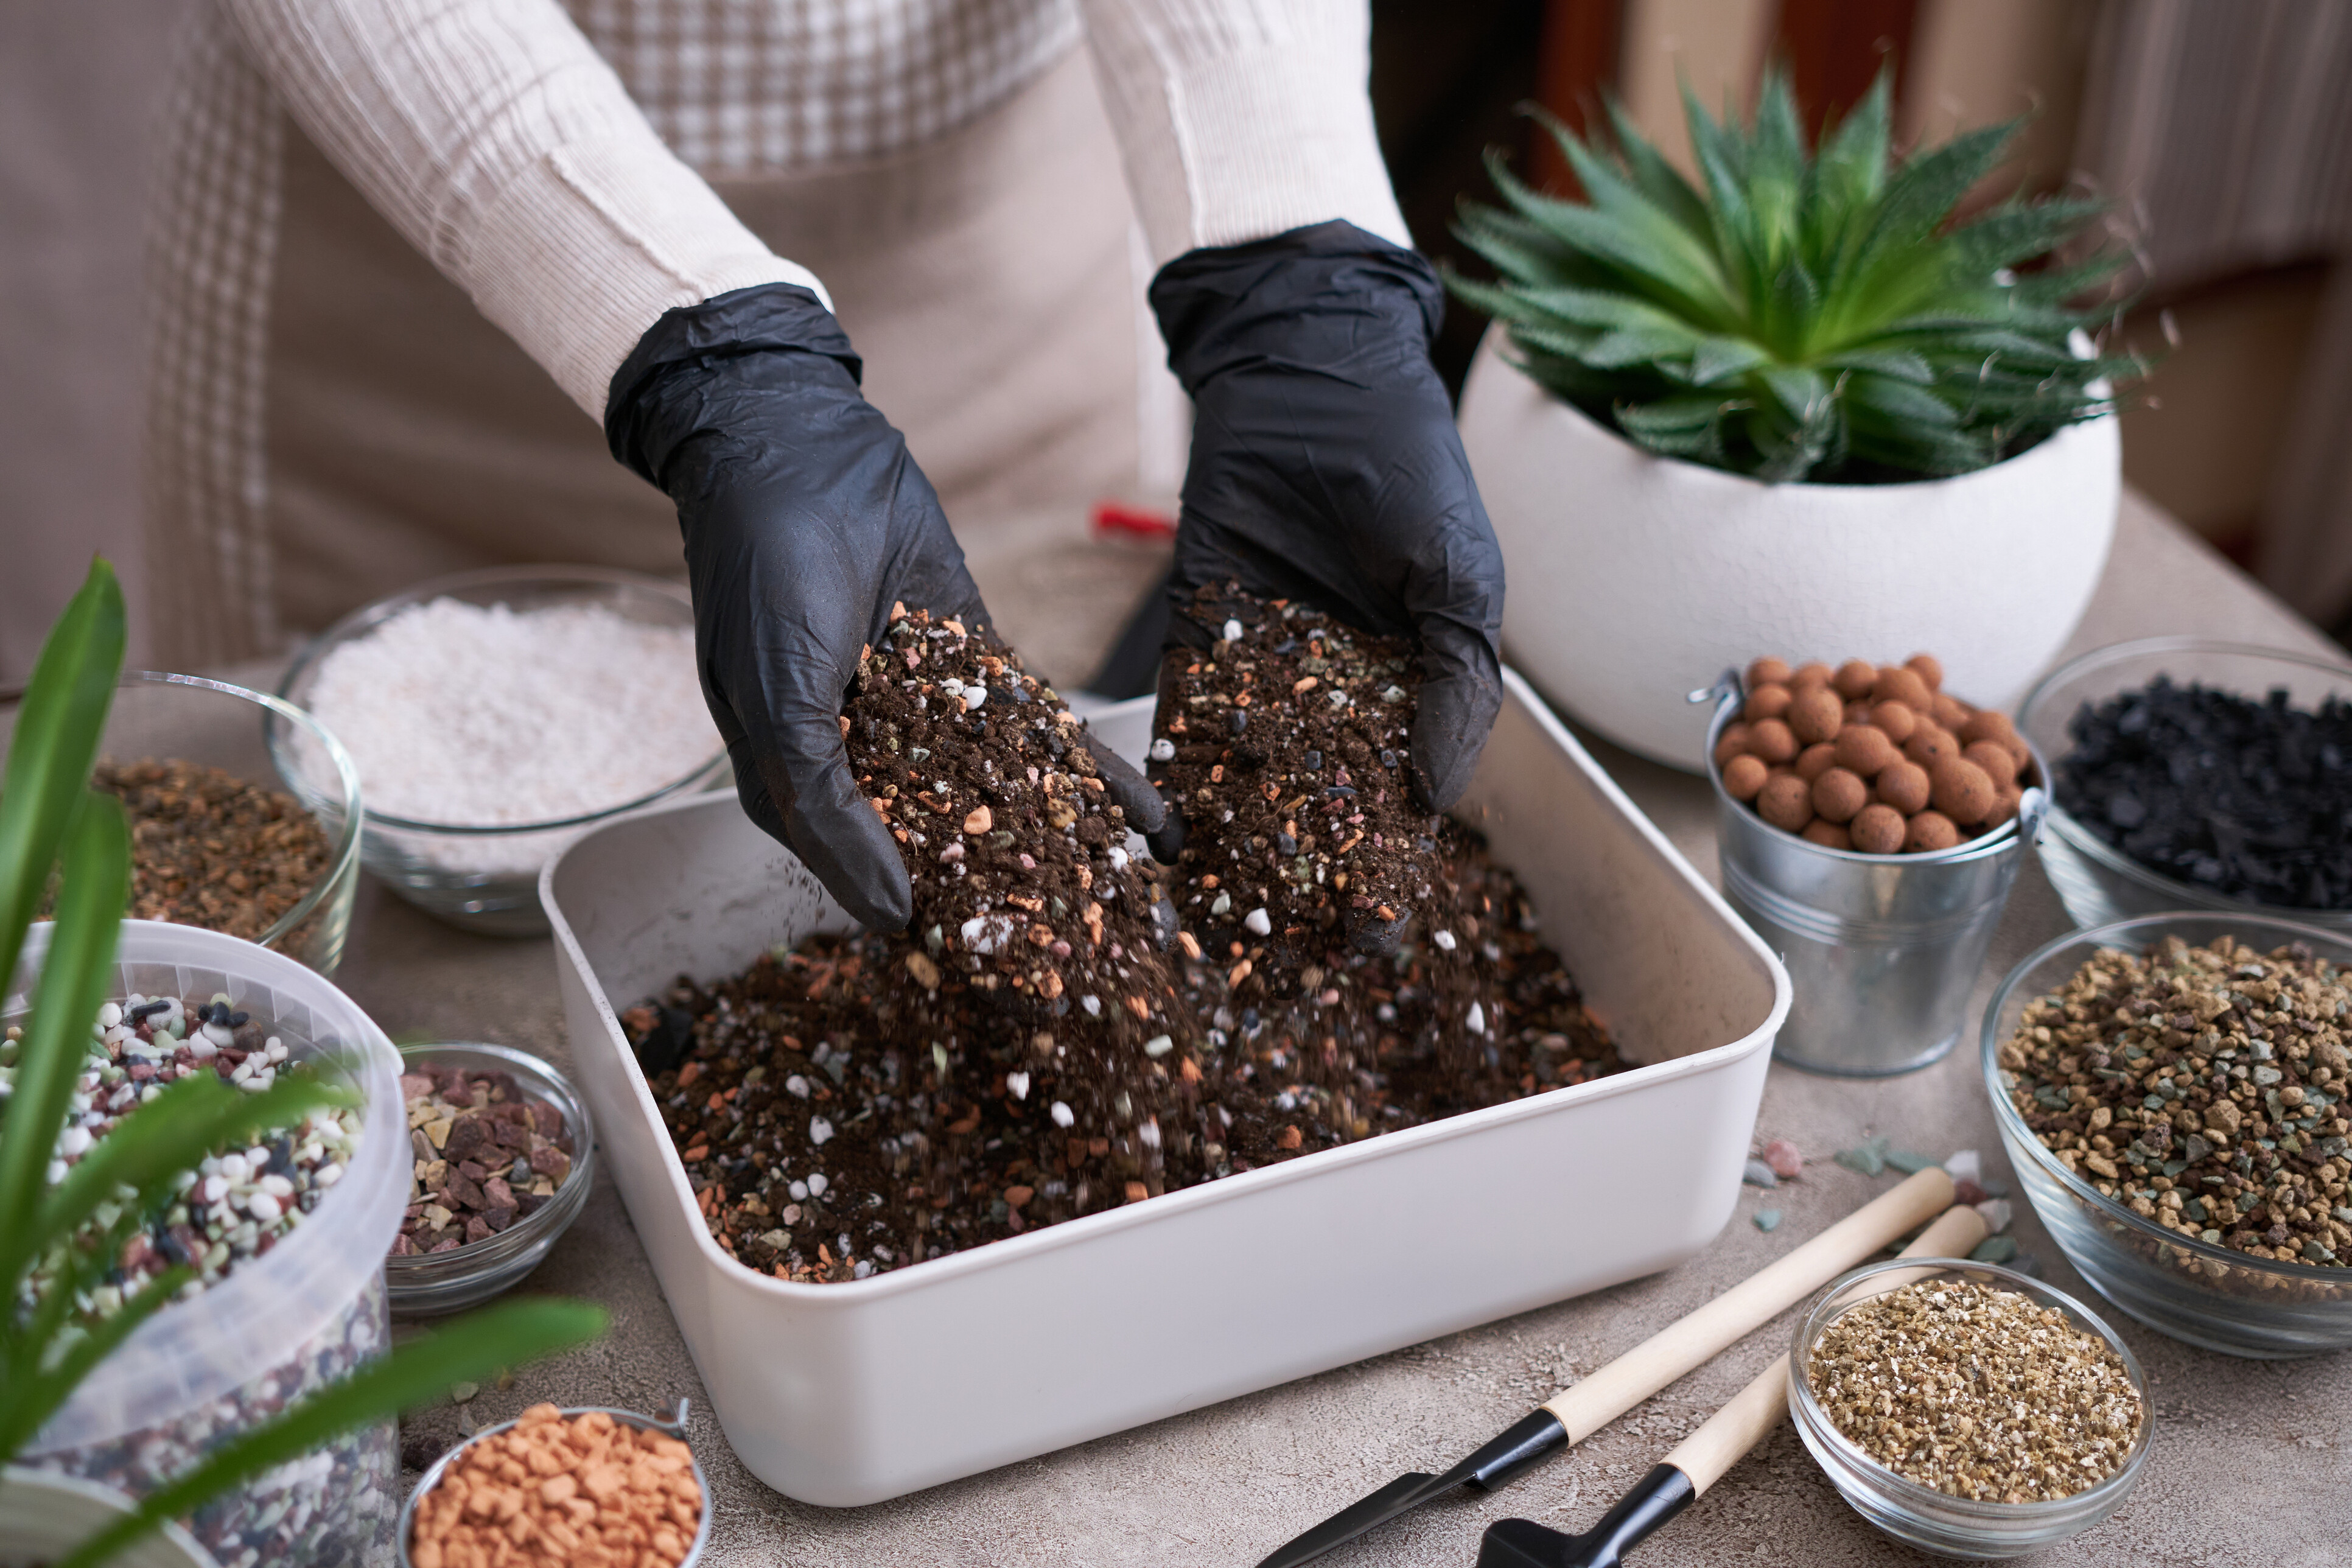
It is always easier if you prepare the amount of potting mix you will require in a bucket beforehand. Add double the amount of potting mix of boiling water and cover the bucket, allowing it to sit. When it reaches room temperature, you can drain the water.
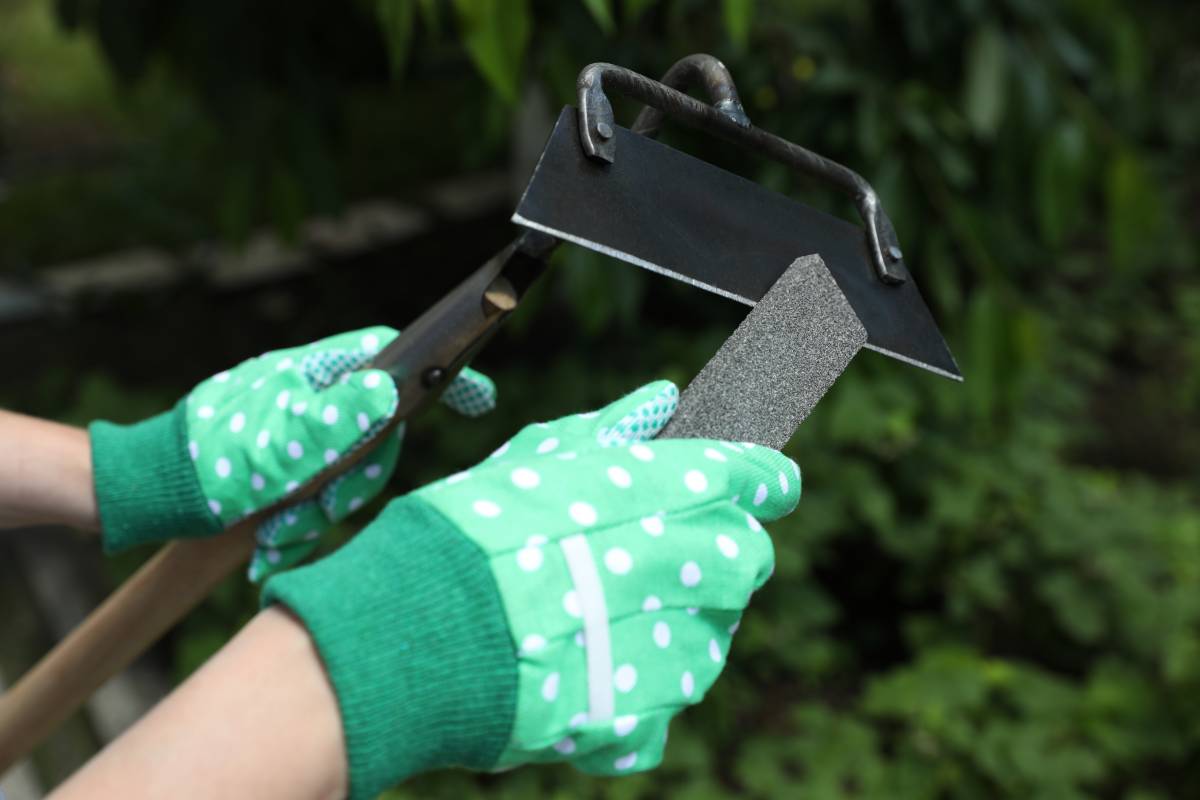
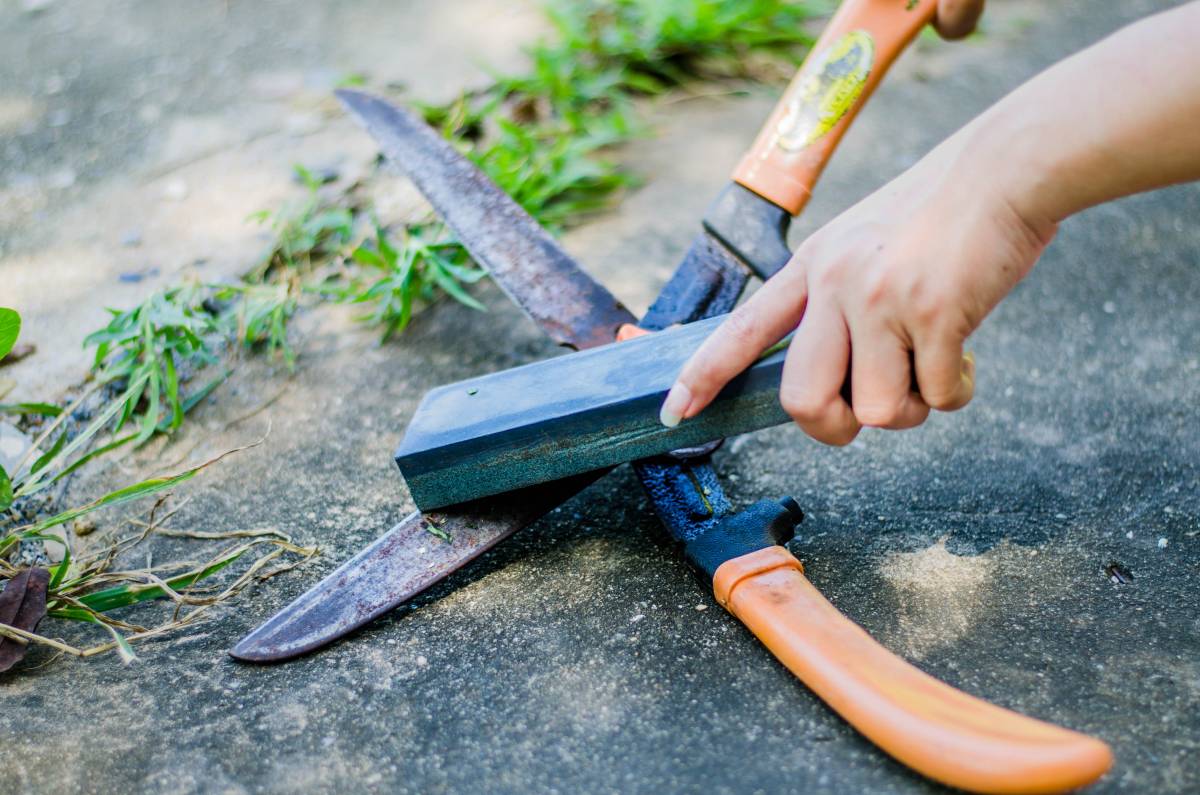
Orchids can become sick very easily, so it is always a good idea to sterilise everything you will be using.
It is quite easy to spread a virus or bacteria from one plant to another, and this risk is amplified if the root system is cut or knicked. Sterilise your cutting tools by soaking or heating them. As you shift between plants, wipe the blade and rinse the cutting tool before working on a new orchid.
For these reasons, it’s also a good idea to avoid reusing pots, or stakes unless they too have been sterilised first. It may be easier to acquire new ones and always work with some newspaper when laying your plants out. It may sound somewhat pedantic, but you don’t want to go to the trouble of repotting orchids only to have them die from a disease after you are done.
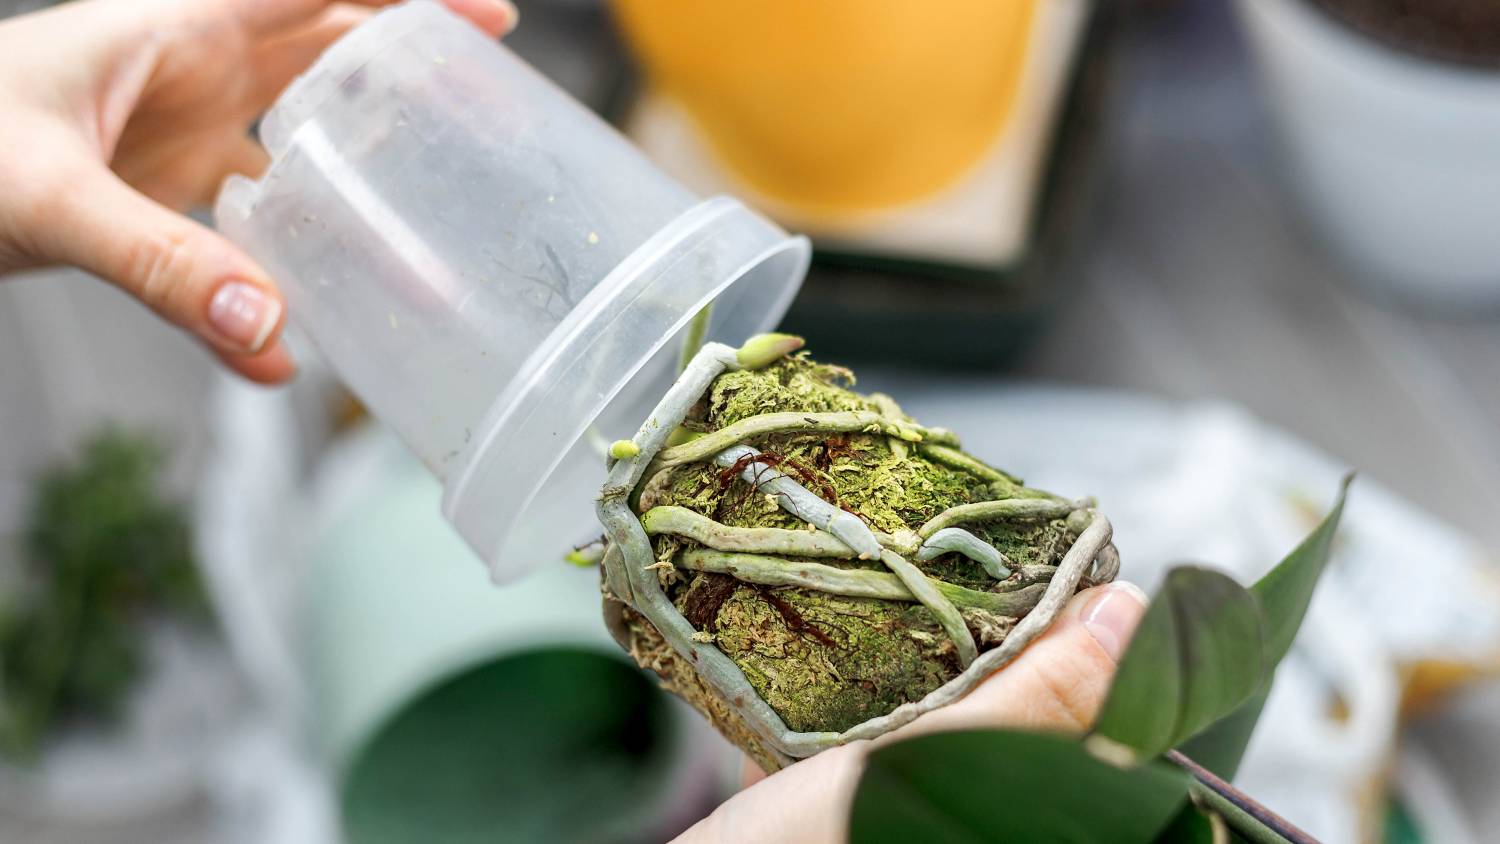
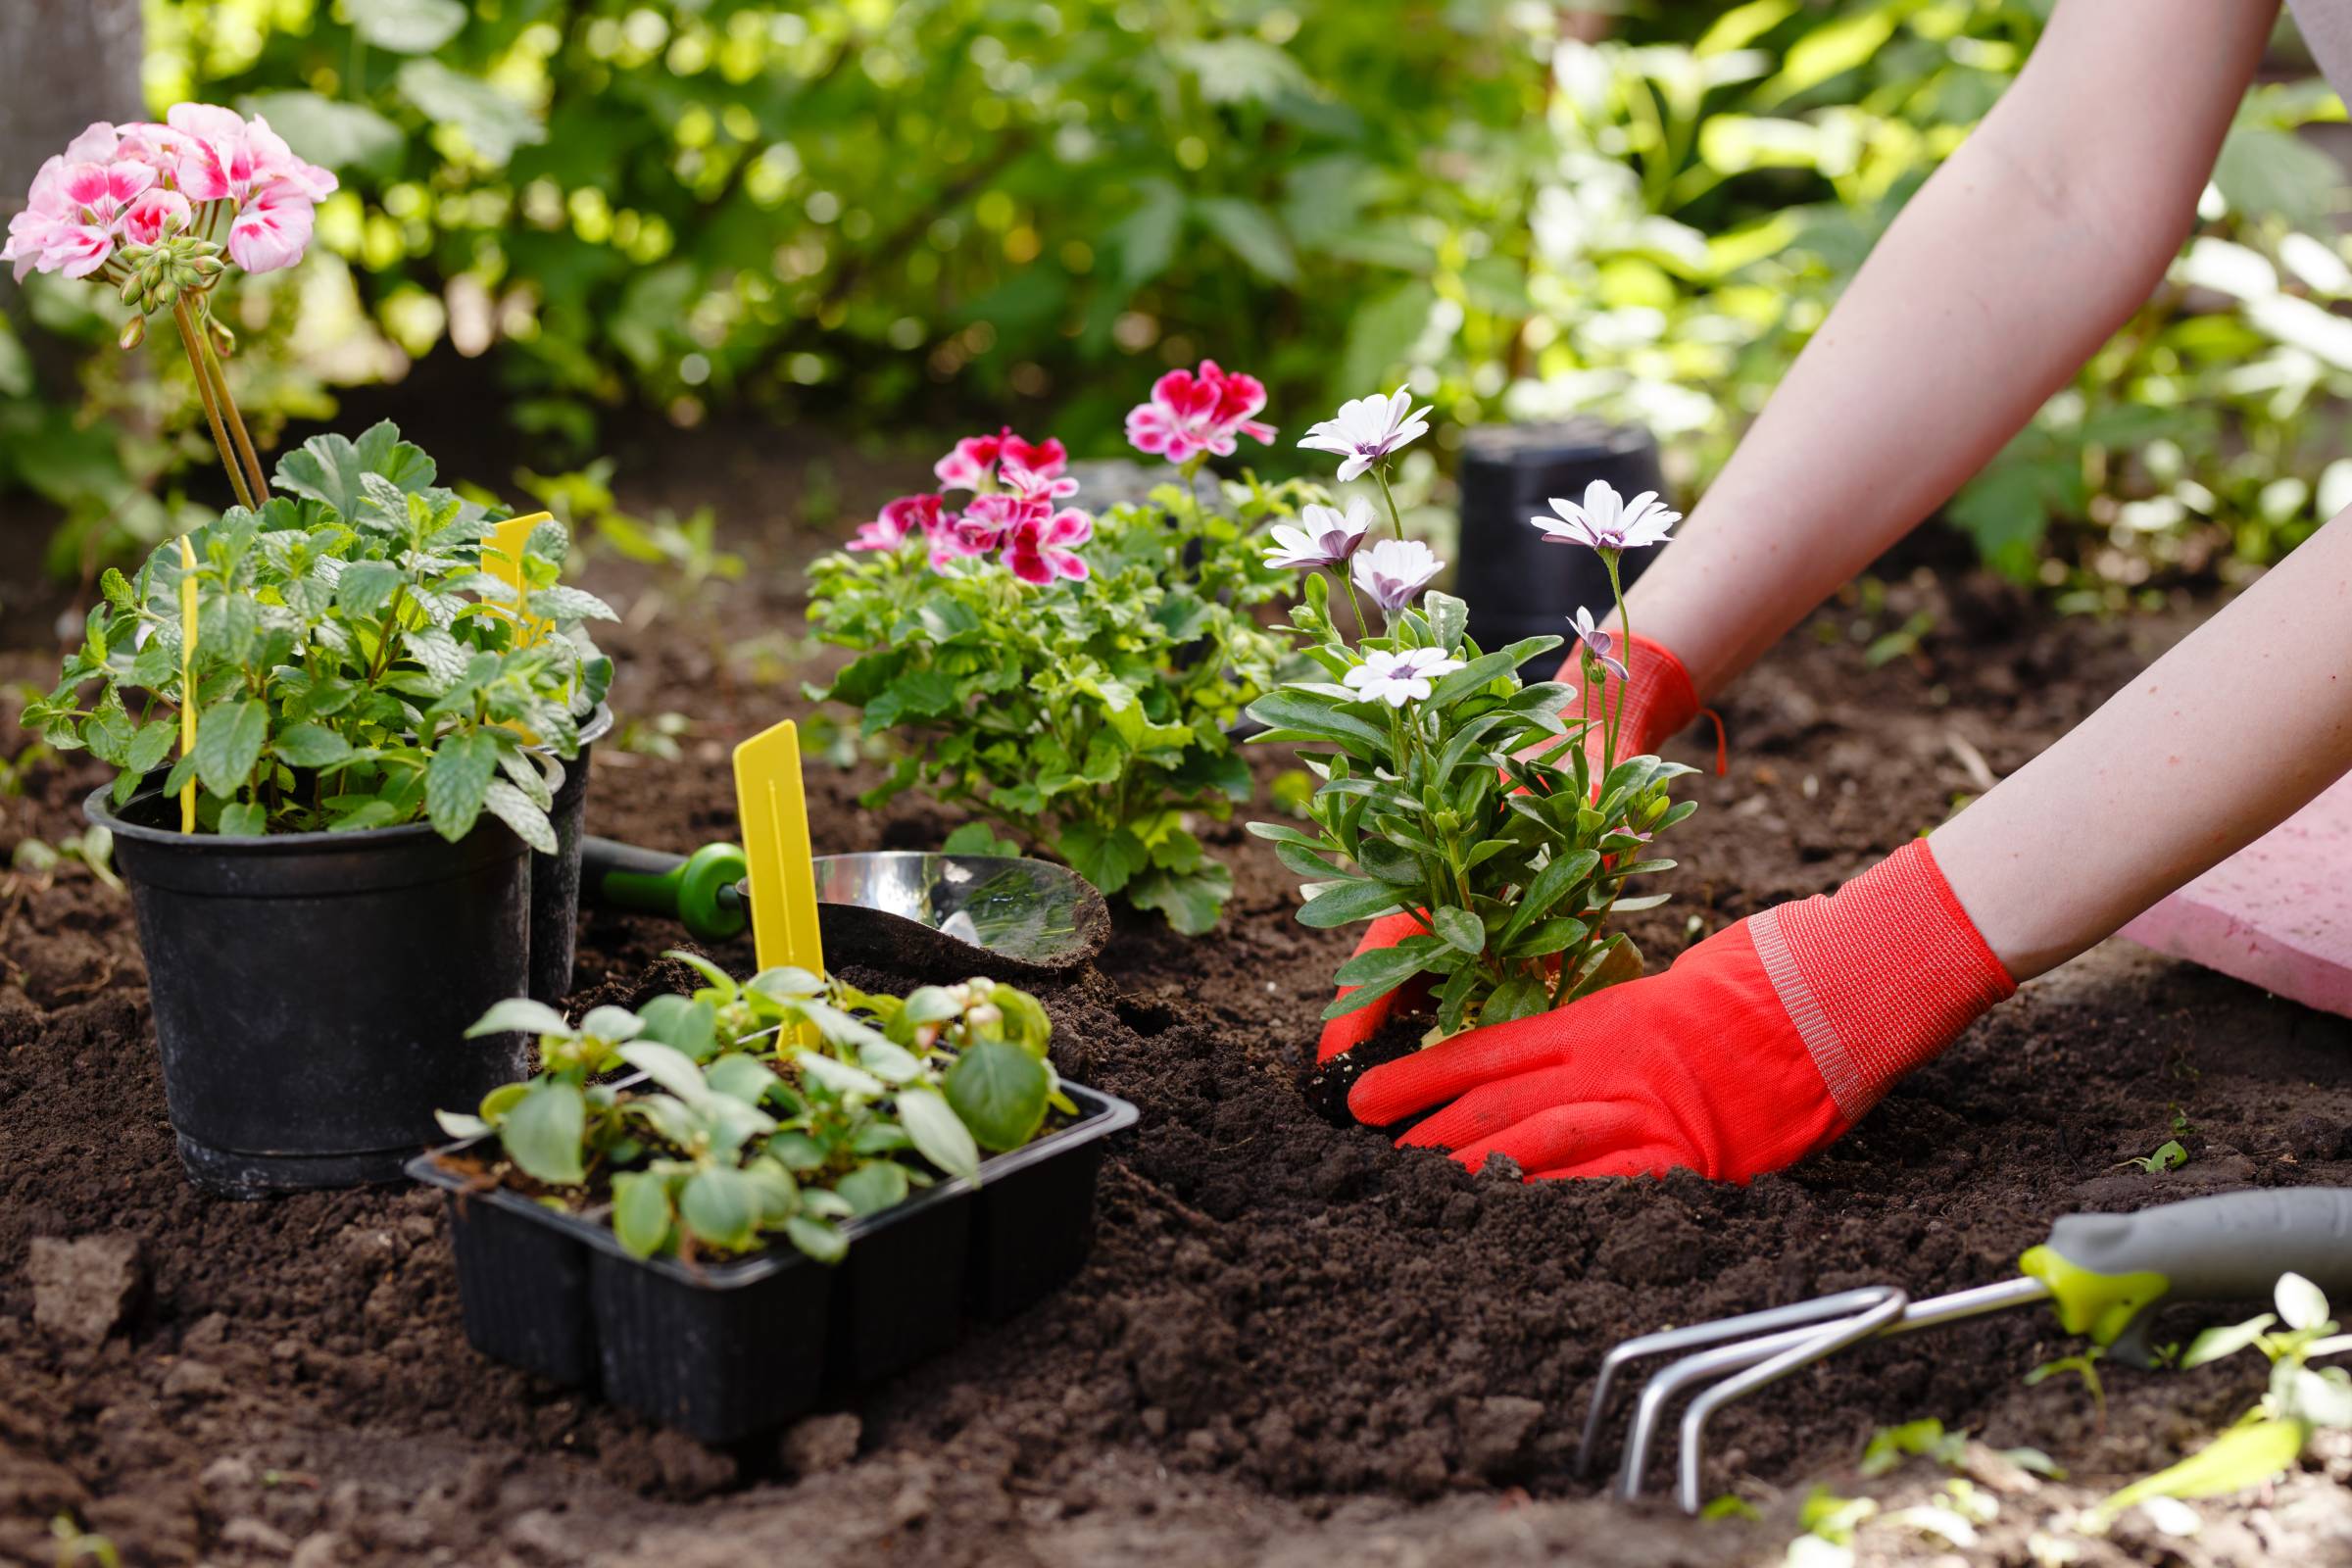
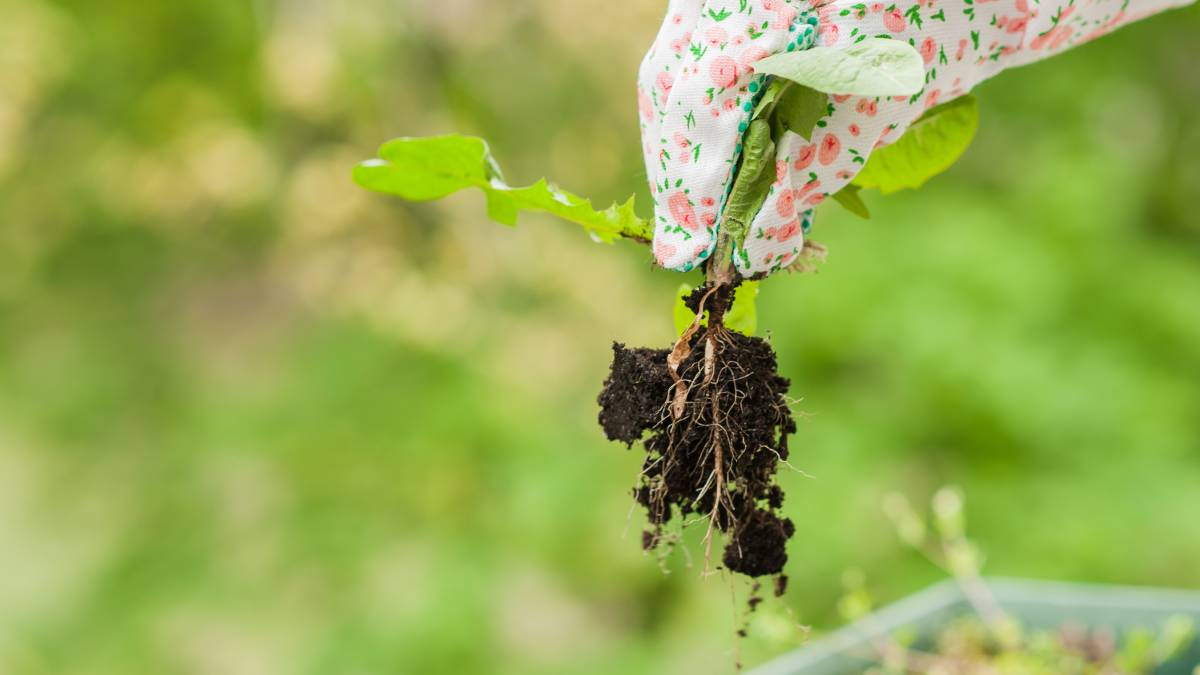
Step 2: Remove your orchid
Carefully remove your orchid from the old pot, ensuring you don’t break any of the roots. Loosen each root individually with a knife making sure you do not pierce them. It is vital that you are very careful and particular during this step.
Step 3: Clean
If you come across any dead or rotting roots, get rid of them. When you have entirely removed your orchid from its pot, gently clean the roots with your hands.
While doing this, you can ease apart any tangled roots while removing the dead or rotten ones to reveal only the nice healthy root system.
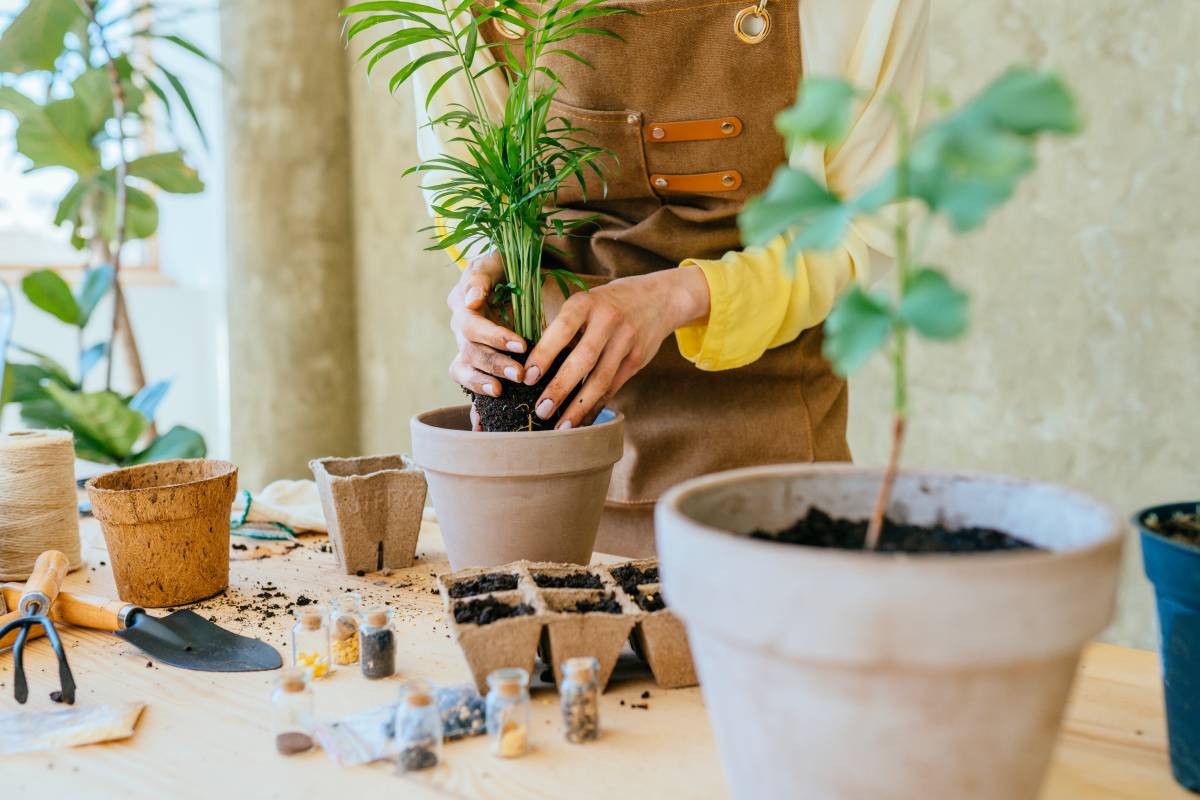
Step 4: Moving to the new pot
Place some potting mix at the bottom of the new pot to allow enough space for the new growth. Gently place the orchid in the pot lining up the new growth level with the top of the container.
Add the potting mix from earlier a little bit at a time and settle it around the roots with your fingers. Continue to add the mix until you fill to the top of the pot.
Step 5: Stake
Ensure that your orchid blooms are standing upright and support them with a stake to maintain strong future growth.
Once you have completed all of this, your orchid is in its new home! Continue to care for it as per usual and watch it flourish.
Some extra tips and tricks
A touch of cinnamon
It may sound a little strange, but if you sprinkle a little cinnamon on the newly cut areas of your plant, you will help foster healthy growth! Why? Cinnamon is actually a natural fungicide. You may substitute your favourite orchid fungicide, and it will also help to deter any bugs from setting up shop in your plant rooting system.
Choosing the right kind of pot
In most cases, this is a stylistic choice, especially if you are trying to keep all of your decors in sync. You may like to opt for the option of a clear plastic pot to easily see the rooting system of your orchid, making it easier to see when it needs a little water. Your potting mix will darken when wet and as it gets lighter, you’ll know that it’s time for a bit more moisture.
It is also believed that orchids can employ photosynthesis which is made easier with a clear pot. If your orchid is growing and gaining a bit of weight, you may want to opt for a ceramic pot to offset this a little and protect your orchid from tipping over.
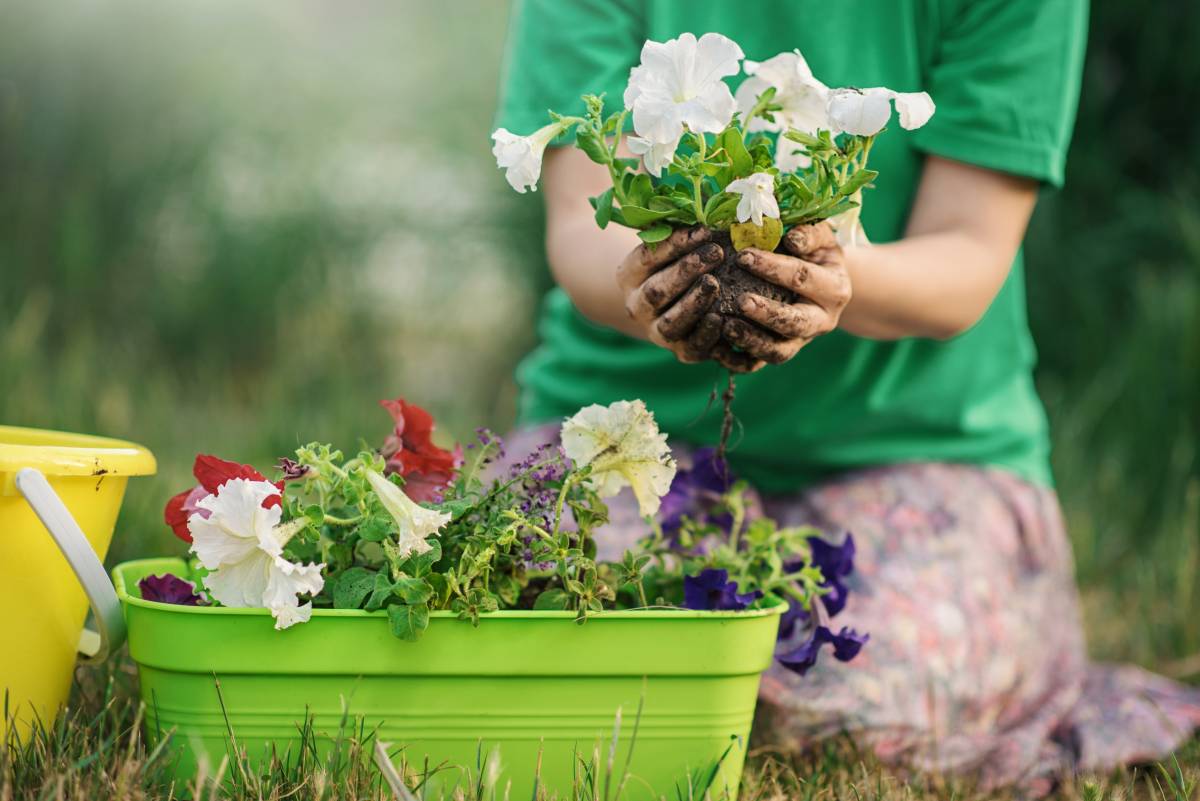
How to ensure your orchids grow their best
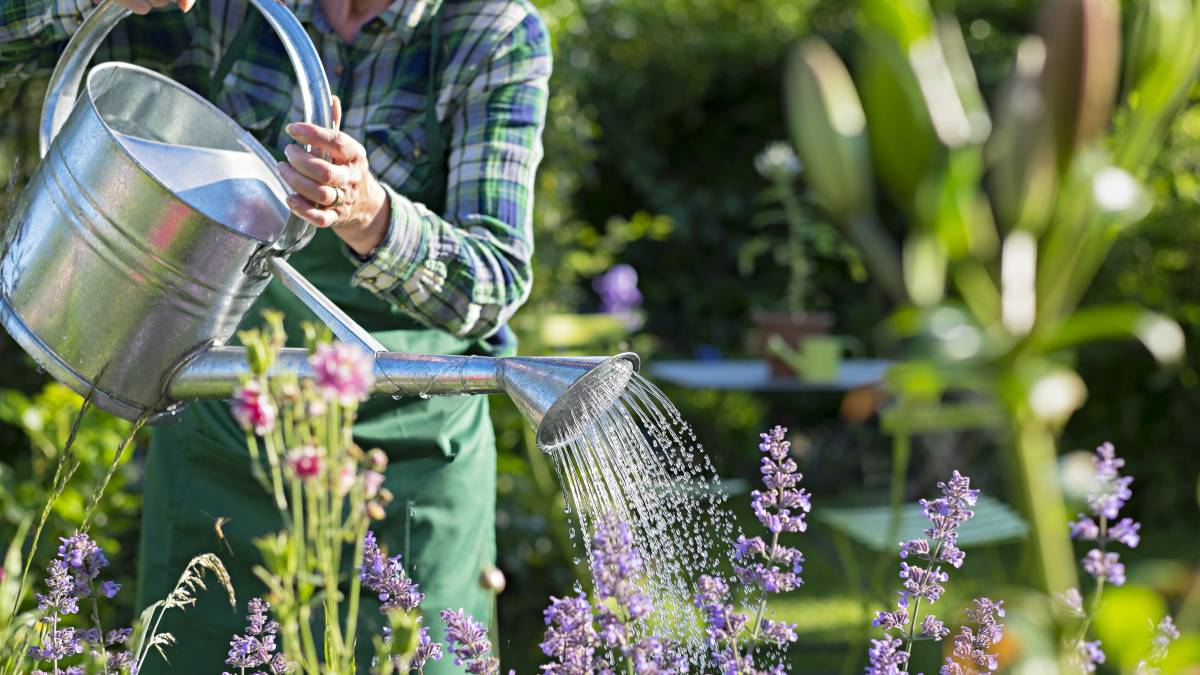
The successful growth of any plant, but especially the finicky orchid means a consideration of the environment it will live in and your habits as a plant owner. Overwatering is bad news for any plant so if you like to spend a bit of time with your greenery, which can lead to a little over-care, pick a potting mix that drys quickly.
On the flip side, if your plants often suffer from a little under-care due to a busy schedule, sit them in an environment that retains moisture, so they do not have to be watered as much.
When it comes to orchid care, there are no hard and fast rules, and you will likely work out what works best in your environment and for your lifestyle as you go. You can experiment by putting your plants in bark or moss and see how they go. Your plants will tell you if they are not having a good time! Don’t ring the alarms bells if your plants get a little worse for wear straight after a move; they will likely bounce back. It can often take some time for plants to settle into a fresh home, but they will recover fairly quickly and begin to thrive.
Are you ready to green up those thumbs?
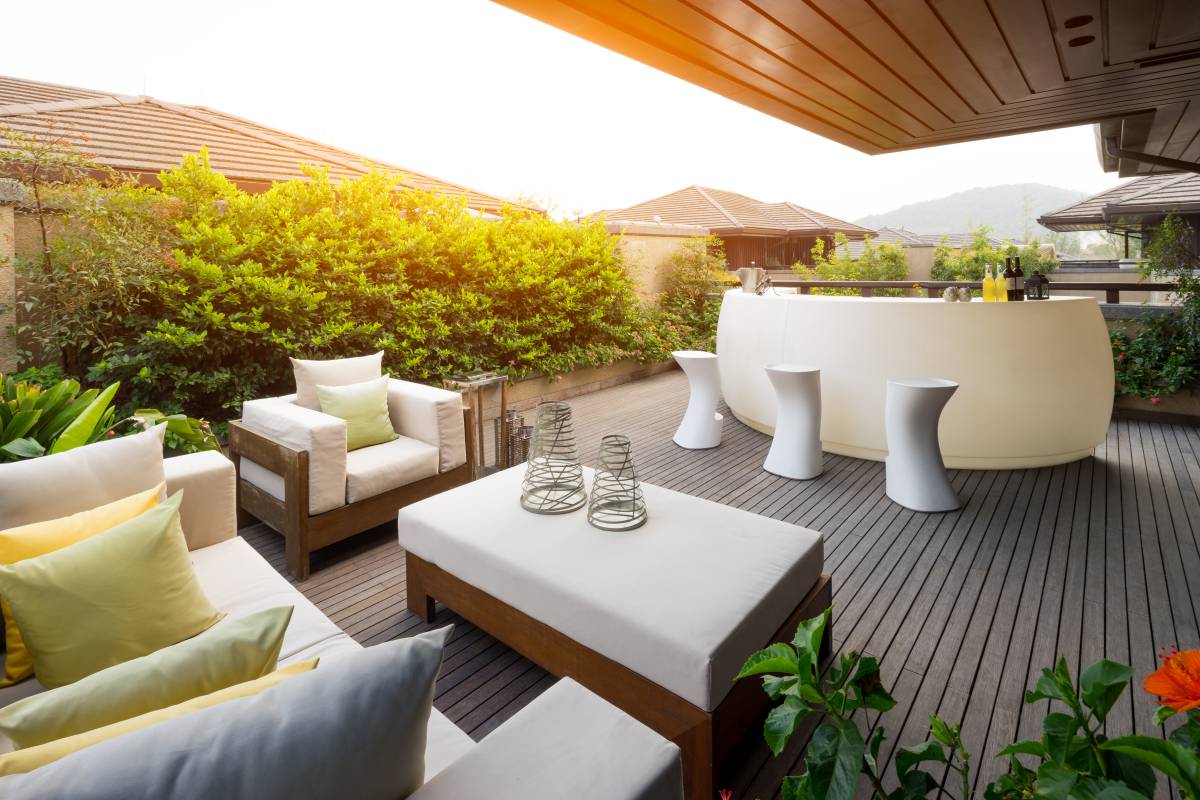
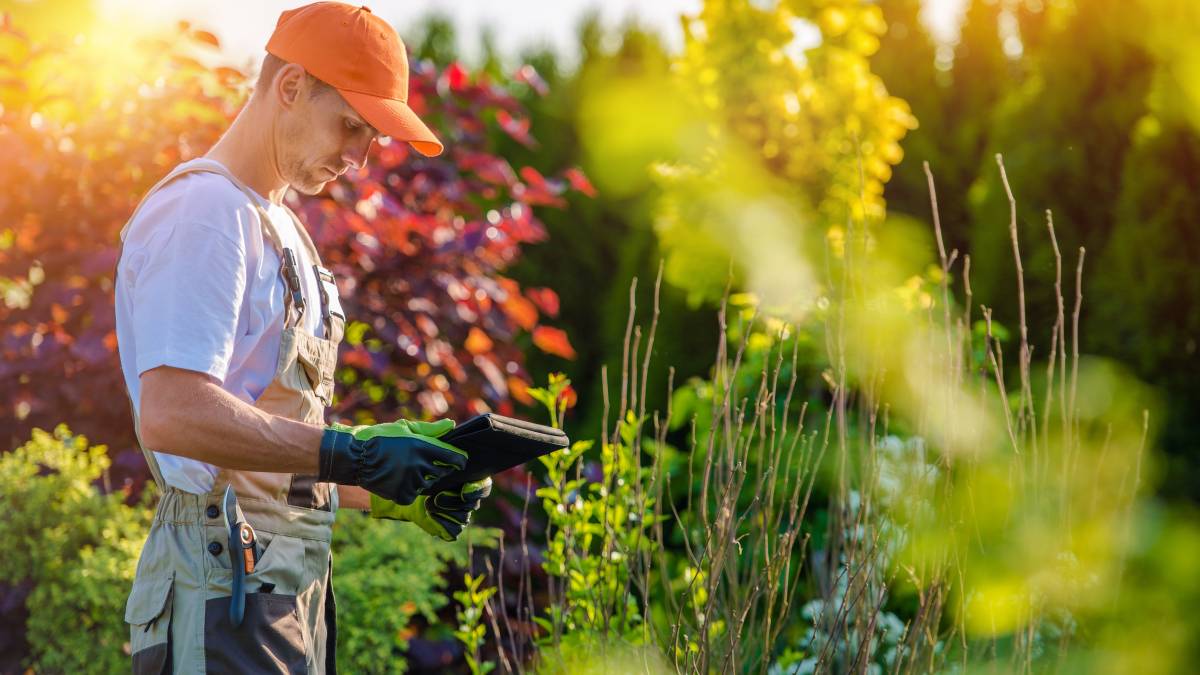
Gardening of any kind can be enjoyable, relaxing and productive. Sometimes, however, your thumbs may not be as green as you would like. It’s also possible that you just simply need more time, in which case there are a number of gardening experts who can help with planting and maintenance ensuring that your outdoor areas always look stunning.
If you are, however, determined to become the best gardener you can be, have a read of our range of articles on how best to propagate plants, amazing indoor plant options and the best choices specifically to green up your bathroom with plants. You’ll soon be on your way to a mini-indoor jungle of your very own!
Orchids Repotting FAQs
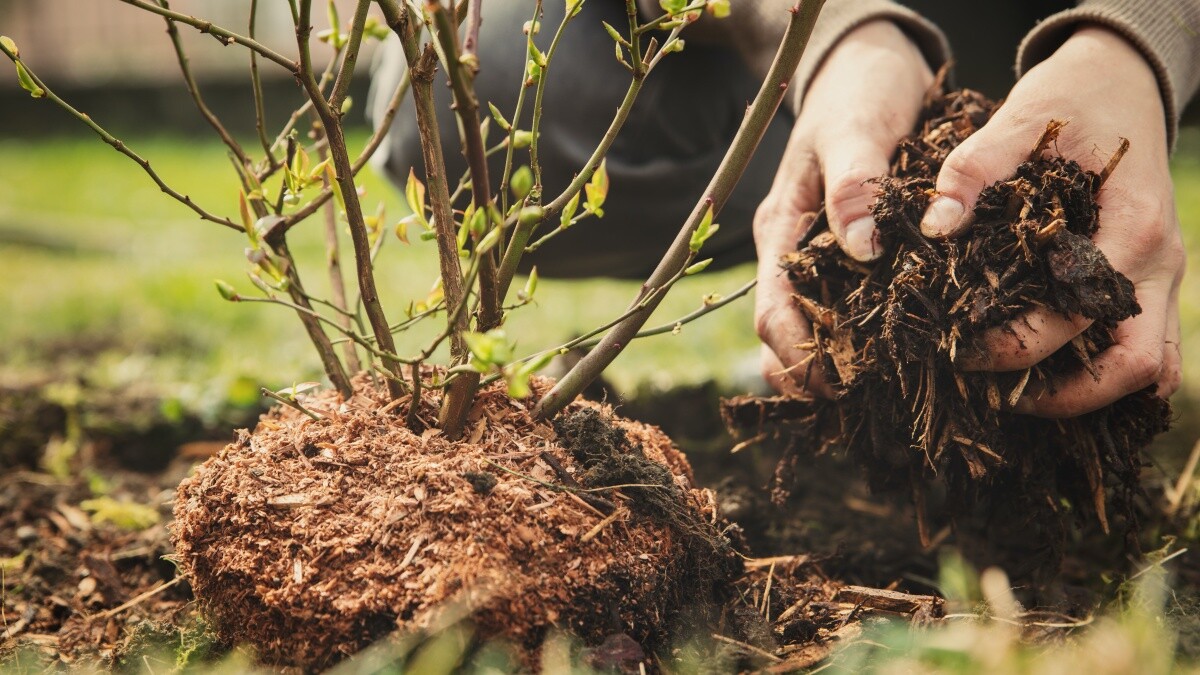
Orchids, depending on their type and age, should be repotted every six months to three years. The younger the plant, the more frequent the repotting. A good rule of thumb is to repot your plant straight after it is purchased when it goes out of bloom. The best time to repot these plants is in active growth, shortly after blooming when new shoots or leaves begin to form. Repotting is best when new roots are less than a few inches.
The correct potting mix for your orchid depends on your environment as well as the type of orchid. Some blends contain small particles that are best for seedlings; others have larger particles that are better for thick rooted orchids. Steer clear of any potting mix that lists “secret ingredients” or no ingredients at all. You need to know precisely what you are potting your orchids in. Aim for a fresh mix with coconut husk chips and give it a good rinse before potting your orchids with it.
If you want your orchids to survive and thrive, then yes! Repotting your orchids at least once a year will keep them healthy and strong. In fact, if you do not change the media of your orchids, they can catch a disease and die. There are also benefits to customising your orchid mix based on your lifestyle. For example, if you have a lot of time to water your plants, you can opt for a blend that drys out quickly. If you are a little bit busy, opt for the opposite and relax the number of times you water your orchids. The plants will tell you when they are unhappy so see which medium works best for your plants and situation. Always remember, however, repotting your orchid when it is inactive growth will help it to reestablish itself quickly. Repotting orchids leads to years of their enjoyment, and it can be a fun and therapeutic exercise that you will likely enjoy.
Find garden planters, fast
Find a garden planter
Related articles
How to build garden steps
Read more
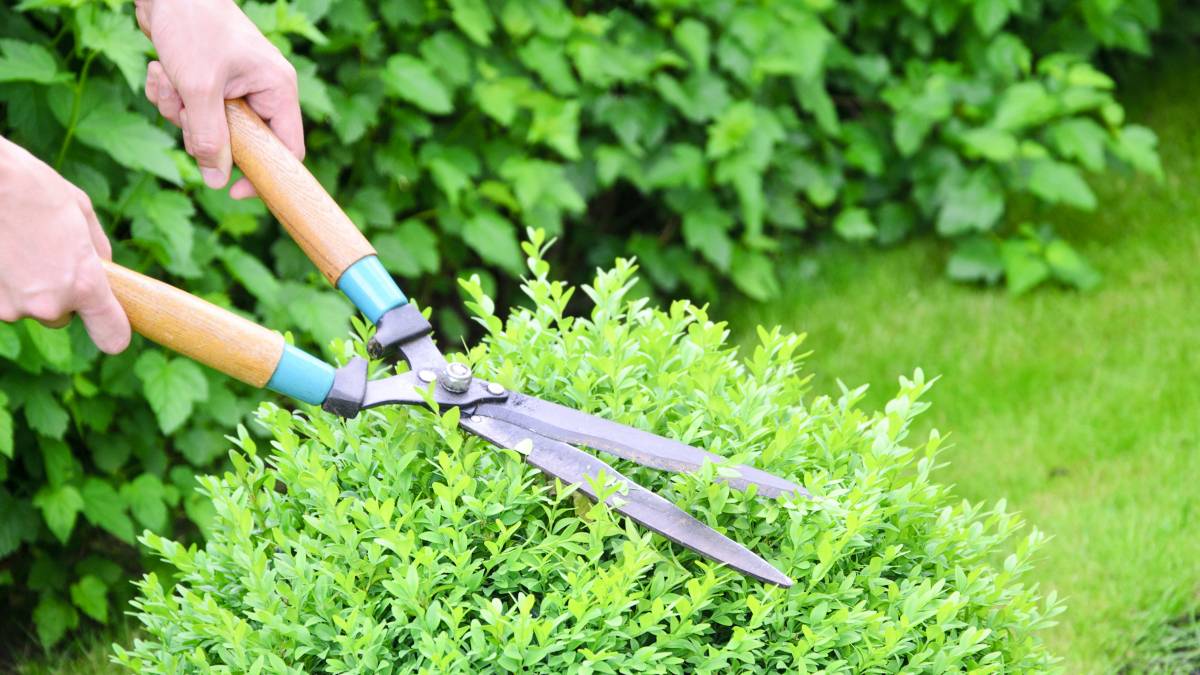
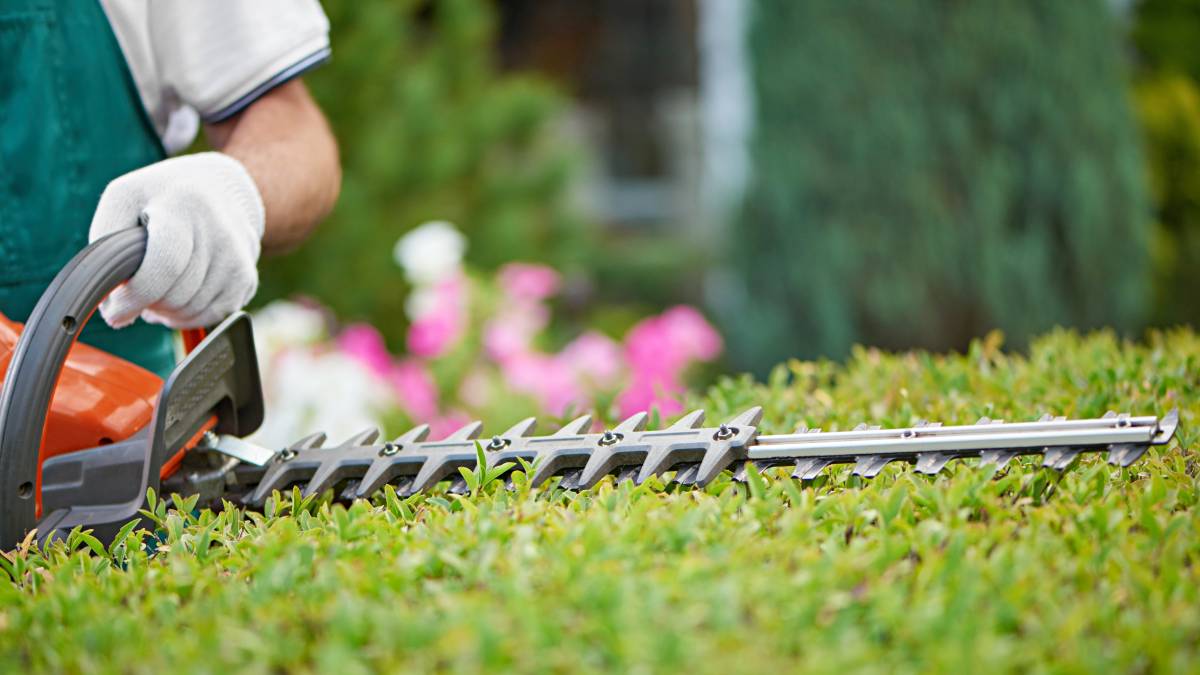
How to trim bushes the right way
Read more
13 best spring gardening tips
Read more
36 Quirky plant pot ideas you’ll love
Read more
How to clean garden rocks
Read more
18 Garden canopy ideas you’ll love
Read more
Gardening tips for beginners
Read more
25 ways to make money gardening
Read more
Your garden maintenance checklist
Read more
How to prune roses the right way
Read more


Related price guides
How much does hedge removal cost?
Read more
How much does a garden room cost?
Read more
How much does garden clearance cost?
Read more
How much does mulch cost?
Read more
How much does weeding cost?
Read more
How much does a gardener cost?
Read more