- Home/
- Guides/
- Wall Painting/
- How to Limewash Walls
Soft walls, warm abode: How to limewash walls for a better home
Bringing natural texture and character into your space with limewash paint
Published on

Written by John C.
Contributor
Read more about our contributor
Skill Level |
Estimated Completion Time |
Estimated Cost |
|---|---|---|
Intermediate |
1 to 2 days, based on drying time and number of coats |
Depends on wall size, paint brand, and surface prep |
Key Takeaways
Limewash works best on clean, porous surfaces such as plaster, brick, masonry, and cement, as well as on some previously painted walls.
The finish changes as it dries, so always test your colour before painting the whole wall.
Thin, uneven brush strokes are what create limewash’s soft, cloudy, lived-in look.
Limewash walls have become a favourite for homeowners who want interiors that feel warm, relaxed, and full of character. Unlike standard paint, limewash doesn’t create a flat, uniform block of colour. It gives walls a soft, matte, slightly mottled finish that can make a room feel calmer and more natural.
The good news? Learning how to limewash walls is fairly straightforward if you prepare properly and work patiently. The trick is to use the right surface, apply thin coats, and avoid overworking the finish.
What is limewash paint?
Limewash is a mineral-based paint made from limestone that has been burned, crushed, mixed with water, aged, and then thinned into a paint-like finish. Pigments can be added to create different colours, although limewash is best known for soft whites, greys, browns, beiges, and other earthy tones.
Unlike acrylic or latex paint, limewash doesn’t just sit on the surface. On suitable porous materials, it sinks in and bonds with the wall. This is what gives limewashed walls their chalky texture, depth, and natural colour variation.
It also ages differently from regular paint. Instead of simply chipping or fading, limewash develops a gentle patina over time. For many homeowners, that weathered look is part of its charm.
Where can you use limewash?
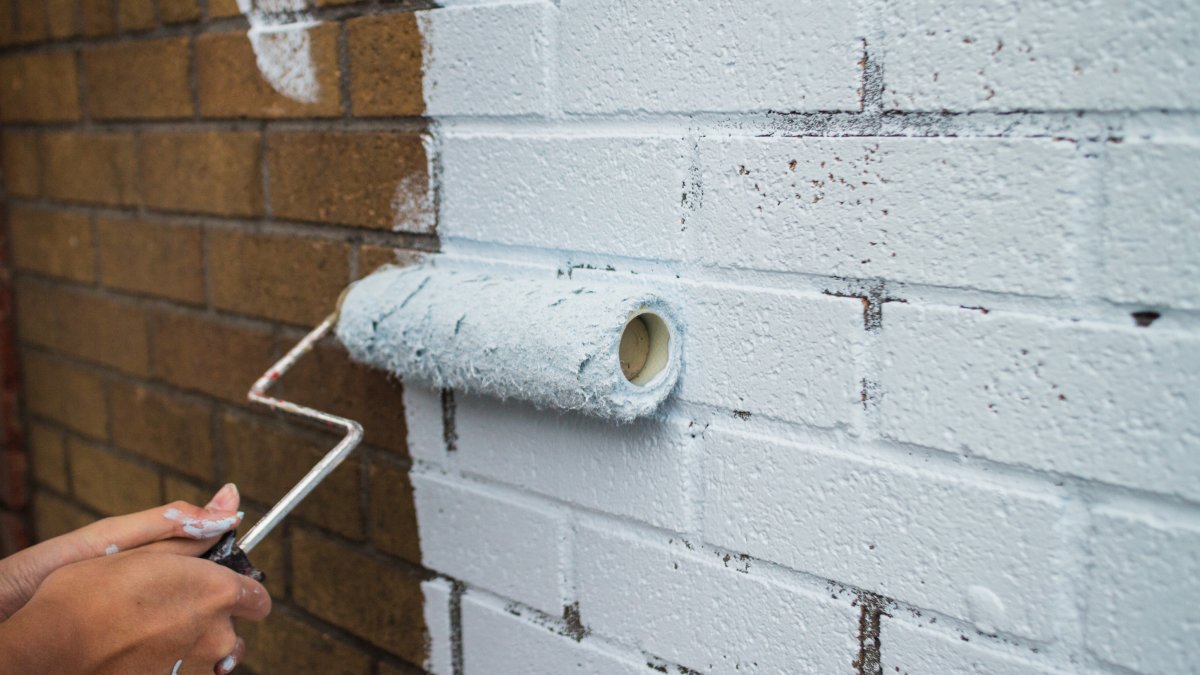
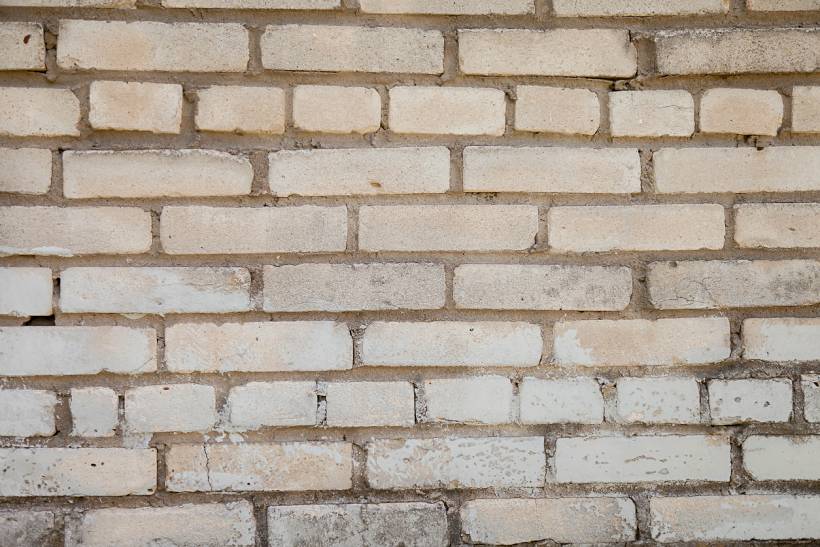 White limewashed brick wall texture with visible mortar joints (Source: iStock)
Limewash can be used indoors or outdoors, but the product you choose needs to suit the job. Interior limewash is designed for inside walls, while exterior limewash is usually formulated to handle weather, UV exposure, and changing outdoor conditions.
It works best on porous surfaces, including:
Surface |
Suitable for Limewash? |
Notes |
|---|---|---|
Plaster |
Yes |
One of the best surfaces for limewash |
Brick |
Yes |
Great for textured feature walls |
Masonry |
Yes |
Works well when the surface is clean and absorbent |
Cement render |
Yes |
Check the product label first |
Previously painted walls |
Sometimes |
May need a mineral primer |
Glossy or sealed surfaces |
Usually no |
Limewash may not bond properly |
If you’re unsure whether your wall is suitable, test a small patch first. If water beads on the surface instead of absorbing, the wall may need sanding, cleaning, or priming before you apply limewash.
What do you need to limewash walls?
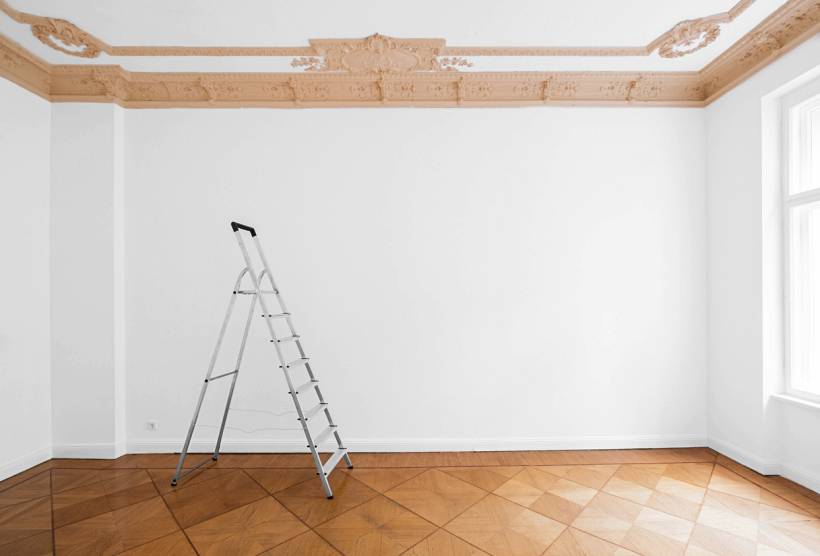 Interior wall preparation with step ladder in bright renovated room (Source: iStock)
Having the right tools ready before you start will make the process much easier. Limewash is forgiving, but it can dry unevenly if you stop and start too much.
Tool or Material |
Purpose |
|---|---|
Limewash paint |
Creates the textured matte finish |
Mineral primer |
Helps limewash bond to previously painted or less porous walls |
Large block brush |
Creates the classic cloudy limewash effect |
Small paintbrush |
Helps cut in around edges, corners, and trim |
Roller or sponge |
Optional tools for different textures |
Drop sheets |
Protects floors and furniture |
Painter’s tape |
Protects skirting boards, trims, switches, and adjoining walls |
Bucket or paint tray |
Holds your limewash while you work |
Stirrer |
Keeps pigment mixed evenly |
Damp cloth or sponge |
Cleans the wall before painting |
Gloves and protective eyewear |
Helps protect your skin and eyes |
Ladder |
Helps you safely reach higher sections |
What should you do before limewashing walls?
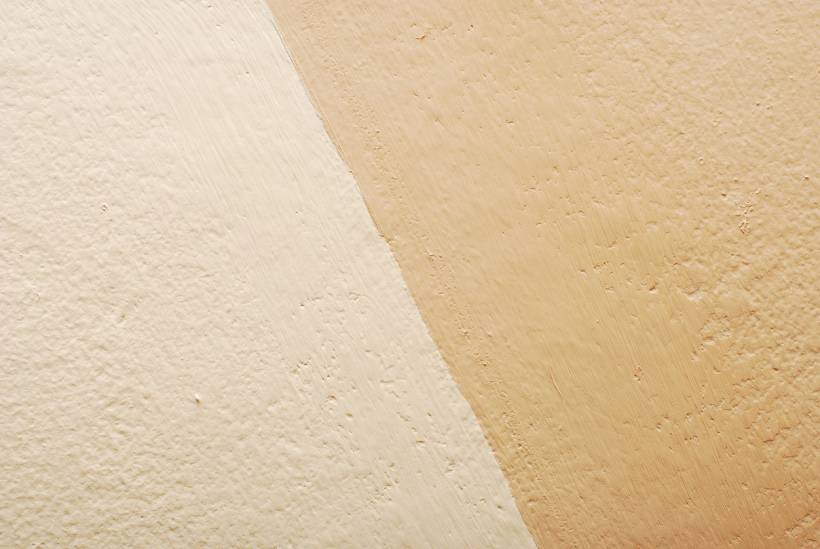 Split surface with pale limewash and tan plaster texture (Source: iStock)
Choose the right colour
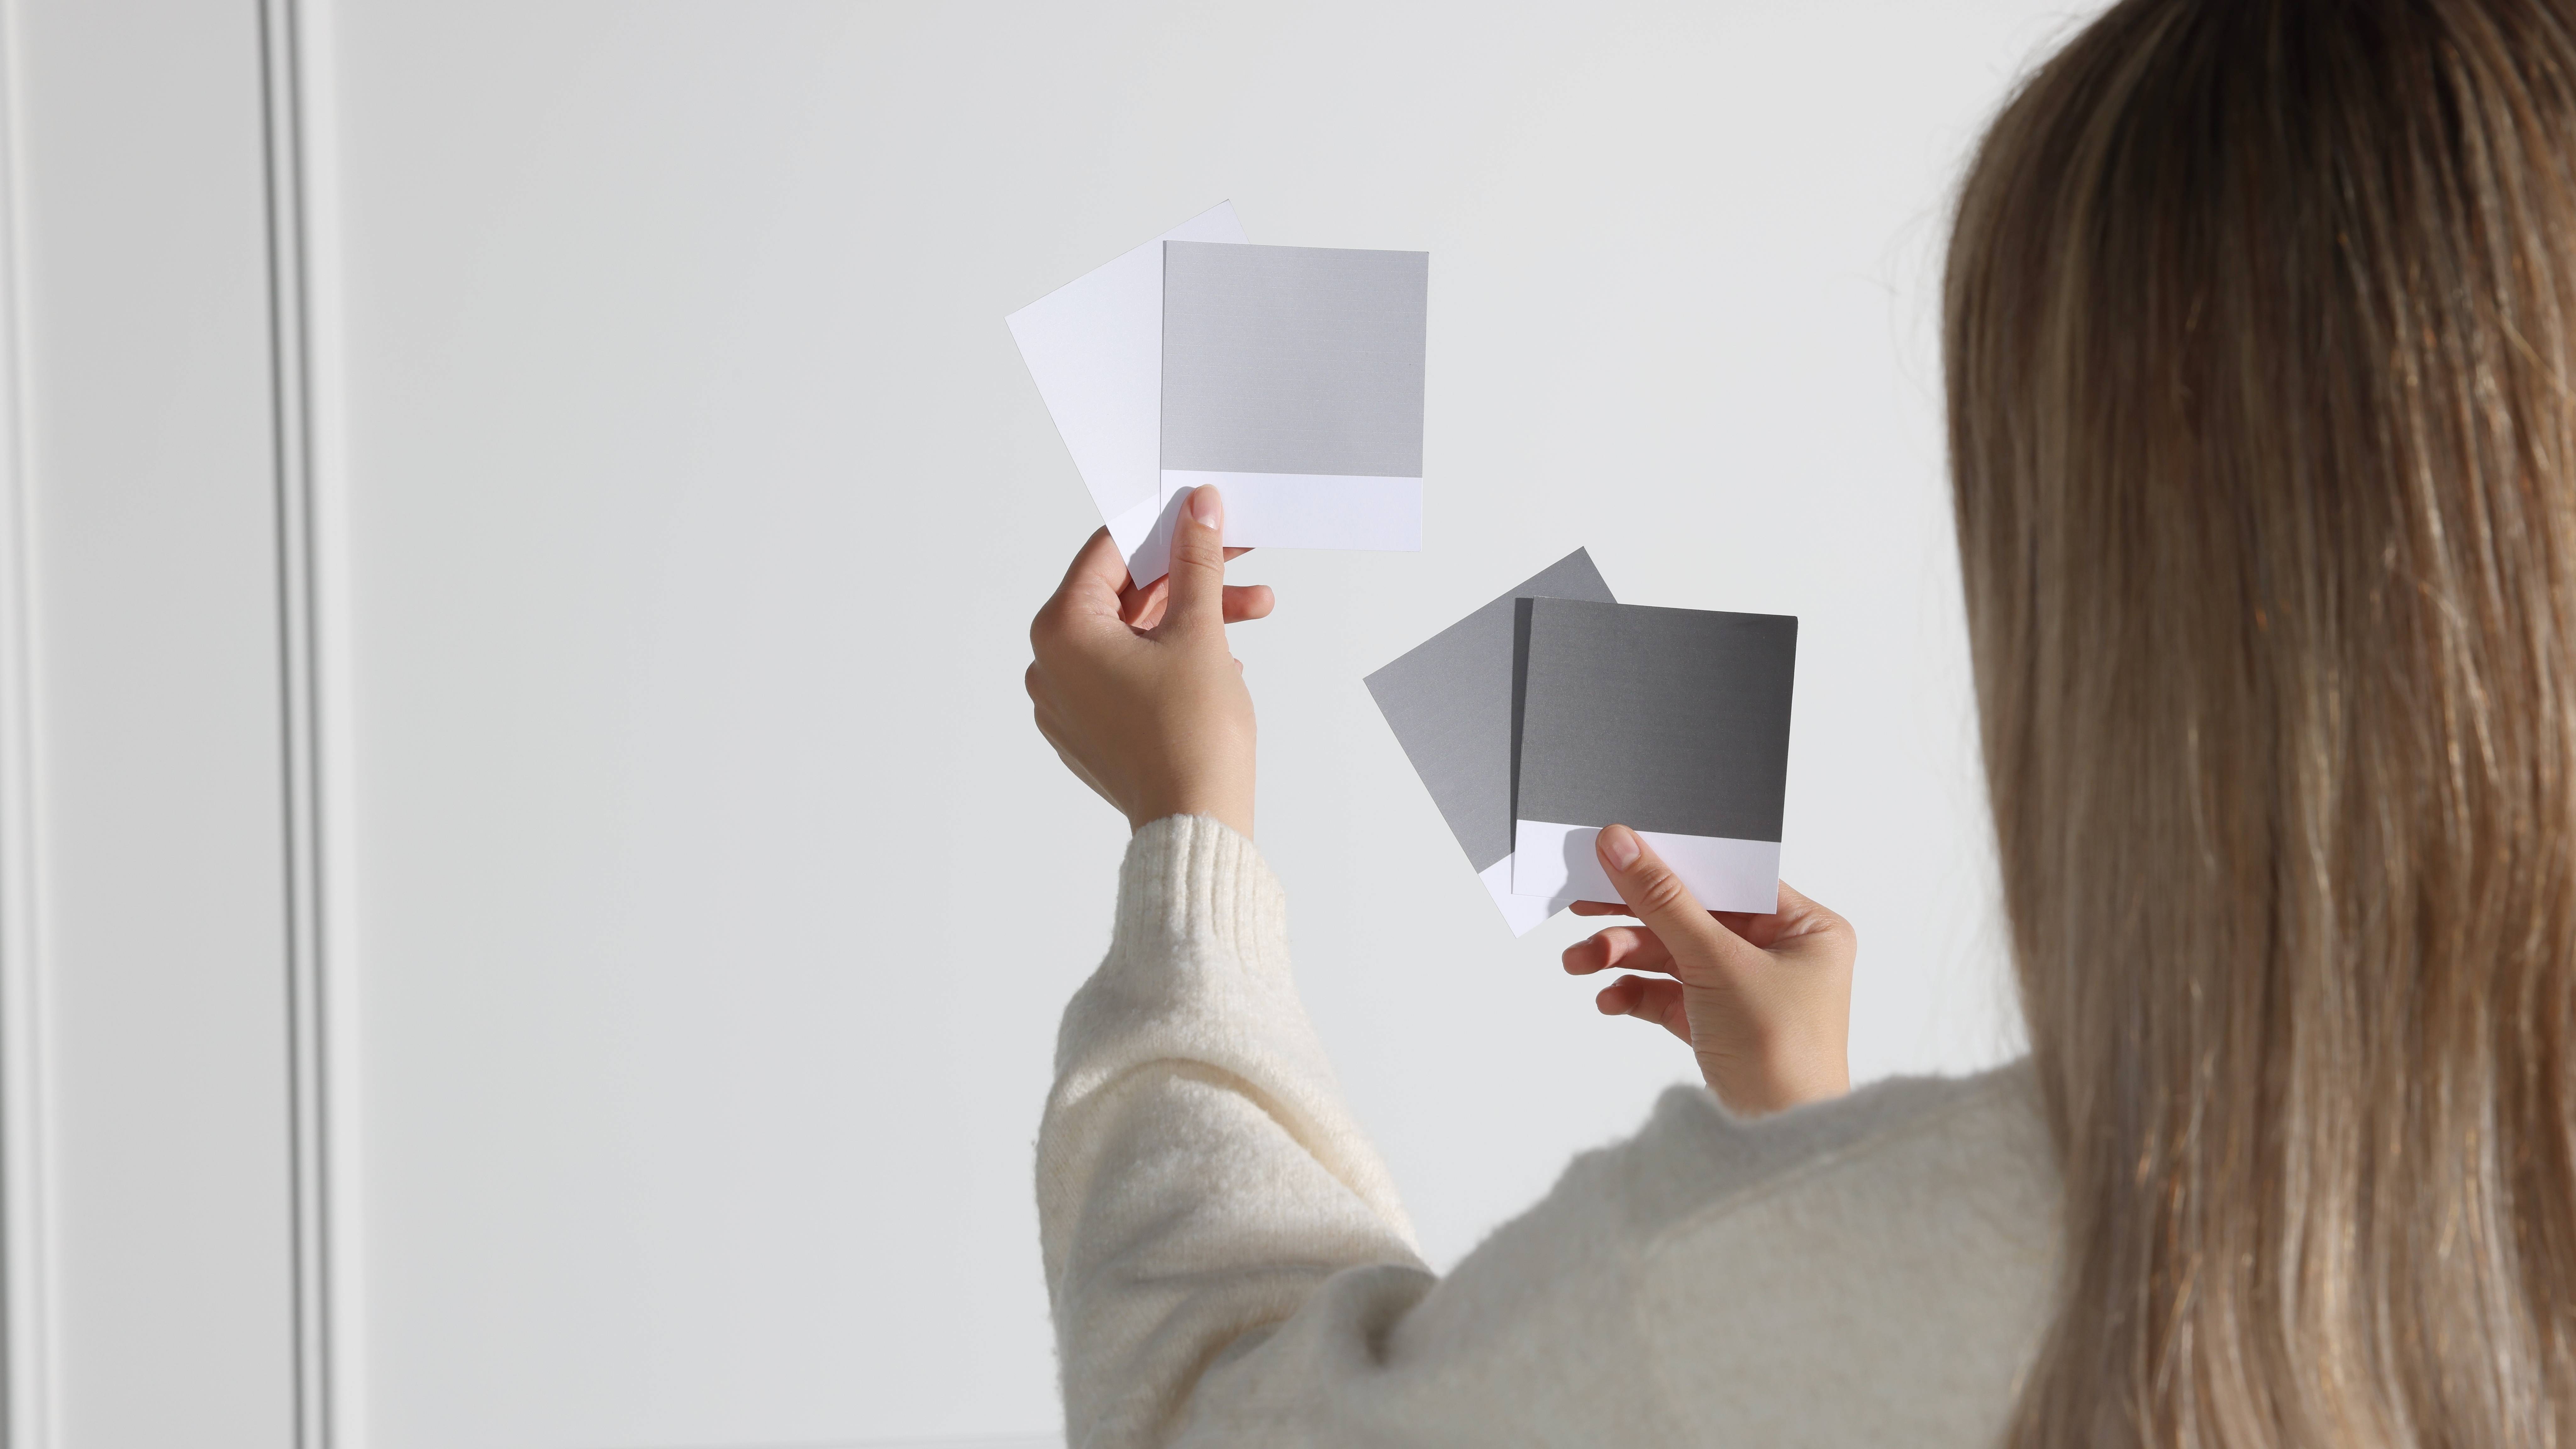
Limewash often looks darker when wet and lighter once dry. This means the colour you see in the tin may not match the final wall finish exactly.
Before committing to a full room, paint a test patch and let it dry completely. Check it in natural, evening, and artificial lighting. A colour that looks warm in the morning may feel cooler at night, especially in south-facing rooms or spaces with limited natural light.
Decide how textured you want the finish
Limewash can look subtle or dramatic depending on the application. One or two coats usually create a softer, more translucent finish, while three or more coats can result in a more opaque, matte finish.
If you want a natural, cloudy effect, use loose brush strokes in different directions. If you want a more consistent finish, keep your strokes controlled and work in sections.
Protect the room
Move furniture away from the walls and cover the floor with drop sheets. Use painter’s tape around skirting boards, architraves, windows, light switches, power points, and any adjoining walls you don’t want painted.
Limewash is usually easy to clean while wet, but it can still leave marks on porous flooring, timber, or fabric.
What are the steps to limewashing walls?
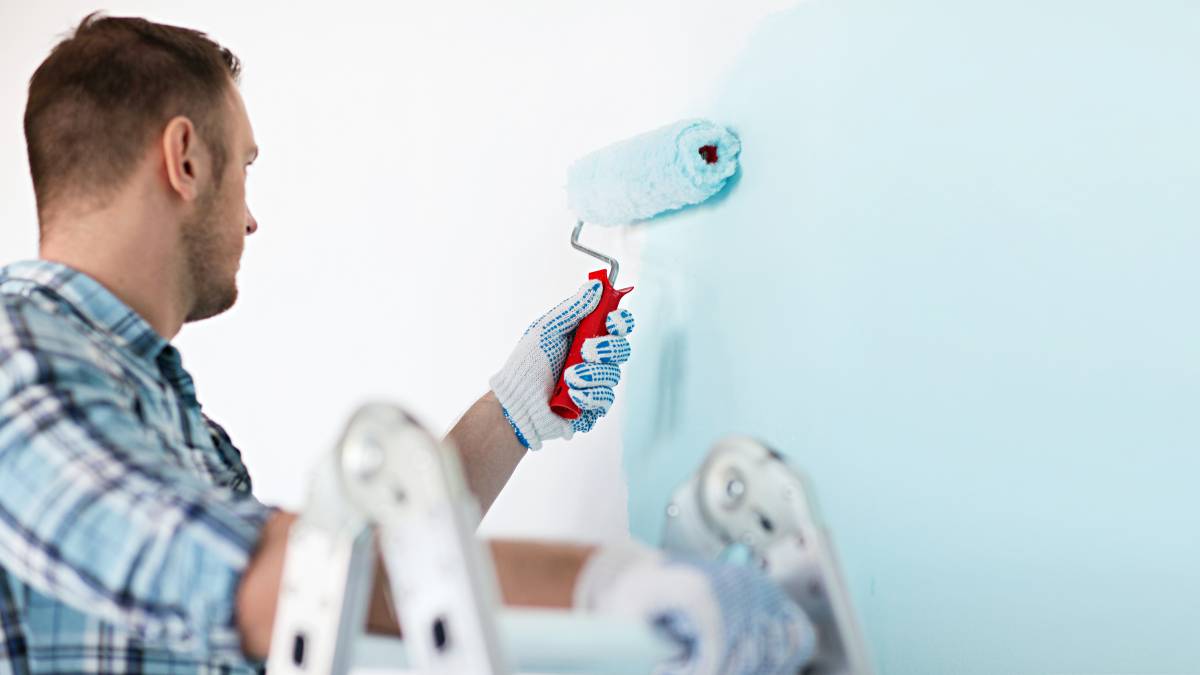
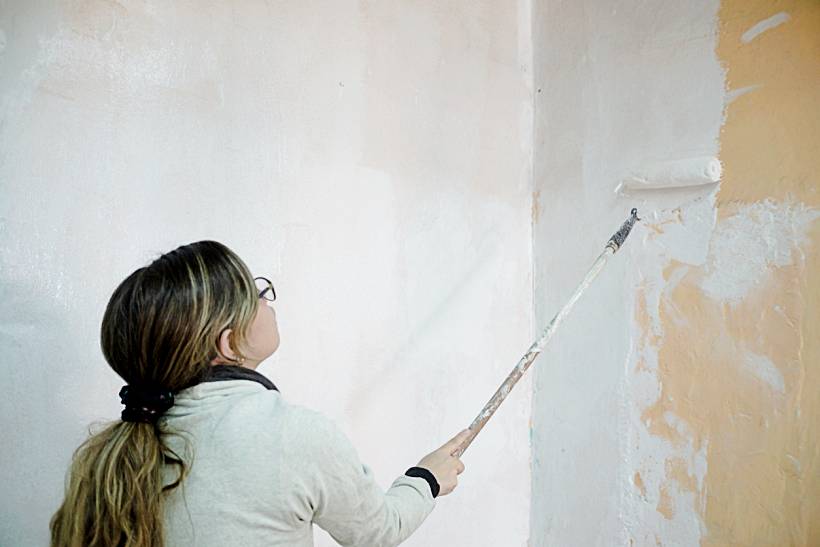 Interior renovation scene with roller applying light wall coating (Source: iStock)
Step 1: Clean the wall
Start with a clean, dry surface. Wipe the wall with a damp cloth to remove dust, dirt, cobwebs, and grease. If you’re painting a kitchen, dining area, or high-touch wall, spend extra time removing oily marks and fingerprints.
Avoid using harsh cleaners unless the product instructions recommend them. Residue from cleaning products can affect how the limewash bonds to the surface.
Let the wall dry completely before moving on.
Step 2: Repair cracks and imperfections
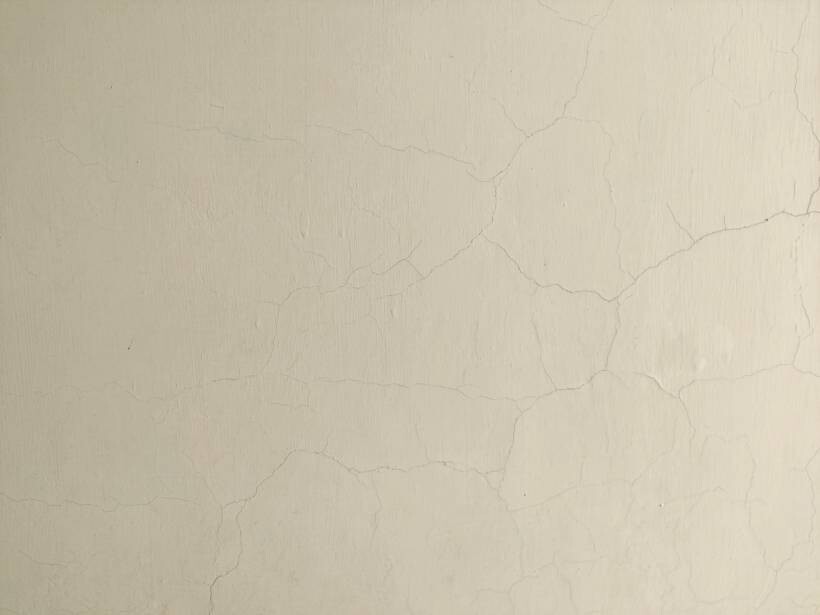 Pale textured wall surface with fine hairline cracks (Source: iStock)
Fill small holes, cracks, or dents before painting. Once the filler is dry, sand it lightly to create an even surface.
Limewash can hide minor texture differences better than standard flat paint, but it won’t fix damaged walls. Any obvious cracks, peeling paint, or uneven patches may still show through the final finish.
Step 3: Check whether you need primer
You may not need primer if you’re applying limewash to raw plaster, brick, masonry, or another absorbent mineral surface. However, primer is often useful if the wall has been previously painted or sealed.
Use a mineral-based primer if your limewash brand recommends one. Standard acrylic primers may not give limewash the surface it needs to bond properly.
As a simple test, sprinkle a little water on the wall. If the water absorbs, the surface may be suitable. If it beads, slides, or sits on top, priming may be needed.
Step 4: Stir the limewash thoroughly
Limewash pigments can settle at the bottom of the tin, so stir them well before you begin. Continue stirring occasionally as you work to keep the colour consistent.
Some limewash products need to be diluted with water before use, while others are ready to apply. Always follow the manufacturer’s instructions, as the wrong mix can affect the finish, coverage, and durability.
Step 5: Cut in around the edges
Use a small brush or sponge to paint around the edges of the wall, including corners, skirting boards, ceilings, windows, and power points.
Keep this layer thin. Limewash looks best when it builds gradually, so don’t try to get full coverage straight away.
Step 6: Apply the first coat
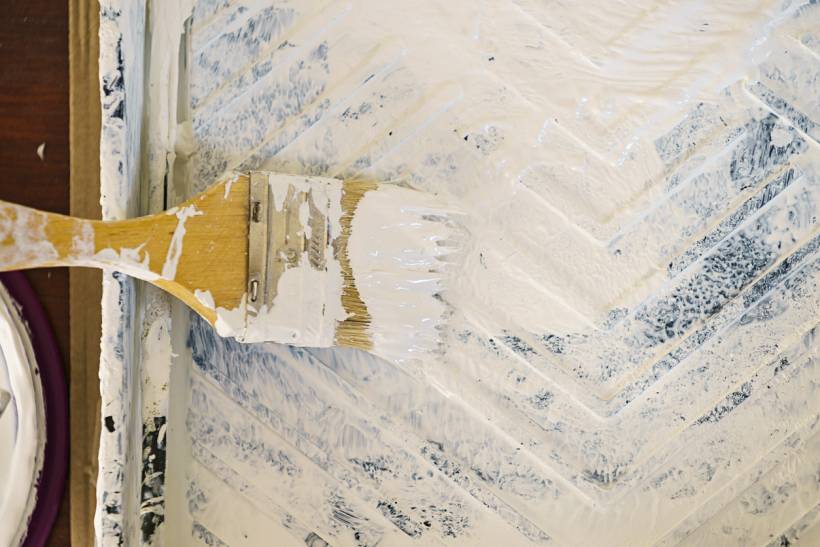 Close-up of limewash spread with a brush on patterned wall texture (Source: iStock)
Use a large block brush for the main wall area. Start near the centre of the wall and work outwards in small sections.
For a classic limewash look, use loose, overlapping strokes. You can brush in different directions, use curved movements, or create subtle cross-hatching. The aim is to avoid a flat, perfectly even finish.
Keep the coat thin. Heavy application can cause patchy drying or make the texture look too harsh.
Step 7: Let the wall dry
Limewash usually takes a few hours to dry to the touch, but drying time can vary depending on airflow, humidity, wall type, and product instructions.
Don’t judge the colour while it’s still wet. Limewash often lightens significantly as it dries, so wait until the coat is fully dry before deciding whether you need another layer.
In humid areas or during wet weather, allow extra drying time.
Step 8: Apply a second coat
Once the first coat is dry, apply the second coat using the same light, varied brush strokes.
This coat will deepen the colour and make the finish more even while still keeping the soft limewash texture. Step back regularly to check the overall effect. If one area looks too heavy, feather it out with light strokes before it dries.
Step 9: Add a third coat if needed
A third coat is optional. Use it if you want a more opaque, matte finish or if the wall still looks too patchy after two coats.
For a softer look, stop at one or two coats. For a stronger feature wall, three coats may give the depth you’re after.
Step 10: Clean up carefully
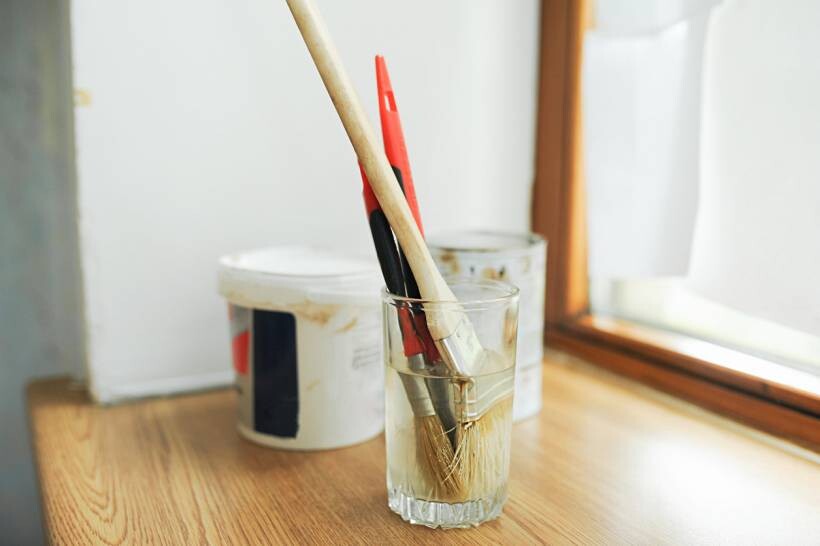 Paintbrushes soaking in a glass near paint containers on a windowsill (Source: iStock)
Clean brushes, rollers, trays, and buckets with warm water as soon as you finish. Wipe up any spills with a damp sponge before they dry.
Remove painter’s tape carefully once the wall is touch-dry. Pull it away slowly to avoid lifting the finish at the edges.
What are some limewash techniques for different looks?
The way you apply limewash changes the final result. Here are a few simple techniques to consider:
Technique |
Best for |
How to do it |
|---|---|---|
Cloudy brush strokes |
Soft, natural movement |
Use a block brush in varied directions |
Cross-hatching |
More visible texture |
Layer diagonal strokes lightly |
Sponge application |
Subtle mottling |
Dab gently rather than wiping |
Roller application |
Faster coverage |
Use lightly, then soften with a brush |
Multiple thin coats |
Deeper colour |
Let each coat dry before adding the next |
For most DIYers, a block brush is the easiest way to get that relaxed limewash look.
How can you maintain limewash walls?
Limewash is durable, but it needs gentle care. It isn’t as washable as standard acrylic wall paint, so avoid scrubbing it with harsh chemicals or abrasive pads.
To keep limewash walls looking good:
Dust them with a soft cloth, duster, or vacuum brush attachment.
Wipe marks gently with a slightly damp cloth.
Avoid soaking the surface with water.
Touch up faded or marked areas with leftover limewash.
Recoat the wall when the finish starts looking too weathered.
Interior limewash can last for years when applied and maintained properly, but touch-ups may be needed in busy areas.
Give your walls a softer finish with Airtasker
Learning how to limewash walls is a great way to refresh your home with texture, warmth, and character. With the right prep, thin coats, and a bit of patience, you can create a finish that feels natural rather than overly polished.
But if you’d rather avoid the mess, drying times, or guesswork, you can post a task on Airtasker and connect with experienced painters near you. Share your wall size, surface type, preferred colour, and whether you need help with prep or painting. Then, compare offers and choose a Tasker who suits your project.
Learn more about our contributors
Written by John C.
Contributor
John is a detail-oriented writer whose hobbies include unravelling history and finding his next caffeine fix. His bachelor's degree in behavioral sciences and marketing equips him to discover and deliver up-to-date information. John aims to help Airtasker readers make wise decisions regarding their various home projects, from enjoyable gardening and landscaping to tedious removals and pest control.
FAQs
Limewash can usually be painted over, but removing it fully may require sanding, washing, or surface prep, depending on the wall and product used.
Many interior limewash paints are suitable for indoor use, but users should check the product label, ventilate the room, and wear protective gear during application.
It depends on the colour, lighting, and number of coats. Limewash can add depth and shadow, so testing a patch first is important.
Limewash suits Mediterranean, coastal, rustic, minimalist, Japandi, farmhouse, and contemporary interiors, especially when paired with timber, stone, linen, and neutral decor.
Find wall painters, fast
Find a wall painter