- Home/
- Guides/
- Ceiling Painting/
- How to Paint a Ceiling
How to paint a ceiling: Everything you need to know
Painting your ceiling? Follow these steps.
Find a ceiling painterLast Updated on
If you’re going to paint a room, you might be thinking you can skip the ceiling, but don't – I promise you won't regret it. Knowing how to paint a ceiling is a crucial skill because it's not an easy task. But with a few ceiling painting tips and tricks, you (and your back/neck) will be grateful for that perfectly smooth paint job.
From simple spruce-up and stain removal to changing colour and peeling ceilings, it can be a challenging task. Here are the most effective ways to prepare the ceiling and room for painting, apply the paint, and of course, clean up!
Steps to Painting Your Ceilings
Step 1: Preparation
Ask any painter; the most crucial step is always your prep! Before you begin painting, the right preparation will ensure the job goes smoothly. Here's what you need to do for ceiling paint preparation:
Begin by removing all furniture from the room if you can.
Prep the ceiling using a broom or brush to remove all the dust and grime. This will make it easier for the paint to adhere to the area.
Remove as many ceiling fixtures as possible, and turn off the power at the fuse box before removing the hardware.
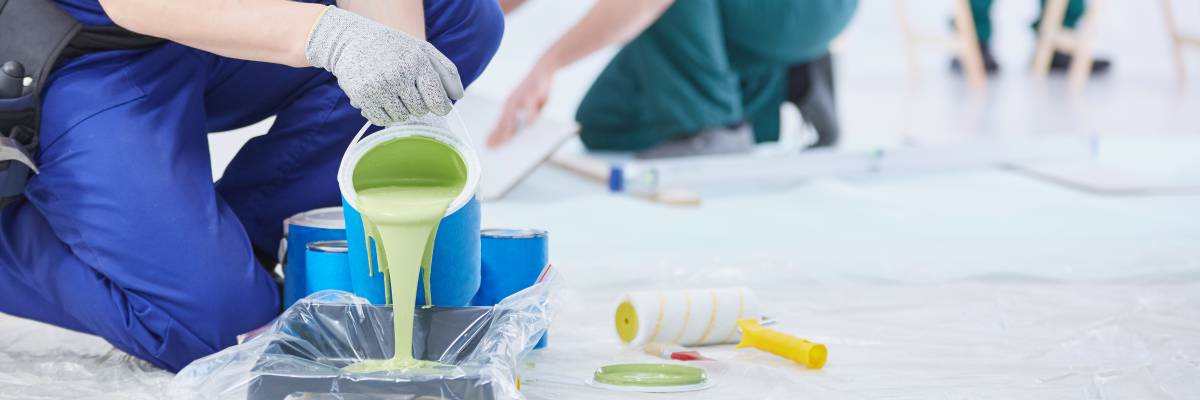
Do some paint protection prepping, including wearing safety goggles or gloves and placing drop cloths on the floor and over the remaining furniture.
You'll want to overlap the drop cloths and tape them to the baseboards to ensure they stay in place. If needed, you can use more drop sheets or painter's tape on the windows, doors, and trim.
If your painting task only involves the ceiling, mask the tops of the walls with tape to save any unwanted roller marks. Skip this step if you will paint the entire room, as the paint will eventually go to those sections!
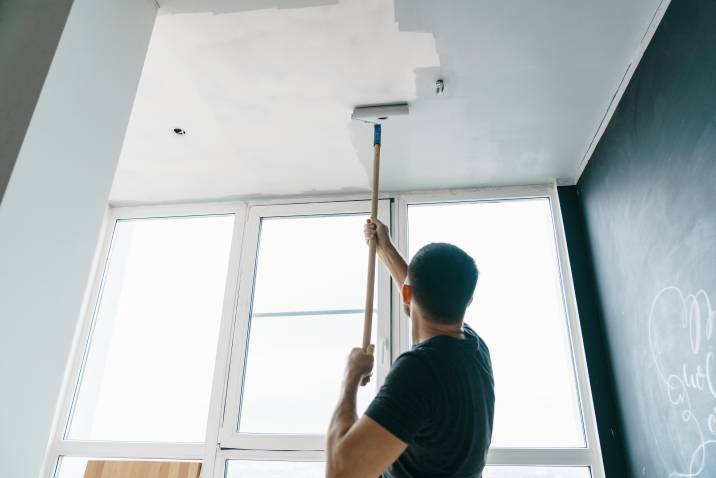
Painting the whole room? Then you should always start with the ceiling first!
Step 2: Priming
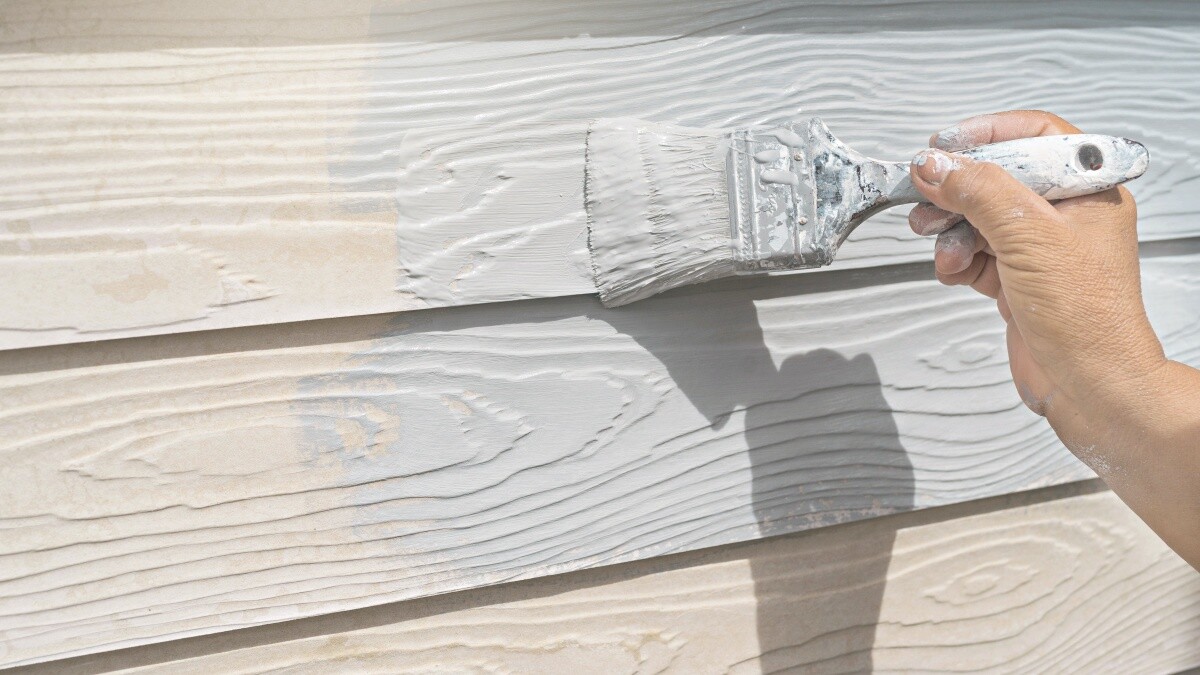
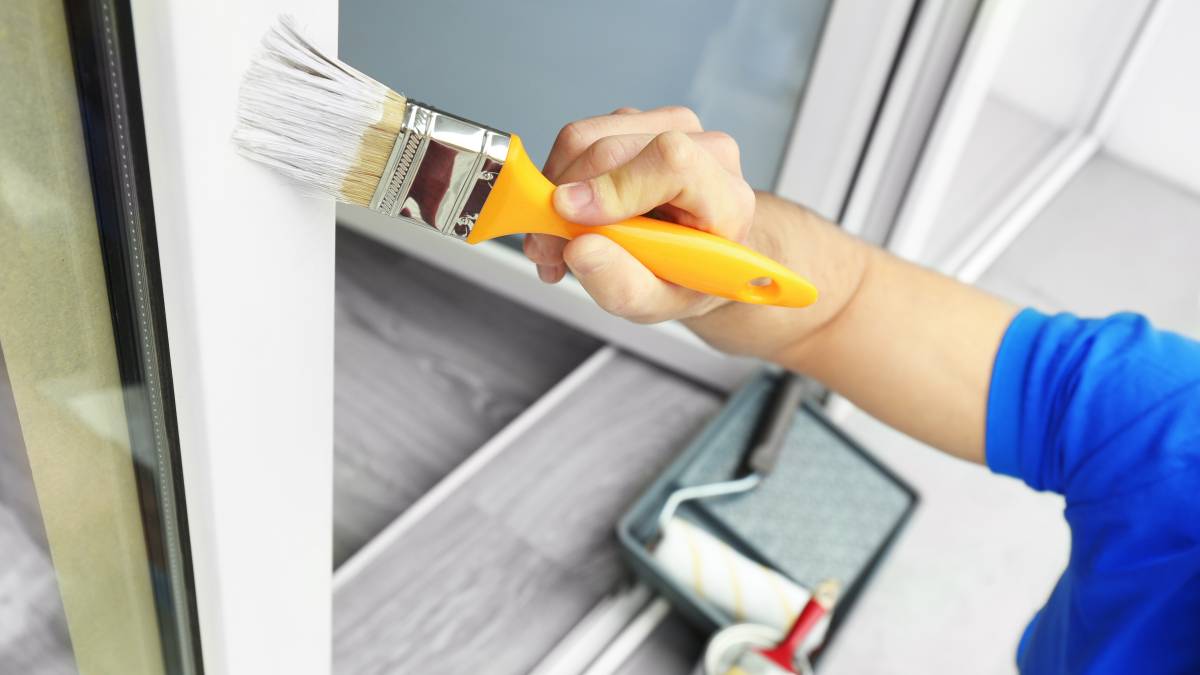
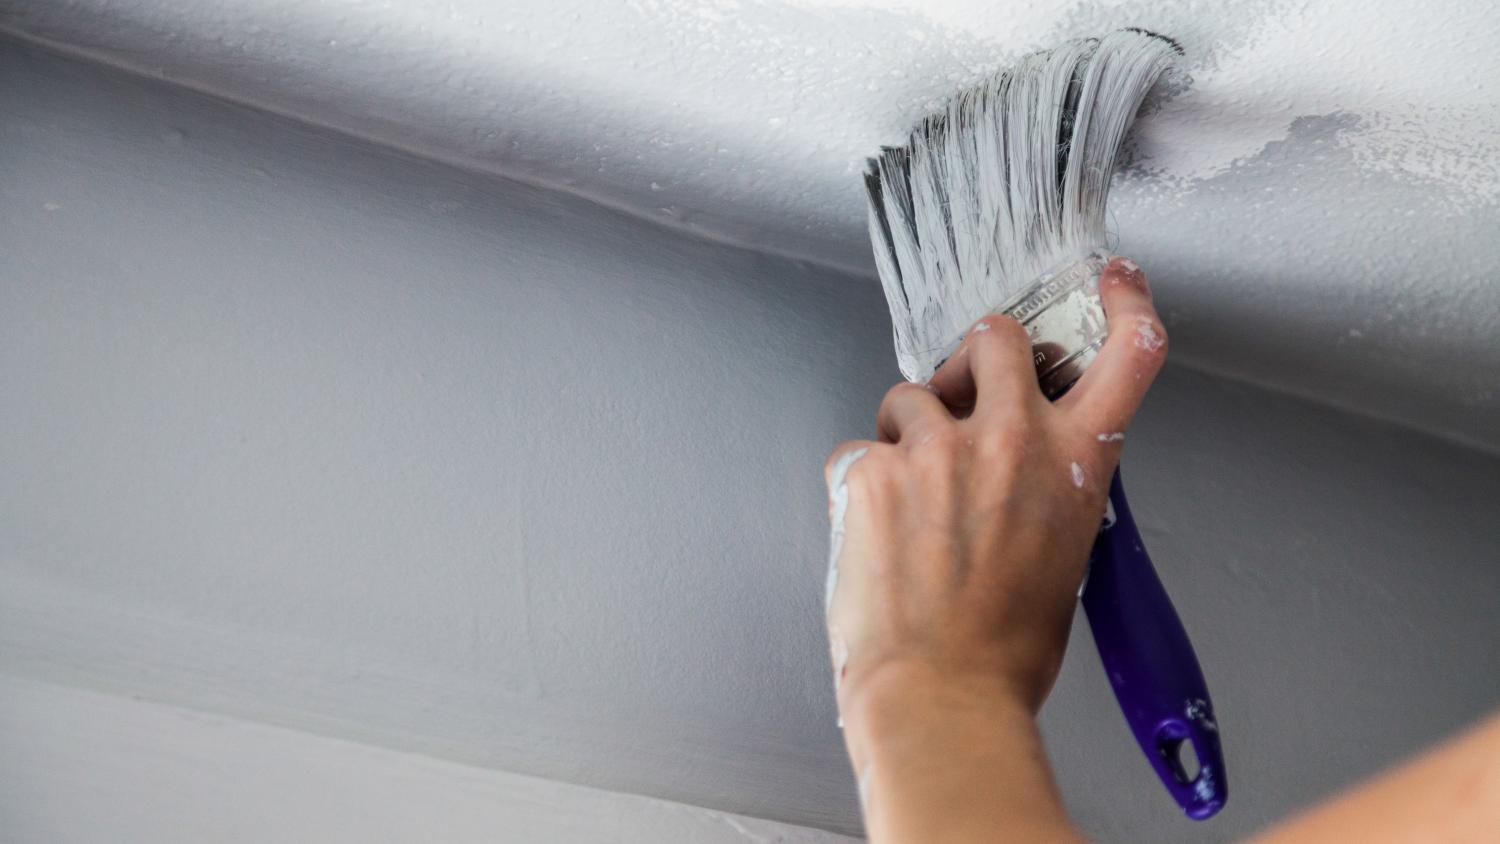
Do you need to prime the ceiling before painting? Painting ceilings will be much easier if you take the time to apply a coat of latex paint primer using a brush. This is particularly important if your ceiling has stains.
Allow the primer to dry completely, and use a paintbrush to paint the edges where the ceiling meets the wall. This targets the areas the roller will likely miss, giving you a more thorough and professional-looking result.
Step 3: Painting the ceiling
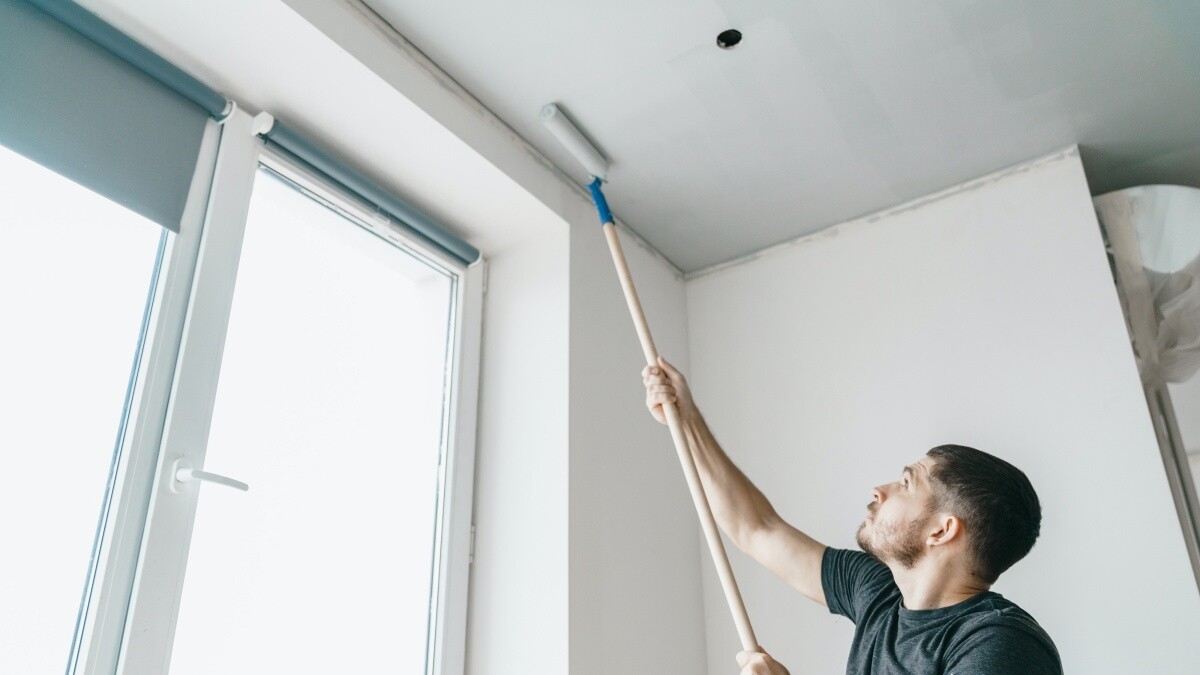
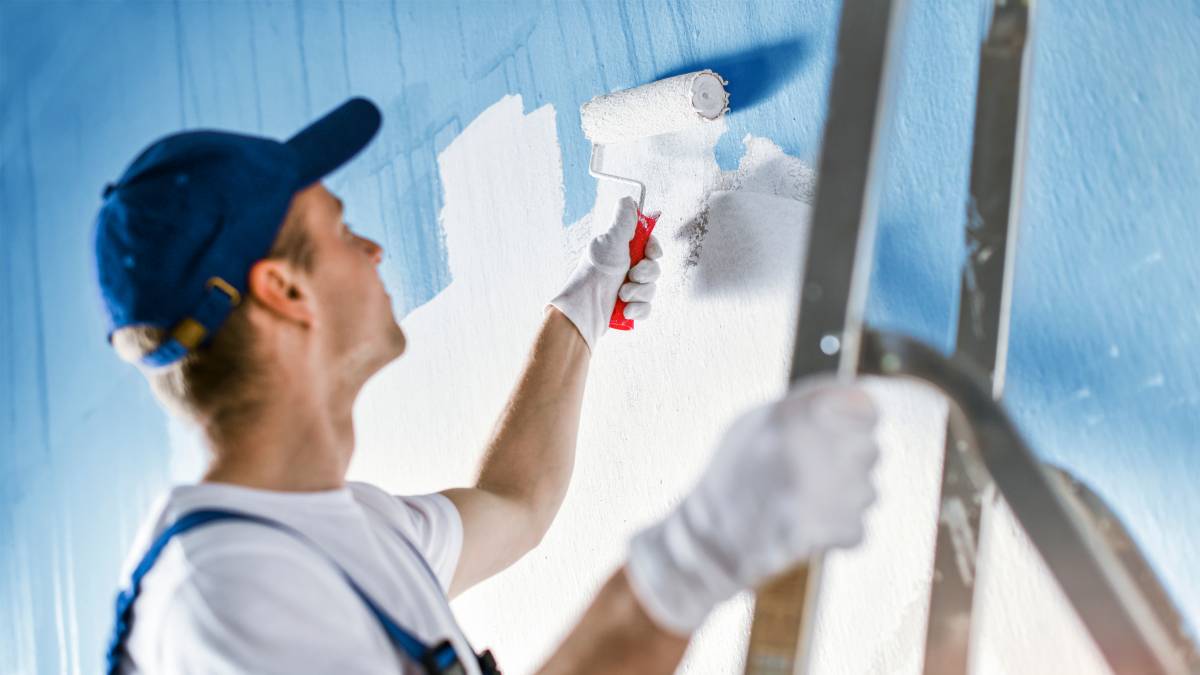
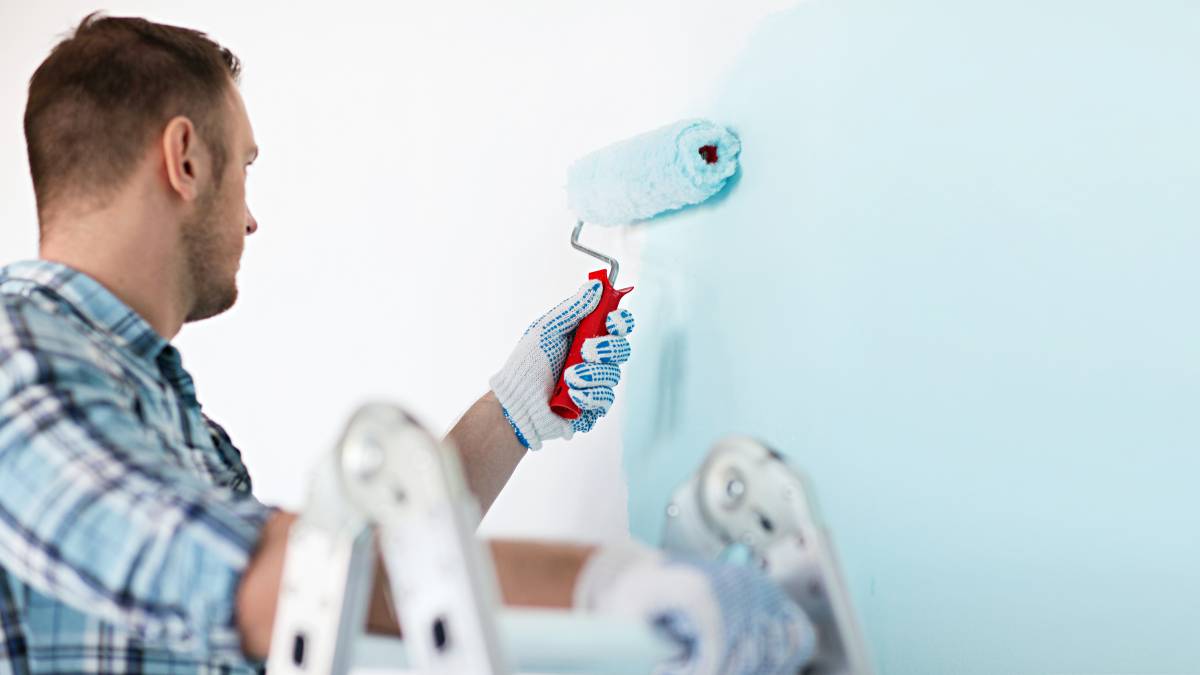
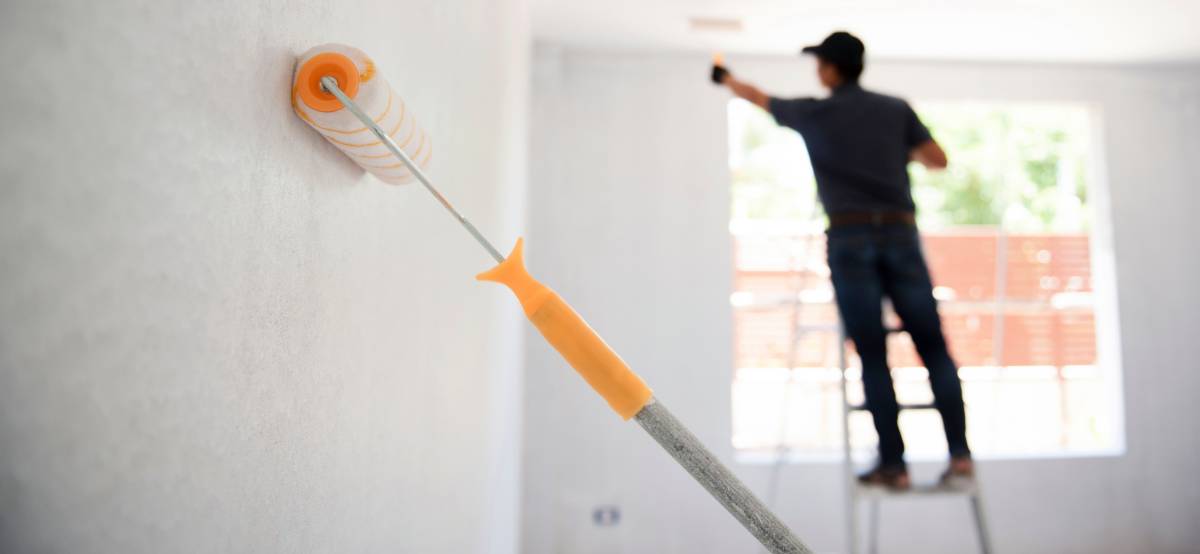
Ceilings can be quite sizeable, so it is always a good idea to paint them in sections with a roller. Work in small grid-like sections that will keep the edges wet. This allows you to see your progress and achieve an even coat.
If you have a smooth ceiling, a low nap roller is best. When doing a textured ceiling paint project, use a roller with a 1/2-inch nap. Start in a corner, roll slowly, and overlap the rows. Never roll directly over your head, and vary the direction of your rolling. Repeat these actions for each section, rolling out and blending with the cut-in edge.
If you make a drip or spatter, clean it with a damp rag immediately before the paint dries.
Step 4: Second coat and clean up
Not all ceilings require a second coat of paint. But if you have used a bright colour or particular shade of white, this may be needed. And to be honest, it just helps in case you've missed a bit and need a more solid finish.
Before applying your second coat, allow the first coat of paint to dry thoroughly, then apply the second coat in one direction.
When you have finished, it is time for the most fun and enjoyable part of any painting job – the clean up.
How to clean paint rollers and brushes
Take all your paint rollers, brushes, and paint trays to the laundry sink and clean them with warm soap and water.
Squeeze out as much of the paint and excess water as you can.
Leave them all out to air dry.
Wait until your ceiling paint is dry to touch, then remove any painter's tape.
Safely reattach the ceiling light fixtures.
Additional ceiling painting tips
Here are a few tricks and tips that will make your life easier when learning how to paint a ceiling:
Make sure you are using specific ceiling paint as opposed to wall paint.
Standard white ceiling paint will make your room much brighter, whereas coloured paint will make it look bigger.
Always paint the ceiling before you paint the walls.
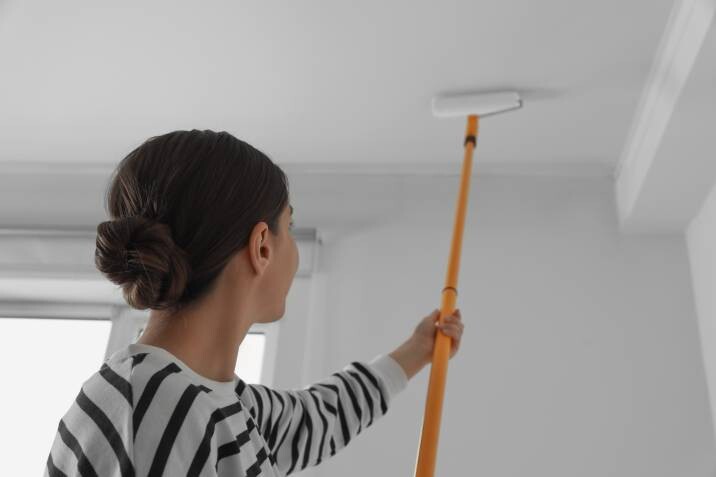
A paint roller extension pole will help you reach higher spots and angles more easily.
Make sure your step ladder is reliable and stable.
If you are learning to paint a textured ceiling, do a test roll first to ensure nothing falls off. A paint sprayer can help if something does.
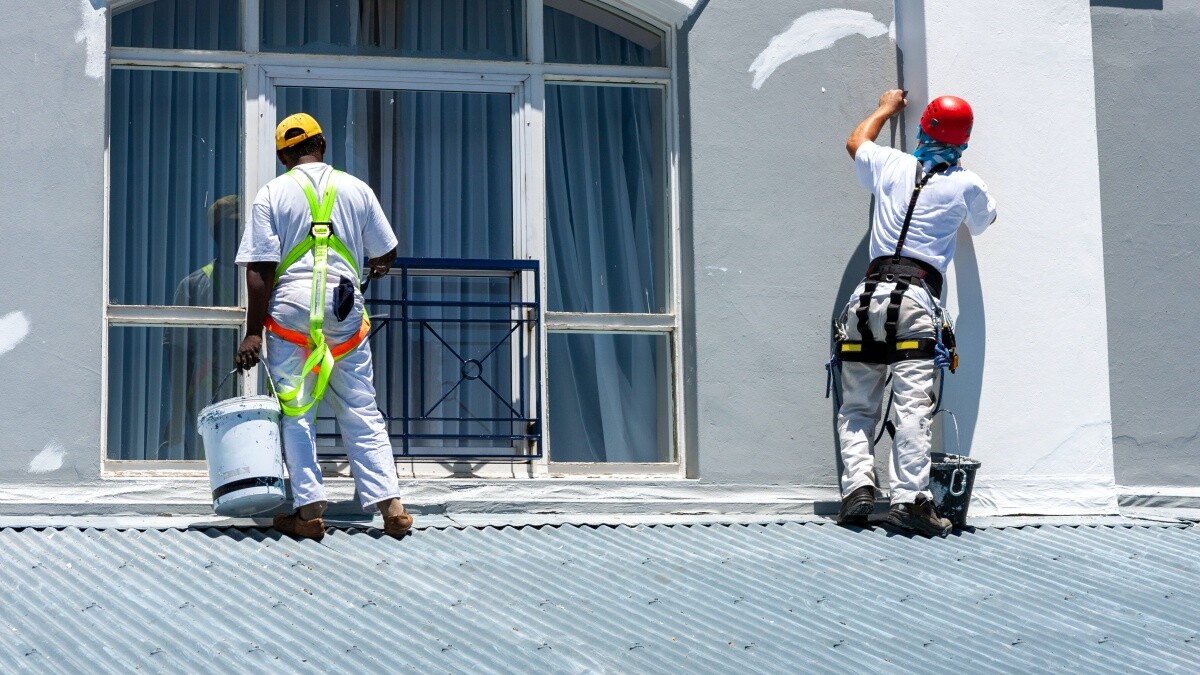
If you need to paint a really high ceiling, hire a professional painter.
Water stains will still bleed through your new paint, so use a stain-blocking primer to prevent this from undoing all of your hard work.
Use an oil-based primer for water stains and shellac-based for other stains.
Take as much care painting your ceiling as you do with any other wall. Just because it is seen less does not make it unseen.
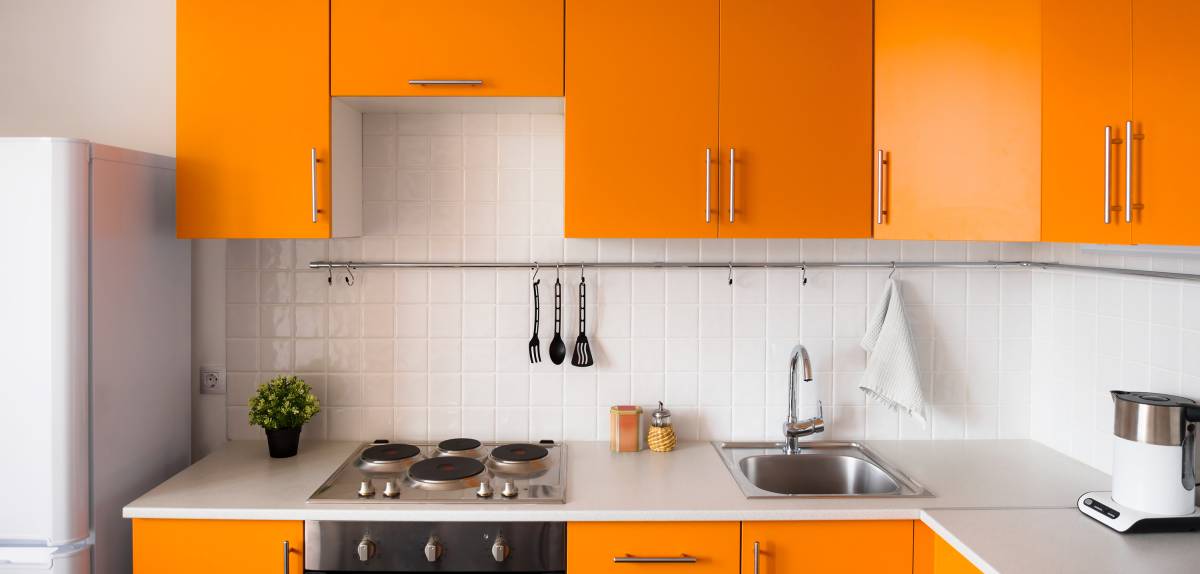
If you’re thinking about using the same colour paint for your ceiling and walls, first consider the type and size of the room. For small rooms, a darker paint colour for the ceiling and walls will make things feel more intimate. A lighter colour for the walls and ceiling will make the room feel bigger and more modern.
Darker or lighter paint colours in larger rooms will bring the focus to your furniture and decor. When you paint your ceiling a lighter colour, the walls will feel higher, creating a low-contrast look. Painting your ceiling a darker colour than the walls can create a high-contrast look in a white-walled room. Darker paint colour will make it feel like a lower ceiling even and works well to accent a decorative trim.
If you simply want to paint your ceiling white, choose flat white paint as this will help disguise any lumps or bumps and give you a clean, modern look. On the flip side, a colour will actually enhance the things you don’t want to bring attention to. If you have a room that doesn’t get a lot of natural light, white ceiling paint is the best option. White paint will reflect more light into the darker spaces and brighten everything up!
Ready for Michelangelo levels of ceiling painting?
You now have all the information you need on the best way to paint a ceiling. Follow the steps carefully, and you should be able to perform a professional-level job that will make you smile whenever you look up!
If you still aren't feeling as confident as you would like about ceiling painting, fear not! Plenty of skilled people can help with your ceiling painting, ceiling plastering, and regular ceiling cleaning.
| See also: Cost of plastering a ceiling |
Ceiling Painting FAQs
While painting a ceiling is considered more difficult than painting a wall due to the angles involved, it is not impossible. If you are a little unsure about handling the task, or if you need to paint a particularly high ceiling, the task is best left to a professional. They will have all the necessary equipment and scaffolding to ensure a safe and efficient job. If you feel you can tackle the task yourself, ensure the correct preparation, never paint directly over your head, and use a paint roller extension pole to help, you reach higher spots and angles more easily.
Always paint the ceiling first. It’s always better to paint large, high areas, as there will often be roller spatters, overspray, and brush marks that will be covered up as you move on painting the lower regions.
When painting a ceiling, it’s a good idea to start in a corner, roll slowly, and overlap the rows. Paint in sections with a roller and work in small grid-like areas that will keep the edges wet. This allows you to see your progress, making it easier to achieve an even coat. Speed is the key when painting the second coat. To ensure a professional-looking, even drying coat, try to finish the task quickly.
Find ceiling painters, fast
Find a ceiling painter
Related articles
How to estimate a paint job
Read more


Related price guides

How much does deck painting cost?
Read more

How much does fence painting cost?
Read more