- Home/
- Guides/
- Garden Edging/
- How to Lay Sleepers for Garden Edging 2023
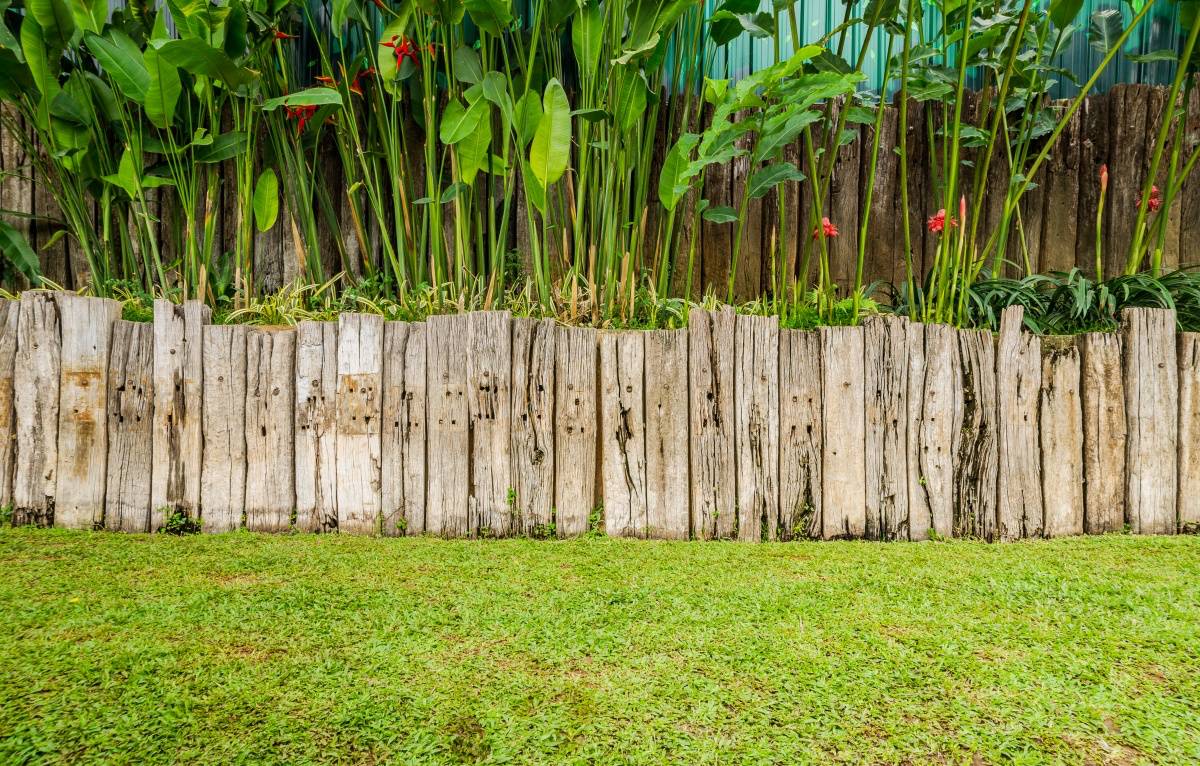
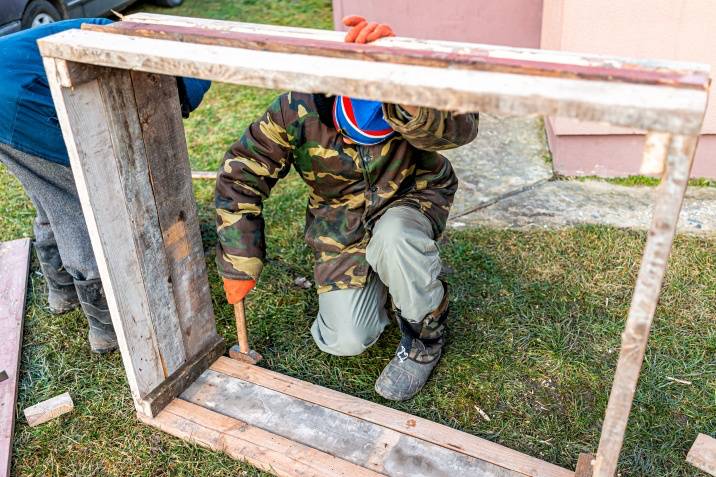
How to lay sleepers for garden edging
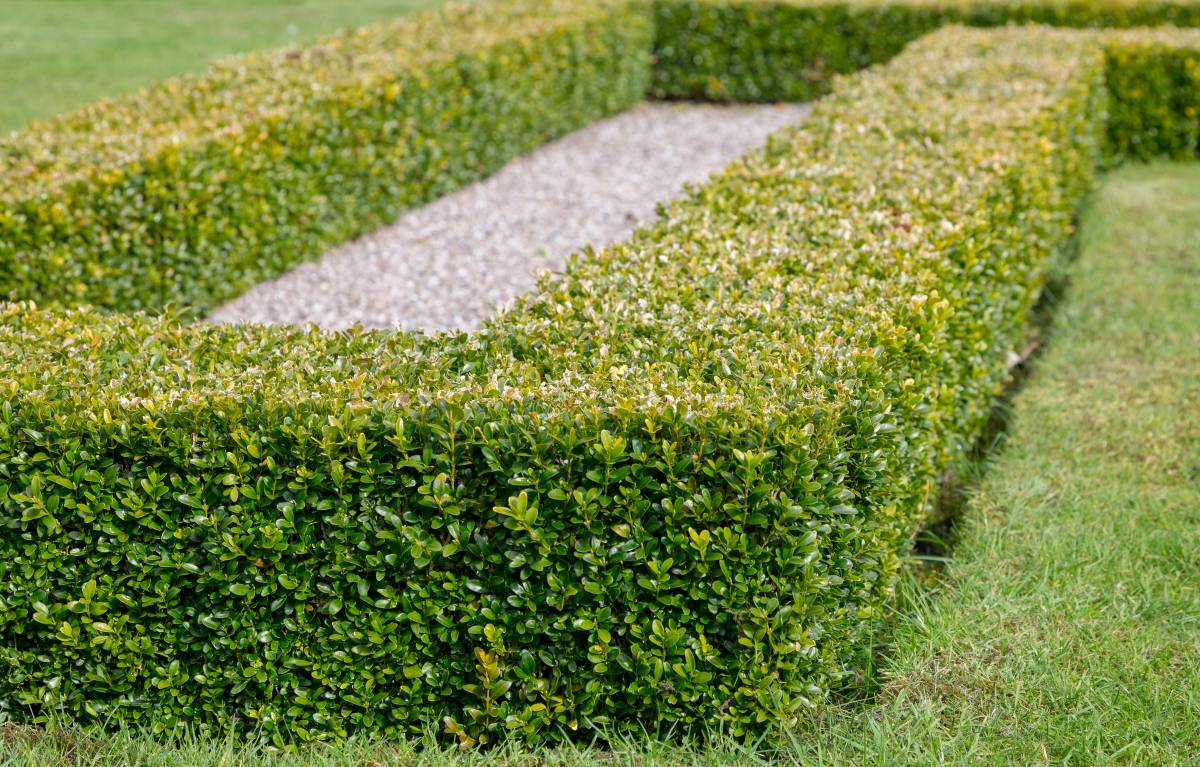
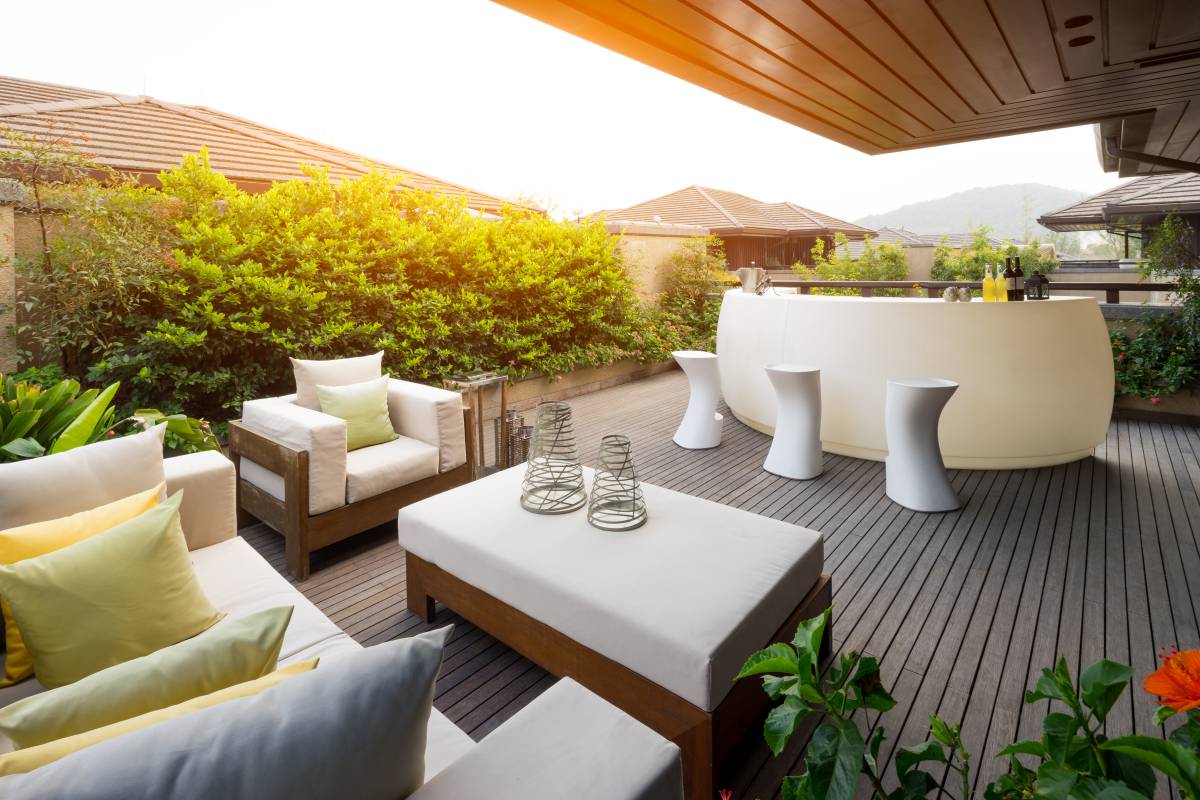
Create rustic garden edging with reclaimed railway sleepers.
Last Updated on
If you’ve been gardening for a while, you’re likely aware of garden edging; These are borders that separate your garden from your lawn, patio, or walkway. One benefit of garden edging is that it prevents your treasured plants and flower beds from merging with weeds.
Railway sleepers are an excellent option if you’re aiming for a rustic, weathered look for your garden. In this guide, we’ll walk you through how to lay sleepers for garden edging.
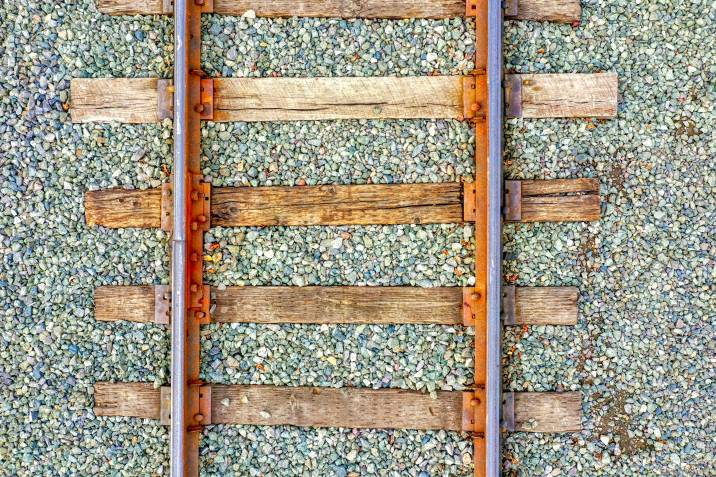
What exactly are railway sleepers?
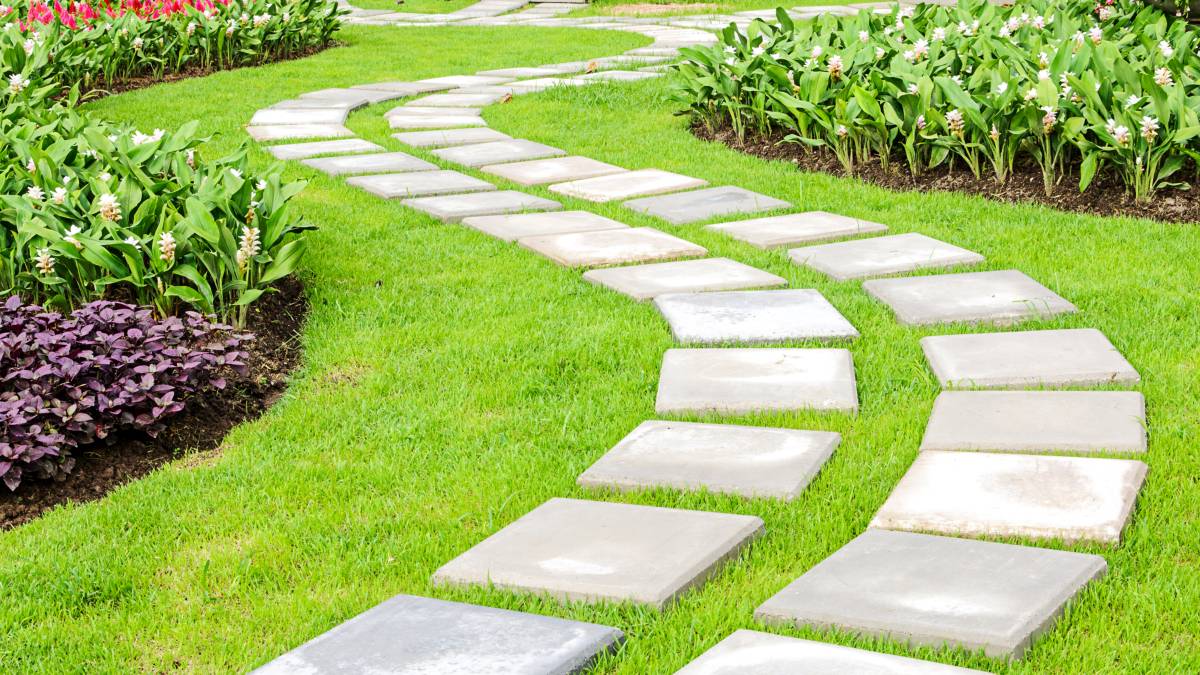
Railway sleepers are long, rectangle-shaped pieces of wood originally used for train tracks. They are a popular material for gardening and landscaping projects. Aside from garden edging, reclaimed railway sleepers are also used to form garden planters or a raised bed for your flowers. You can also use sleepers to make garden paths, terraces, wooden stairs, garden furniture, and more!
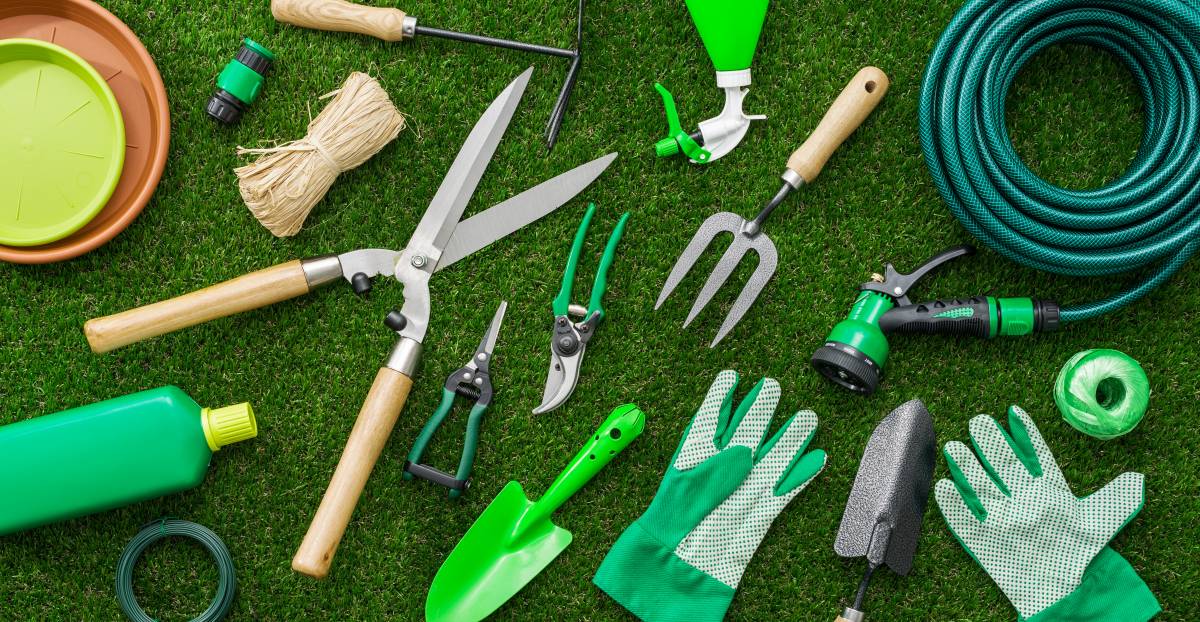
To lay garden sleepers, you’ll need the following materials:
Railway sleepers
Work gloves
Safety goggles
A saw
Shovel
Concrete mix
Spirit level - A tool to ensure a surface is level relative to the earth
Sandpaper
How to lay garden sleepers for edging
Step 1: Choose the type of edging you want to build
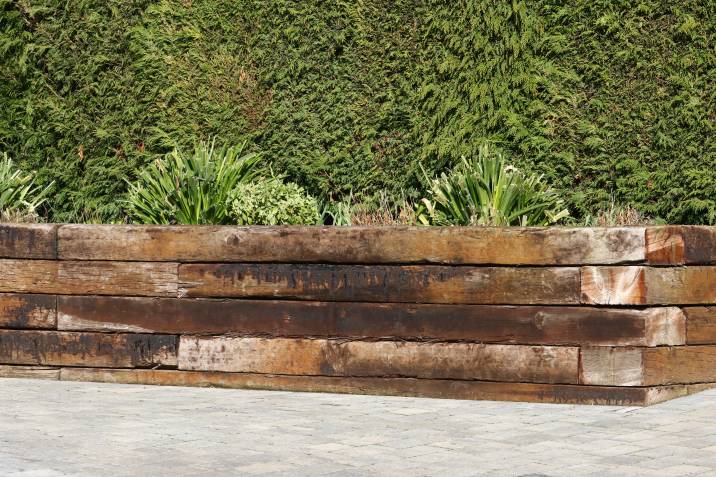
Like with all DIY projects, preparation is key! You can choose to lay out your sleepers horizontally or vertically.
Horizontal edging - This style is suited for sleek, simple garden edges.
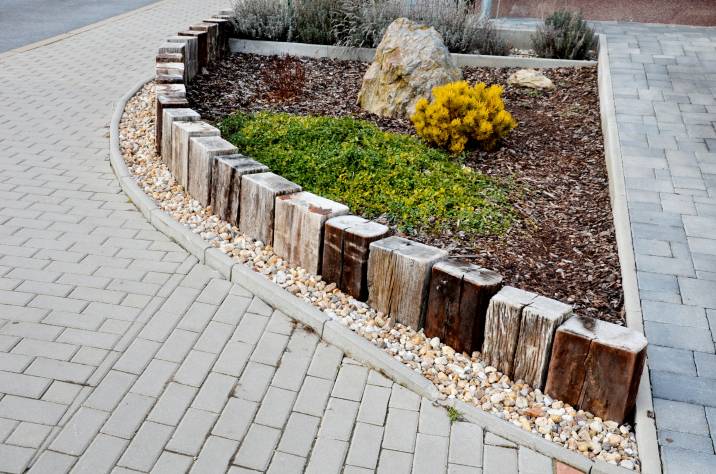
Vertical edging - This involves laying out many pieces of wood side by side. This style is ideal if you plan to build a curved garden edge.
Step 2: Measure and cut the sleepers
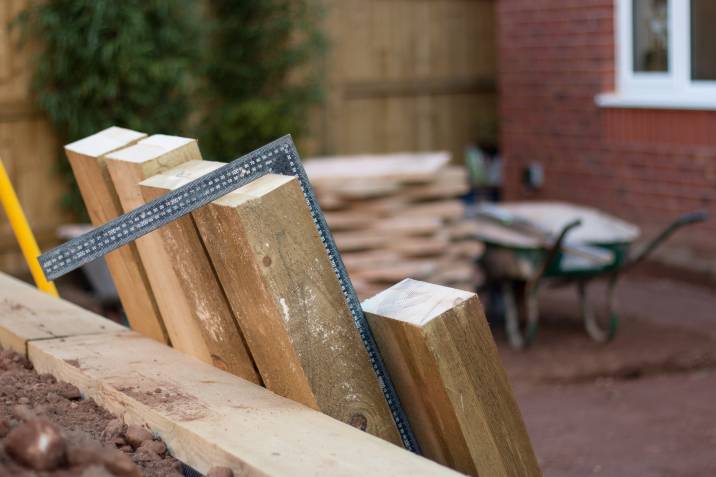
First, measure the area you want to lay the sleepers on. This will help you determine how many sleepers you’ll need. When pre-cutting the wood, keep in mind that the sleepers don’t have to be the same height or length. Different sizes can add a more rustic touch to your garden.
Step 3: Prepare the foundation
You’re probably wondering: Can I lay sleepers on soil? The answer is yes, you can! But to ensure the sturdiness of your garden edging, it’s best to create a trench first.
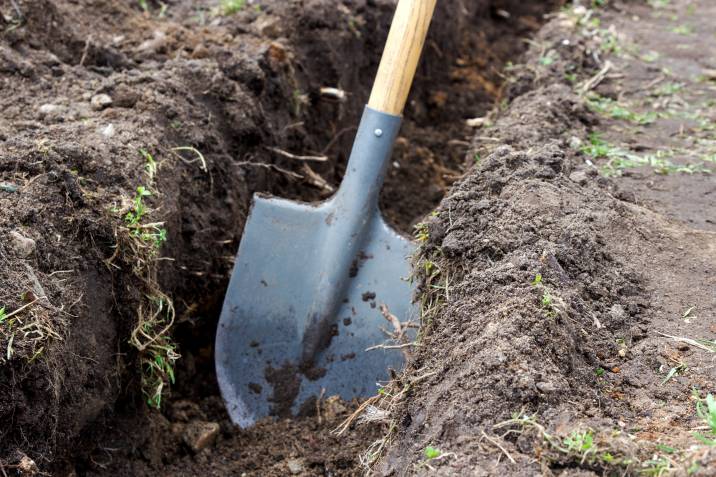
Here’s how to make a trench:
Identify which part of the garden your sleepers will be placed in.
Clear that area to make sure there’s no debris or vegetation.
Next, use a spade to dig a shallow, level trench for your garden edging’s foundation.
Add concrete mixture to the bottom of the trench and wait for it to partially dry.
Step 4: Lay out the sleepers
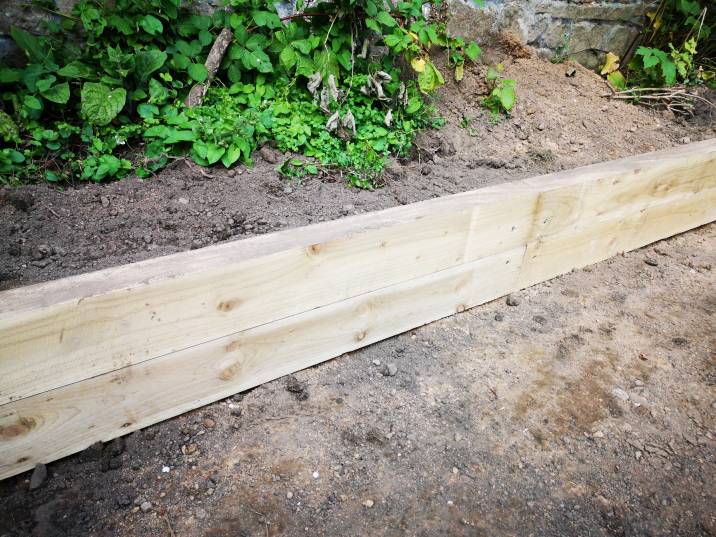
Once the concrete is partially dry, add one layer of wooden sleepers on top of the concrete mix. Stack more wood on top of the first layer until you’ve reached your desired height. Lower the sleepers in side by side if you’re building the edging vertically.
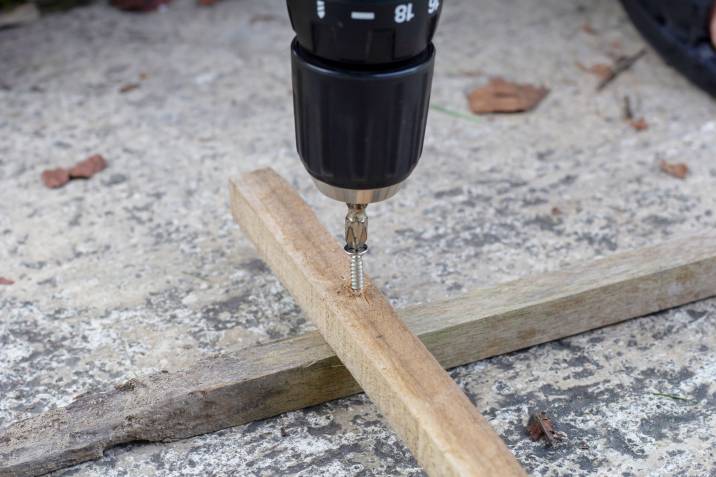
Wondering how to connect two sleepers together? You can use metal strips, wire, or timber screws to keep your sleepers in place.
Step 5: Work on the wood finishing
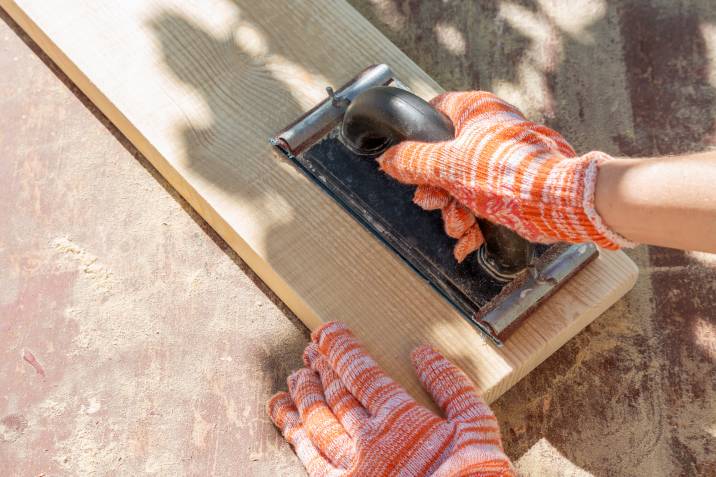
Since you’re working with wood, you’ll want to avoid any future splinters. So, make sure to sand the sleepers. You can also choose to varnish or paint your finished product. Remember to always wear gloves when working with a railway sleeper!
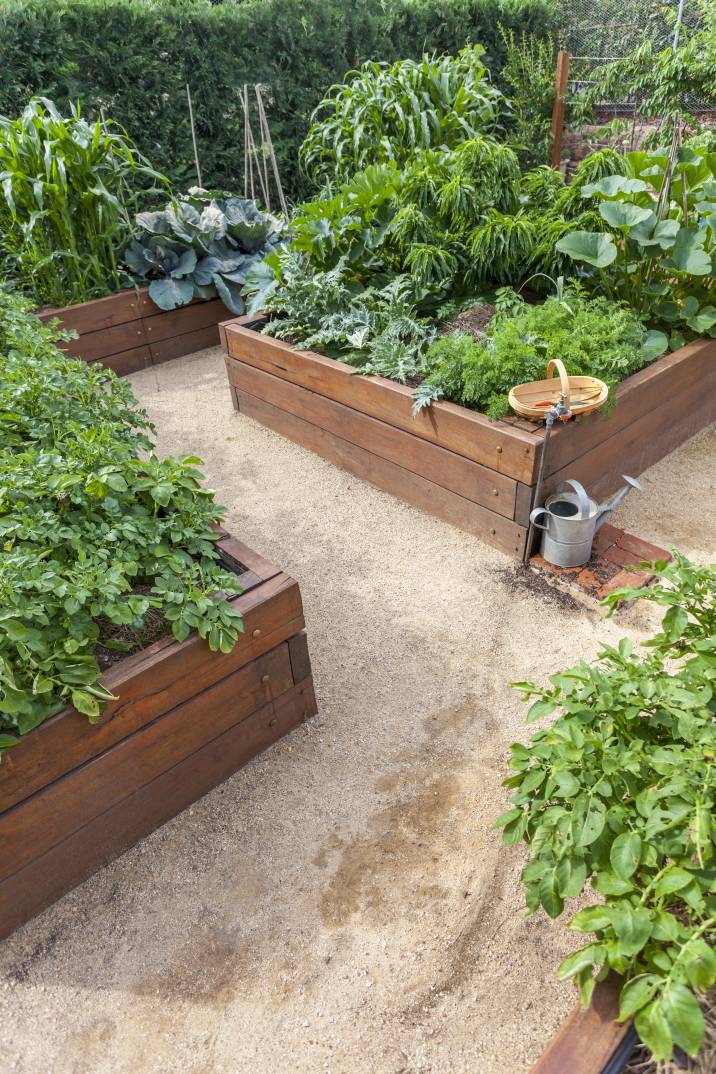
How to make a raised garden bed with sleepers
Follow these steps to build raised beds for your garden:
Once you’ve measured and cut your sleepers, lay them out to form a square or rectangular shape in your garden.
Use timber screws to secure the sleepers together before you add another layer to reach your garden bed’s desired height.
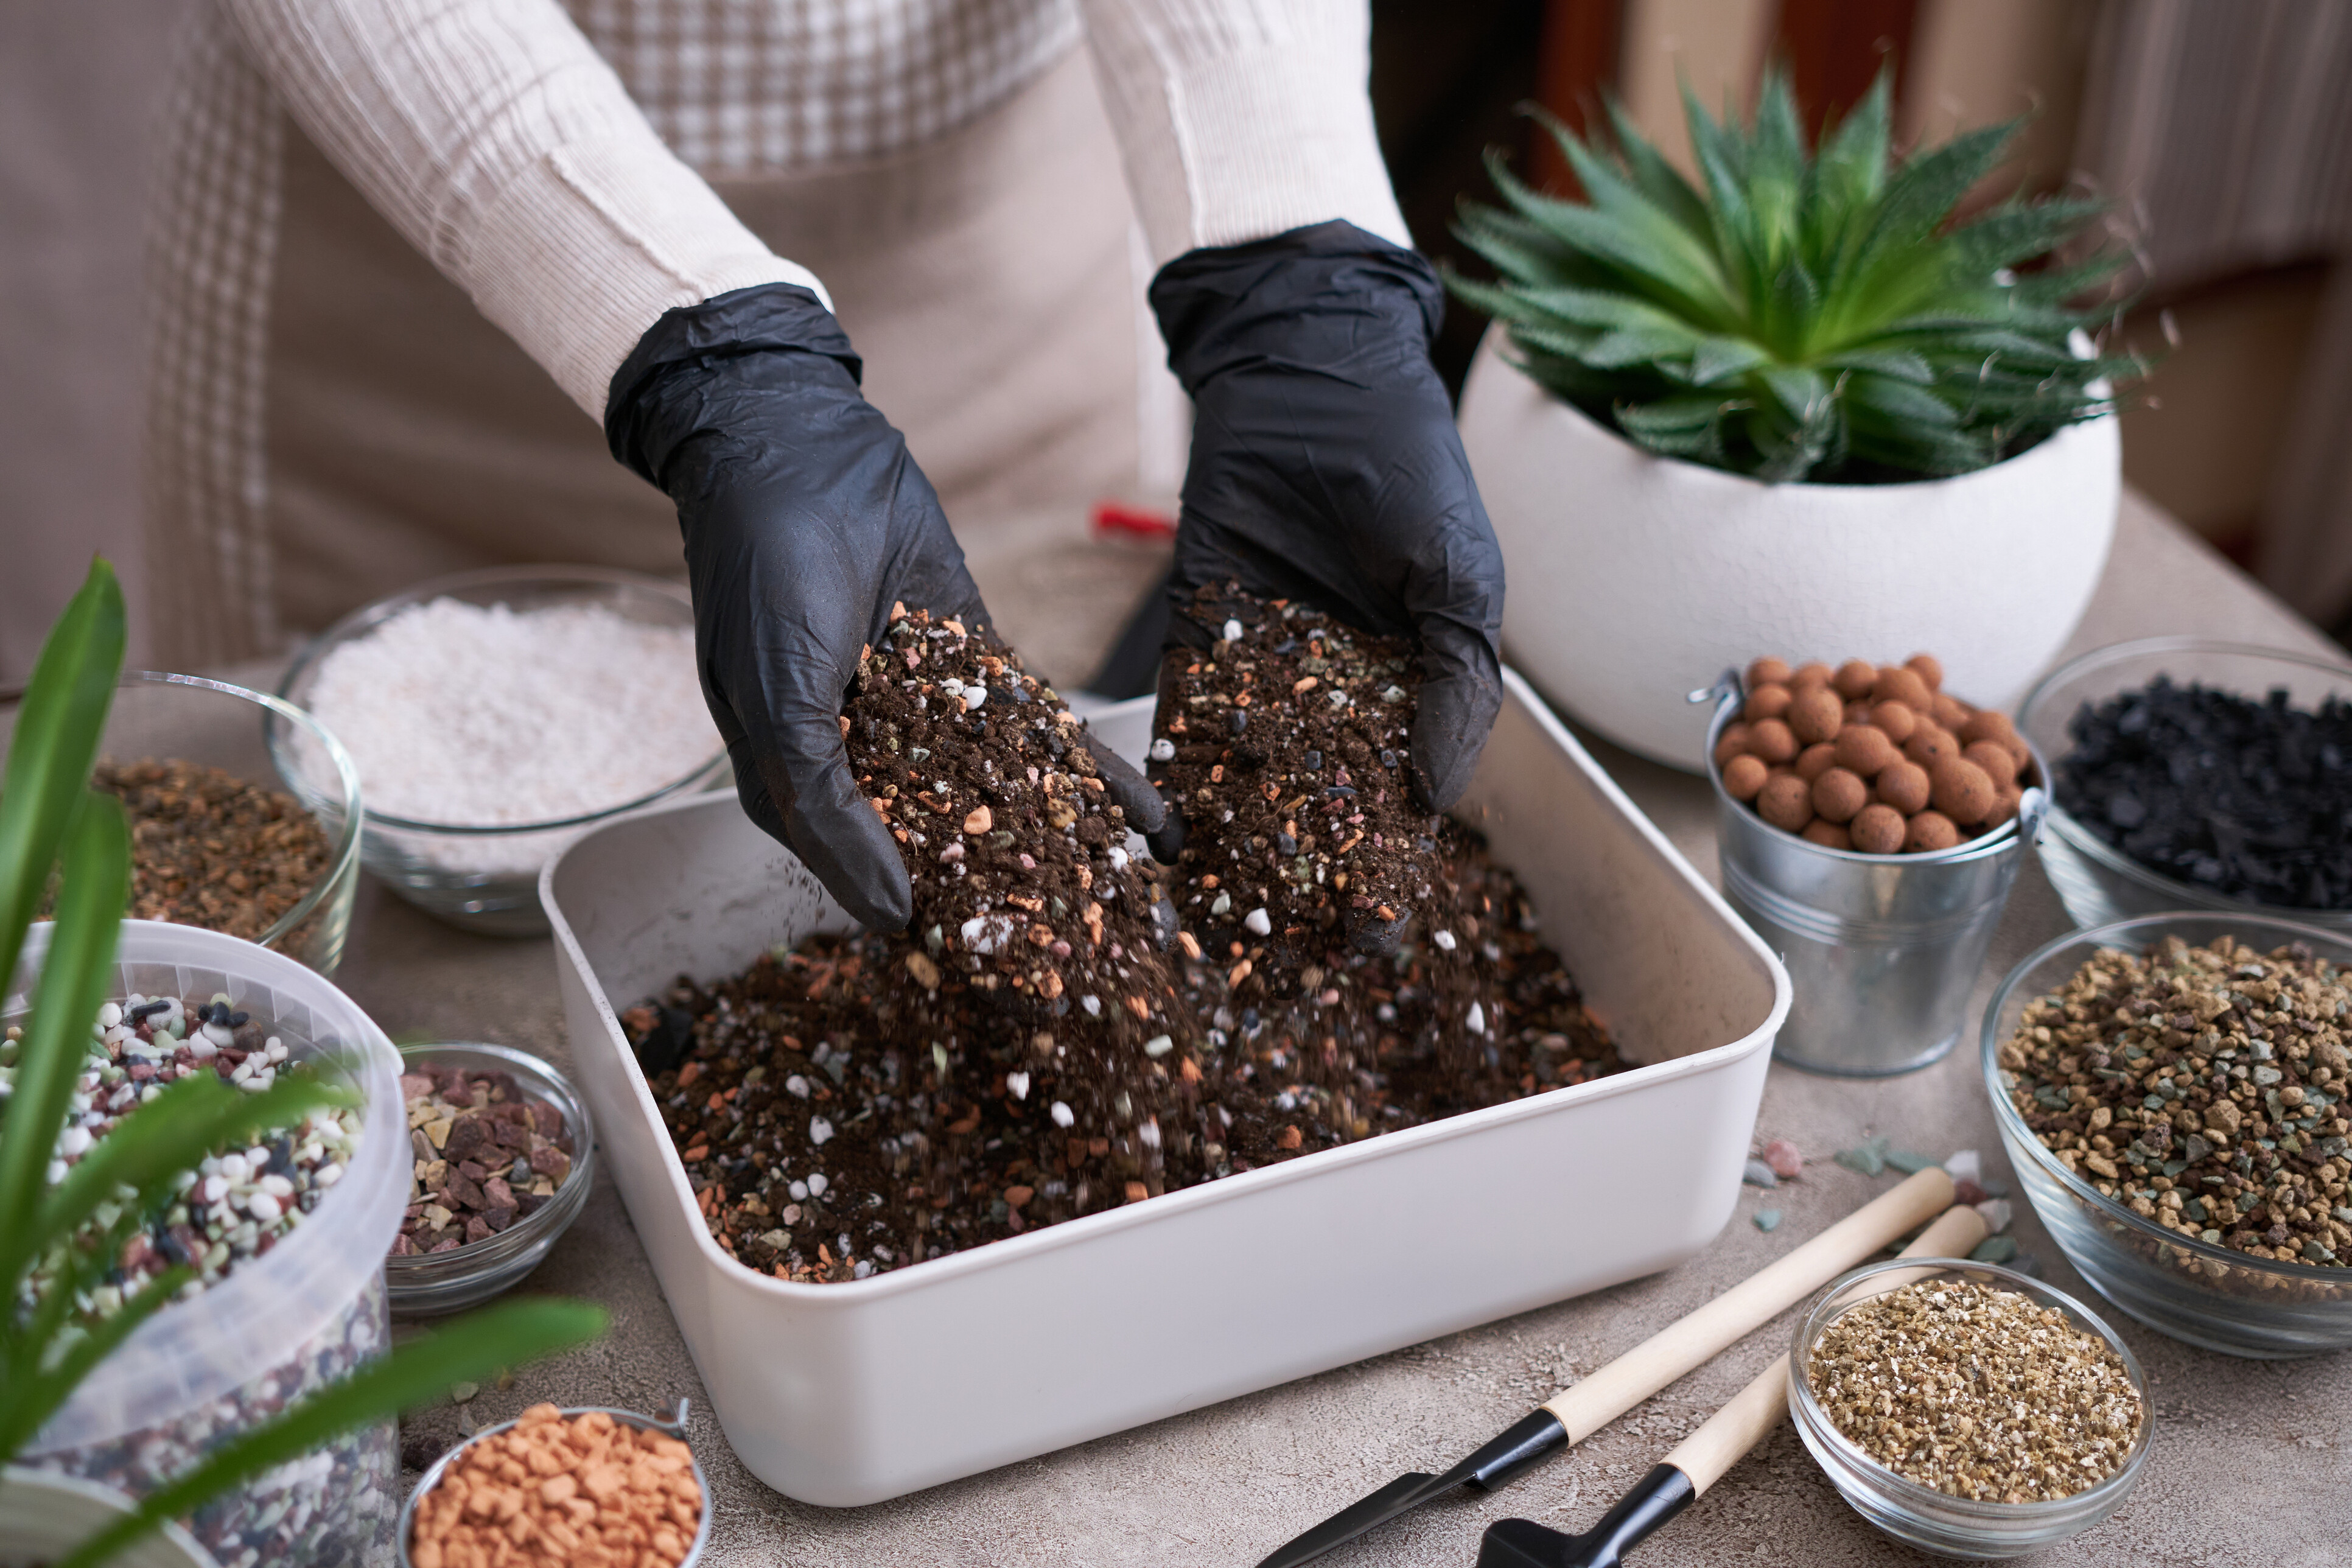
Fill the bed with good quality planting soil, and voila! Your raised garden bed is ready.
Important note: Be careful when selecting your wood. Railway sleepers that have been treated with Creosote are not recommended for residential settings. Creosote is a chemical used to cover sleepers to ensure their longevity. However, the chemical can be damaging to the environment.
According to the United States Environmental Protection Agency (EPA), the use of creosote – including creosote-treated sleepers – is under registration review. Some alternatives to creosote-treated wood include:
Wood treated with other preservatives approved by the EPA
Composite materials such as steel, fiberglass-reinforced concrete, and laminated wood), and
Wood that is resistant to pests.
It’s best to consult a garden edging professional to make sure your materials are safe to use.
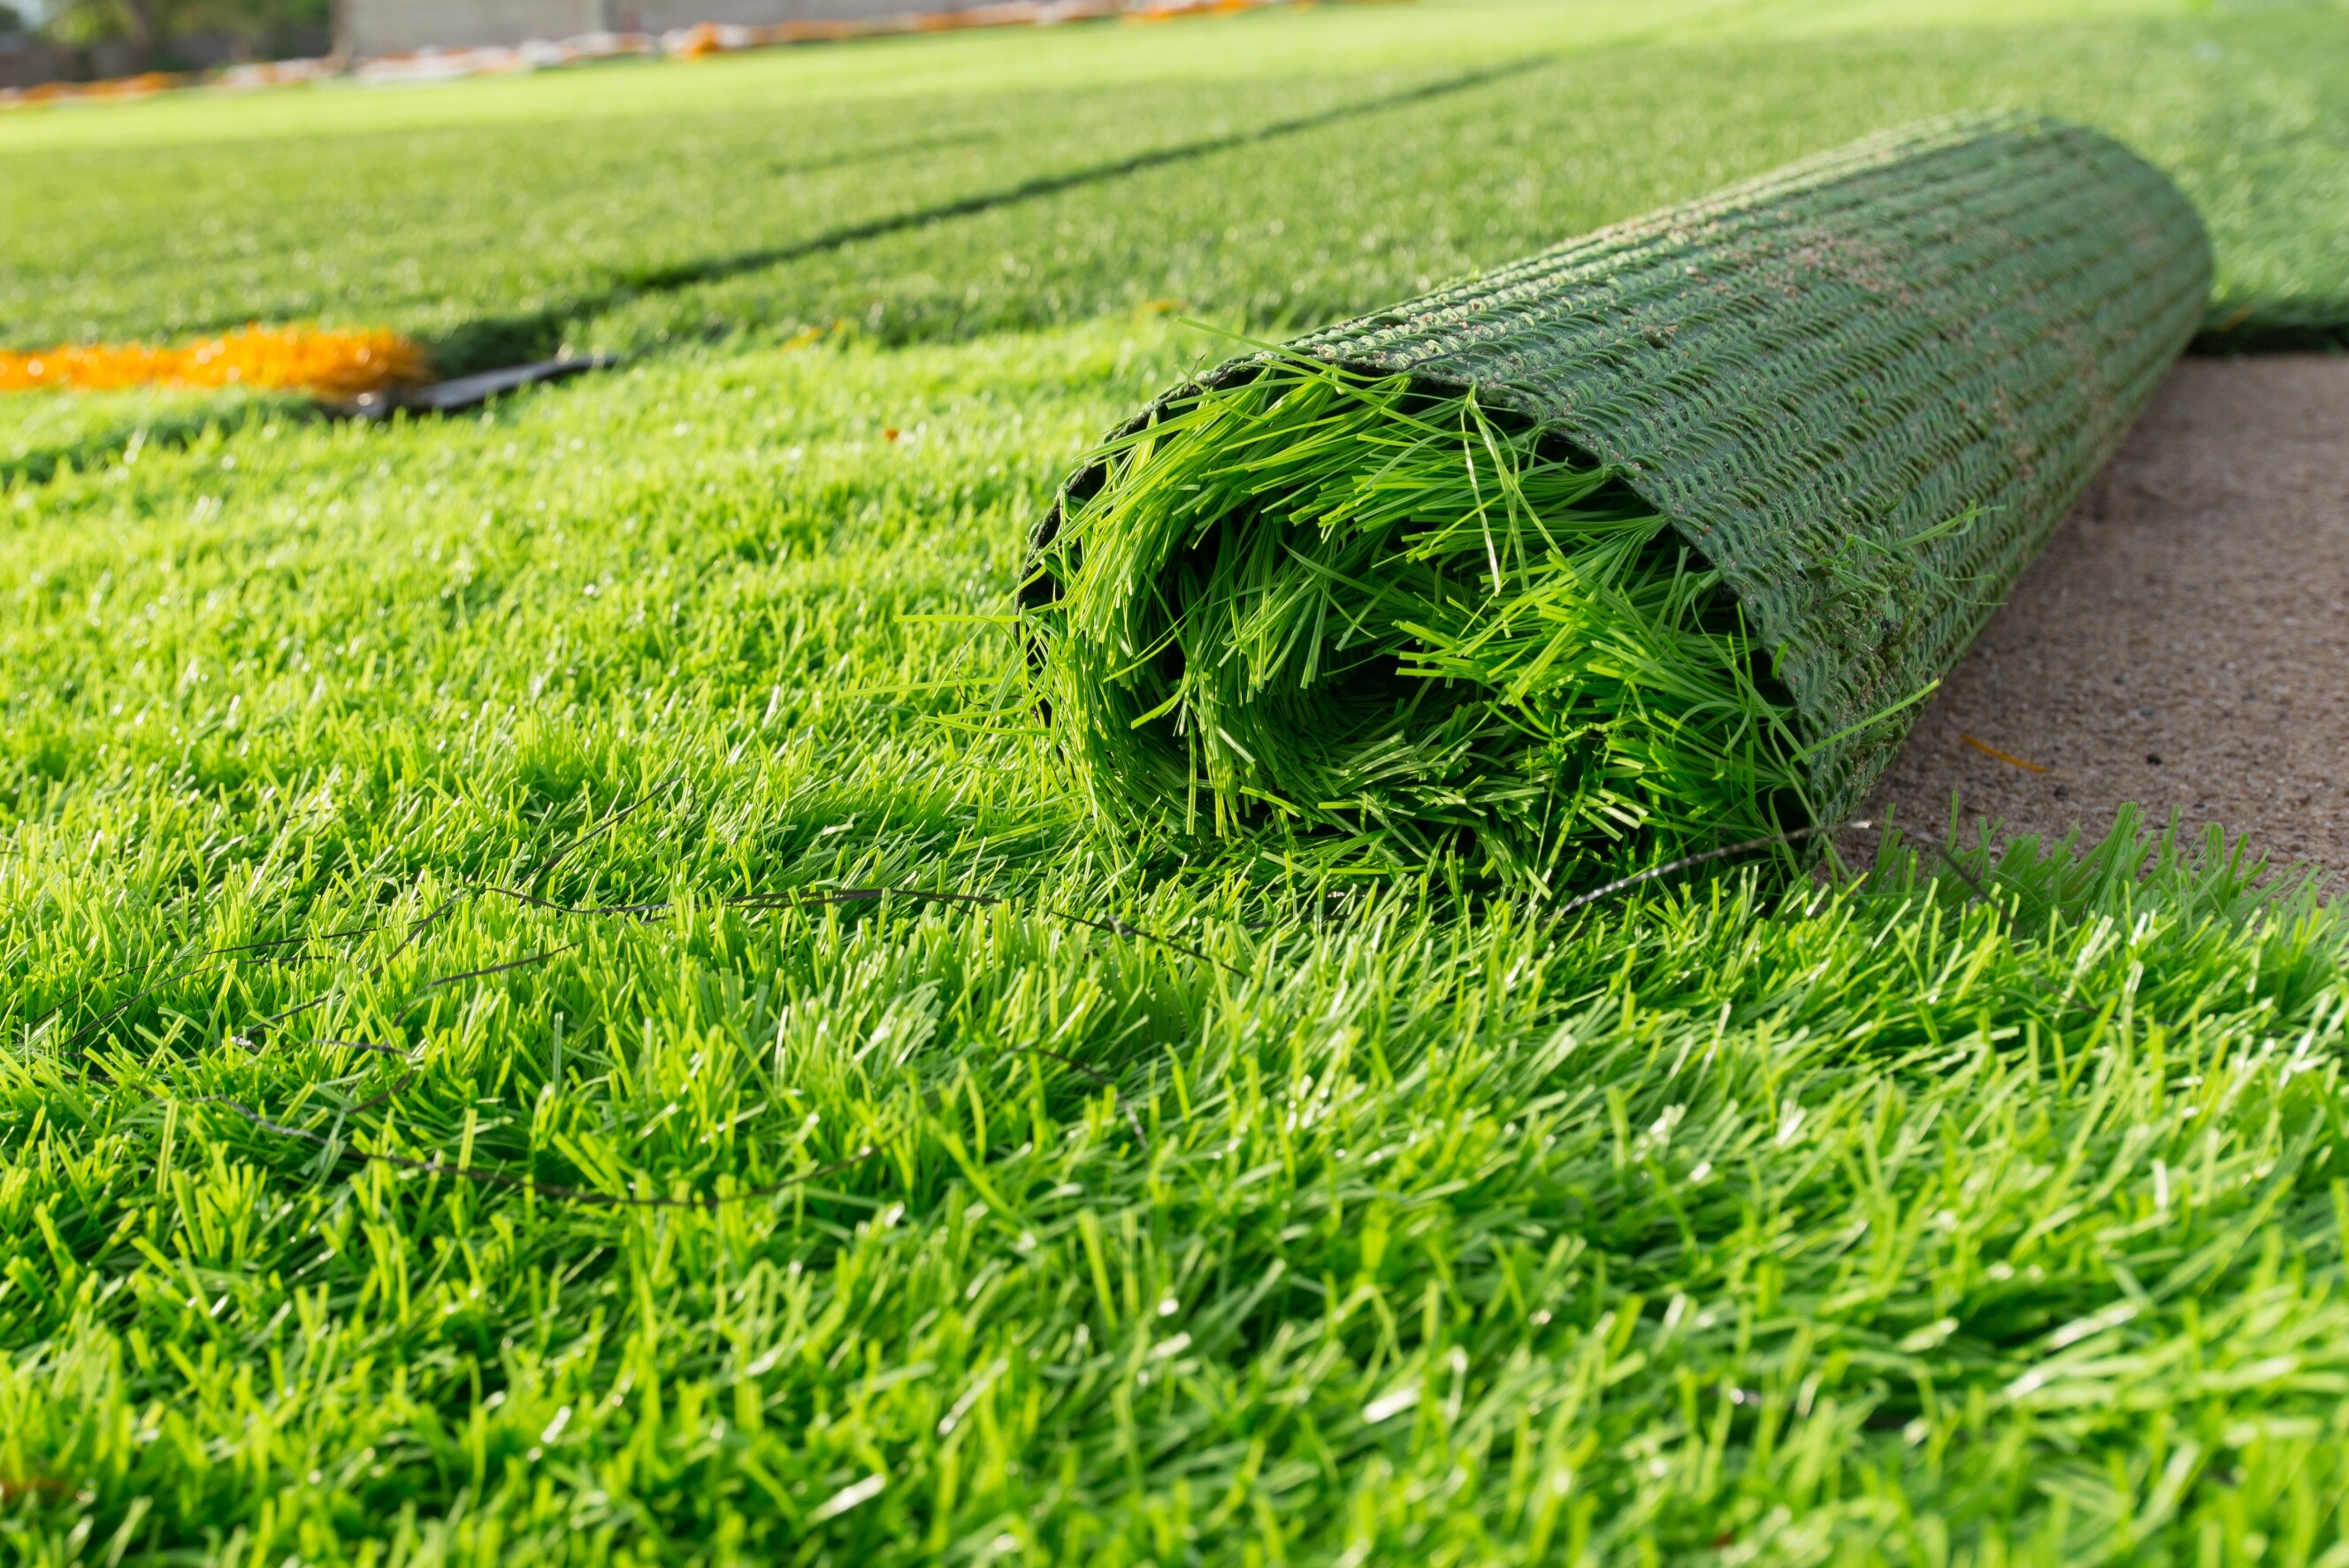
One alternative is to use recycled plastic sleepers – also known as composite sleepers instead! They don’t rot or degrade and can resist water, oil, and other chemicals.
Should you hire a professional to lay your sleepers?
Hire a professional garden edging service if you’re not quite confident with DIY garden edging. Sleepers can get very heavy and require two physically fit people to carry them! Not to mention, you’ll be spending hours under the sun. A garden edging specialist can make sure to get all the right materials and safely install your sleepers.
FAQs on laying sleepers for garden edging
Reclaimed and new sleepers are two different types. Reclaimed sleepers were previously used on actual railway tracks. What’s more, reclaimed sleepers typically have a rustic and worn appearance. In contrast, new sleepers come from fresh wood. Artificial materials, such as concrete sleepers, are also available.
Aside from wood sleepers, you can use metal, concrete, bamboo, or plastic for garden edging. Other alternatives include bricks, cinder blocks, logs, shells, stones, and gabions.
Find garden edging experts, fast
Find a garden edging expert
Related price guides
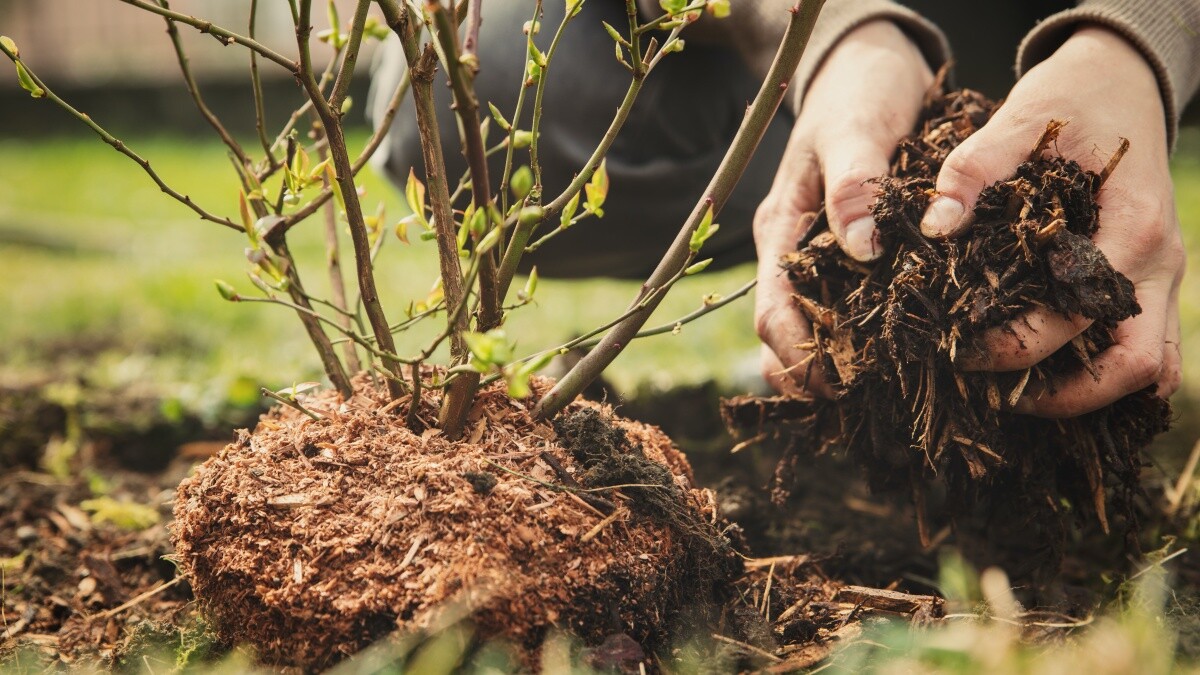
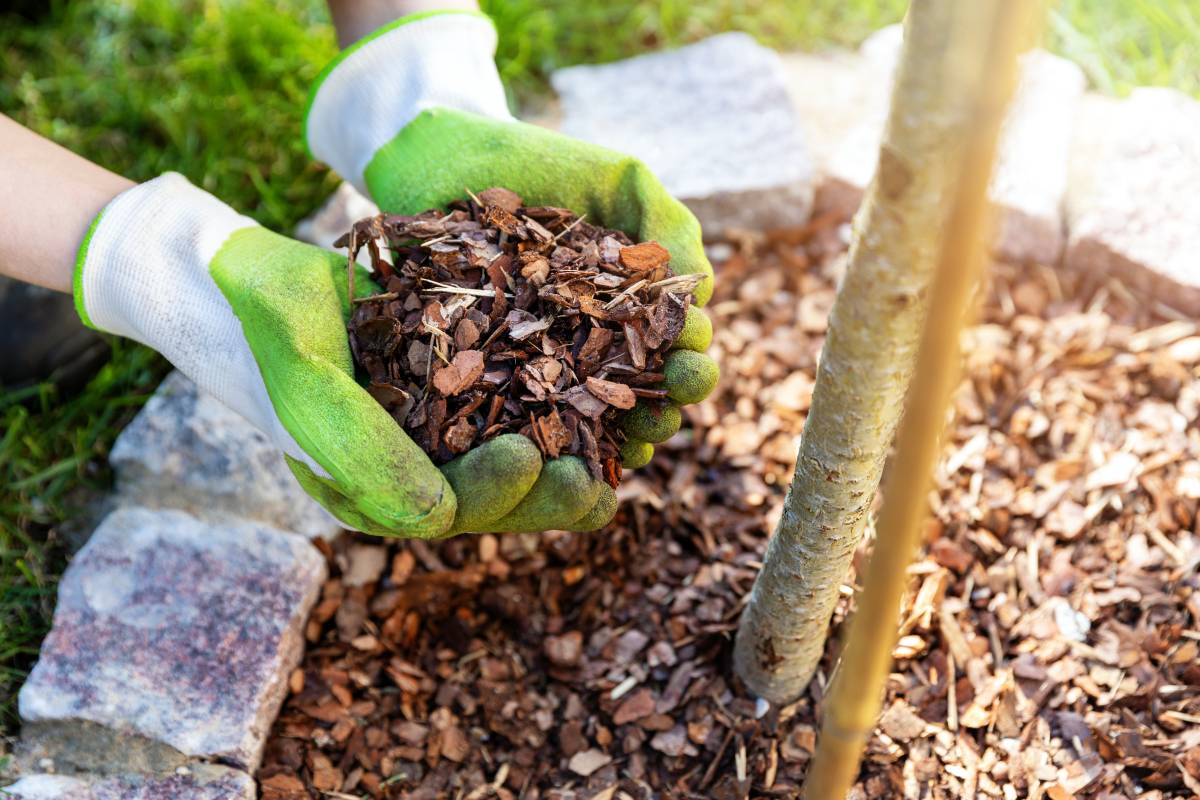
How much does mulch cost?
Read more

How much does garden clearance cost?
Read more
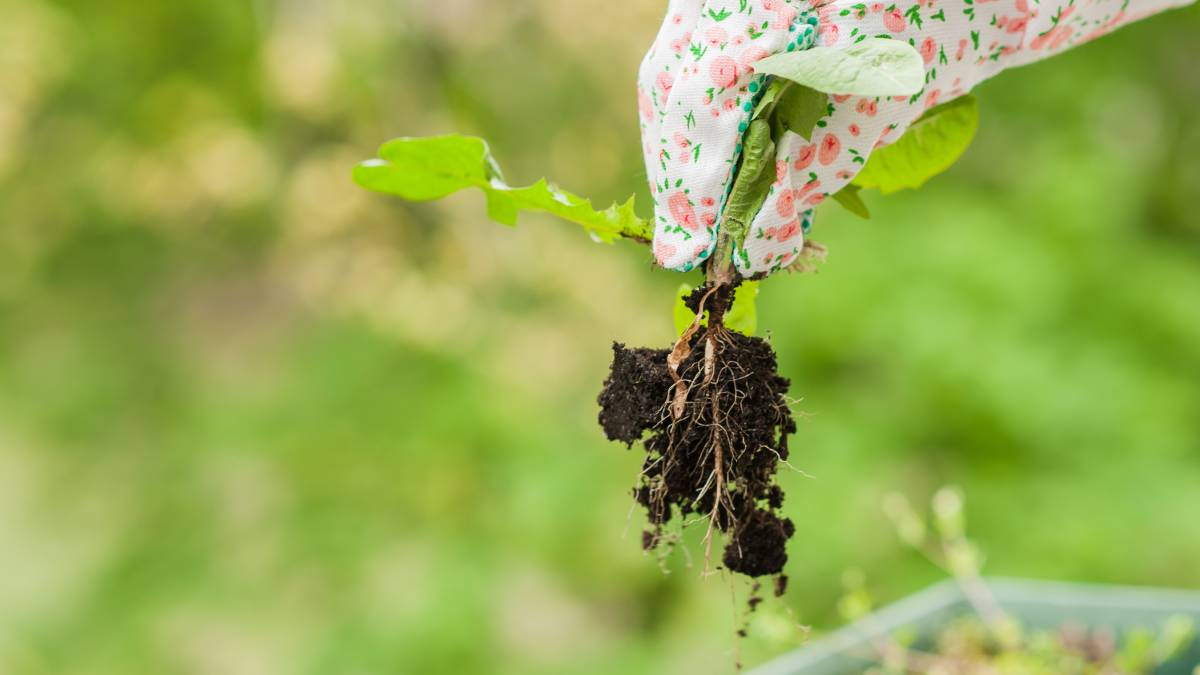
How much does weeding cost?
Read more
How much does hedge removal cost?
Read more
How much does a gardener cost?
Read more

How much does a garden room cost?
Read more

Related articles
Learn how to repot an orchid
Read more

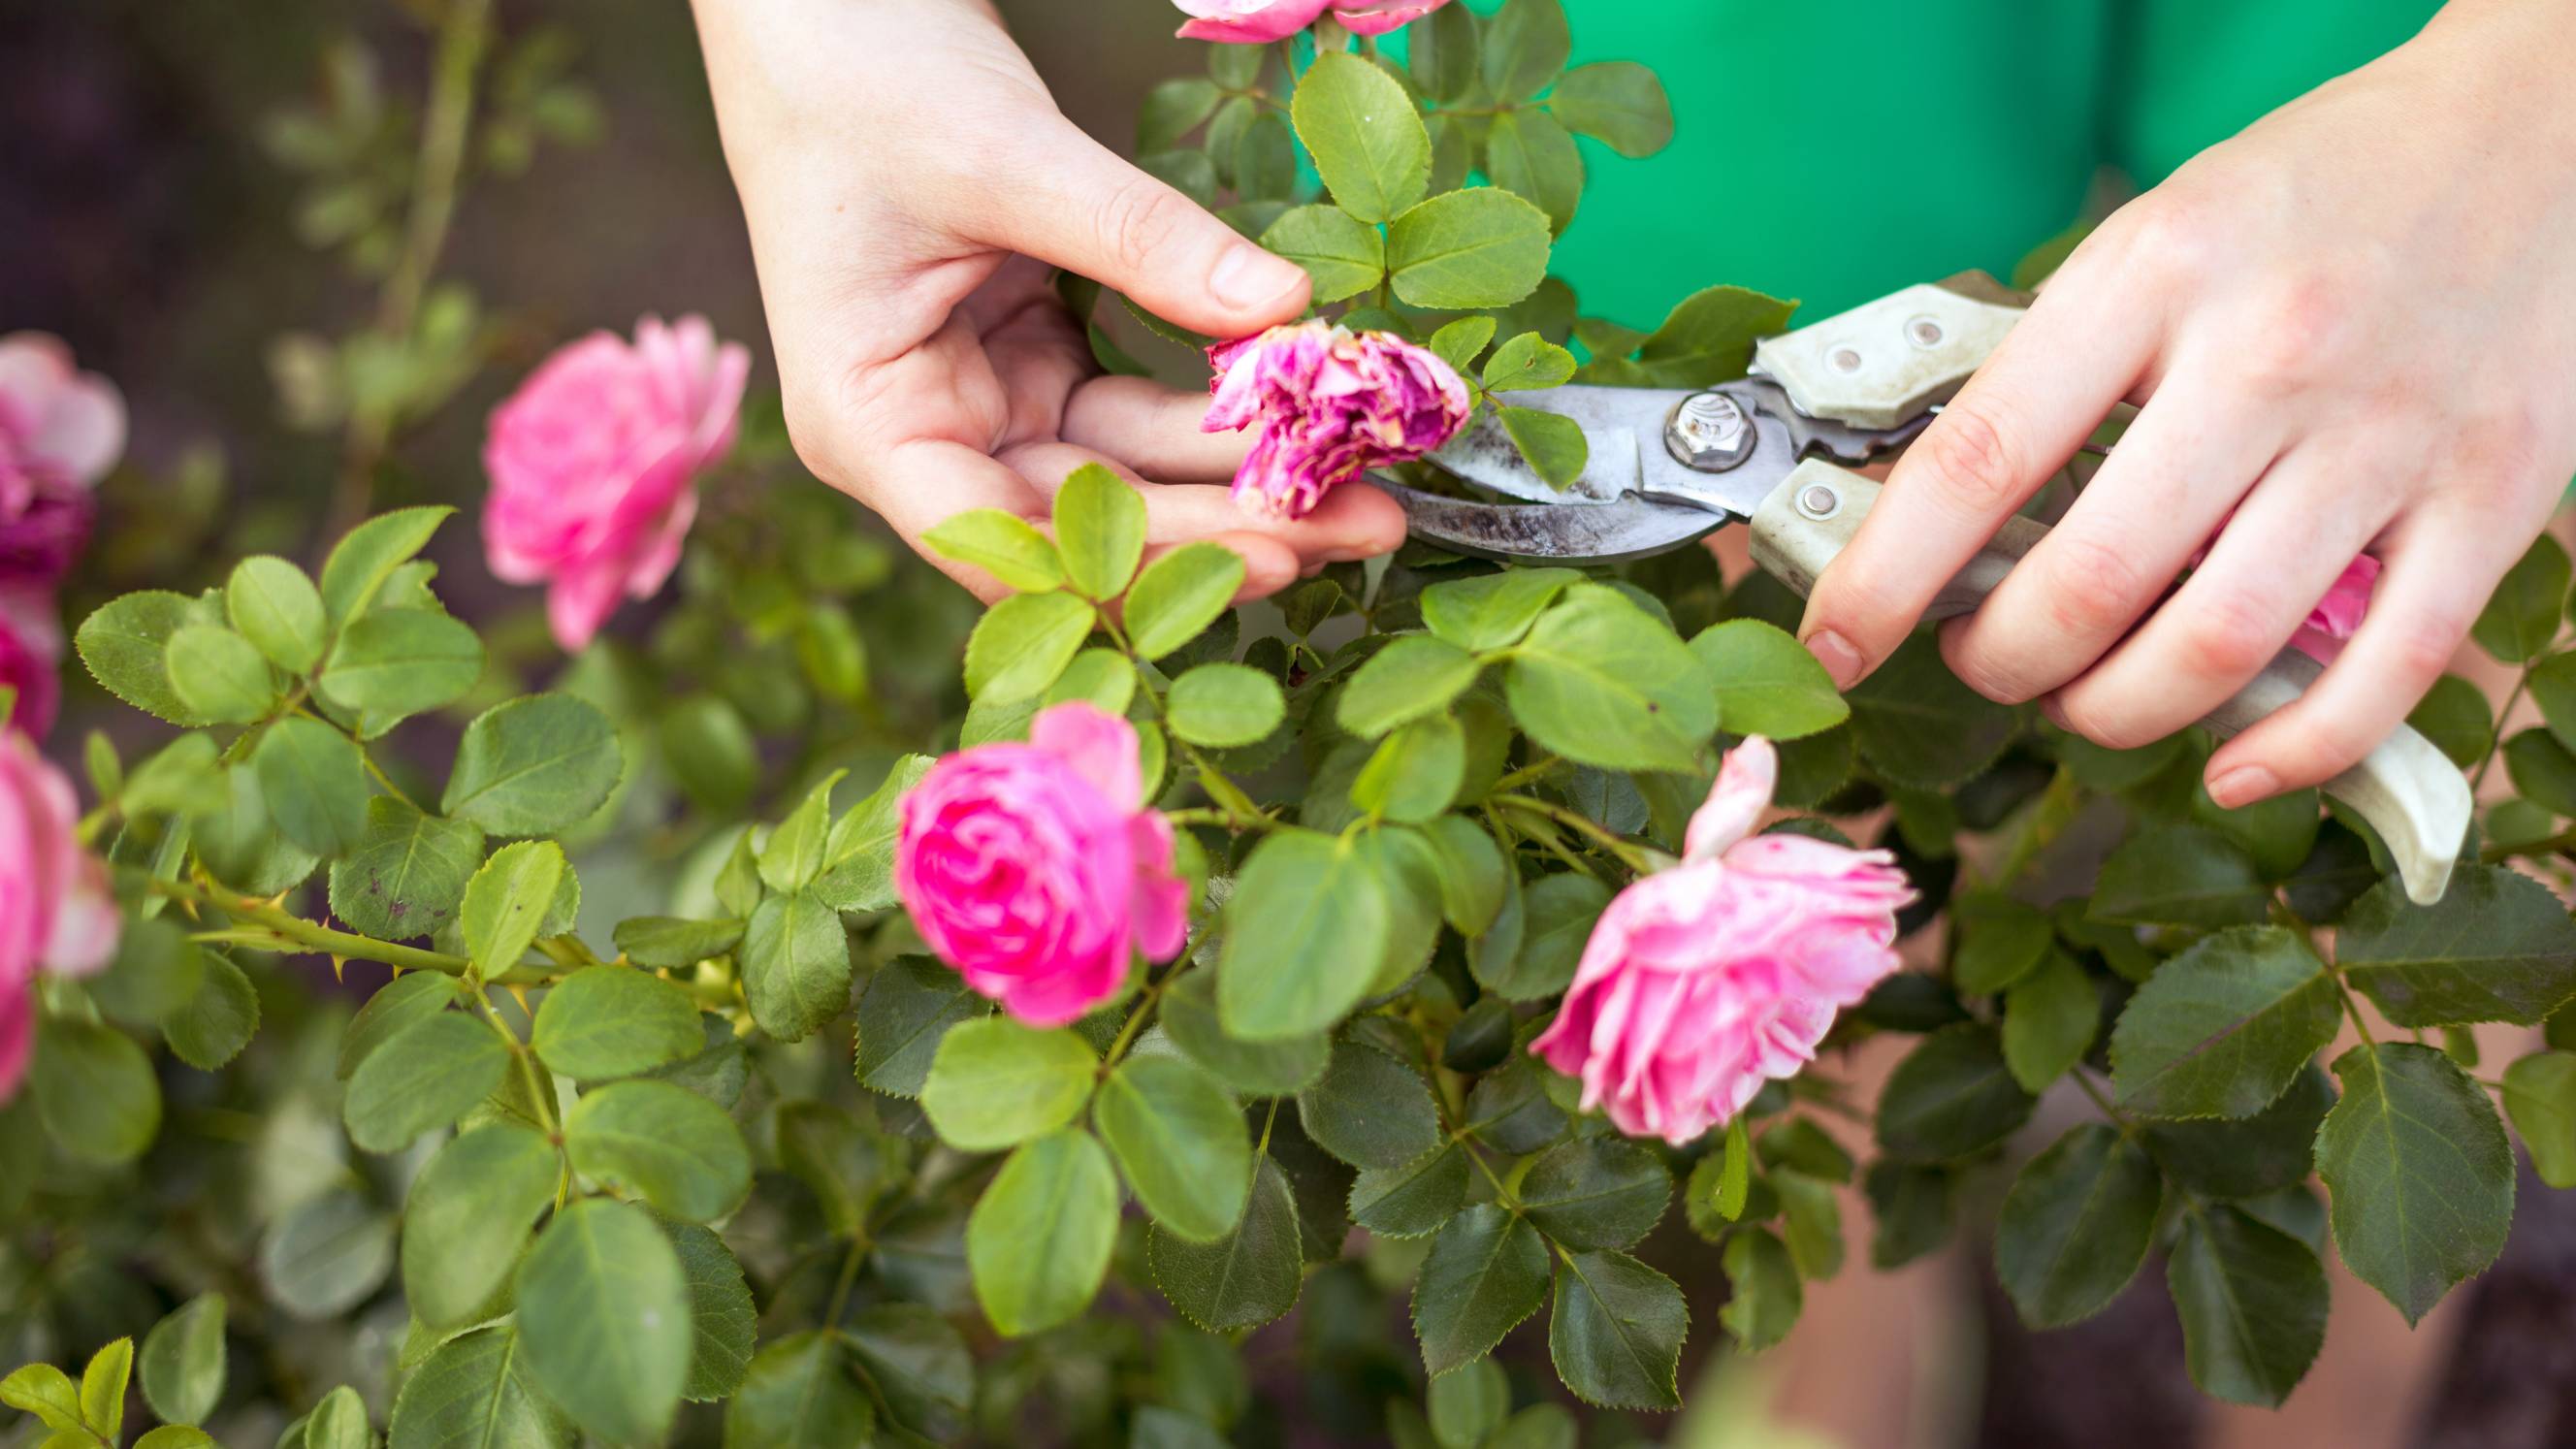
How to prune roses the right way
Read more
How to clean garden rocks
Read more
36 Quirky plant pot ideas you’ll love
Read more
18 Garden canopy ideas you’ll love
Read more
Your garden maintenance checklist
Read more

Gardening tips for beginners
Read more

25 ways to make money gardening
Read more

13 best spring gardening tips
Read more
How to trim bushes the right way
Read more