- Home/
- Guides/
- Bookcase Assembly/
- How to DIY Bookcase
Learn how to build a DIY bookcase
Last Updated on
There is a reason why people love collecting books (and why you probably need a DIY bookcase to house them). They are enjoyable to read, sure, but after you have closed the cover, they become little gems of interior design beauty that showcase your interests and tastes while making great talking points.
They also take up a lot of room. If you learn how to build a DIY bookcase, you can customise this handy piece of furniture to any space, store your books, and create a great reason to need to buy more of them.
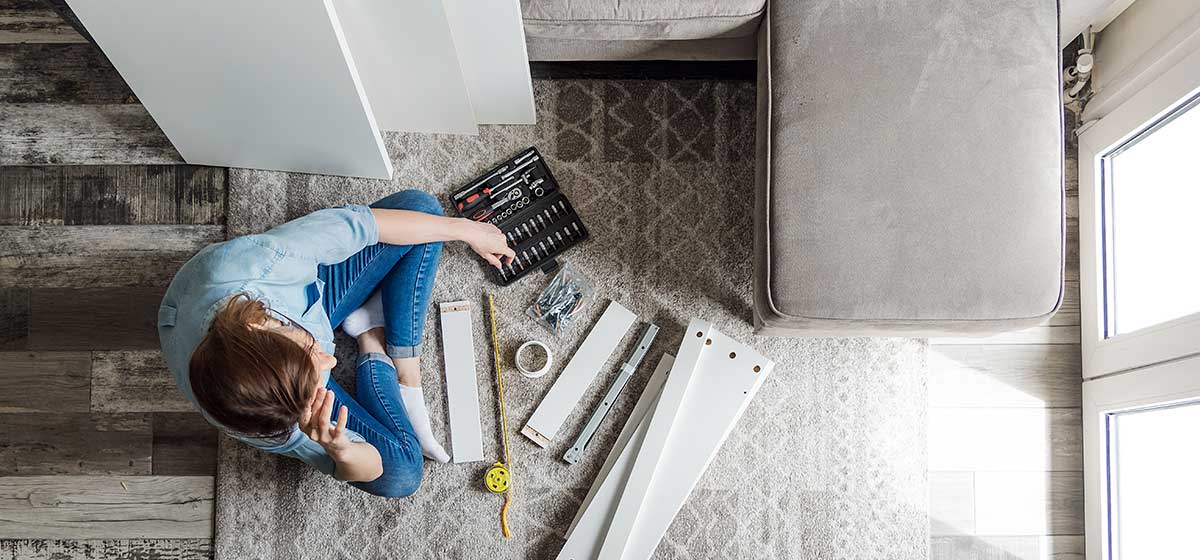
Building a DIY bookcase only requires moderate carpentry skills and some patience, so read on for the DIY bookcase plan and learn what you need to do!
How to build a sturdy DIY bookcase
Choosing the materials and size for your DIY bookcase
There is a lot of room to move with design and size when it comes to making a DIY bookcase, as it needs to fit your space and look. In this example, we’ll list some common choices; just keep in mind that they are all interchangeable based on your preferences.
We are using two pieces of plywood for each side of the cases, separated with 1/2-in.-thick plywood strips. The shelves will fit into dado joints that are routed into the case sides. We are going to glue and screw our shelving into the dadoes, meaning they can’t be adjusted later. If you think you will want to change the size of your shelving at some point, you’ll need to skip this. We’re pretty sure books don’t grow through…
Measure your books before you decide how tall the shelves should be. A general rule for a bookcase is shelves between 7 in. and 14 in. apart to accommodate pretty much everything. Depth-wise, books generally fit in 8- to 9-in.-deep shelves.
Building your bookcase DIY
Birch veneer plywood is an ideal choice for building bookcases. Start by building a base with a depth of 1 1/2 to 2 in. less than the depth you will have for the bookcase itself. The height must be 1/8 in. taller than any baseboard moulding (if you plan to install some).
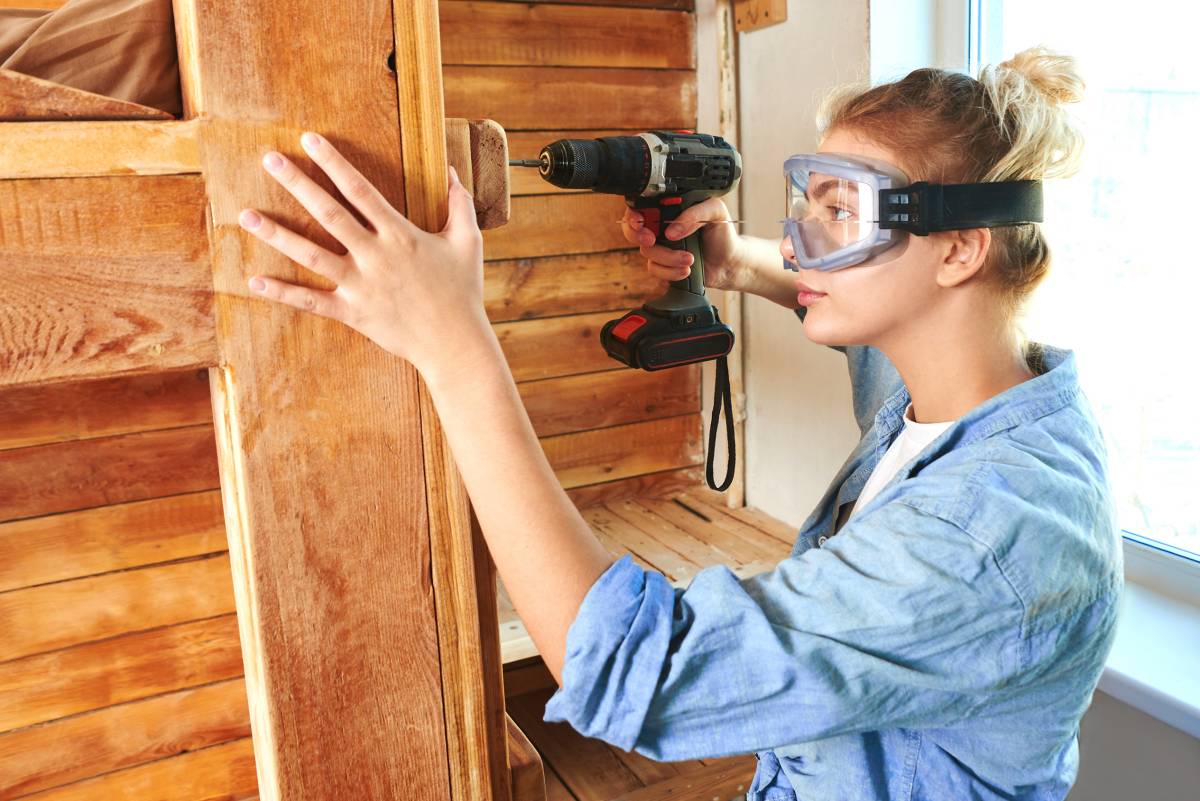
Set the base into position, checking that everything is level. This is very important, so check the level right to left and front to back. It is also a good idea to fasten your bookcase to the wall studs to prevent any tipping forward. You can do this by using 3-in. drywall screws. Another option to ensure safety is driving angled screws into the flooring through the inside of the base.
Cut some 3/4-in. plywood to your desired width for the case sides and shelves with a table or circular saw using a straightedge guide to make exact cuts. Crosscut the case sides to your desired length, ensuring they are 2 in. shorter than the distance that runs from the top of the base to the ceiling. Cut all the shelves to length, preferably no longer than 36 in. to avoid sagging when you fill them with books.
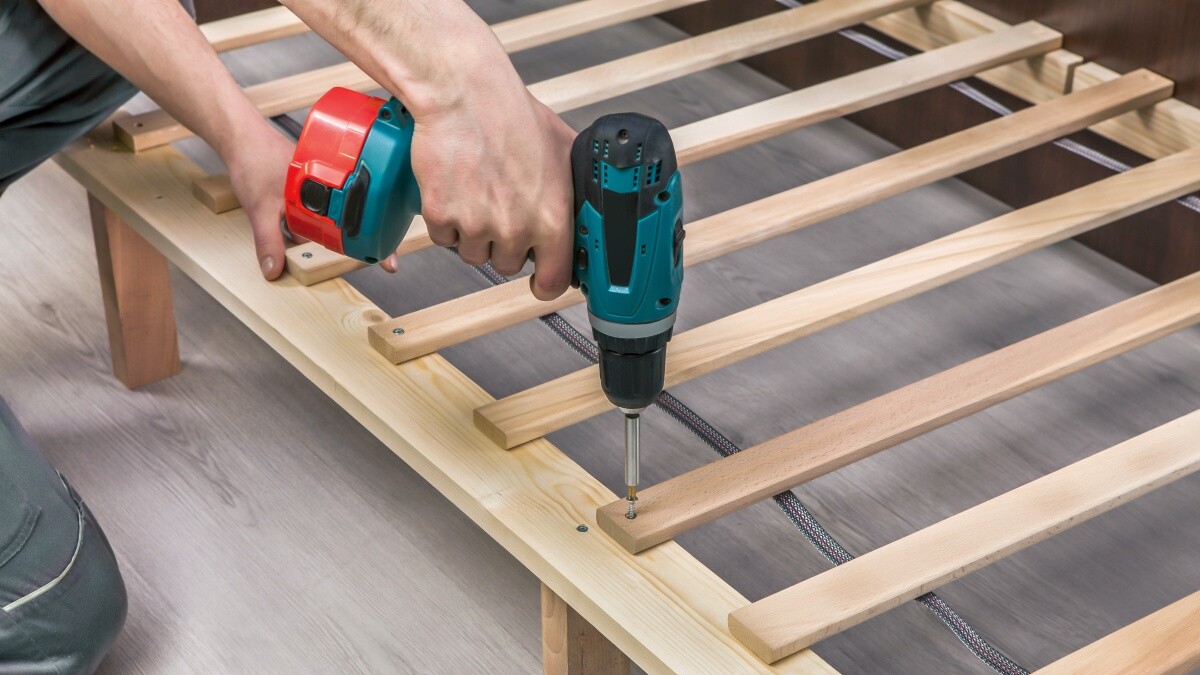
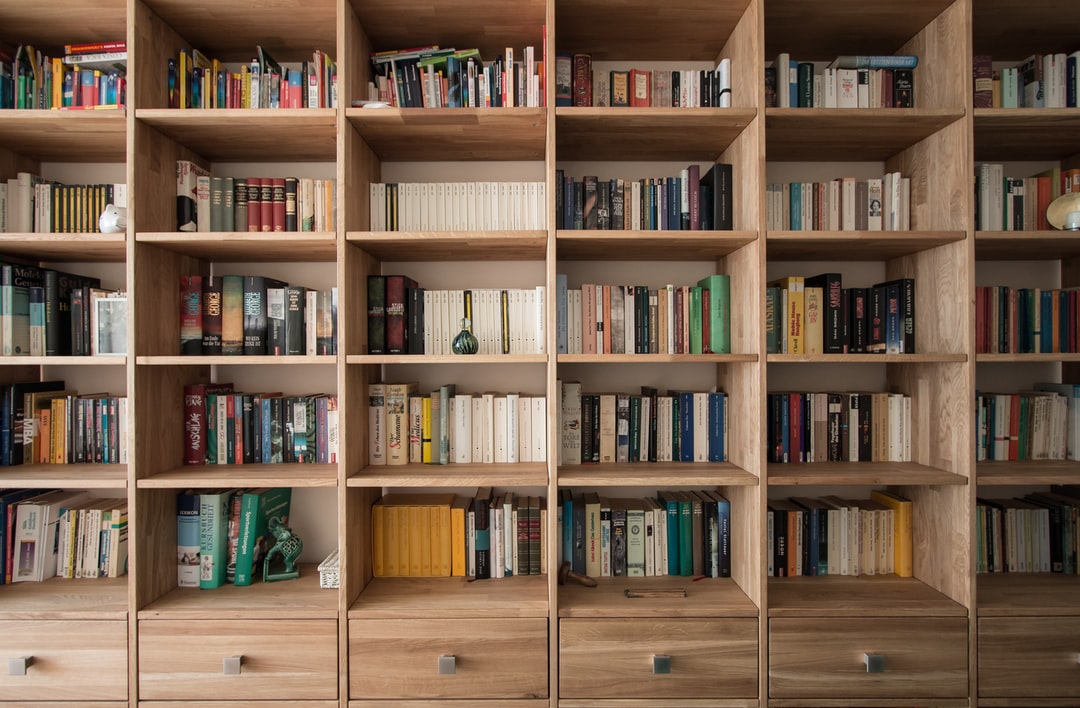 Source: Pickawood via Unsplash
Routing the dadoes
Clamp the two opposing case sides edge-to-edge to ensure the dadoes line up and mark each dado location. Next, clamp a straightedge guide laying across the two sides and position it square with the plywood edge. Use a 3/4-in. straight bit with a router and make sure it is adjusted to cut 3/8 in. deep.
Use the router across both plywood pieces, and if you plan to use biscuits for any face pieces, cut the necessary slots by using a biscuit joiner. For the taller sides, space the slots 12 to 14 in. apart. Cut the slots into the shelves to finish this step.
Assembling the DIY bookcase
You can use carpenter’s glue with the dadoes. Make sure you set the plywood shelves in place, then secure them with 1 5/8-in. drywall screws. The beauty of this design is that it needs no back piece and can sit flush with the wall, using the wall as the back. Alternatively, you can use it in the middle of a room as a see-through bookcase.
Use a hanging rail to screw the case to the wall. Secure the cases by using 3-in. drywall screws that have been put through the hanging rails into the wall studs.
Optional: Adding a face frame
Depending on how fancy you want to get, you may like to provide a nicer finish for your DIY bookcase by adding a face frame. We suggest starting with the horizontal base rail at the bottom and hold it against the bottom shelf to mark the rail at the centre of each slot that has been cut into the shelf. Use a biscuit joiner to cut the corresponding slots into the base rail and use some carpenter’s glue to attach the base rail to the bottom shelf.
When doing this, we recommend No. 20 biscuits in the shelf slots, so all you have to do is simply press the rail into place using a rubber mallet to tap in and tighten. Make sure you wipe away any excess glue as soon as possible, so it doesn’t dry and look messy.
For the vertical stiles, hold each stile to the front edge of the bookcase and repeat the same process as above to make the biscuit slot locations. Cut the slots again using the biscuit joiner, and apply glue to both surfaces just as you did above.
Essentially the glue-and-biscuit with a rubber mallet finish can be repeated when attaching any face frames to the shelves. While face frames are mostly decorative, they do stiffen the shelf to prevent sagging. When all of this is done, we recommend waiting roughly 8 to 10 hours for the glue to cure before you start loading up your book collection onto the shelves.
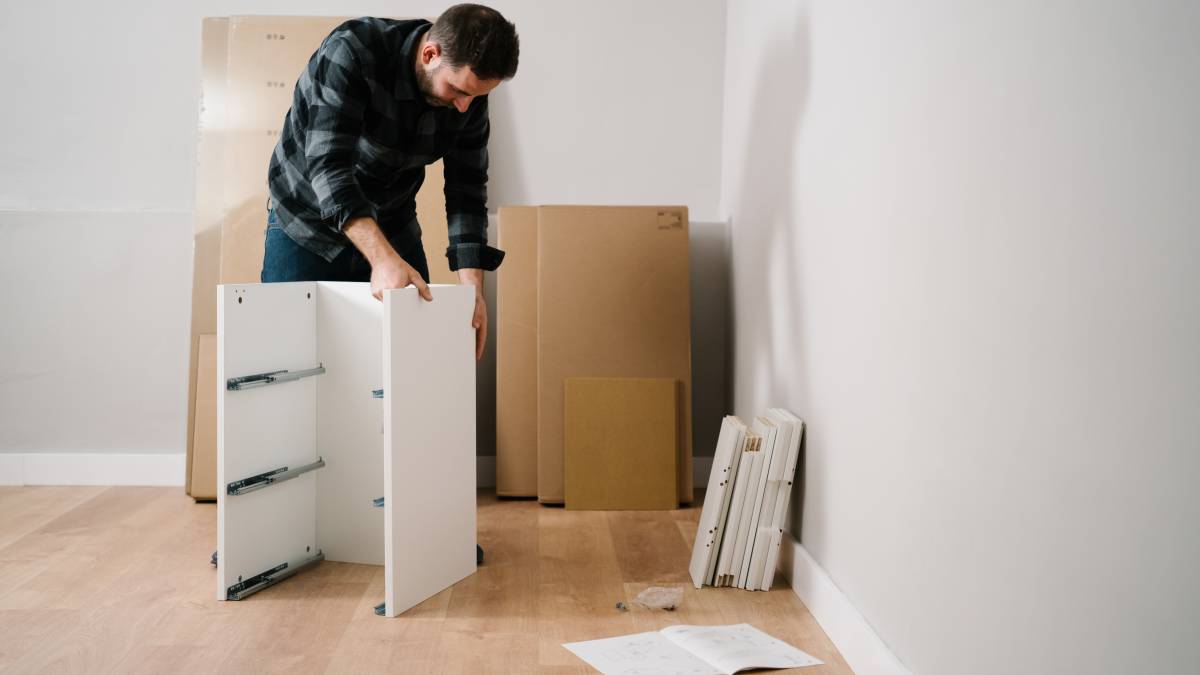
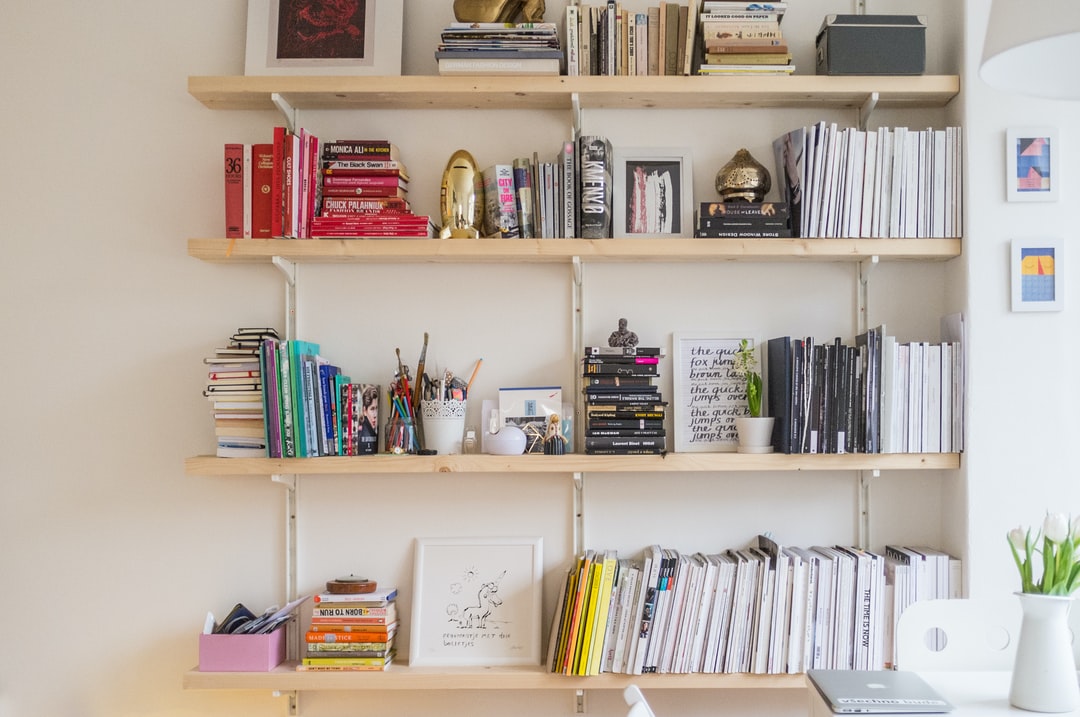 Source: Vladimir Mokry via Unsplash
You are now one step closer to living in a library
Your dreams of owning a personal library are not becoming a reality as you can build a bookcase for any section of your home. We do, however, realise that the steps above are a little above a beginner’s skill set. So, if your carpentry skills are not quite there yet, we have another option for you.
Search the skilled Taskers who are available to provide bookcase assembly so you can ensure your wall of books lives in housing you can rely on. We also have experts in desk assembly and other office furniture assembly as well if needed. Save yourself a little time and enjoy some peace of mind in knowing the job has been done properly.
If you knocked the DIY bookcase project out of the park and are looking for the next way to flex your creative muscles, have a read of our other ‘how to’ blogs. We have one that teaches you how to make a photobook that looks simply amazing. Pretty sooner, everything you have to display in your home will look its best!
Frequently asked questions
If you are looking for cheap bookshelf ideas, get a little creative with some of these for inspiration: 1. Use the simple box, 2. A strap of leather and a plank can look rustic, 3. Sculpt bookshelves using old drawers, 4. Put crown moulding on simple bookshelves to lift their look, 5. Pick the right pattern to emphasise your library
Yes! All you need is a table saw, plywood and some imagination, and you can design and build a custom bookshelf with ease. A DIY bookcase can be tailored to any colour scheme or decor. It also doesn’t just have to display books, as you can use it for knickknacks, a media collection or anything else that fits!
Use a piece of 1/8-inch plywood or hardboard that has been cut to the dimensions you require. Set the backing in place and square the case, nailing the backing to the bookcase using 1-inch finish nails. This will provide added stability to your bookcase.
Any heavy object that is at least 3/4 as tall as your books will do. You can either have matching bookends, ones that purposefully don’t match, or an object on one end only at the end of a row of books.
Find bookcase assembly experts, fast
Find a bookcase assembly expert
Related price guides
Related articles
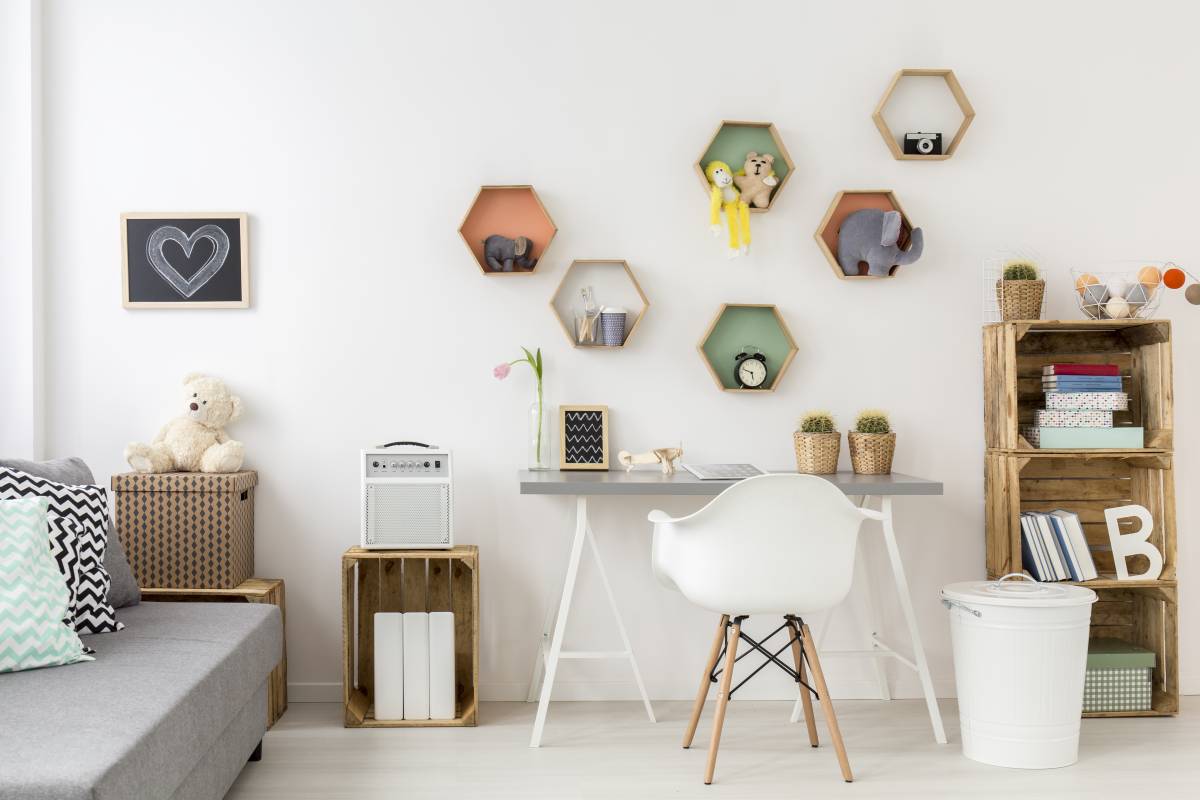
Creative wall shelving ideas
Read more
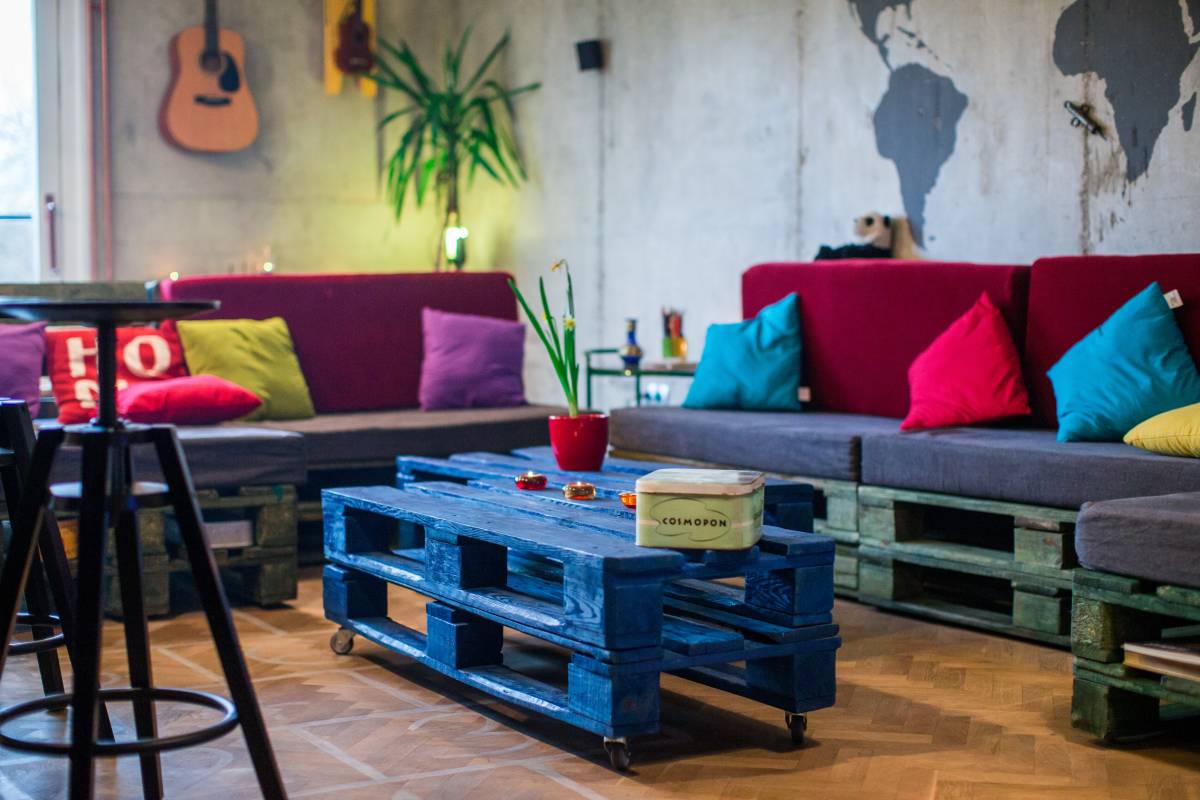
15 Must-try pallet furniture ideas
Read more