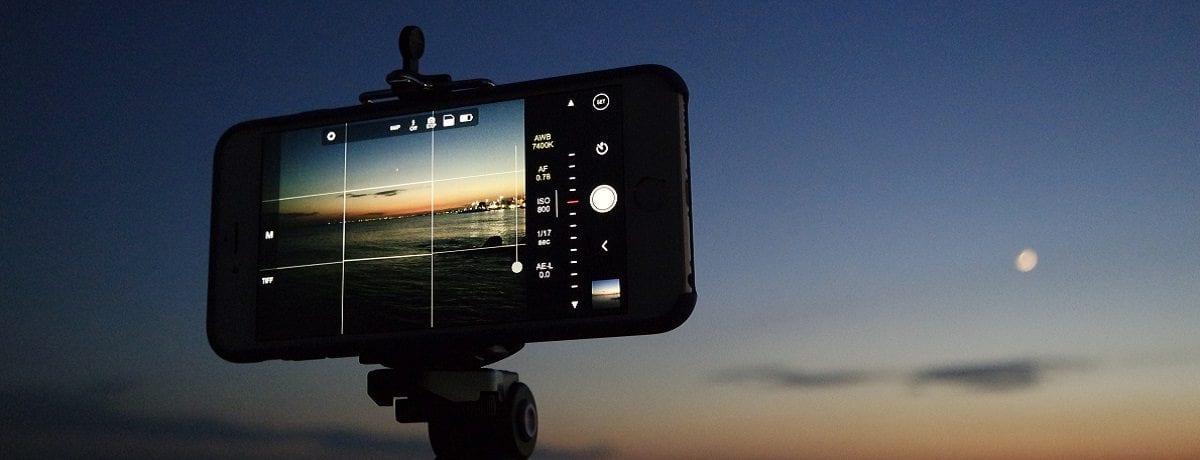
Creating memories is simple with the abundance of photobook printers and photo retouching services now available. You can make photo magic happen with the click of a camera and the press of a few buttons.
But piecing your first photobook together can get a little overwhelming if you don’t have the knowledge of a professional photographer.
So, without further ado here is our list of tips to make the process easy.
Your intensions
For ease of planning your photobook firstly establish why you want to print it. Are you creating a photobook to highlight a special event in your life? Do you want to showcase products you intend to sell? Are you using it as keepsake memory for your child when they get older?
Type of photobook
The type of photobook is usually influenced by its intended use and your budget. There are a plethora of options available which generally include:
- book size – a variety of sizes offered from very large to pocket
- cover type – hard cover, soft cover, a sleeve or dust cover, etc.
- page finish – matte, gloss, semi gloss, textured, etc.
- the binding method – stitched, glued, stapled
Would your images look best on matte paper or high gloss? Would you be happy with a paperback cover or prefer a thicker hard cover? All this should be established before you begin any design.
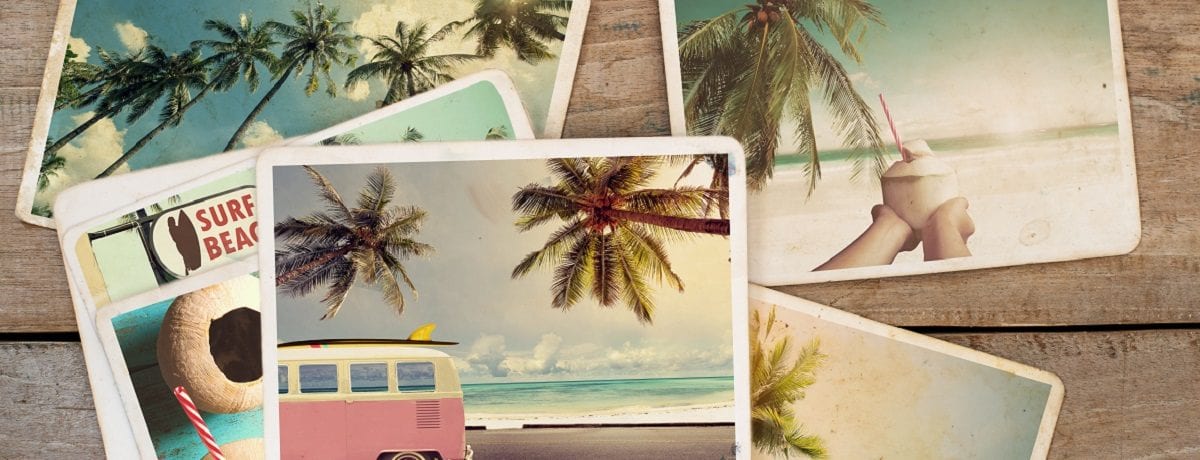
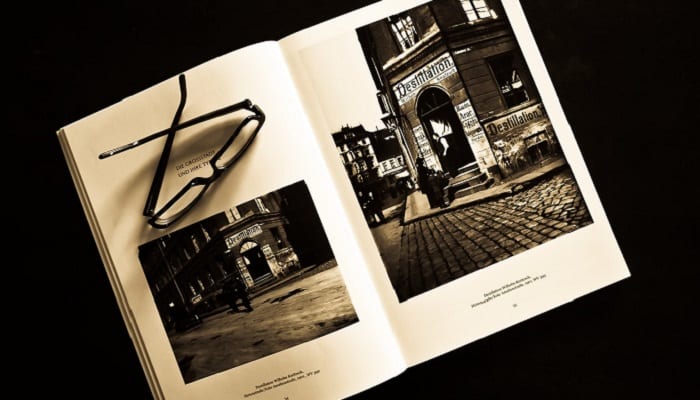
Theme and imagery
A visually appealing photobook has images that tie seamlessly from the front cover to the back page. Photos captured within a specific timeframe, at a particular event, or have a similar subject matter work best. Being selective with images and keeping to a theme ensures your photobook is more captivating for its intended audience.
Tell your story
Take your reader on a narrative journey with your photobook.
The images selected need to tell your story. Compile a balance of images so your reader is kept interested rather than clumping them together. If you are displaying nature photos, mix up the macros amongst the landscapes for example.
The right layout
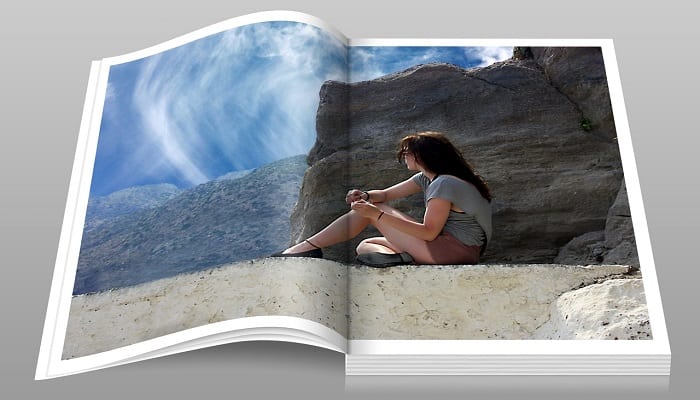
There is no secret recipe to the best photobook layout – it heavily depends on the above factors.
Common layout options include:
- full bleed printing – images printed to the edge of the page
- borders – frames or white space around images
- right hand print – photos printed on the right page only leaving the left page for text
- two-page print – photos printed on every page
- landscape layout – the long edges to the top and bottom of the page
- portrait layout – the short edges to the top and bottom of the page
- captions – text narratives
The hero shot
Select an engaging, high-quality photo for the cover. This hero shot will entice a reader to see more. Select a cover image that represents the theme of your photobook to do it justice from the start.
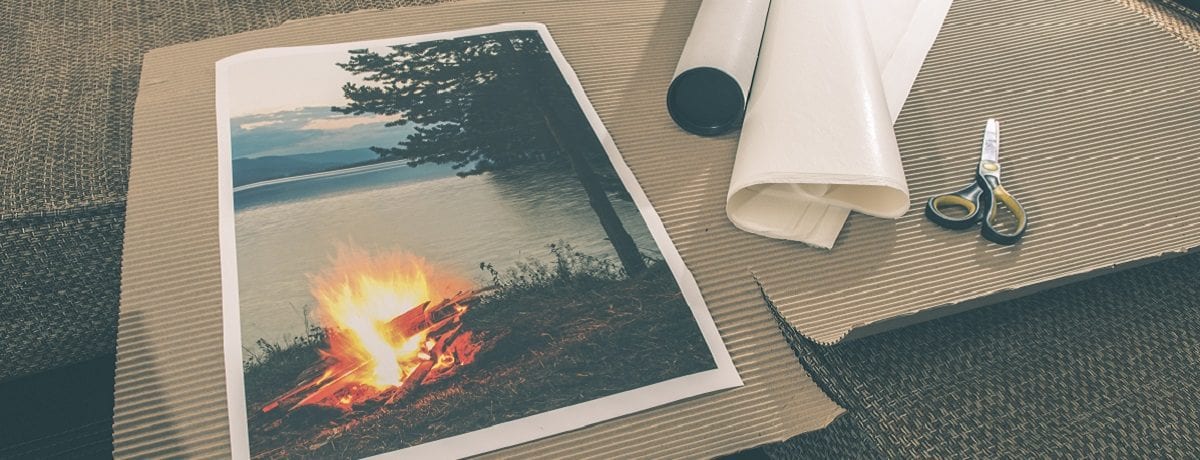
Where to get started
There are countless photobook printers online. Here are a few we found:
- Vistaprint
- Snapfish
- Photobook Australia
- Album Works
- Harvey Norman Photos
Photobooks are an amazing way to cherish your memories or present your work like a professional photographer. The only way you will master the addictive printed art is by giving it a red hot go yourself.
Need help retouching photos? Hire an Airtasker to make light work of the job.