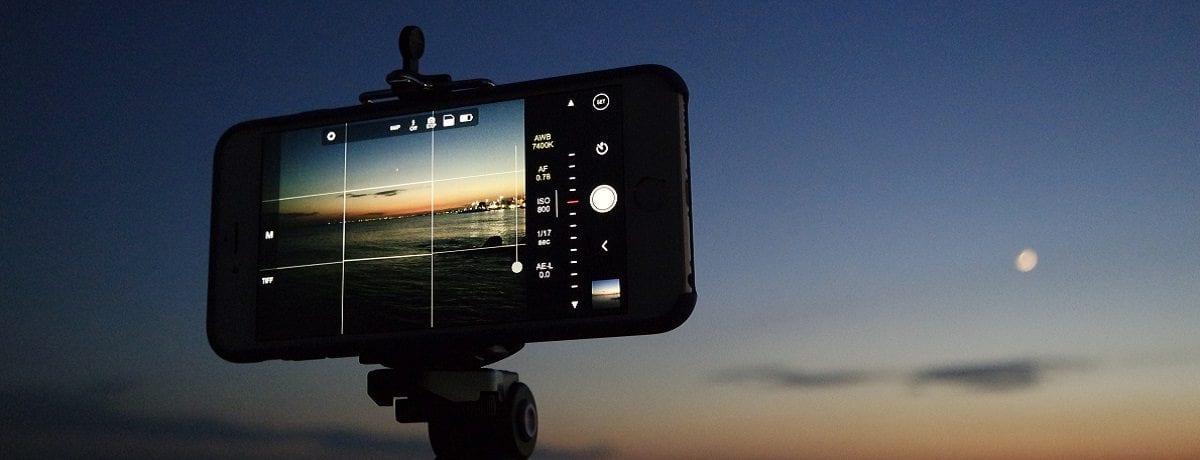
Snapping photos is a favourite pastime of many and we tend to pile up a magnitude of images on our smart devices. Budding photographers or those who just love to dabble, usually the screen is as far as those photos get.
Printing photos is easily done but printing on canvas brings a whole new dimension to photo décor.
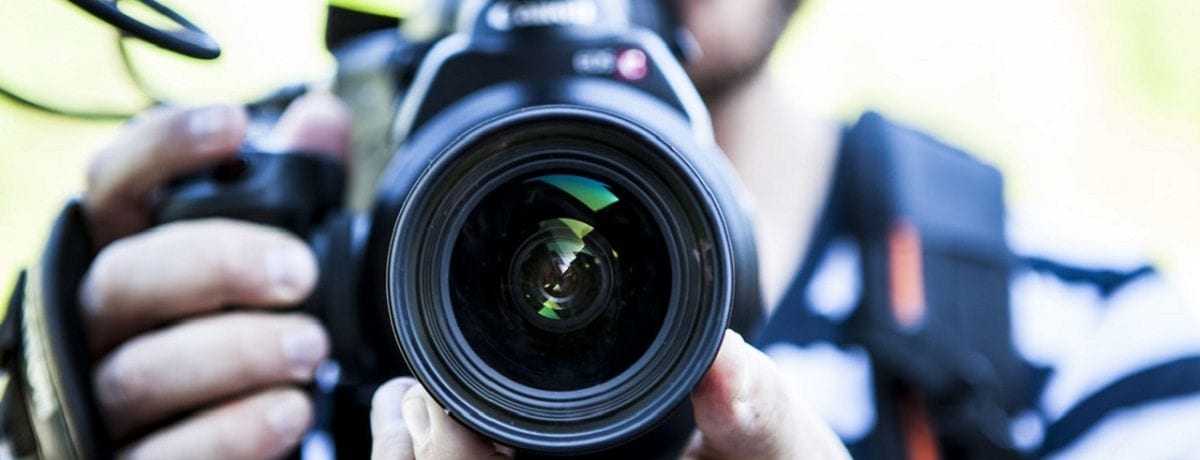
If you make the best portrait photographer and freelance extraordinaire look amateur, it is time you started showing off your shots.

Read on for our easy-to-follow tutorial for how to print your own photos onto canvas. We guarantee that you will be hooked once you master the art.
DIY canvas photo display
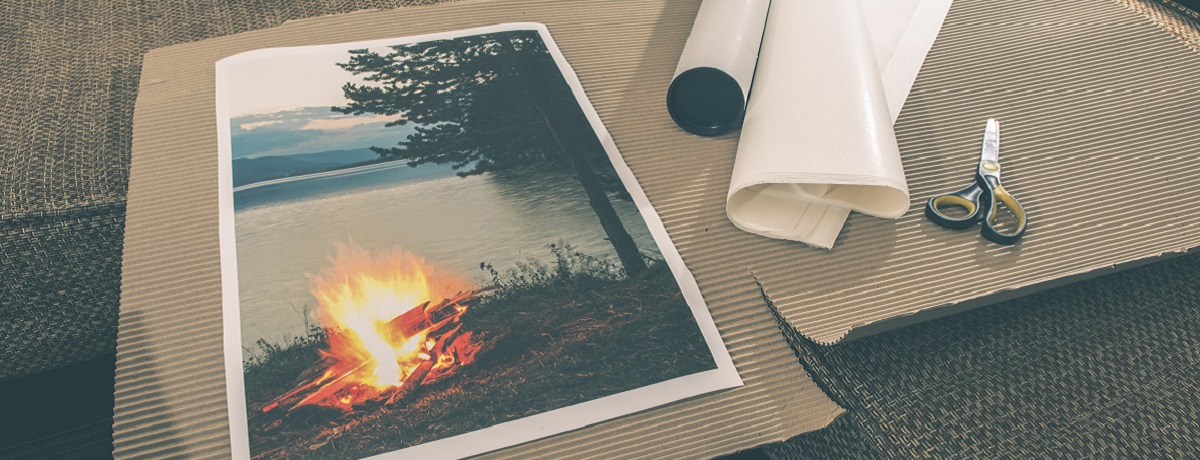
Items required
- A new or recycled art canvas
- A photo printed on photo paper. Match the size of the canvas as close as possible (do not use banner paper as it will peel off)
- Mod Podge matt finish glue
- Foam brushes
- Black paint – most poster paints or acrylic paints will work
- A Stanley knife or utility knife
- A cutting board
- An old t-shirt or tea towel
For the best result we recommend you use photos printed by a photo lab for this project. If you want to trial printing at home, ensure you use high-quality photo paper.

Creating your photo canvas
- Paint around the edges of the canvas and create a thick border with the black paint. If you are upcycling a canvas, paint the entire board.
- When the paint is dry, apply a layer of Mod Podge with a foam brush.
- Before the glue dries carefully place your photo onto the surface and smooth it out.
- Flip the canvas over and smooth the back of the canvas to remove any stubborn air bubbles or wrinkles.
- Using something flat and heavy, like a book similar size as the canvas, place it on top of the canvas.
- Let the canvas dry preferably overnight, if not for a few hours.
- You will need to cut off any amount of photo overhanging the canvas once the glue has dried. Use the utility knife and the cutting board to get a straight line.
Your photo will look nicely displayed at this point, but not much like a canvas. The following trick will turn the smooth paper look into a canvas finish.
- Using long, steady strokes, paint a thin layer of Mod Podge over the entire photo on the canvas.
- While the Mod Podge is still wet, grab your old t-shirt and spread it over the top of the photo being careful to avoid any wrinkles.
- Carefully press on top before lifting the shirt off the canvas.
- The texture left behind is what it will appear like once it is dry. A canvas-looking photo!
This DIY process might take up a little of your time but it will save your pretty pennies if you love displaying your beautiful photos. Your friends will see how much of an awesome photographer you have become too!
With so many memories created through photos, why wouldn’t you want to get your hands dirty with this DIY?
If you don’t have the time for your own DIY canvas projects, check out these websites where you can conveniently order canvas prints online.
Looking for a photographer to capture some precious memories? Hire a portrait photographer on Airtasker.