How to tile a wall the right way, a complete guide
Find a tilerLast Updated on
So you want to learn how to tile a wall? Good on you for taking the first step and deciding it may not be as hard as some might think! You are also correct, as with some patience and the right preparation, learning how to tile a wall can be easy and even a little fun.
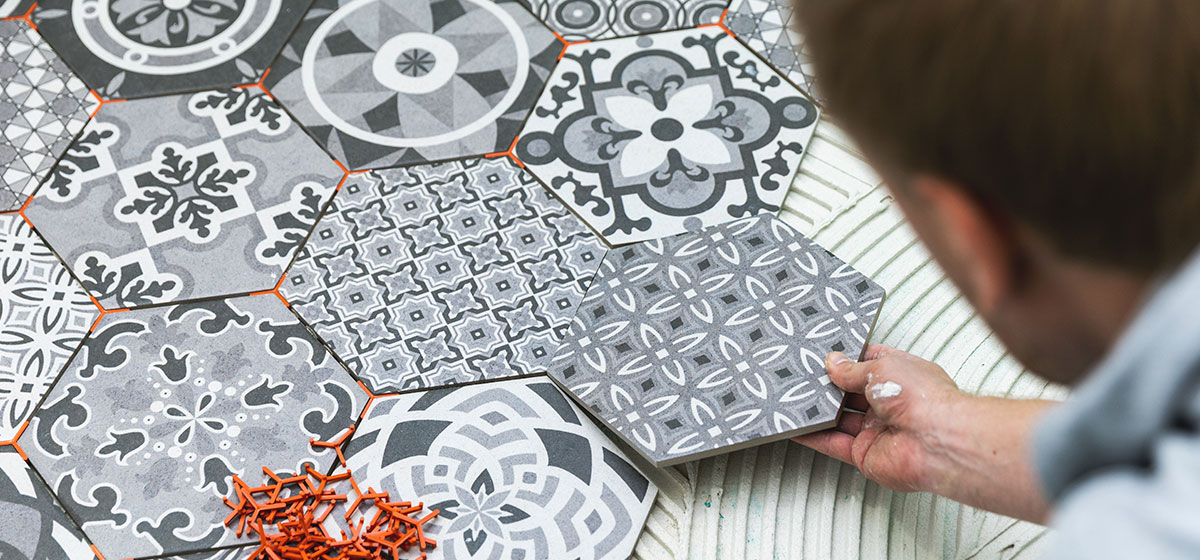
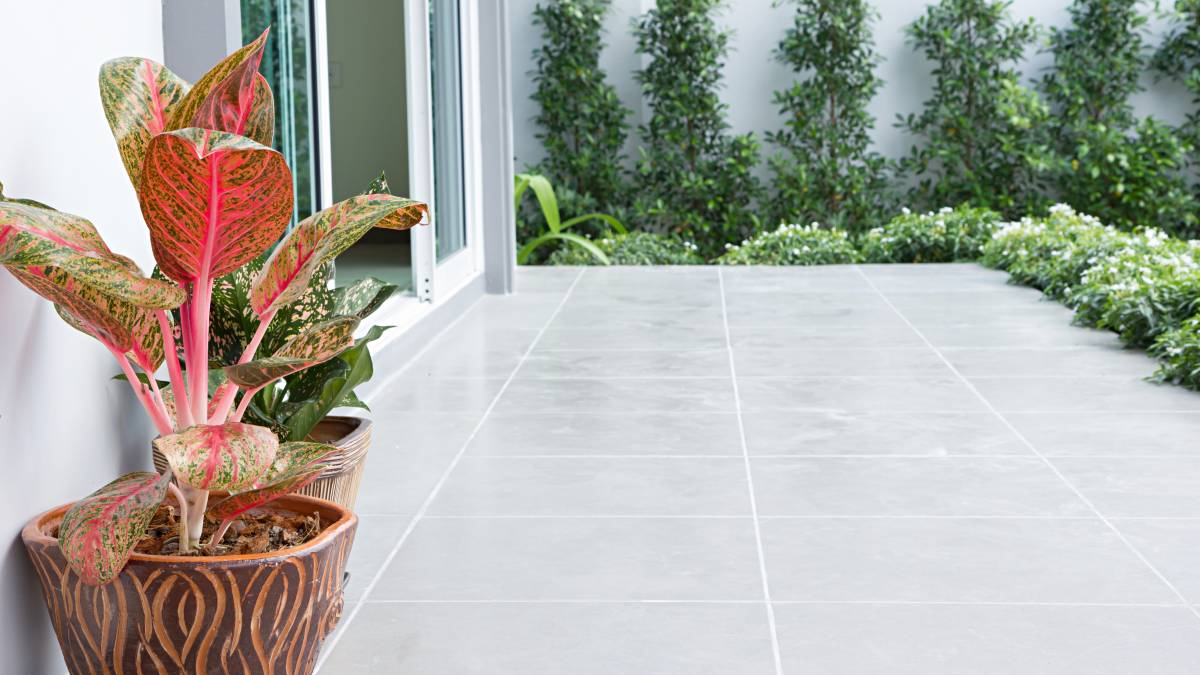
Wall tiles are a popular choice for wet areas of the home like the kitchen or bathroom, as they are not affected by moisture like wallpaper or paint can be. They are also a robust, stylish option that can increase the aesthetics and value of your home. Tiles also come in a lot of color and pattern options, so you can really flex your design muscles!
To achieve a professional-looking tiling result, follow the steps for how to tile a wall below and take control of the look in your home. These instructions apply for large projects, full rooms, and even just a small, feature splashback in the kitchen.
How to tile a wall: step by step
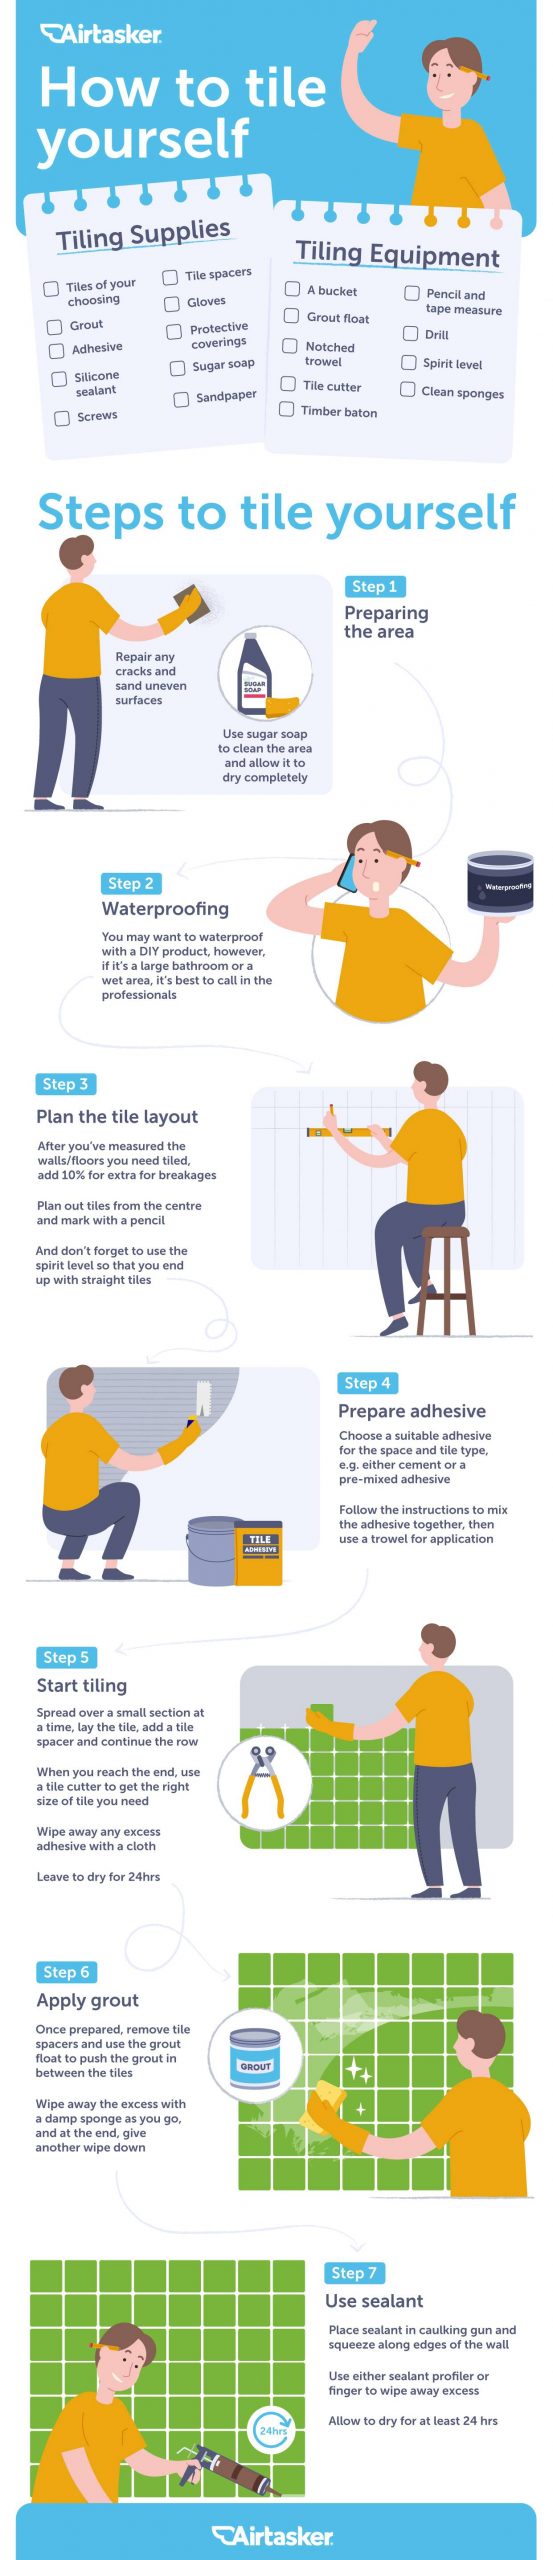
It’s always a great idea to have everything you need ready to go before starting a project like this. Here are the tools and supplies you will need to tile a wall:
- Tiles of your choosing
- Grout
- Adhesive
- Protective coverings
- A bucket
- Clean sponges
- Sugar soap
- Pencil and tape measure
- Spirit level
- Gloves
- Tile spacers
- Grout float
- Notched trowel
- Tile cutter
- Timber baton
- Screws
- Drill
- Silicone sealant and caulking gun
Steps to tile a wall
Step 1: Preparing the area
When learning how to tile a wall, the first step is to lay some protective covering on the floor to keep it safe. Look for any cracks that need repair. The surface you are about to tile should be flat, so sand away any lumps and bumps at this stage.
Use a clean, damp cloth to wipe down the wall you will be tiling, and it’s a good idea to run some sugar soap over the space as well. Let the wall dry completely before moving to the next step.
Step 2: Priming
Some tiles require you to prime the wall, and in wet areas, a specialist waterproofing product is a great idea.
Another element to consider is how much weight your wall can handle as tiles are quite heavy. If you need to strengthen the wall, you can use Hardiebacker boards to allow the wall to hold more weight.
Step 3: Preparing the tiles
Measure the wall height and width then multiply the two measurements to find the meter-squared value. This will give you an idea of how many tiles you’ll need (although it is always good to have extra to account for breakage).
Step 4: Marking the wall
Find your starting point by figuring out where the center of the wall is. Mark it with a pencil, then use a tile as a measure to mark the width and length of the tiles to get an idea of where they will lay. Always aim to have at least half a tile at the very bottom of your wall, and rearrange your pattern if necessary to ensure this is the case.
Find the pencil mark that is closest to the floor and use a spirit level to draw a line horizontally across the wall. Fix a timber baton to the surface as a guide to tile up from.
Step 5: Preparing the adhesive
Your chosen adhesive will have instructions for how to mix it. If you are using small tiles, a pre-mixed adhesive will likely be ok. If you are using larger ones, a cement-based adhesive that you mix yourself will be needed.
Mix the adhesive in a bucket according to the packet instructions and once mixed, apply the adhesive with a notched trowel. Hold the trowel at a 45-degree angle and spread the adhesive over the wall. Ensure an even coverage then make grooves in the adhesive in the same direction.
Pro tip: Only cover enough of the area that you can tile before the adhesive hardens. Aim for one square meter at a time.
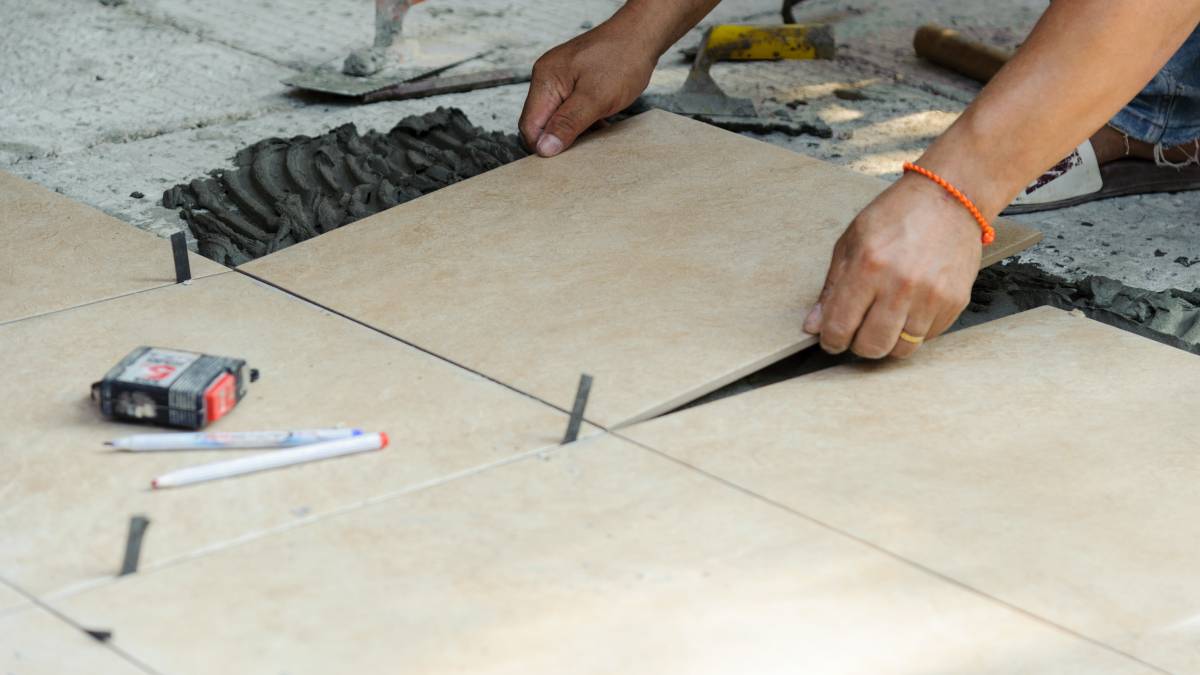
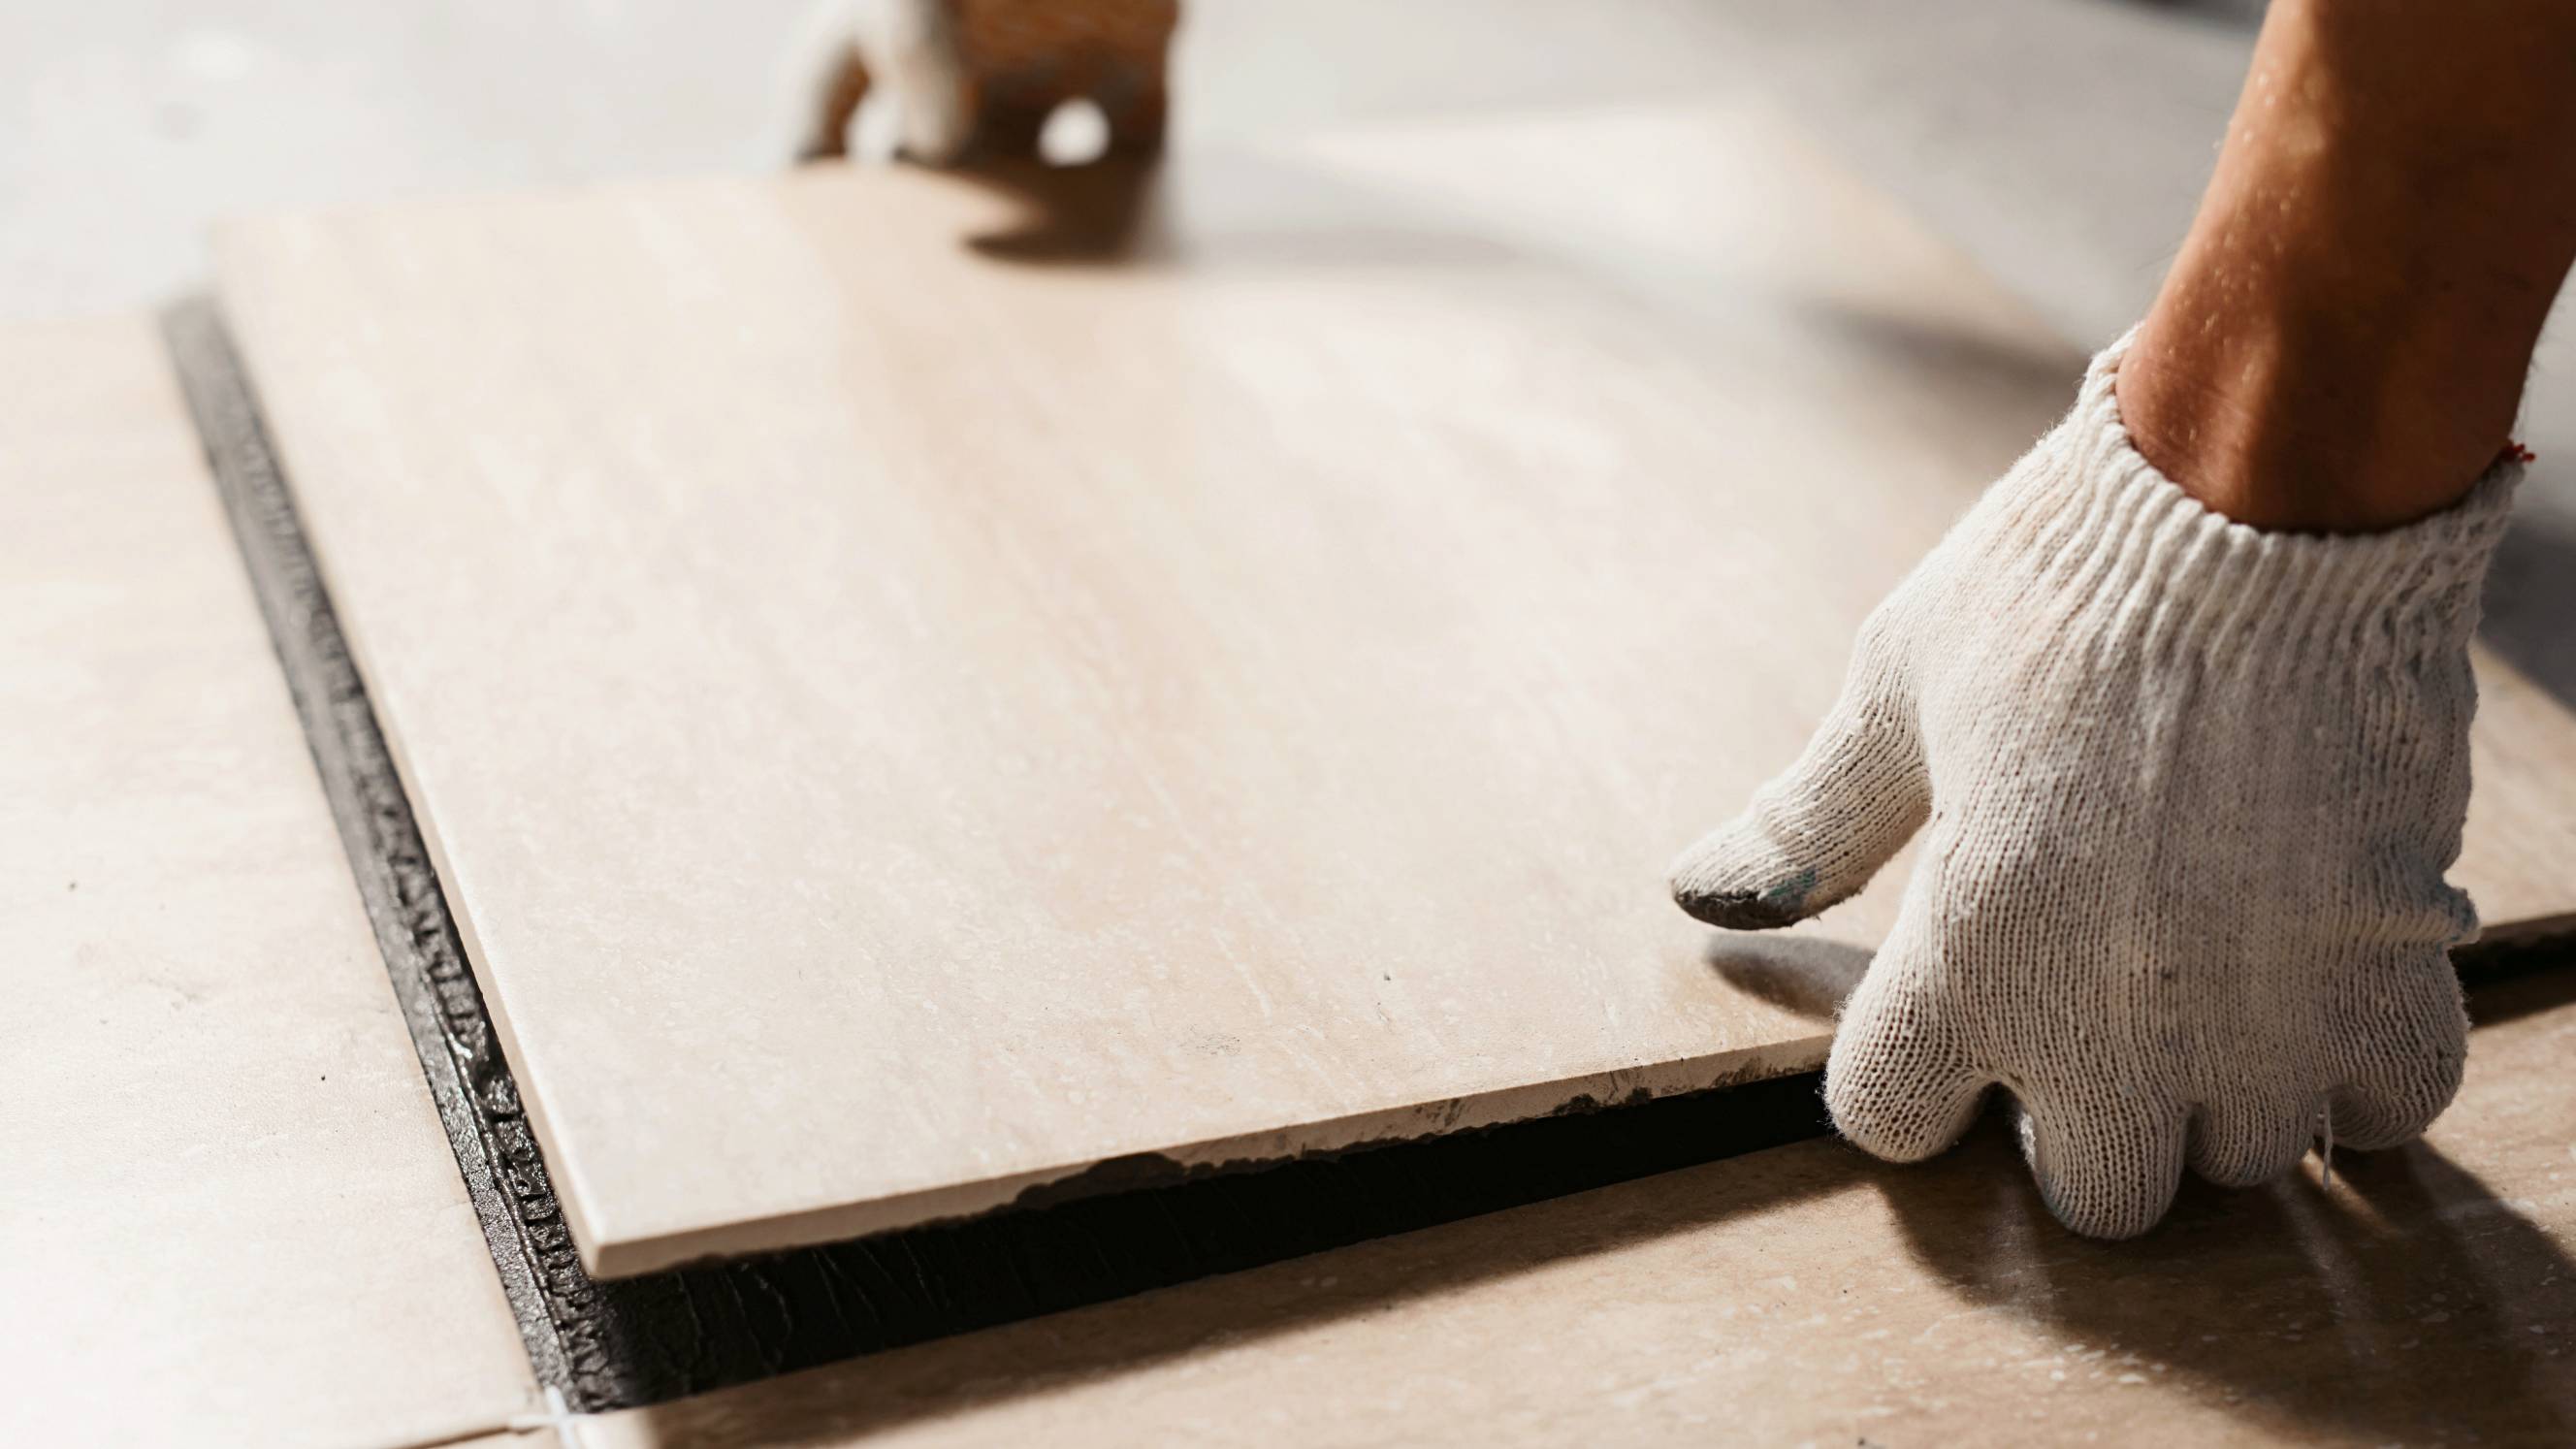
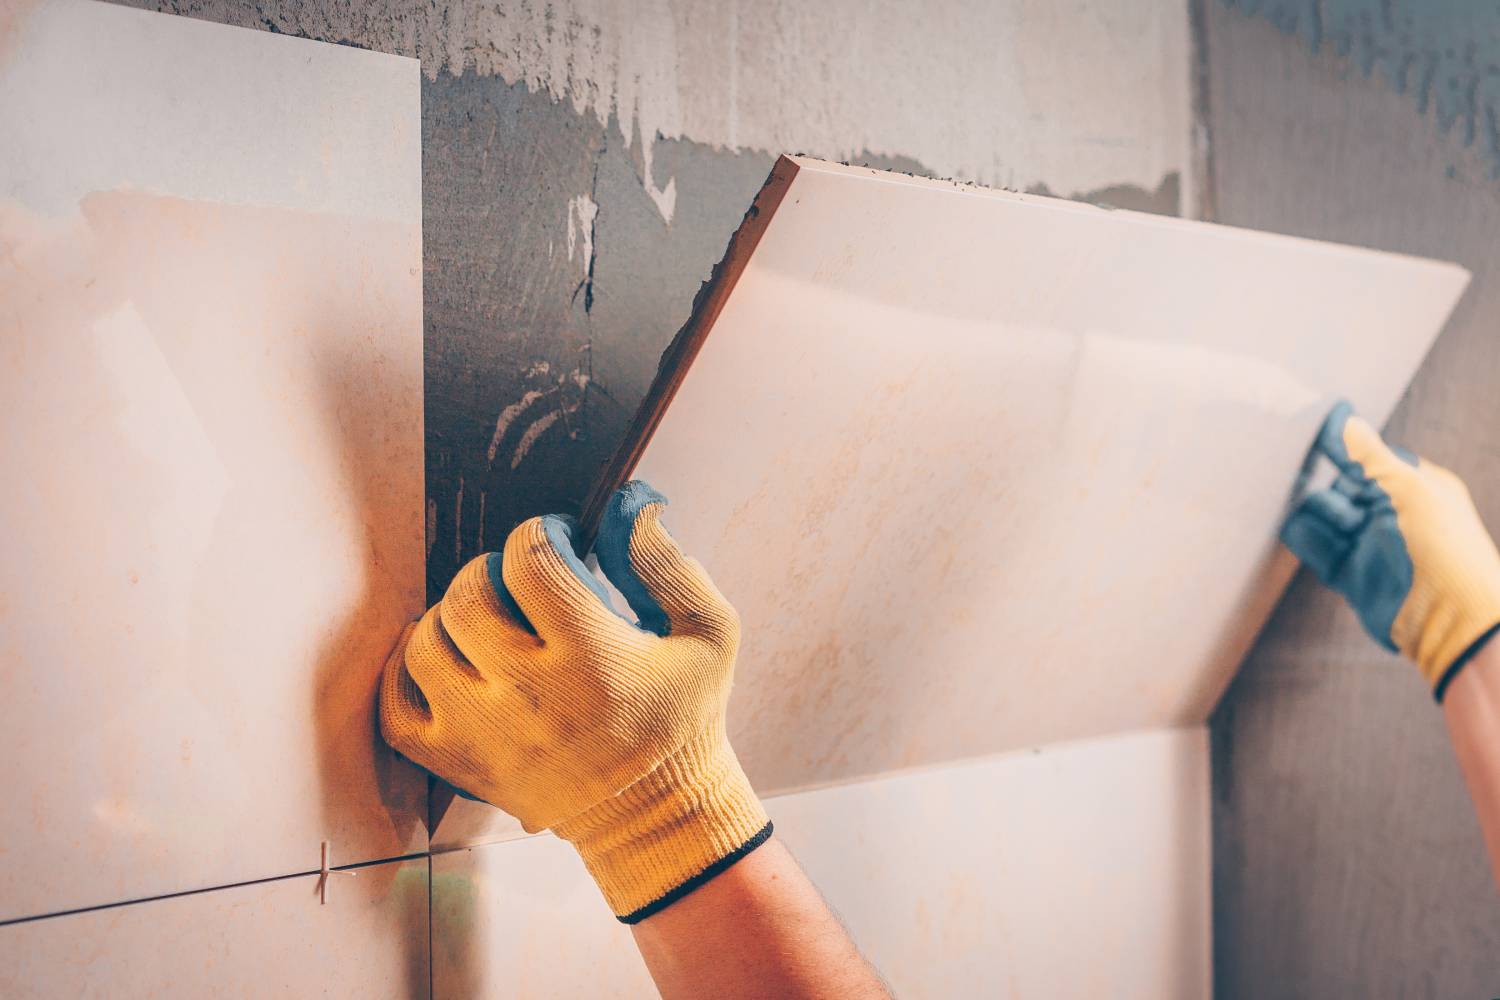
Step 6: Tiling the wall
Push the first tile gently onto the wall, twisting to ensure it sticks. Use a tile spacer on each edge and wipe away the excess adhesive with a cloth. Continue this action with the rest of the tiles until you’ve covered the whole area.
When you reach the edges, you’ll likely have to cut some tiles into the right shape. You can do this with:
- A manual cutter for straight cuts
- An electric cutter for thick tiles, right angles, or curved edges
- A tile scribe for thin tiles
Step 7: Drying time
Once you have secured the edge sections to the wall, wait for whatever amount of time the instructions for your adhesive state for drying times. When dry, remove the spacers and wipe away any excess adhesive.
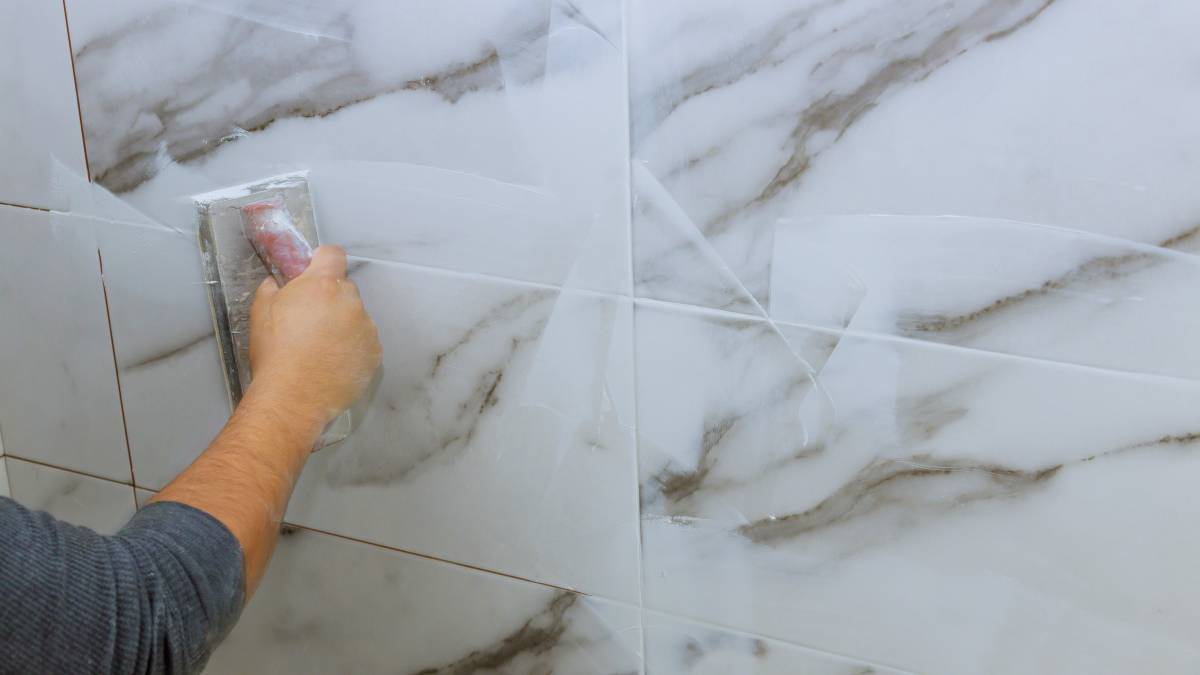
Step 8: Prepare the grout
Mix some water and the grout powder in a bucket in a small amount as this will set quickly. Use a grout float to push the grout into the spaces between your tiles. Wipe away the excess grout with a damp sponge.
After about an hour, you’ll need to wipe the wall again to get rid of any residue. At this point, you can use a grout profiler to smoothen all of the grout lines. The key is to make sure the grout does not get too wet throughout these steps as it may weaken the finished grout.
Step 9: Sealing
The wall tiling process’s final step requires you to use a silicone sealant to seal the edges. This will ensure a watertight finish keeping your wall, tiles, and grout safe.
Place the sealant in a caulking gun and squeeze it along the edges of the wall. You can also use a sealant profiler to take away any excess. If you just want to use your finger for this that is fine but make sure you are wearing gloves. Allow the sealant to dry for 24 hours before using the area or making it wet. At this point, you should be staring at a professionally tiled wall that you’ve done yourself!
Are you ready to tile a wall?
You now have all of the information you need for how to tile a wall and are ready to get to work. We are sure you’ll be very happy and accomplished upon completion, and find your new skills to be very handy.
If you are a little less confident or have decided that the steps above are too complicated or time-consuming for your schedule, there are tilers who are ready to help out. You can find specialists in splashback tiling, porcelain tile installation, terracotta tiling, and more.
If you have successfully completed the task yourself and are now hungry for more DIY tiling jobs to do around the home, move on to some of our other helpful blogs! You can find some inspiration for splashback ideas, step-by-step instructions for how to remove a tile floor, and a range of bathroom tile ideas for your next project. Need more specific step by steps for bathroom tiling?
Tiles are a robust option that can be timeless when the right design and pattern are chosen. Consider the look you want and research which patterns and layouts are available for your tile choices. Learning the skills around how to add them to your home properly is a very worthwhile use of your time, so get ready and tiling today!
Wall Tiling FAQs
You can find your starting point by figuring out where the centre of the wall is. Use a pencil to mark the spot then use one of the tiles you are about to lay as a measure to mark the width and length of where they will lay. Always aim to have at least half a tile at the very bottom of your wall, and rearrange your pattern if necessary to ensure this is the case.
Some tiles require you to prime the wall, and you will need to consider how much weight your wall can handle. Tiles are quite heavy, so if you need to strengthen the wall, you can use Hardiebacker boards to allow it to hold more weight. You will also require adhesive which you will apply with a notched trowel. Hold the trowel at a 45-degree angle and spread the adhesive over the wall. Ensure an even coverage then make grooves in the adhesive in the same direction before sticking your tiles into place.
Start by looking for any cracks that need repair in the wall. The goal is to ensure the surface you are about to tile is flat, so sand away any lumps and bumps if necessary. Use a clean, damp cloth to wipe down the wall with sugar soap and let the wall dry completely before tiling. Make sure you have everything you need for tiling on hand before moving on with the next steps as well.
Find tilers, fast
Find a tiler
Related articles
Related price guides