- Home/
- Guides/
- Hard Landscaping/
- How to Build a Retaining Wall
How to build a retaining wall
Last Updated on
Retaining walls are an excellent design addition to your garden and a problem solver. You can build a retaining wall if your garden has a slope to stop the uphill becoming a downhill. You can also make retaining walls to add to the architectural interest like building raised garden beds, terraces, and paths. The good news is, learning how to create a retaining wall is easy; follow our retaining wall ideas.
You can build a retaining wall using different materials and style to suit any garden, and since they are all DIY, you can make your dream wall for less.
Make a plan
Before you start building a retaining wall, you’ll need to come up with a design. If you anticipate your wall to be over a metre high, you need to get authorisation from the local council and hire an engineer to design and certify the wall. Once you get the design, gather the materials that you need.
Timber retaining wall
If timber is your preferred material for building a retaining wall, get treated pine sleepers or hardwood sleepers. These two types of timber offer excellent value for money.
1. Dig a trench
Use set-out paint or any other marker that you have to mark the area that you’re going to work on, then add a string line to guide you.
Start by digging at the bottom of the slope – this is the level base for the retaining wall.
Dig holes and insert vertical supports using the thicker sleepers. The vertical slopes should be at least 75mm thick. Once you dig the trench, clear an area, at least 500mm wide for the wall and drainage. Remember to break up any rock that you encounter when digging the channel to get a levelled base.
2. Lay the foundation row
After levelling the trench, lay the foundation row of timber.
When laying the timber, start at one end of the trench and put a 6X6 on the ground. Adjust the timber to keep it straight. You can use a hammer or a sledgehammer to make any adjustments and confirm that the timber is in line using a level.
Once the timber is in line, secure it in place using a piece of rebar driven straight into the soil.
Continue with the next piece of timber and install a row of foundation timbers. Check to ensure that the timber is level across the length.
3. Install the remaining rows
Space the supports every 1.5m for 3m long sleepers, and 1.2m for 2.4m long sleepers. Ideally, the horizontal sleepers should be 50mm thick. Lay the flat sleepers against the horizontal supports, check the level and secure them using a bolt. You can screw the sleepers from the front or back, but if you’re doing it from behind, be careful not to drive the screw out through the front.
Using a hand saw, cut off any excess timber to make the ends even.
Paint the walls to match your outdoor area or garden.
Concrete retaining wall
Interlocking blocks are great for a DIY retaining wall project because they don’t need mortar. The interlocking bricks come prefinished, and this means that once you lay them, you don’t have to do anything else to make them look good, saving you time and money.
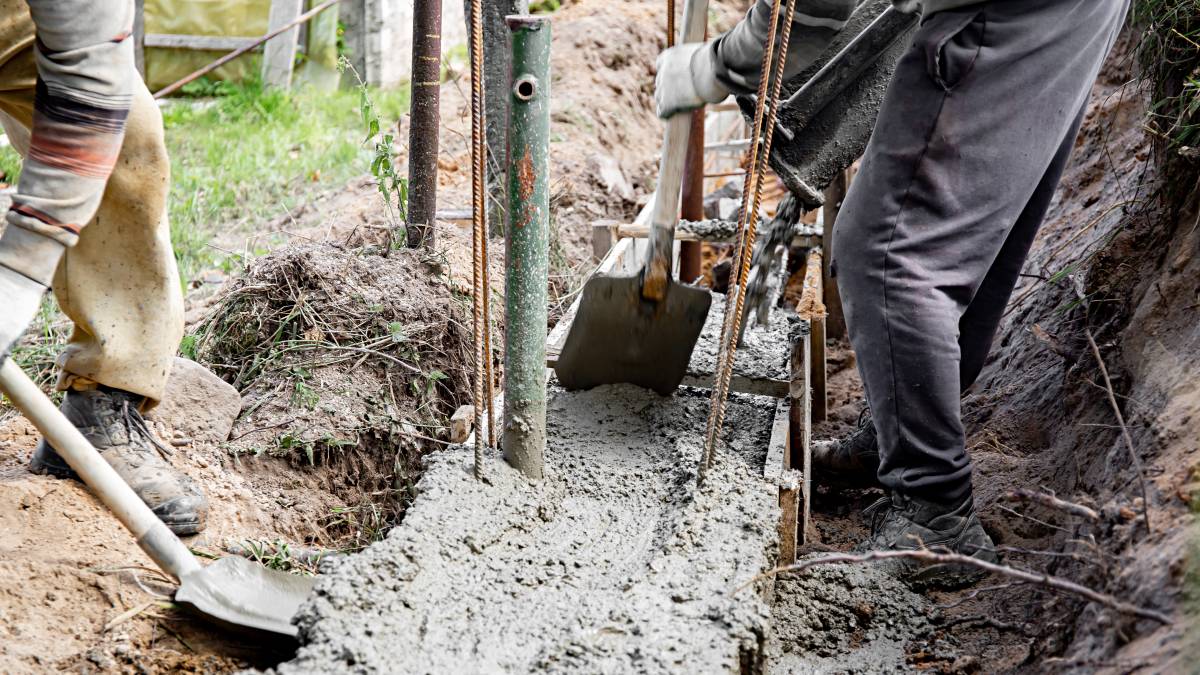
1. Prepare the foundation
After marking the area, start digging the trench. The first row of concrete blocks should be buried halfway, so you should take this into account when digging the trench.
If the trench slopes, you’ll have to create the steps using a torpedo level. Creating the steps is the best way to keep the wall level.
Compact the base of the trench using a ground tamper or a vibrating plate compactor. Many people make the mistake of downplaying this part but if the soil is loose, the wall will settle, and this will affect its stability.
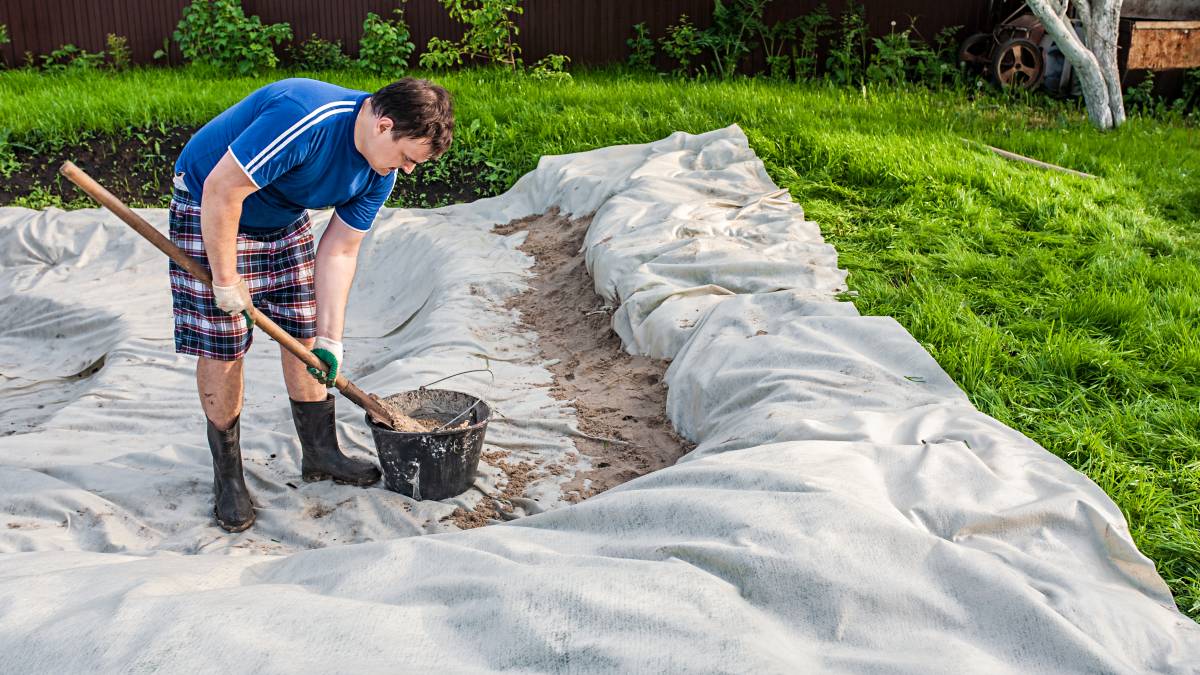
2. Lay crushed stone base
Always use crushed stone instead of gravel as the base of your concrete retaining wall.
Why crushed stone?
Crushed stone is expensive, but it’s the best material for your base. Crushed stone has sharp angles that interlock, this makes it easy to compact and when compacted, it stays that way. The crushed stone base also offers better drainage than gravel.
When laying the gravel, leave the stone not more than 0.01 metres over the final height. The stone levels up to the final height after compacting.
3. Laying the first course
After laying the first course of the concrete blocks, use a torpedo level to keep the course lined up. This is an important step, so take your time until you get it right. The first course should be at the centre of the trench.
4. Clean up
Make sure that there are no small pebbles or any other debris on the surface of the blocks to maintain the alignment. Any block that is not in line affects the block above it, and so on, causing an ugly bump at the top of the course.
5. Retain drainage
Retaining wall drainage is key to building a strong and long-lasting retaining wall. After laying a few rows, backfill the wall with the crushed stone until it matches the height of the wall then put a perforated drain tile on the rock.
Install a drain gate and drain tee fittings every 6m to 15 m depending on the amount of rainwater expected down the wall.
You need to cut one block down to find space for the drain gate and screw the parts together to keep the unit intact when you add more rock.
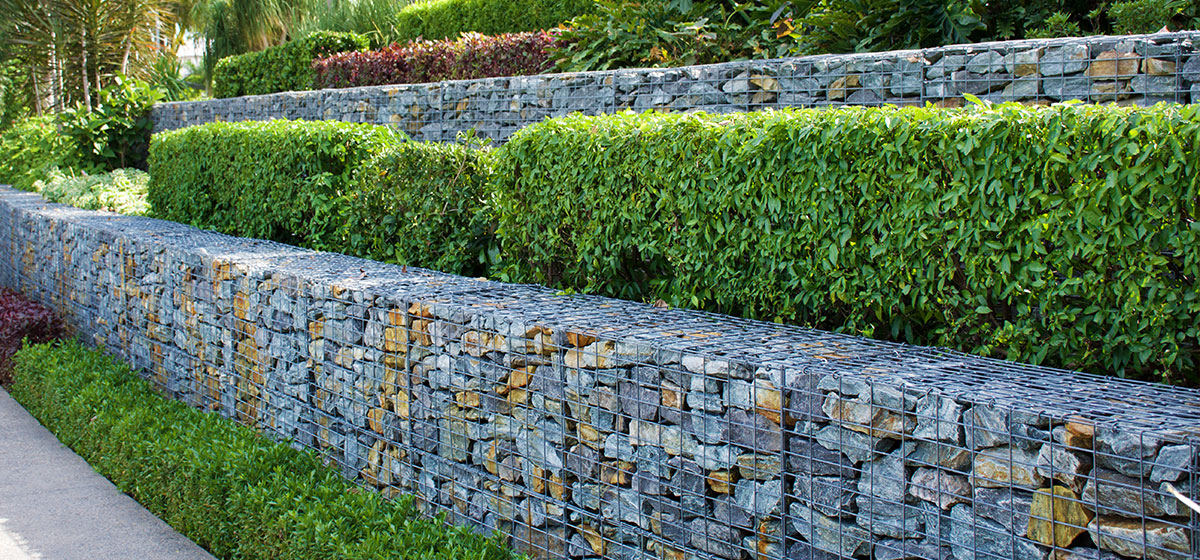
Natural retaining wall
If you want a natural looking retaining wall, use granite or sandstone instead of timber and blocks.
You need to prepare a base similar to a concrete block foundation and then move on to laying the bits of rocks together.
When building a sandstone or granite retaining wall, you need to find rocks that lock together. Once you lay the foundation, add mortar to hold the stones in place. Lay another bed of mortar between the rocks as you level up. Complete the walls by filling the joints at the front with more mortar. Wipe with a sponge or a soft cloth for a smooth finish.
You can also build a natural looking retaining wall using dry stack stone using the following steps:
- Set cornerstones at both sides of the granite steps and either end of the granite steps.
- Set the flat stones between the cornerstones and lay a tie-back stone every 1.5m for extra stability.
- Keep laying the flat stones up the wall until you get to your desired height.
- Confirm stability of the wall every few levels.
- Lay capstones as the final course to get a flat and smooth top.
Remember to toss the unwanted or leftover stones behind the wall and once you’re done building the wall, fill it up with gravel up to the top level. Add some mulch or lay some coloured stones on the top level to add to the beauty.
Call the experts
Learning how to build a retaining wall takes time and dedication. Building the actual wall also takes time, commitment, and energy, a lot of energy. You have to dig up a trench, pile up the stones, concrete blocks or timber, mix the mortar and fill up the back of the wall with rock and gravel. If you don’t call your mates to help you out, building a small retaining wall can last days or even weeks.
Whether you want to build a new retaining wall or repair an old one, you will find plenty of retaining wall experts near you. A retaining wall builder has the tools, skills, and expertise to build or repair a retaining wall and have your garden look amazing. You can get free quotes now from highly rated and trusted retaining wall experts.
FAQs on How to Build a Retaining Wall
The cost of building a retaining wall depends on many factors such as the type of material used, the size of the retaining wall, the qualifications of the builder and the rates in your area. A DIY project is cheaper because you get to build the wall yourself, but the wall might not be up to standards.
Natural stone is the cheapest material especially if you have it on site and it doesn’t need cutting, but it’s also the most expensive if it has to be cut.
Retaining walls that exceed a certain height must be designed by an engineer and approved by the local council. For example, in Queensland and Victoria, any wall over one metre must be approved. In NSW, you need authorisation if the wall is over 600mm, other places 800mm.
Find hard landscapers, fast
Find a hard landscaper
Related price guides
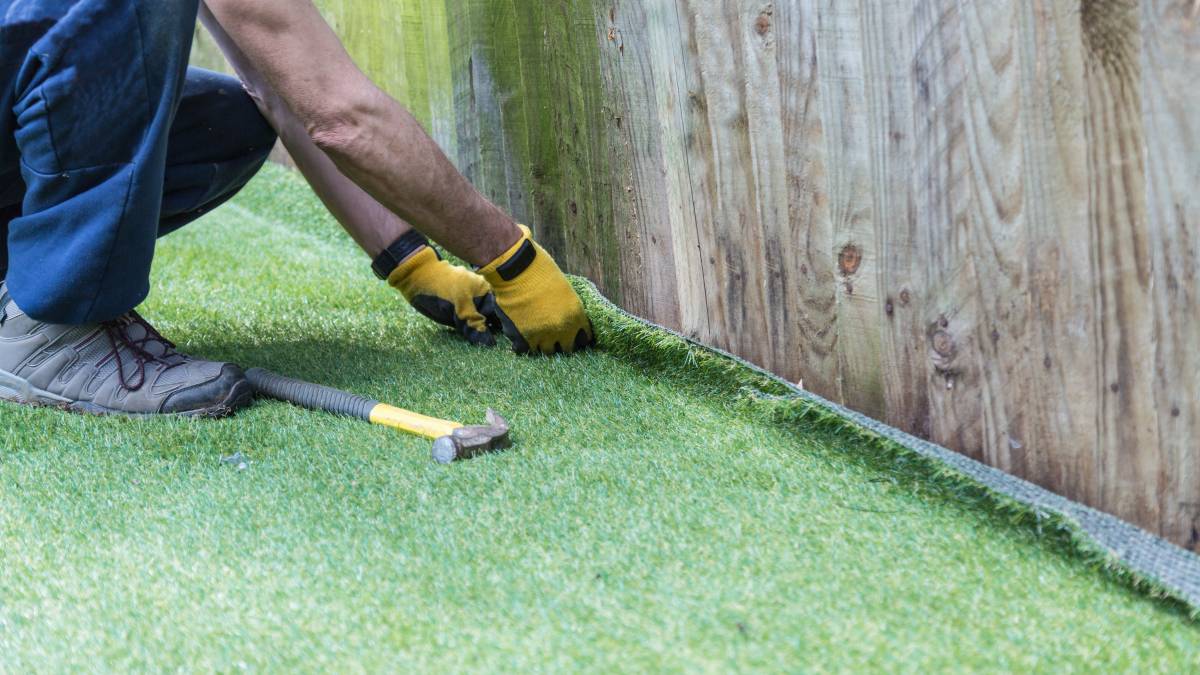
How much does artificial grass cost?
Read more
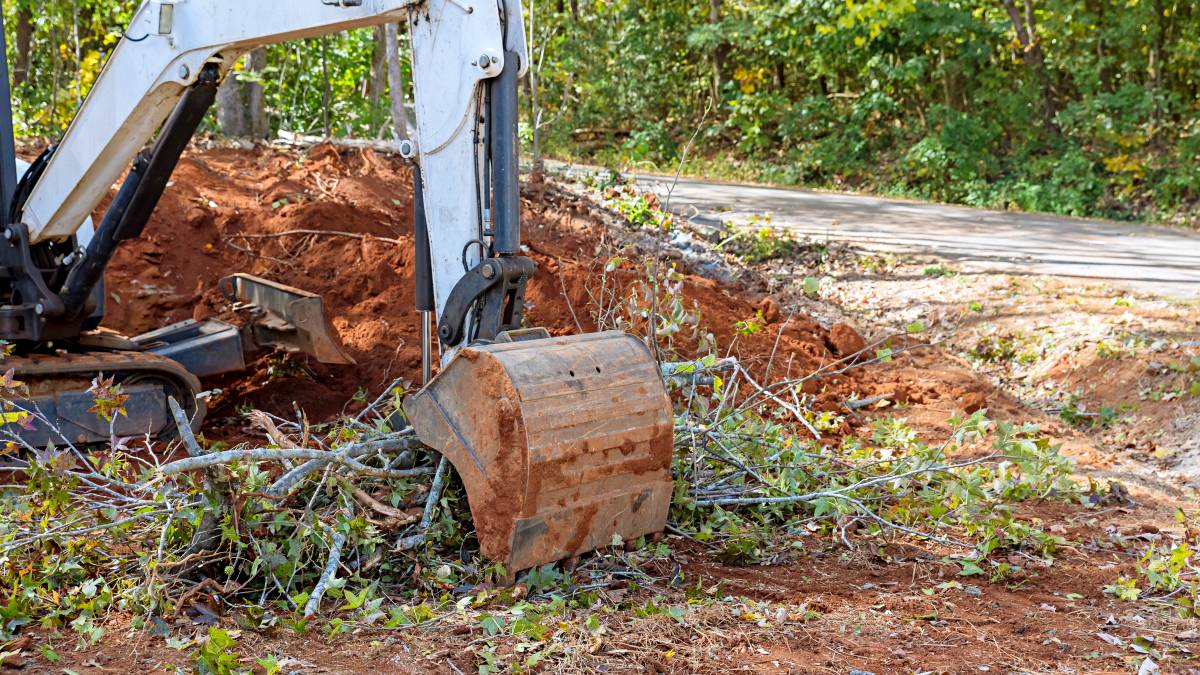
How much does it cost to clear land?
Read more
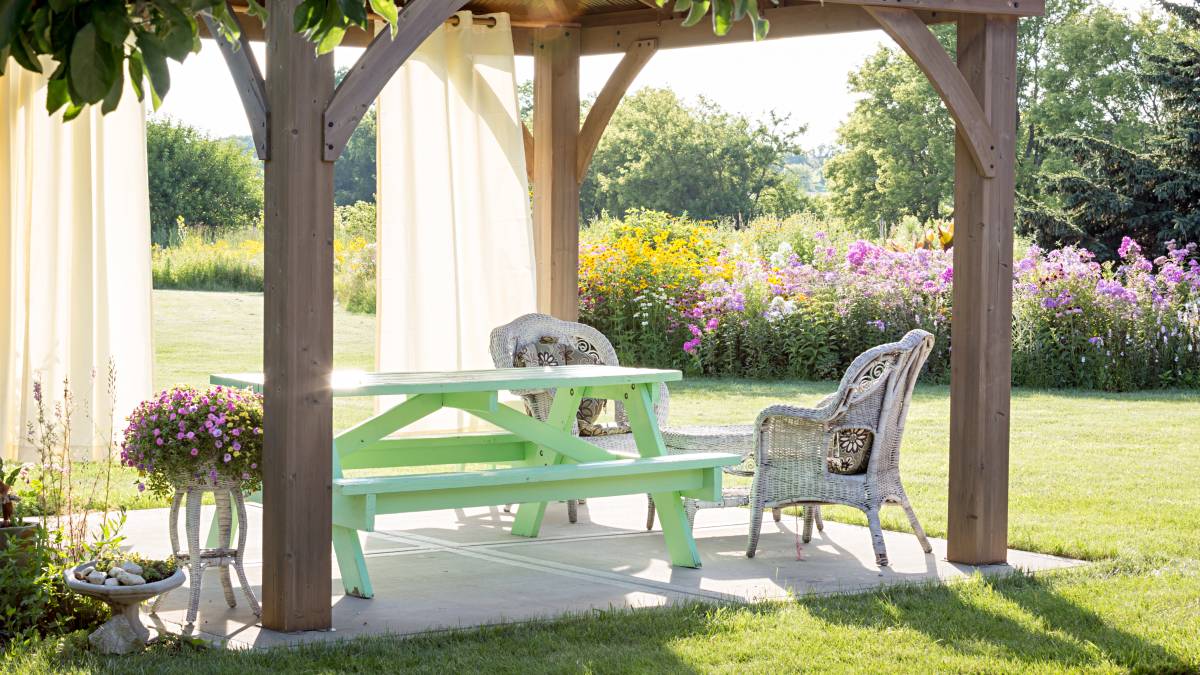
How much does landscaping cost?
Read more
How much does a retaining wall cost?
Read more
How much does a water feature cost?
Read more

Related articles