- Home/
- Guides/
- Pet Door Installation/
- How to Install a Pet Door
A quick guide on how to install a pet door
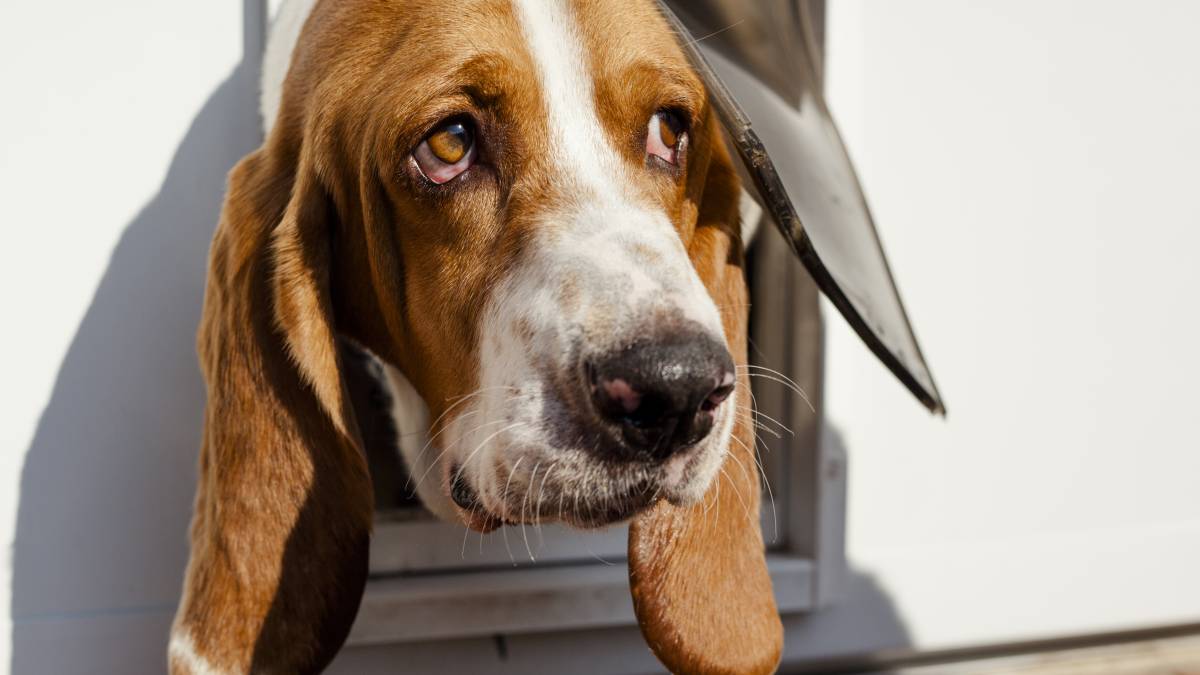
Give your pet more freedom with a pet flap!
Get help with the installationLast Updated on
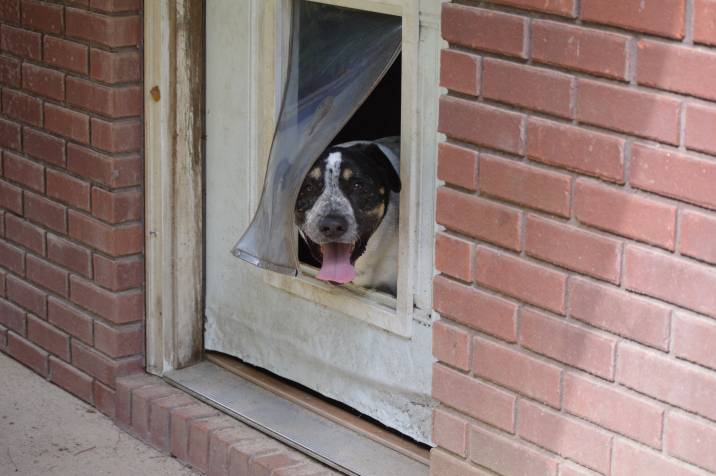
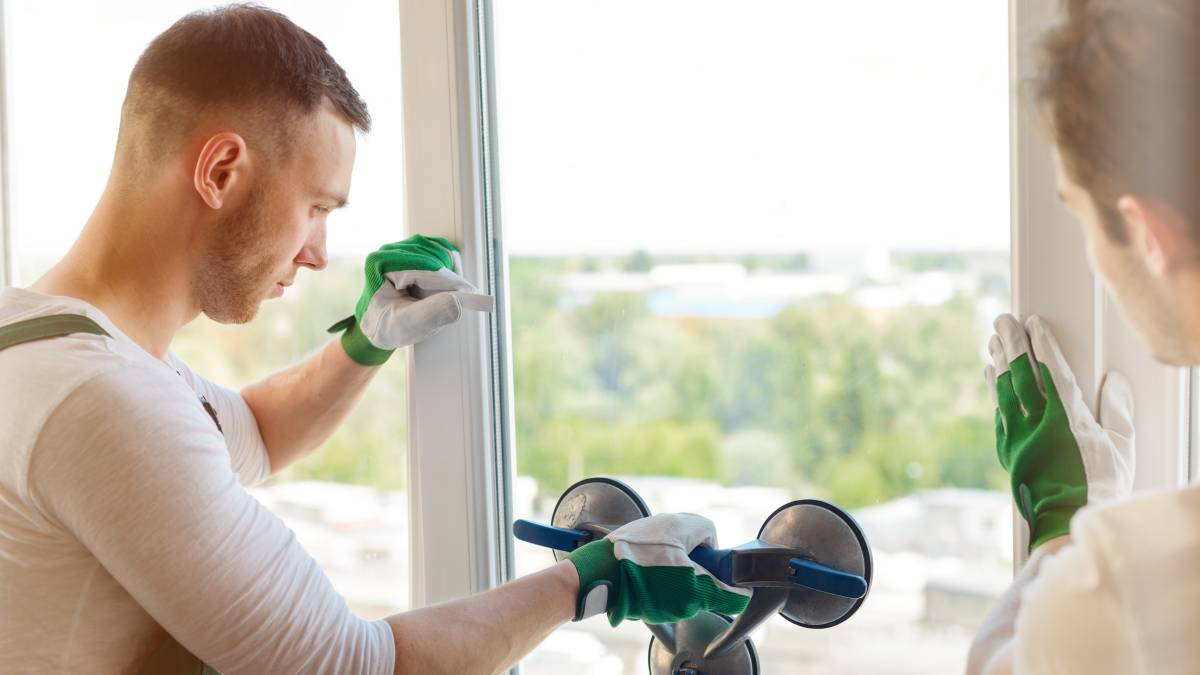
Do you find it inconvenient to let your pet in and out of your bedroom or home? One way to give your pets accessibility (and yourself a break) is to install a pet door in your house. These pet doors come in various materials and sizes and can be installed on different surfaces, so you can install a pet door in glass or even have a patio pet door.
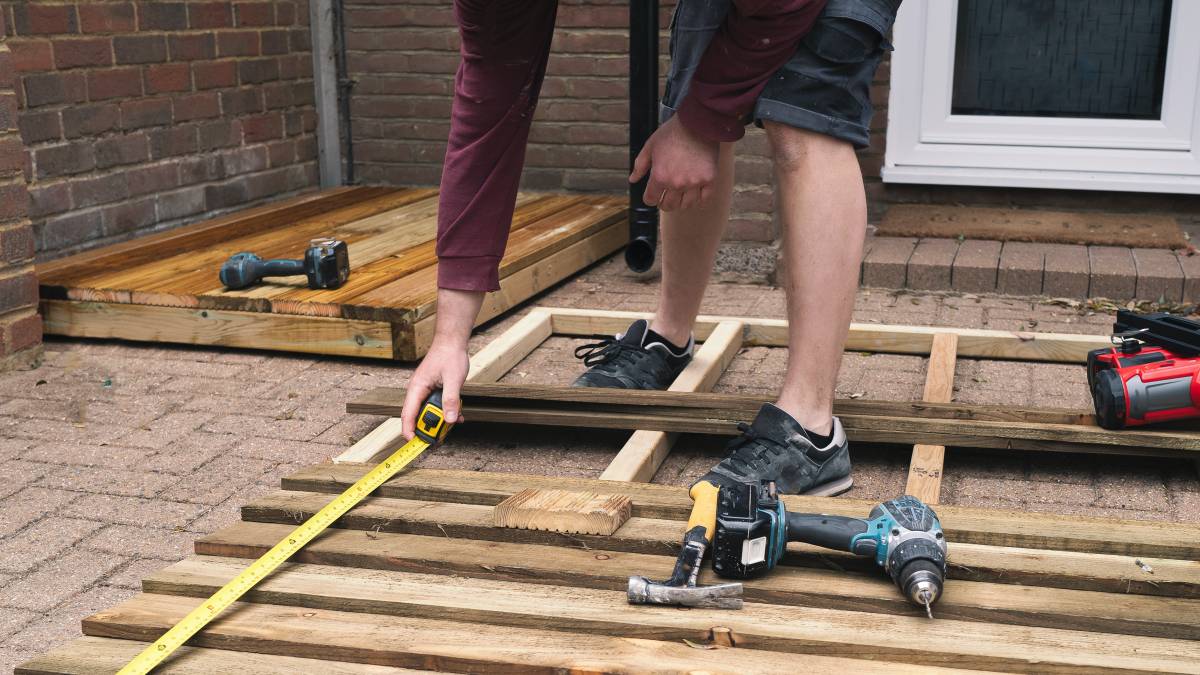
This is a project that you can do during the weekend. Learn how to install a pet door in our step-by-step guide!
What do I need to install a pet door?
Before you place the pet door, prepare the following tools and materials:
A pet door kit
Hammer
Saw
Drill
Screwdriver
Sandpaper or file
Pencil
Safety glasses and a dust mask
Pliers or shears
Measuring tape
Saw horse
Pet door installation tips and completion time
When choosing a pet door, consider the price, sizes and number of your pets. For example, if you have two pets of different sizes, it’s best to go with a door that suits the bigger pet but is easy enough to come through for the smaller one. This applies even if you’re installing a pet flap in exterior walls.
Also, consider the climate that you live in. This will be a crucial factor when deciding the material of the pet door you’re getting. Depending on where you live, you’ll need to pick a pet door that can withstand rain or snow, and extreme temperatures. The installation can take an hour to two hours, on average.
| Also read: A guide to installing a cat door for your feline friends |
Step-by-step guide to pet door installation
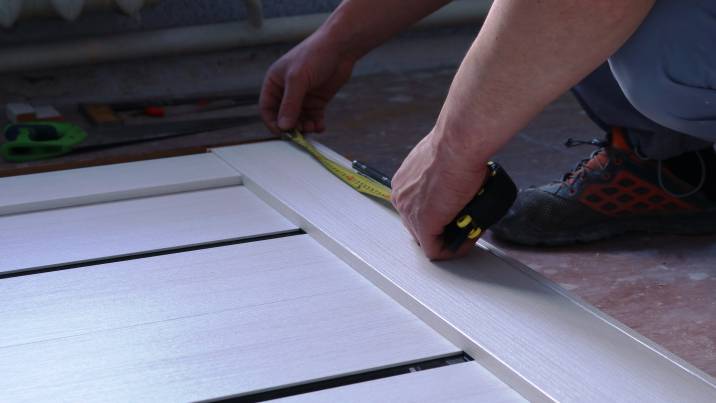
Step 1: Measure your pet

Pet doors come in different sizes and price points. Measuring your pet will help you find the right-sized door so that they can come in and out of your home easily.
To measure your furry friend, take out a measuring tape and measure its height and width. Give a 2-inch allowance for the measurements to allow for mobility. If you have more than two furry friends of different heights, measure the larger one for size!
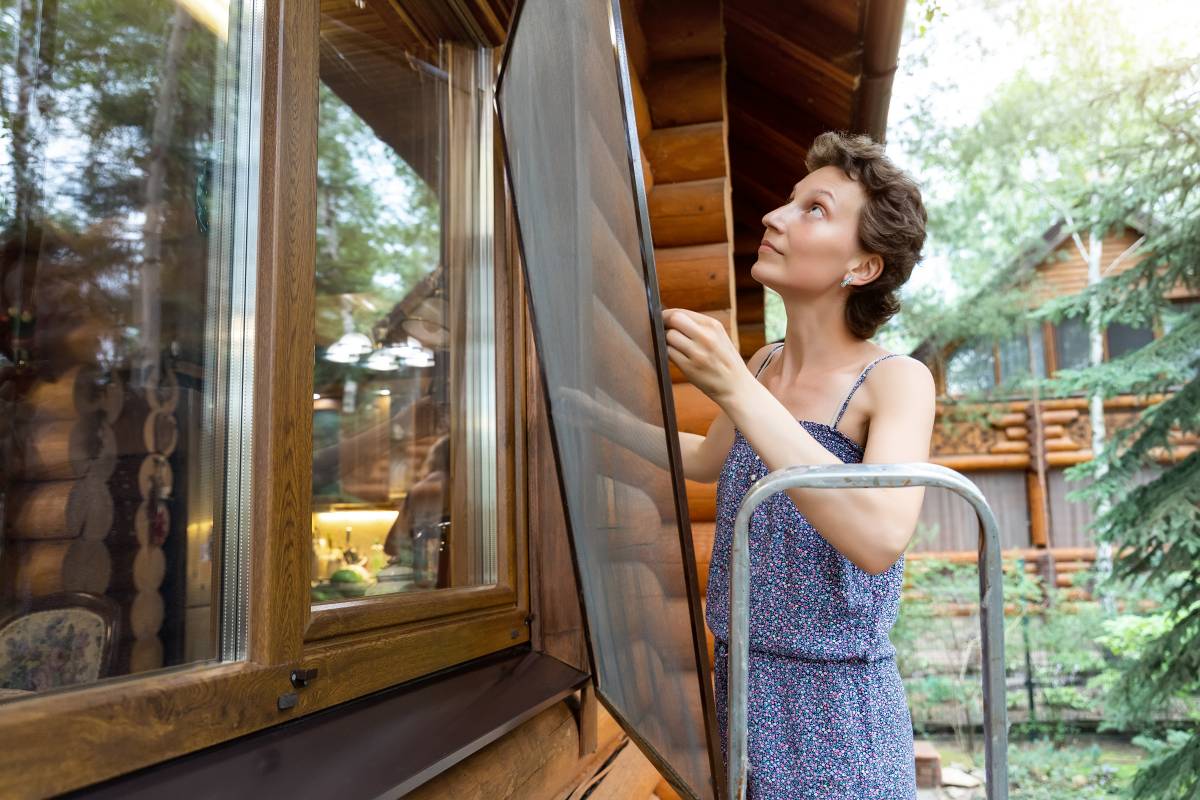
Step 2: Remove the door
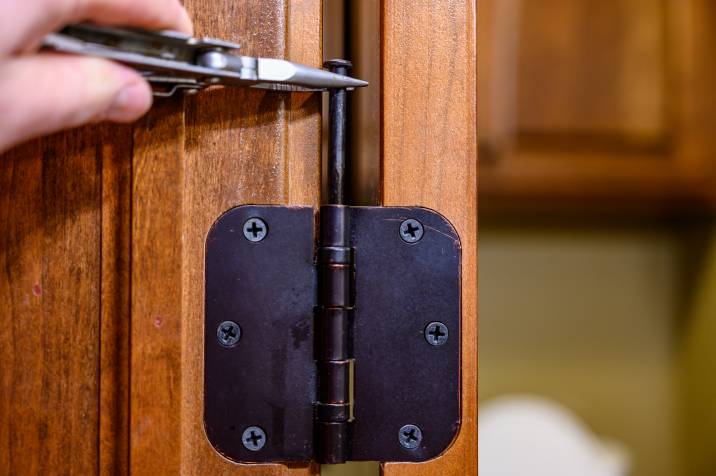 Removing the door where you intend to install the pet door will be easier because you’ll get to install the pet door as precisely as possible. It’ll also save your back by allowing you to work on the flap in a comfortable position.
Using a hammer and screwdriver, remove the hinge pins from your door. Lay the door across two sawhorses, with the interior side facing up.
Step 3: Mark where the pet door goes
Use your pet’s measurements to draw and measure the template. Place the template in your desired position on the door. Ensure that the template is level, with the lowest cutting mark at least three inches above the bottom edge of the door. If your pet door kit doesn’t come with a template, you can use the pet door frame as a guide to mark outside the frame.
Once you’re good with the placement, tape the template and draw around the frame. You can leave marks where you intend to drill holes in.
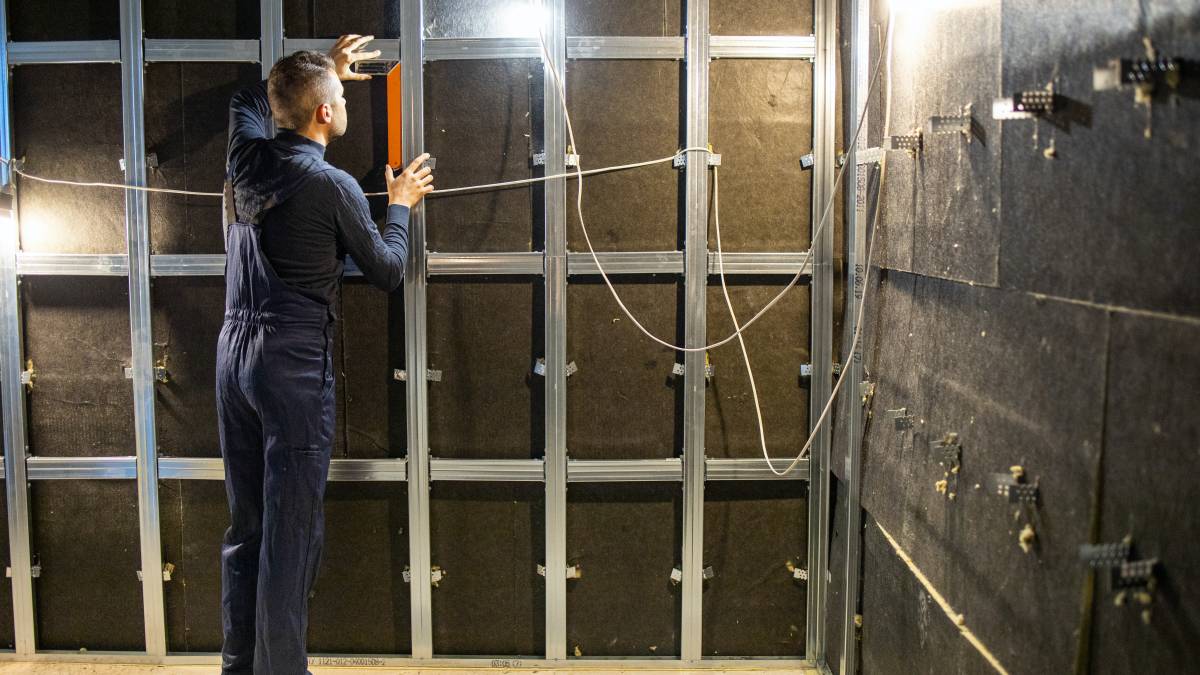
Step 4: Start drilling
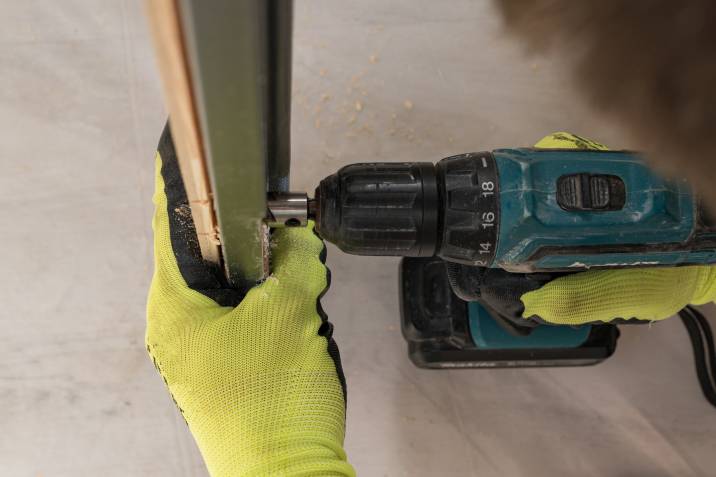
When handling tools like drills and saws, make sure to put on proper safety gear!
Use a drill to puncture a hole at each of the corners of the template marking. If the pet door is to be installed on a steel door, use a drill bit specifically used for metal.
Step 5: Cut out and smooth the edges 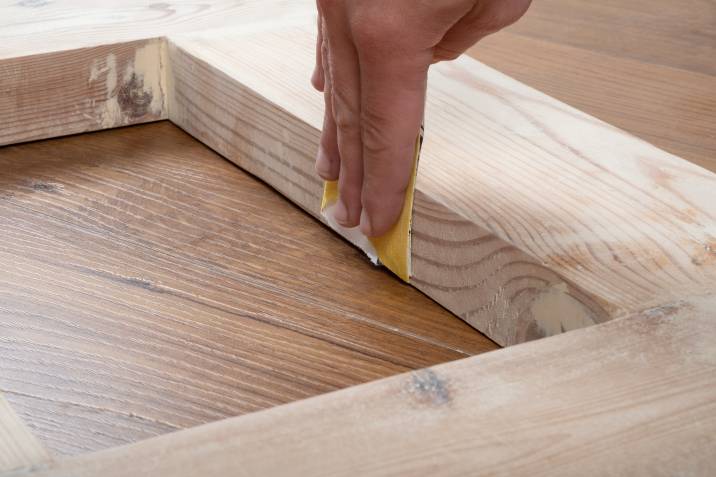
Insert the blade of the saw into one of the drilled corners. Then, carefully cut along the template or mark between each corner. Check if you have a compatible blade for the material you’re cutting. For instance, if the pet door is to be installed on a steel door, use a metal cutting blade. Finally, use sandpaper or a file to smooth out any rough edges on the hole.
Step 6: Test the pet door

Insert the interior frame of the pet door to check the fit. Test the fit by opening and closing the door and inspecting if the screws are tight. You can also have your furry friend go in and out of the door to see if the height is right for them. Then, make any adjustments as needed.
Step 7: Secure it in place
Once you’re happy with the adjustments, you can start mounting in the pet door and do the following steps:
Remove the interior frame and drill the holes for the mounting hardware following the manufacturer’s recommended bit size.
Make sure the hardware lines up with both sides of the frame by drilling holes perpendicular to the door.
After this, you can replace the interior frame. Depending on the door thickness, you may need to trim the core frames with pliers or cutters for a snug fit.
Hold the frame pieces together and place the fasteners.
For an airtight seal, use a weather-proof sealant to caulk around the exterior frame.
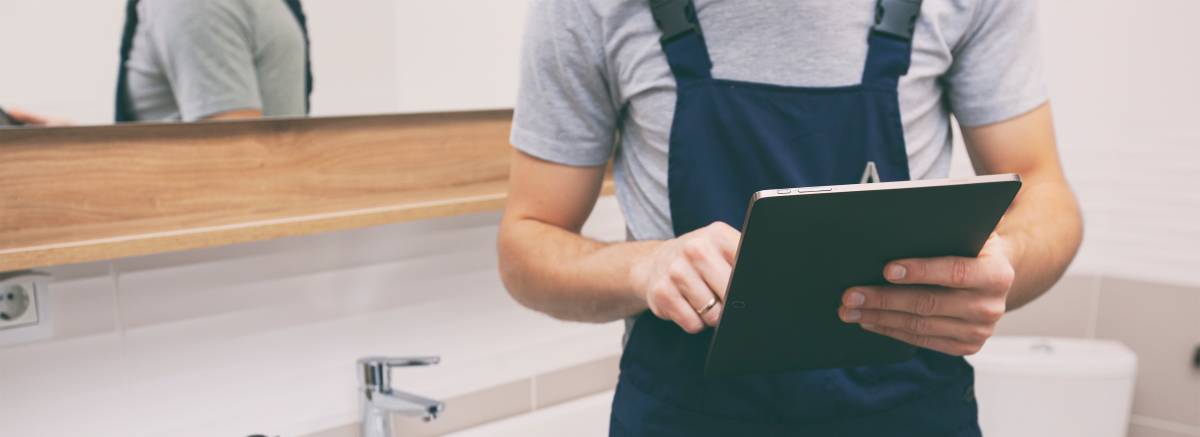
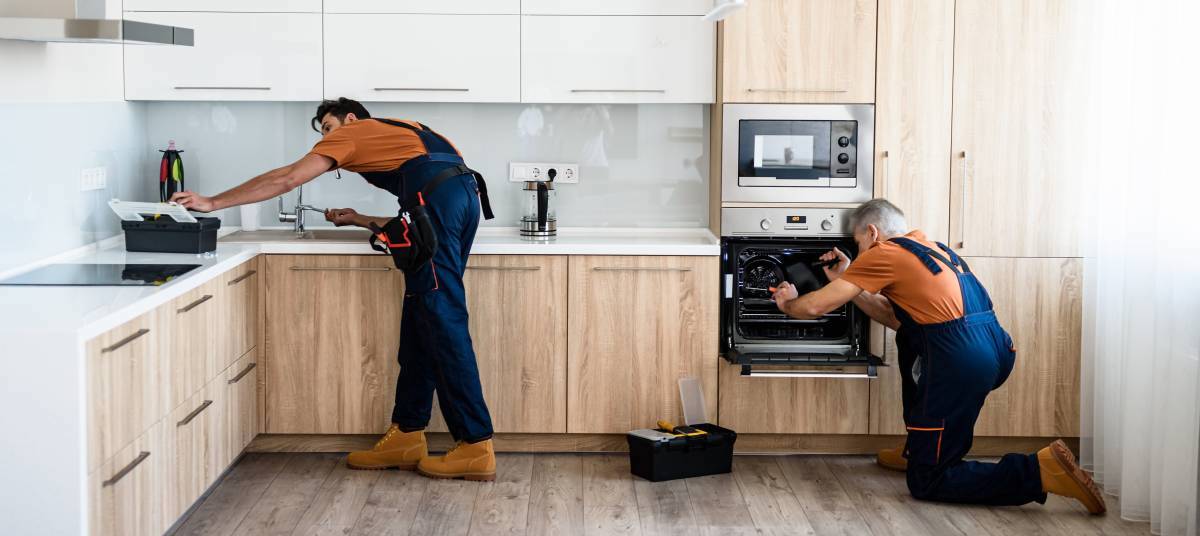
If you’re not 100% confident about DIY-ing this project, don’t hesitate to get in touch with a handyman to do the task.
Help your pet get in and out of the house with a pet door!
Putting a pet door is a simple yet handy way to give your furry companions the autonomy to do what they want at home. Pet doors allow them to have the mobility to move in and out of the house to do their business or simply run around the backyard.
Whether you have no time to install the pet door yourself or you need help with its placement, Airtasker has got your back! Hire an experienced Tasker for your pet door installation needs!
Find pet door installers, fast
Find a pet door installer
Frequently asked questions
Installing a pet door is a fairly easy DIY project. While the installation will vary by door style and brand, you’ll generally use the same tools.
Yes, you can! It’s a good first-time project for a beginner DIY-er because most of the tools are already ones you have, and it’s an easy project to do. However, it may be more challenging if you're installing a pet door in an exterior door.
The cost of installing a pet door will vary and will depend on the location and materials. Installing a pet door onto a wooden door starts at $48 if you do it yourself. Pet door installation costs can go between $75 to $150.
Depending on the material of the wall, like bricks, wood, or cement, attaching a pet door may require professional masonry tools such as a hammer drill and a reciprocating saw. You can choose to rent these out, or have pros do it for you.
Related articles
30 Eye-catching pantry door ideas
Read more


Related price guides
What are average handyman prices?
Read more
How much does treadmill repair cost?
Read more


Let's do this!
It's free and takes only a minute.