- Home/
- Guides/
- Turf Laying/
- How to Lay Turf
How to lay turf in your garden
Find a turf layerLast Updated on
When it comes to how to lay turf in your garden, it is possible to DIY all the way to a great-looking home lawn! There are a number of ways to create a new lawn for your home from sowing grass seed to planting small seedlings. These can take some time, patience and upkeep, however, so your third option is laying turf. This is the easiest way to create an almost-instant lawn.
If you opt for the simplest solution, there are still a few key details you need to keep in mind. Read on for the best DIY guide for how to lay turf with a step-by-step process for directions, as well as a few other essential factors such as what kind of turf to buy, tips for soil preparation, and more. Pay attention to all of this info and a stunning lawn for your home is easily achievable!
Things to consider when laying turf
The most critical rule when buying turf is the fact that you need to lay it as soon as possible. The rolls should not dry out, so you’ll want to have it delivered when you are ready to lay it, preferably on the day of delivery so you can water it straight away. If your turf dries out because it has been left in the sun, it is unlikely that it will survive after installation.
if you are purchasing your turf online, and therefore unable to view it beforehand, pay attention to information such as:
- Winter colour
- Shade tolerance
- Injury recovery
- Drought tolerance
- Species
- Wear resistance
- Salt tolerance
- Mowing height
These factors are all suited to different climates, soil quality, and locations. That along with the info above will determine the best turf for your area. You’ll need to do a little research to find the best types based on your location, as that is a whole other article unto itself!
Turf is usually sold by the square metre, and it is recommended that you add 10-15% to your yard measurements to allow for contingencies. When dealing with a square or rectangular yeard, you can multiply the length by width. In the case of circular areas, multiply the radius by itself and then multiply by 3.14. Triangular yards can multiply the height by the base width then divide that figure by two.
The cost of your turf will vary based on quality, and you will save a fair amount of money if you are handling the preparation of the area and laying yourself. In Australia, the most common turf varieties include:
- Matilda
- Sir Walter
- Sapphire
- Windsor Green Couch
- CT2 Sports Couch
How to lay turf, step by step
- Soil preparation
- Laying the turf
- Rolling the turf
Step 1: Soil preparation
Possibly the most important of all steps! Australian soil is really not that ideal for growing grass, often due to the fact that it has a lot of compacted clay, making it hard for water to get to the roots. You’ve probably noticed that it is excellent for growing weeds but not a healthy green lawn.
Soil preparation helps to prime the conditions and rectify the things that prevent you from acquiring a happy lawn. Ideally, your lawn starts with a sandy loam with a pH of 5.0 to 7.0. To reach this number, you can add lime which will improve the soil quality. If your pH is too high, use gypsum or sulphur.
Make sure you eliminate all existing weeds, and if necessary, use a non-residual glyphosate weedkiller to ensure they are truly gone. From here, remove the dead surface and turn over the soil to a depth of 15cm. Rake and water the area, ensuring is free of rocks and debris while making it as level as possible. Apply a pre-planting lawn starter fertiliser. There will likely be a specific kind recommended for whichever turf you decide to go with.
Your turf will likely be around 25mm thick, and you should aim to have it sit a little bit higher than any surrounding paths or edges. Your soil levelling is a crucial step, and the key to ensuring your outcome looks like it was handled by a professional.
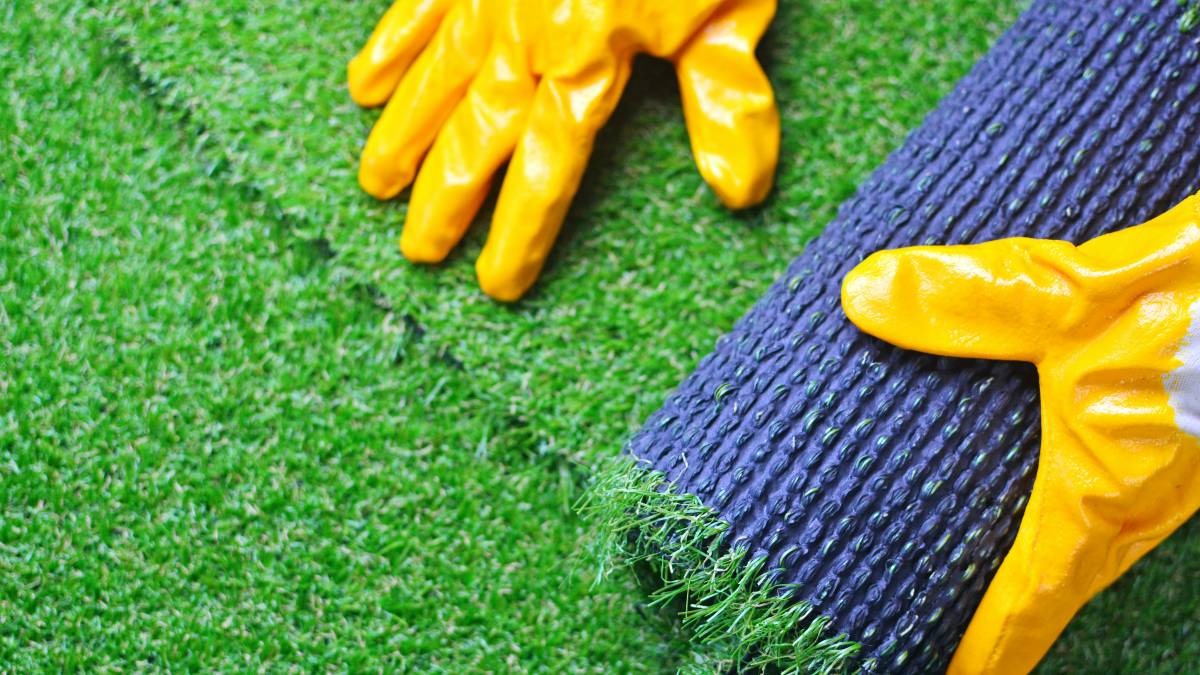
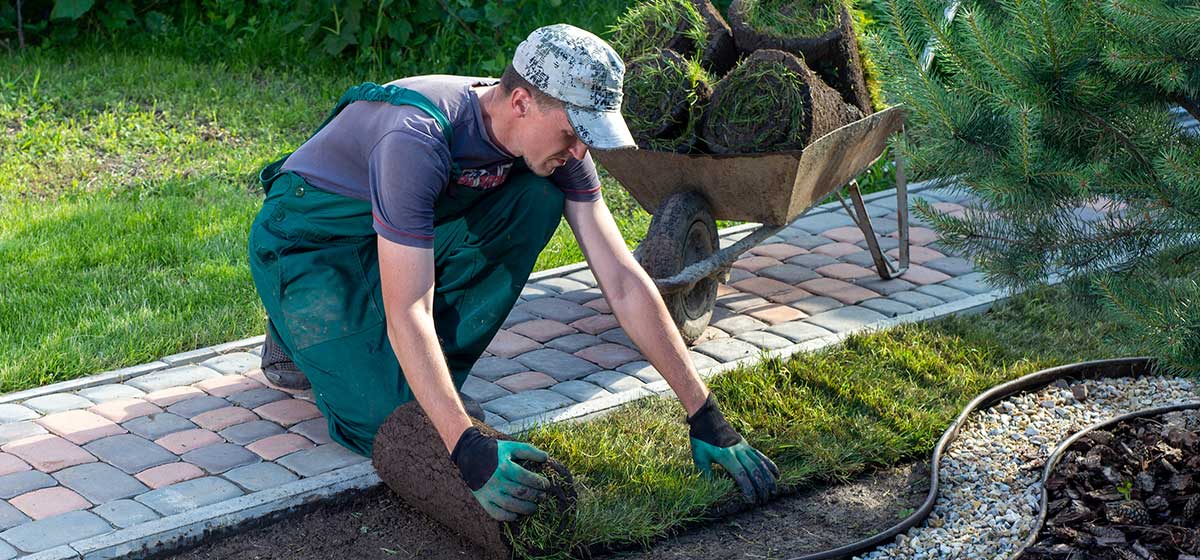
Step 2: Laying the turf
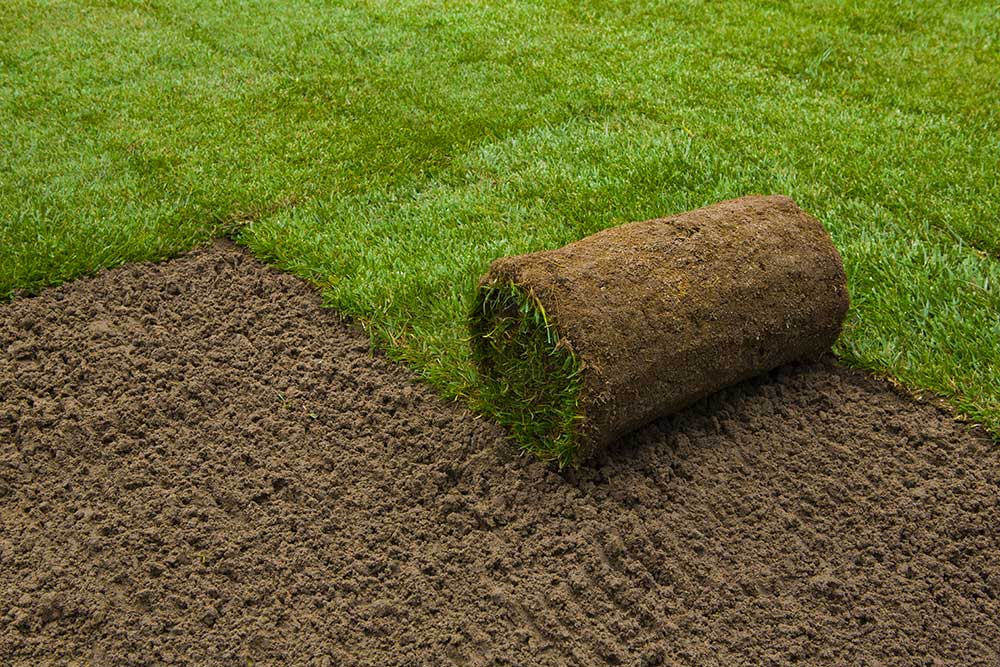
When your turf arrives, it will either be in rolls or slabs. Lightly water your pre-prepared soil the lay your turf in a staggered brickwork pattern, so the ends are not aligned. Ensure the strips are pushed firmly together but not overlapping. You will want to make sure there are no gaps and try to avoid kneeling on the turf while you lay it.
Start at the outer edges of your area, working towards the centre. If you need to cut your turf to size it, be sure that you are using a sharp knife or secateurs. If the ground you are laying the turf on has a slope, plant across it so that water will not wash away the soil underneath by getting between your slabs.
It is vitally important that you water the turf straight away once you have laid it. This will activate the fertiliser and prevent your new grass from drying out. Saturate the grass and soil underneath, don’t be shy!
Step 3: Rolling the turf
The final step is rolling your new turf to even out any small bumps. This action will firm down your turf, and squeeze out air pockets while bonding the roots to the soil. To do this, use a lawn roller with spikes for aeration.
Water your new turf every day for the first four weeks to help the roots to settle. If your turf dries out, it will die, and everything you have done up to this point will be for nothing. Regular watering and as little walking on the area as possible for the first month gives your new turf the best chance to get a great start and last a significant amount of time. Once the roots take hold, you can reduce the frequency of watering.

Need a little help in your garden?
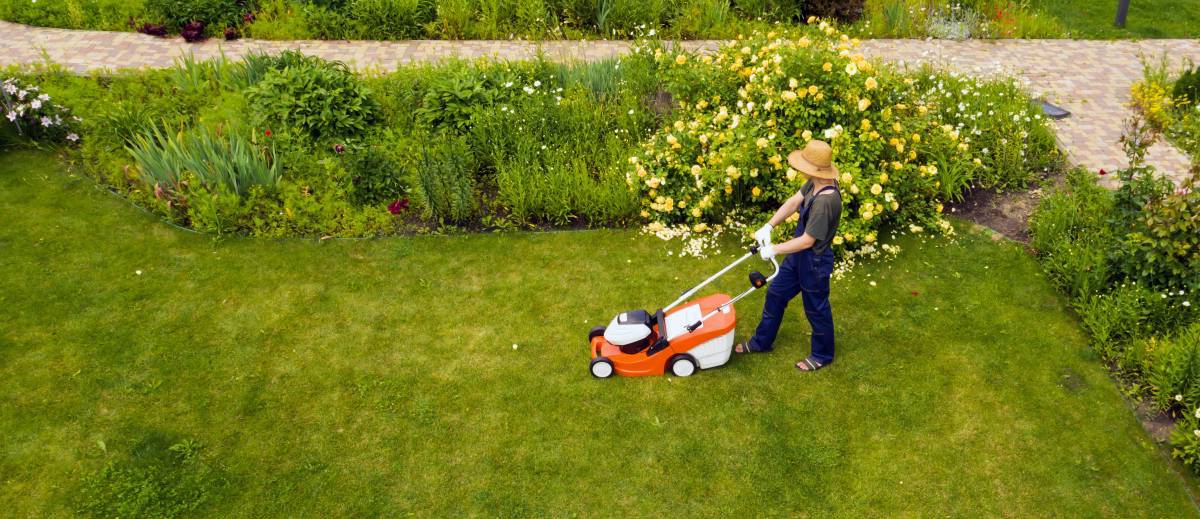
As you can see, learning how to lay turf really isn’t as daunting as it first may have seemed. That being said, sometimes our schedules simply do not allow us the time needed to get the job done ourselves. Luckily, there are plenty of skilled taskers available to help with all kinds of garden tasks from lawn mowing, to lawn care and fertilisation.
When it comes to your turf, you’ll find a host of people who can lay new turf, or repair your old turf. You can also find people ready to help improve the look of your garden with lawn aeration and seeding!
Turf Laying FAQs
Soil preparation is the most critical step when it comes to laying turf. You need to aim for soil with a pH of 5.0 to 7.0, to achieve this add lime to increase your pH or use gypsum or sulphur to reduce it. Eliminate all existing weeds with a non-residual glyphosate weedkiller and clear any rocks or debris. Rake and water the soil and apply a pre-planting lawn starter fertiliser.
If your goal is an amazing and healthy-looking garden, but you do not have the time (or patience) to sow grass seeds and foster their growth, turf is a great way to achieve a near-instant garden. You can choose the right kind of turf for your environment, which will help it to grow into a healthy lawn which you will be able to enjoy with low maintenance for years to come. Aim for the months of Spring as too much heat can make it harder for your turf to settle in. This is why you should avoid Summer and pick the climate during which foliage is flourishing, giving your root system its best chance of establishment.
When it comes to laying turf, you’ll want to avoid laying your slabs the same way. Use a staggered brickwork pattern, making sure the ends are not aligned. You’ll want all of your strips to be pushed firmly together but not overlapping. If the ground you are laying the turf on is sloped, lay your slabs across it as this will allow water to run in a way that won’t degrade the soil underneath. From here, make sure there are no gaps and try to avoid kneeling on the turf while you lay it.
The ideal weather conditions for the successful laying of turf occur in Spring. The reason for this being that these months are when all foliage is flourishing which will allow your turf better conditions in which to establish a deep-root system, positioning it well to handle the upcoming heat of summer.
Find turf layers, fast
Find a turf layer
Related articles
Related cost guides

How much does lawn care cost?
Read more