- Home/
- Guides/
- Door Hanging/
- How to hang a door in your home by yourself
Learn how to hang a door in your home
Find a door hanging contractorLast Updated on
When it comes to how to hang a door, there is a level of finesse required to ensure it closes flush and swings the way you need it to. So if there’s one to be careful with, it’s to take your time. You’ll want to get it right initially, as it will save you a significant amount of time fixing issues after the fact.
Learning how to hang a door by yourself is relatively simple once you understand the potential problems that can pop up. The following instructions will work for internal and external situations, so whether you are figuring out how to hang a front door or how to hang a barn door, you’ll be all set. They are also relevant for learning how to hang a door in an existing frame.
The tools you will need to hang a door
Before you start, it is important to ensure you have all of the right tools, which will include:
Equipment to hang a door
- A pencil
- Tape measure
- Combination square
- A hammer or mallet
- An 18mm / 3/4” or 25mm / 1” and 10mm / 3/8” chisel set
- Smoothing plane
- Marking gauge
- Cordless drill with wood drill (twist) bits and screwdriver bits
- Saddle and block
As with any task, preparation is key. It is a good idea to ensure that you have sharp chisels as this will make for a more straightforward and more definitive cut, saving you potential sanding to ensure a clean groove. And don’t forget to charge your cordless drill!
Step-by-step for how to hang a door
1. Prepare the door frame
Assuming your door lining is square, use a chisel to scrape any large lumps. You’ll also want to get rid of old door stops to ensure the area is clean. If you are working with an exterior door frame, you may just need to rebate the bottom of the door.
Set your combination square to the same thickness as the edge of the door (often 35 or 44mm) and mark a line in from the face of the lining about three inches down from the top and up from the floor. You can tap a nail halfway in on each line to keep the door flush with the frame.
2. Place the door in the lining
Put the door in the lining, making sure that the lock block is on the side of the handle (if applicable) and raise the door using a wooden wedge leaving a 2/3mm gap at the top.
3. Mark the hinges
Mark a precise line with your pencil on the lining and door about 150mm down from the top and 230mm up from the bottom. If you are dealing with a heavy exterior door, keep in mind that it may require a third hinge in the center to handle the extra weight.
Once the hinge positions are marked, wedge the door hinge side up and ensure all the pencil lines match up with the combination square.
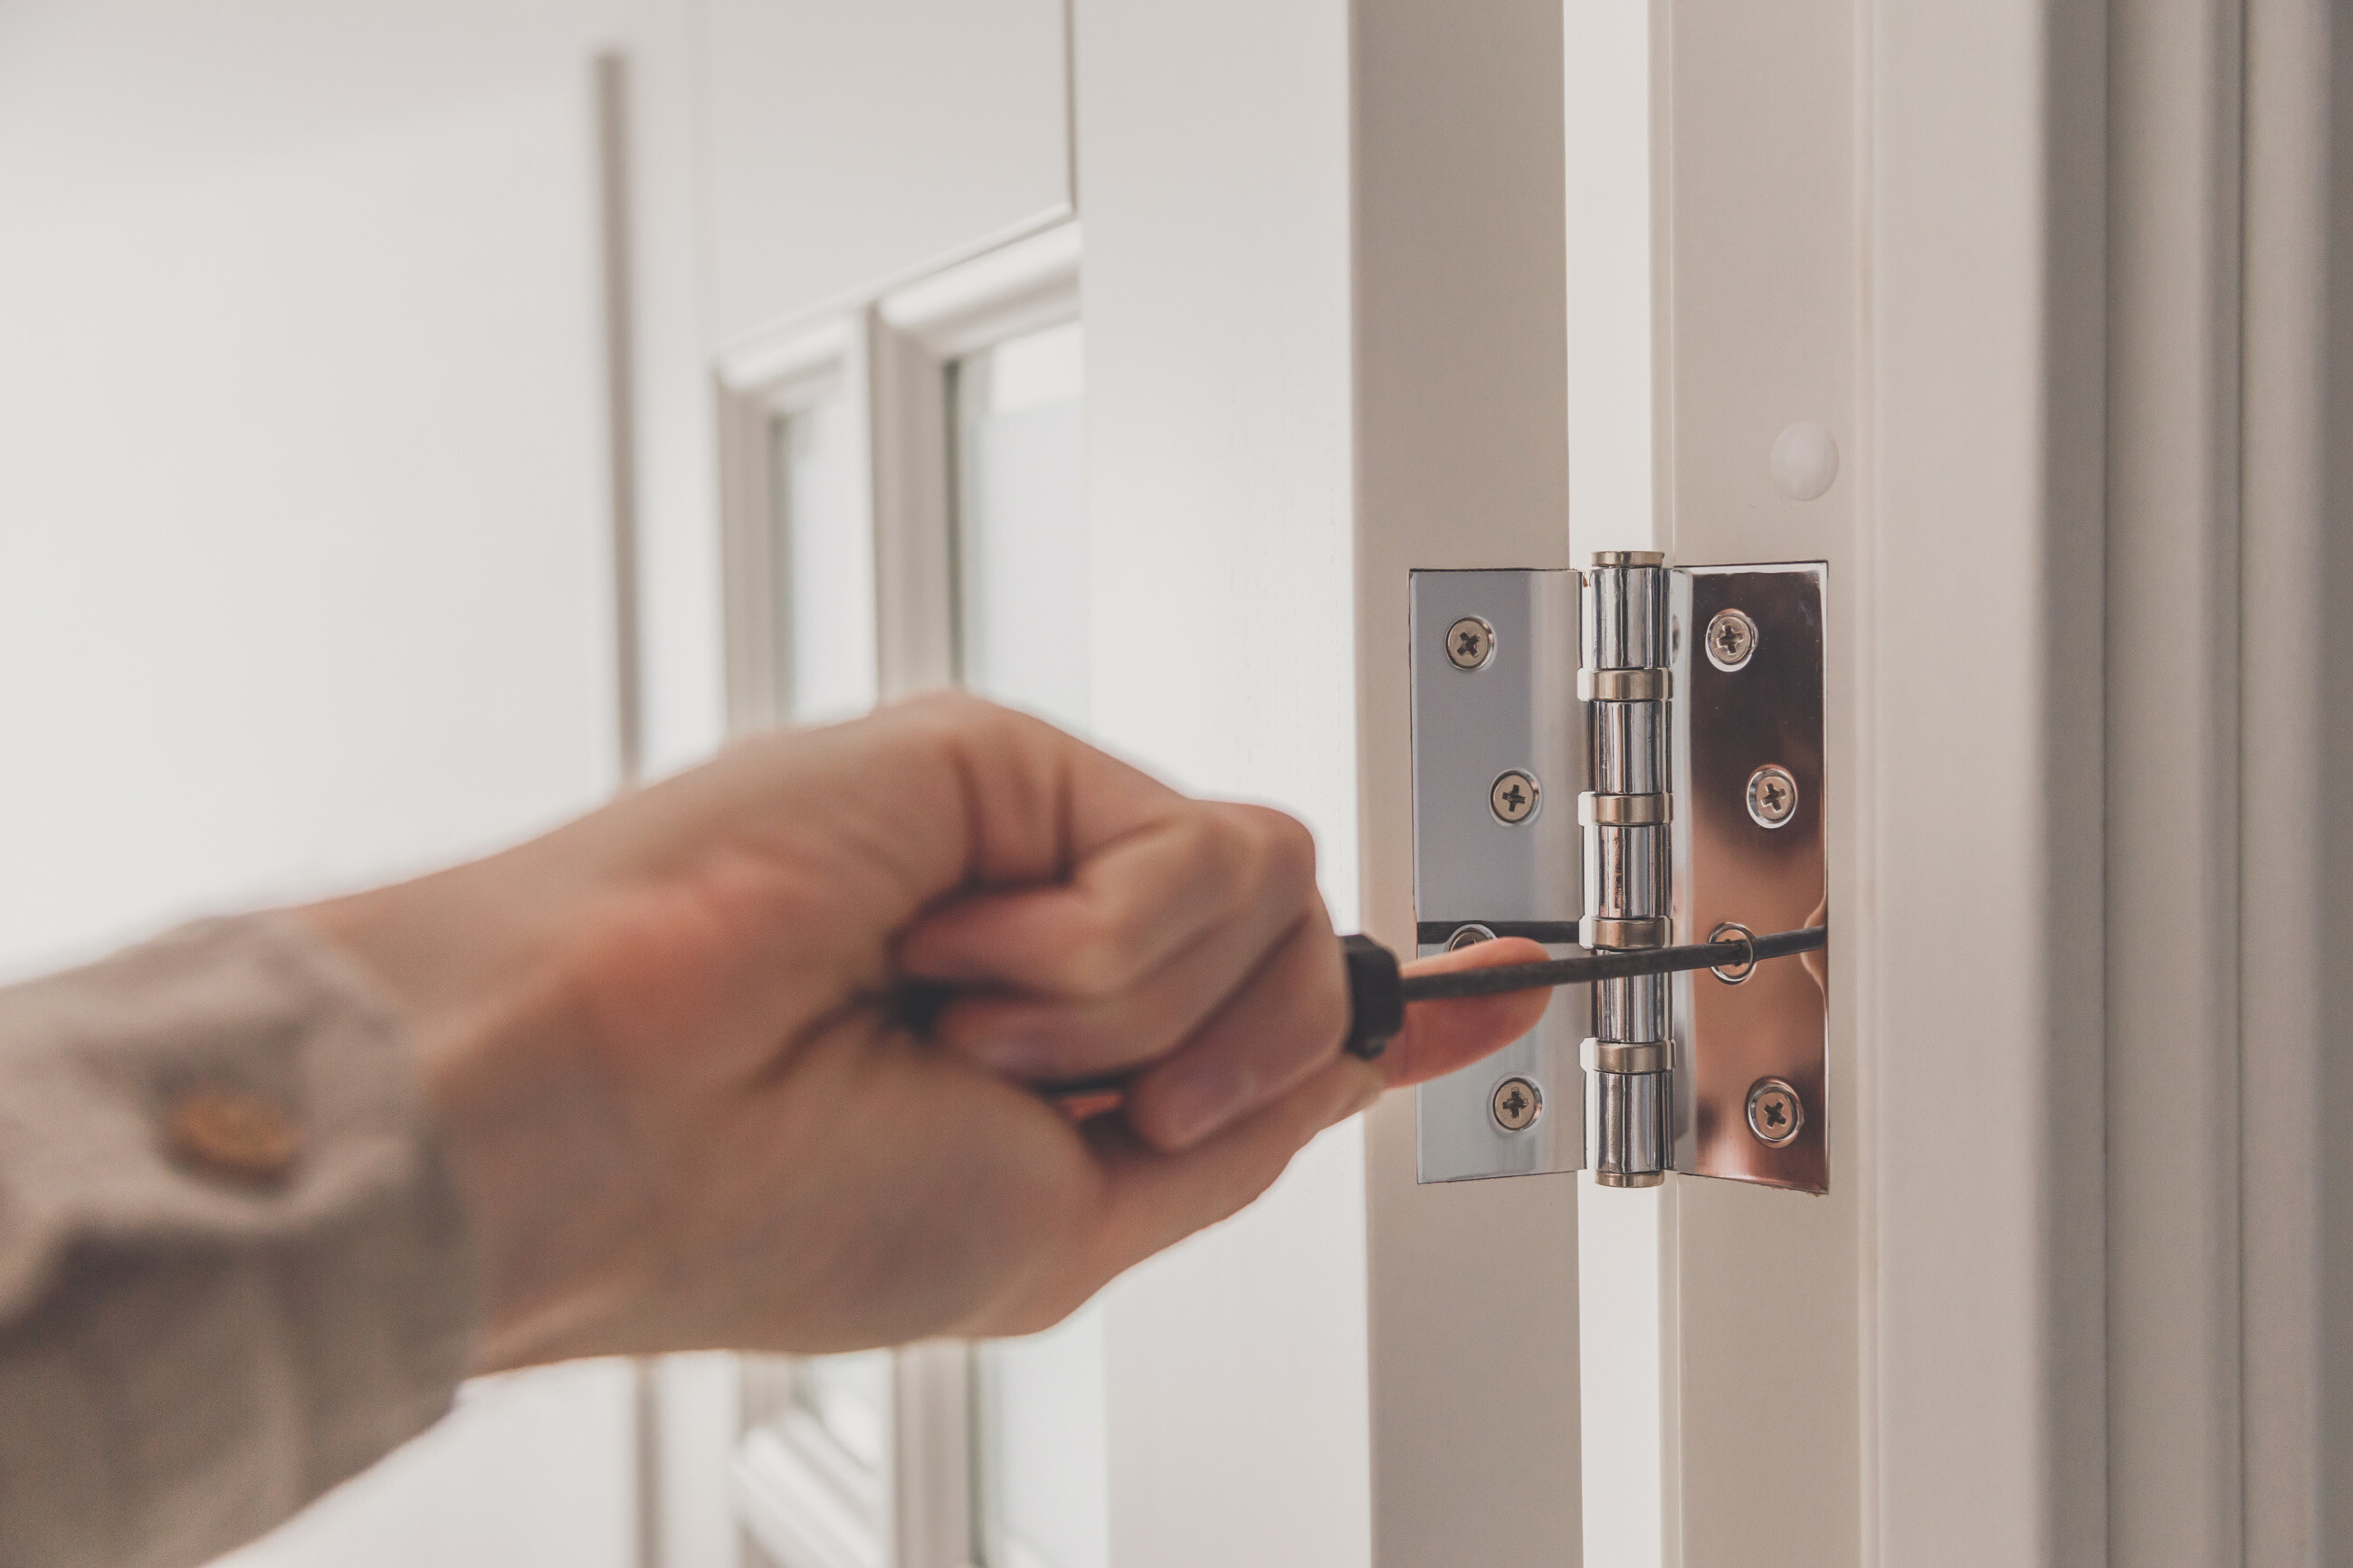
4. Cut out the hinges
On the top and bottom of the hinge cut horizontally with a sharp chisel in 10mm intervals to whatever depth you set with your gauge. You’ll need to cut at a 45-degree angle, and be sure to stay within your marker lines. Sand any remaining bumps or pencil lines out, and drill the pilot holes.
Once all hinges are recessed, you can screw the ‘leaf ’ side of the hinge to the door with your drill and ensure the screws sit flush.
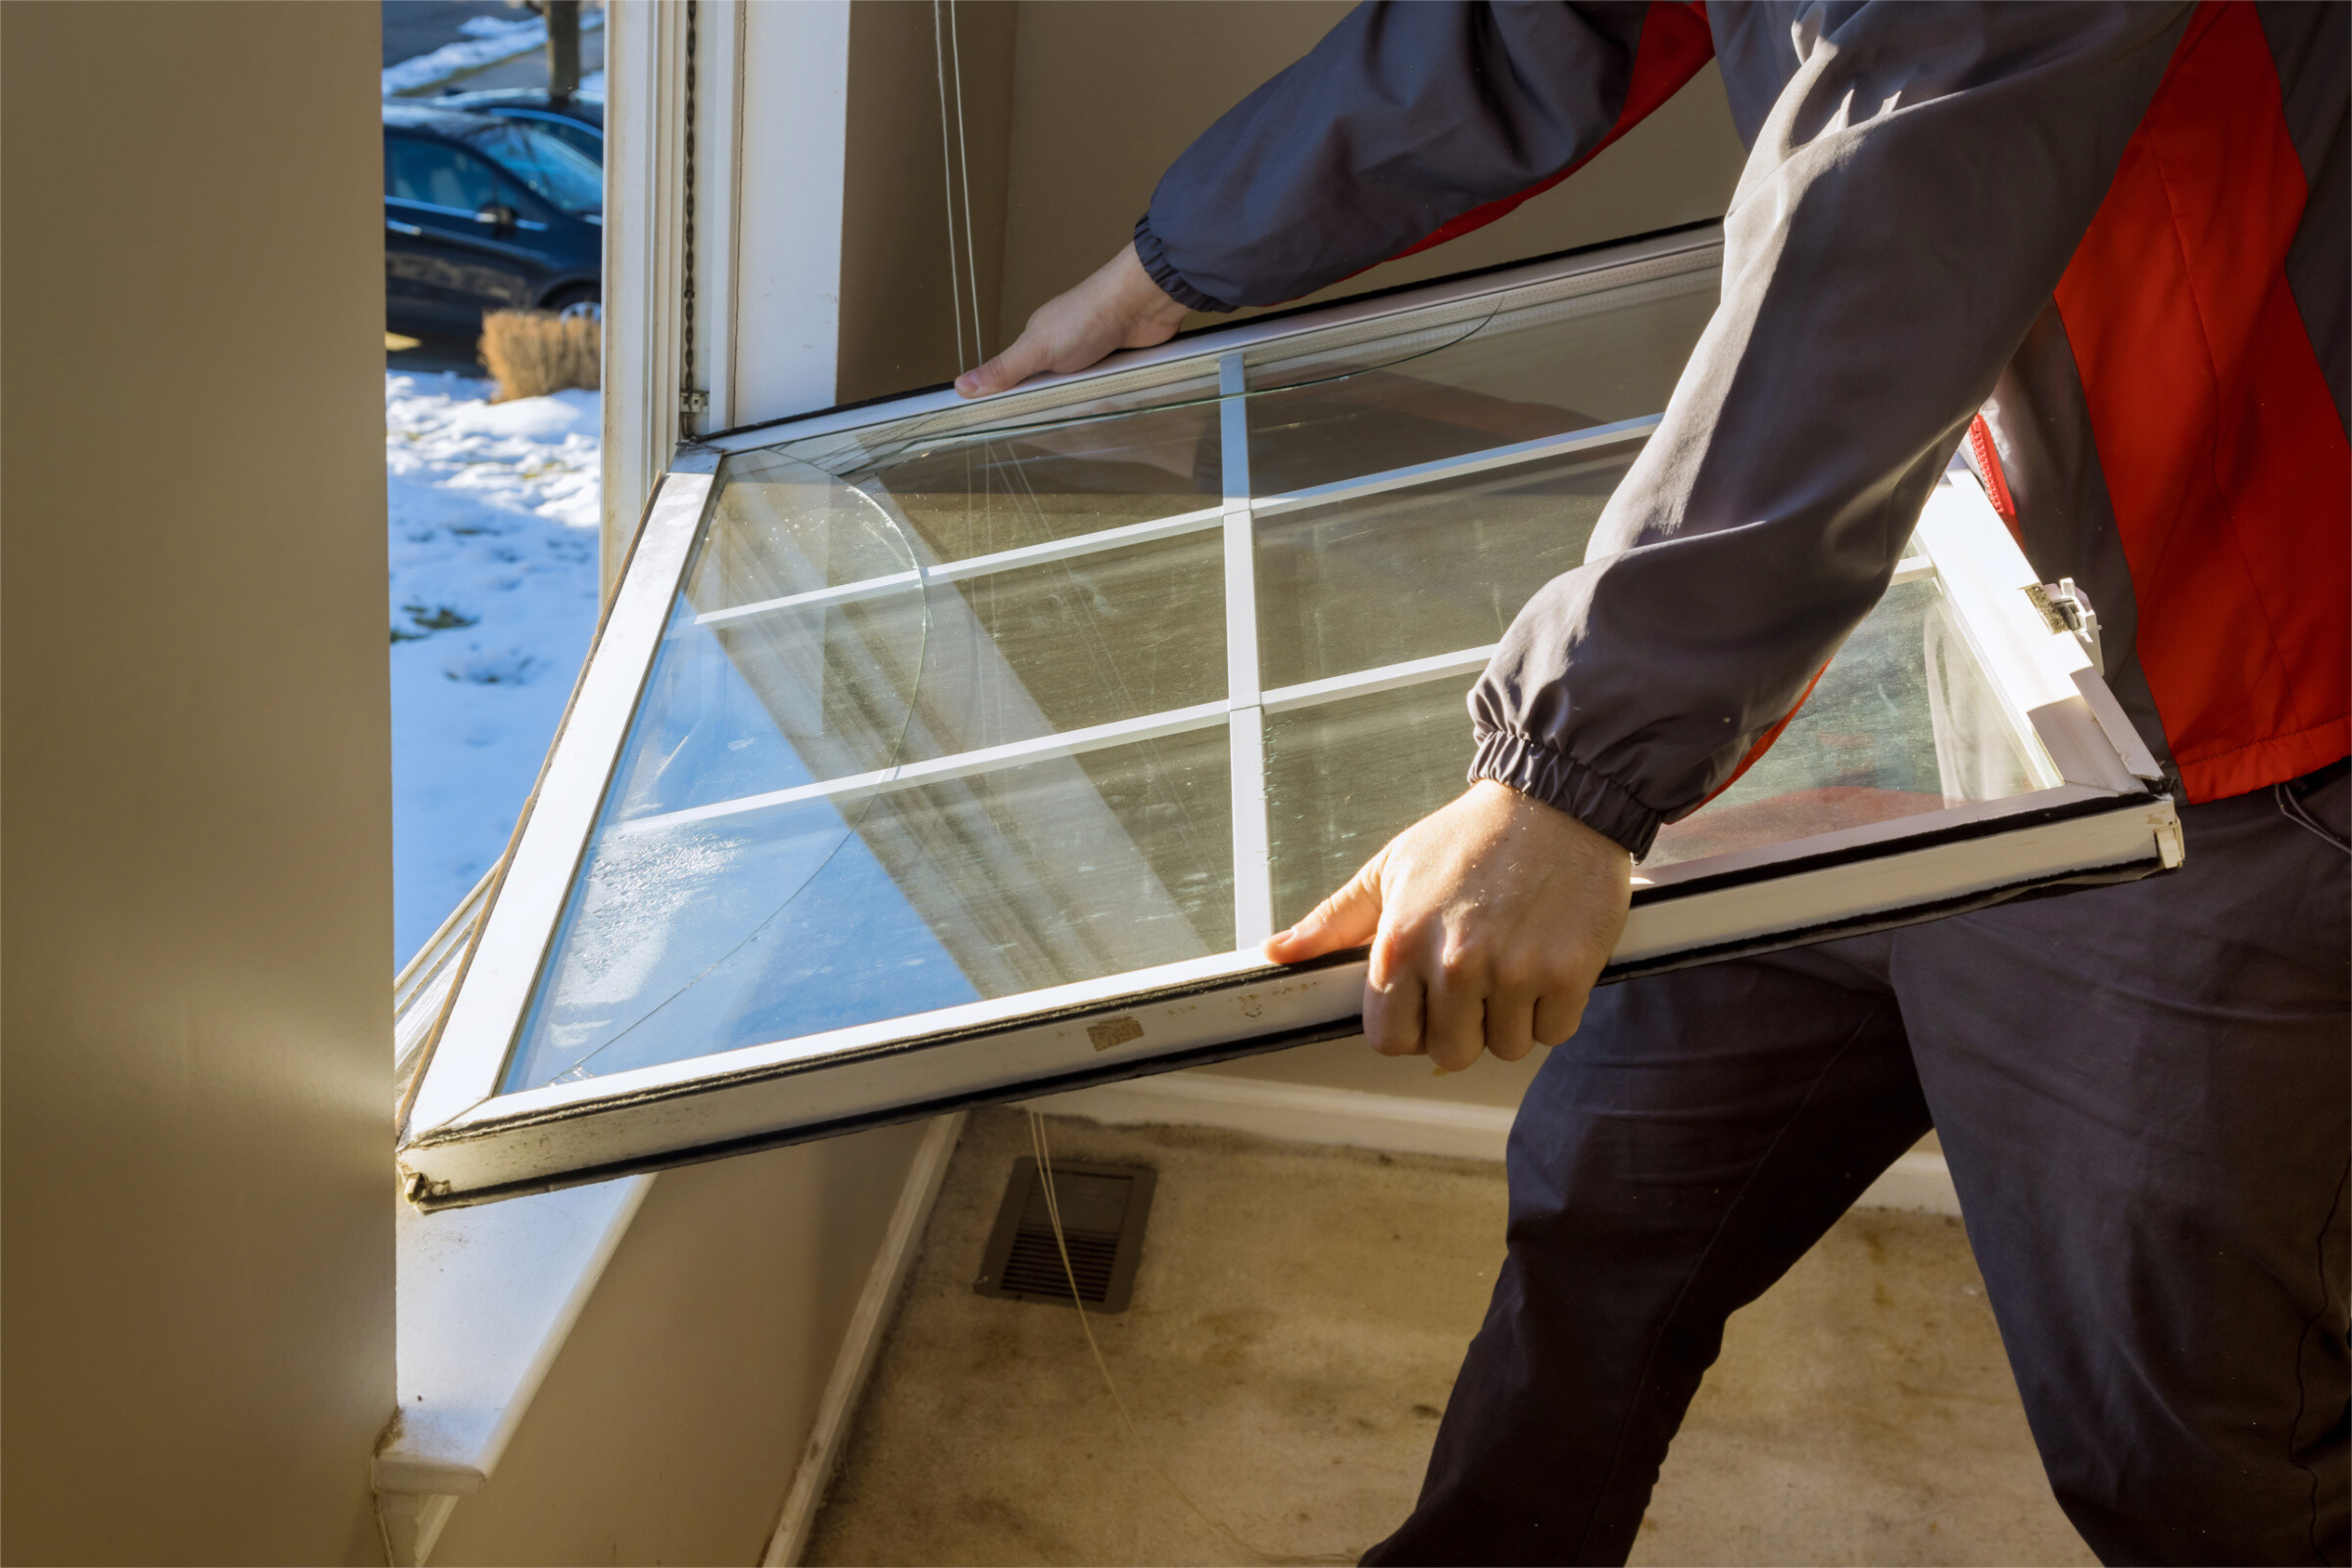
5. Trim the bottom of the door
Only necessary in some cases, you can use an electric plane or a circular saw to trim the underside of your door for clearance. Particularly helpful if you need to ensure the door opens and closes without catching on flooring or carpet.
6. Applying a leading-edge
Another step that is only required as necessary, you can apply a leading-edge, so your door doesn’t hit the frame.
7. Screwing the door to the lining
Hold your door up to the frame at a slight angle and gently begin to screw the top hinge. Make sure you don’t put every screw in this hinge in case it needs adjusting. If you want to make this task a little easier, you can use a Board & Door Lifter.
Once you have a screw in the top of the door, pivot the door up straight and screw in the remaining hinges, is that two or three based on the size of your door. Once you have confirmed that your door fits, finish off the rest of the screws.
How to hang a sliding door
If you need to install a sliding door, these simple steps will help ensure you do it correctly:
- Measure and mark the centre of your door opening just above the door frame. Check the instructions that state the height required above the door as well as the floor clearance.
- Check the frame is level with a spirit level.
- Measure and mark up the height for the tracks.
- Attach the tracks to the door frame by pre-drilling and screwing them into position on both sides of the centre point.
- Measure and mark the correct position of the rollers to the top of the doors.
- Pre-drill the marks that you have already made and then screw your rollers on for both sides of each door.
- Loosen the rollers and hang your doors on the tracks above the door frame
- Install a door guide at the base of each door. This can be made simpler by screwing them to the wall to hold the doors in place, stopping them from wobbling. Just be sure that you keep in mind the finished height of your door or any floor coverings that may also be present.
- Adjust the doors with a spanner making sure the door rollers are the same height and perfectly inline.
- Install bump stops in the centre and end of the tracks. This helps the door from rolling too far in one direction. You can align them with the pre-drilled holes that sit in the centre of the tracks then just screw them on.
- Repeat with bump stops at the end of each track to secure the end of the track to the wall.
Hanging a door the right way up
You’ll be surprised how many people hang a door upside down, only to realise it’s incorrect when finished. If you are using four or six panelled doors, there will most likely be a taller horizontal stile across the bottom.
Older doors have three tall slim panels on the bottom, with a large square panel on the top. If you are using a hollow core door, you’ll see a ‘lock block,’ which is a solid piece of timber that secures the lock to the handles marked on the top of the door.
When it comes to hanging the door, it should only be able to open one way. Determining which direction the door will swing (usually into the room) can often be evident due to the position of the light switch! An internal door should never leave the switch behind it when opened.
Want some help with hanging your door?
If the task is a little too tricky for you to handle alone, or you simply do not have the time to do it, there is a range of people available to help with door installation. You can also find Taskers for door repairs and door frame installation to ensure that the job is done right the first time! You can cross those DIY tasks off your list in no time at all.
Hanging a Door FAQs
Hinges come in various sizes based on the size and weight of the door. This will also determine the number of hinges you require. Light, hollow core doors that sit around the 6’8″ size only require two hinges with pins that are usually similar in spacing. Bigger solid core doors require three or more hinges, often that may contain ball bearings.
Hinges are generally spaced out equally, as this will keep the door straight. We set the top hinge closer to the top as it takes the brunt of the tension when force is applied. The lower hinge handles the compression when force is applied to it.
The strongest part of the hinge is the section with the most knuckles. This is the part that will sit on the lining. You can also tell by swing direction. To help with this, always consider that you are hanging the door to the lining as opposed to the lining being attached to the door.
The main tools that you will require when hanging a door are: Tape measure Combination square, A hammer or mallet, An 18mm / 3/4” or 25mm / 1” and 10mm / 3/8” chisel set, Smoothing plane, Marking gauge and Cordless drill with wood drill (twist) bits and screwdriver bits
Find door hanging contractors, fast
Find a door hanging contractor
Related price guides
How much do new windows cost?
Read more

How much does window replacement cost?
Read more
How much does a new front door cost?
Read more